
Thanks for your patience for this latest post! I am a full time teacher, and with school starting back in full swing I haven’t had as much time to devote to new posts as I would like. Don’t worry! I still plan to post new content. However, it just may not be as frequent as it was over the summer. I hope you enjoy the new projects as they come and until then check out my free projects that are already available!
This is a fun quick project that helps practice sewing straight seams. It also introduces bag making basics with boxed corners.
Lesson Category:
- Machine Sewing – Straight Seams
Lesson Topics:
- Essential Tools
- Cutting Rectangles
- Sewing Straight Seams
- Boxing Corners
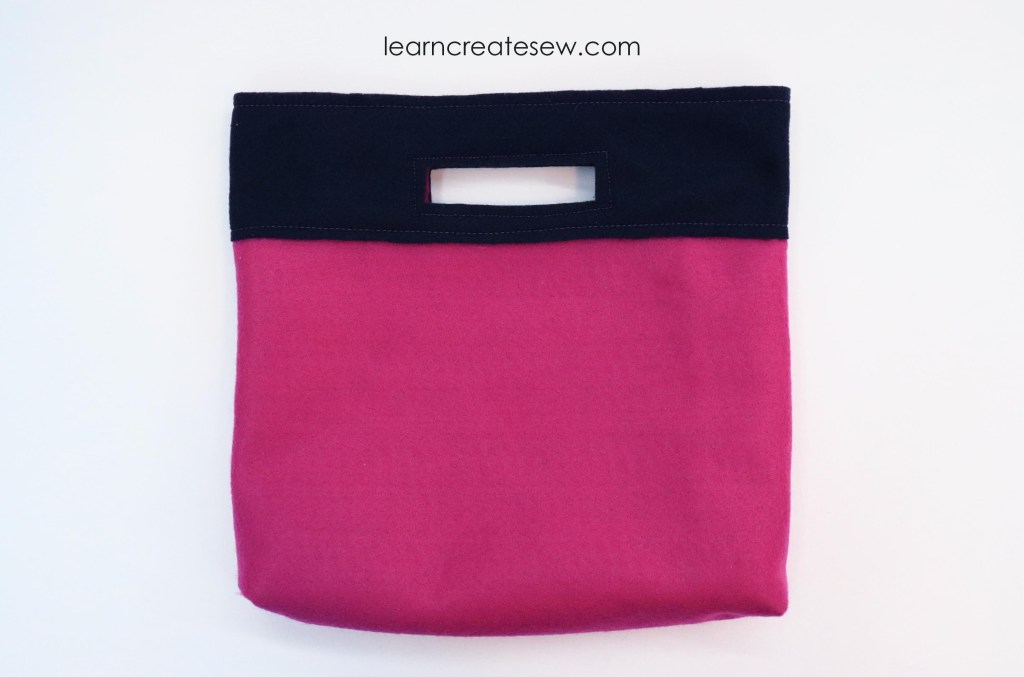
This project uses large sized felt fabric, since the pieces are larger than the standard sized felt sheets available in most stores.
Felt is a great fabric to start with for your first projects because it doesn’t fray. You don’t have to worry about raw edges and it will look nice inside and out!

The top of the bag is made with two layers of felt stitched together for added strength and to provide contrast.

It also has boxed corners. Boxed corners can be a bit of a challenge, but it adds a lot of great features to your bag.
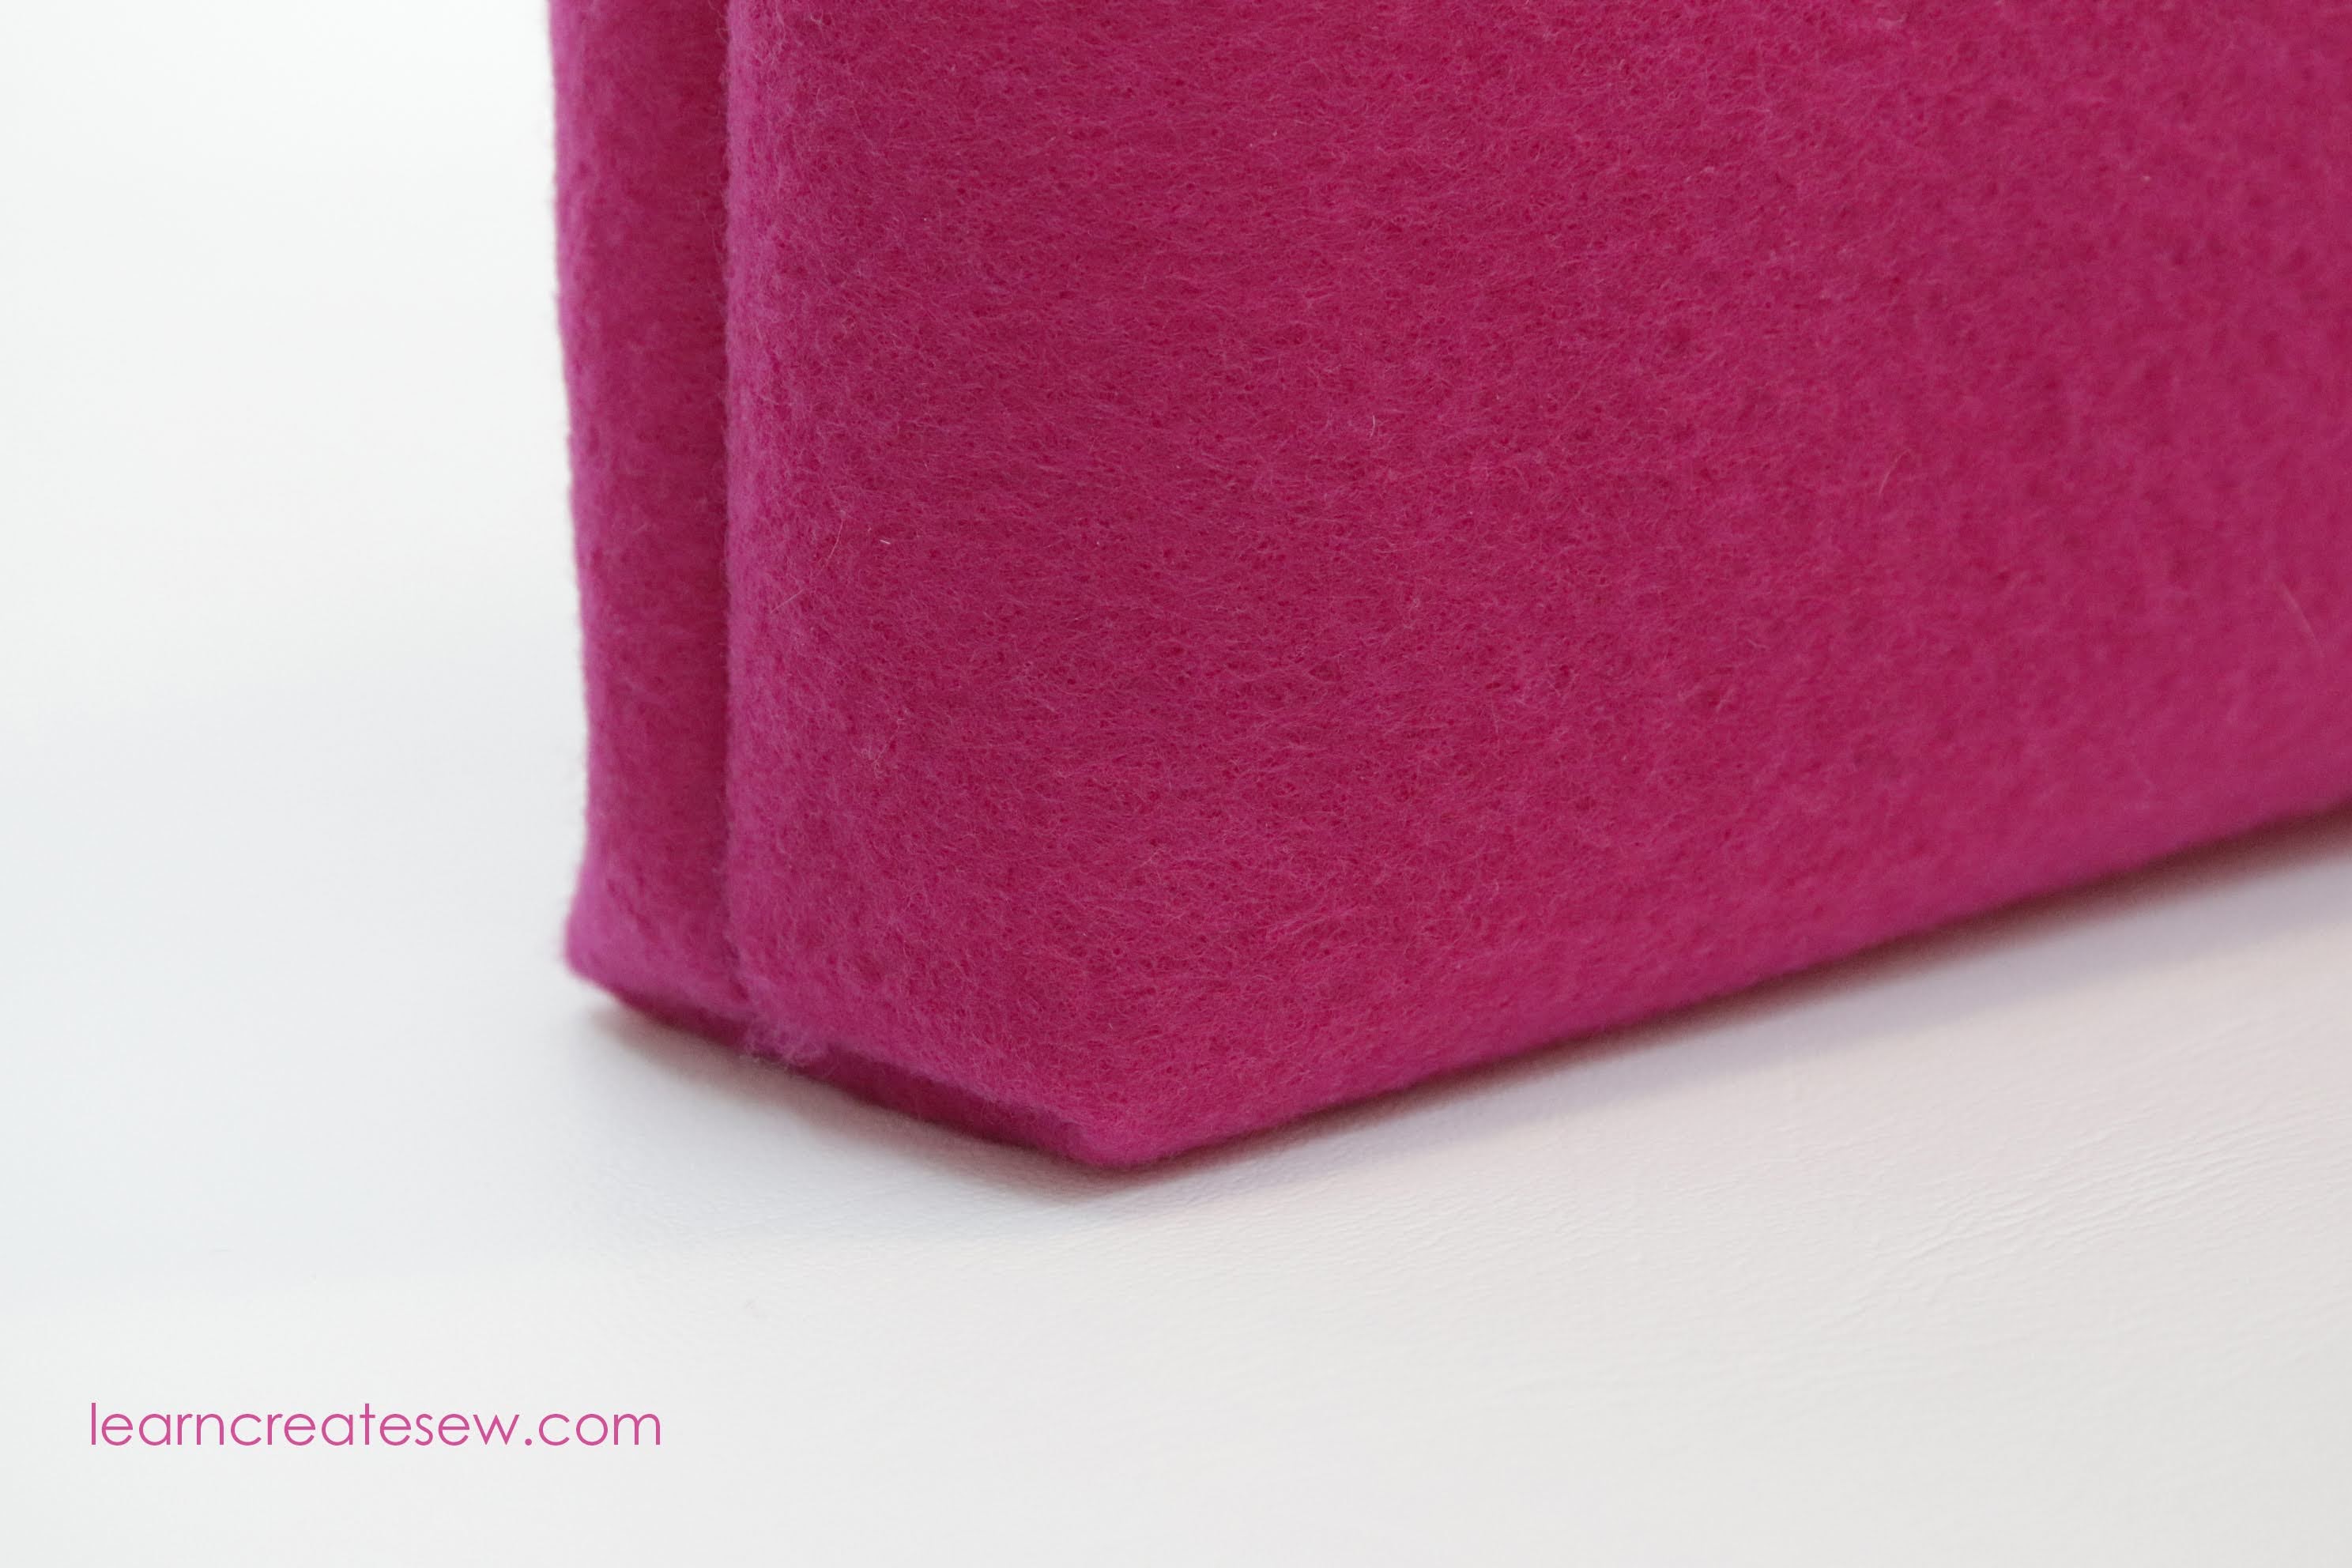

It provides space at the bottom of the bag so it is no longer flat.
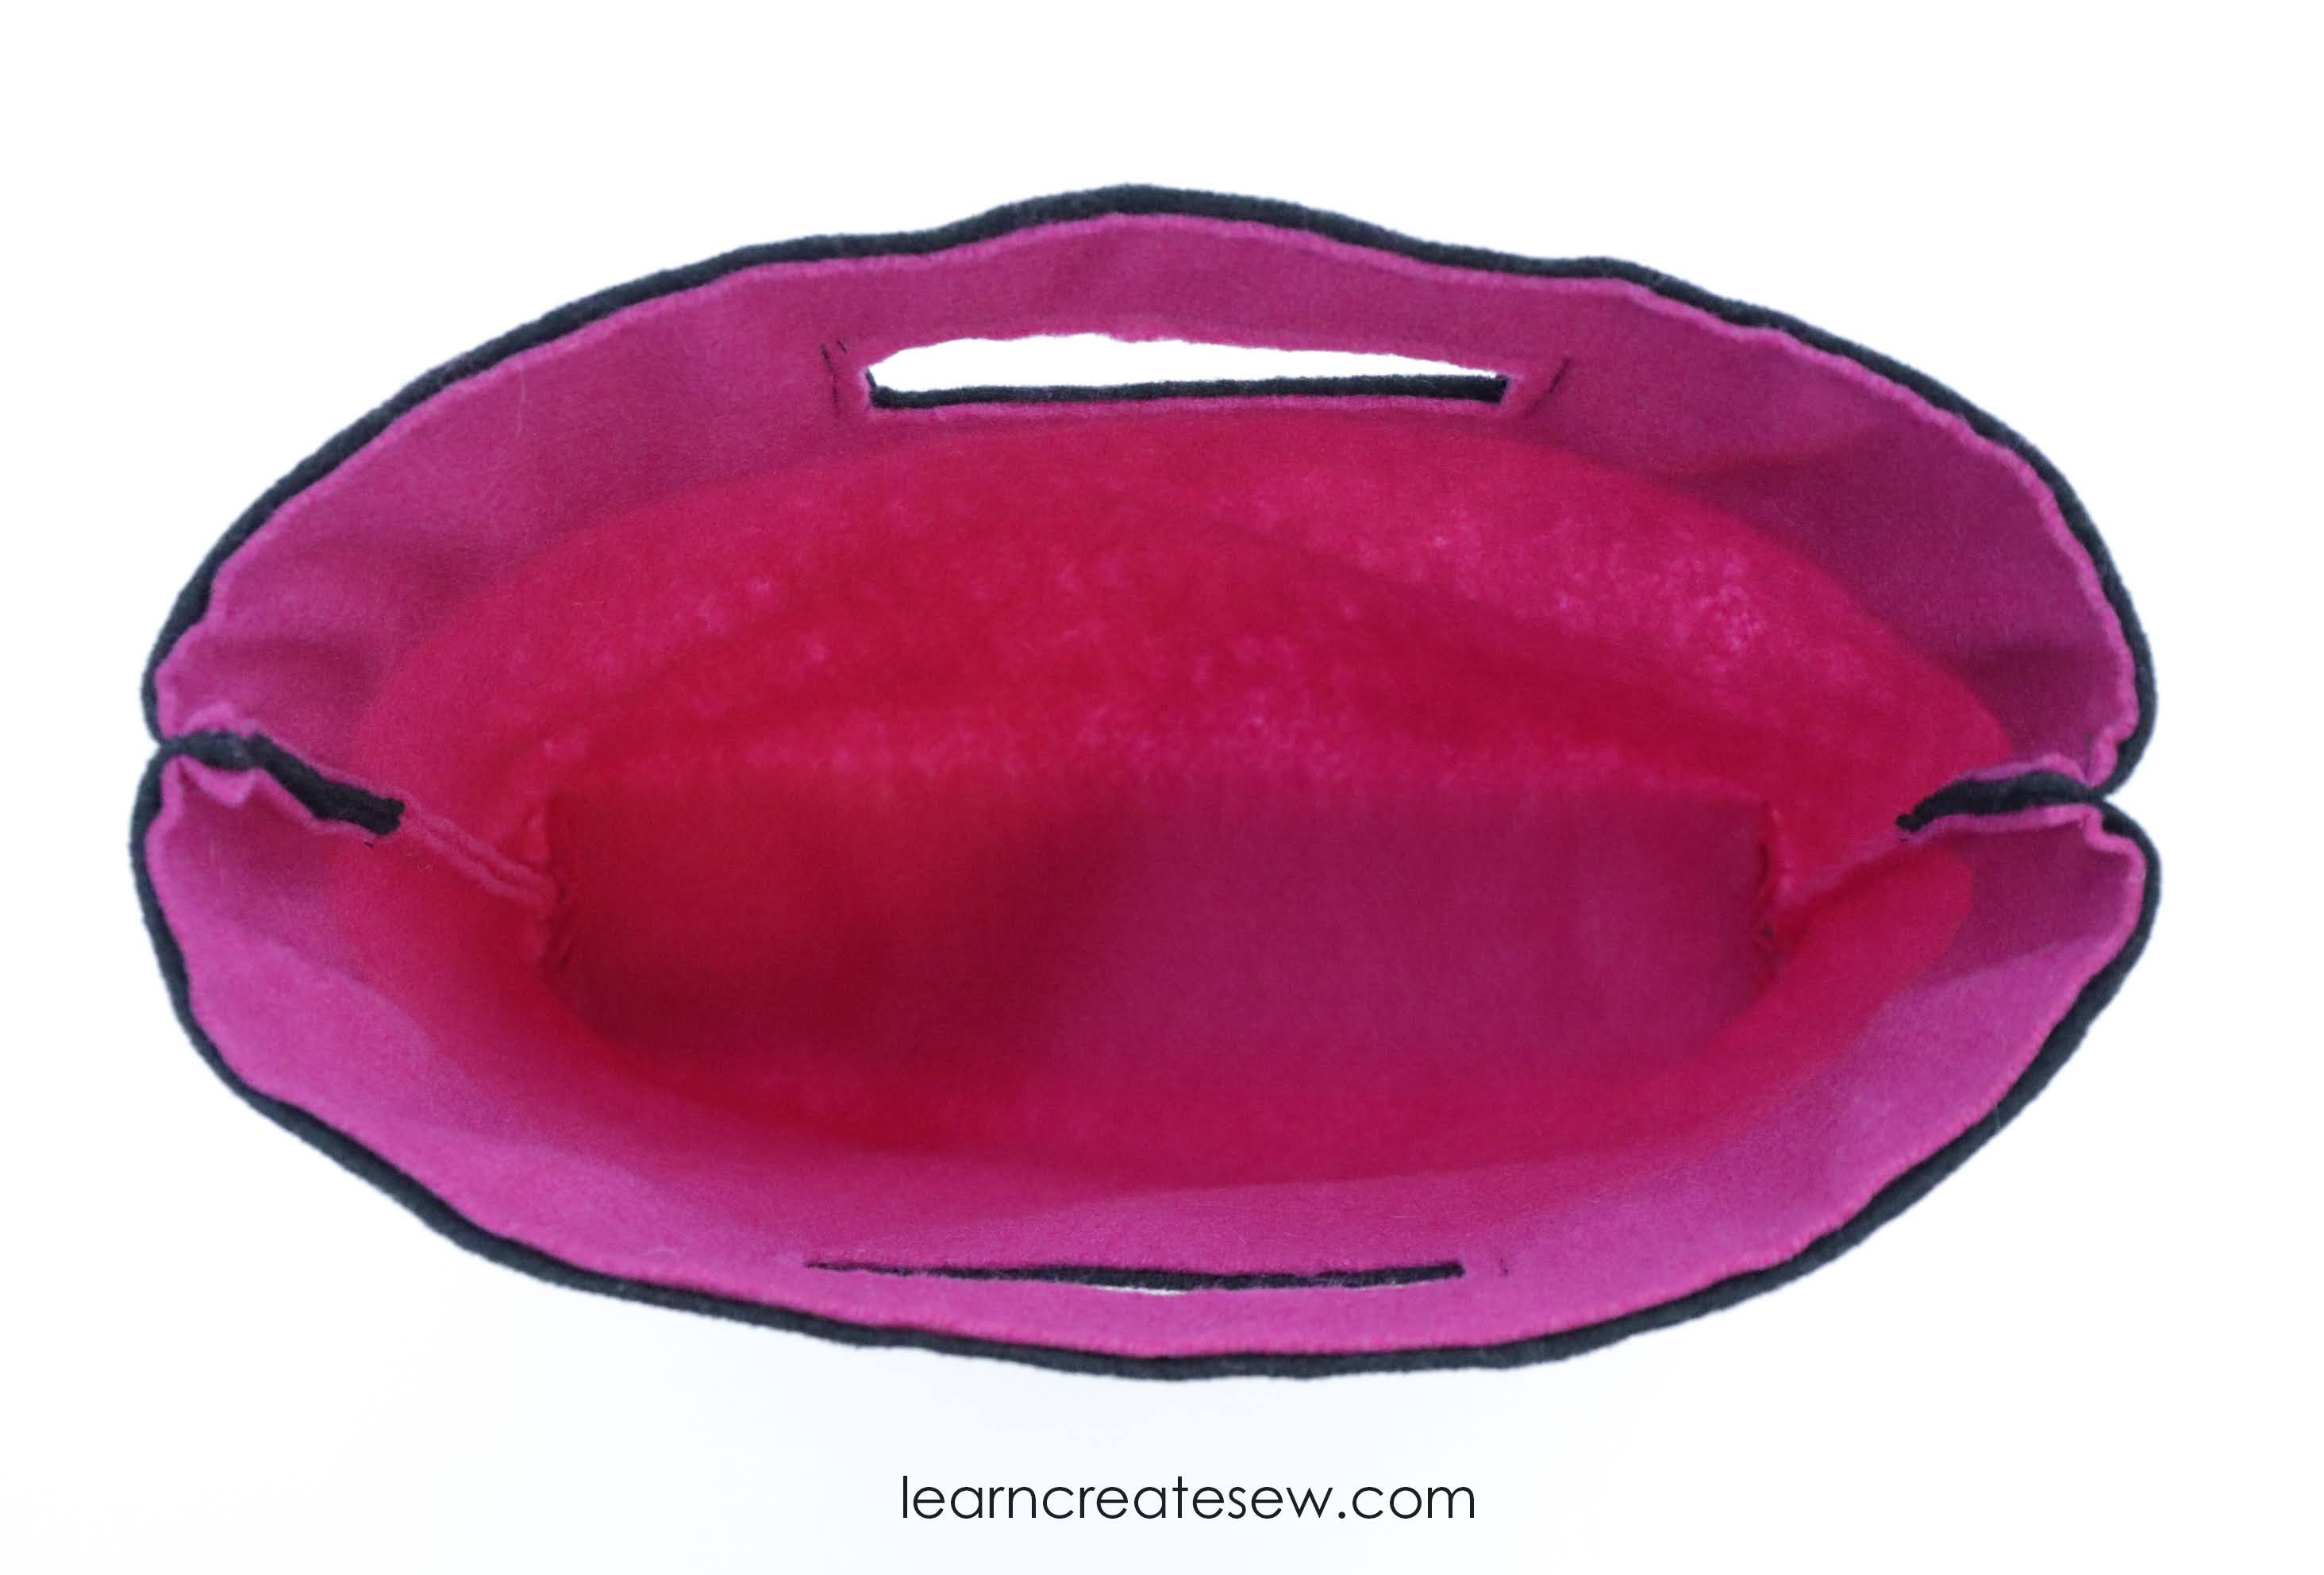
In this case it also allows the bag to stand up. Once you learn how to add boxed corners it is a great feature to add to many different types of bags and cases.
Lesson:
