A friend asked me to make an alien plush for her daughter, and I had so much fun with it that I decided to share the project.

I started by making the larger fur aliens and then decided to add the smaller fleece option, which takes less fabric and is easier to construct.


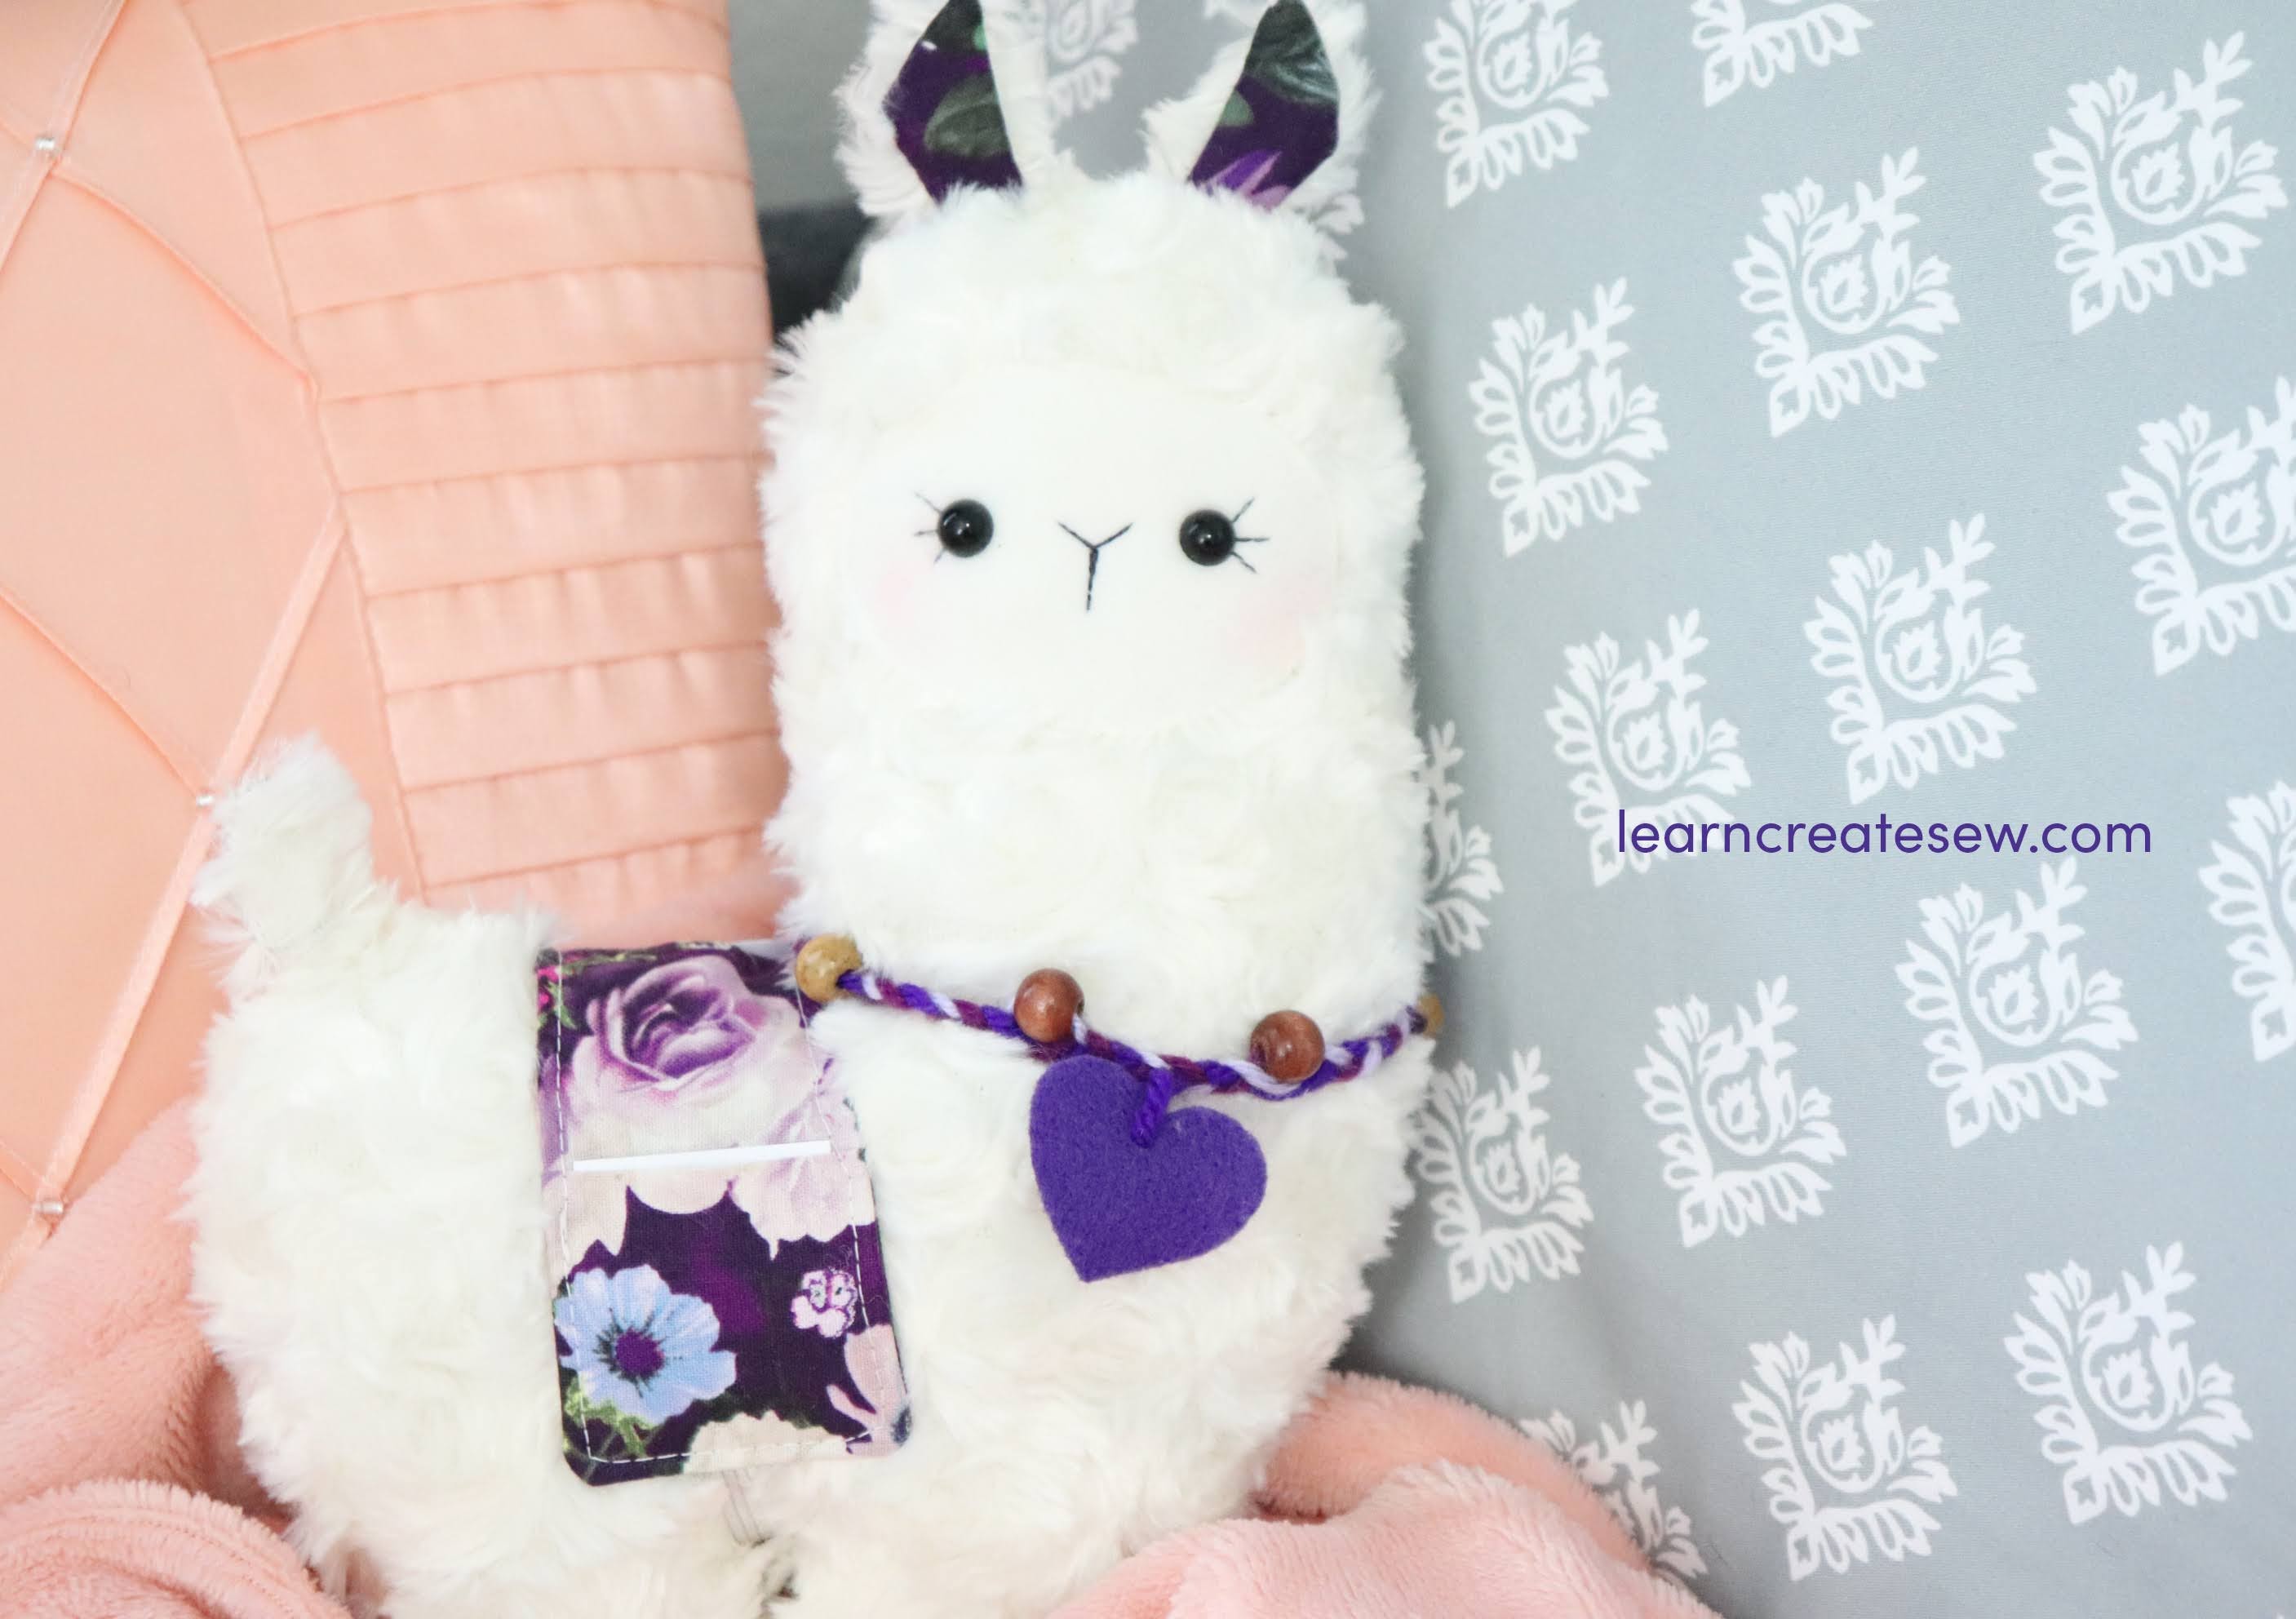
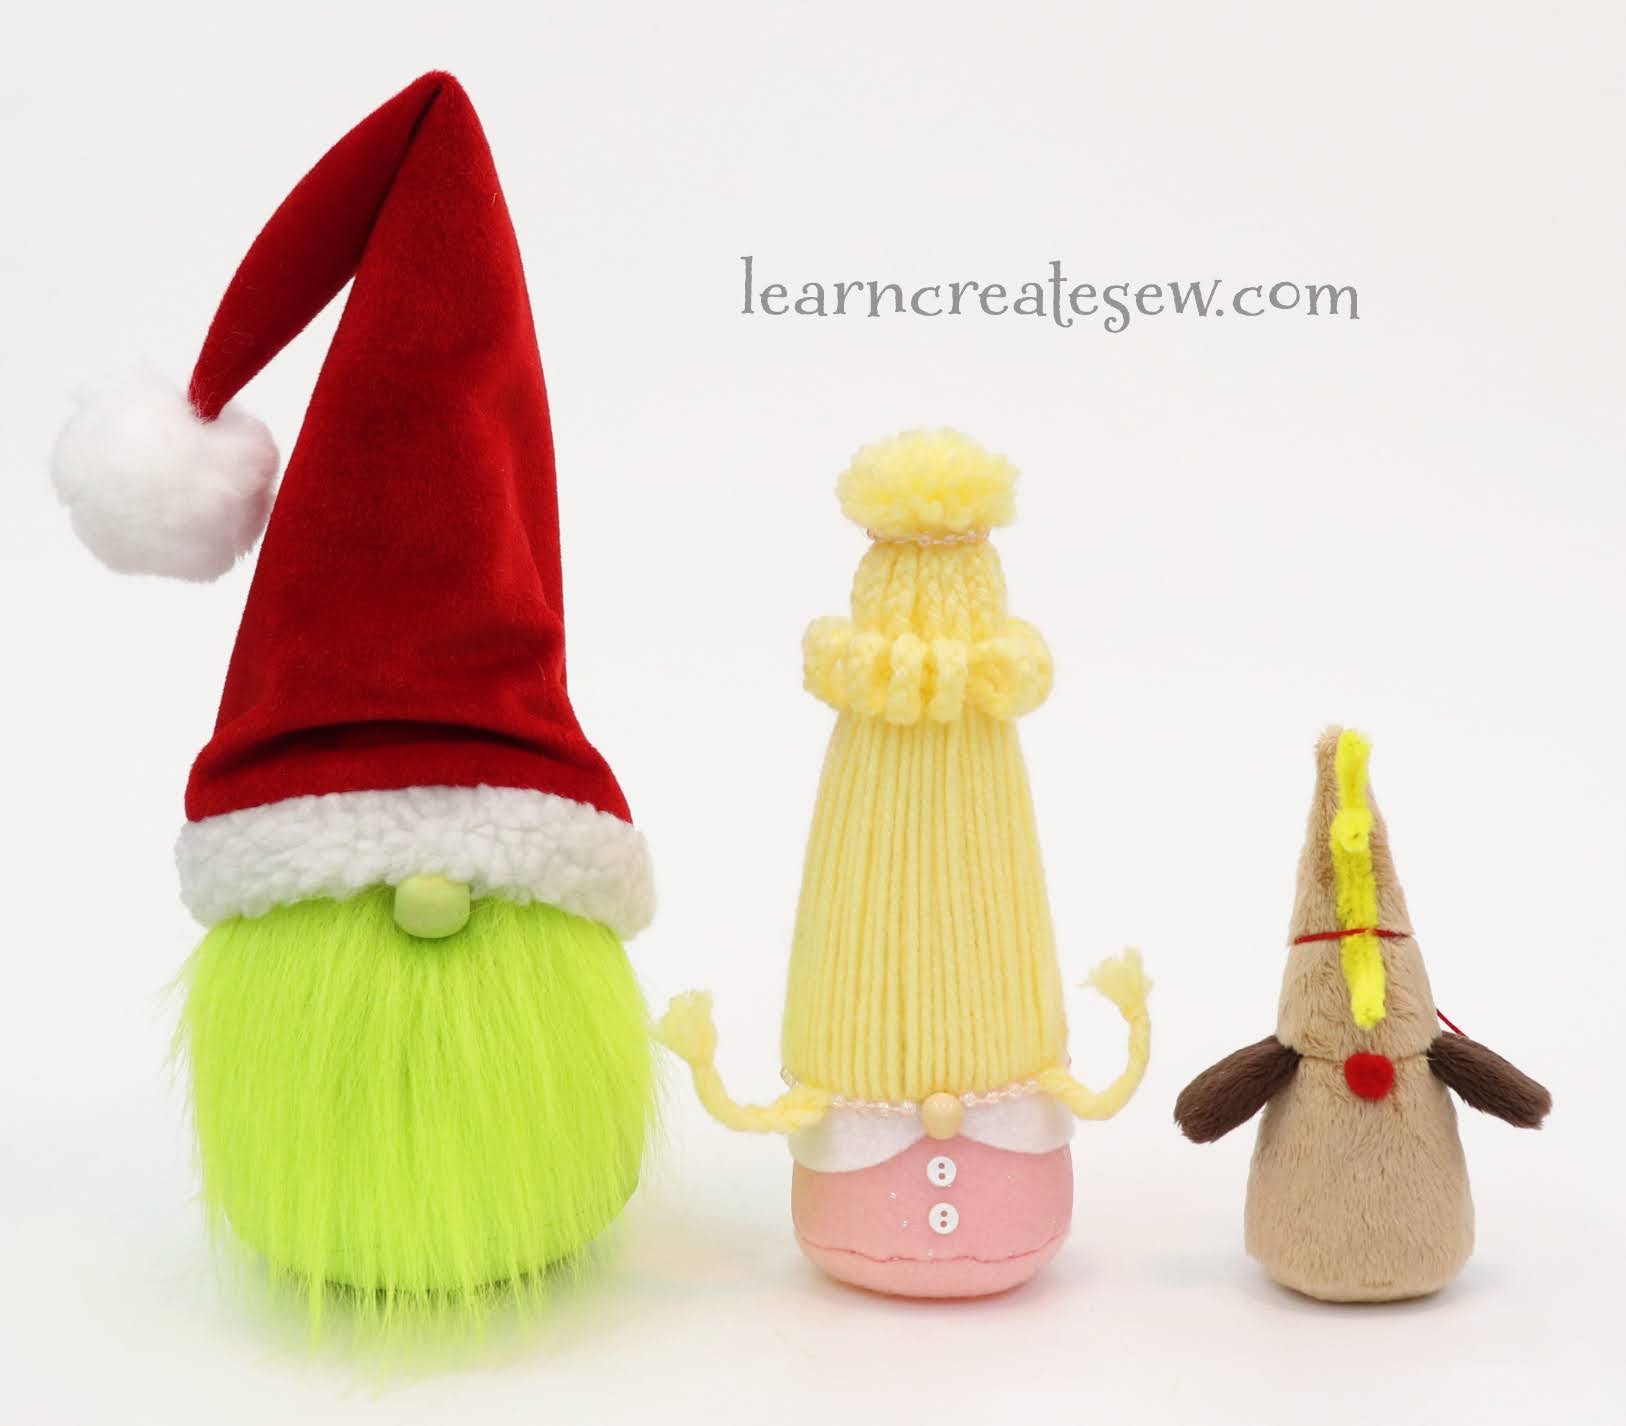
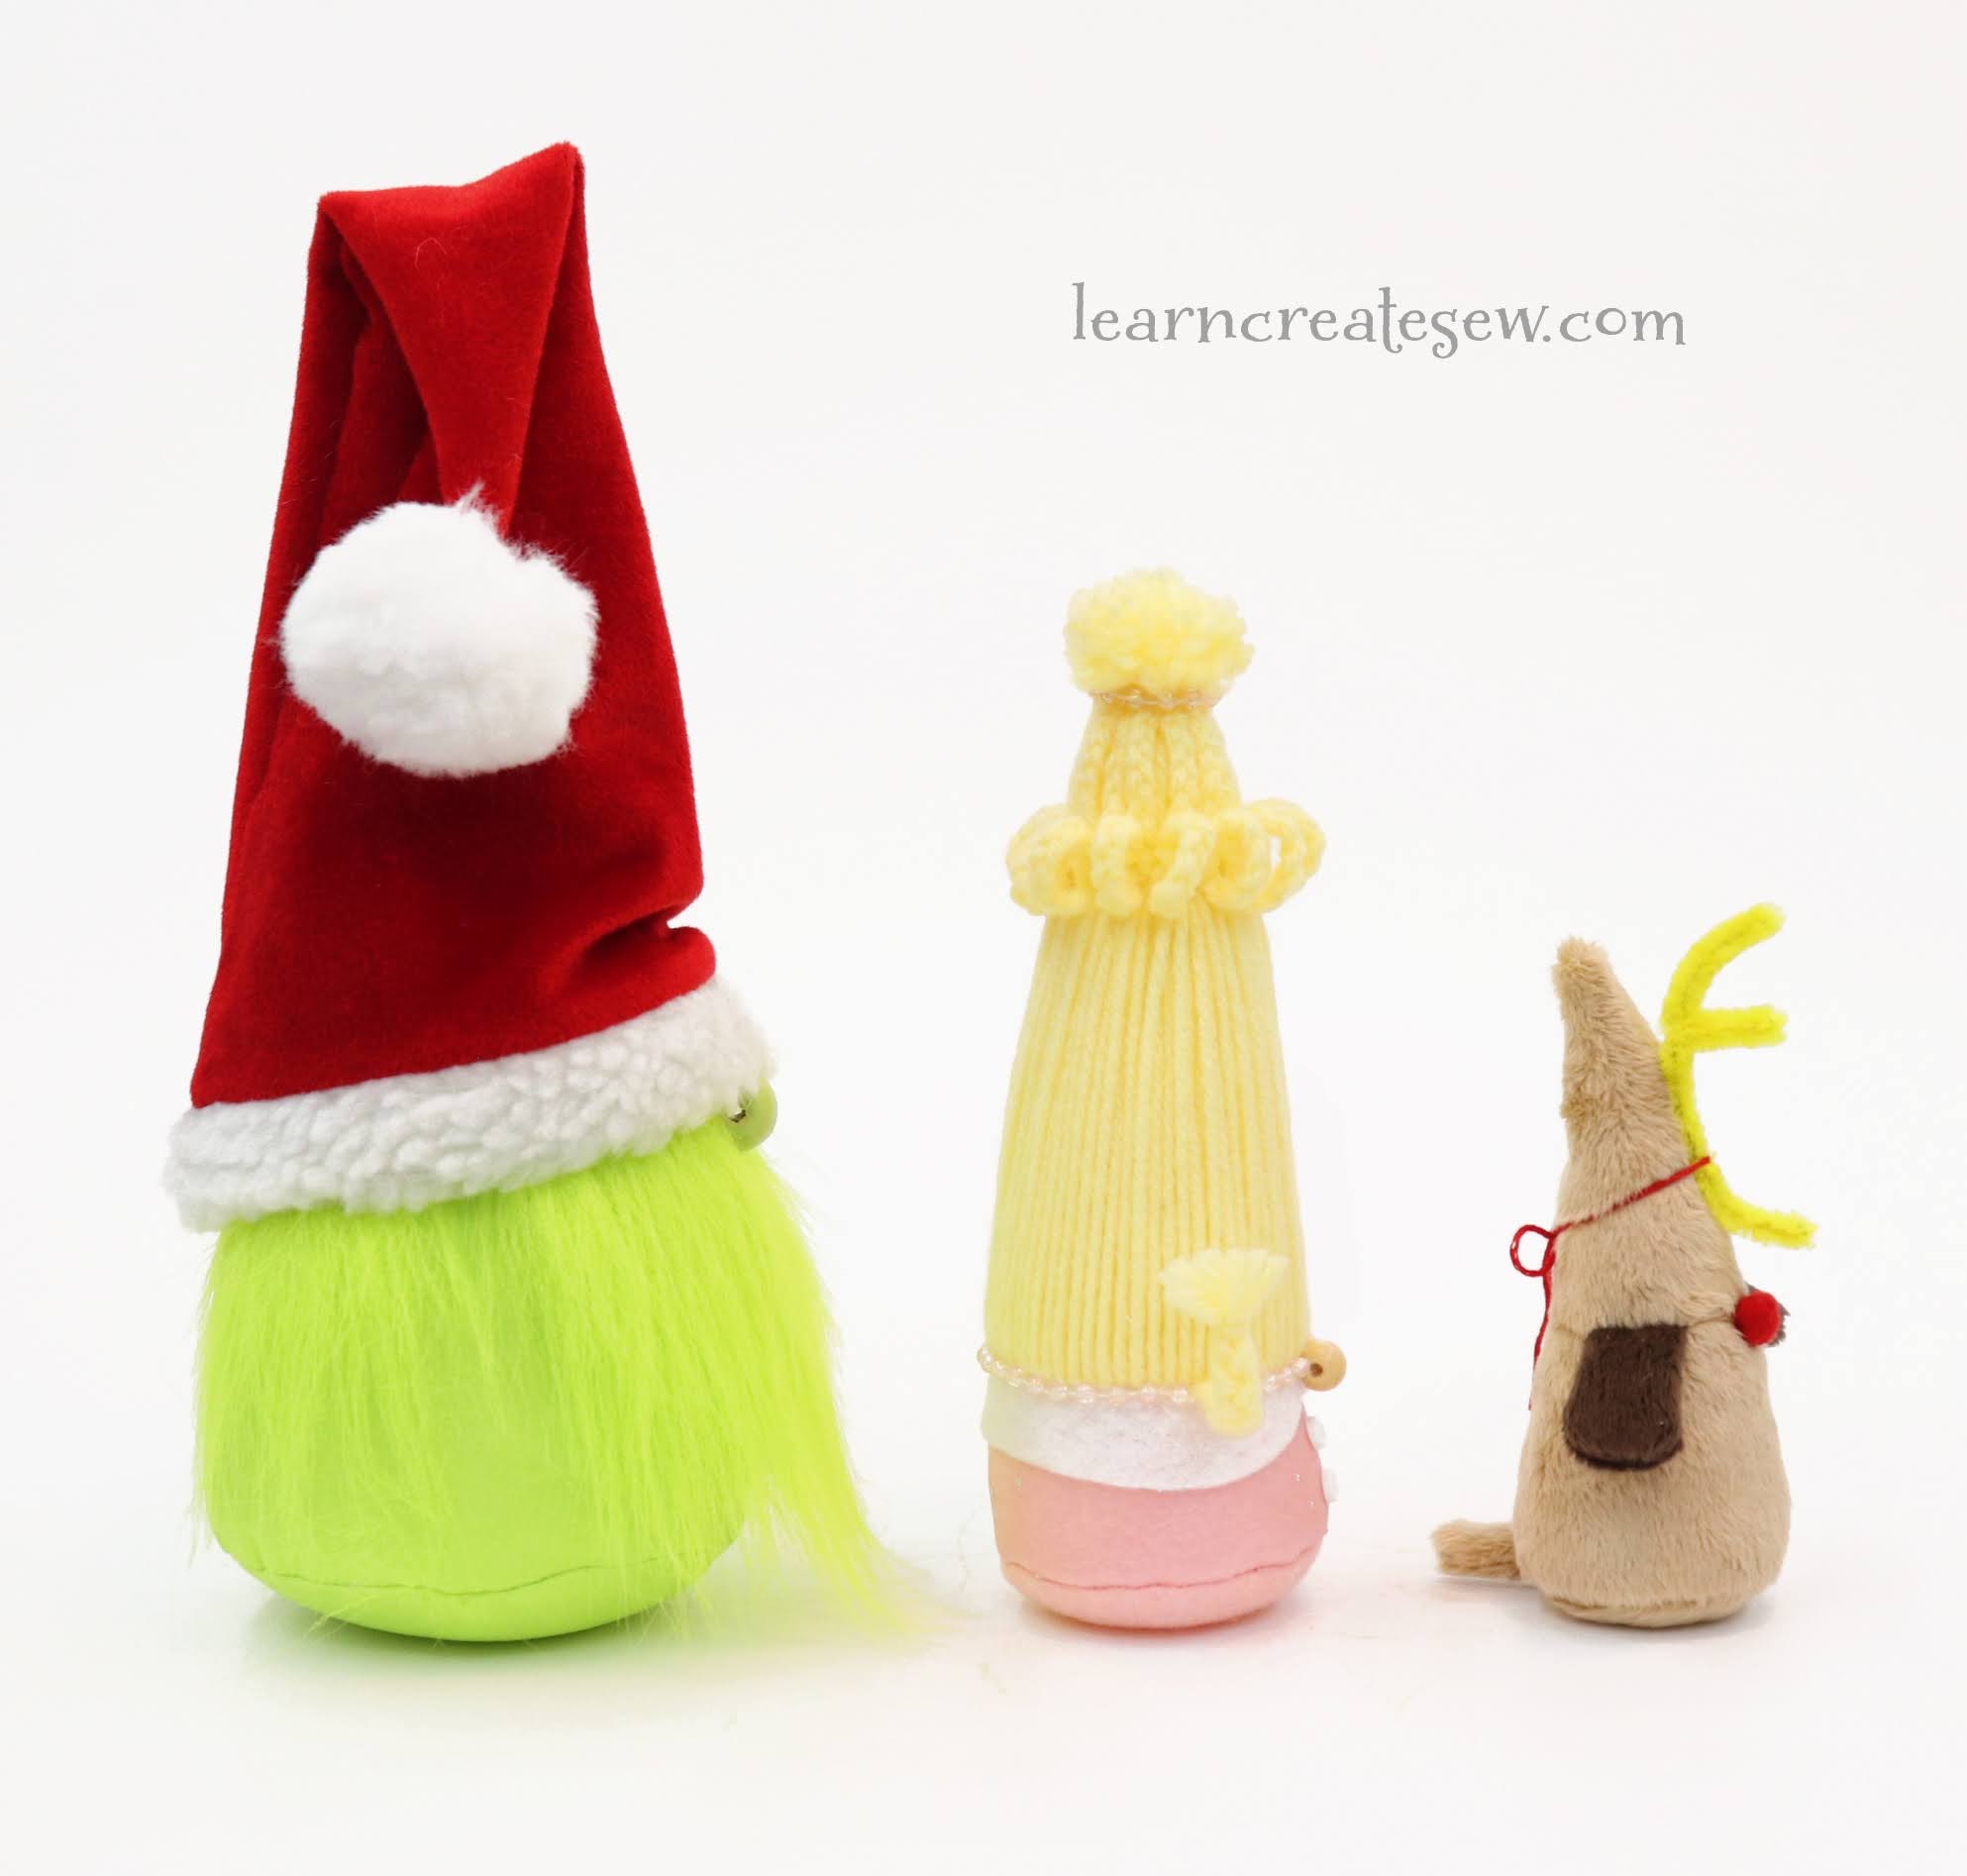
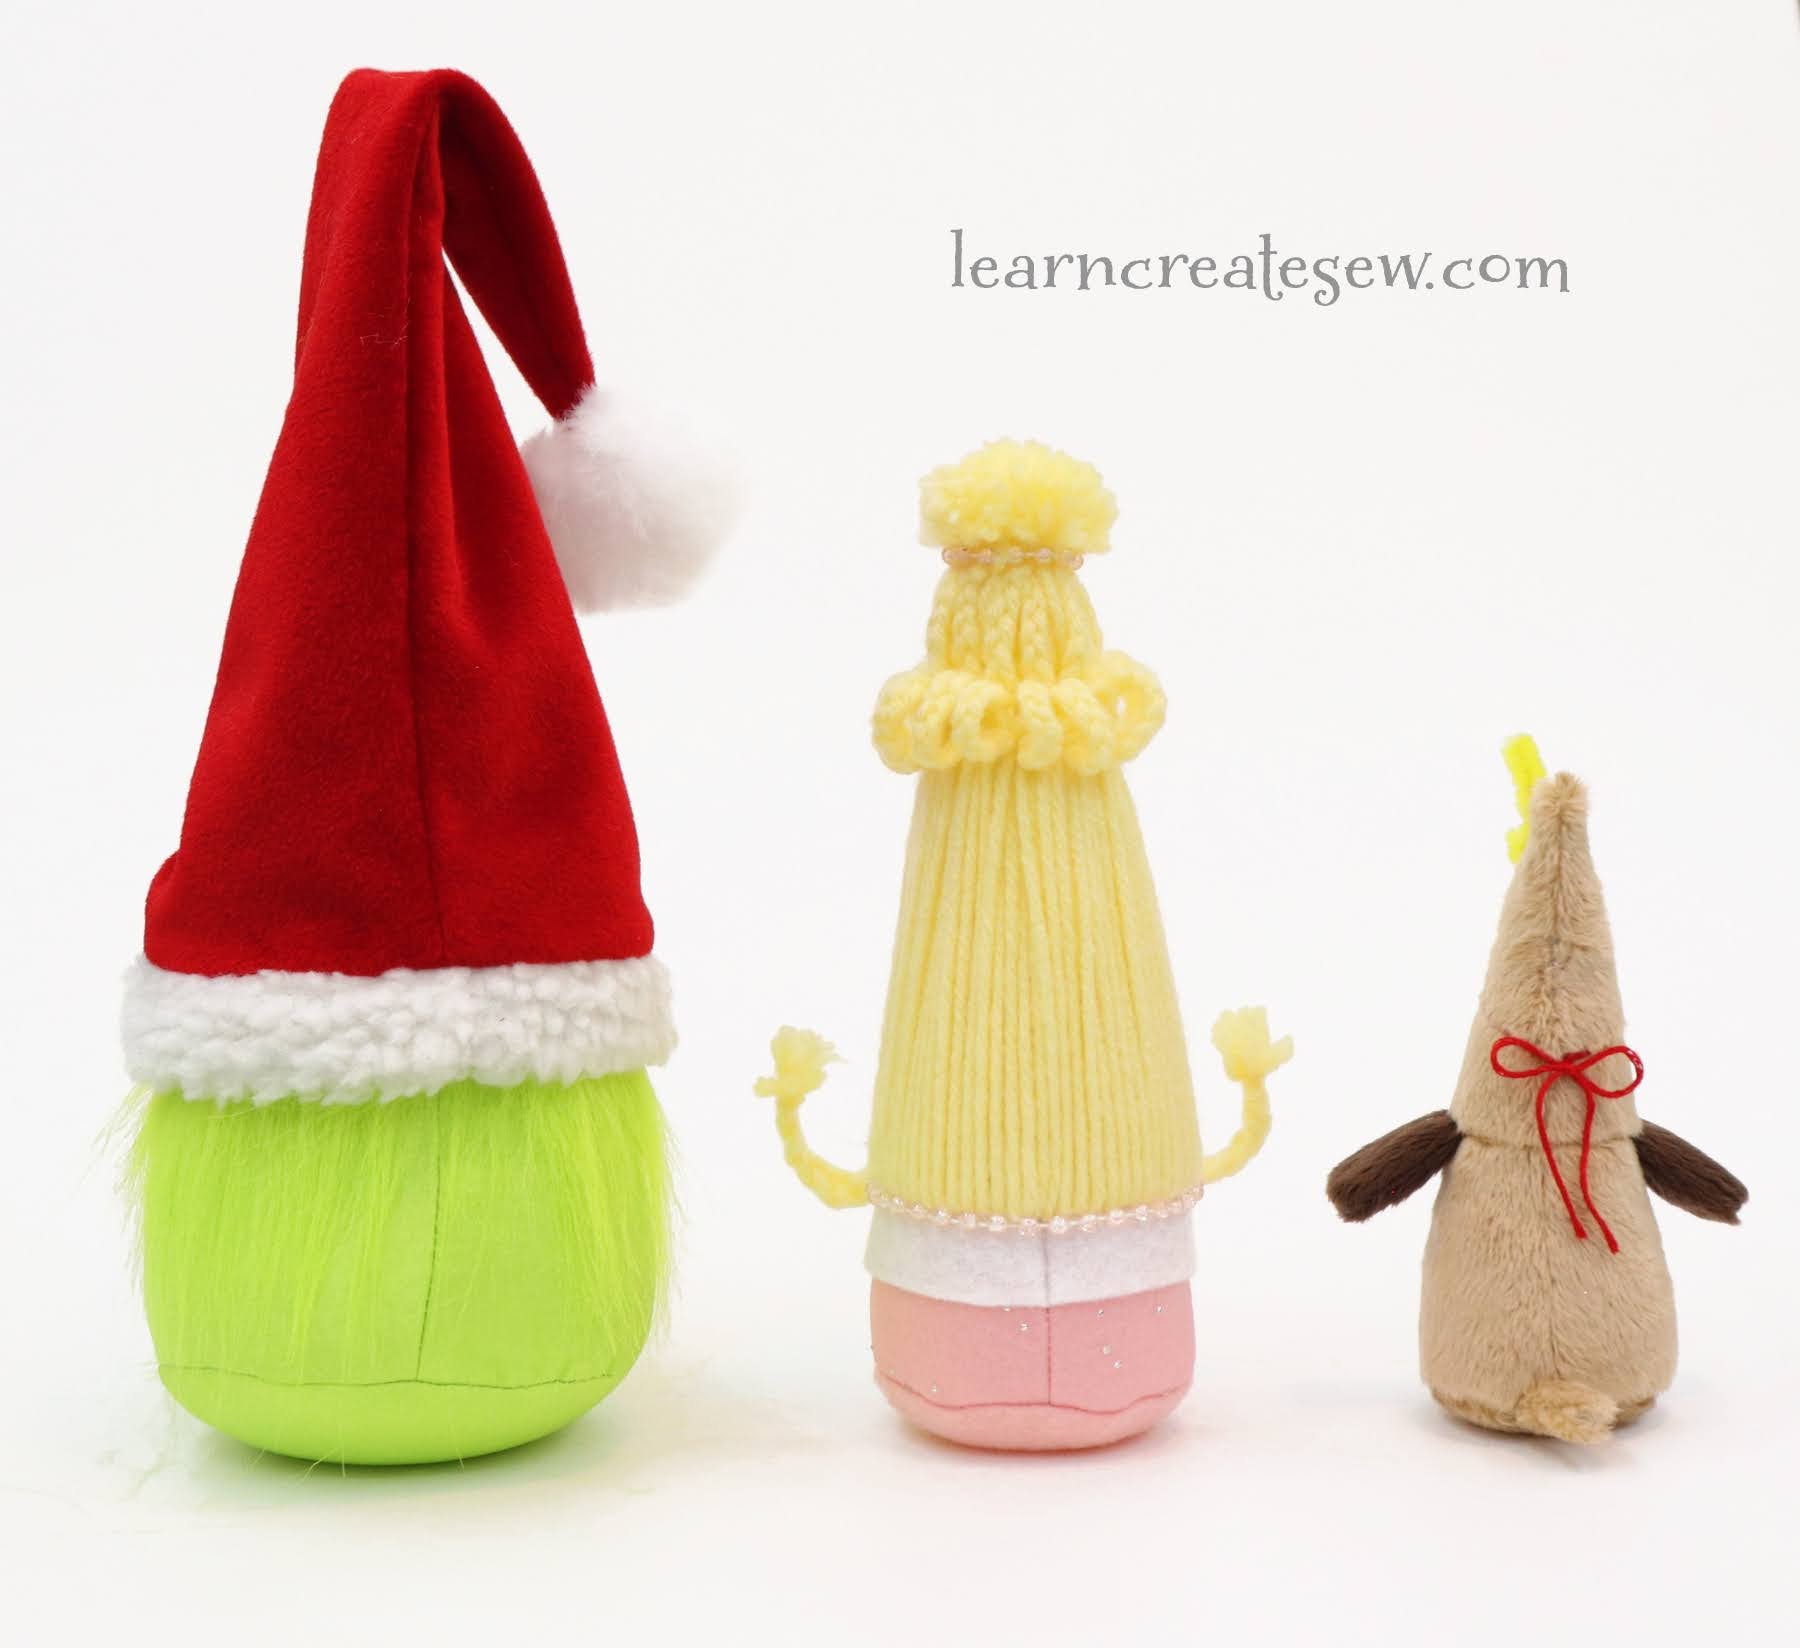
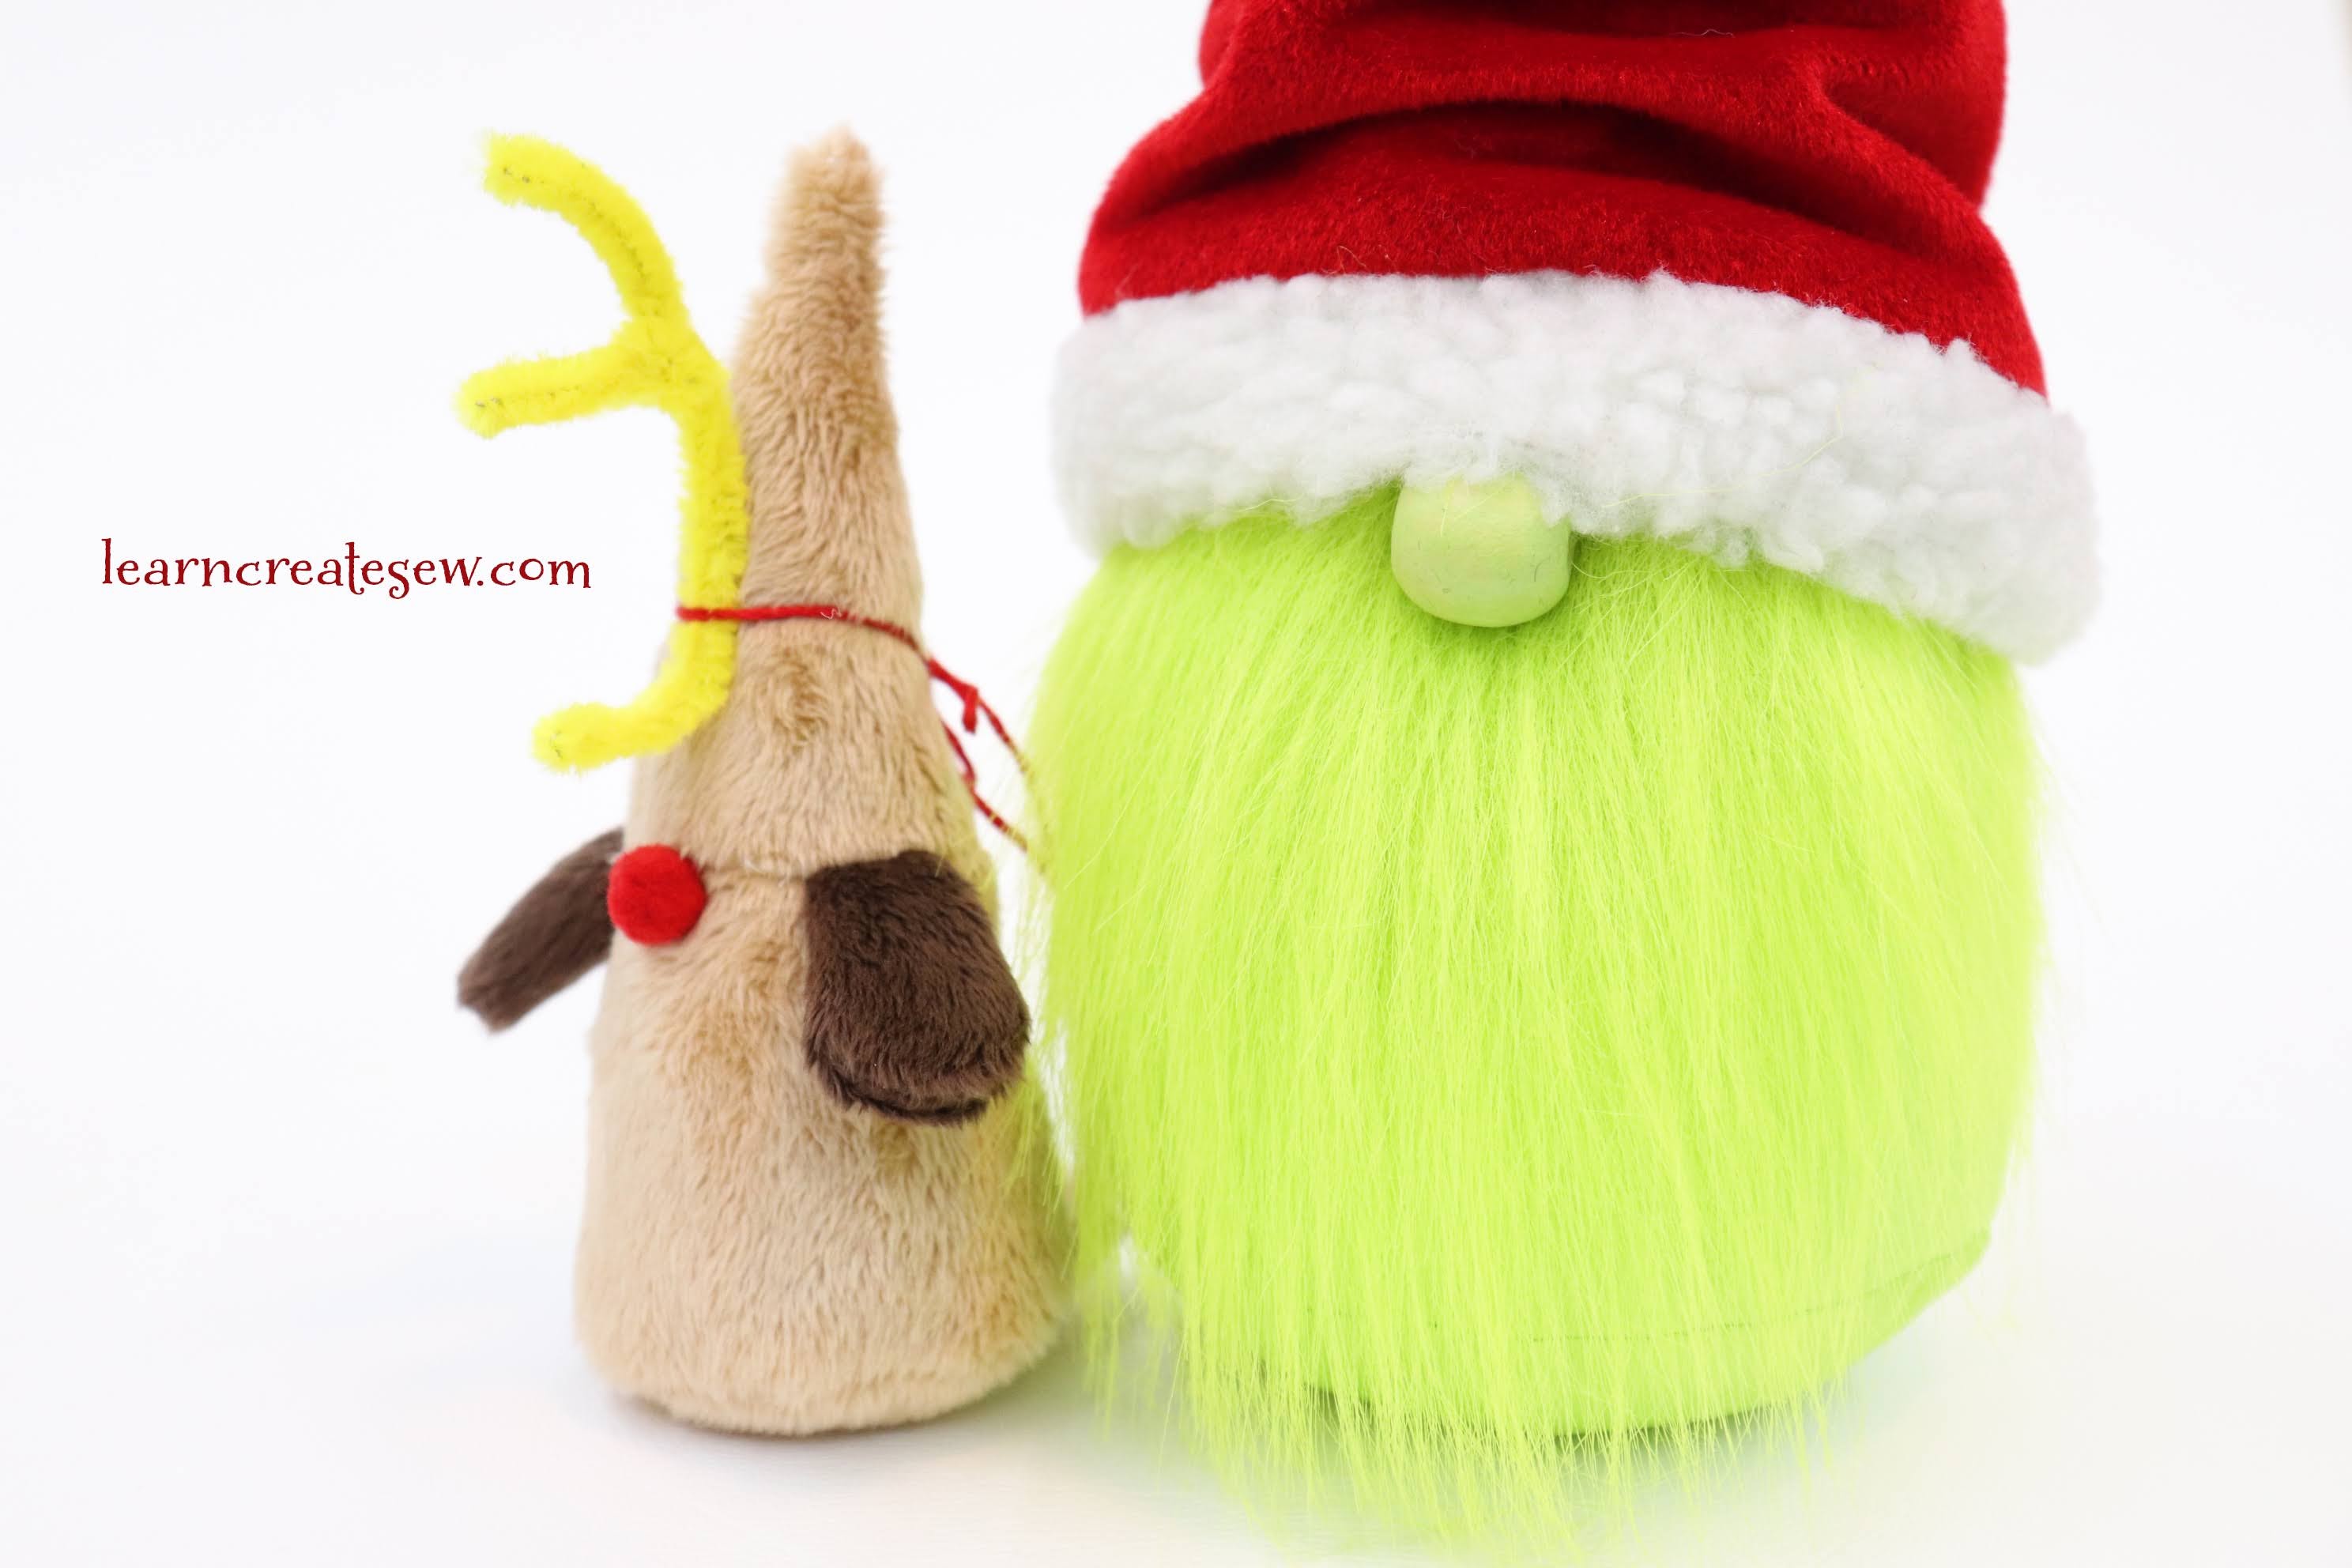
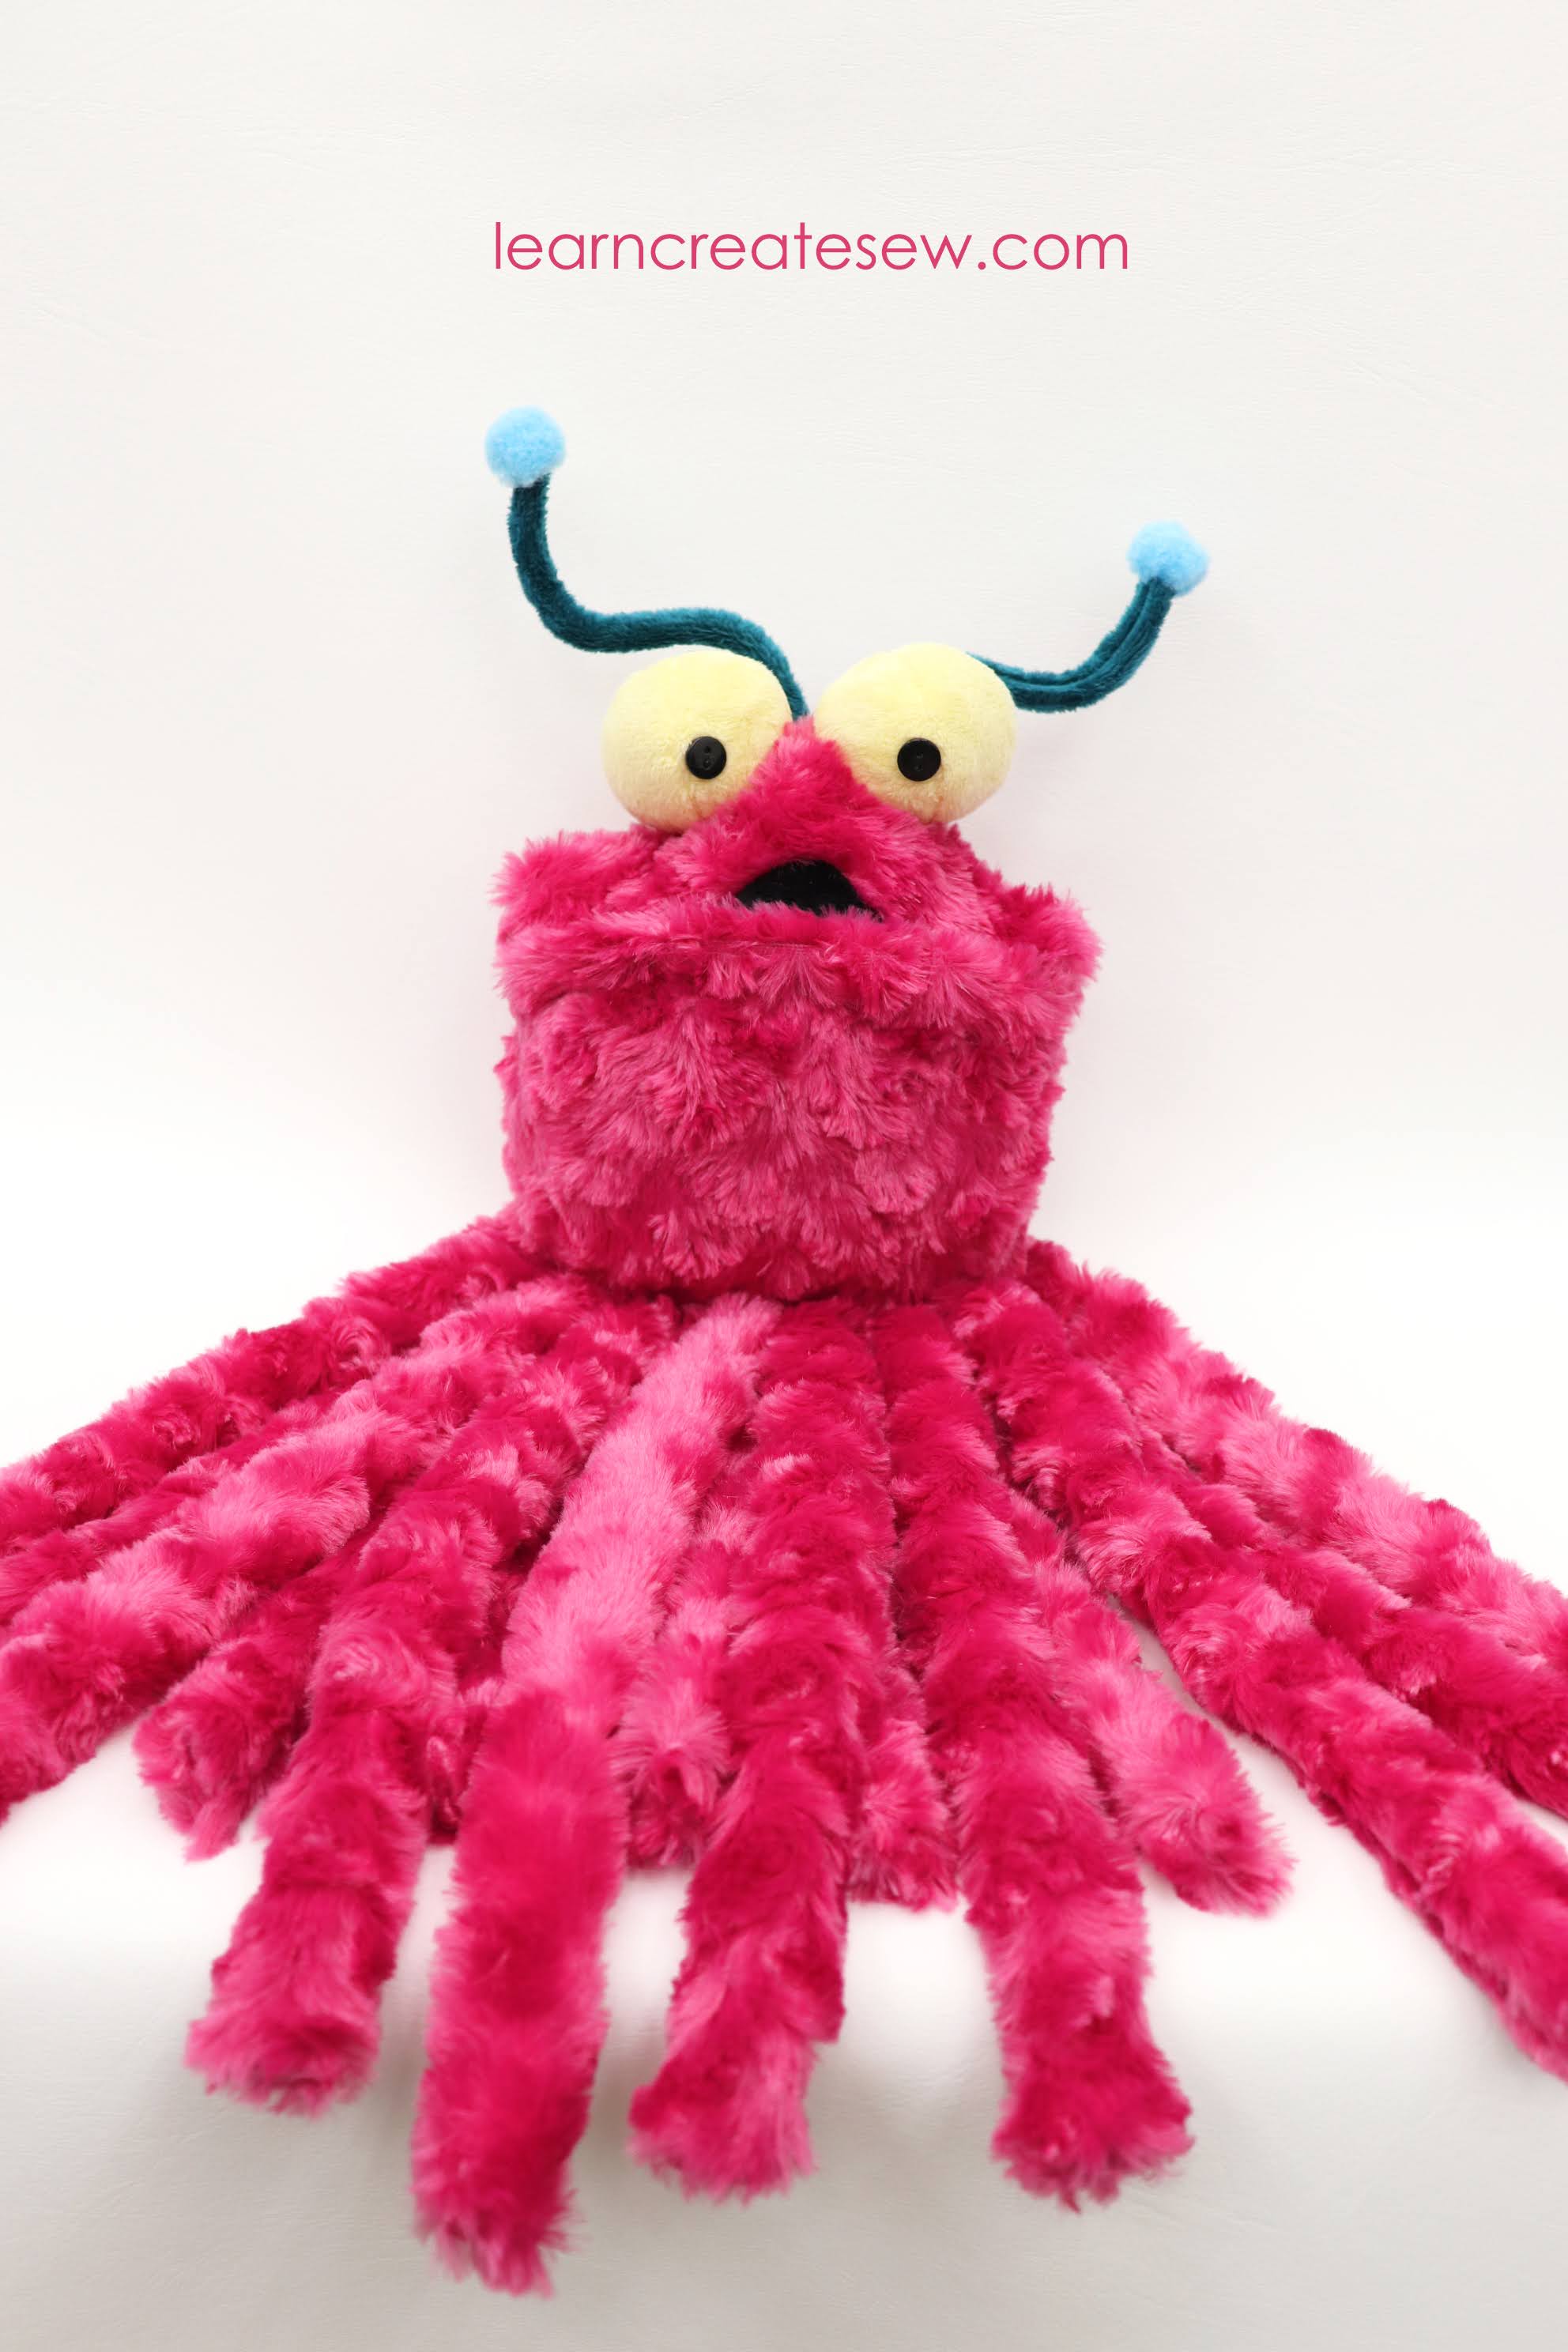
The antenna and large eyes give these plushies a lot of personality.

Regular-Sized Plush
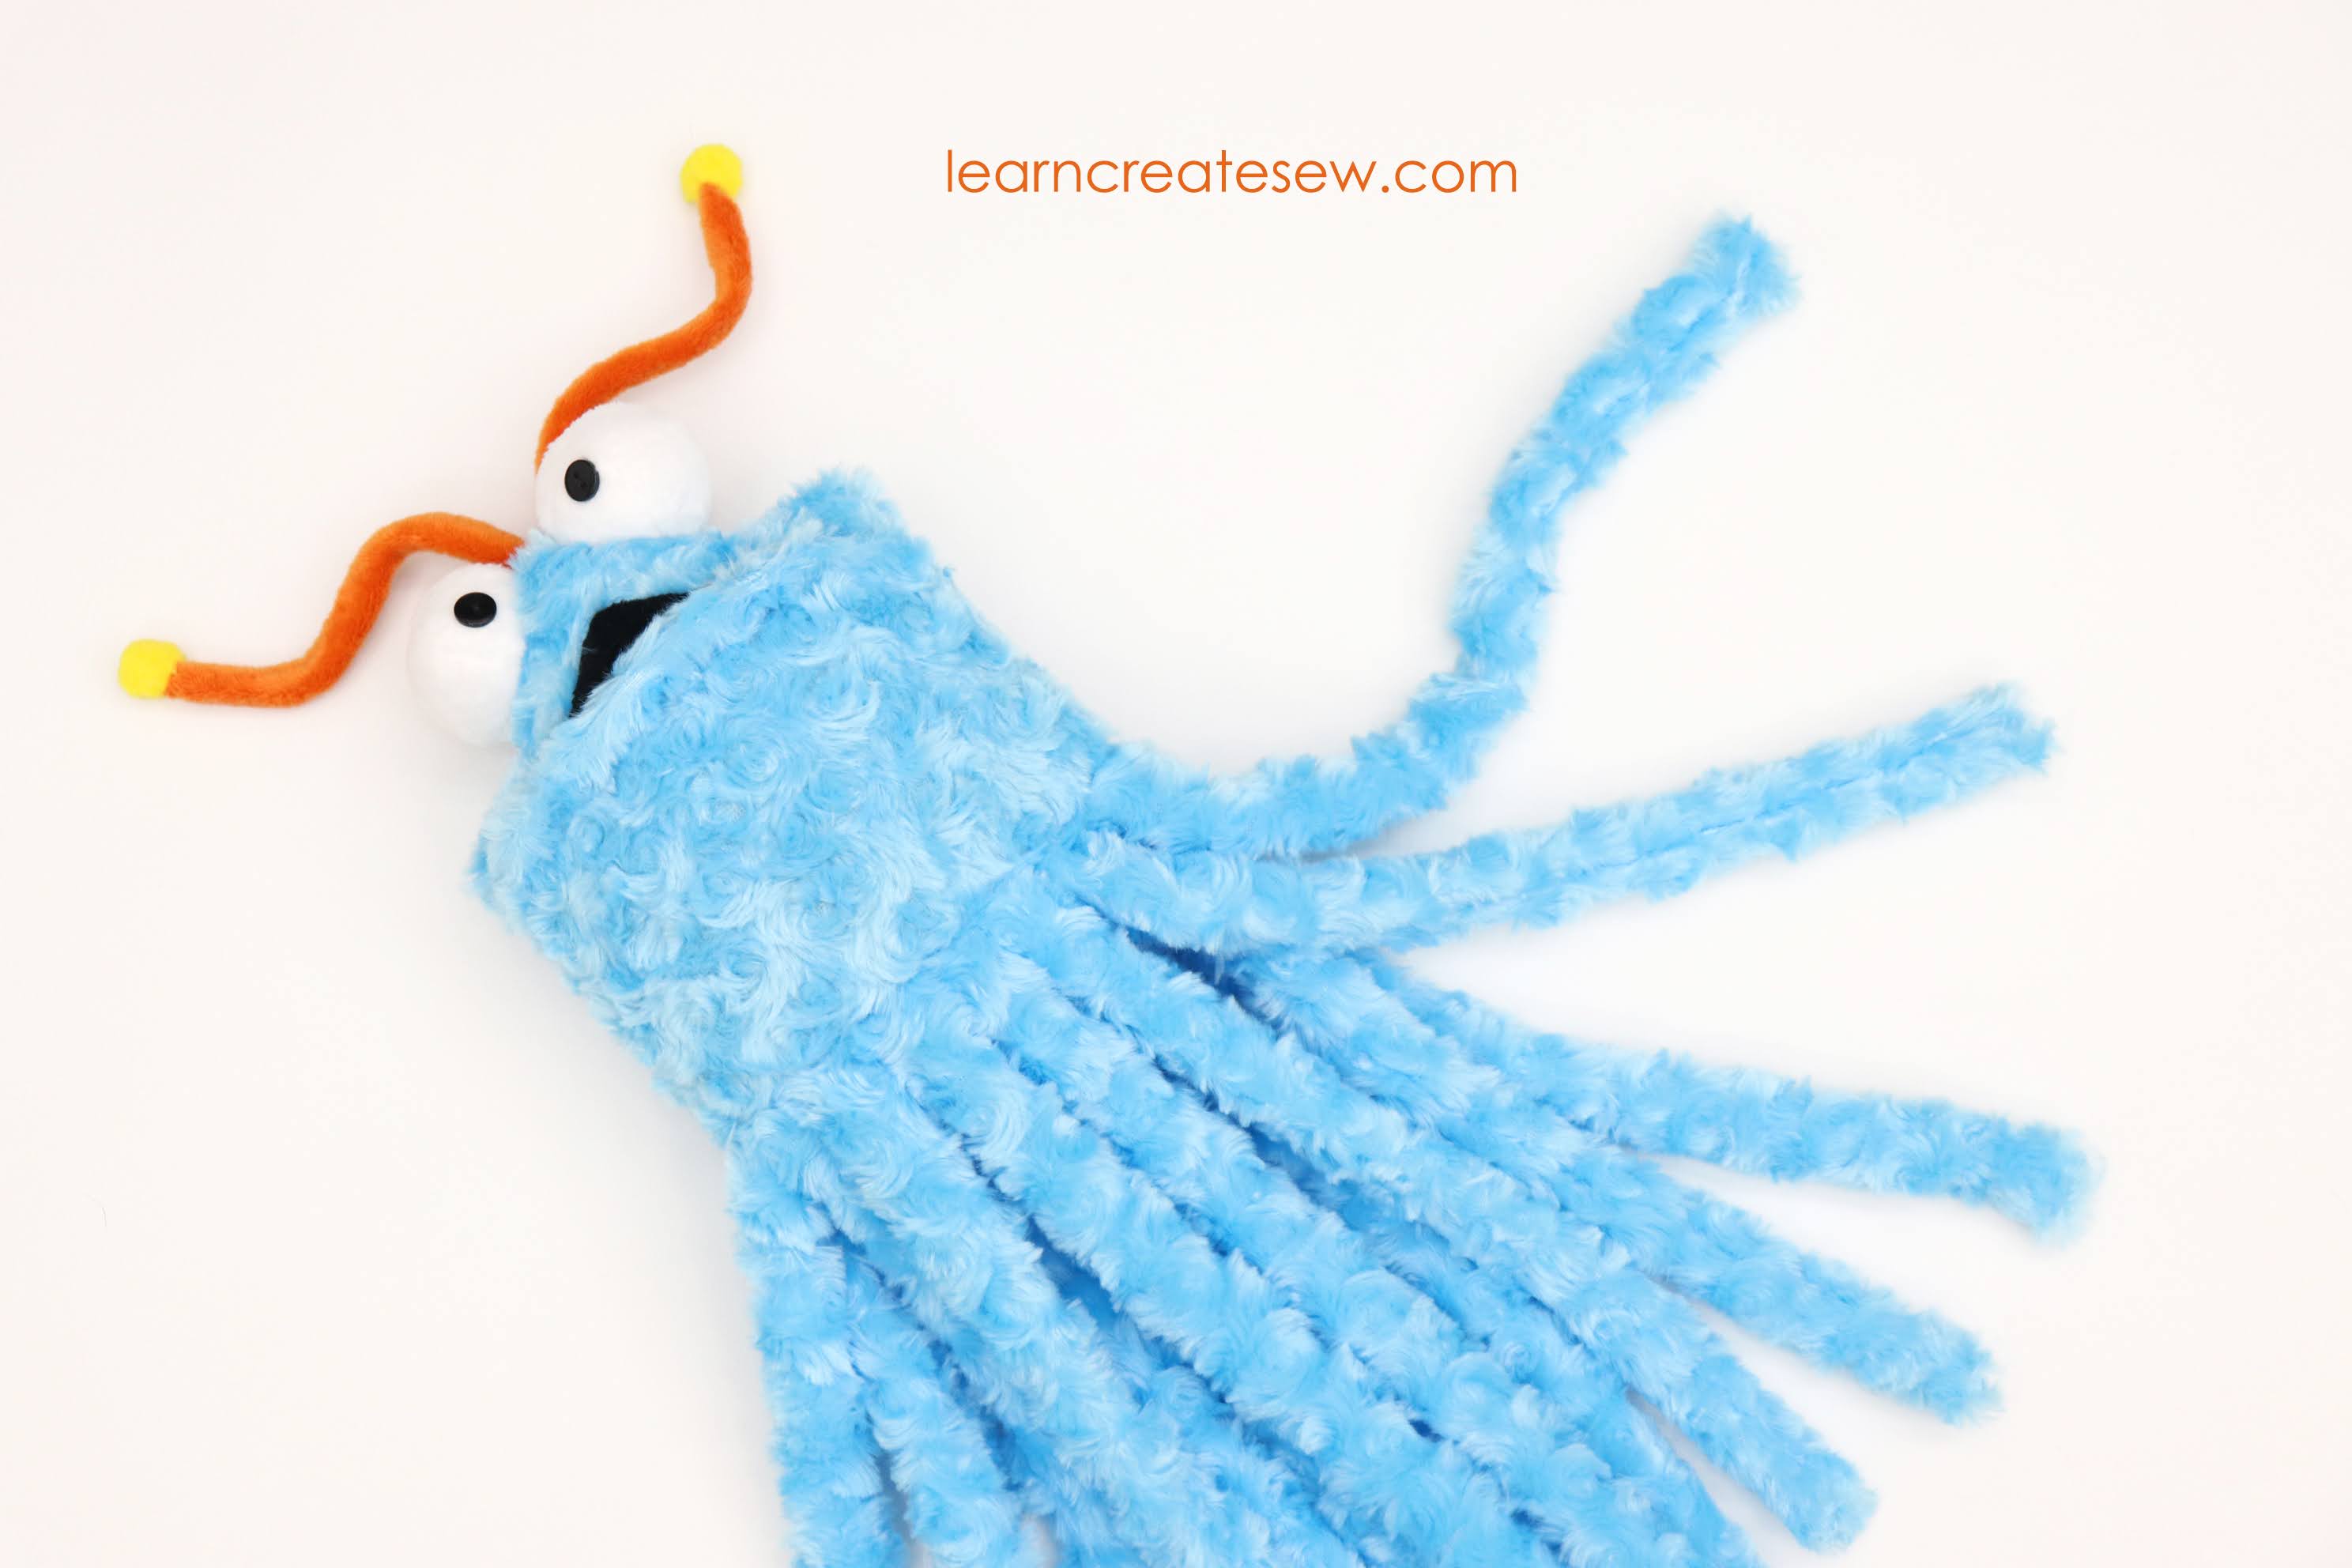
The large aliens are made with a swirl faux fur fabric (also called rose minky) for the body and regular minky for the accents. They measure approximately 20 inches tall and have finished (sewn) legs.


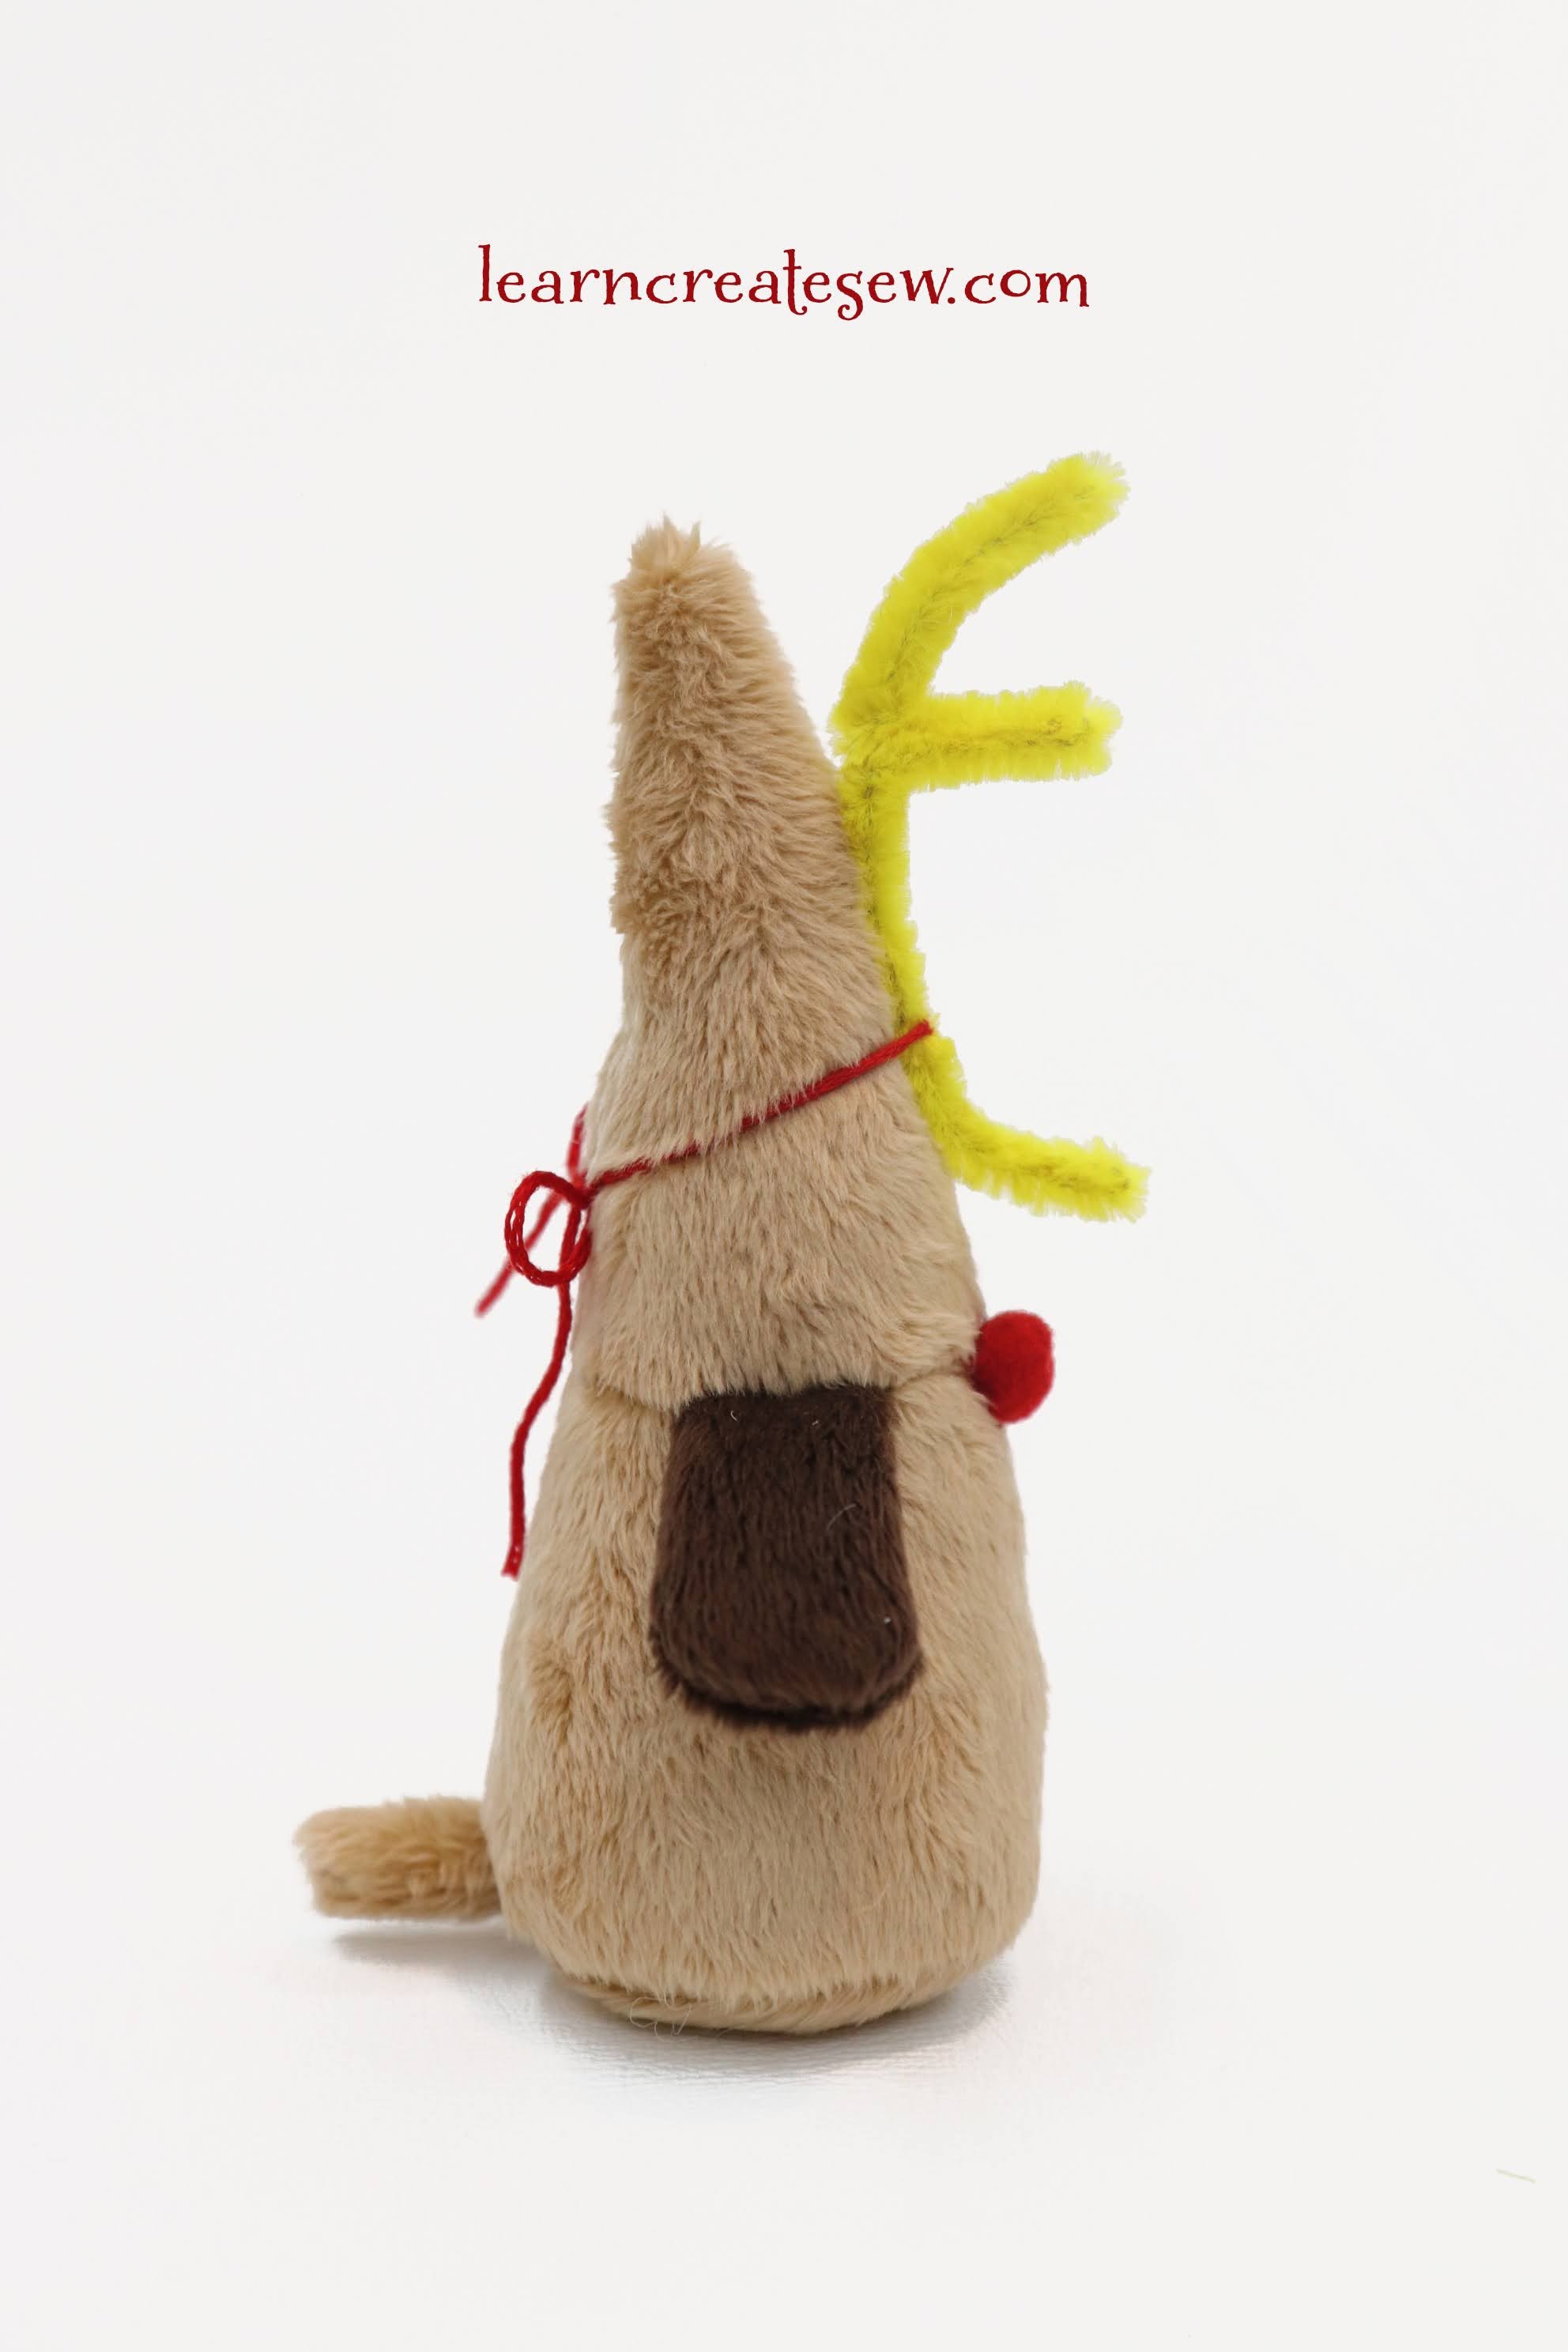
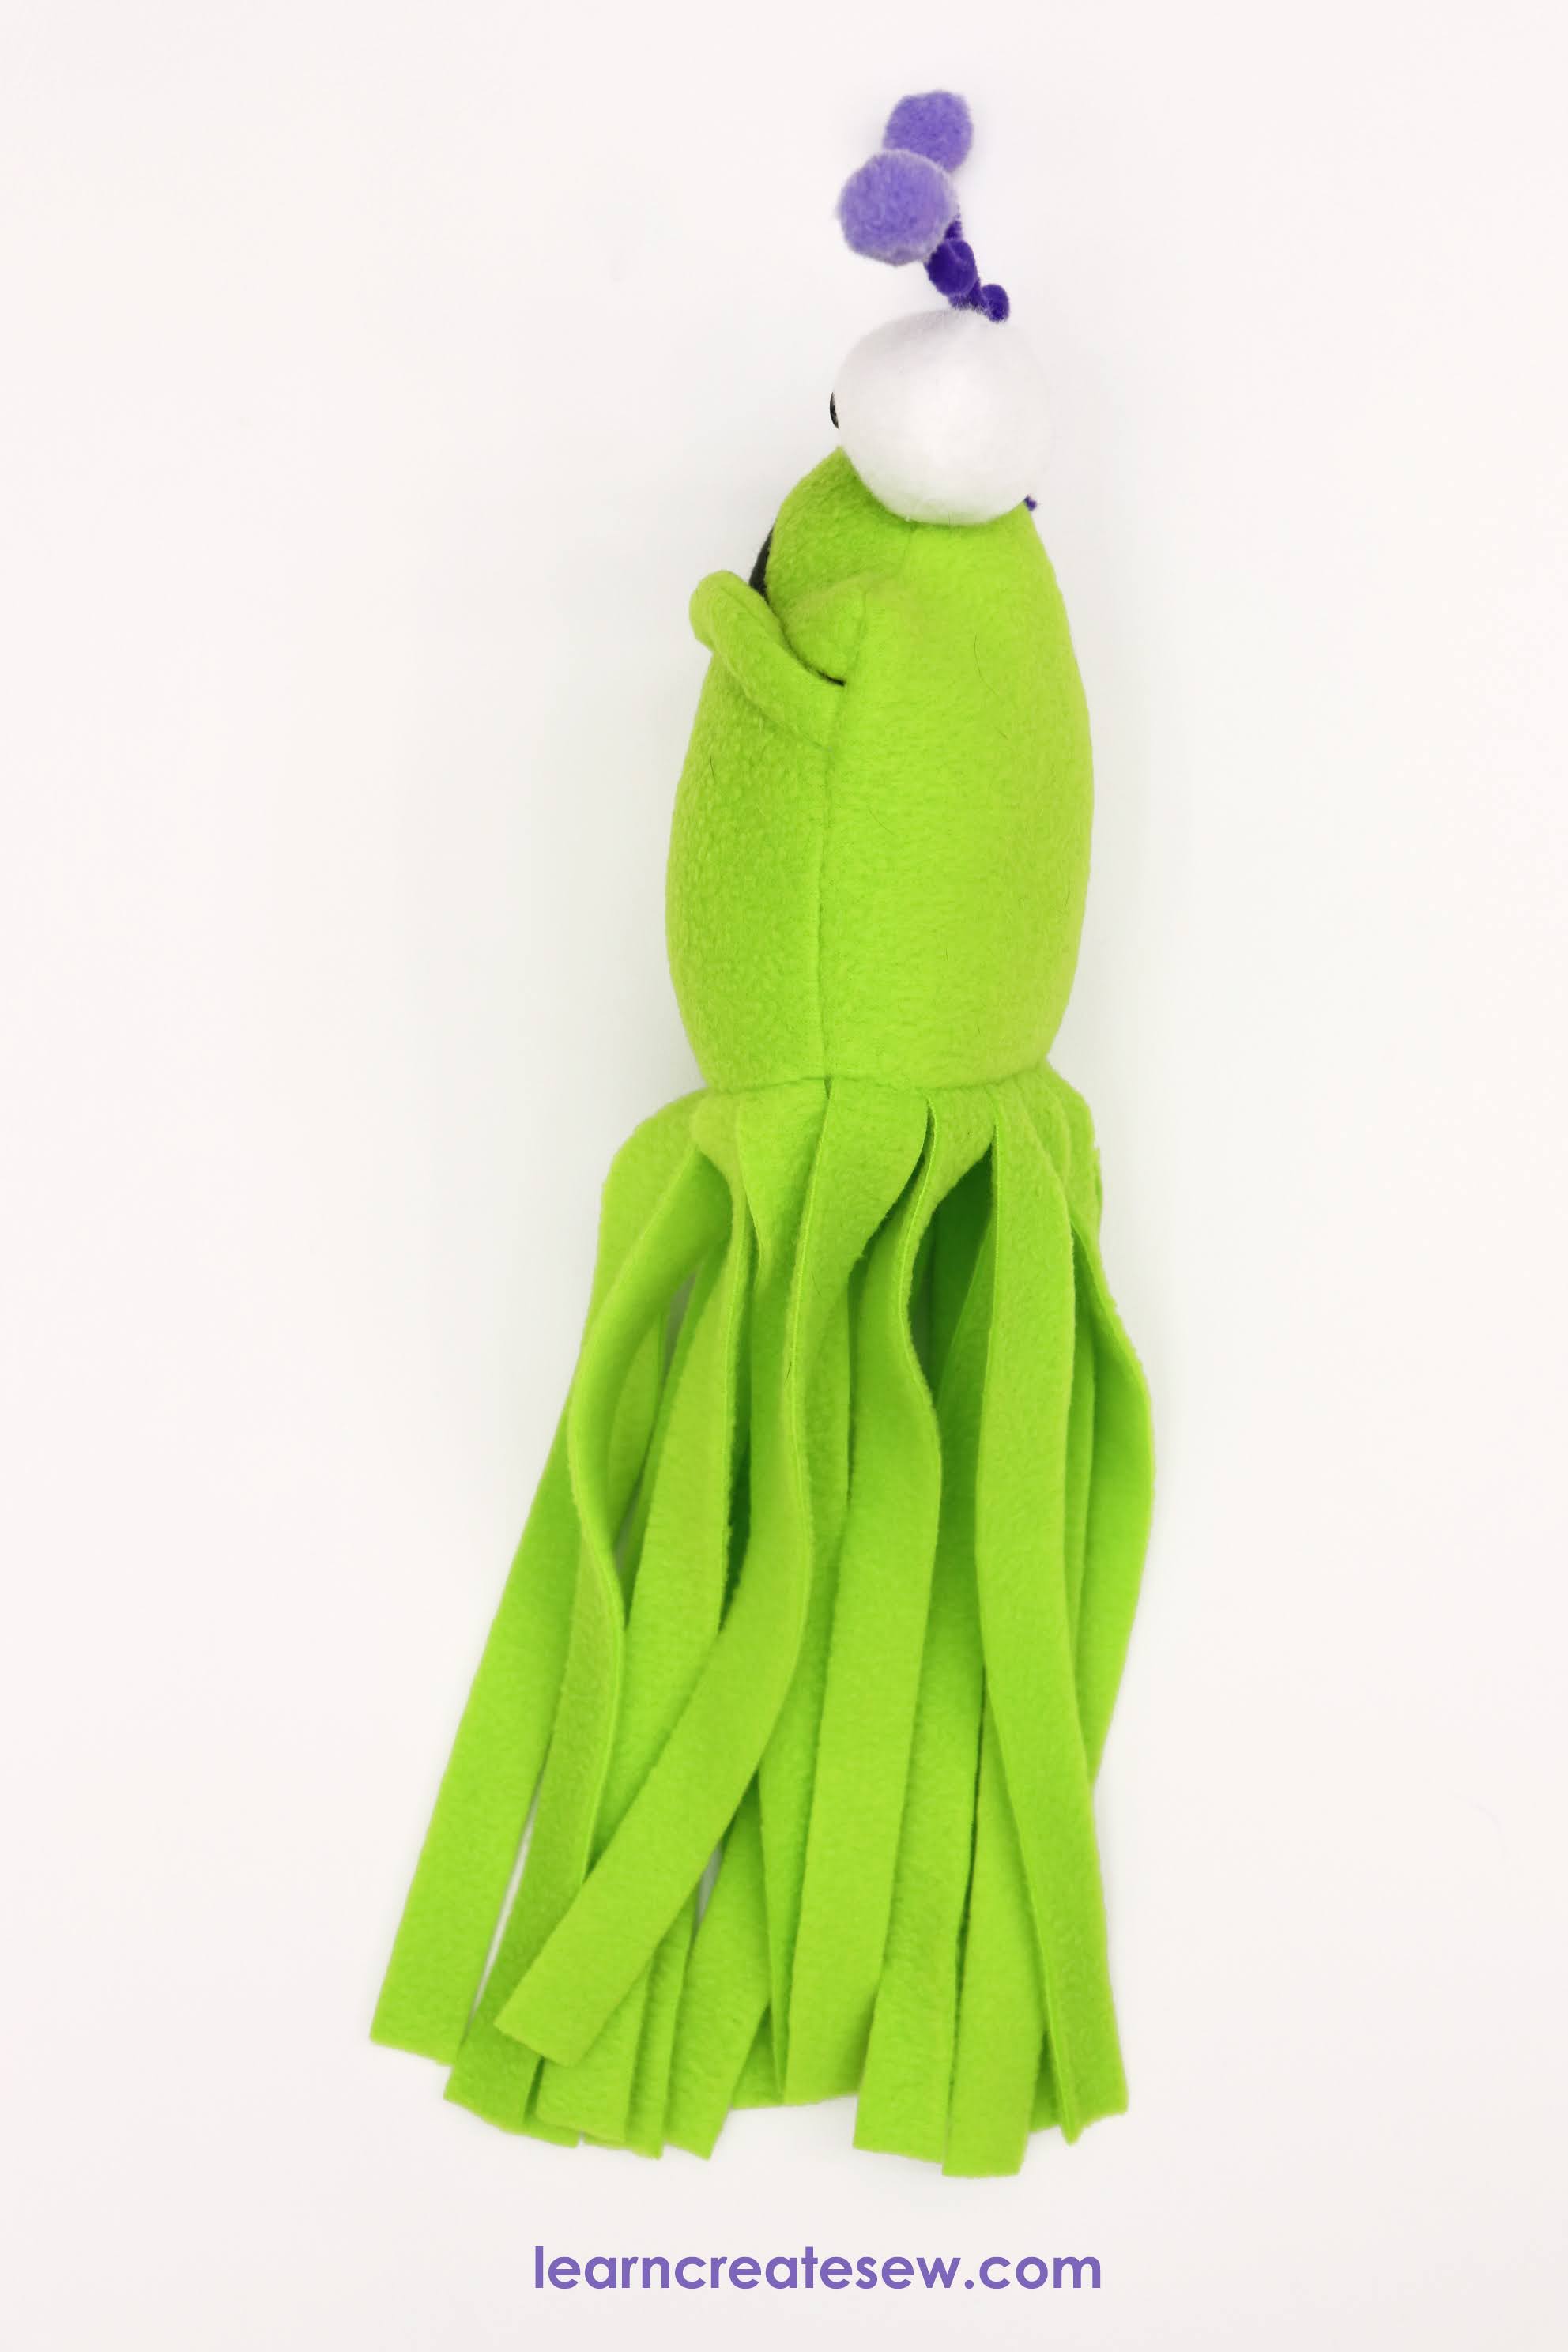
Small Sized Plush
The small aliens are made with fleece for both the body and the accents and have unfinished (unsewn) legs. The small size measures approximately 15 inches tall when finished. This is 75% scale of the regular-sized plush. This plush feels considerably lighter and smaller because of the reduced size and because the unfinished legs eliminate a lot of bulk.


Finished v Unfinished Legs
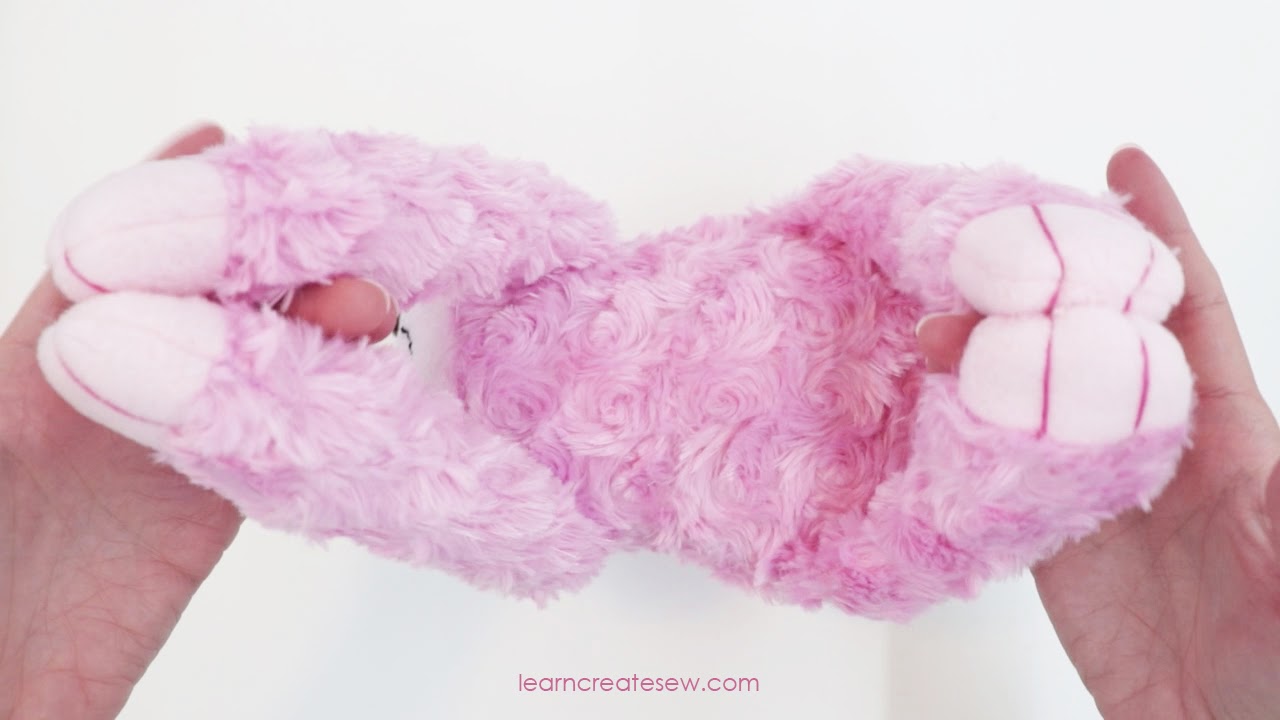
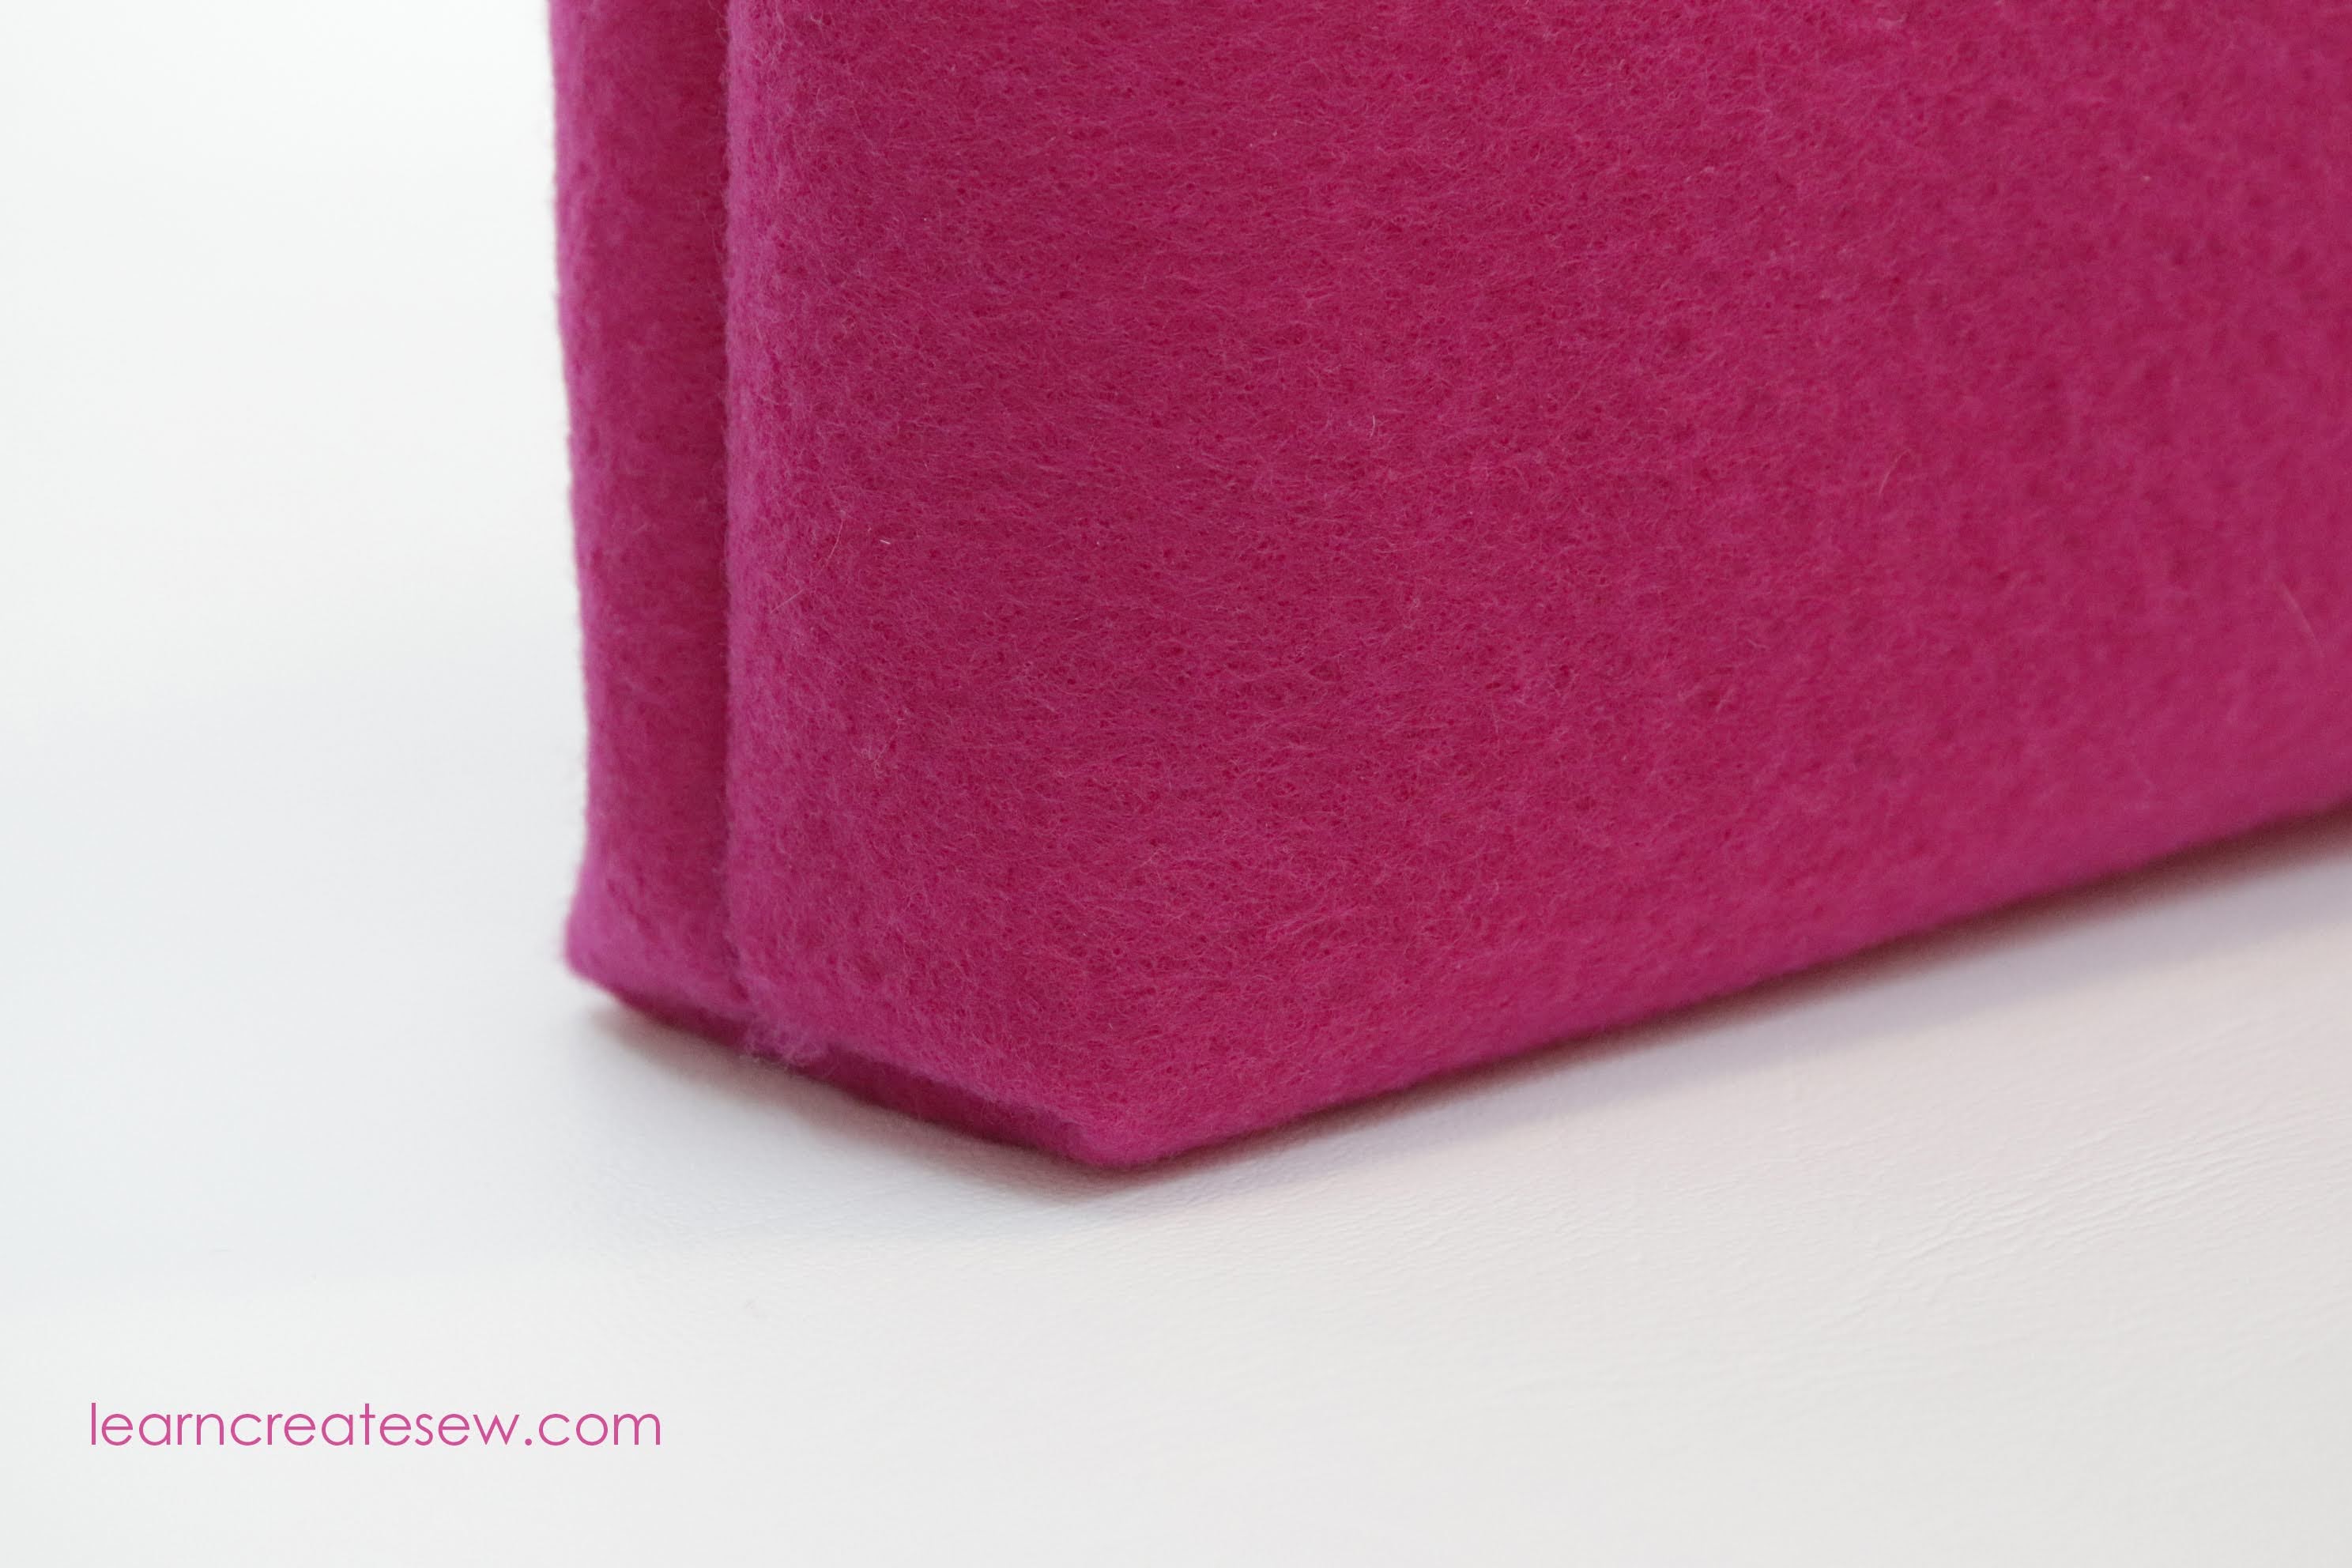
You have two legs finish choices when you make the alien, finished or unfinished. The small fleece aliens have unfinished legs. This means that they are not sewn. The fabric is simply cut into strips, the edges are left raw, and they are sewn directly to the plush. This shortens the construction time by quite a bit and reduces the difficulty of the project.
The regular-sized faux fur aliens have finished legs. The finished legs are sewn individually prior to attaching them to the plush. I chose to finish the legs on the faux fur to minimize shedding and to make them stronger. The finished legs take more time and more fabric.

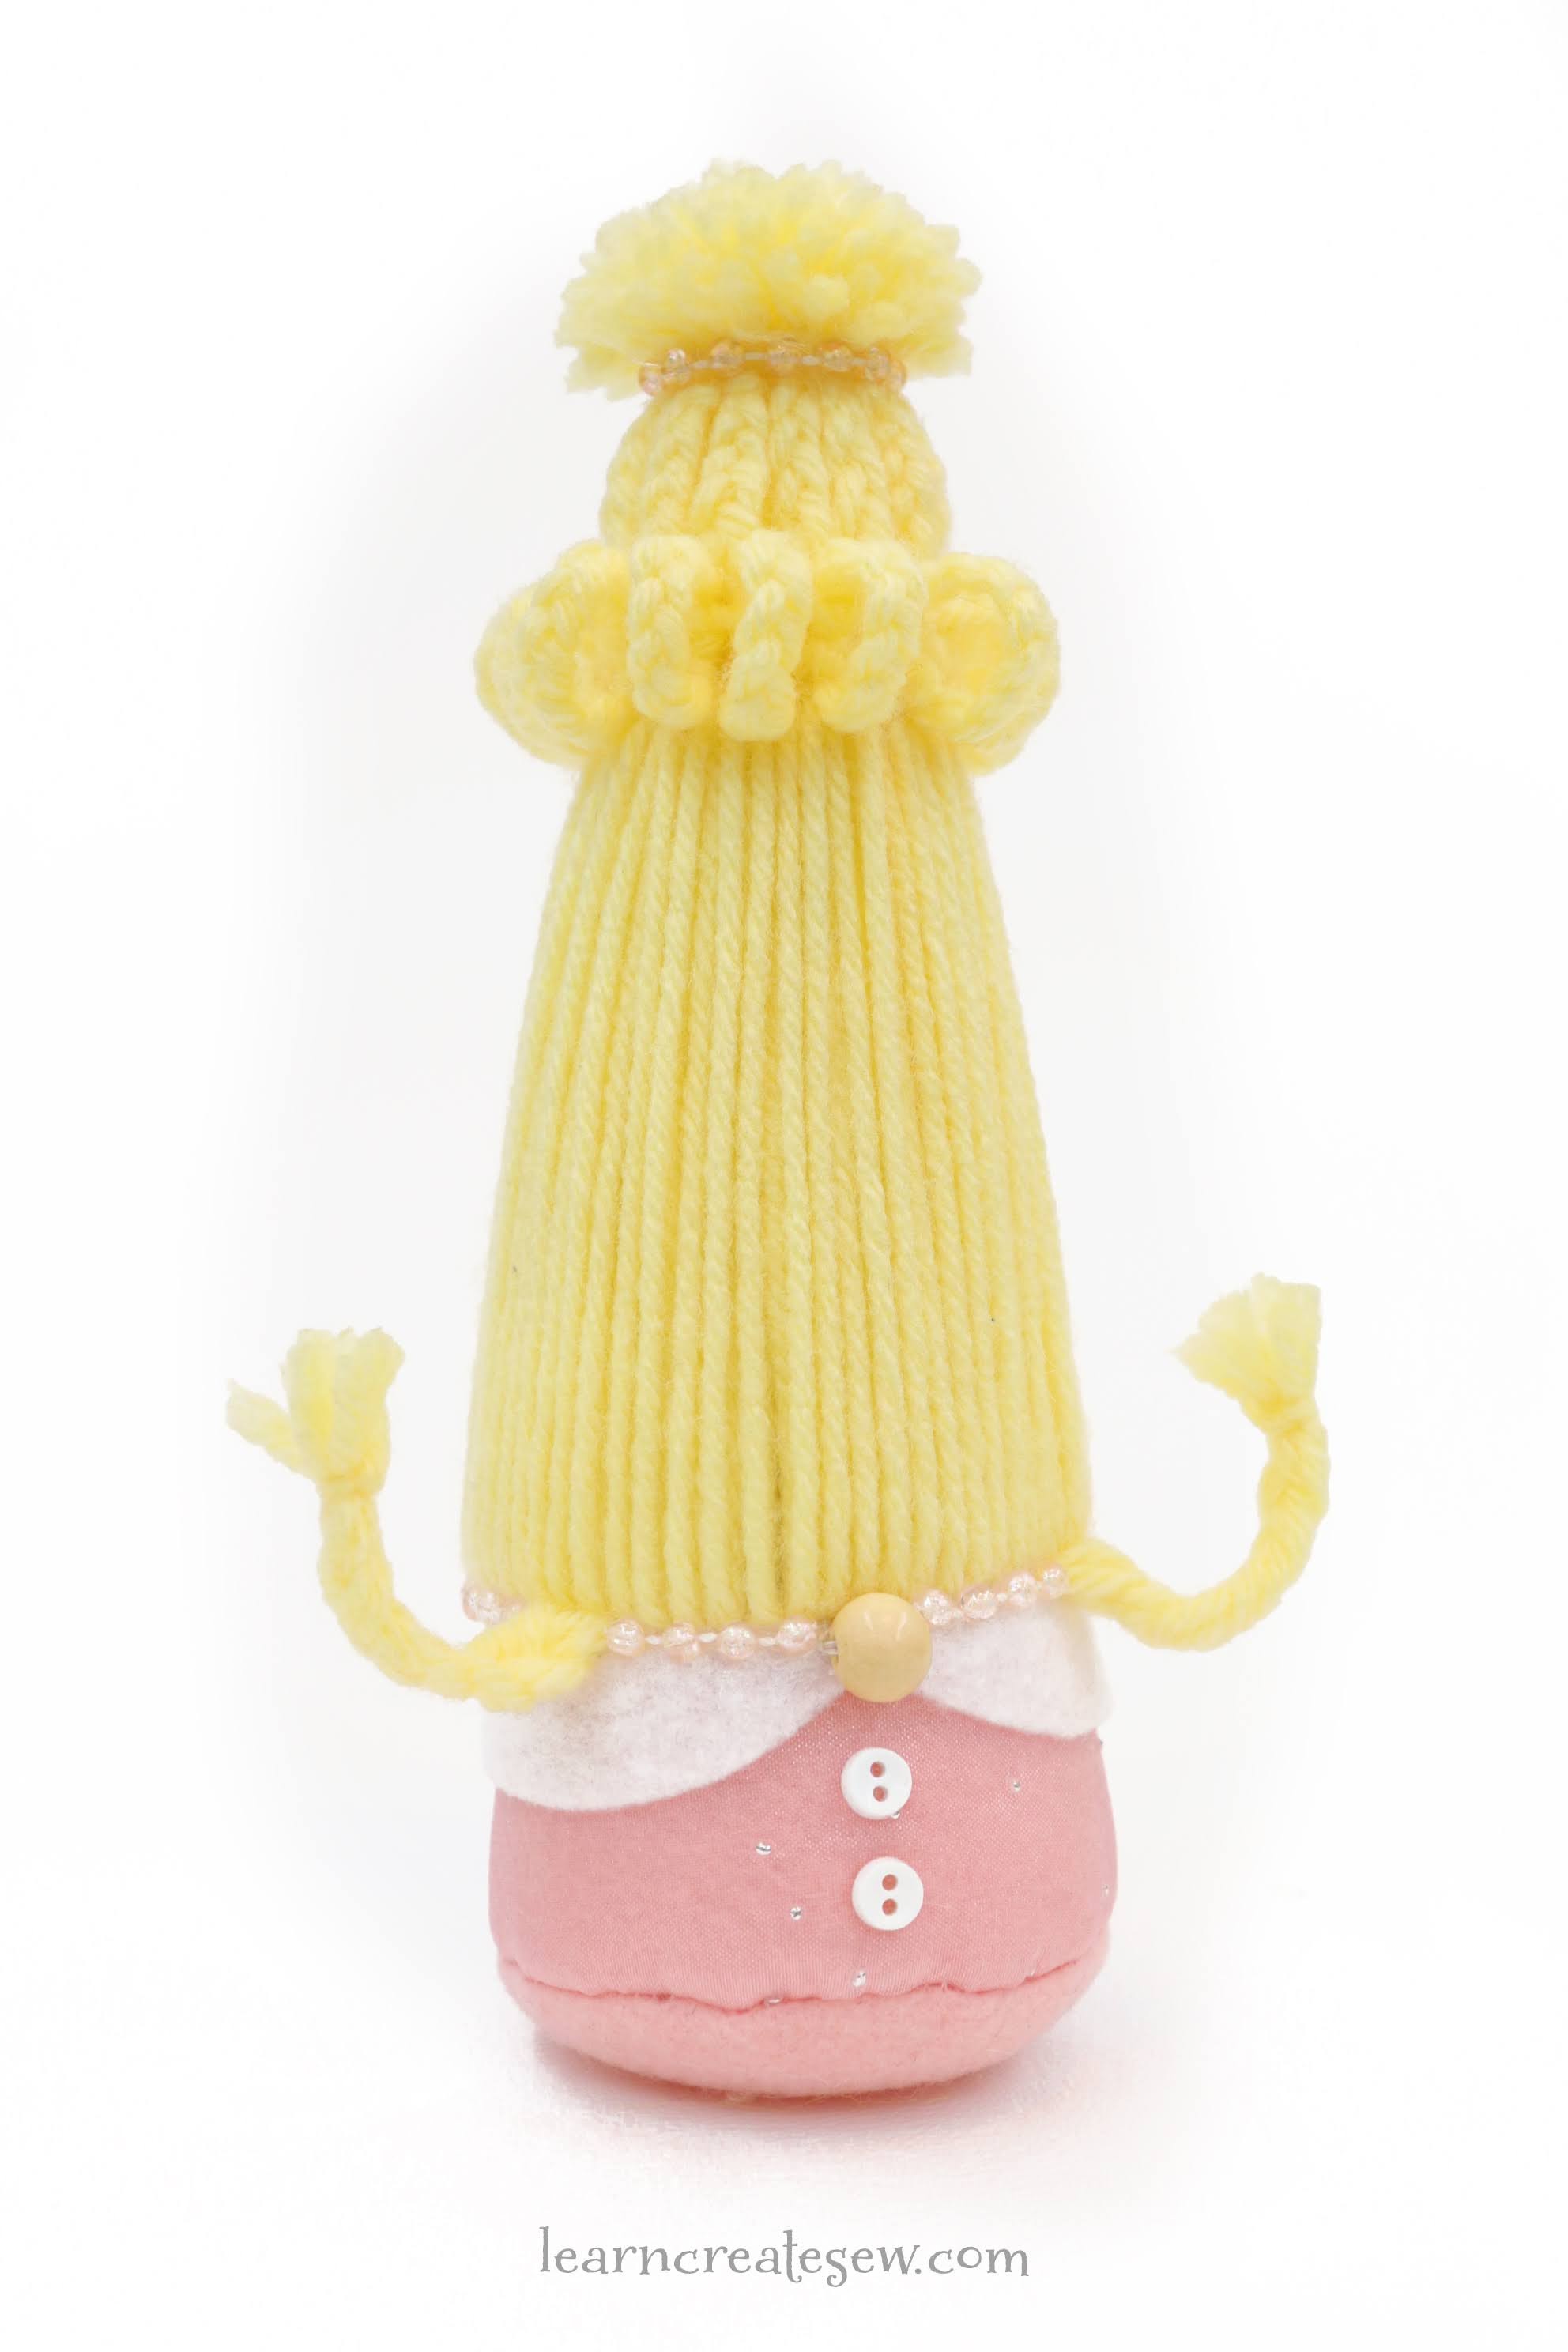
Accents
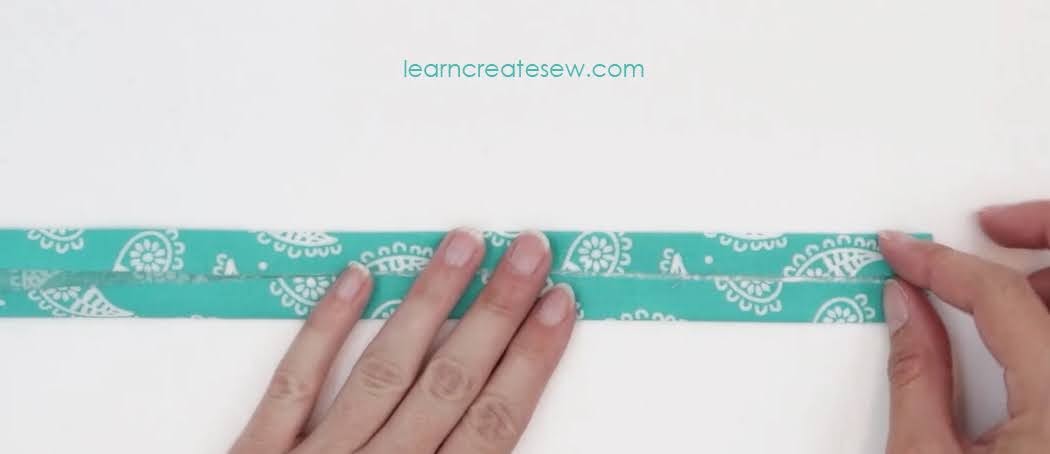
The eyes and antenna of the aliens bring out their fun personalities. The eyes are sewn into balls with minky or fleece fabric and then decorated with buttons. There are two options for making the antenna, the first which is shown on the small fleece plush, is simply to bend a pipe cleaner and hot glue pom poms to the ends. The other is to cover the antenna with fabric, which is shown on the larger fur aliens. You make a fabric tube, insert wire or pipe cleaners, and then sew pom poms to the end. The single pipe cleaner option is definitely faster and easier, and I prefer that look best, but the covered option is much stronger and helps the antenna stand out.


Supplies:
Refer to the Cut Layout included with the free pattern for fabric quantities
- Body Fabric – Minky, Fleece, or Faux Swirl Fur
- Accent Fabric for Eyes, Mouth, and Antenna – Fleece or Minky
- 1 or 2 Pipe Cleaners or 9 – 12 inches of wire
- 2 Pom poms (20 – 25 mm)
- 2 Buttons (9 or 12 mm)
- Polyfil
- Coordinating Thread
- Hot Glue (optional)
- 2 Wire Caps (optional)
Pattern:
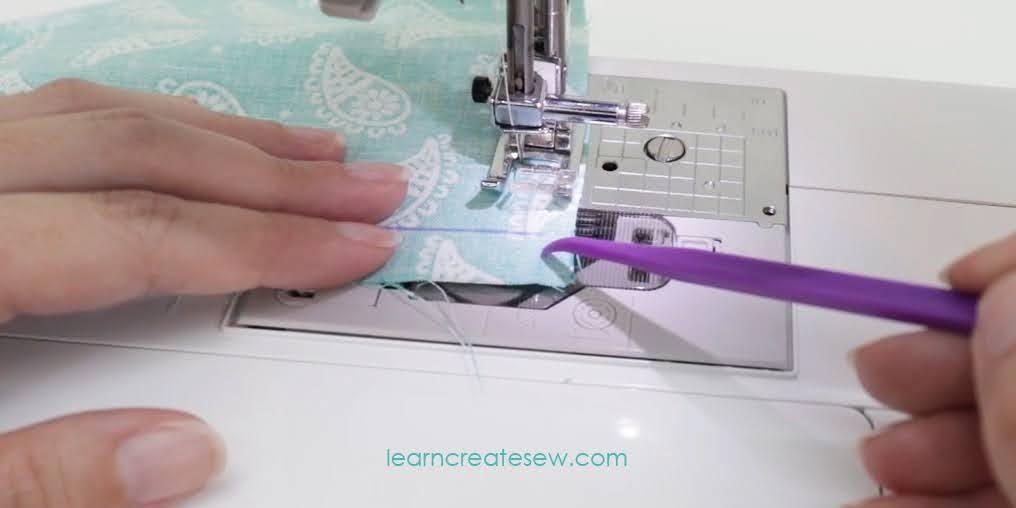
Instructions:
Happy Sewing!