
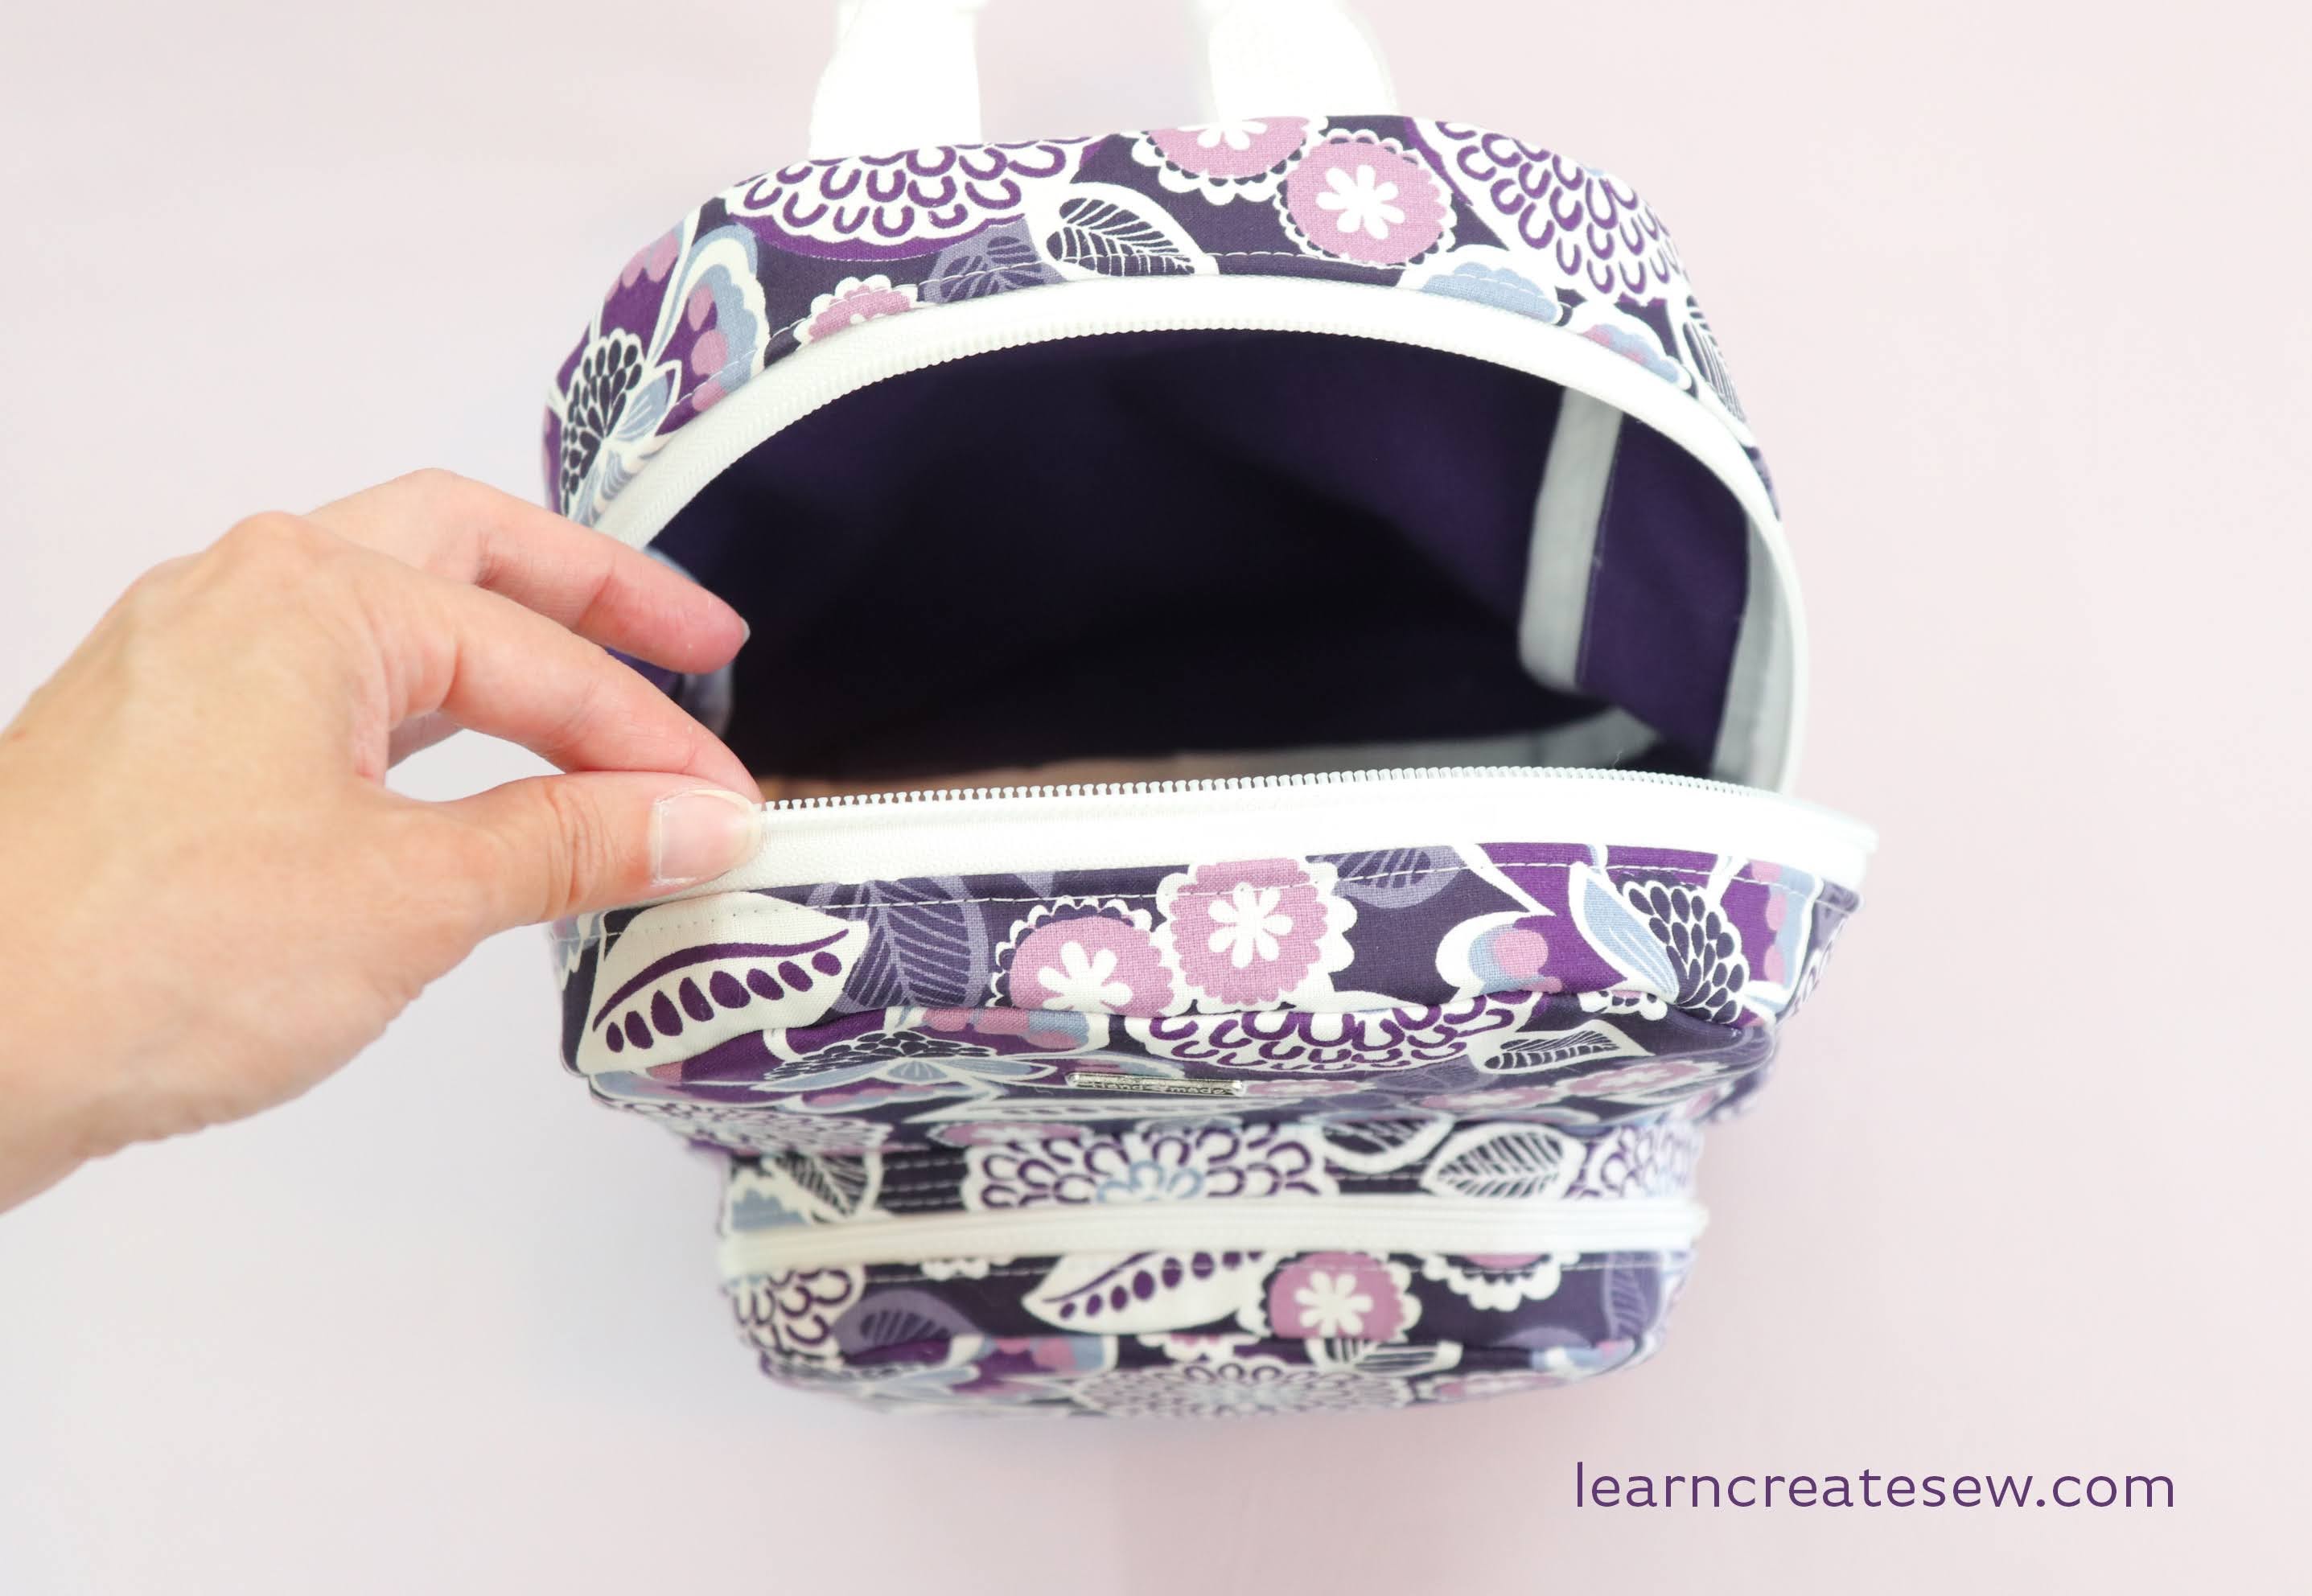
I absolutely LOVE this backpack! This is my favorite size backpack to take to amusement parks. At 9 x 11 inches it is smaller than regular sized backpacks, but large enough to hold a lot. I’ve stuffed this thing with water bottle, snacks, extra sweatshirt, wallet, keys, notebook, first aid kit, and more. However, it’s not so big that it gets too heavy, as regular sized backpacks can.
It even fits in a lot of the ride compartments at Disneyland. That is it’s best feature in my book!

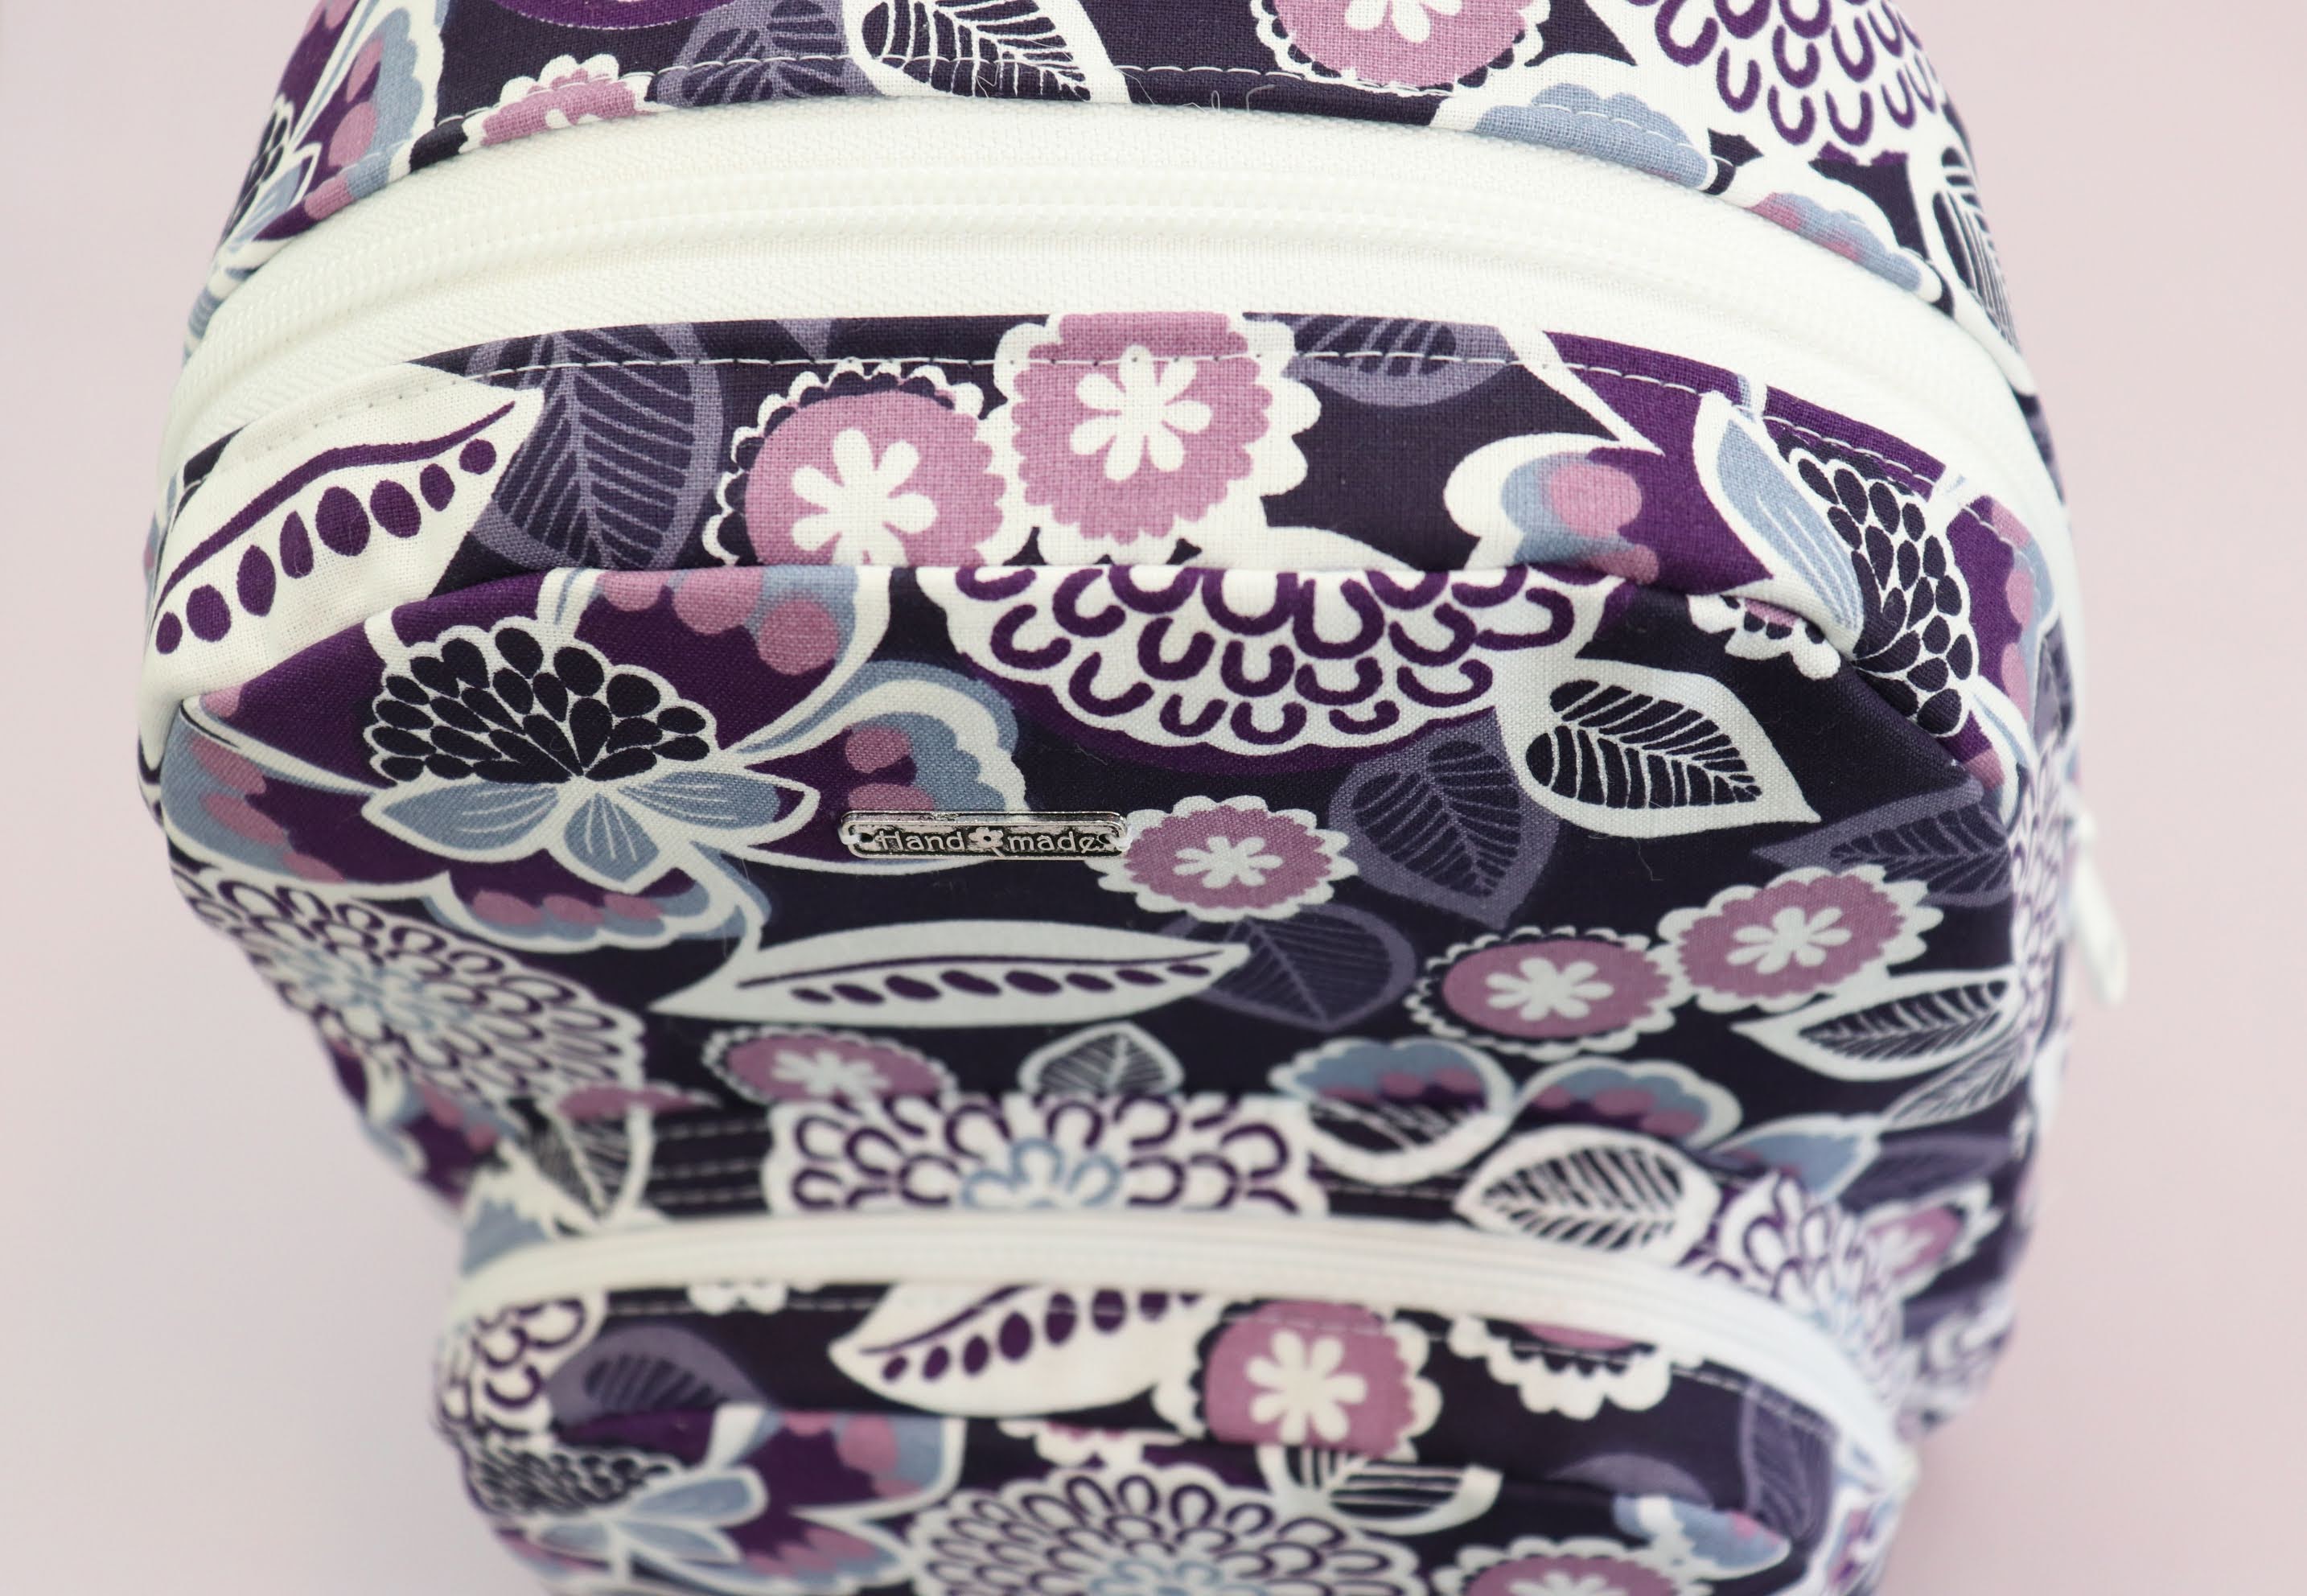
It is constructed with a layer of cotton overlaying duck canvas. I used bias tape to bind the seams.
I’ve made six or seven of these bags using a variety of fabrics and interfacing. I’ve used vinyl, suede, plain canvas, fusible fleece, and even satin. The cotton covered canvas, with woven interfacing is my favorite combination! It is nice to work with, strong without being bulky, and holds its shape very well.
I love the pocket in front. While it takes patience to construct it’s not too difficult once you know the method.

This bag also has adjustable straps depending on how you like to wear your backpack.
Supplies Needed:
1/2 yd 41” wide Main Cotton Fabric
42 inches 19” wide Interfacing (I used Pellon SF101)
3/8 yd 58” wide Canvas (I used duck canvas from JoAnn)
1 pkg Extra Wide Double Fold Bias Tape
One 20 inch zipper
One 13 inch zipper
75 inches 1” wide Strapping
Two 1” wide Rectangle Rings
Two 1” wide Triglide adjusters
One “Handmade” Metal Tag (Optional)
This project takes a bit of time and patience when working with multiple pieces, zippers, curves, and interfacings. Difficulty 7/10.
Approximate Finished Dimensions (inches):
Main Compartment 9 x 3.75 x 11, Pocket 7 x 1.5 x 5.75
Free Pattern below!
DETAILED INSTRUCTIONS: PART 1: Fabric, Zippers, Pocket
DETAILED INSTRUCTIONS: Part 2: COMING SOON!
QUICK OVERVIEW:
Free Pattern:
Please Note: This pattern has been updated. There was an error on the first version of the pattern. The length of the bottom pocket gusset piece should be 12.75 in. Sorry for the inconvenience!

Hi love making this bag thank you!
I was wondering if you will have a larger bag size pattern for this bag?
Thanks!
Thank you for your question! Currently, I only have one size for this pattern. However, I will keep your request in mind and if a larger size becomes available I will let you know. Thank you!
I am wondering if you can heat n bond the cotton fabric to the canvas fabric and only have 1 piece of fabric to work with? It doesn’t seem like they “need” to be 2 separate pieces of fabric for the outter and the lining. Plus, the heat n bond will give it stability as well. Thoughts?
Yes, you could probably do that 🙂 I’ve done that for smaller projects, but not for the whole backpack. It does make it quite a bit stiffer. It is not necessary to have the two separate layers, I just prefer the flexibility the canvas with the cotton rather than the heat and bond, but that’s a personal preference. So if you’re looking for a lot more structure, that could be a good option.
can u still make the bag without the rectangle rings . the shop don’t have it .
Definitely! The rectangle rings make the straps adjustable, but that is optional. Instead you can use just one solid piece of webbing for each of the straps, no hardware needed. When I make straps that aren’t adjustable I like to safety pin the straps in place before sewing and test it out to make sure I like the length first. Hope this helps! Happy Sewing!
Thank you very much for the tutorial and free pattern!
If I were to make my own bias binding for this project, how wide should it be, and how long?
You are very welcome! The binding should be 0.5 inch wide. I’m not exactly sure on the length, but a package usually contains 3 yds so I would make it at least that long just to be safe. Happy sewing!
I just finished making this backpack. The pocket was a little tricky but I enjoyed making it. Do you have a forum where I can share the finshed work?
Thank you so much for your comment! I am so glad you enjoyed making the backpack! Unfortunately, I don’t have a forum for guest images at this time, but I appreciate the request and will see if it is something that can be added in the future. Thank you!
I love your tutorial and pattern of this mini backpack!! I was curious, where did you get the floral fabric from? I just love the way it looks and wouldn’t mind buying a few yards to make a mini backpack or 2 myself. Please and thank you!
Thank you! I’m so glad you like the pattern! The fabric was purchased at JoAnn Fabrics. I believe it was part of their Quilters Showcase collection. It was quite a while ago, so I’m not sure if they still carry it, but they usually have some fun bold floral prints 🙂
Thank you for the pattern! I sew for fun and love making a new projects. The video of the simple and easy backpack is very clear and informative. Thanks again! M.Ann
Thank you!
Thank you so very much for a “talking” detailed explanation of such a great backpack – just what I was looking for! I have Osteoporosis and this was what my Physiotherapist recommended. I would just add a pouch on the inside. I am also a newbie at sewing but do believe with the excellent tutorial and patterns you have given I can do this – LOL! Many thanks
Thank you so much for sharing! You are very welcome! I hope you enjoy the project 🙂
What is the measurement of the Main Bottom Gusset? The directions arent clear as to connecting the 2 pieces at the dotted line. If after cutting the pieces out, if I bring the bottom cut edge to the dotted line, I have a top to bottom measurement of 19″. If I lay one dotted line over the other I get 18 5/8″. I did make sure that the square on the first page measured 1″
Thank you for your question! The Main Bottom Gusset measures approximately 18 5/8 inches. The pattern pieces will overlap, or you can trim both at the dotted line and then tape them together. Hope this helps!
Yes it did help! Thank you Sent from my T-Mobile 5G Device
Thank you for the wonderful pattern! I used vinyl for the gussets and had quite the time attaching the pocket, not being able to pin it and such. I ended up using double sisded tape to try to hold it in place but even that was iffy at best. Do you have any recommendations on how to add the pocket when using vinyl? Thank you for any help.
So sorry for the delay! Thank you for your question! That is a tricky one. I only used vinyl for the pocket once, and if I recall I think I used two pins to hold the top and bottom centers and then simply aligned the rest as I sewed. I took care to carefully walk the fabric along the stitch line before sewing so that I could adjust placement in advance if needed. There were small holes left from the pins but I don’t know if there are many other options. Most of the glues and tapes I have used don’t adhere well to the vinyl. Although I have never tried it myself, I have heard of other crafters using contact cement to adhere vinyl to their project prior to sewing, but I am not sure if that would work in this situation. I would test it out on scraps first and see how it goes. I wish I had more helpful tips, but that is definitely a hard one. Best of luck! I hope it works out for you 🙂
I ran across this pattern today. I’m very excited to try it. It is a good tutorial video you’ve made with it also! Plus thank you for giving it free. I made the poop bags today for my dogs. Thank you.
You are very welcome! Enjoy!
Do you have to use duck canvas fabric? Or does it just have to be canvas fabric.
Thank you for your question! It does not have to be duck canvas. Any canvas-like fabric should work. Denim (non-stretch) and home decor fabrics also work great!
Wonderful bag, wonderful size. Thanks for sharing the free pattern and giving us such a detailed tutorial. Love this big, little, spacious bag. Will make many of these for charity. Seems so fun to do.
Thank you for sharing! I am so glad you enjoy the pattern 🙂 Happy Sewing!
I just found this pattern and I’m looking forward to making this fun size back pack. The text on the pattern pieces did not print very well, could you please clarify what the the overall size of the “Pocket top gusset (zipper panel) should be.
Thank you!
Thank you for your question! The Pocket Top Gusset rectangle pattern piece should be 12.25 x 1.25 inches.
please tell me where I can find the instructions for the cutting of exterior and lining pieces
Hello! Thanks for your question.
The exterior and interior of the backpack are cut using the same pattern pieces. All of the pieces are cut from both fabrics. The backpack is then constructed with the two stacked together. You can see an example of this in the Detailed Instructions Part 1 video.
Hope this helps!
Hi – I’m new to sewing and I’m a bit confused about how to put the main bottom gusset together. I’m using a directional fabric, so have cut 2 pieces of fabric on the solid line.
Hello! Thank you for your question.
For the directional fabric the narrow end of the bottom gusset piece is the top and the wide end will be the bottom. To make sure the fabric is facing the correct direction on both sides of the backpack, you will sew the two gusset pieces together at the bottom. After applying the interfacing to your exterior fabric, place the two gusset pieces right sides together and sew at the bottom, along the dotted line indicated in the pattern. The gusset should now be one piece, wide in the middle and narrow at the two ends. Open the seam and press it flat. If you also cut the canvas in two pieces, repeat that process for the canvas. Then, your gusset is ready and you can follow the rest of the instructions as shown in the video. Hope this helps! Happy Sewing 🙂
Thank you for providing this pattern. Do you think it would work to print all the pattern pieces at a smaller size, say 75% to make a smaller pack for a 2-year-old?
You are very welcome! Yes, I think reducing the size would work, I would just keep in mind that the seam allowance will also be reduced. I hope it worked well for you. 🙂