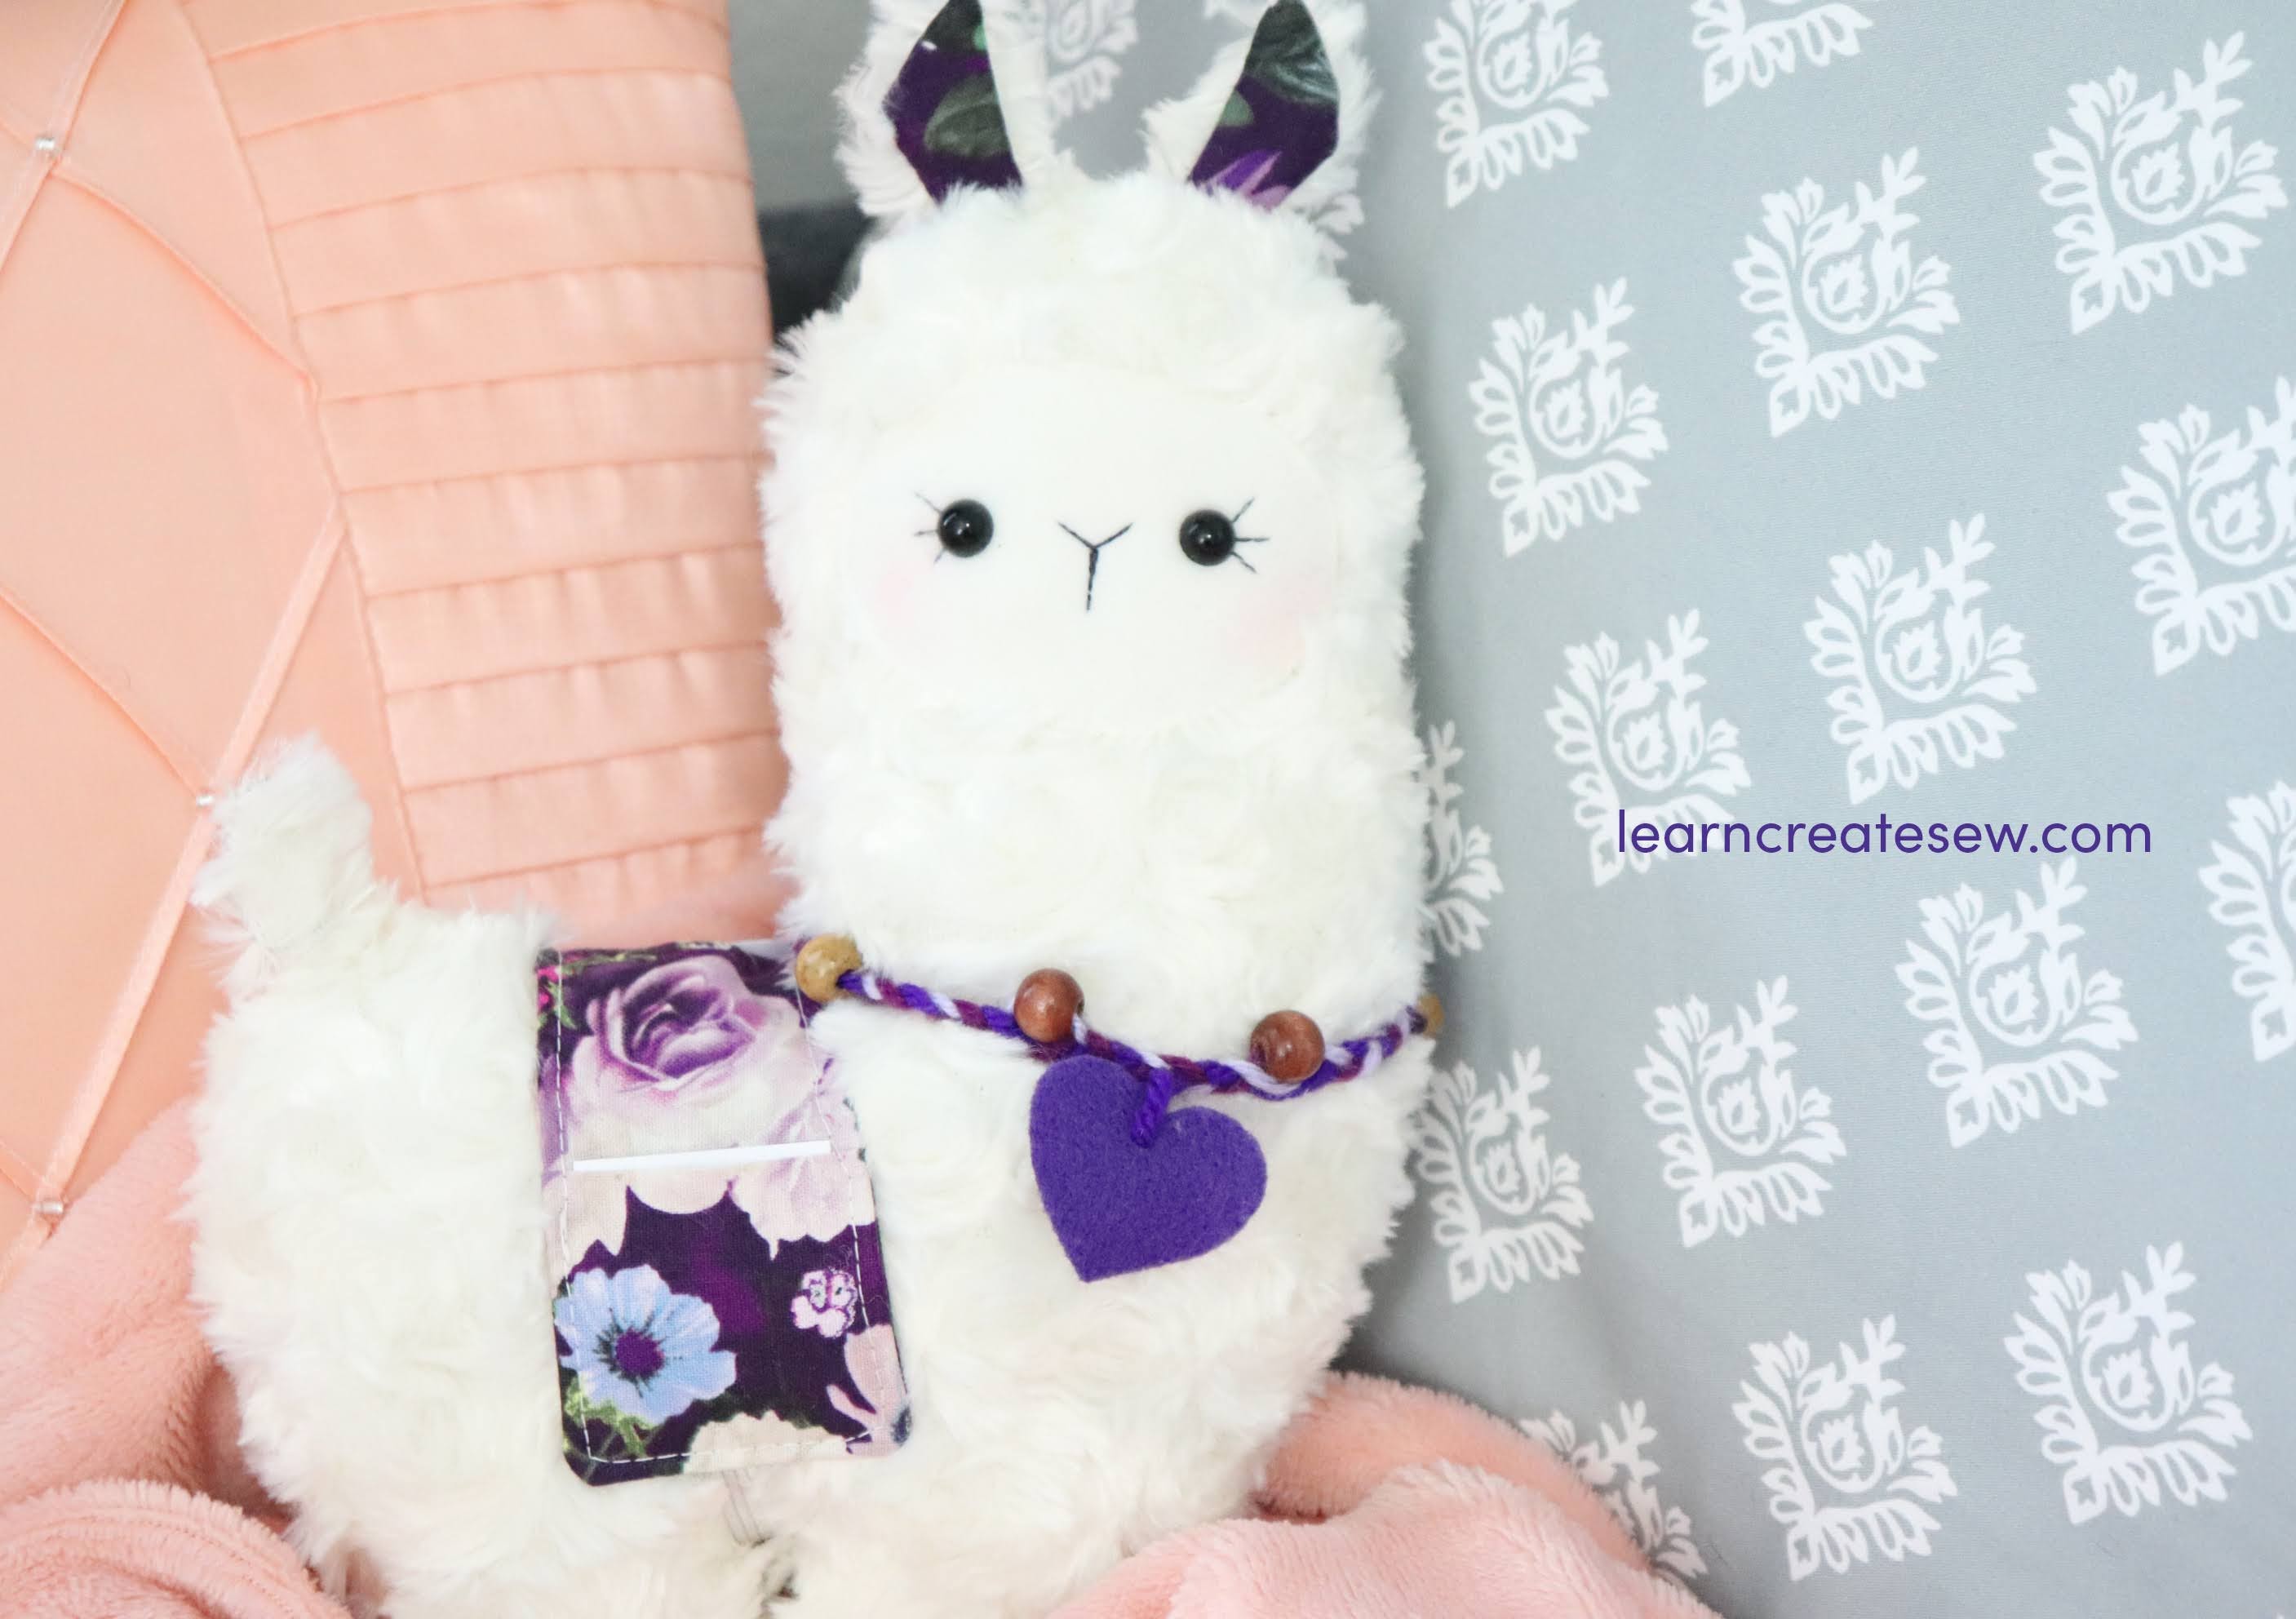
This is a quick little project just for fun 🙂
Lately, I have been looking for quick, easy, beginner crochet patterns and after a bit of searching, I decided to make a few myself. This was a lot of fun. It’s a good introduction to changing colors.
You do need to know how to do the following:
- Chain
- Single Crochet
- Double Crochet
- Slip Stitch
The pouch is constructed mostly of double crochet and can easily be altered by changing colors.
It would be great for gifts, holiday treats, and surprises for Halloween, Christmas, and Easter. I made these for Halloween.
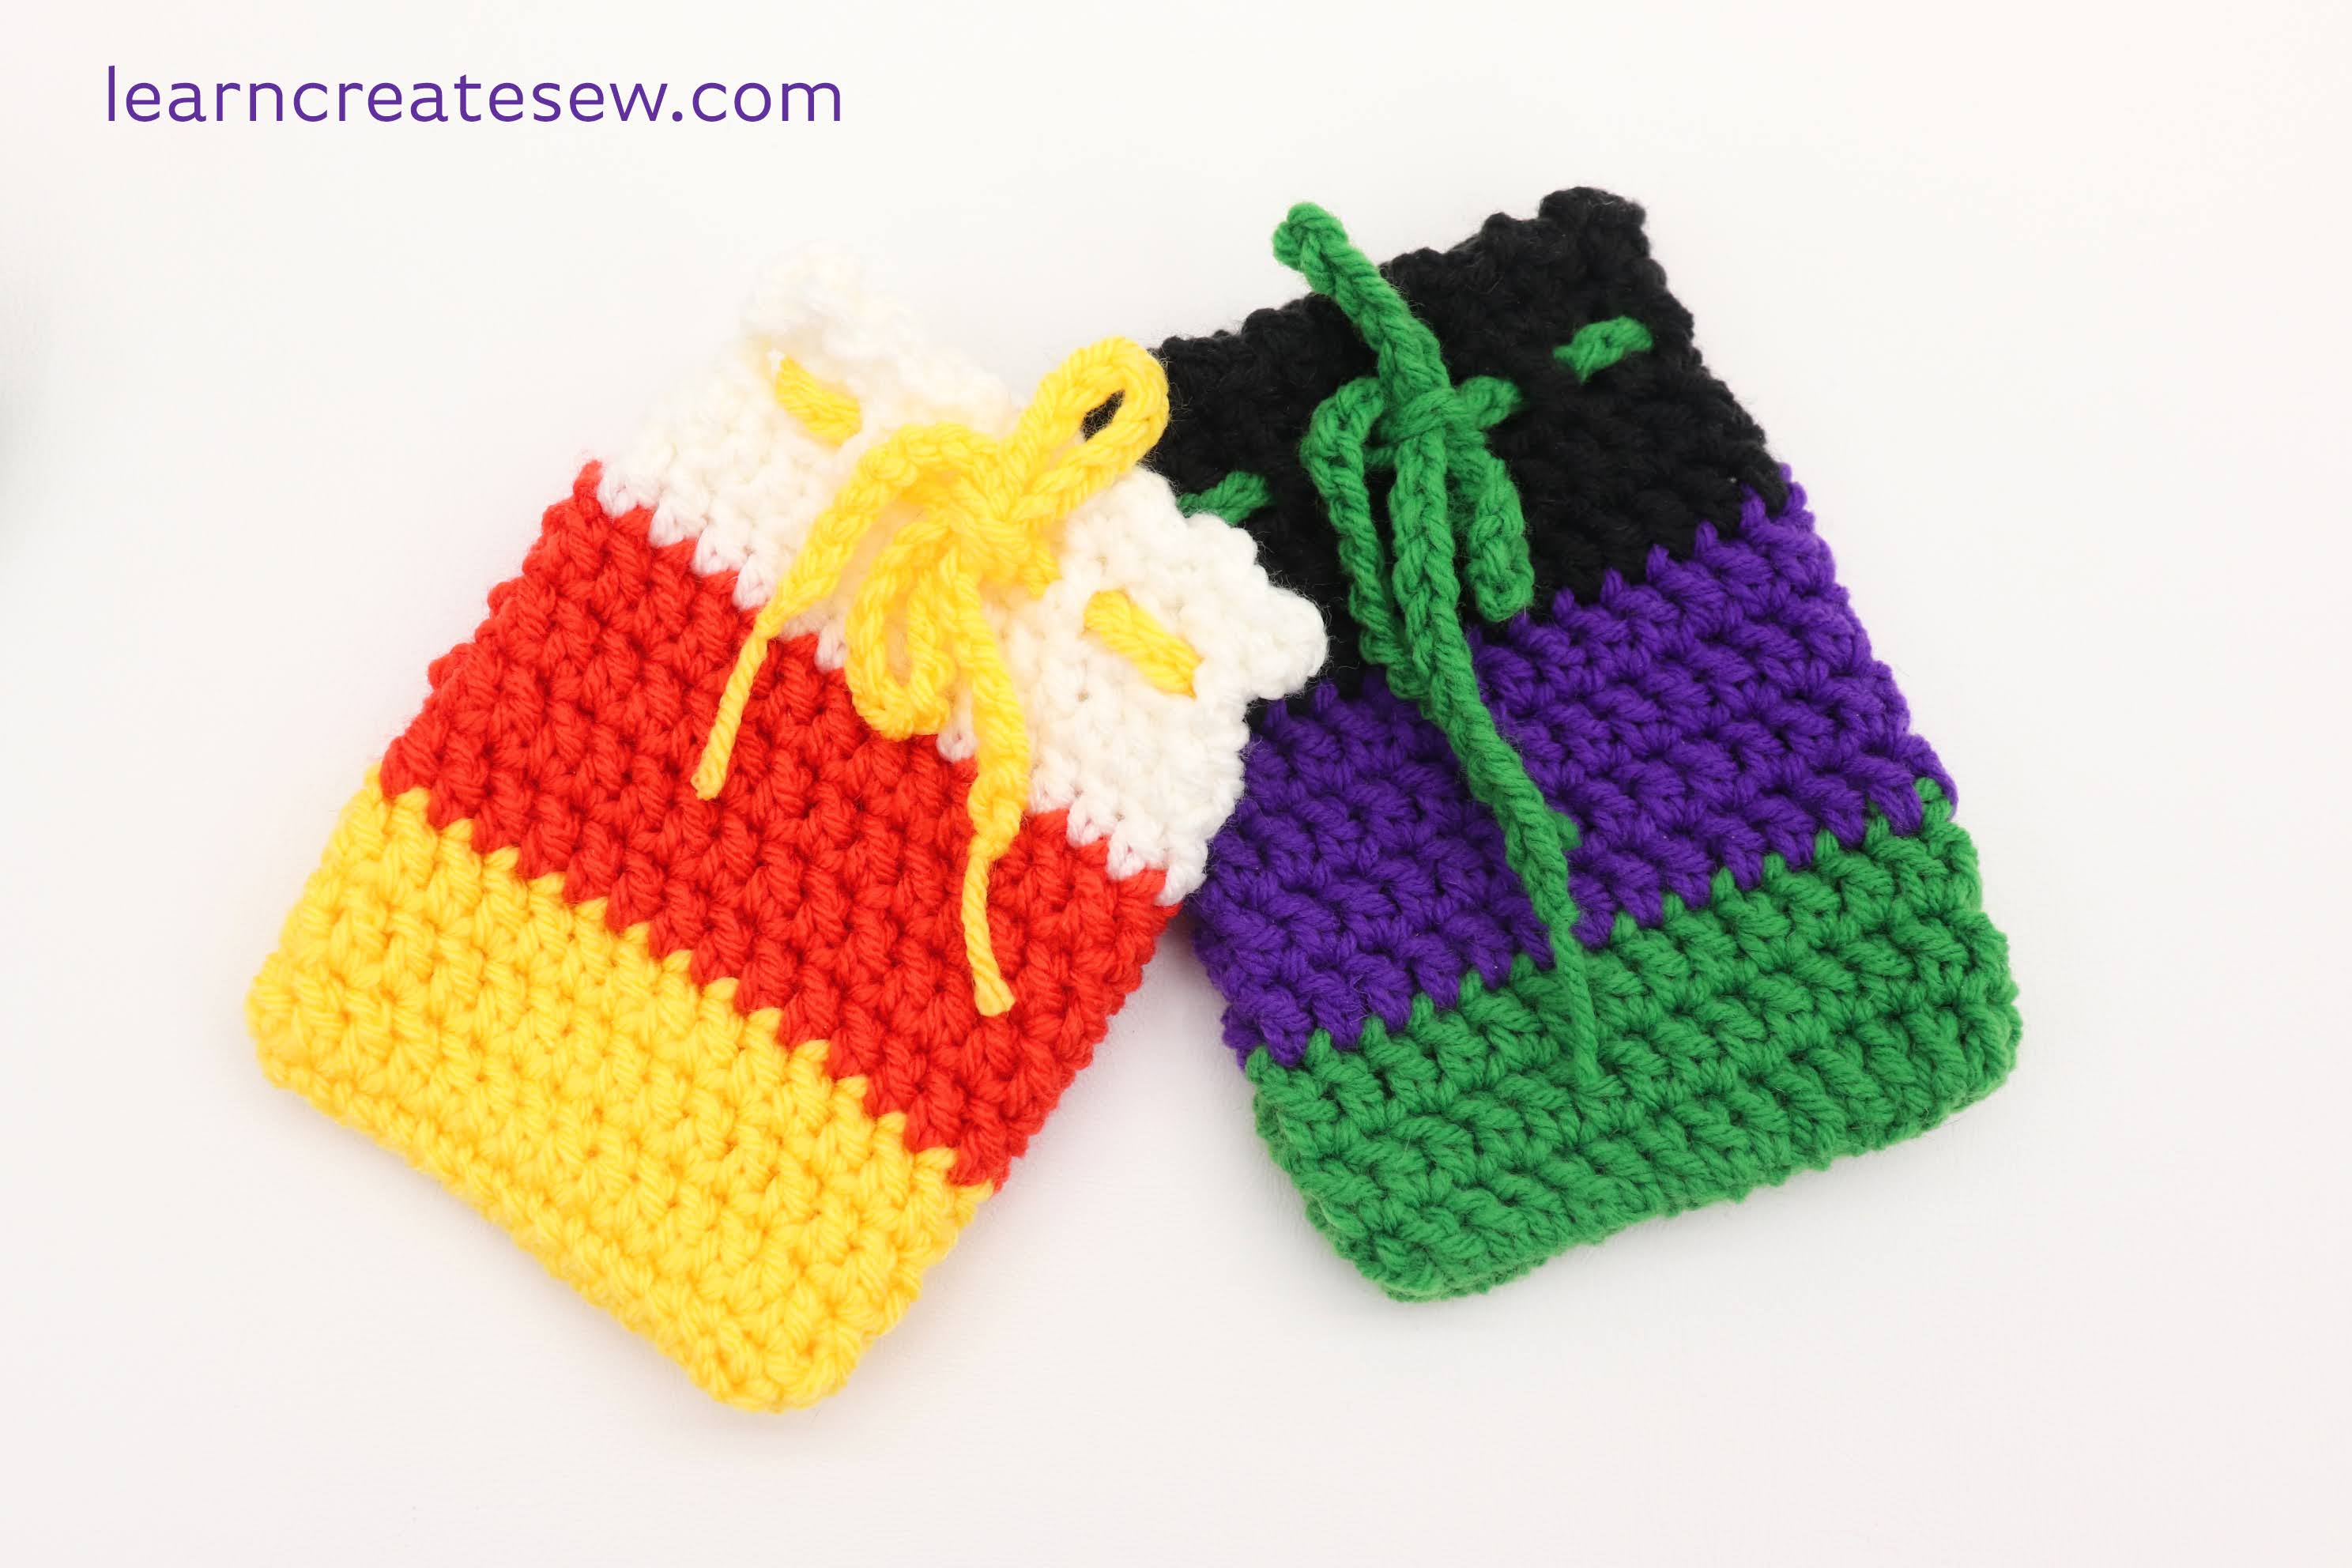
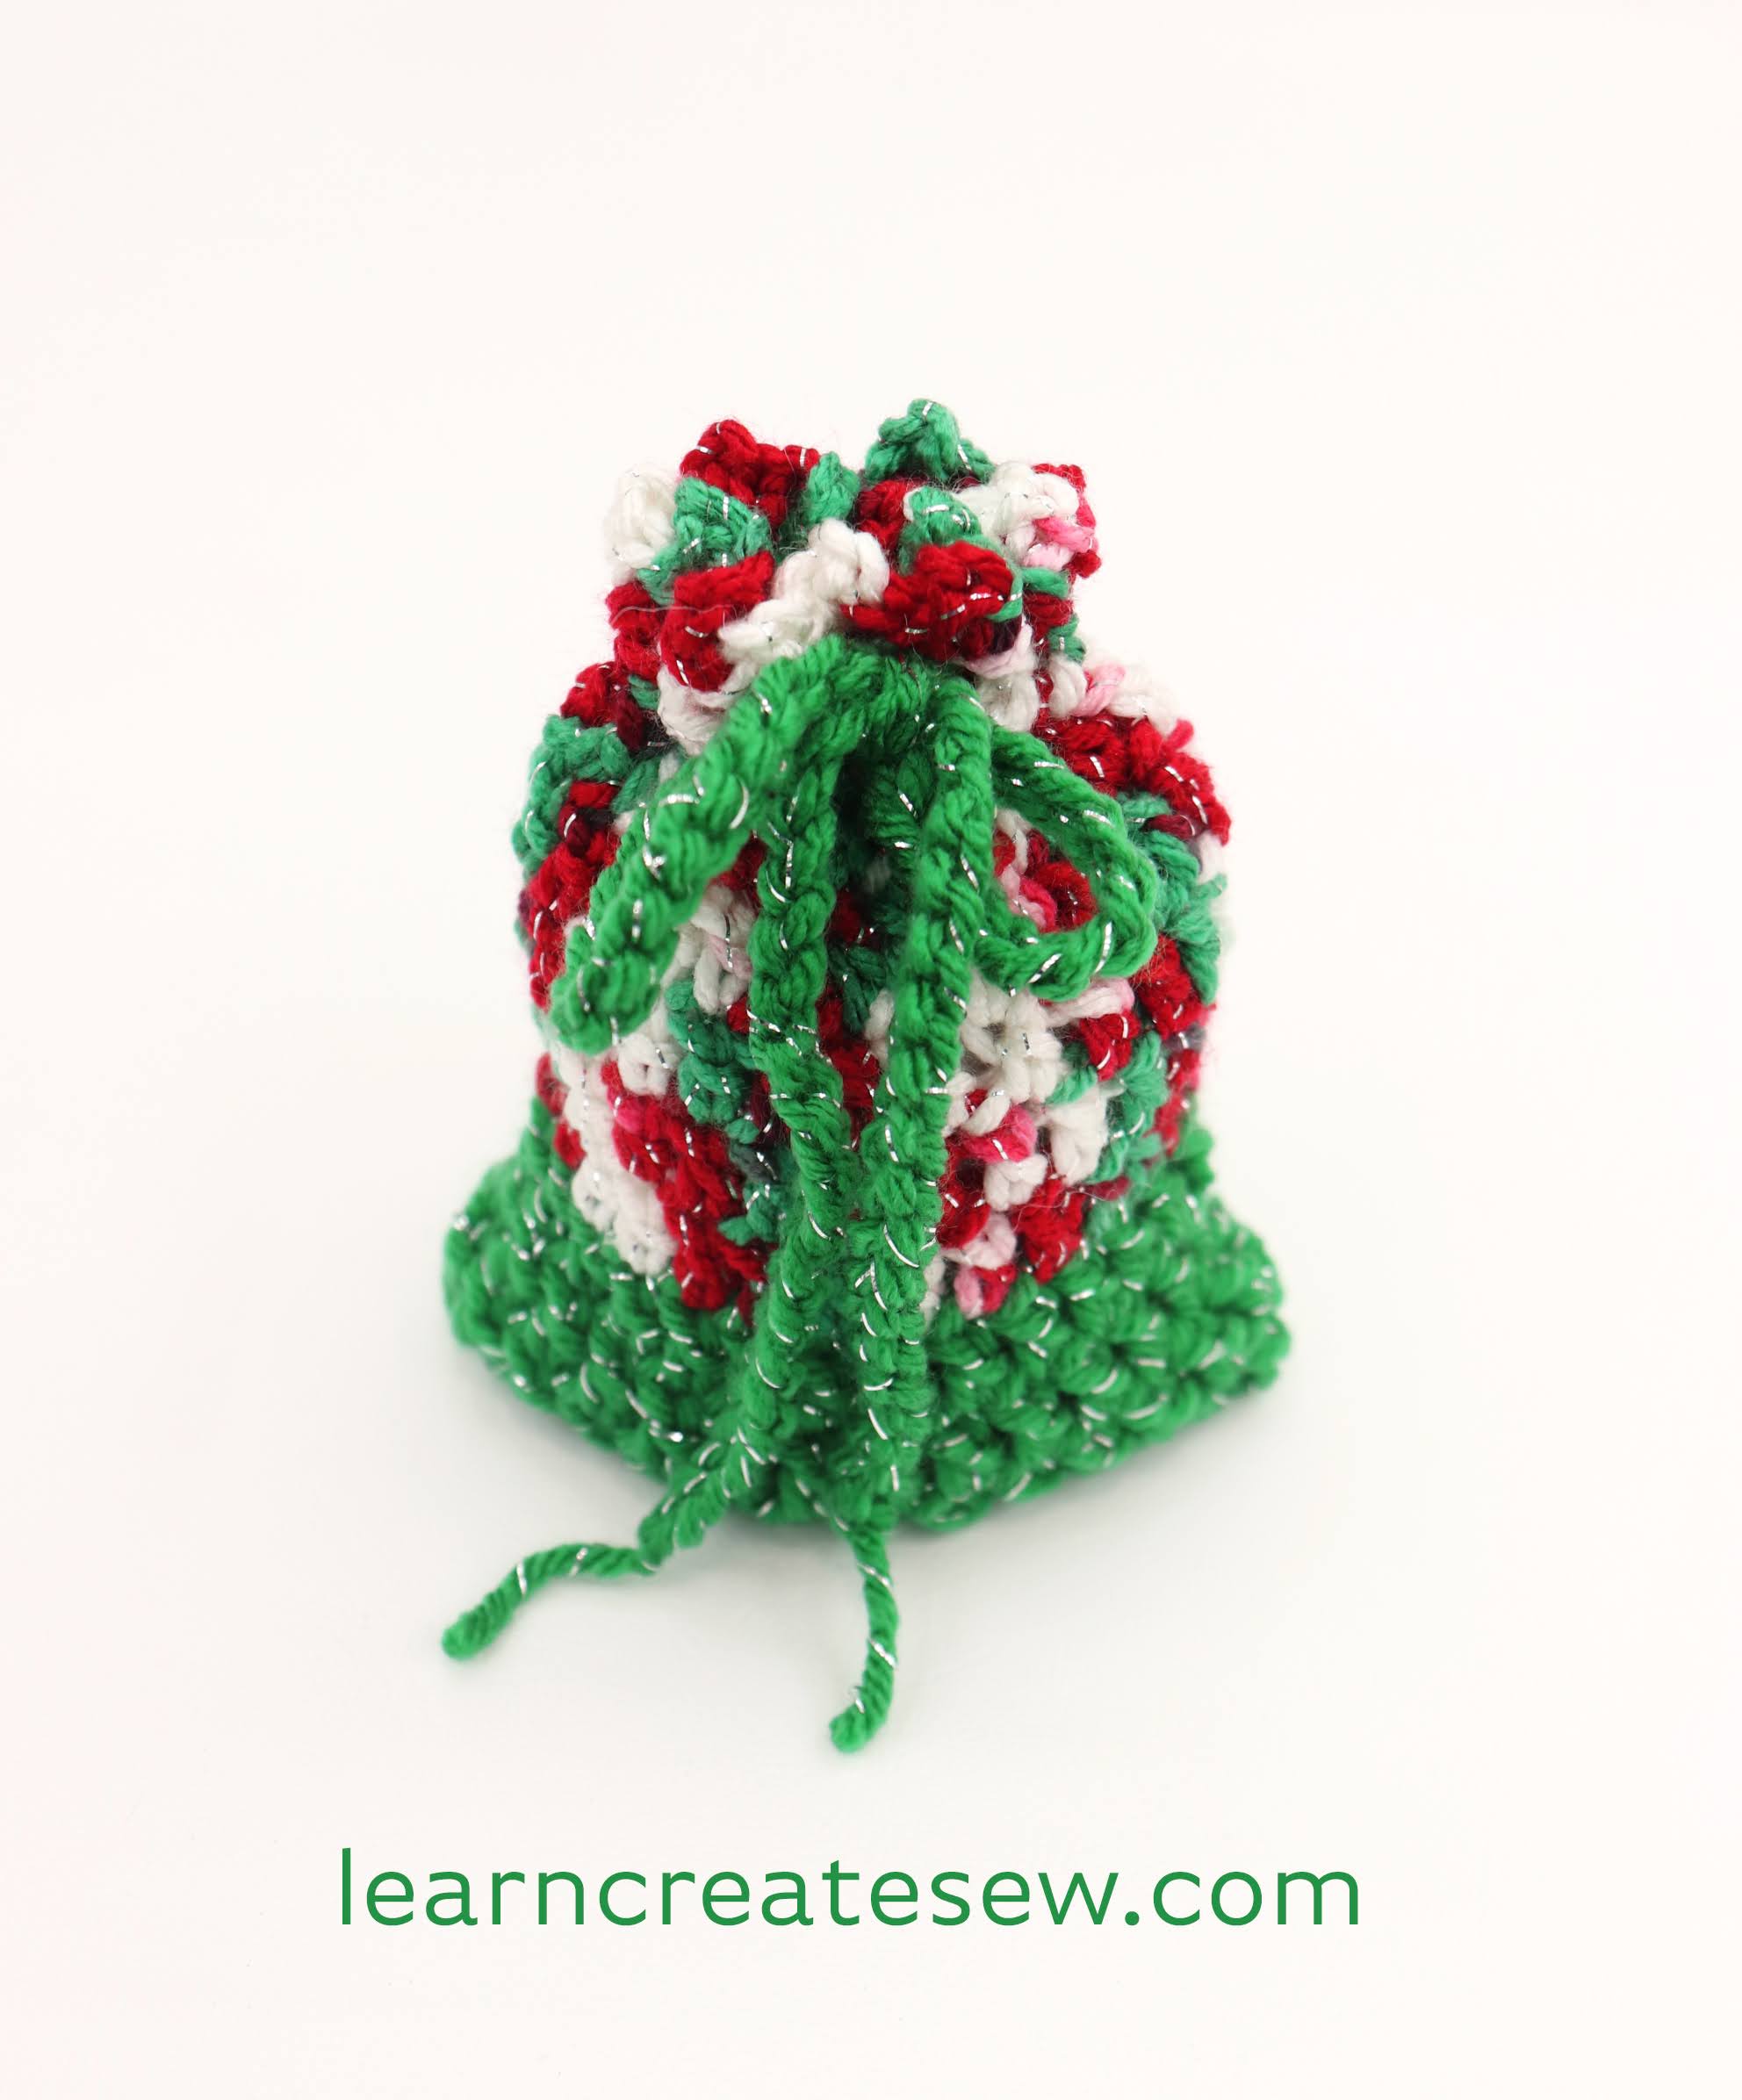
Then, I couldn’t resist making more…and of course with Christmas around the corner, I couldn’t pass up the chance to make one with red and green.

Tutorial (Right-Handed):
Tutorial (Left-Handed):
Pattern:
Refer to the video tutorial as needed
Use a 4.0 – 4.5mm crochet hook and worsted-weight yarn.
Start with the 1st Color. This will be the bottom of the bag. Leave a long tail to start.
Chain 27. Slst into the first chain to make a ring. Make sure the Vs of the chain are on the outside of the ring and the back bumps are on the inside of the ring. Take care to make sure it doesn’t get twisted.
Round 1 – 3: Chain 3 (counts as the first double crochet), 26 dc, slst into the 3rd chain from the beginning of the round (27) (3 rounds)
Change to 2nd color
Round 4 – 7: Chain 3 (counts as the first double crochet), 26 dc, slst into the 3rd chain from the beginning of the round (27) (4 rounds)
Change to 3rd color
Round 8 – 9: Chain 3 (this counts as the first double crochet), 26 dc, slst into the 3rd chain from the beginning of the round (27) (2 rounds)
Round 10: Chain 3 (counts as first dc), Ch 1, skip 1 stitch, (1 dc, chain 1, skip 1 stitch)*repeat 5 times, 3 dc, (ch 1, skip 1 stitch, dc)*repeat 6 times, slip stitch into the 3rd chain from the beginning of the round (27)
Round 11: V stitch around. ch1, (1sc, ch 2, 1 sc) all in the first stitch, [skip 1 stitch, (1sc, ch 2, 1 sc) all in the next stitch] repeat 12 times, slst into the first sc of the round. FO.
Whipstitch the bottom of the bag closed using the long starting tail. Weave in any tails.
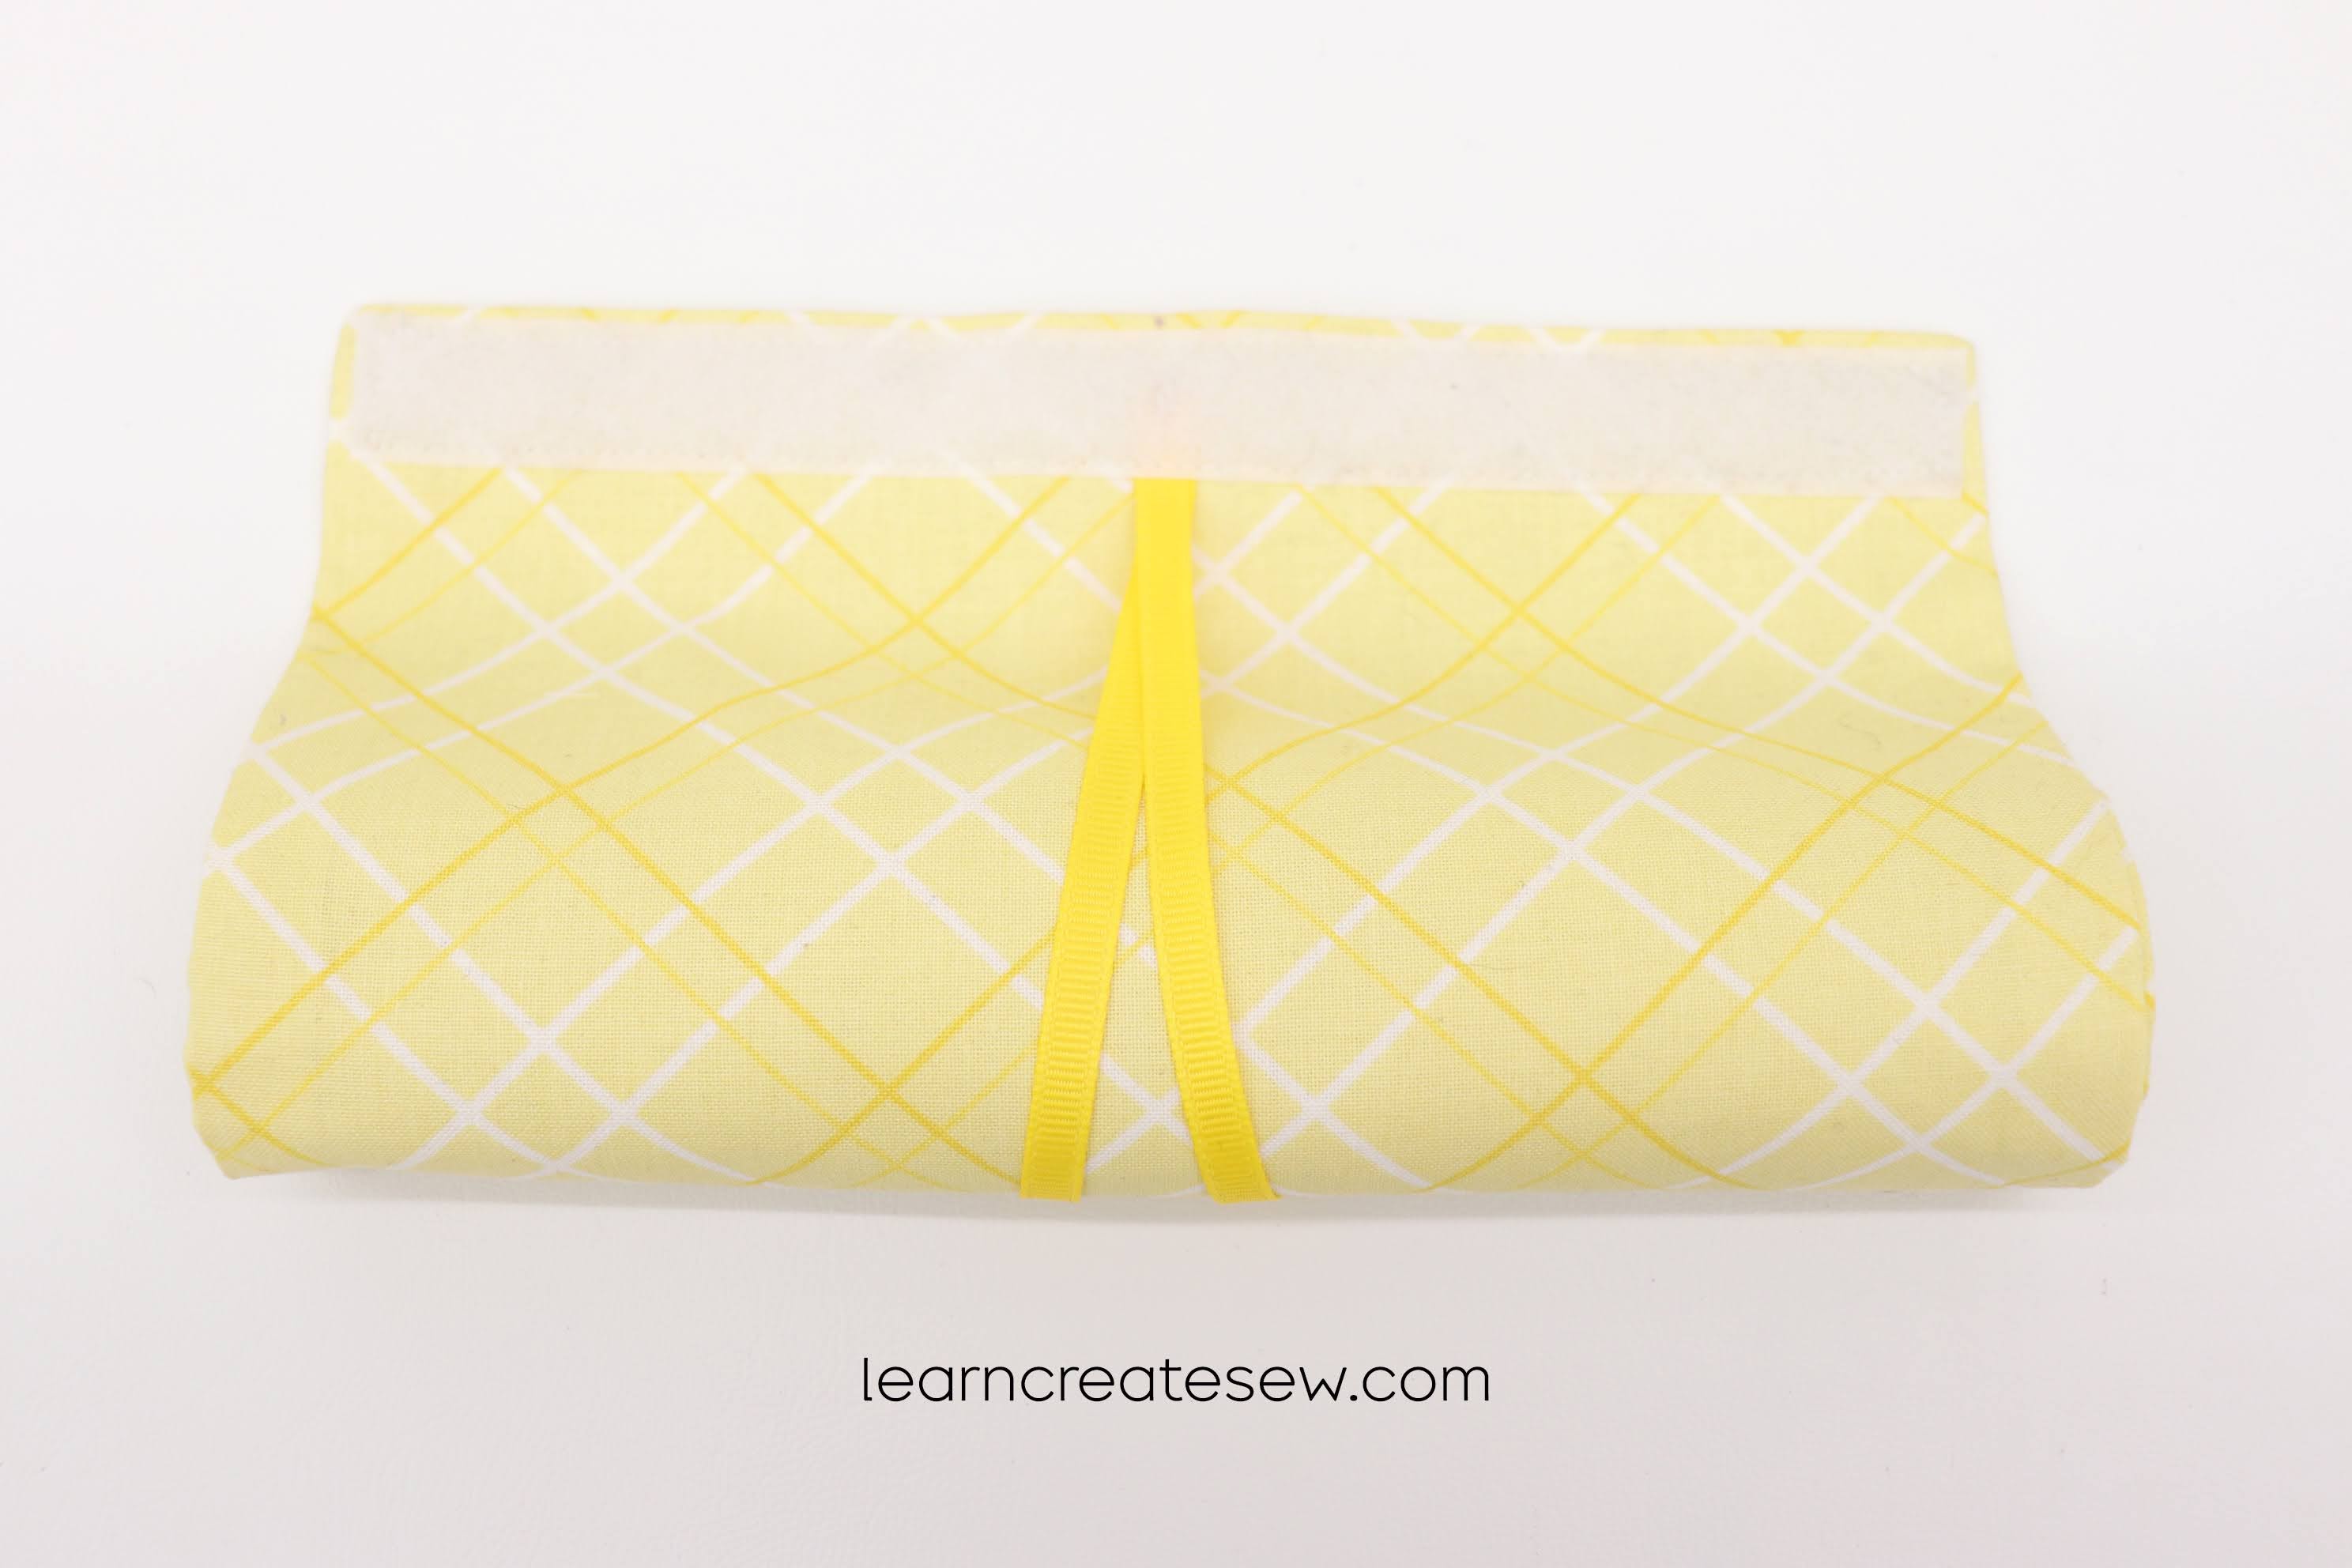
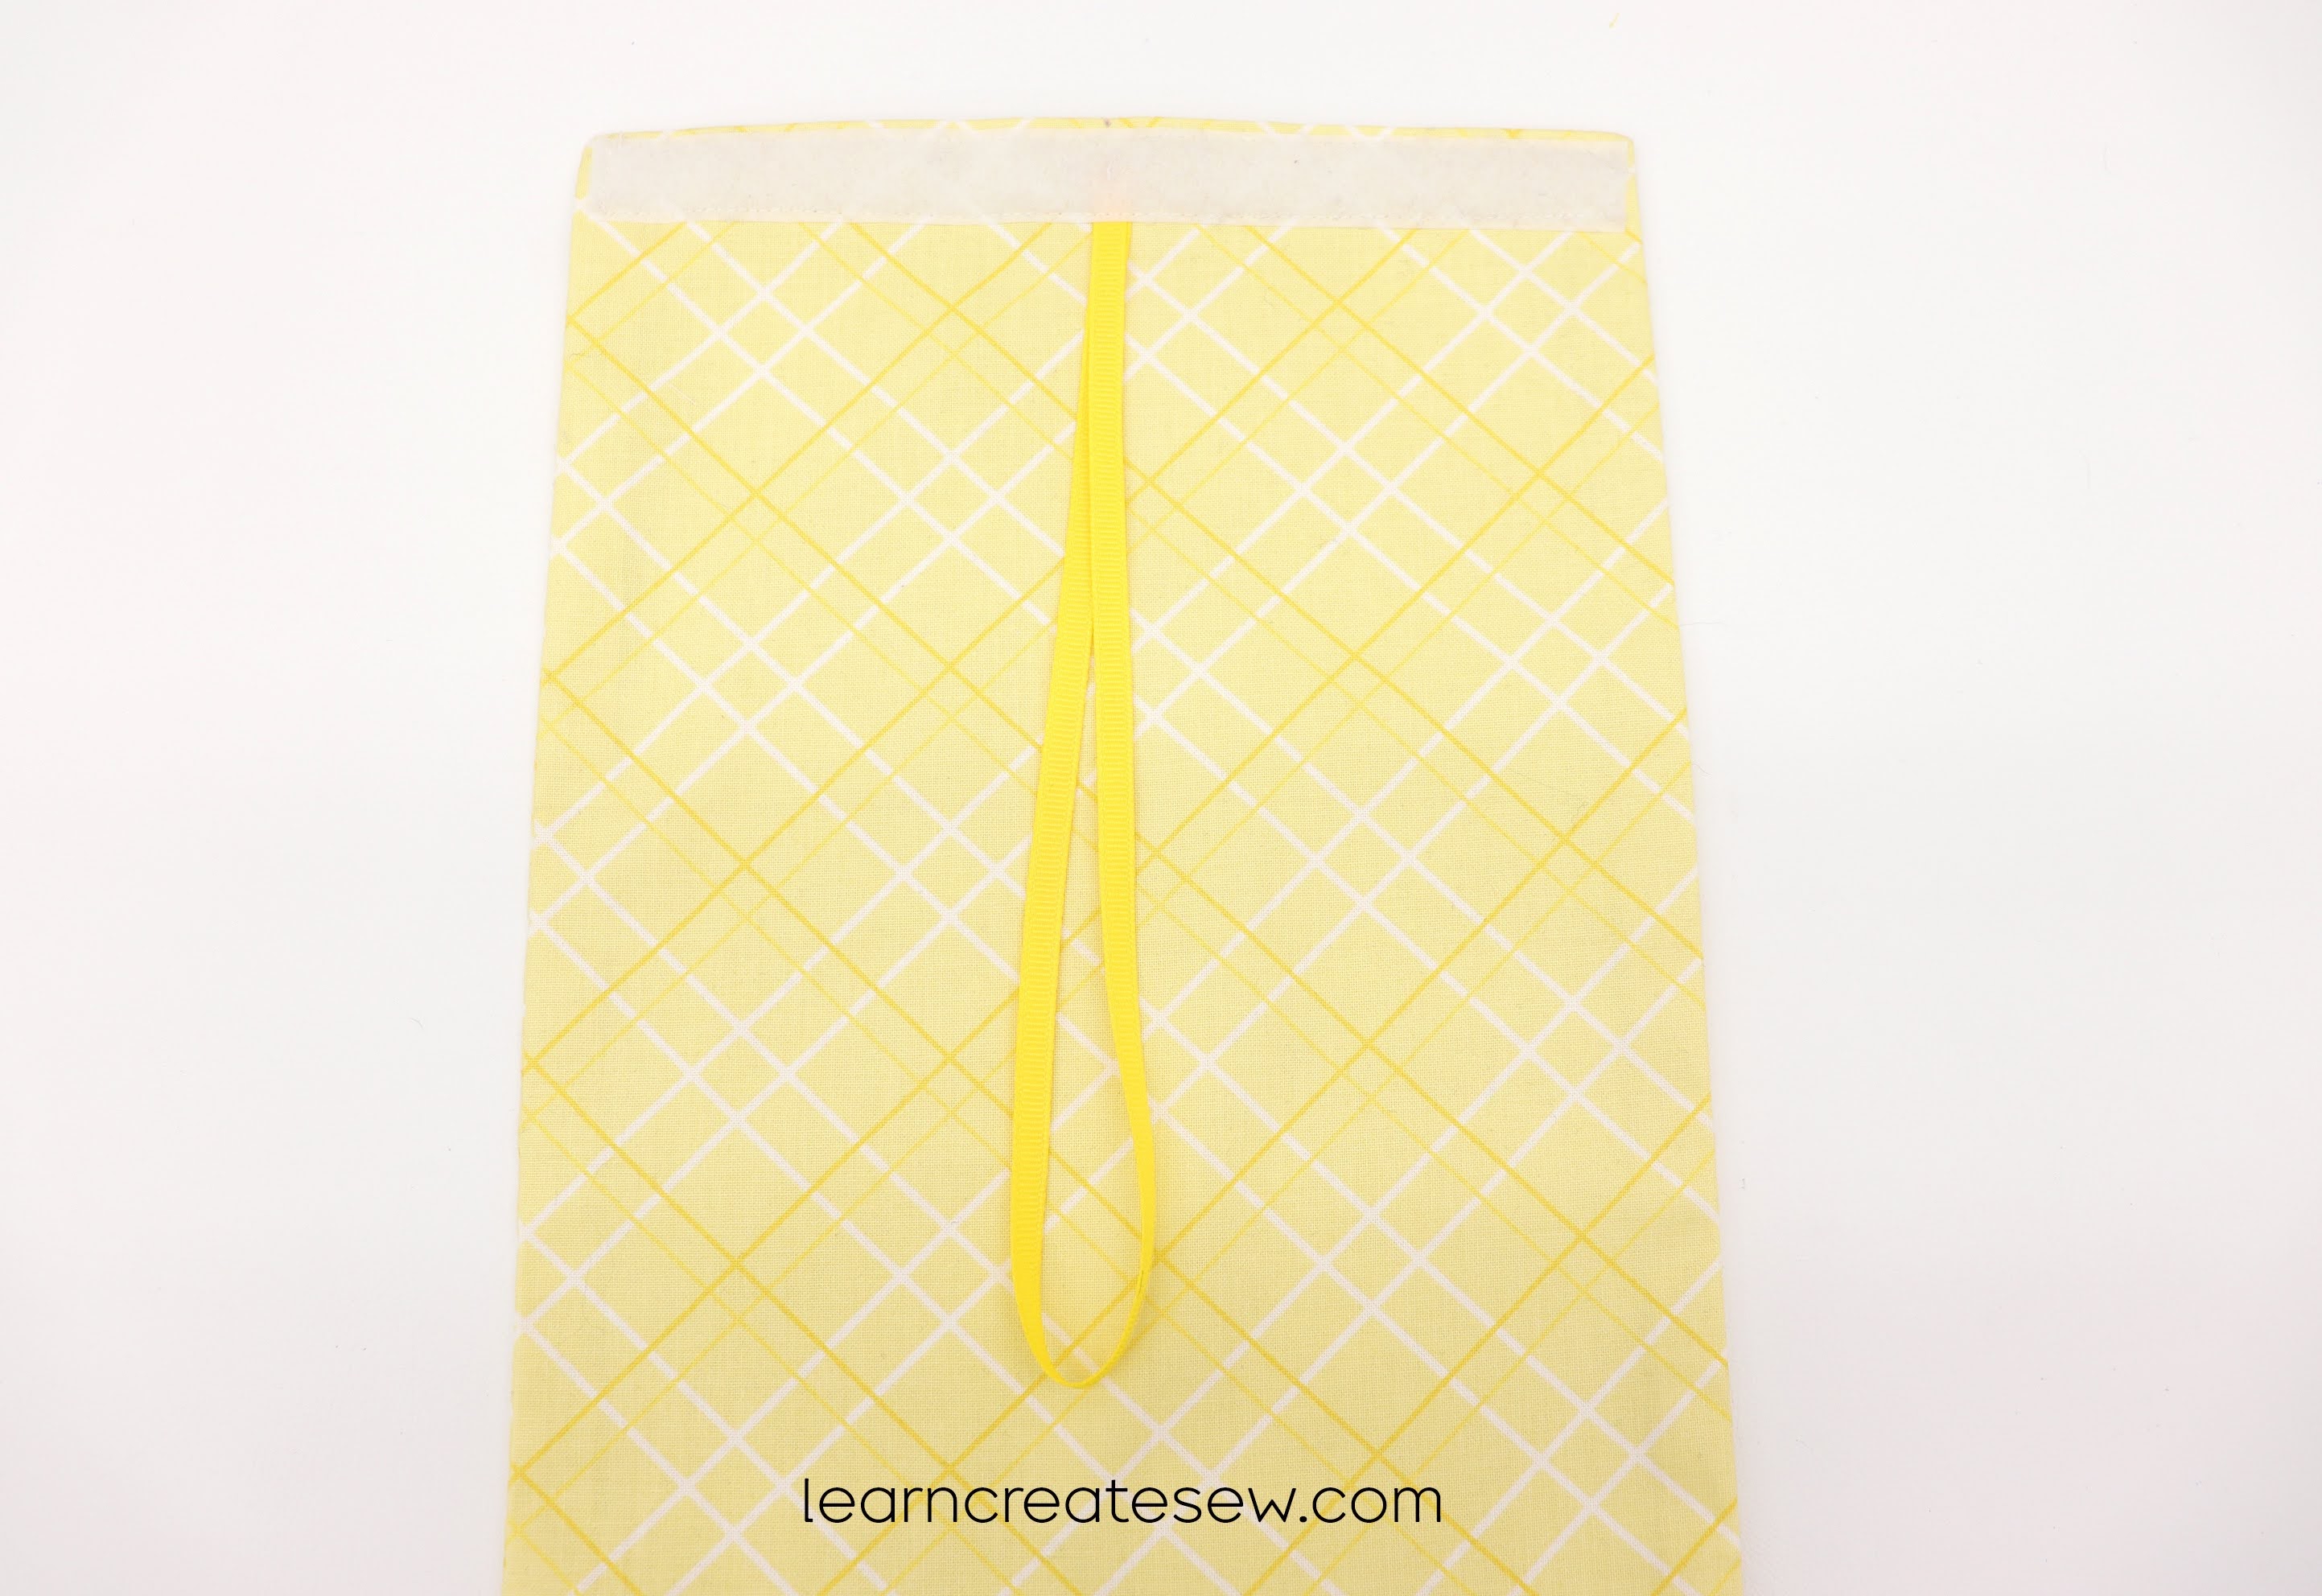
Drawstring: Chain 80 or to the desired length.
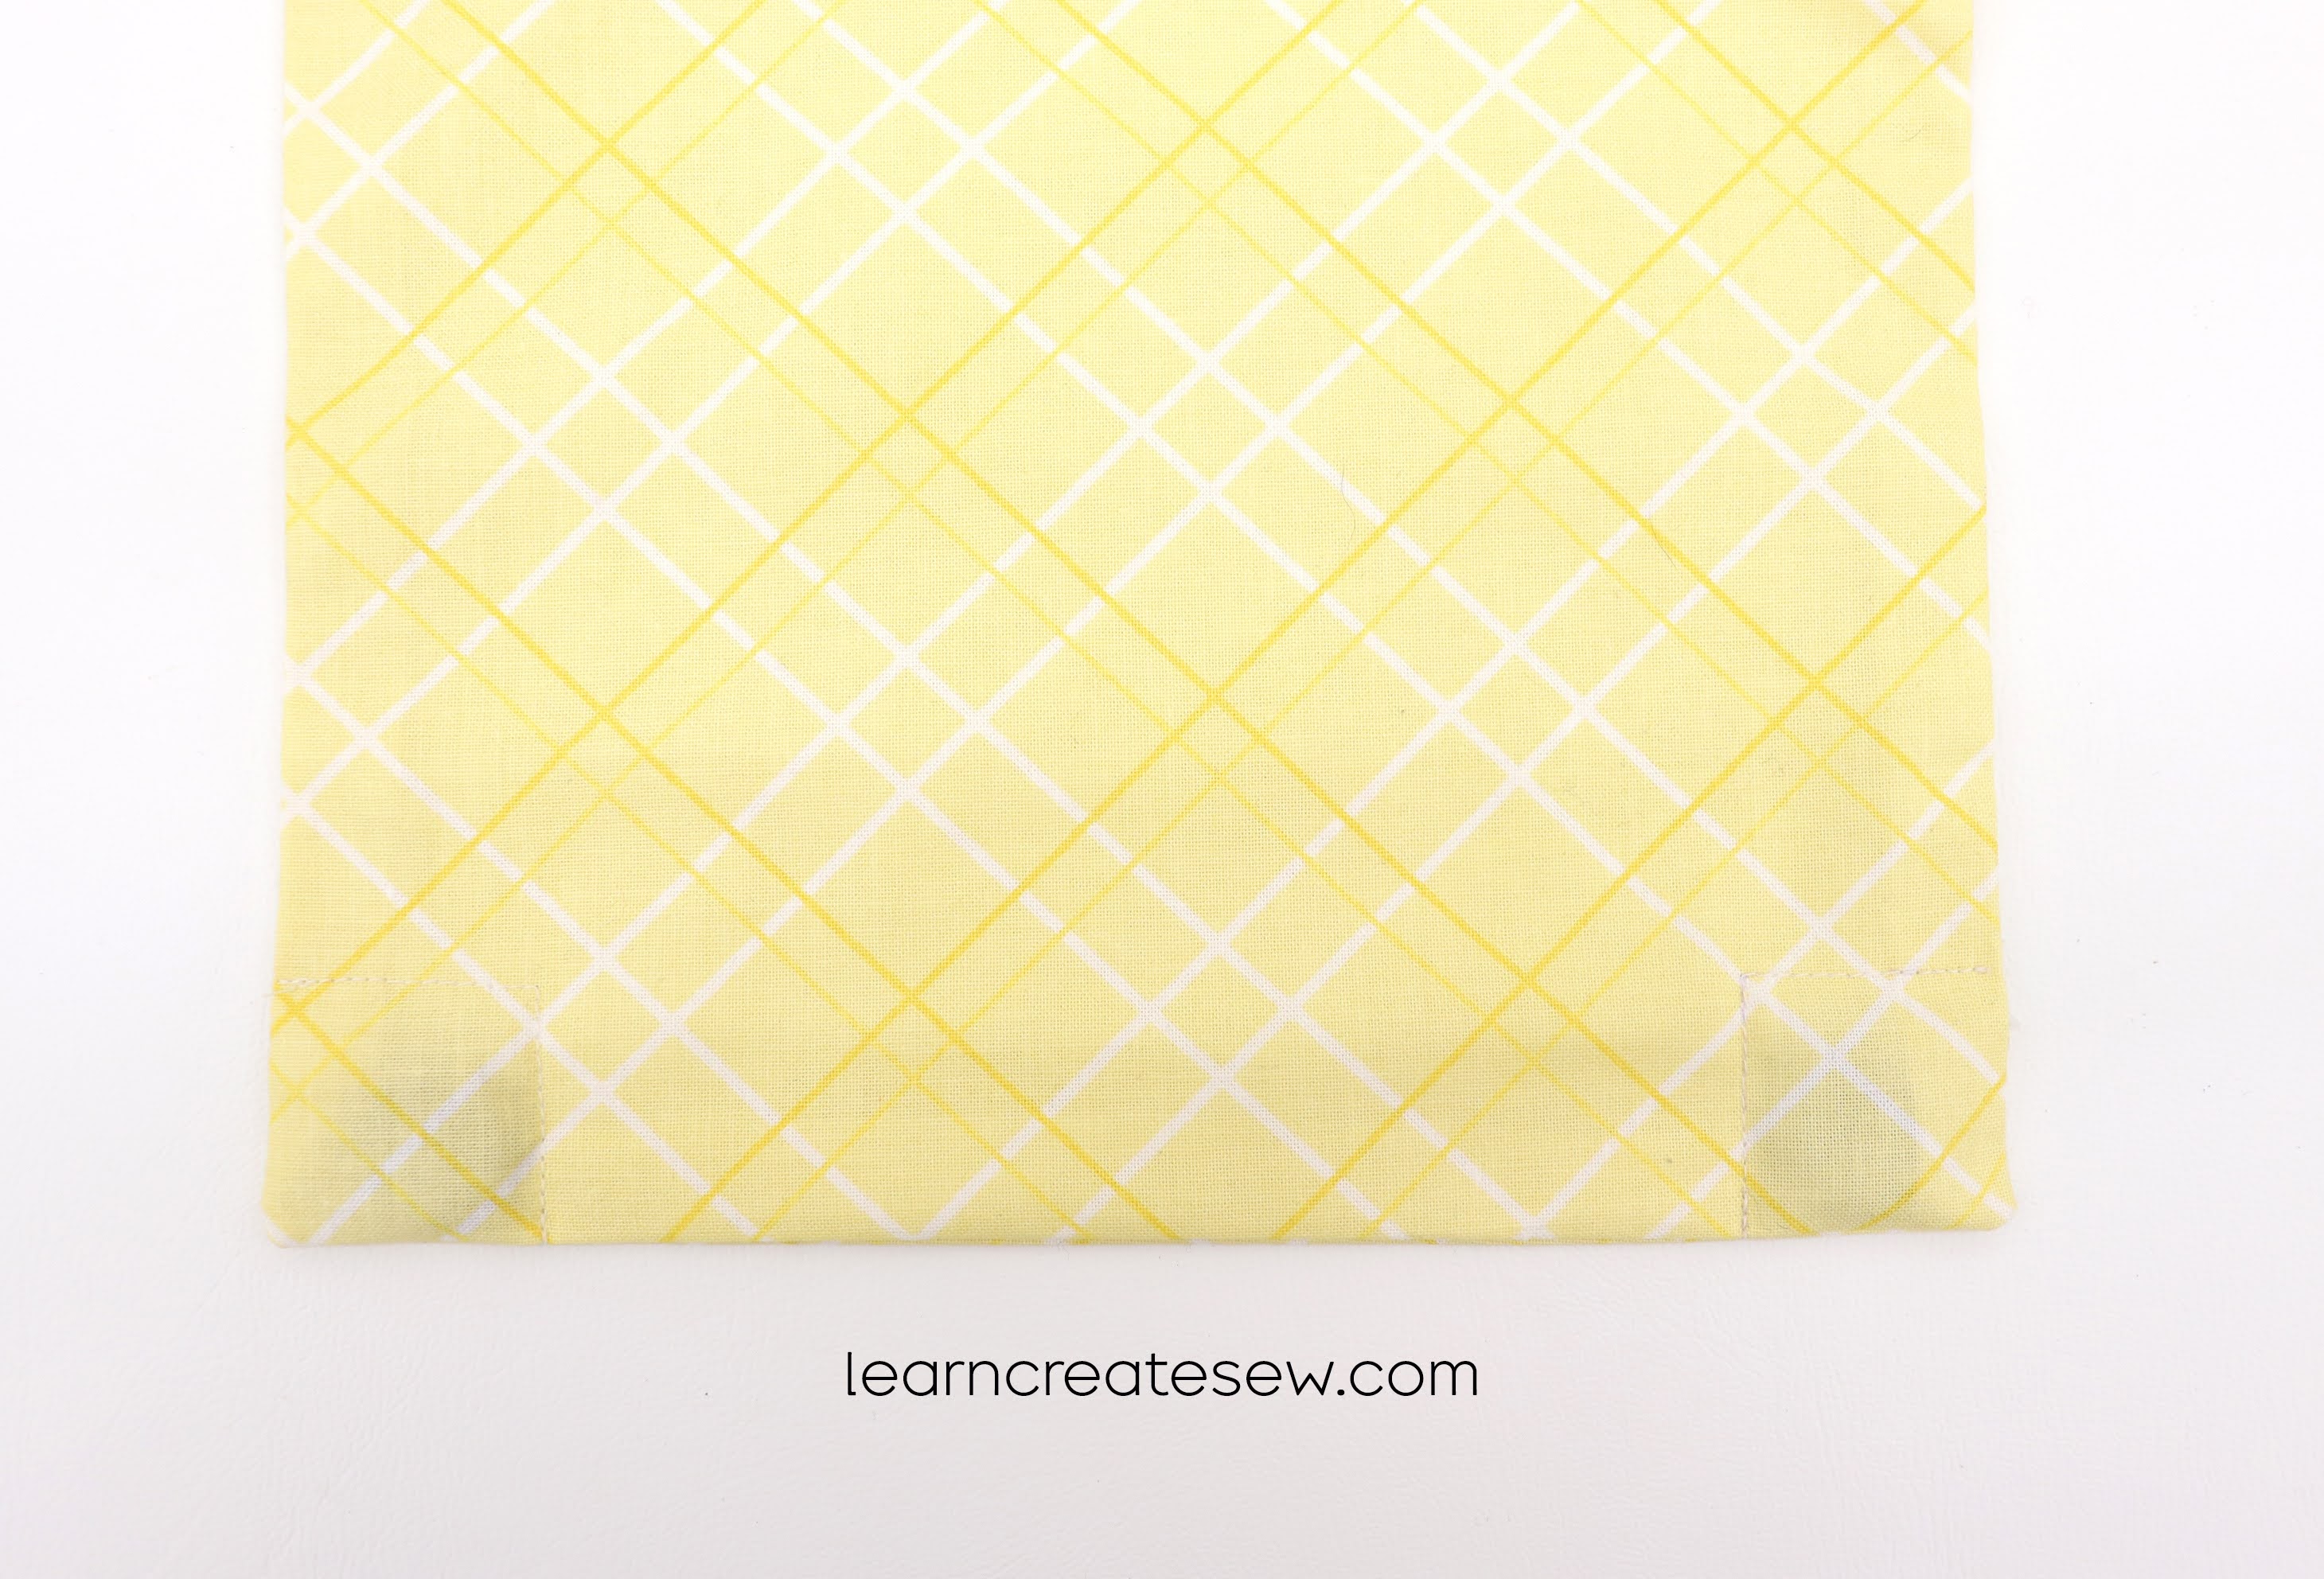
Weave the drawstring through row 10. The 3 dc together is the center front. Insert along one side of the 3 double crochet then weave in and out exiting on the other side of the dc. Note: There are 2 dc together at the center back, pass over or under those together.
Changing Size:
You can increase or decrease the size of the bag slightly by using a different-sized hook.
You can also change the size by adding or subtracting rows and changing the size of the starting chain. To adjust the size of the initial chain, do so in increments of 4. So to increase the size you could go from 27 to 31, 35, 39, 43, etc. To decrease the size you could go from 27 to 23 or 19. This helps ensure that the ties still end up together on the front.
Have fun crocheting!