Christmas Stocking Embellishments

At this holiday season, I want to express my gratitude to all of my followers. Thank you! Thank you for supporting learncreatesew.com and subscribing to my YouTube Channel. Having the opportunity to share my love of sewing with so many is a great privilege and an opportunity I never thought I would have.

Thank you for making all of this possible and encouraging me to keep creating.

And for you, here are my next videos!

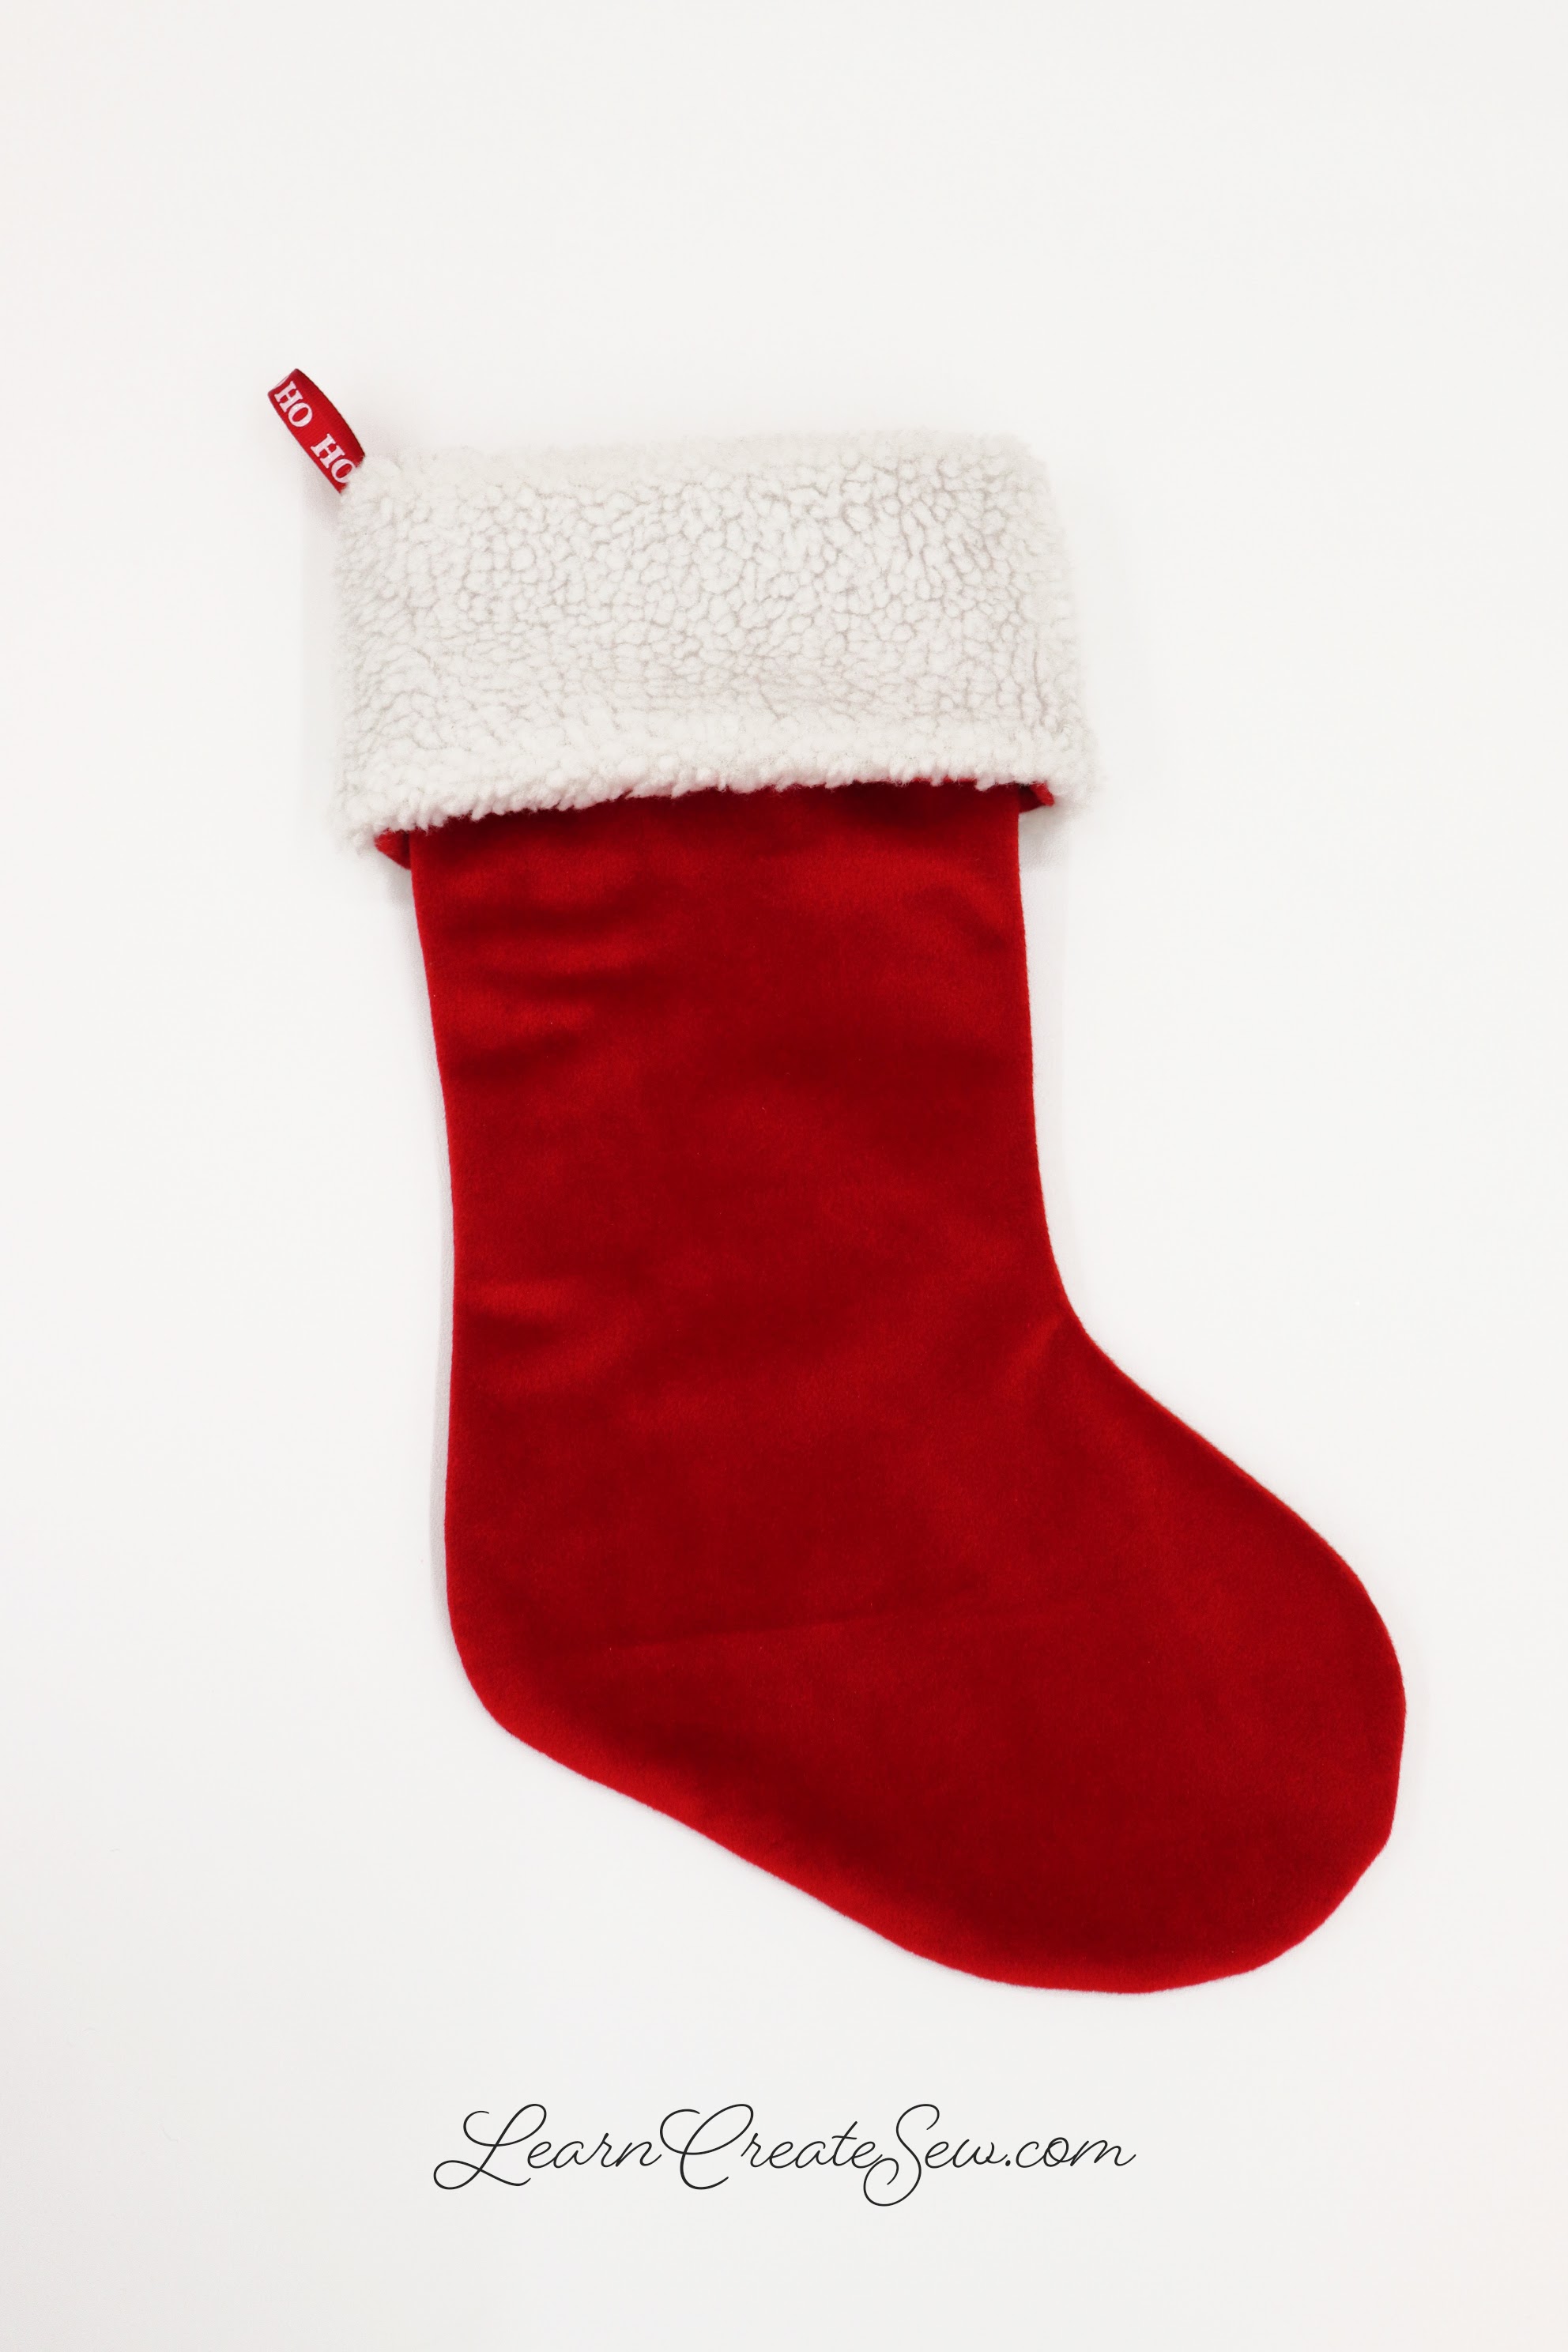
I had a lot of fun adapting the Christmas Stocking pattern for you! I don’t know about you, but I love options. But what if I did this…or this…? That is what I am always asking myself. As a result, I wasn’t satisfied with just the basic stocking. I wanted to expand upon it to provide more great options for creativity.

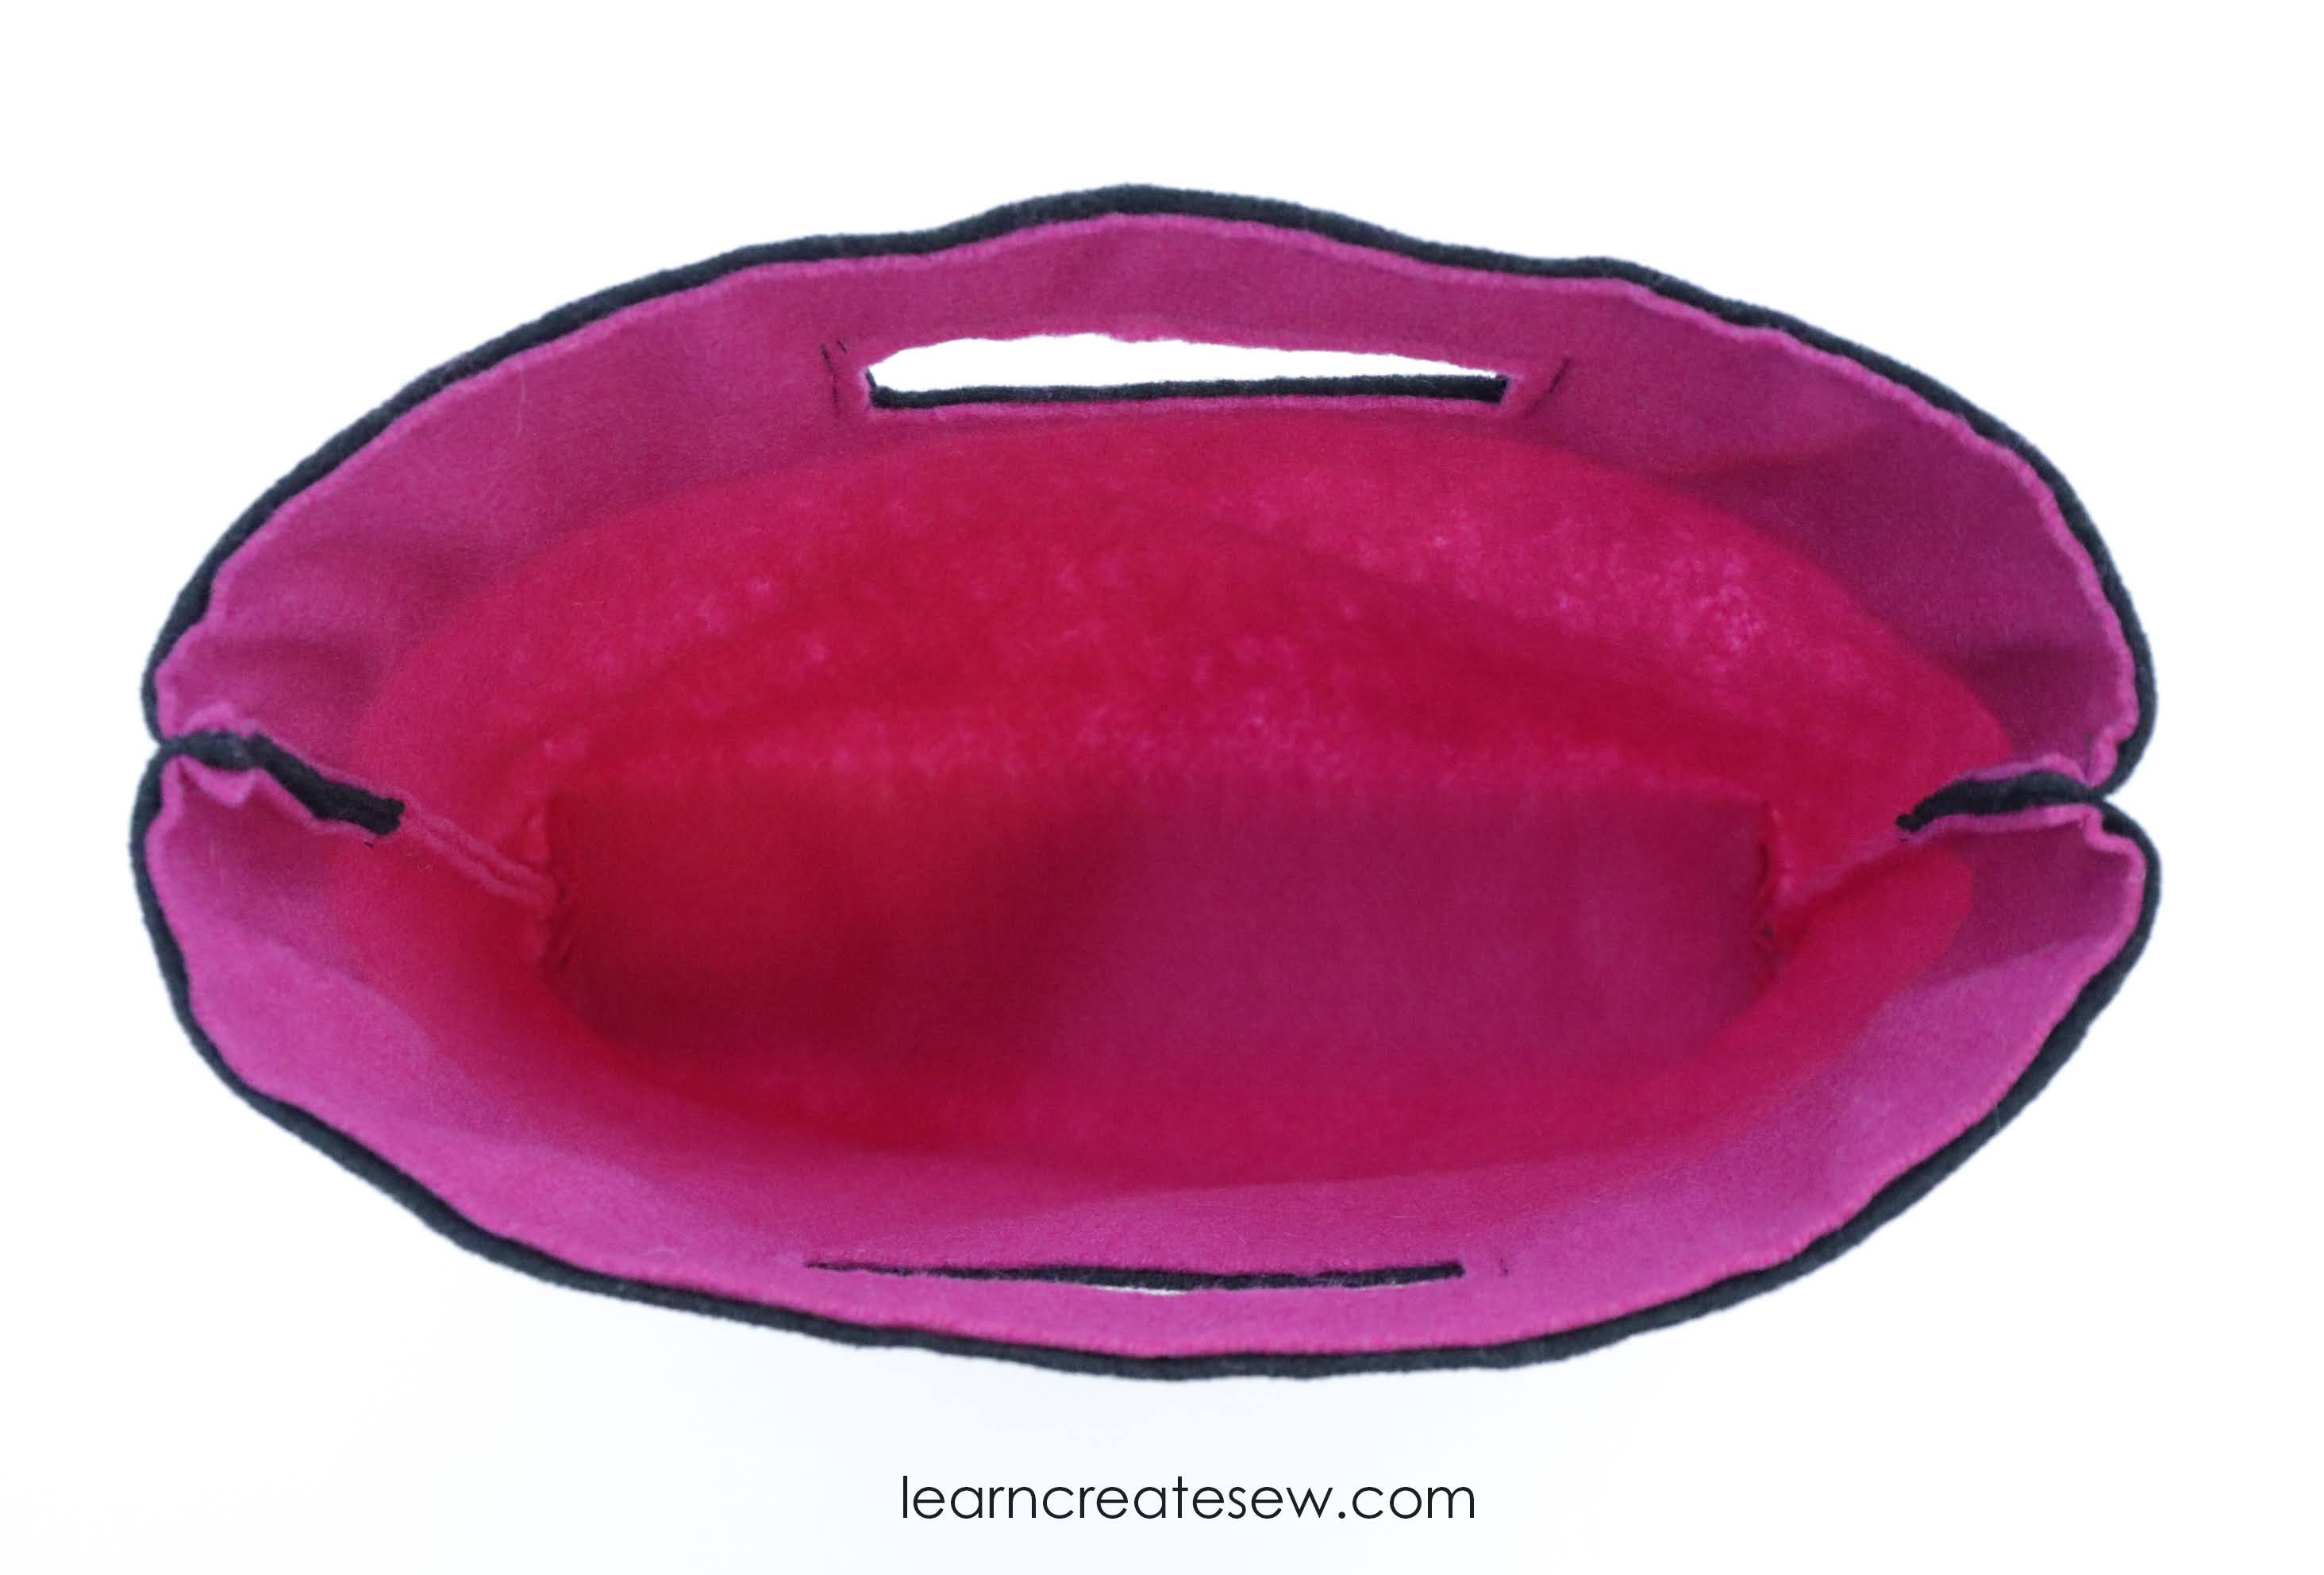
The first video explains how to add a contrasting cuff, if you wanted the fabric of the lining to vary from the fabric of the cuff. The stocking shown here has a sherpa cuff but a flannel lining.

The next video adds a burlap overlay to the main fabric as well as decorative embellishments.

I hope these videos inspire creativity, and I hope you have a lot of fun making your own stockings!

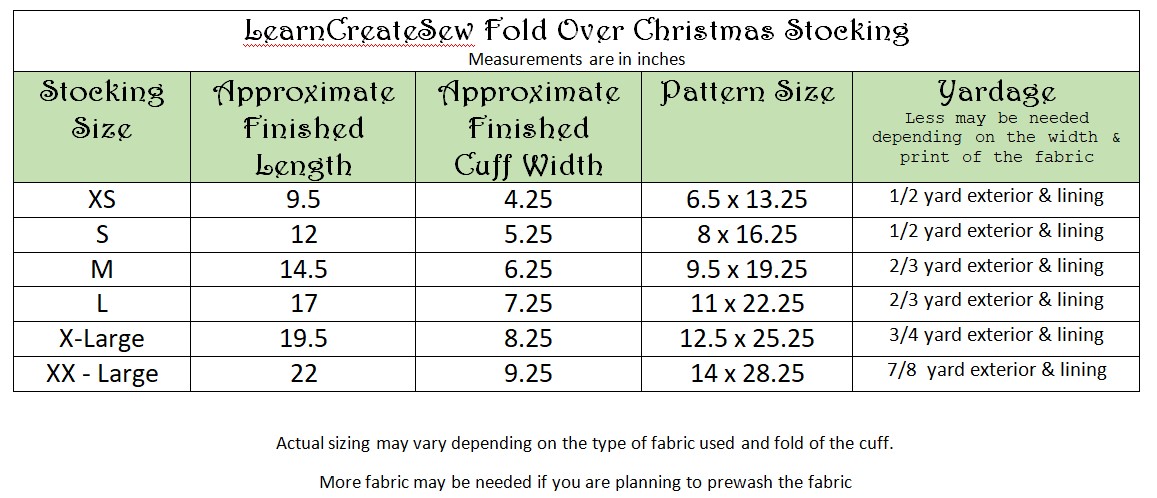
See the Christmas Stocking page for the free pattern.

Christmas Stocking

I’m so excited to share this project with you today! It has been quite a while since my last post and I am happy to finally share with you a fun holiday project.

Life and work caught up with me the last few weeks and it took the excitement of Christmas projects to motivate me to get back to sewing!

This is a quick easy Christmas Stocking.

It is fully lined and has a fold over cuff!

The free pattern is available in several sizes.

The pattern works great with flannel, fleece, and cotton fabrics.

If you enjoy this tutorial keep an eye out for future posts in which I’ll show you a few quick alterations to the same pattern.

SUPPLIES:

  • Coordinating Thread
  • Ribbon (4 – 8 inches)
  • 7/8 yard (or less) Fabric for the Outside of the Stocking (Cotton, Flannel, or Fleece)
  • 7/8 yard (or less) Fabric for the Lining and Cuff (Cotton, Flannel, or Fleece)
    • The project works best when the lining and outside fabrics are the same type of fabric.
    • The amount of fabric needed varies a lot depending on the size of the stocking you make and the direction you need to cut your fabric.
    • I recommend reviewing the pattern sizes in the table below if you would like more specific measurements.
    • Remember you will need two lining pieces and two outside pieces.

A bit more on yardage:

For instance, if I want to make a size small I know I need two pieces of outside fabric that will fit the pattern (which is 8 by 16.25 inches). If the direction of my fabric doesn’t matter 1/4 yard would work…but if I have to follow the selvage, for example on fabrics with words or a specific direction, I may need 1/2 yard.

Enjoy!

FREE PATTERNS:

QUICK OVERVIEW:

DETAILED VIDEO INSTRUCTIONS:

Learn to Sew: Lesson 5: Felt Carrying Case

Thanks for your patience for this latest post! I am a full time teacher, and with school starting back in full swing I haven’t had as much time to devote to new posts as I would like. Don’t worry! I still plan to post new content. However, it just may not be as frequent as it was over the summer. I hope you enjoy the new projects as they come and until then check out my free projects that are already available!

This is a fun quick project that helps practice sewing straight seams. It also introduces bag making basics with boxed corners.

Lesson Category:

  • Machine Sewing – Straight Seams

Lesson Topics:

  • Essential Tools
  • Cutting Rectangles
  • Sewing Straight Seams
  • Boxing Corners

This project uses large sized felt fabric, since the pieces are larger than the standard sized felt sheets available in most stores.

Felt is a great fabric to start with for your first projects because it doesn’t fray. You don’t have to worry about raw edges and it will look nice inside and out!

The top of the bag is made with two layers of felt stitched together for added strength and to provide contrast.

It also has boxed corners. Boxed corners can be a bit of a challenge, but it adds a lot of great features to your bag.

It provides space at the bottom of the bag so it is no longer flat.

In this case it also allows the bag to stand up. Once you learn how to add boxed corners it is a great feature to add to many different types of bags and cases.

Lesson:

Dish Towel Apron

A special thank you to my Aunt for giving me the idea for today’s project! This is a cute little apron made from a dish towel. It’s pretty fast to make and doesn’t take a lot of fabric. It is a good way to practice sewing pleats and pockets.

1img_0479

It works best to have a dish towel with a general pattern design, rather than something that is directional, as the towel will be arranged horizontally along the waistband.

1img_0498

The width of the hand towel is adjusted using pleats to give the apron a skirt like feel.

1img_0493

It also has a good sized pocket that fits a cell phone and more.

1img_0512

This project was a lot of fun to make! It’s also pretty simple compared to many aprons. The only difficulty really lies in working with the terry cloth itself. I would rank this project a 3/10 for difficulty.

Supplies

1/3 yard cotton fabric (Fabric may shrink in the wash. I like to purchase a few extra inches just in case.)

1 dish towel

1/4 yard lace trim (optional)

1/2 – 1 yard fusible interfacing (optional)

Coordinating Thread

Here is the cut layout if you need it.

Dish Towel Apron Cut Layouts by learncreatesew

DETAILED INSTRUCTIONS:

QUICK OVERVIEW:

Flat Zipper Pouch

This is a classic zipper pouch! It is a great project to start sewing zippers if you want to learn. These make great pencil bags. They are also fun to fill and give as gifts.

1img_0415

This is also a fun project to use decorative stitching on. I love adding a cute stitch to the contrasting bottom panel.

2img_0355

This is a flat pouch, kind of like a pencil pouch. So, it does not stand up on its own.

1img_0386

That said, it still holds quite a bit!

1img_0387

You can easily adjust the size of the rectangles to make the bag as bid or small as you would like.

The bag I made has final dimensions of approximately 6 x 9 inches.

Supplies

Two 7 x 10 inch rectangles for the lining fabric

Two 7 x 10 inch rectangles of lightweight fusible interfacing (optional)

Two 4.5 x 10 inch rectangles for the outside TOP fabric

Two 3.5 x 10 inch rectangles for the outside BOTTOM fabric

One 11 inch Zipper

Here is the free pattern if you would like it.

Flat Zipper Pouch Pattern by learncreatesew

DETAILED INSTRUCTIONS:

QUICK OVERVIEW:

Needle Book

This is a cute fun little project. It is super fast to make, and handy to have around the sewing room, especially if you do a lot of hand sewing. These also make really cute gifts.

1img_0209

It doesn’t take much fabric, so it is a good way to use up your scrap fabric!

1img_0286

I love the little pockets. You can store thread, needle threaders, needle grips, and even tiny travel scissors.

This book measures approximately 3.5 x 2.625 inches when finished.

Supplies:

Scrap Cotton Fabric (or 1/4 yard)

Felt

12 – 14 inches of narrow ribbon (I used 1/4 inch wide)

Featherweight Fusible Interfacing (optional)

Cotton Batting (optional)

Here is the free pattern:

Needle Book Pattern by learncreatesew

DETAILED INSTRUCTIONS:

QUICK OVERVIEW:

Face Mask Key Chain Case

Once I started making tons of face masks I decided it would be nice to have something to carry them in.

1img_6309

They also make great gifts if you are planning to give face masks to others!

1img_6063

This case is super cute and small enough to fit on a key chain.

1img_6099

I made two different versions, one lined and one without lining.

1img_6372

I also used several different closures – velcro, snaps, key rings, swivel hooks, and D-rings.

1img_6357

I hope you have as much fun making these as I did.

1img_6129

Face Mask Key Chain Pouch Web Pattern by Learncreatesew

DETAILED INSTRUCTIONS:

QUICK OVERVIEW (LINED/FINISHED EDGE):

QUICK OVERVIEW (BASIC/UNLINED):

Pocket (Gift Card) Pouch

With the fabric I had left over from the Toilet Paper Drawstring bag, I wanted to make another little project. A gift card pouch seemed perfect!

1img_5751

I had enough fabric to make the pouch in two sizes.

1img_5762

The smaller pouch is perfect for gift cards, and the larger pouch can hold items that are a little longer.

1img_5797

They are super easy to make, 1/10 on the difficulty scale. They don’t take much fabric, they’re very fast, and make great gifts!

Pocket Pouch Pattern by learncreatesew

I made two videos for this project. The first include detailed instructions and explanations for each step.

Detailed Instructions:

The second is a quick overview if you already know the basics 🙂

Quick Overview:

Toilet Paper Drawstring Bag

As I was contemplating what my next sewing project would be, I couldn’t help thinking about what is on everyone’s minds at present. Toilet paper.

Yes, it is a rare and precious commodity nowadays. So! What to do…

Well, if you feel the need to travel with your toilet paper so you are prepared for those “just in case” moments, here is a little drawstring bag that is perfect to carry it!

2img_5694

Of course, you don’t need to use your drawstring bag to tote around your toilet paper, it can carry a whole lot of different things, but the toilet paper sure fits nice!

1img_5660

This is a great little project to practice sewing curved pieces to straight pieces. It doesn’t take a lot of fabric and it is quick.

1img_5677

Take a look at my video to see how to make it!

DETAILED INSTRUCTIONS:

Here is the pattern for the circular base:

Round Drawstring Bag Pattern

This project is fairly simple. You should be comfortable pressing, sewing curves, and working with small seam allowances. Difficulty 2/10.

OVERVIEW:


Cell Phone Pouch

When I set out to make this project I wanted something simple. I wanted a cute, fun bag that even beginning students could make with success.

For that reason, this is a bag making basics project.

One zipper, one pocket, done.

1img_9342

I had intended this project for my younger students, thinking it would appeal mostly to young teenagers. I didn’t realize how much I would use it!

It is the perfect size to take on a walk, place inside another bag, or use for quick trips.

This week I went to a conference and was carrying around a gianormous bag with laptop, tablet, snacks, notebook, chargers, and more. It was super nice to place this little pouch with my phone, license, credit card, and lip gloss in the pocket of my large bag, and then simply pull it out when I left for lunch and breaks. That way I didn’t have to carry the huge bulky bag with me everywhere. It was very nice to have!

1img_9402

This project is a 3/10 in regards to difficulty. I would recommend being comfortable using your machine as well as knowing how to change to and use the zipper foot.

Cell Phone Pouch Instructions