
No matter how long you’ve been sewing, or how much experience you have unpicking seams is inevitable.
Sooner or later, you will have to unpick a seam. It’s actually good to do so. In most cases, when something goes wrong, it is best to redo it right away. Ignoring it can often make the issue worse, as you may find that what went wrong impacts what you will need to do four or five steps down the road. So, if we can become comfortable and skilled at unpicking seams, we will be able to improve the overall results of our sewing projects!
In this video I will show you four different ways to unpick seams. Since many fabrics are different, often the way we unpick the seams differs as well. All of the methods have their uses and are helpful in a variety of situations.
Method 1: Unpicking from the Wrong Side
This is usually done with the fabric laying flat and right sides together. It is the most common method of unpicking, and is my go to method in most cases.

This method is actually quite simple, but it’s easy to do more work than you need to. Just remember…you don’t have to unpick EVERY stitch! That’s usually not necessary unless you are using a very small stitch length or are working in an area that was backstitched.

Simply slide the seam ripper under every 4th or 5th stitch, tearing the thread, and then pull thread from the back and ta da! It’s all undone!
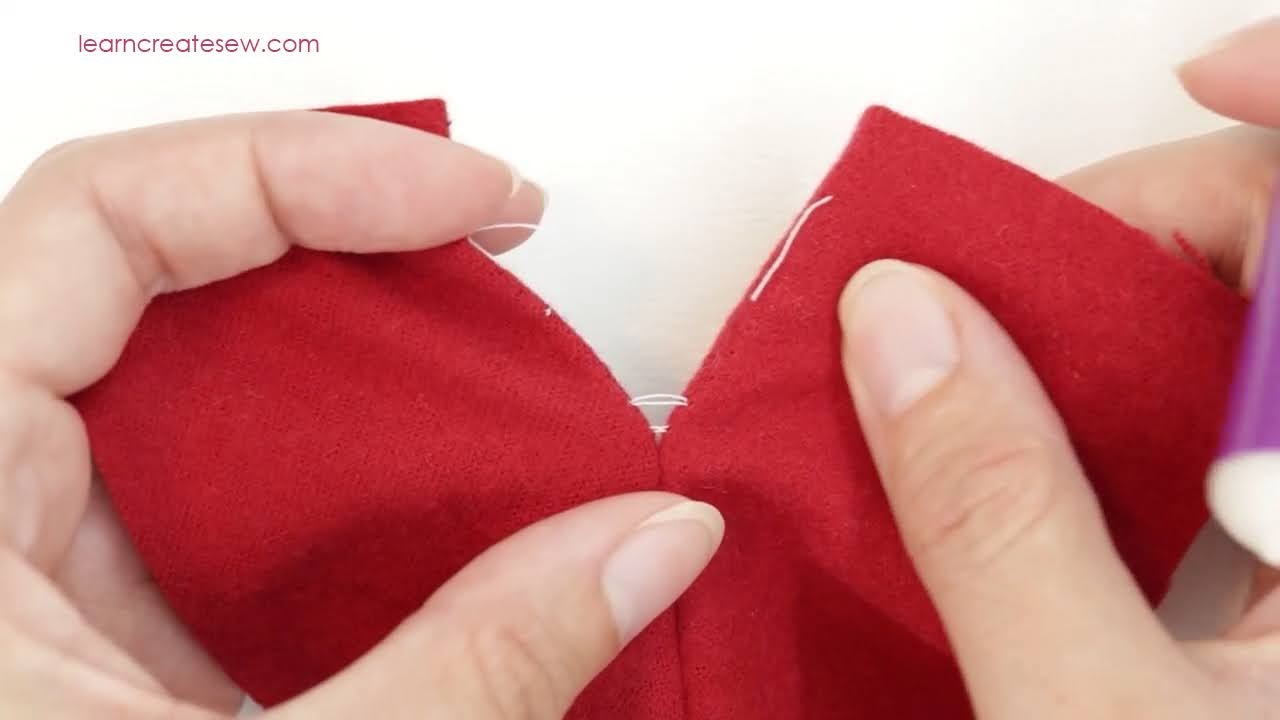
Method 2: Unpicking from the Right Side
I use this method a lot on fleece or plush fabrics. I find on these fabrics my stitches sink right into the fabric, and sliding the seam ripper under the stiches can be difficult. I also like using this method in situations where the stitches are difficult to see, especially if you are using coordinating thread.
Lay your fabric flat with the seam allowance open. Unpick the first few stitches one by one, and then gently pull the fabric on each side away from each other. You will then be able to see the thread between them. This makes sliding the seam ripper under the threads much easier! And since you are gently pulling as you go, it often is quite quick.
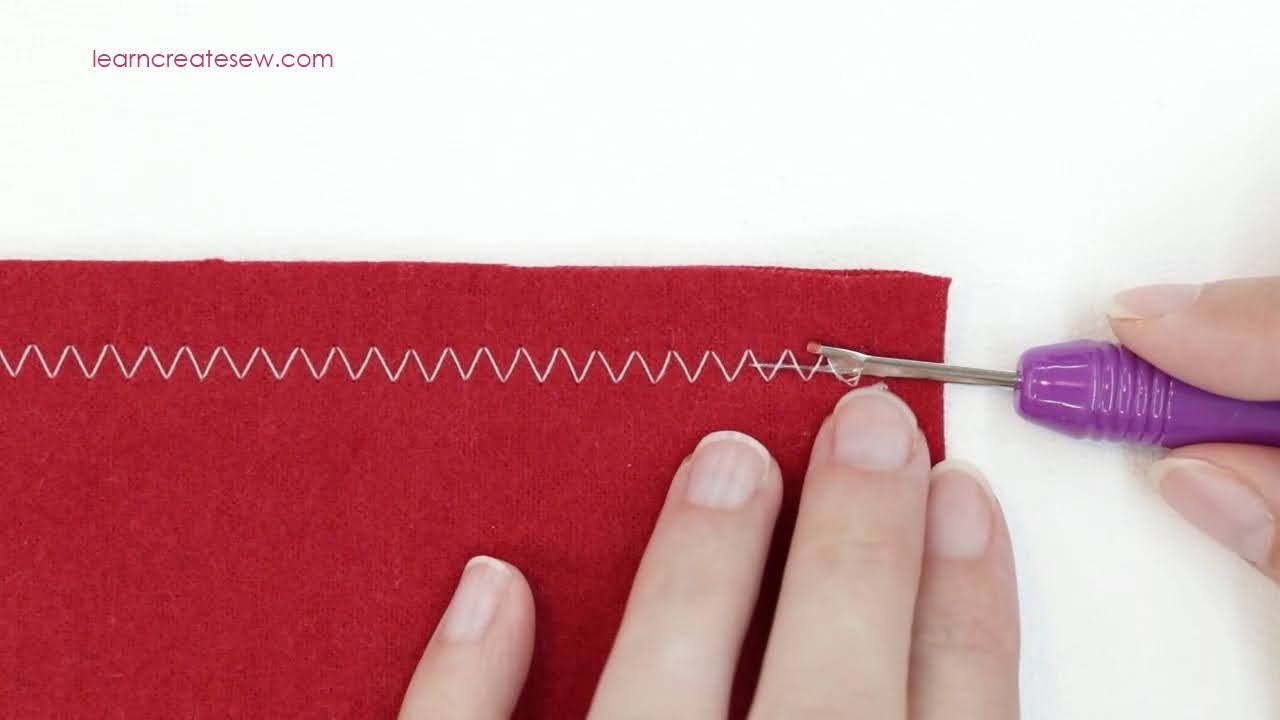
Method 3: Unpicking Zig Zag Stitches
Zigzag stitches are probably the easiest stitches to unpick. You simply slide and go. Guide the point of the seam ripper under the stitches and slide right through. The seam ripper is usually able to glide under several stitches at once, ripping the stitches of the seam in seconds.
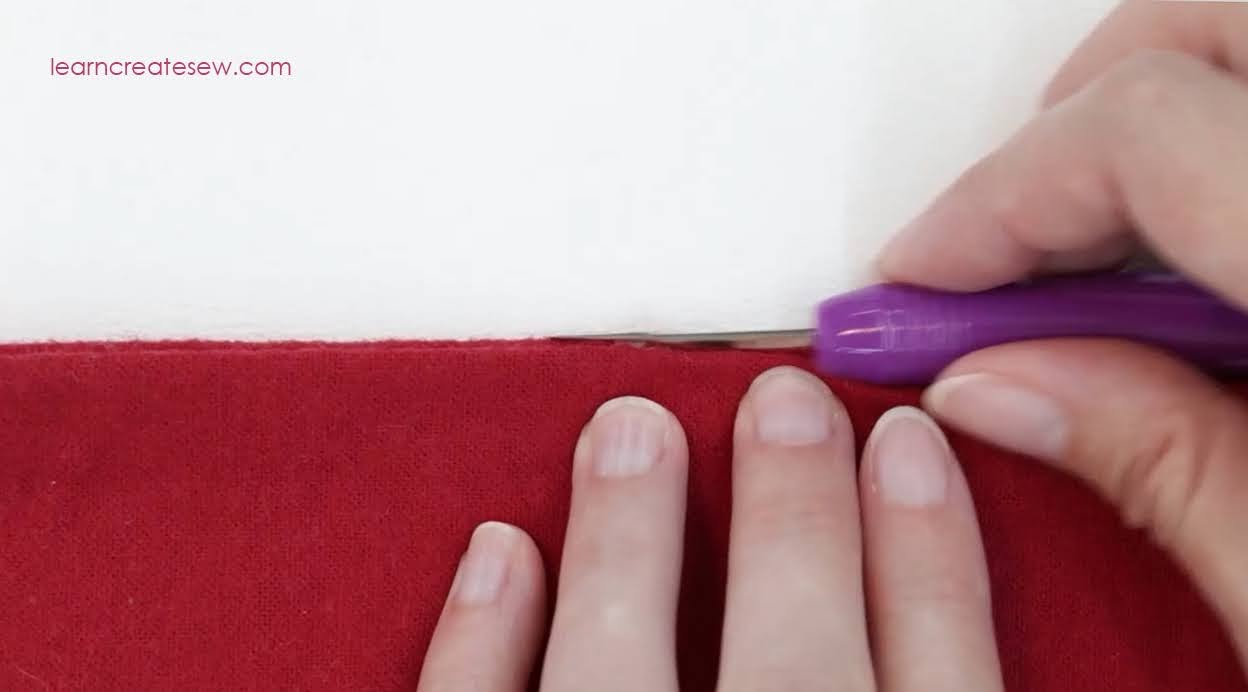
Method 4: Using the Little Red Ball
This is a really popular method for unpicking and is super convenient. Simply unpick a few stitches in the seam to get it started, then slide the little red ball between the layers of fabric, and gently push it through the seam. The little ball helps separate the fabric so only the threads are cut.

As the seam ripper slides down the seam it will cut the stitches. This method is SO fast. If you are careful it works great. This can be done with the fabric wrong sides together such as on the edge of a closed project, or with the fabric laying flat and the seam allowance open (which protects the fabric a bit more). It is actually pretty fun to watch the seam ripper slide smoothly along the edge and take out those unwanted stitches 🙂
I want to love this method, I really do. It is so easy and it’s nice to just slide that seam ripper along and let it do its’ work. Unfortunately, this method does have its drawbacks. Every once in a while a bit of fabric gets caught in the groove and the blade can tear a hole in your fabric. This could happen for a lot of reasons. It could be the weight or position of your fabric, a dull seam ripper, unexpectedly tight stitches, or any number of other reasons. I have on multiple occasions cut a hole in my fabric using this technique. As a result, I don’t use it very frequently. I also avoid attempting it on expensive fabrics or project that don’t have any leeway in sizing. I’ve found it’s just a bit too risky for me. That said, a lot of people love it and this is the method they use all of the time. So, give it a try! Find the method that works best for you and don’t hesitate to unpick a seam when needed!
Video Instructions:
