
I absolutely love corset making! I have made several over the years, and while they can be a challenge I always consider them a fun endeavor and a great addition to many costumes.
I recently picked up the book Corset Making by Julie Collins Brealey, and I really enjoyed it. I used the techniques described in her book to draft my own underbust corset pattern. It turned out great! I highly recommend her book if you would like to draft a corset pattern specific to your body measurements.

After completing my corset several of my students expressed interest in making a corset of their own. So, I decided it would be fun to share the techniques I used with everyone! This is just a simple costume corset and is not intended for tight lacing. I also used budget-friendly easy-to-find materials. For beginners, I think it is important to see if you enjoy the process of corset-making before investing in some of the more expensive materials and tools. I find corset making very rewarding, but many find the process frustrating and would prefer to purchase a ready-made corset instead.
But for those willing to face the challenge, who love corsets as much as I do, this tutorial is for you!
What are the most important skills in corset making, you ask? Organization and precision!
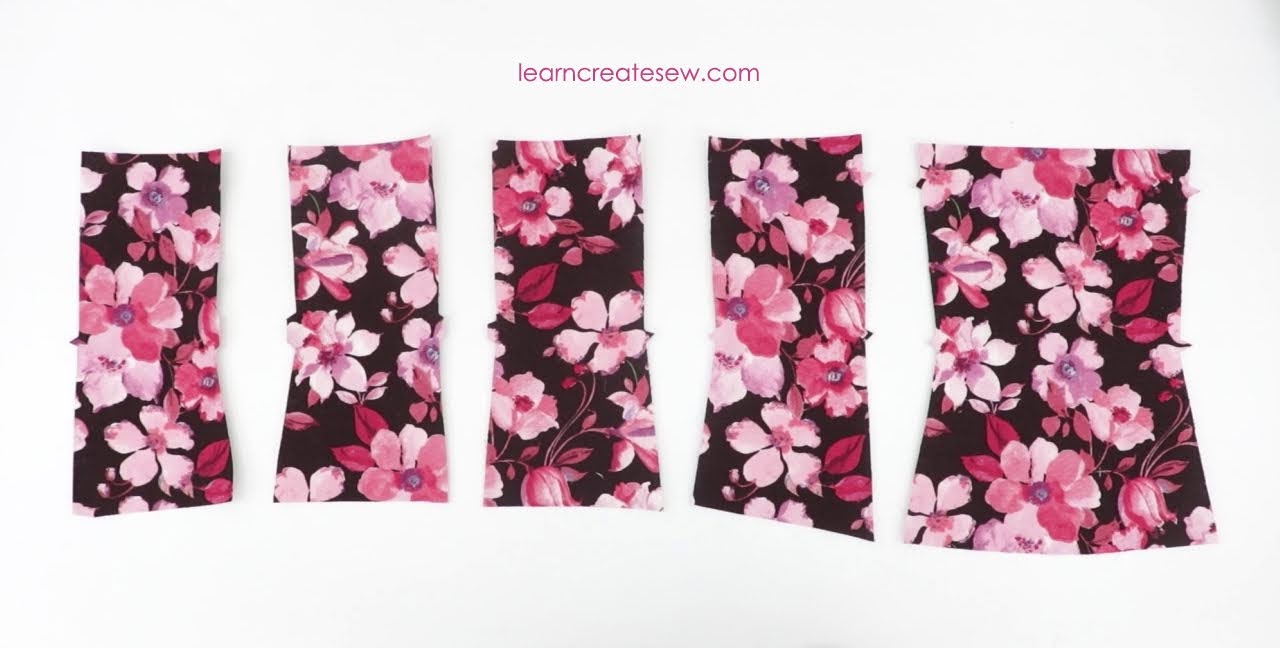
Unfortunately, in corsets, errors are often amplified. There are SO many seams, that a small discrepancy in cutting or sewing can leave the size of your corset off by an inch or two. As a result, I make precision a priority and cut the pieces out in a single layer. Corsets have tons of pieces. Those pieces often look very similar. It is super easy to get them mixed up. As a result, I like to label all of my pieces with significant markings, piece names, and top edges. This helps me ensure that I don’t get pieces mixed up while I am sewing.

For similar reasons, I like to lay out my pieces in the correct order prior to sewing so they stay in the proper position as I put them together.
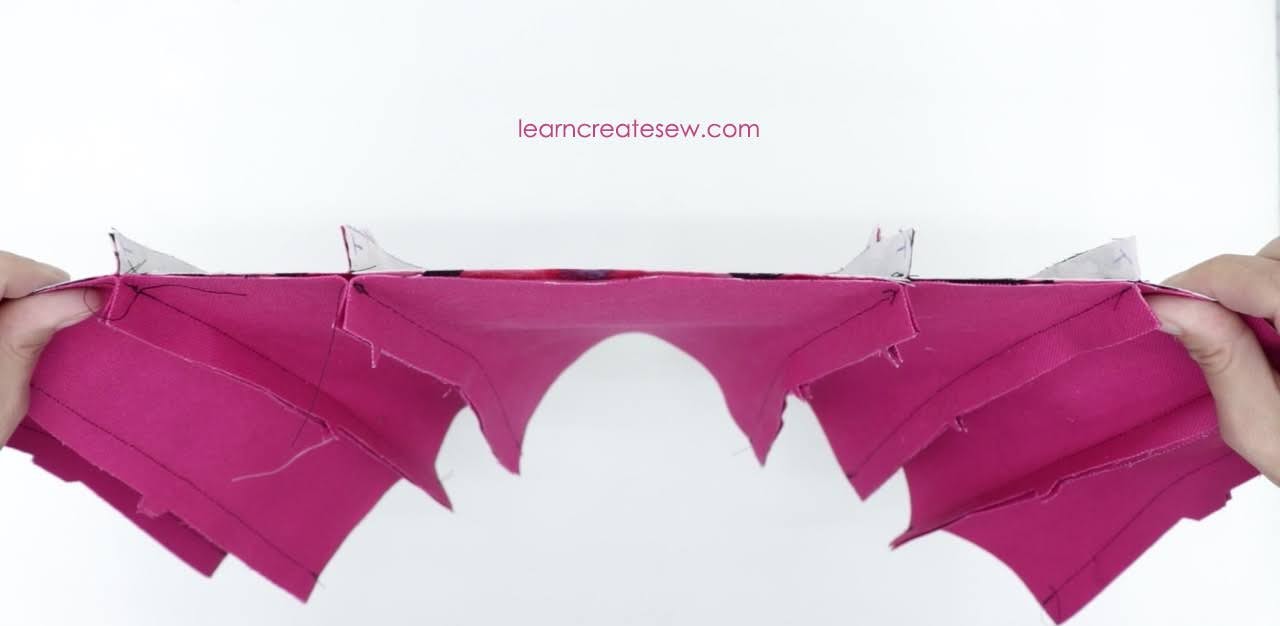
This corset is constructed by assembling a fashion layer and a structure layer and sandwiching them together. Boning casings are made by sewing the two together. No separate casings are needed!

The trick is to ensure that those two layers are the same size so the seams align!
I tried two different pressing methods for my corset. Pressing the seams open and pressing to the side. Watch the detailed instructional video to see what I liked best!

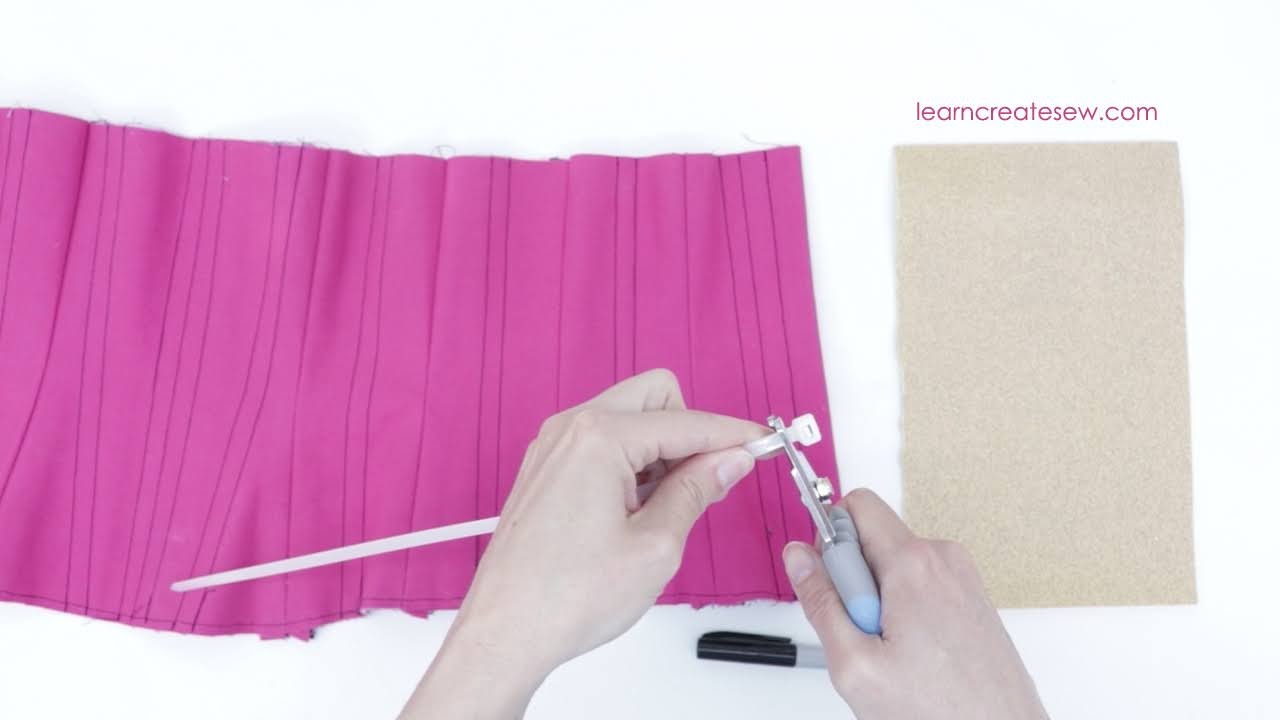
I used zip ties for the bones in my corset! I have always wanted to try them out, and while I found that a lot of them weren’t perfectly straight, they worked great! It was simple to grab a package of zip ties and some pet nail trimmers at Walmart. No waiting for shipping or delays. While they may not be the best option, they worked surprisingly well, and I wouldn’t hesitate to use them again for simple costume corsets.
Rather than eyelets, I used grommets with washers in my corset. These are a bit stronger and last longer. I used a grommet press, but grommet setters that use a hammer are also available.


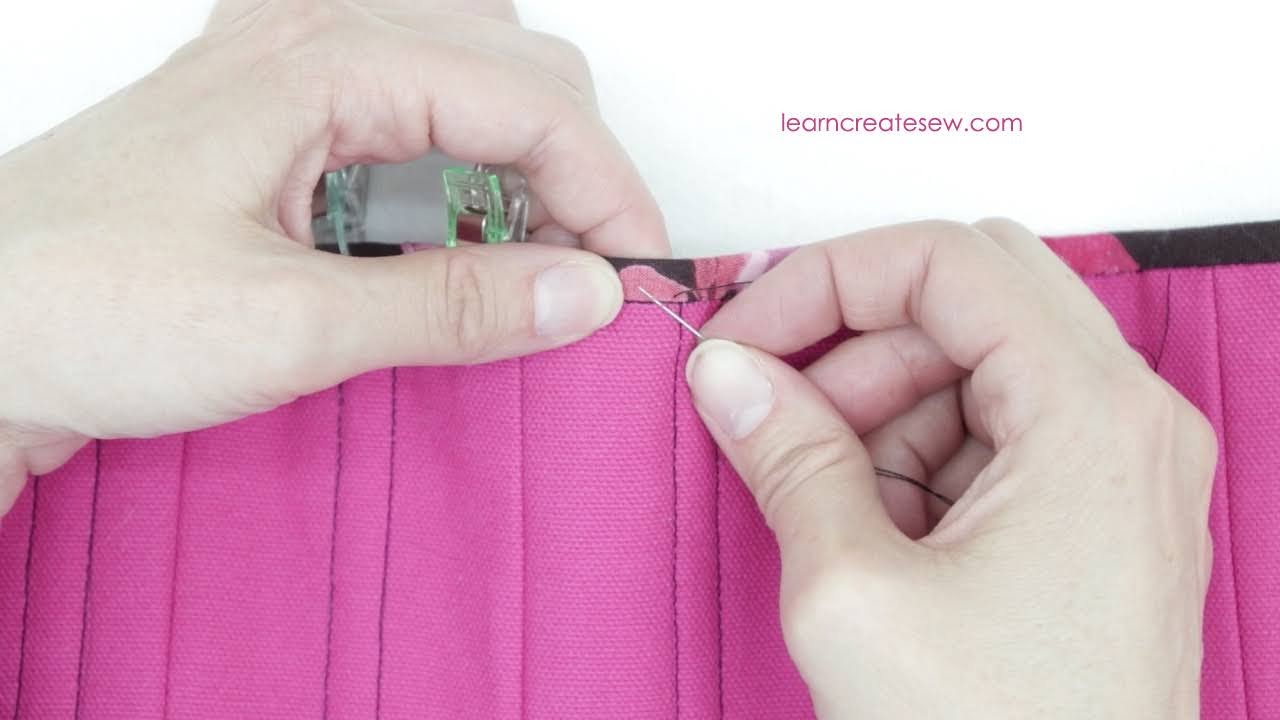
To finish off the corset I made coordinating bias binding. You can see my skill-building tutorial for how to make your own! I just love it when the binding actually matches your project!

I like to finish the binding by hand to give it a nice finish.
Supplies: (Actual quantities may vary depending on size and style)
- 1/3 – 2/3 yd Fashion Fabric (I used quilters cotton)
- 1/3 – 2/3 yd Structure Fabric for Lining (I used duck canvas. Coutil is best. No-stretch denim also works)
- Interfacing (optional)
- Grommets and Washers
- Boning (I used 1/4 inch zip ties and 1/2 inch zip ties. Plastic boning and pre-cut steel boning also work great. Synthetic whalebone is best. Do NOT use rigilene or sew through boning.)
- Coordinating Thread
- Binding (I used 1 1/8 inch strips of coordinating fashion fabric.)
- Lacing (I prefer rattail cord. Corset lacing is best. Ribbon works if grommets are smooth.)
Tools:
- Basic Sewing Supplies
- Sewing Machine
- Grommet Setter (and hammer) or Press
- Awl or Grommet hole punch (I use a small sharp awl and a tapered awl)
- Rulers
- fabric marking tools
- Plastic boning trimmers (I used pet nail trimmers. Sturdy scissors often work for thin plastic boning.)
- Protective Eyewear
- Sandpaper (optional)
- Sewing Clips (optional)
Patterns: PATTERNS INCLUDE NEGATIVE EASE! There is an intentional 2-inch gap in the back. Corset will be smaller than the measurements given. (Measurements indicated are the body measurements, not corset measurements, with the exception of height.)
Measurements are in INCHES
| Size | Underbust | Waist | High Hip | Waist to HH | Height at Center Front |
| Original | 30 | 29 | 34.5 | 3.5 | 9.5 |
| C | 26.4 | 23.9 | 29.7 | 4 | 9 |
| D | 28 | 25.5 | 31.3 | 4 | 9 |
Size Original: (UB 30, W29, HH 34.5, W to HH 3.5, CF Height 9.5)
Size C: (UB 26.4, W 23.9, HH 29.7, W to HH 4, CF Height 9)
Size D: (UB 28, W 25.5, HH 31.3, W to HH 4, CF Height 9)
More sizes coming soon!
Quick Overview:
Detailed Instructions:
Happy Sewing!
