
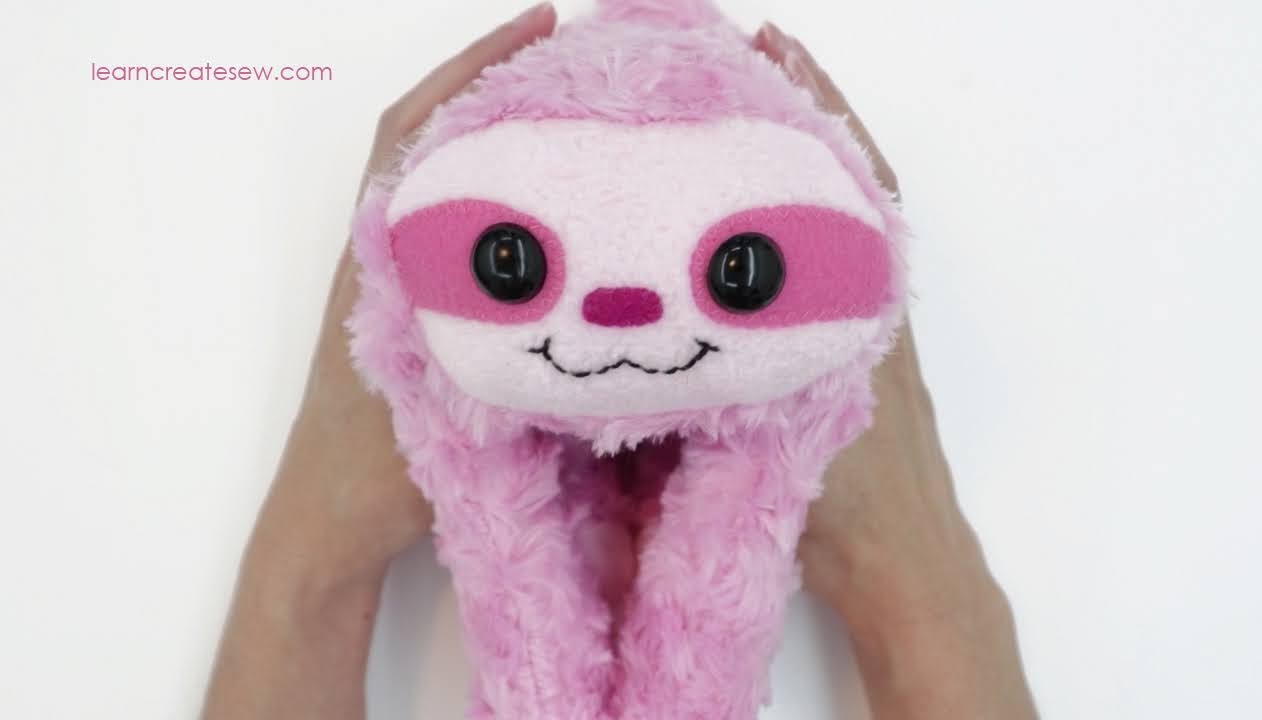
Part 2 of the Sloth video tutorial is finished and ready to share! I hope you are excited to complete this project!
Sloth Supplies:
- 7 x 48 inches Faux Fur or Fleece for body and legs
- 4.5 x 18 inches of fleece for the face and claws
- Scrap felt for face details
- Two 16mm Safety Eyes (You could also use felt circles or buttons if you prefer)
- Embroidery floss
- Magnets, Velcro, or Snaps (optional)
- Scrap fabric to cover magnets (optional)
- Coordinating Thread
- Poly-fil Stuffing
Helpful Tools:
- That Purple Thang
- Air Erase Markers
- Doll Needle
Files:
Sloth Quick Overview:
Sloth Video Detailed Instructions PART 1:
Sloth Video Detailed Instructions PART 2:
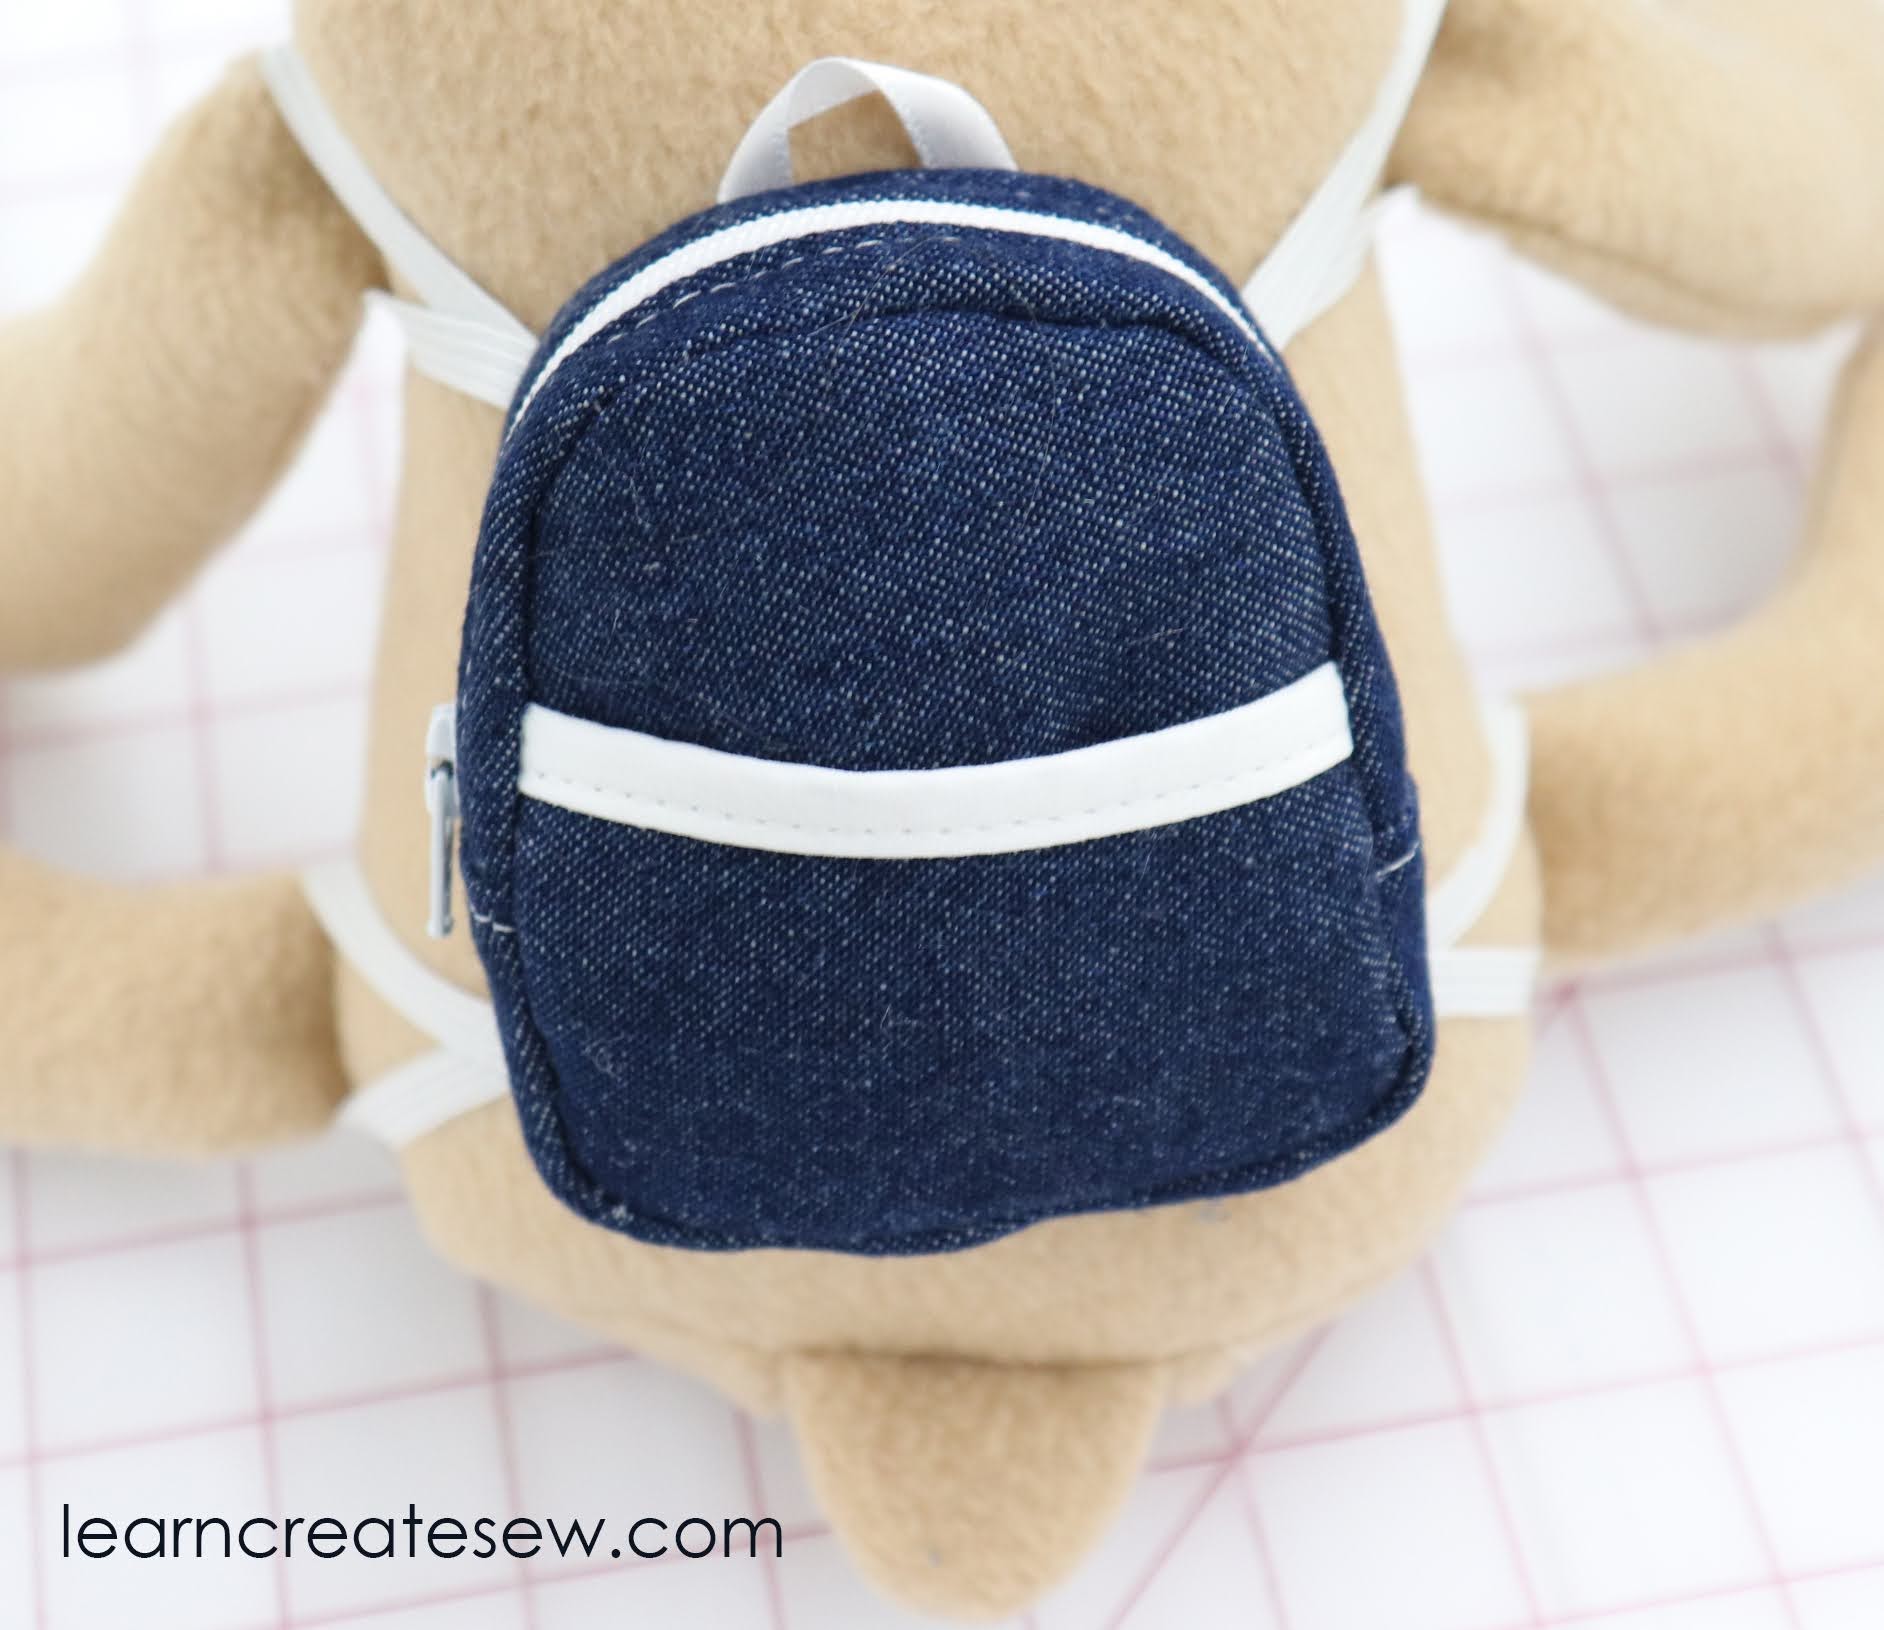
BACKPACK
When I made the sloth plush project I always intended for there to be accessories to go with it. So, here is the first!

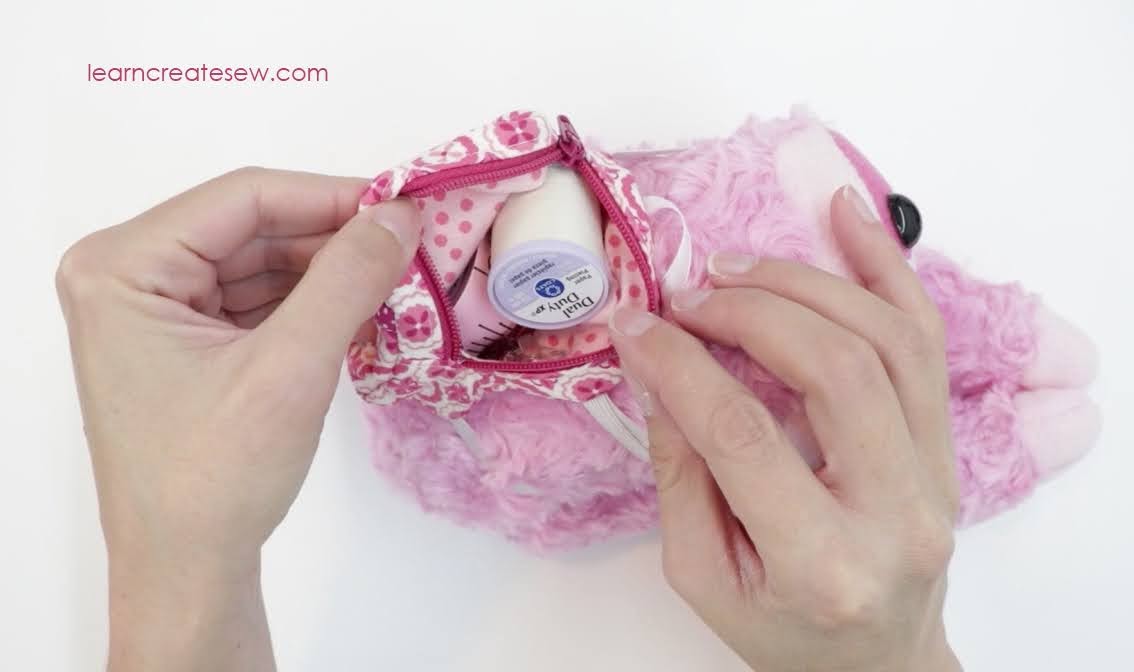
This is a tiny little backpack that is just adorable on the sloth project!
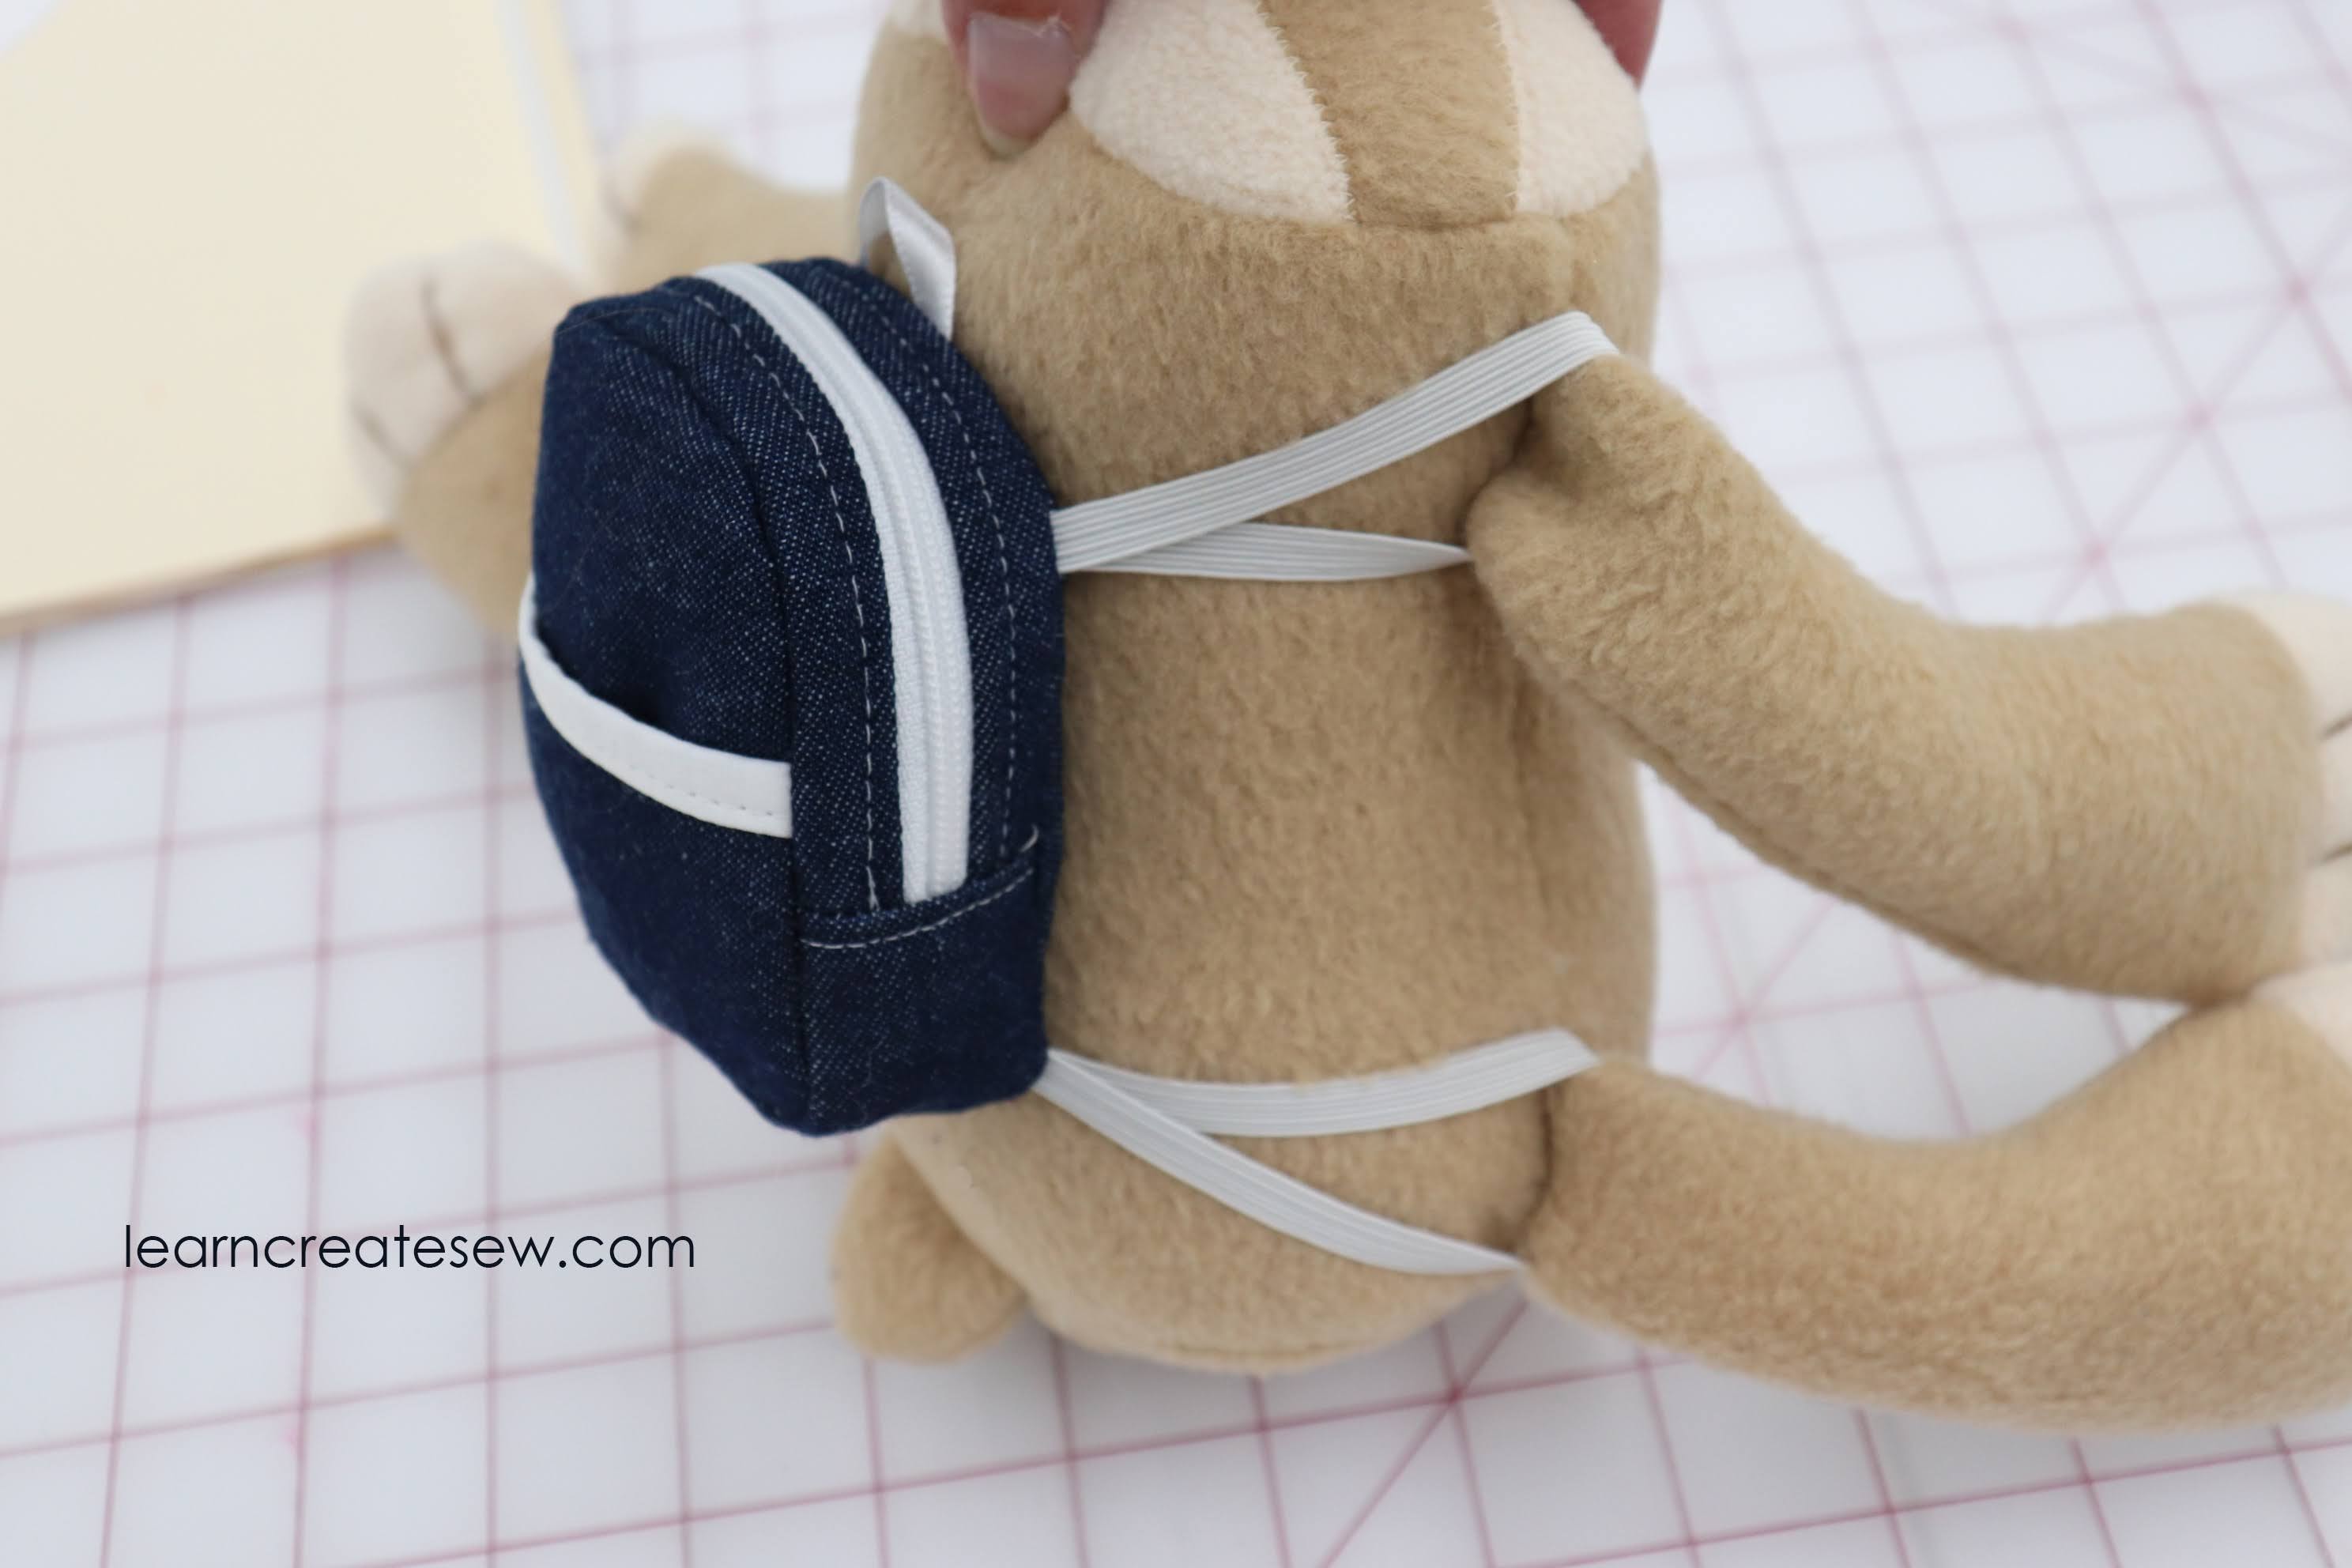
It could easily be adapted for other dolls and stuffed animals by adjusting the elastic straps.
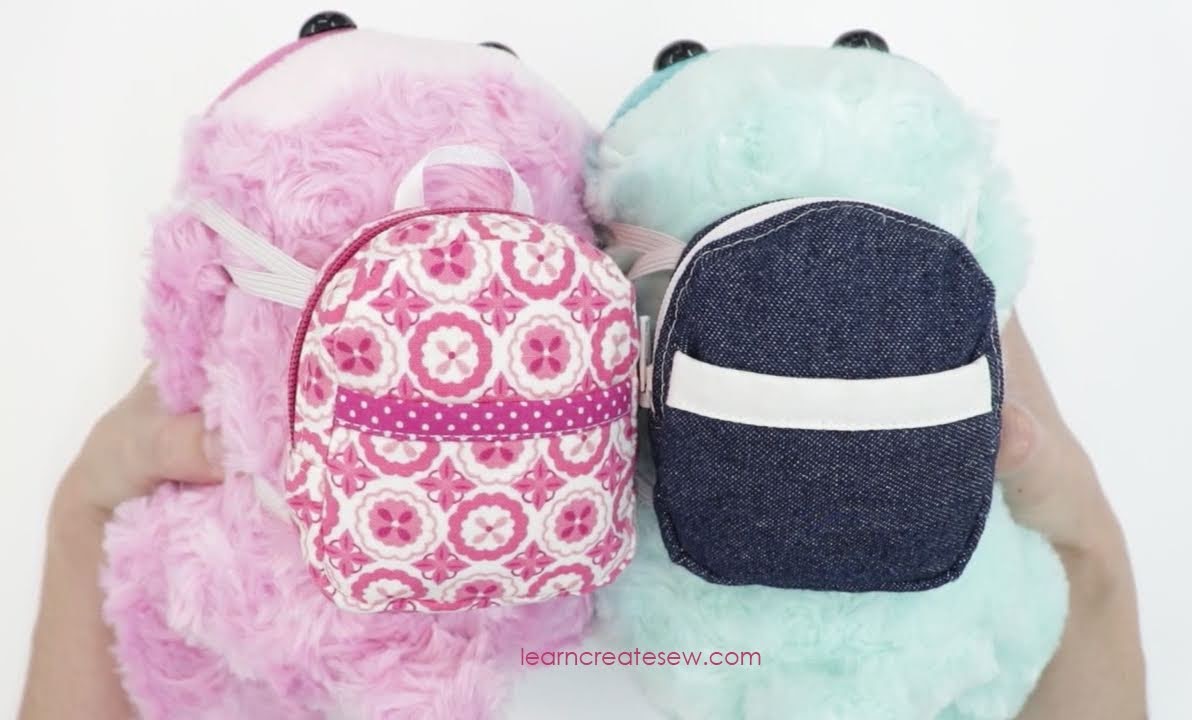
You can choose to make the backpack out of a single layer of fabric (like my denim example), or you can make it with lining (pink example). There are also two different options for the lower straps. Loops that go around each leg, or a single strap that goes around the belly.

Overall, I was really happy with how this one turned out. I hope you enjoy it as well!

Supplies:
- 4.5 x 18 inches of Main Fabric
- 4.5 x 18 inches of Interfacing (optional – I used Pellon SF101)
- 4.5 x 18 inches of Lining Fabric (optional)
- 1.75 x 4 inches of fabric for the trim
- 3 inches of 1/4 inch wide ribbon (optional)
- One 7 inch Zipper
- 3/4 yard (27 inches) of 1/4 inch wide elastic
- Coordinating Thread
Files:
Backpack Video Instructions:
