
For many projects, a bit of coordinating bias binding can make a huge difference in overall quality and appearance. It can be tempting to just grab a package of premade binding from the store, but it is SO nice when it actually matches your project! The process of making your own can seem a bit strange at first, but once you get the hang of it can go pretty quickly.
Bias binding needs to stretch to mold around curves and edges. As a result, the binding has to be cut in the correct direction. Being familiar with the different grainlines of a woven fabric is very helpful. (See the video below for more information on fabric grainlines.)

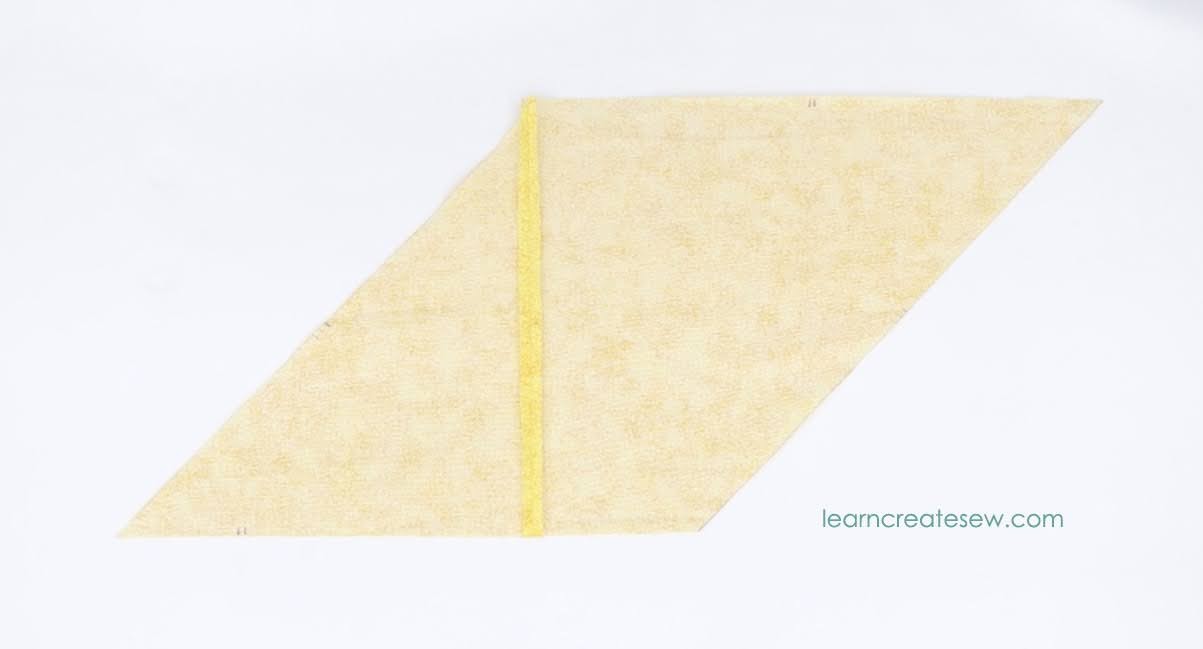
Mark the bias line and cut along the line.

With the right sides together, sew the two pieces together along the lengthwise grainline.

Press the seam flat and then open. The seam is going in the same direction as the lengthwise grain. This means that the bias is at a 45-degree angle to the seam.
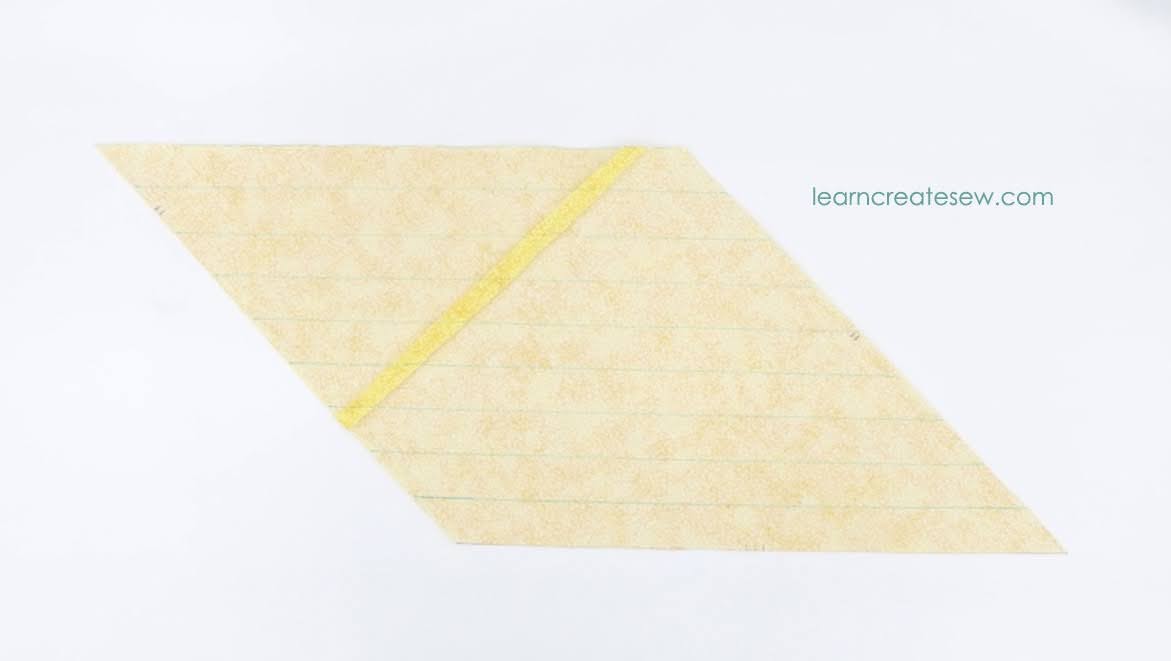
Turn the fabric so the bias edge is now on the bottom.

Draw lines parallel to the bias edge. The lines shown below were drawn 1 inch apart. This separating distance will be the width of your bias strips. You can make them wider, or more narrow depending on what you need for your fabric. A narrower strip will yield more yardage than a wide one. The rectangle below, which was 10 x 14 inches, provided about 3 yards of 1-inch wide bias strips.
Mark a 1/4 inch seam allowance on each side (following the cross-grain edges). Fold the fabric so it is right sides together. Offsetting the fabric by one strip, align the intersection points. See the instructional videos below for more details.

Stitch along the 1/4 inch drawn seam line (cross-grain) and press the seam open.

Cut along the lines to create a long continuous bias strip.

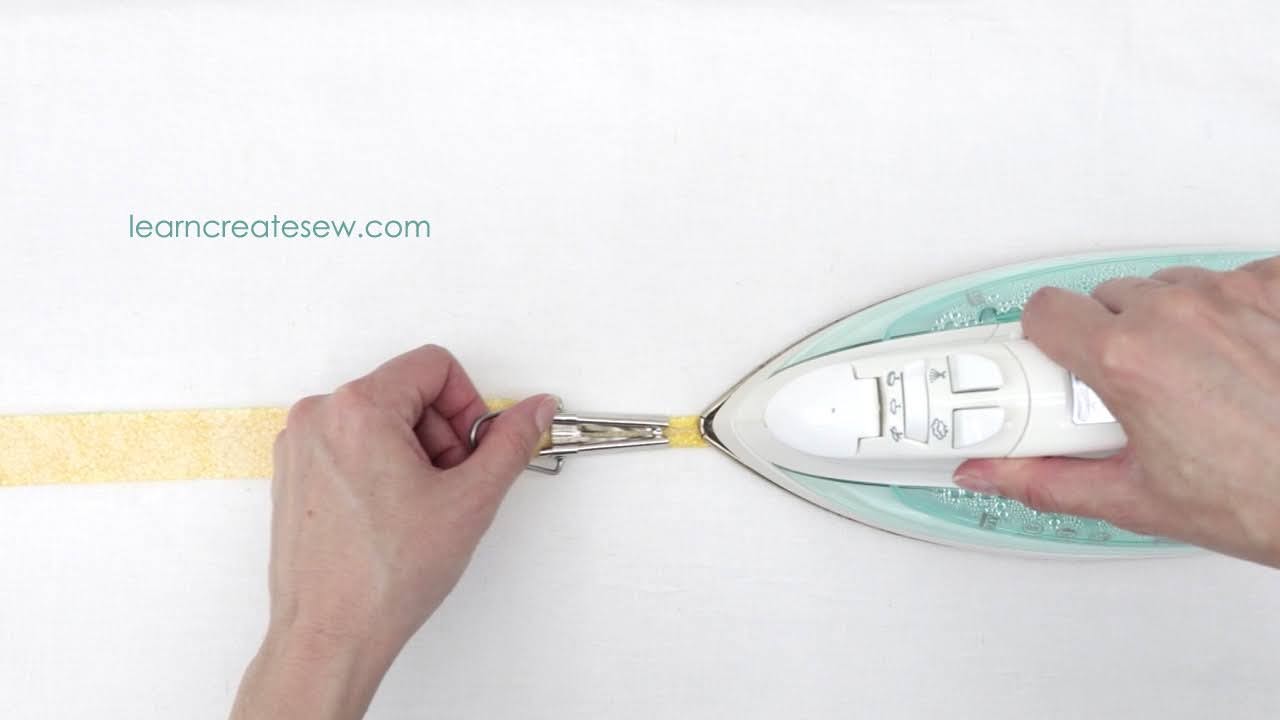
If needed, you can then fold the two raw edges to the center and press. This step is easier if you use a bias tape maker to help you. I am using a 12mm bias tape maker for my 1-inch strip.
Tools/Supplies:
- Woven Fabric – Fat Quarter or Scrap fabric (recommend no smaller than 10 x 10)
- Coordinating thread
- Iron
- Grid ruler
- Precise fabric marking tool or sharp pencil
- Scissors
- Pins
- Sewing Machine
- Bias Tape Maker – half the width of your strip (optional)
The Grainlines of Woven Fabric: Lengthwise Grain, Cross Grain, and Bias
Identifying Grainlines on Scrap Fabric – (This clip is Included in the detailed instructions for bias binding video.)
Making Continuous Bias Binding Quick Overview:
Continuous Bias Binding from Scrap Fabric Detailed Instructions:
Happy Sewing!
