
I have been making a lot of bags lately and one feature that I use almost all of the time is a zippered pocket.
These are super cute and convenient on both the inside and outside of the bag!

To create a zipper pocket you need one zipper, fabric for the pocket, and the fabric panel (either lining or exterior fabric) where you want the zipper to be placed. You begin by placing them fabric pieces right sides together. You then sketch a rectangle for the zipper window on the wrong side of the pocket fabric. I like to make the zipper window at least 1 inch below the top edge of the pocket fabric and at least 1 inch from each side. I also like to make the window 3/8 inch tall. (You may need a taller rectangle if you are using a zipper with larger zipper teeth.

You then stitch EXACTLY on the rectangle. This is super important! For years when I tried making a zipper pocket it always looked sloppy because I wasn’t careful about stitching the rectangle. To help myself be more precise I now use stitch length 2.0. I also slow down as I approach the corners and make sure I pivot with a 90 degree angle. Another trick that helps is to count the number of stitches you use to show the first short side and use the same number of stitches on the other short side. This will help make a nice even rectangle.
TIP: If you accidentally stitch too far, or mess up, I recommend taking the time to go back and fix it. It makes a big difference. Avoid simply backstitching to correct the error if you go too far. This actually makes the pocket harder to turn and it won’t lie flat in the end.

Next, you will clip the center of the window. Cut a line horizontally down the center of the box. About 1 cm from each end angle off to the corners. Clip very close to the stitches but be sure not to actually cut the thread!

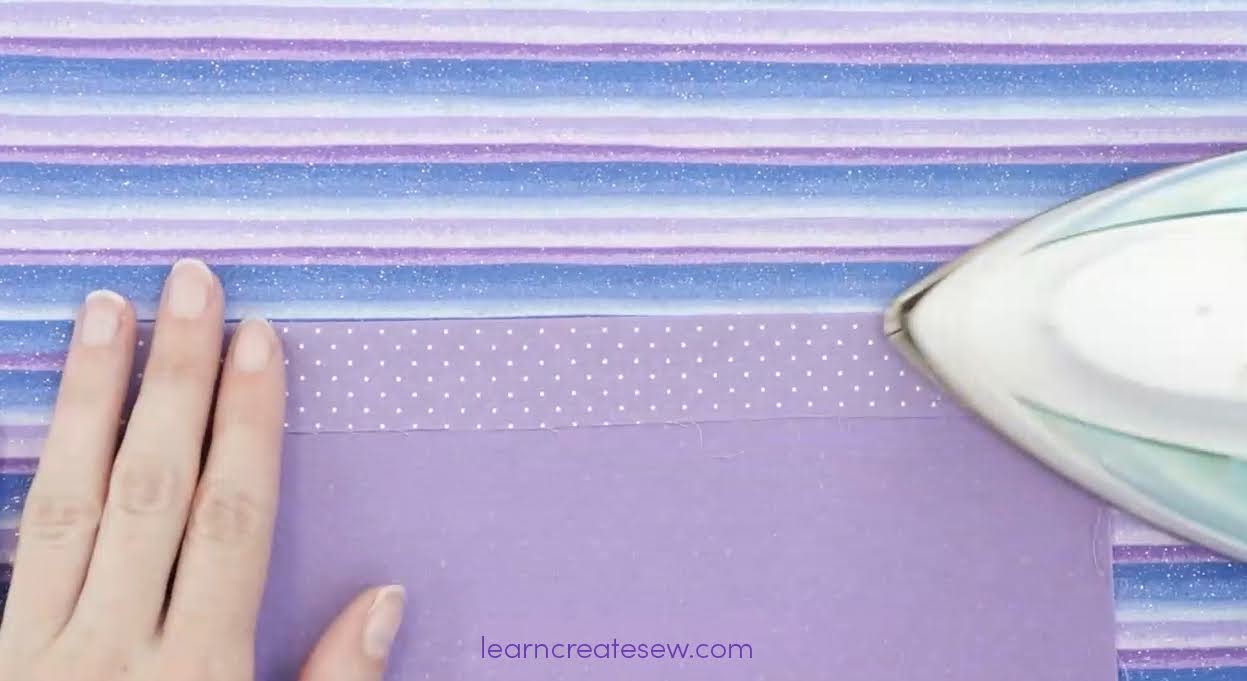
Before I turn my fabric I really like to press. I find this helps the fabric to lay flatter and creates a better rectangle.
I fold the pocket fabric down along the top of the row of stitches of the rectangle and press. Then I do the same, lifting the pocket fabric up and pressing on along the bottom edge of the rectangle. And repeat for the left and right. It helps SO much!!!!
Then after pressing, I turn the pocket fabric through the opening, shaping the rectangle and press. I like to press from both the pocket side and the main fabric side.


TIP: Using a tailors clapper to help press is also really nice! It helps trap in the heat and set the folds.

Finally, you are ready to add the zipper! Simply lay the zipper right side up and place the window you created right side up on top of it. You can use pins, fabric glue, or double sided wash away tape to hold the zipper in place. Then stitch around the rectangle with a 1/16 – 1/8 inch seam allowance.
TIP: Before you start sewing make sure you know where the metal stoppers for your zipper are placed. You don’t want to accidentally stitch on one. It could cause damage to your tools and./or injury.


Once the zipper is attached it’s time to make the pocket! Simply fold the bottom of the pocket fabric up so that it touches the top of the pocket fabric, with right sides together. Pin around the edges (of just the pocket fabric) and sew with a 1/4 inch seam allowance. You will have to move the main fabric out of the way as you do this.
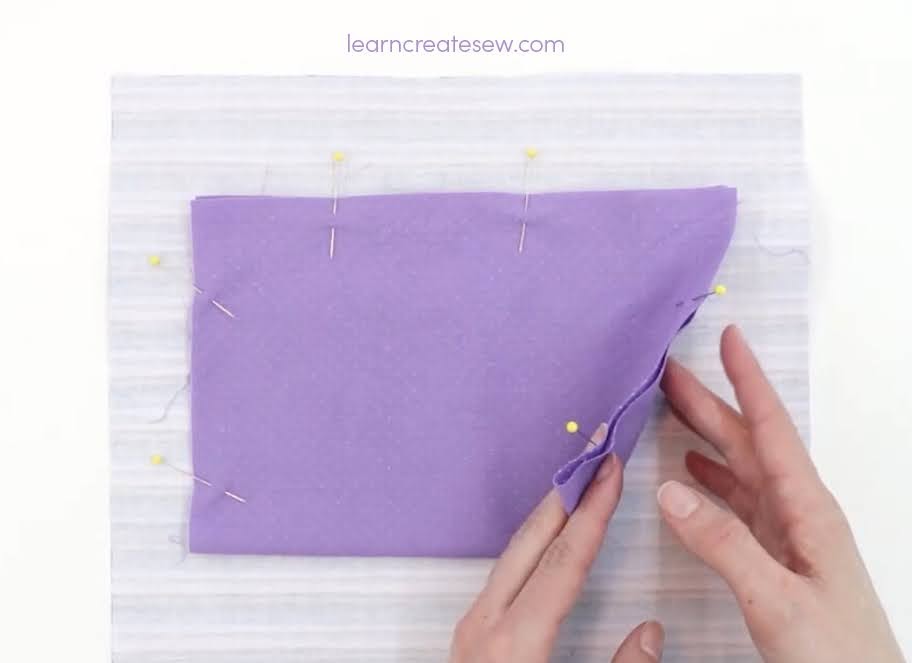

And the pocket is finished!
Below are video instructions for how to create the zipper pocket! There is both a Quick Overview and Detailed Instructions.
QUICK OVERVIEW:
DETAILED INSTRUCTIONS:
Happy Sewing!

Trying to find how i can correspond, to you in private about your Rag Doll and tutorial.
1st THANK YOU for not only sharing, but holding hand and showing me how to’s.
She is super duper cute.
You are very welcome! I am so glad you enjoy the Rag Doll tutorial. Unfortunately, comments are the only method of communication currently available on my website. I am sorry to say that I don’t have any private correspondence available at this time. I am so sorry for the inconvenience.