The fabric ties are great! They are durable, comfortable, and work really well. That said, they can be time consuming to sew and can be challenging for beginning sewers, so I started searching for an alternative.
I had just finished my rag doll tutorial and yarn was EVERYWHERE in my house. It inspired me 🙂 Why not have yarn ties for face masks.
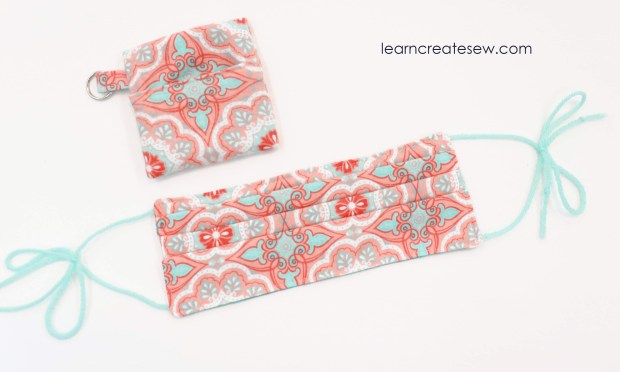
Yarn ties are super easy! They are quick and make the construction of the face mask very simple. I made a few test masks and ran them through the washer and dryer in a lingerie bag and they came out great. The ties also are easy to make in different styles.
There are a few drawbacks to yarn ties. First, always tie them with bows. If you get a knot, you may not be able to get it undone and may have to cut your tie. Second, some people may be sensitive to the feel of the yarn behind their ears and neck. Use soft yarn if possible. They are also not as sturdy. As a result, I still recommend fabric ties for durability and for donations, but yarn ties are great for ease and convenience. So, if you’re just looking for something to grab when you run to the gas station or mail box, these are great!
This tutorial shows you how to make 3 different styles of yarn ties. Two long ties behind the head and neck, two short ties to tie behind the ears, and one long tie to tie behind the head.
DETAILED INSTRUCTIONS
These masks also fit great in my Face Mask Key Chain Cases
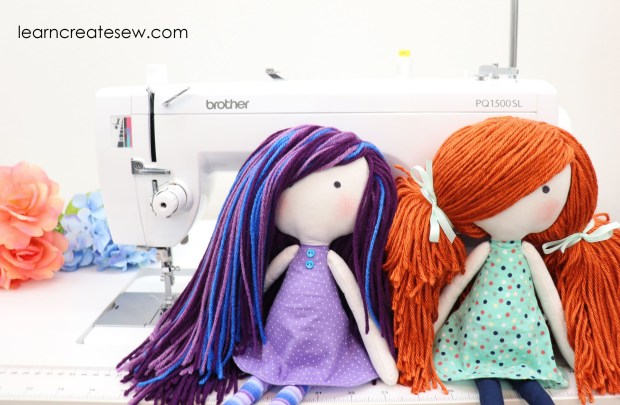
Here is the second installment of my rag doll tutorial. This was by far one of the most difficult videos I have made. Not because the process is hard, but because there are so many different styles of hair that can be selected and so many methods with which it can be applied.
I spent a lot of time deciding what I would share because I didn’t want anyone to feel limited in the approach they had to use. Not to mention, there was a whole lot of yarn that did not want to cooperate and stay in place while filming! Apparently it does not take direction well.
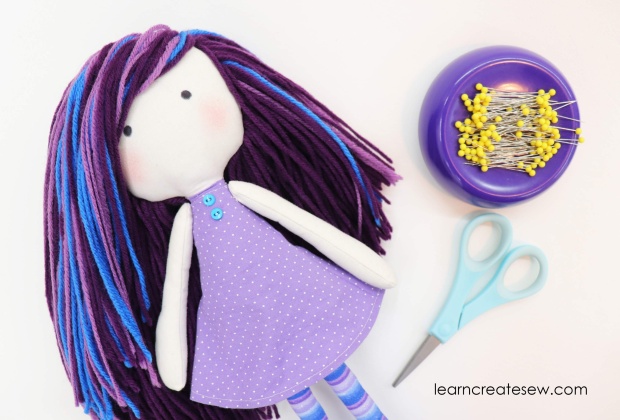
I really enjoyed using multi-colored hair on this doll. Mixing and matching colors strand by strand was a lot of fun, and I really like the look it created.
On the above doll the majority if her hair is the dark purple color. The wefts added at the bottom were all the same color, however at the top, I added just a bit of contrast.
I hope that you can take the methods used in this video and expand upon them to make something all your own 🙂
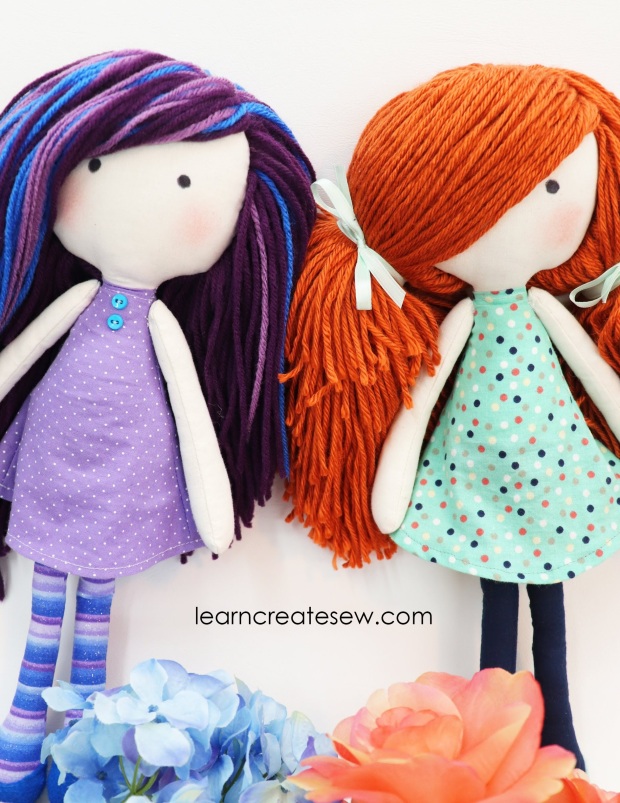
I love the drastically different looks you can create by altering hair styles and color.
Here is my rag doll pattern in case you missed it in the last post. The doll is just over 14 inches tall when completed.
I have finished my rag doll pattern! I’ve been working hard to create the instructional videos and I am happy to say that I have the body instructions ready to share with you today.
I really enjoyed working on this project and mixing and matching fabrics to create the body of the doll.
I love all of the different styles you can design to make the doll uniquely your own!
This project is a bit more time consuming than others and does require a bit of patience. It is probably a 5/10 in difficulty just for the amount of time needed to hand stitch the hair and for the exactness of seam allowance that is needed. When sewing plush projects, a small error in your seam allowance can make a big difference in the appearance of your doll. You also need to be comfortable slip stitching and working with small curves.
The doll measures between 14 and 14.5 inches tall when finished.
A rag doll was one of the project brainstorm ideas that I posted in my sketchbook recently. The project is a bit time consuming, so I opted to do other projects first.
However, this weekend I was quite excited to have the time to work on the project.
First, I drafted two pattern options. After testing them both I made some adjustments to my favorite version and found a shape I was pretty happy with!
Next came the daunting task of tackling the hair! I do have to say that it took longer than expected to hand stitch all that yarn! Thank goodness for comfy couches and Netflix. It definitely helps the process.
Once I was happy with my rough drafts, I went on to test the project!
I have to say, I was quite happy with the results! I love all of the hair! It took about a half skein of yarn, but I love how puffy it is!
I hope to have instructions and patterns ready to share soon!
This was a really fun project to make! It took me a few tries to perfect the sizing, but I was very pleased with the results.
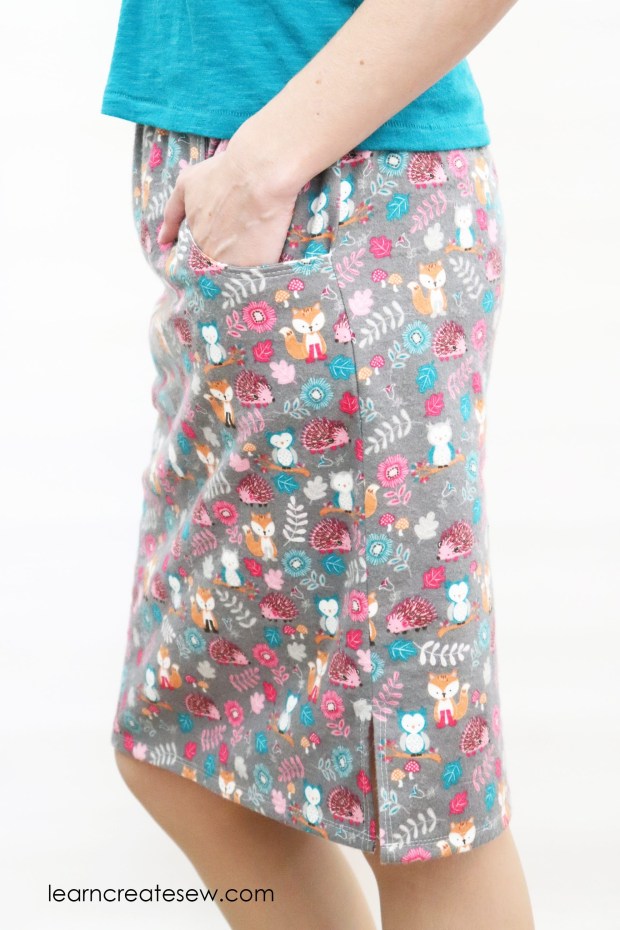
When I designed this project I was looking for something to lounge around in, especially in the summer.
Pockets are a must for me, so that was the first thing I decided the skirt needed.
Next, slits were a priority for ease of movement. I also ended up choosing an elastic waistband for simplicity. The elastic doesn’t have a casing, but is exposed on the inside of the skirt.
Then, I looked at my huge stack of flannel. That definitely needed some attention. You don’t necessarily need to make the skirt using flannel fabric, but that is the only fabric I have tested the project on.
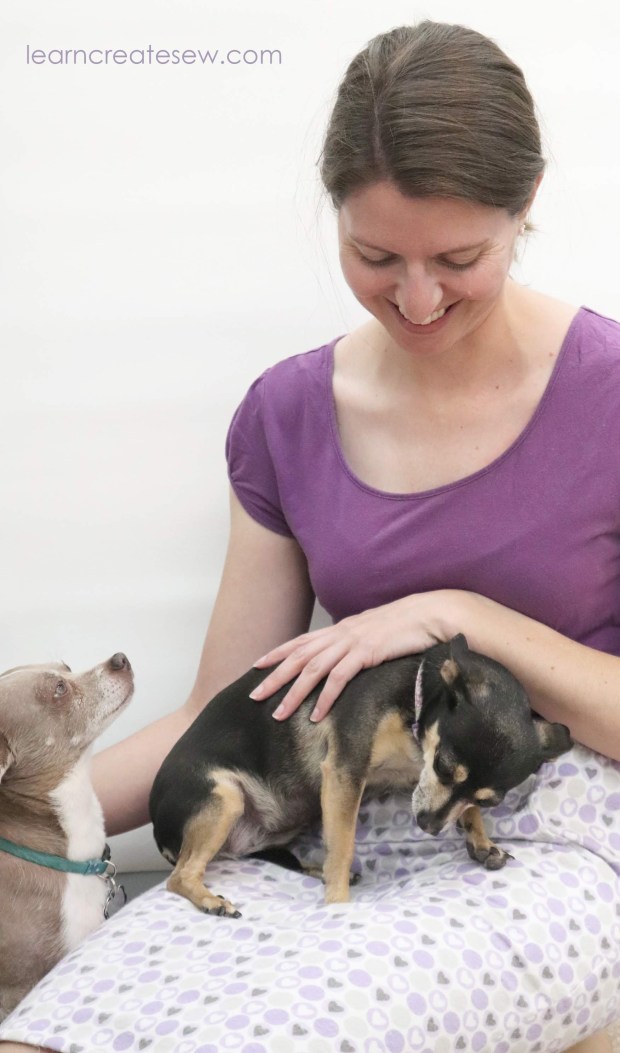
The skirt is designed to sit at your natural waist, where you bend, and is very comfortable. Here is my casual skirt in action as I tried to take photos. My dogs decided it was a great time to be helpful. Unfortunately, their photography skills are lacking. Luckily, they make up for the lack in cuteness.
I know this project is a little unexpected. I wasn’t planning to make fleece slippers. The idea has been sitting around in the back of my head for a while, but I hadn’t had great success in making a pattern that worked for me.
Thank goodness this week my mom came to stay with me 🙂 The subject of slippers came up and since she wanted to make slippers it got me started on this project again, and I am very pleased with how it turned out!
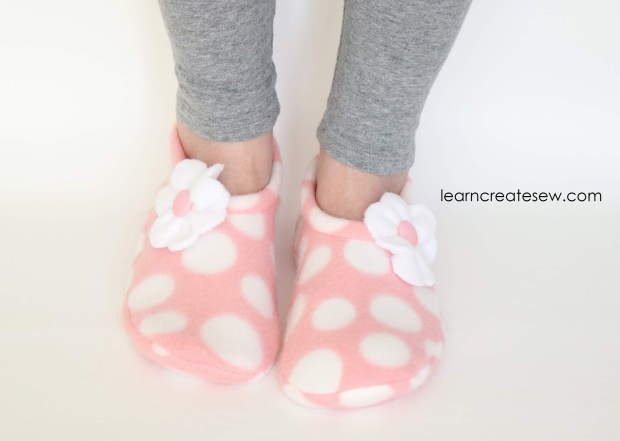
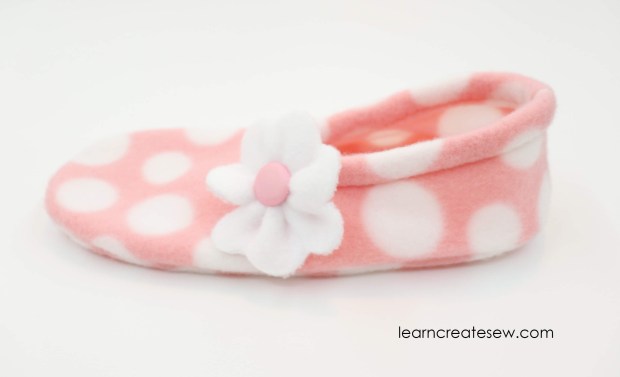
We just wanted a simple fleece slipper. Something casual and easy to make.
Of course, then we had to make them cute and add decorations!
Flowers were the first addition 🙂
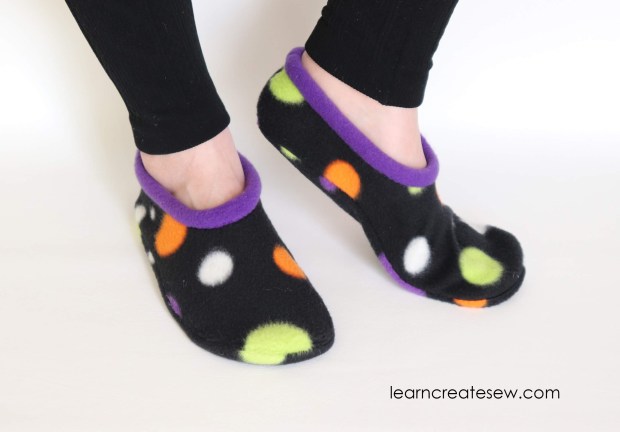
We also played with contrasting binding. My mom made this cute pair with purple binding.
After cuteness, we moved on to comfort. The first addition for comfort was two layers of fleece for the base! My mom’s brilliant idea! This really made a difference. It made the side seams less noticeable, hid all raw edges, and added a layer of cushion as well.
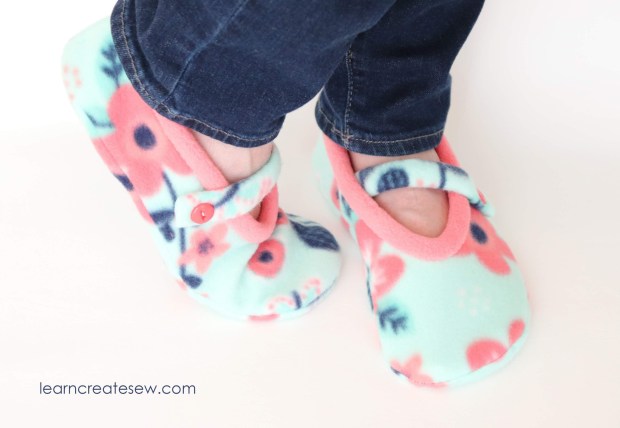
We also found that each of us preferred a different style of slipper. While my mom loves the classic snug fit with a lot of coverage, I found that the high opening wasn’t what I was used to.
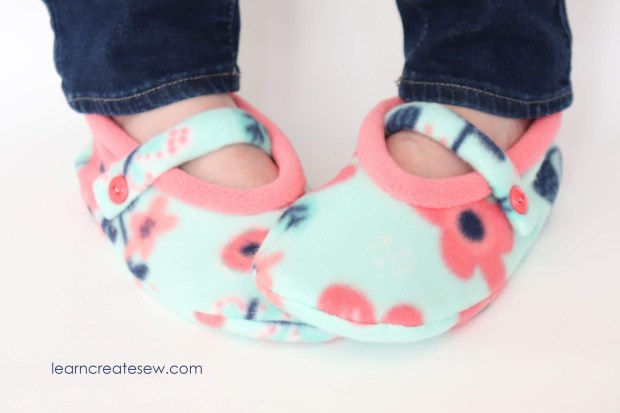
So, we altered the pattern. We decided to add a second style, ballerina fit, with a larger opening and longer band. We then added an optional mary jane strap, just for cuteness.
In the end, while we hadn’t planned to spend several days making slippers, it was totally worth it. We both love our homemade slippers!
The project is fairly easy. You just need to be comfortable working with fleece and using a zigzag stitch.
The pattern is a woman’s size 7 but can be adjusted slightly for other women’s sizes.
This composition book was a lot of fun! It was a challenge to construct, but I think it turned out great!
It is a bit more difficult than the pocket cover as you have to work with vinyl, a zipper, and several more pieces. That said, the result was worth it!
I decided to make the composition book cover first.
I tested my pattern several times looking for the best fit and arrangement. While my first plan was to just make the zipper pocket with the window, it was quite difficult in some respects and I wanted the project to be practical for sewers of all ability levels. As a result, I ended up making a pocket version as well.
I was quite pleased with how both turned out and hope to have tutorials available soon!