Sloth Plush – Free Pattern & Instructions

One of my favorite projects that I made this year was a sloth plush! My students absolutely love making plushies, and as I am sure you have noticed sloths are HUGE right now.

1img_7299

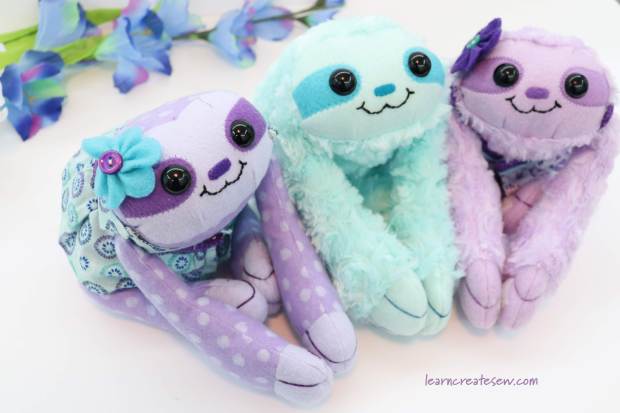
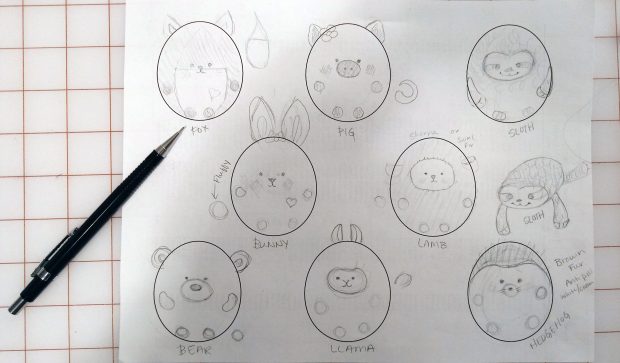
I tried several different designs for the plush before coming up with this one.

1img_7348

I really like that you can hang the plush if you want to.

1img_7275

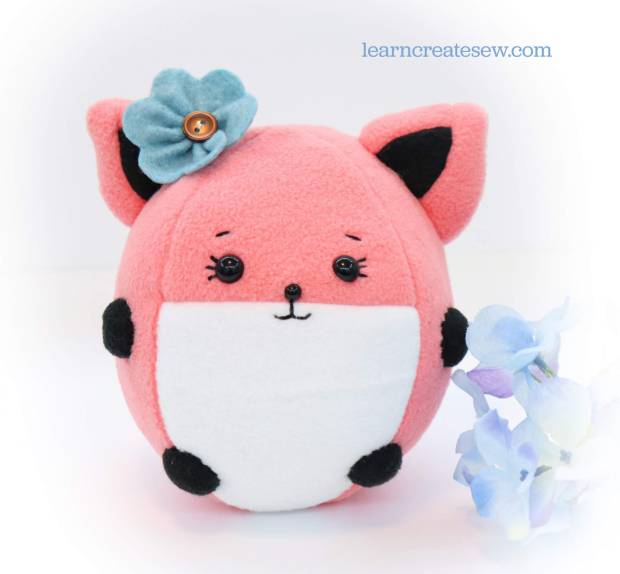
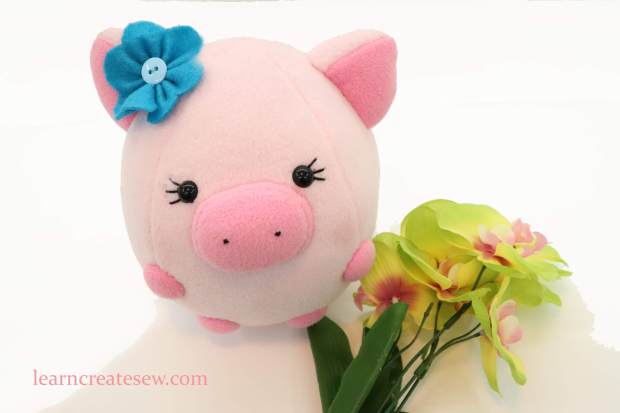
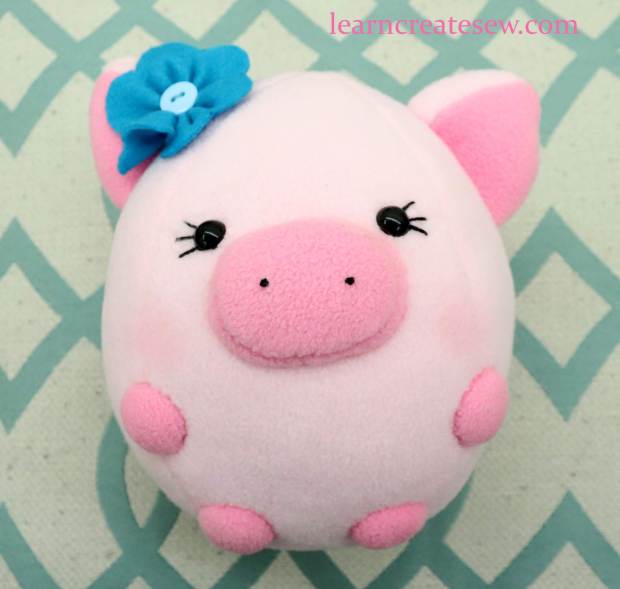
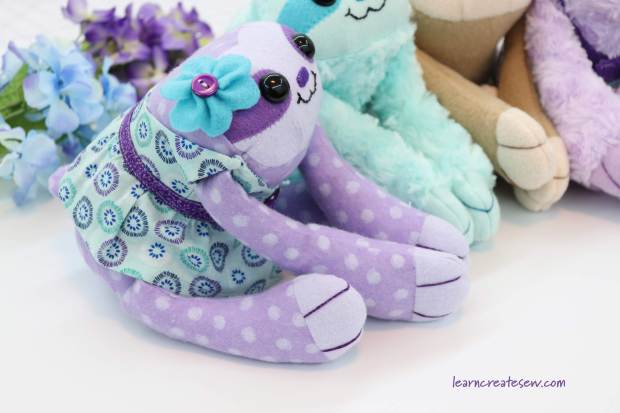
You can also leave it simple or add accessories.

1img_7222

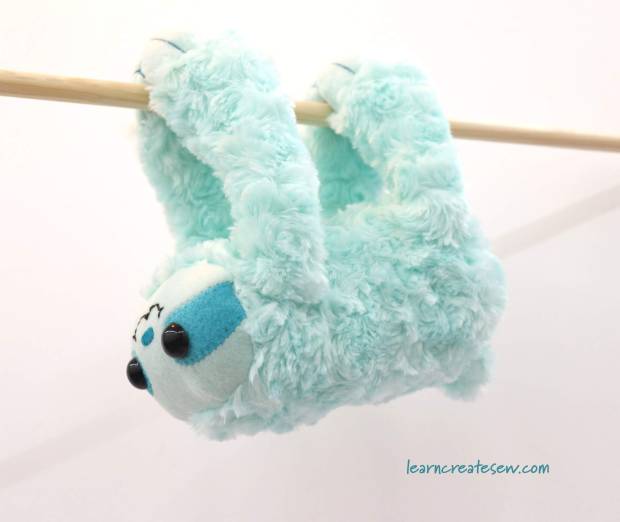
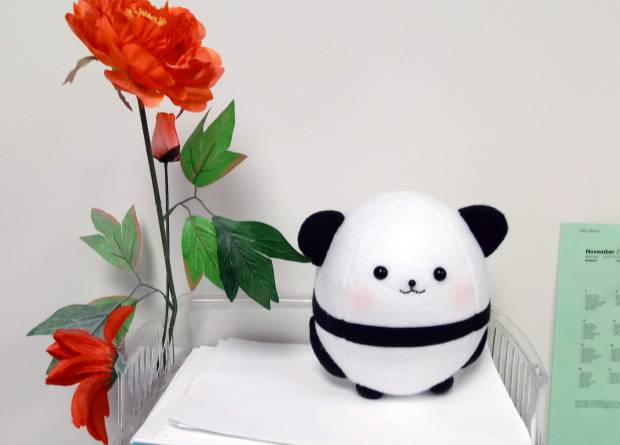
Sewing with fur is a bit of a challenge, but they are so cuddly!

1img_7145

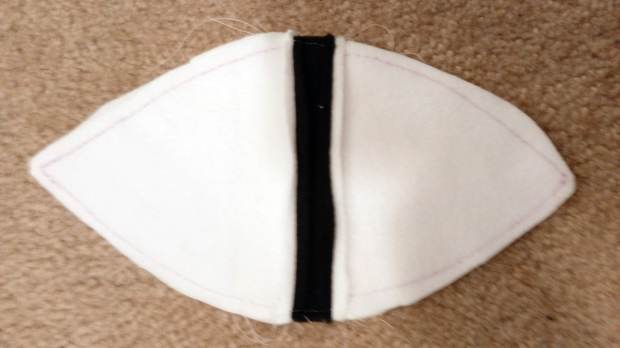
This project difficulty is about a 4/10 if working with fleece, and a 5/10 if working with fur. The project is time consuming since there are a lot of piece, and you have to add a seam allowance to some of the pieces. But the whole project could be completed by hand if you didn’t want to use a machine.

Sloth Plush Instructions by learncreatsew

Sloth Pattern Updated by learncreatesew

I hope to add instructions for accessories in upcoming posts.

Pig Plush Pattern & Instructions

The Pig Plush pattern and instructions are finally ready!

3img_5956

They are cute and cuddly! With awesome little tails.

3img_5988

The pattern comes with two different sizes so you can choose the size that best suits you.

The smaller plush stands 5 – 6 inches tall and the larger 7- 8 inches. The size varies a bit depending on the stretch of your fabric and how much you fill your plush.

Pig Plush Pattern and Instructions

Fox Plush

I took the pattern I used for the Pig Plush and altered it to make a Fox Plush!

5img_5703square

I was really pleased with the results.

I don’t know why, but the cute little tails are always my favorite 🙂

5img_5708


I also changed the size of the pattern, making two different size options.

5img_5772

You can also decorate the plush as you like, or leave it simple.

5img_5761  5img_5757

I’m happy to say that the pattern and instructions are done and ready to share!

Happy Sewing! I hope you have just as much fun making these cute little plushies as I did.

Fox Sewing Pattern and Instructions


Adorable Plush Pig

A few months ago I made a Panda Plush and just loved it! So, over the holiday break I worked on a few more. My favorite is this adorable Plush Pig. I haven’t chosen a name for her yet, but I think she needs one.

3IMG_3404

She is the same shape as the panda, but without a center stripe.

I also changed the shape of the arm pieces.

3IMG_3362

The panda had long arms, and they worked great. However, on the pig, they just looked odd. So, she has delicate round arms and legs.

No pig would be complete without an sweet curly tail!

3IMG_3433

How cute! It was a bit tricky getting the curled shape, but totally worth it.

3IMG_3359

I had constructed the whole pig, and she was cute, but I felt like something was missing. She had a cute tail, sweet pink ears, but she needed something else. So, I added the bow and eyelashes, giving her a more feminine look.

3IMG_3449

The plush could definitely be constructed without these touches, but I think it adds a little something extra that gives her personality!

I think this Precious Pig is my favorite plush to date! I am currently working on the pattern and instructions and hope to have them available to post in the future.


Sketching Plush Cuteness

The Panda was so much fun, that I really would like to make more plushies in a similar style. Last night I sketched a few different versions. I think the fox is my favorite 🙂 If I can get a good deal on some fleece at JoAnn this weekend (Hooray for Black Friday!) I think I will try to make another. Which do you like best?

2018-11-22-06-54-121


Making a Plush Panda

Yesterday’s sewing project was a fun one! A student wanted to make a plush panda as a gift, but we didn’t have a pattern. After browsing for panda pictures online we were inspired by a squishy panda toy and modeled the design for our plush after it.

2018-11-20-14-59-1522

I think it turned out pretty cute!

2018-11-20-15-00-10

It went together very quickly from making the pattern to adding the details. We named him Felix, and the students thought adding a top hat would be a nice touch, though we haven’t done that yet.

2018-11-19-19-08-26

The project required about 6 x 45 inches of white fleece. 6 x 20 inches of black fleece. We used JoAnn Blizzard Fleece. It also required a good amount of polyfil (always more than you expect) and safety eyes. We used two 1/2 inch safety eyes for the eyes and one 1/4 inch safety eye for the nose. The mouth was stitched with embroidery floss, and bit of  blush added the rosy glow to the cheeks. If you don’t have safety eyes you could just use felt and carefully cut out circles.

2018-11-19-19-42-38

I found that the slip stitches were quite visible on the fleece, but no one seamed to mind, and it turned out to be quite adorable despite that. I think I will just need to work on my technique. I will keep you posted if I find anything that helps minimize the stitches.

2018-11-20-06-40-44

The project went together so quickly with such great results that it makes me want to use this style to make other stuffed animals.