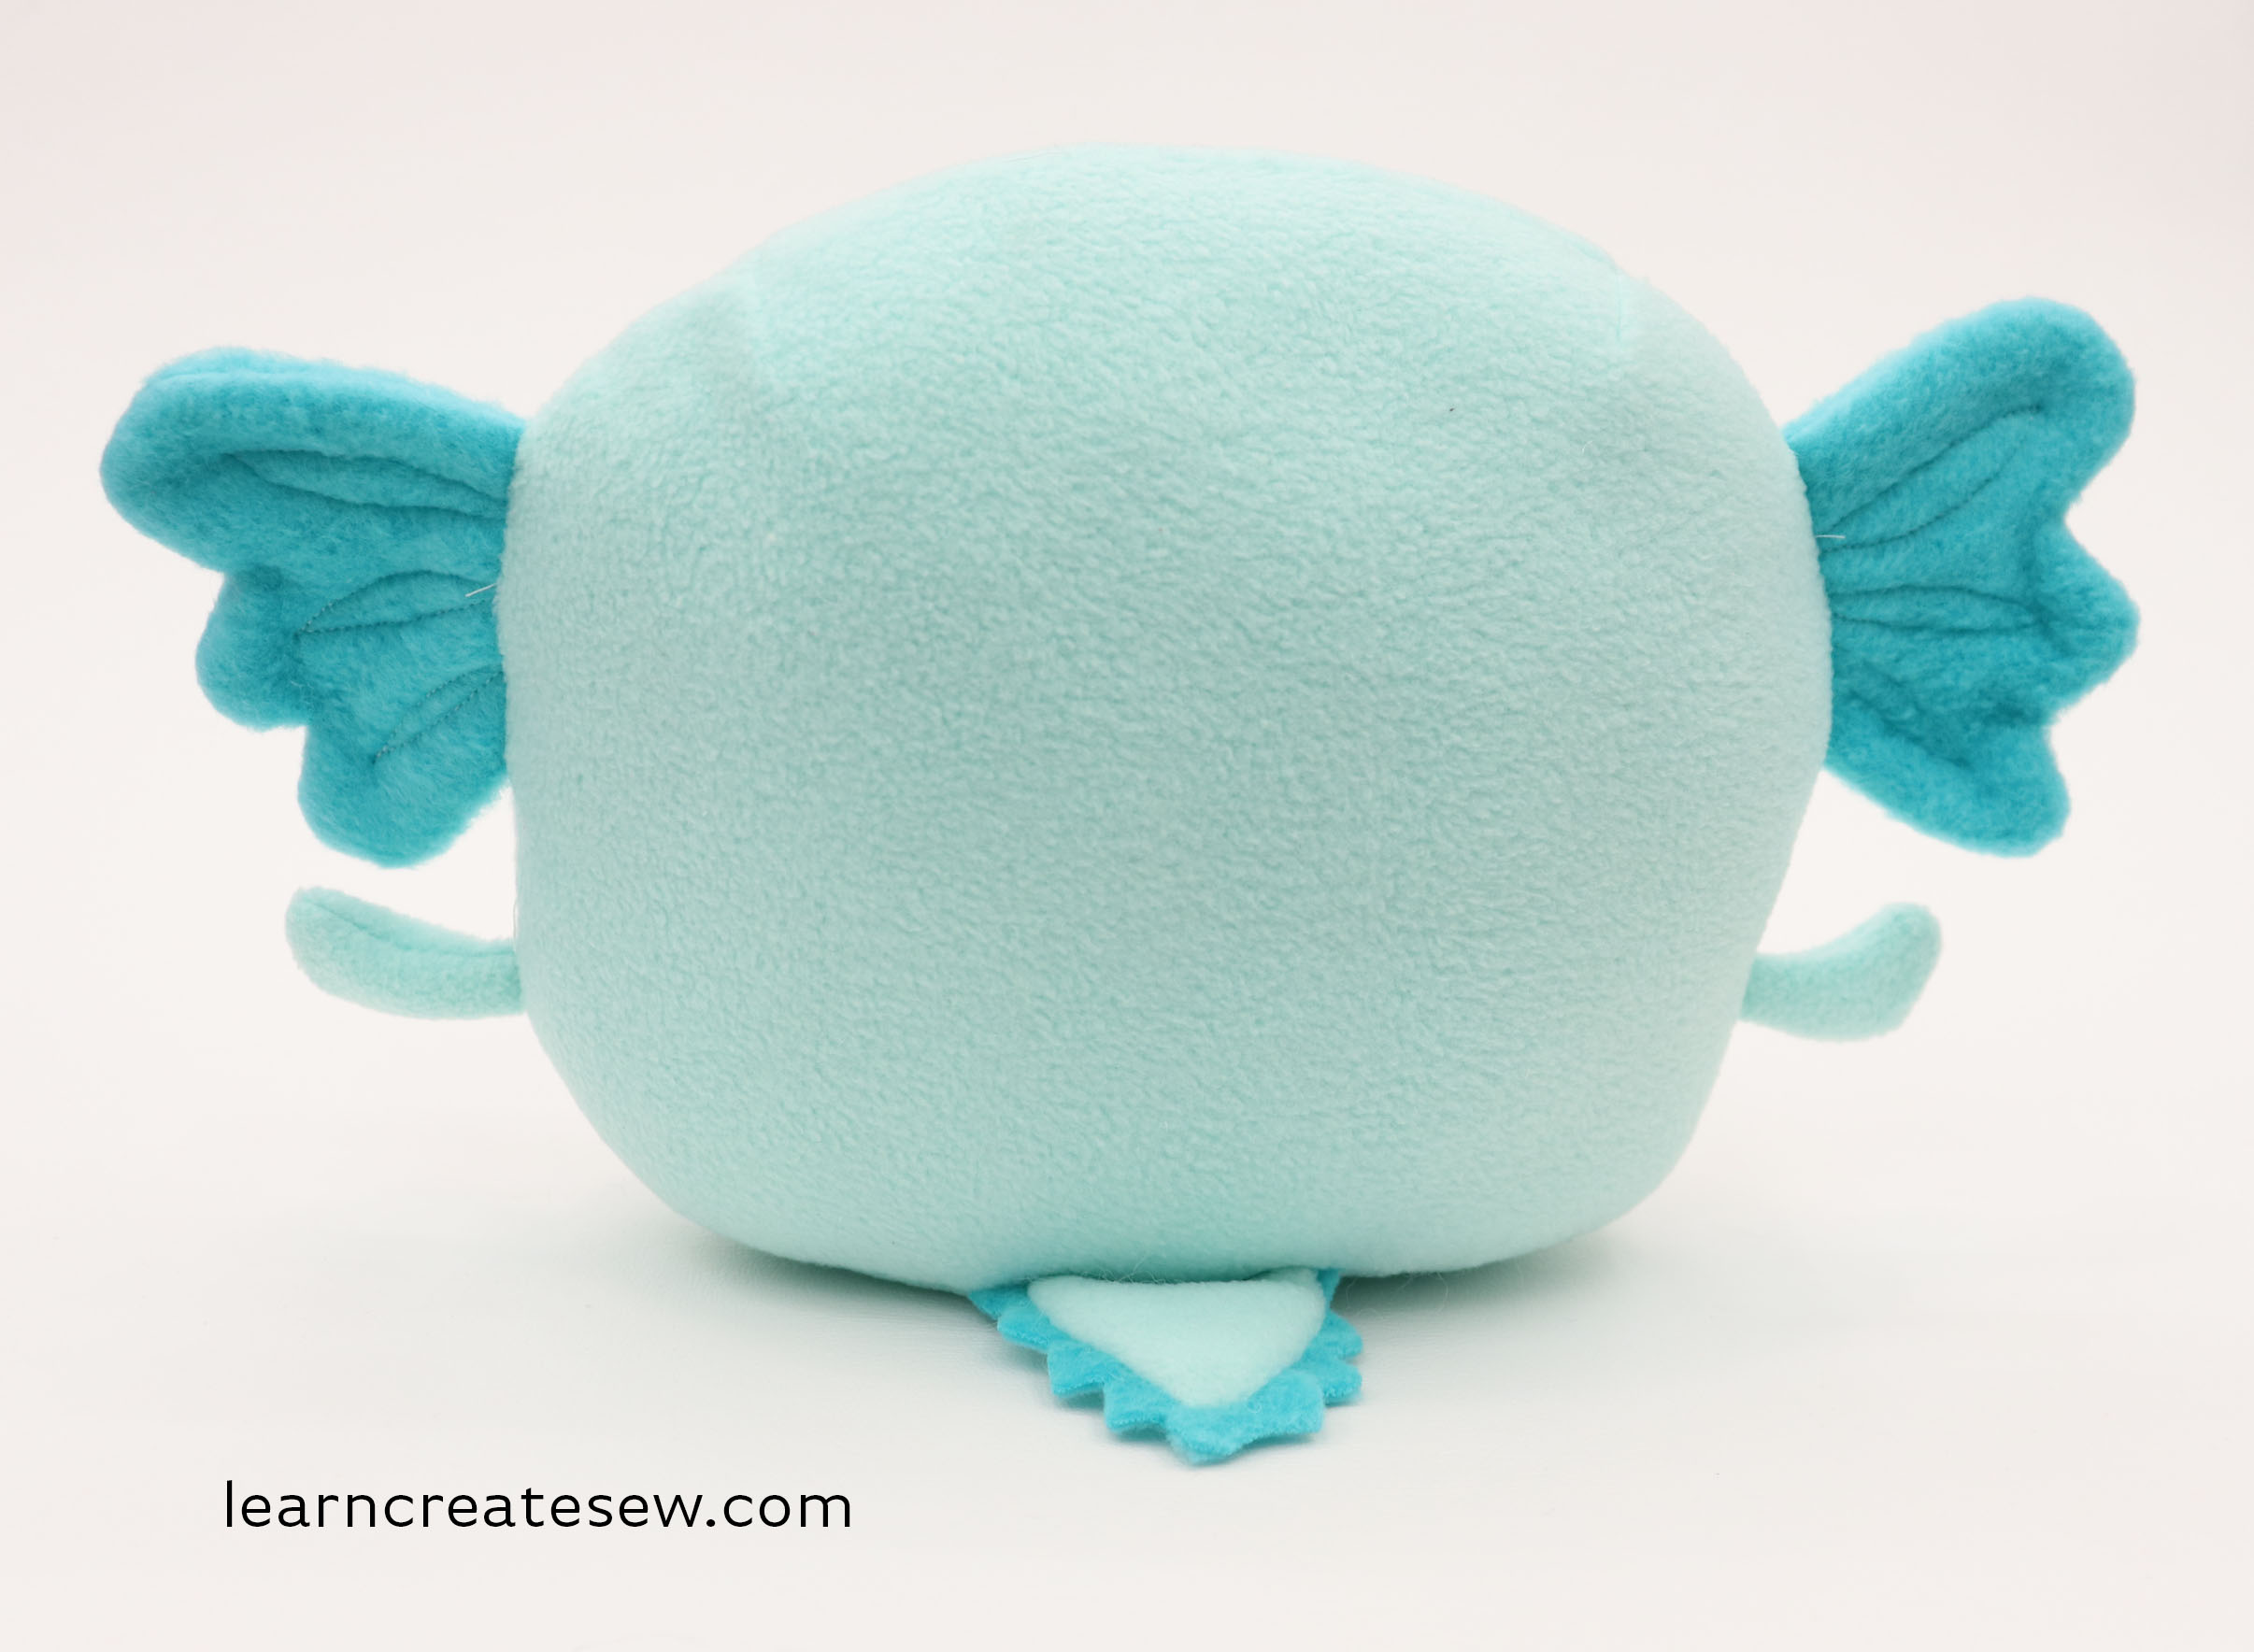
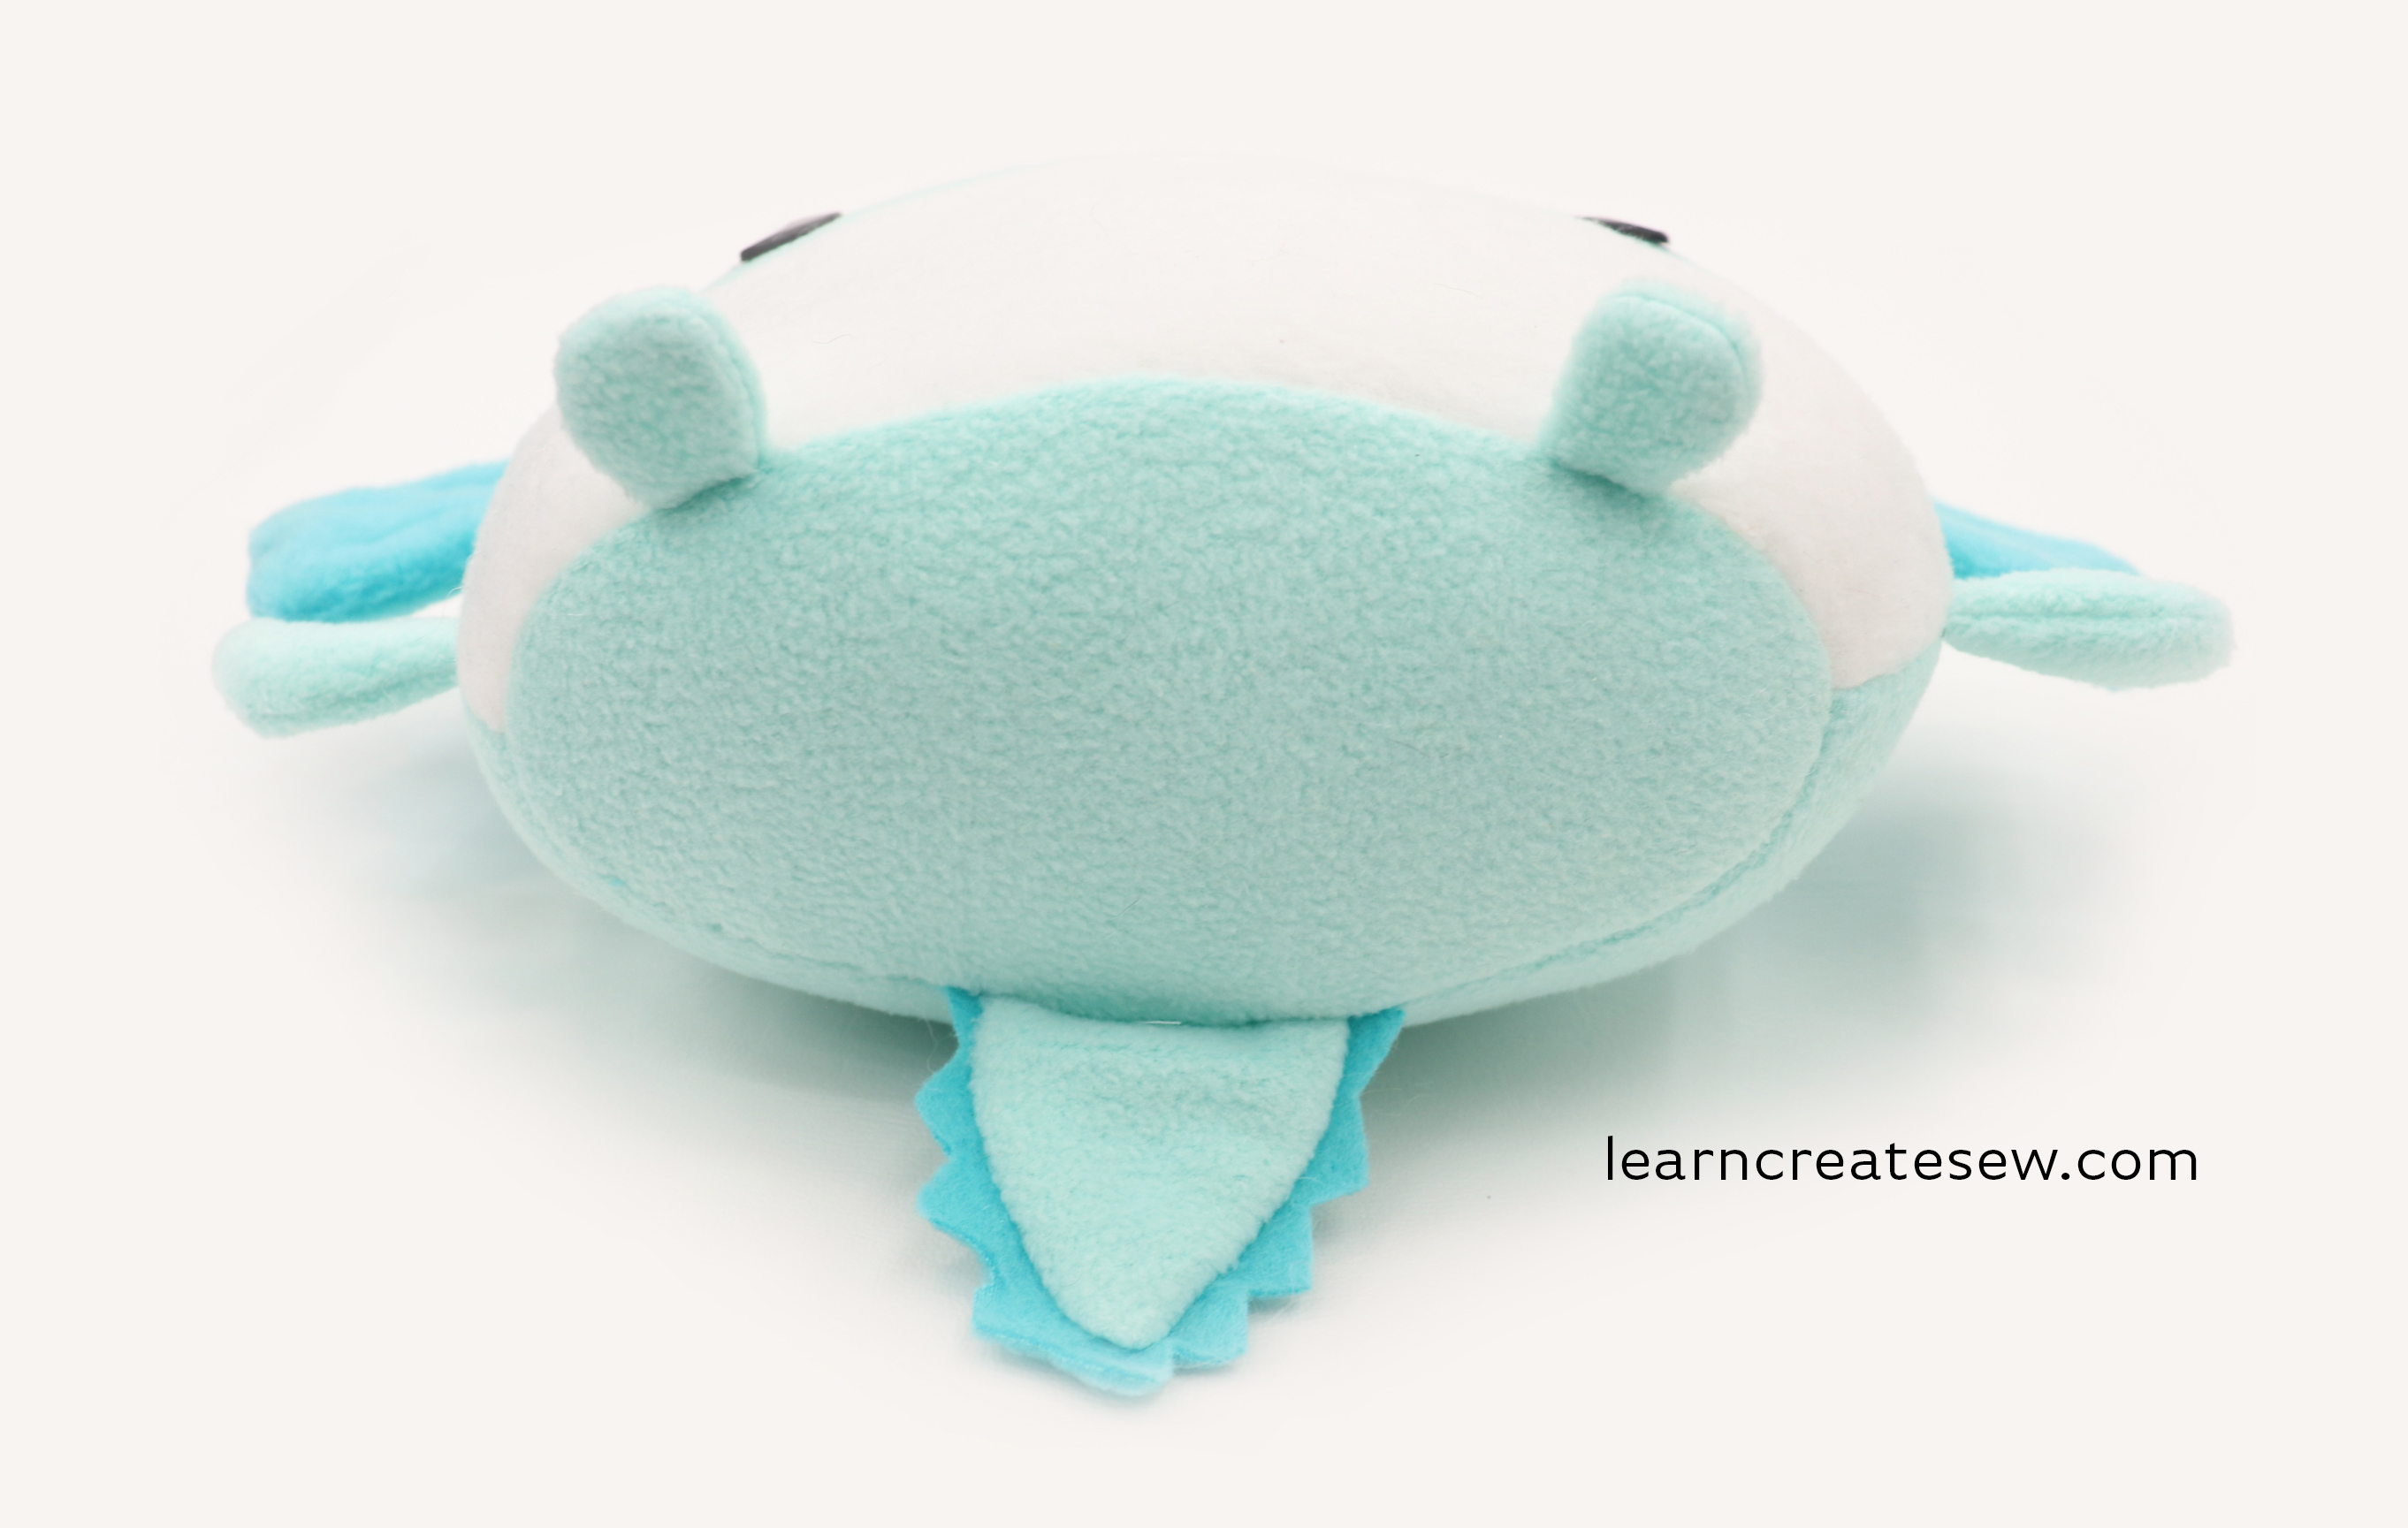
I am happy to finally have the chance to make another post. Today, I have a cute little plush for you. It’s a project my students have been requesting for a while, and is an adorable axolotl plush.
It’s a pretty simple plush and doesn’t require a lot of fabric. The trickiest part is cutting out the pieces, as some of the pattern pieces include seam allowance, while others don’t. However, those that don’t are much easier to sew before cutting, so I opted to use the differing pattern pieces.
It’s fun to make multiple plushies in different colors. I love the contrasting front as well as the itty bitty arms and legs.
The tail is also nice. Not only is it cute, but it also helps the plush stand up.
I hope you have as much fun making this project as I did.
Happy Sewing!
Supplies:
Recommended Fabric: Fleece or Minky (Example project made from fleece). I used the Mainstays brand in hot pink, light pink, mint, turquoise, and white. 10 x 28.5 inches Main Color Fabric 4.5 x 10 inches White Fabric or 2nd Accent Color 5 x 17 inches Accent Color Fabric Coordinating Thread Two 16 mm Safety Eyes Embroidery Floss (eyebrows) Polyfil
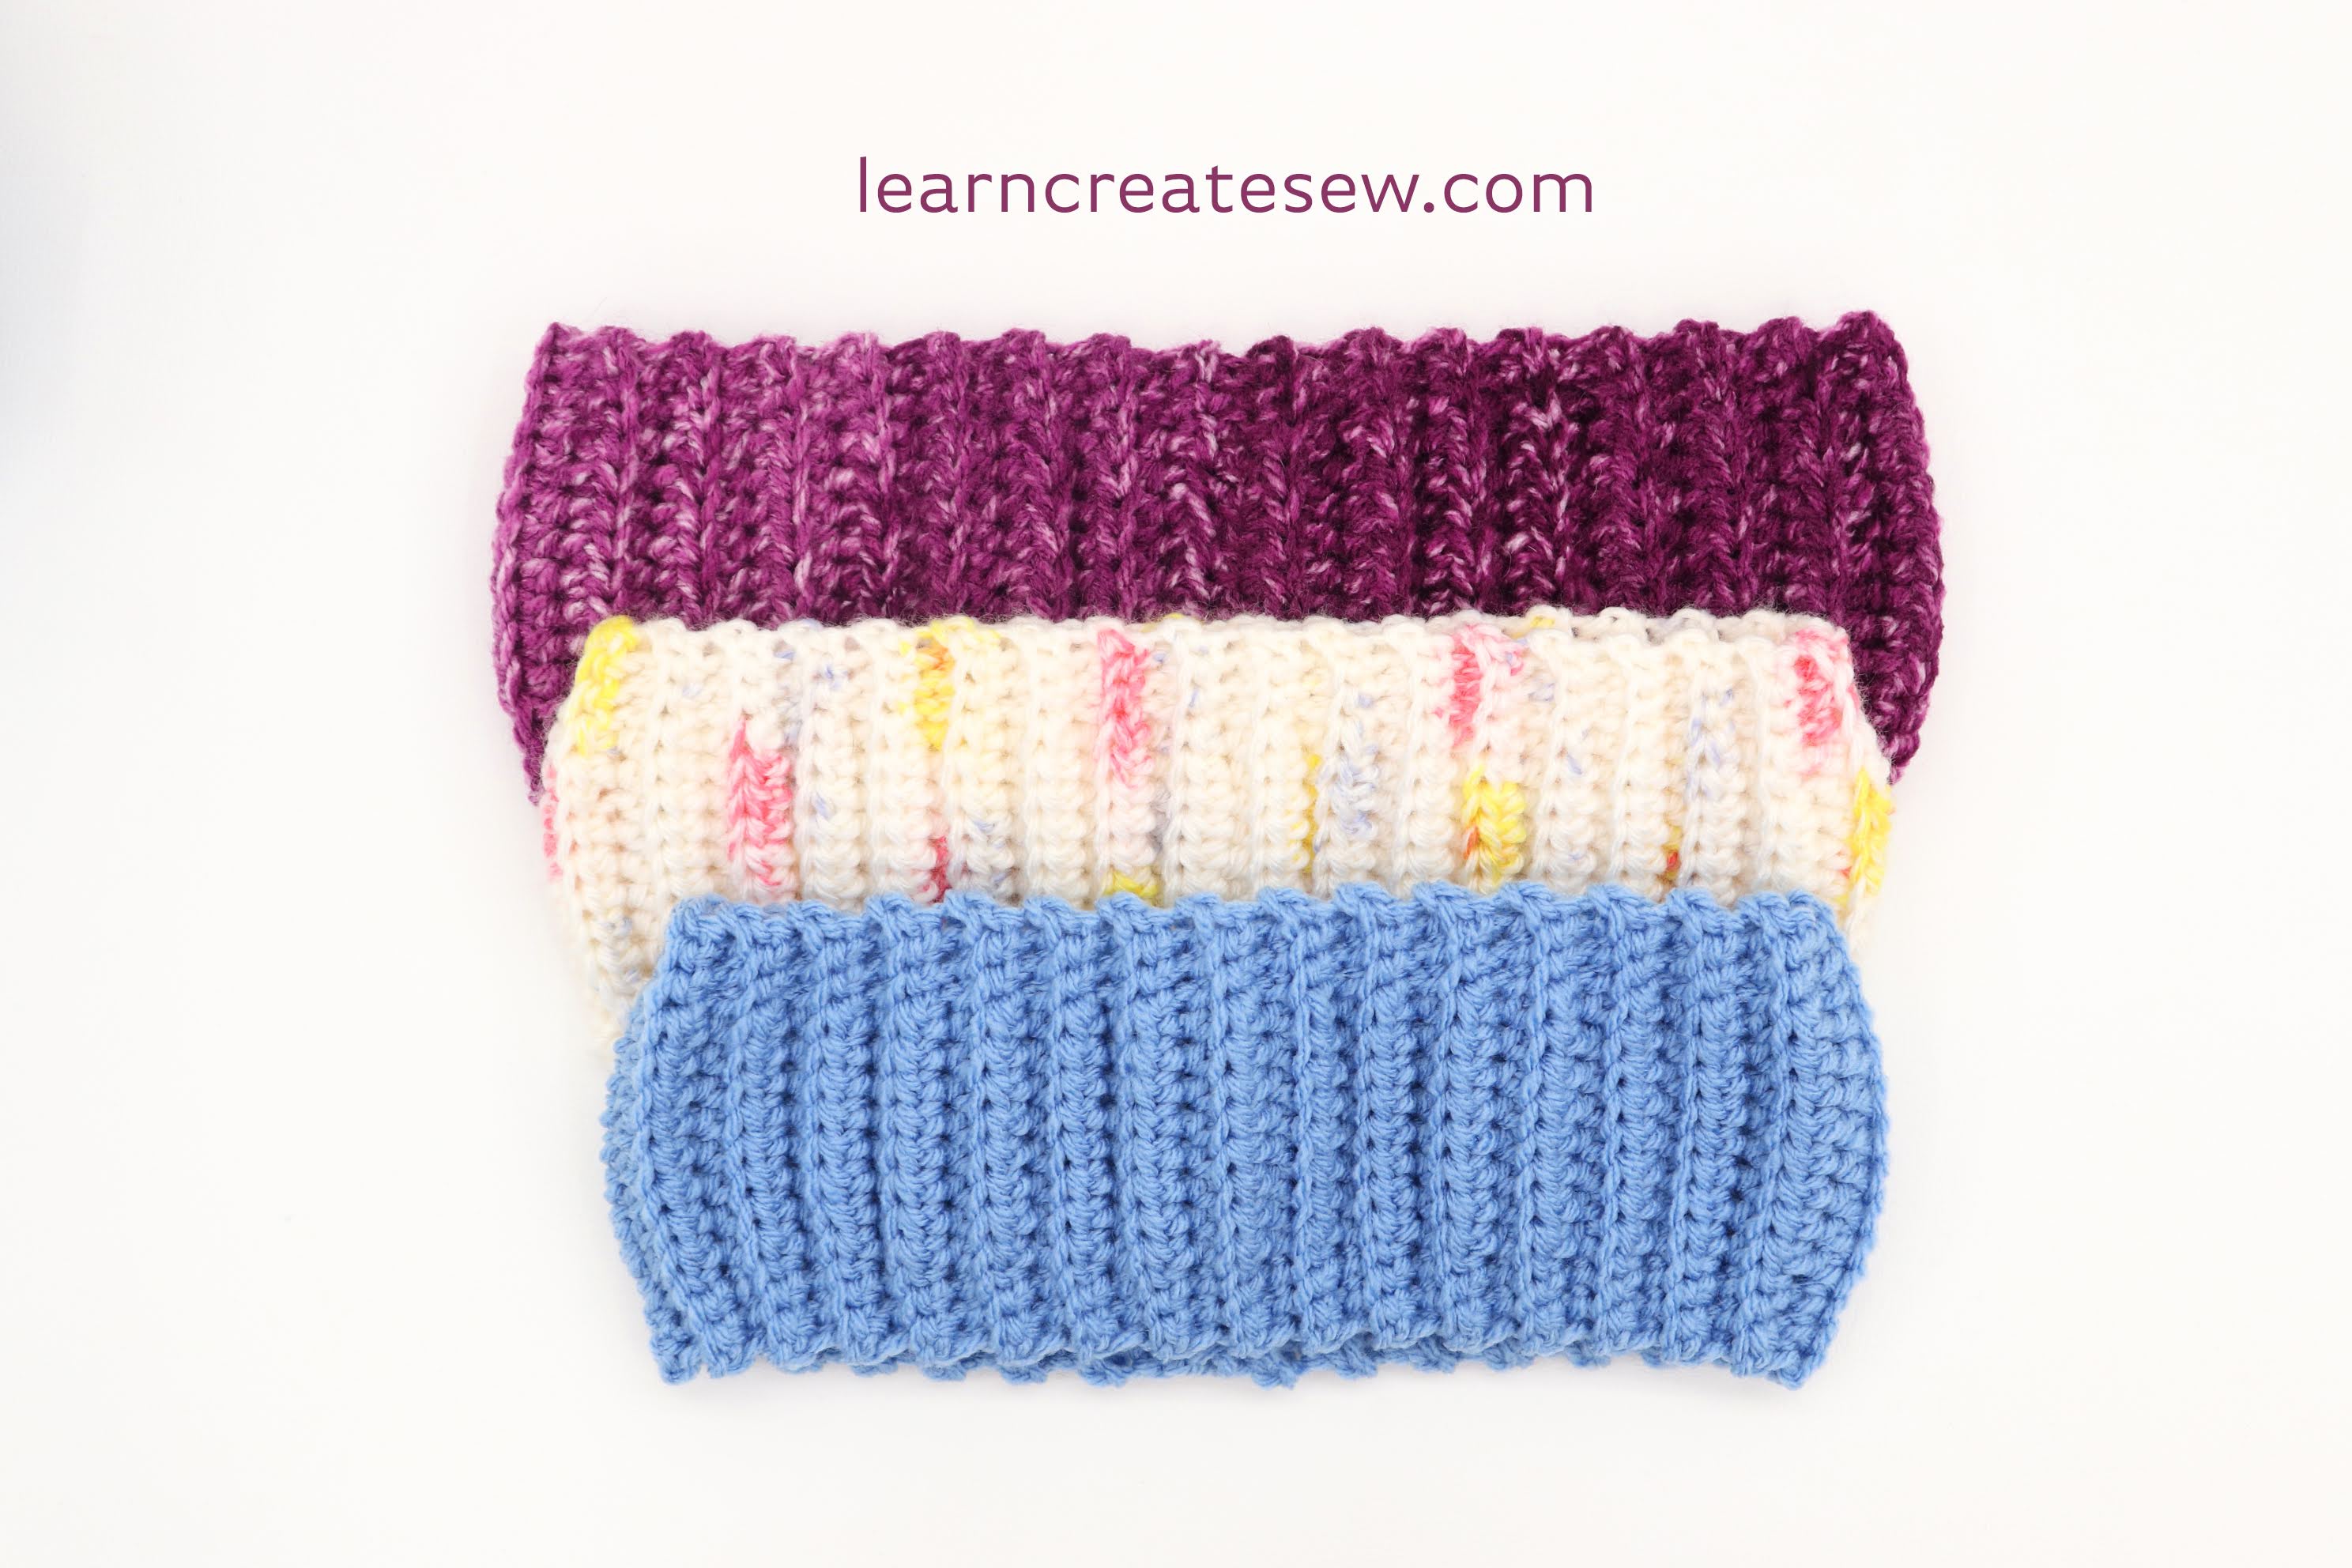
I made this project for my students and really enjoyed it, so I thought I would share. I can make three headbands with one skein of yarn and I can often make one in one sitting.
It is a great easy project to do when you just want to make something quick.
I use this headband as an ear warmer, so they are great for winter and also great for gifts!
One of the things I love best about crochet is how portable it is. Crochet takes very few tools and supplies. As a result, it is easy to take on the go. You really only need a few things to get started, yarn, scissors, stitch markers (you can also use scraps of yarn in varying colors), and a blunt-tip yarn needle. Since so few tools are needed, it is also very affordable to start the hobby. For $10 or less, you can be ready to crochet!
This project only requires a few stitches, chaining, single crochet, and half double crochet.
Supplies:
Approximately 1/3 skein (80 yards) of worsted-weight yarn
4.5mm crochet hook
Pattern:
Chain 15
Row 1: 3sc, 8hdc, 3 sc (14) Starting in the second chain from the hook
Row 2: Chain 1, turn, BLO 3sc, 8hdc, 3sc (14)
Repeat row 2 until the desired length. (Around 60 – 70 rows for an adult)
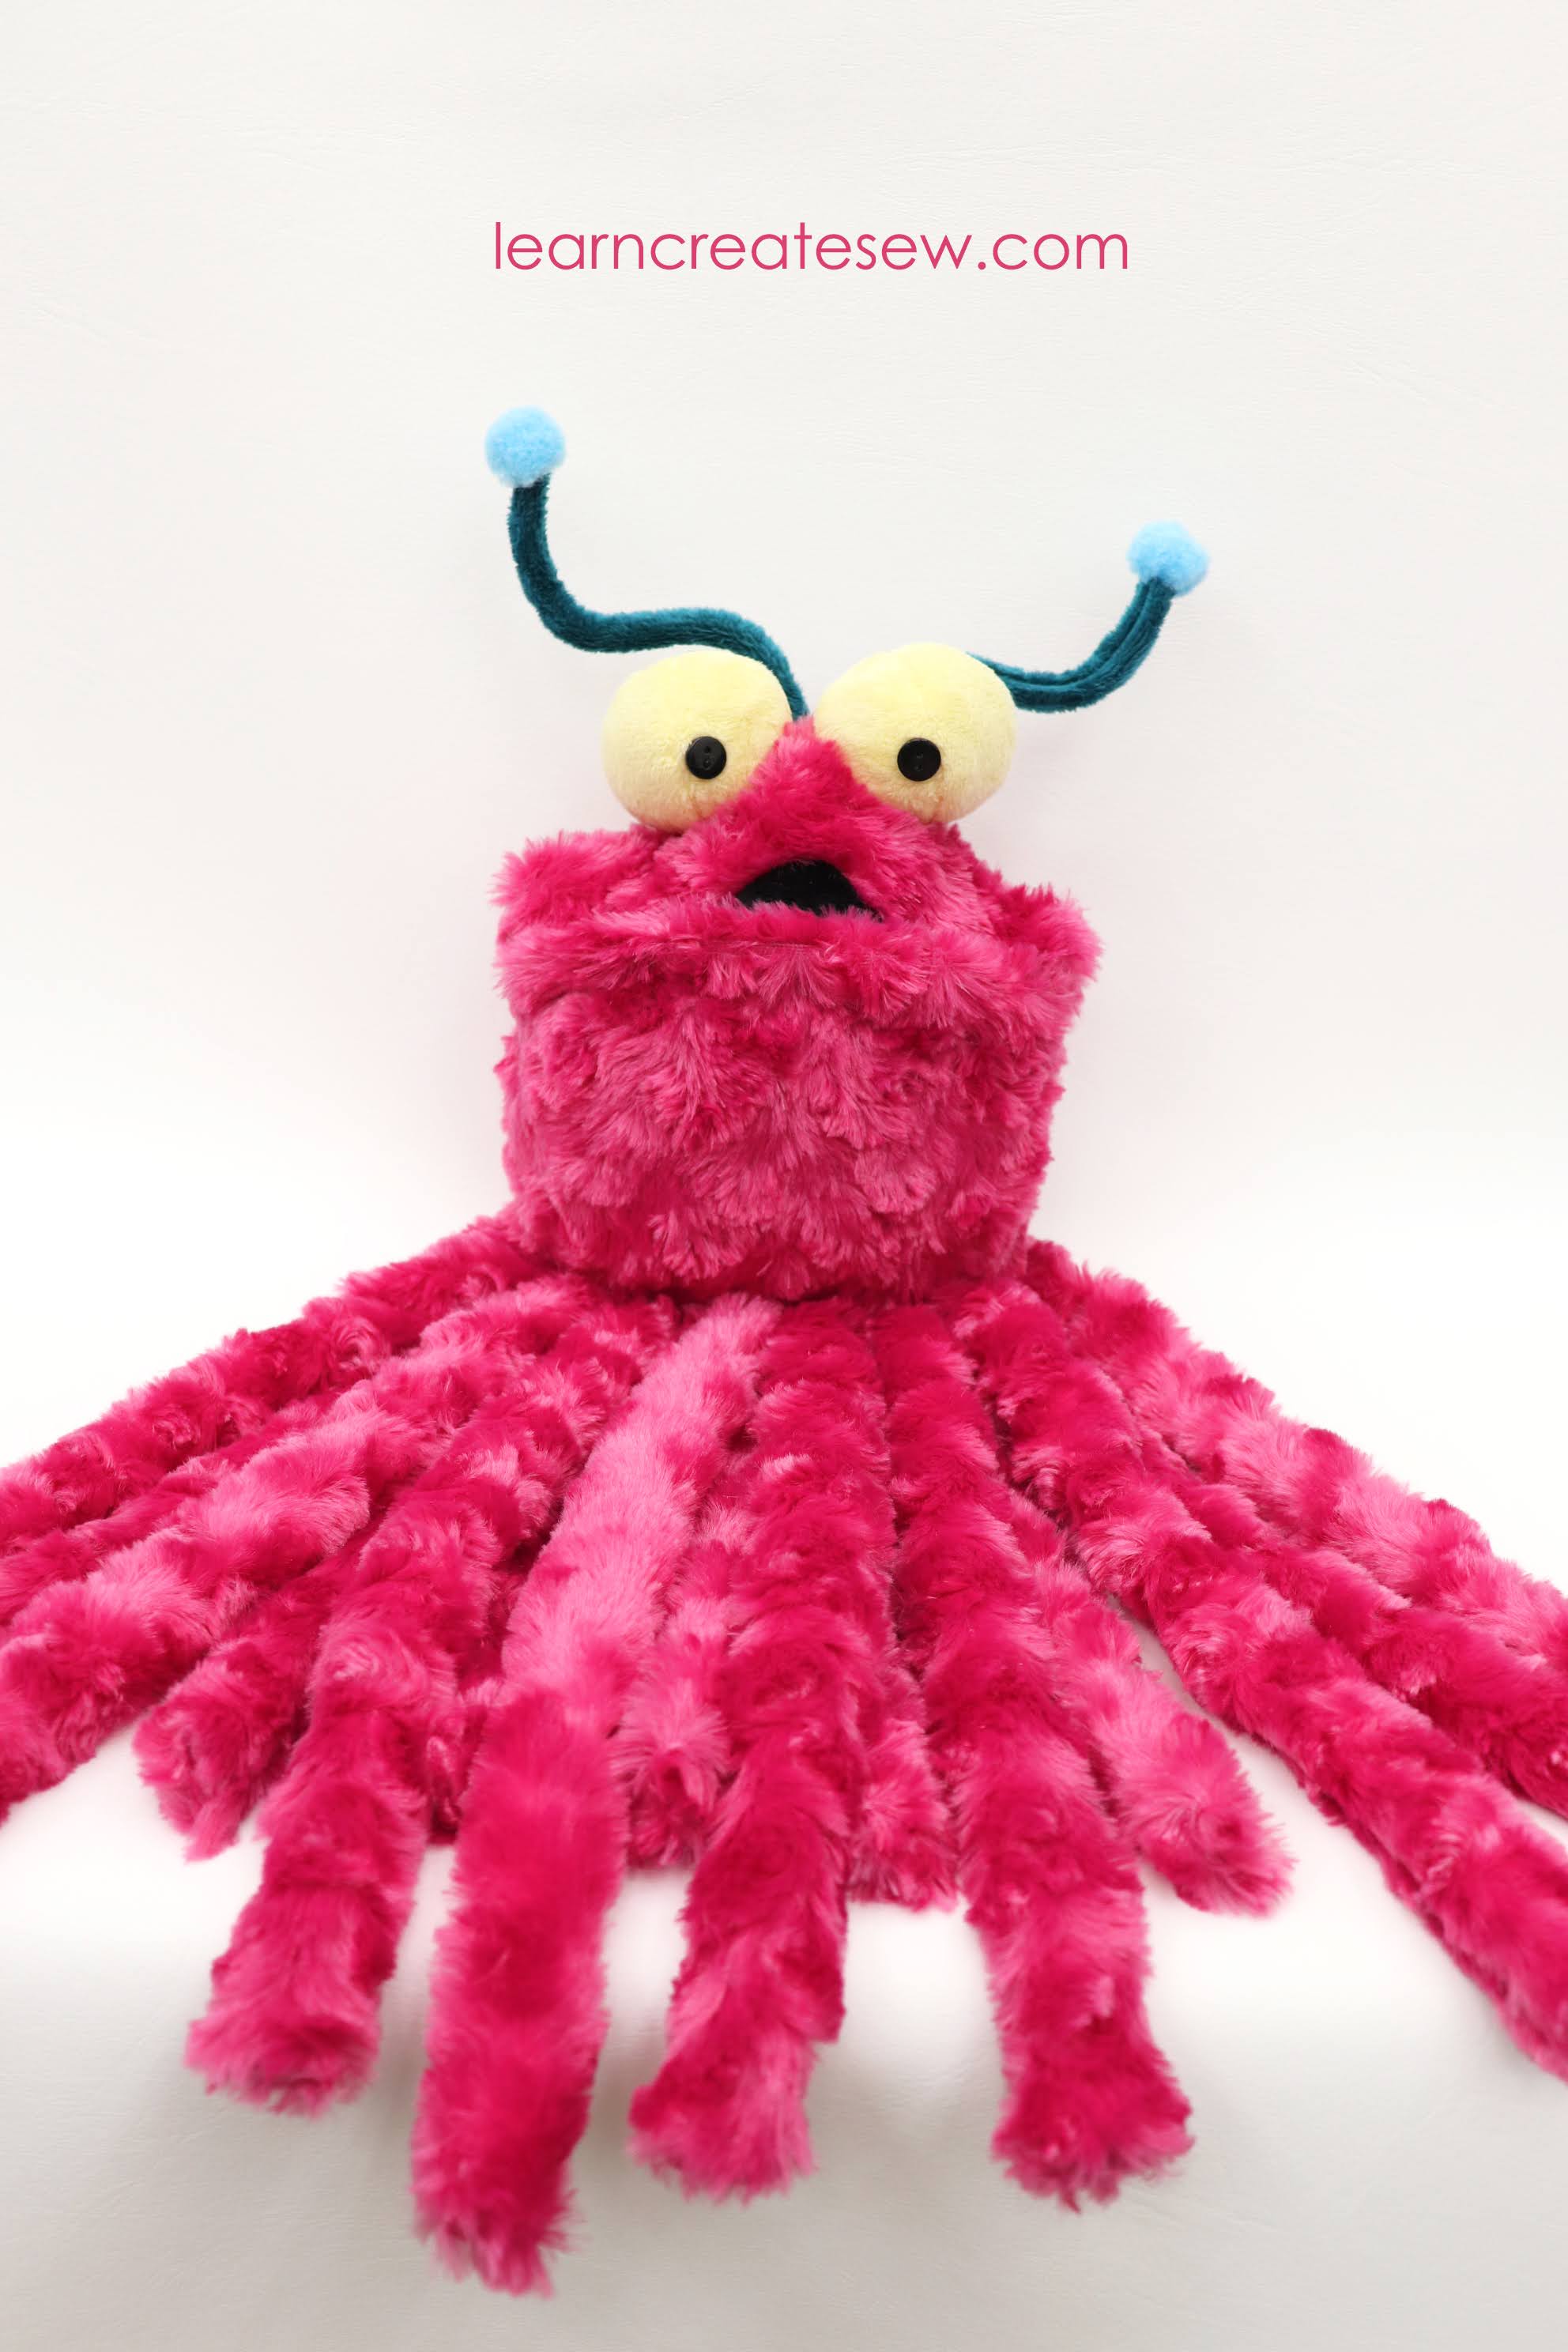
A friend asked me to make an alien plush for her daughter, and I had so much fun with it that I decided to share the project.
I started by making the larger fur aliens and then decided to add the smaller fleece option, which takes less fabric and is easier to construct.
The antenna and large eyes give these plushies a lot of personality.
Regular-Sized Plush
The large aliens are made with a swirl faux fur fabric (also called rose minky) for the body and regular minky for the accents. They measure approximately 20 inches tall and have finished (sewn) legs.
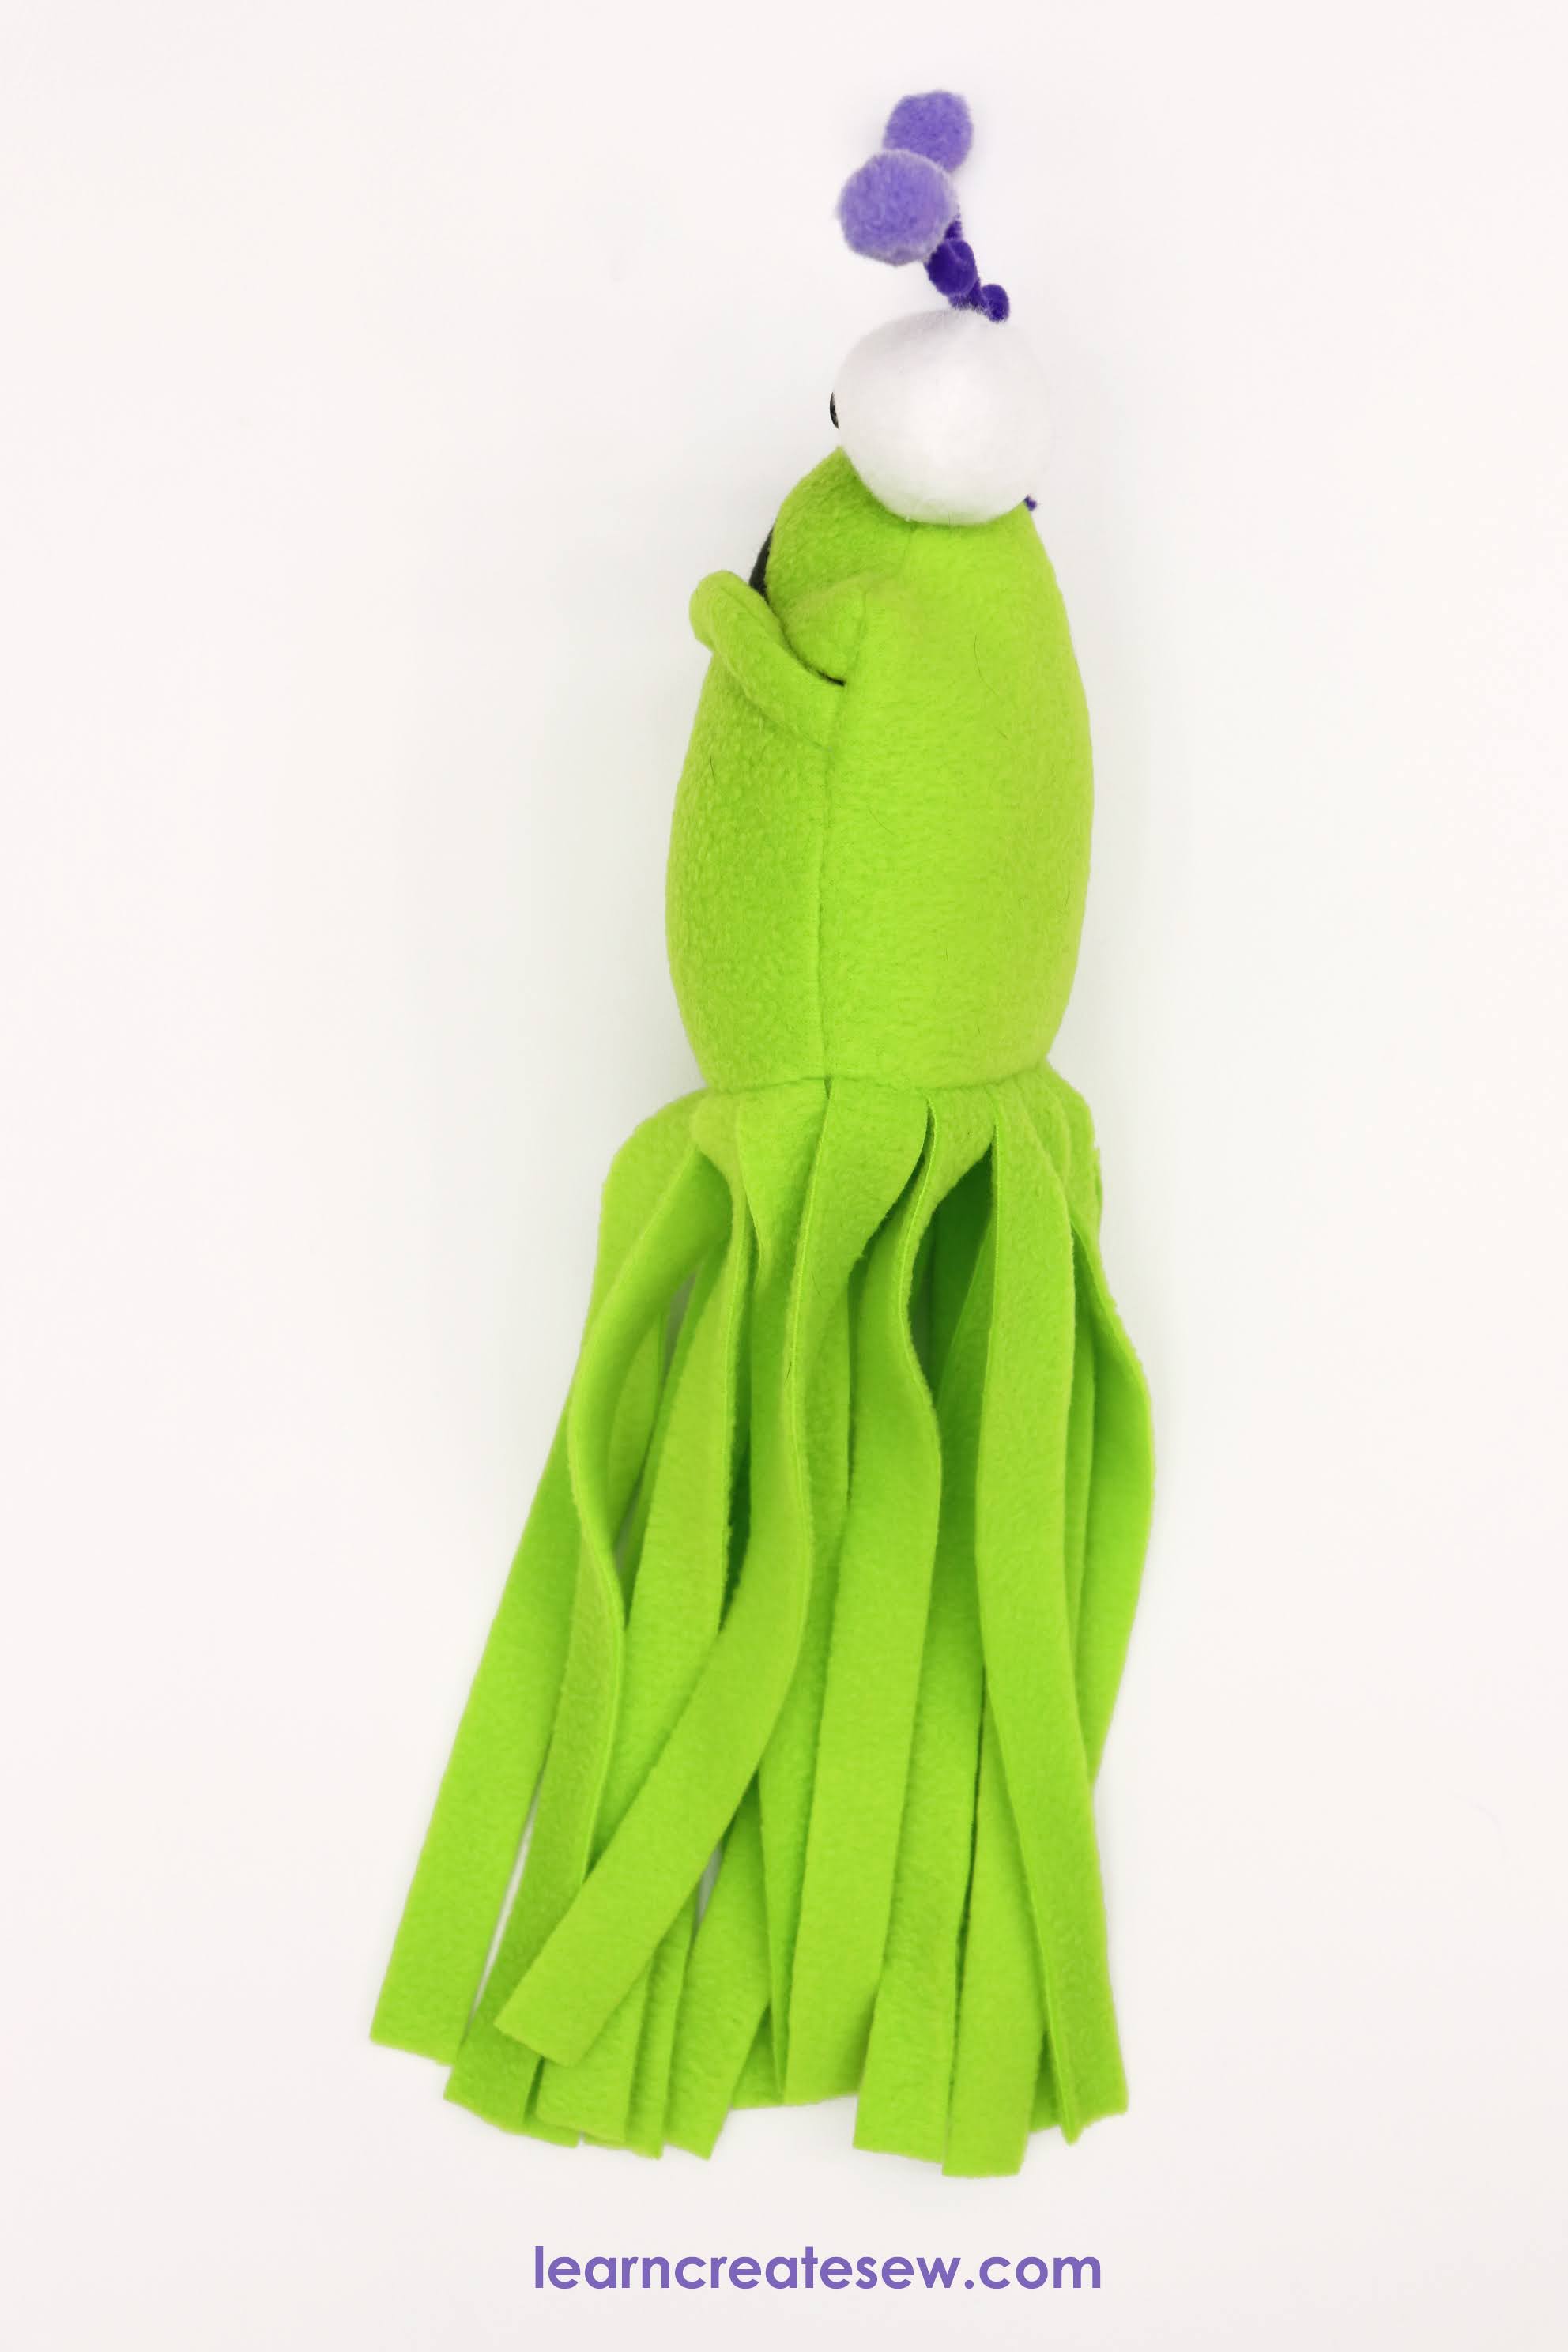
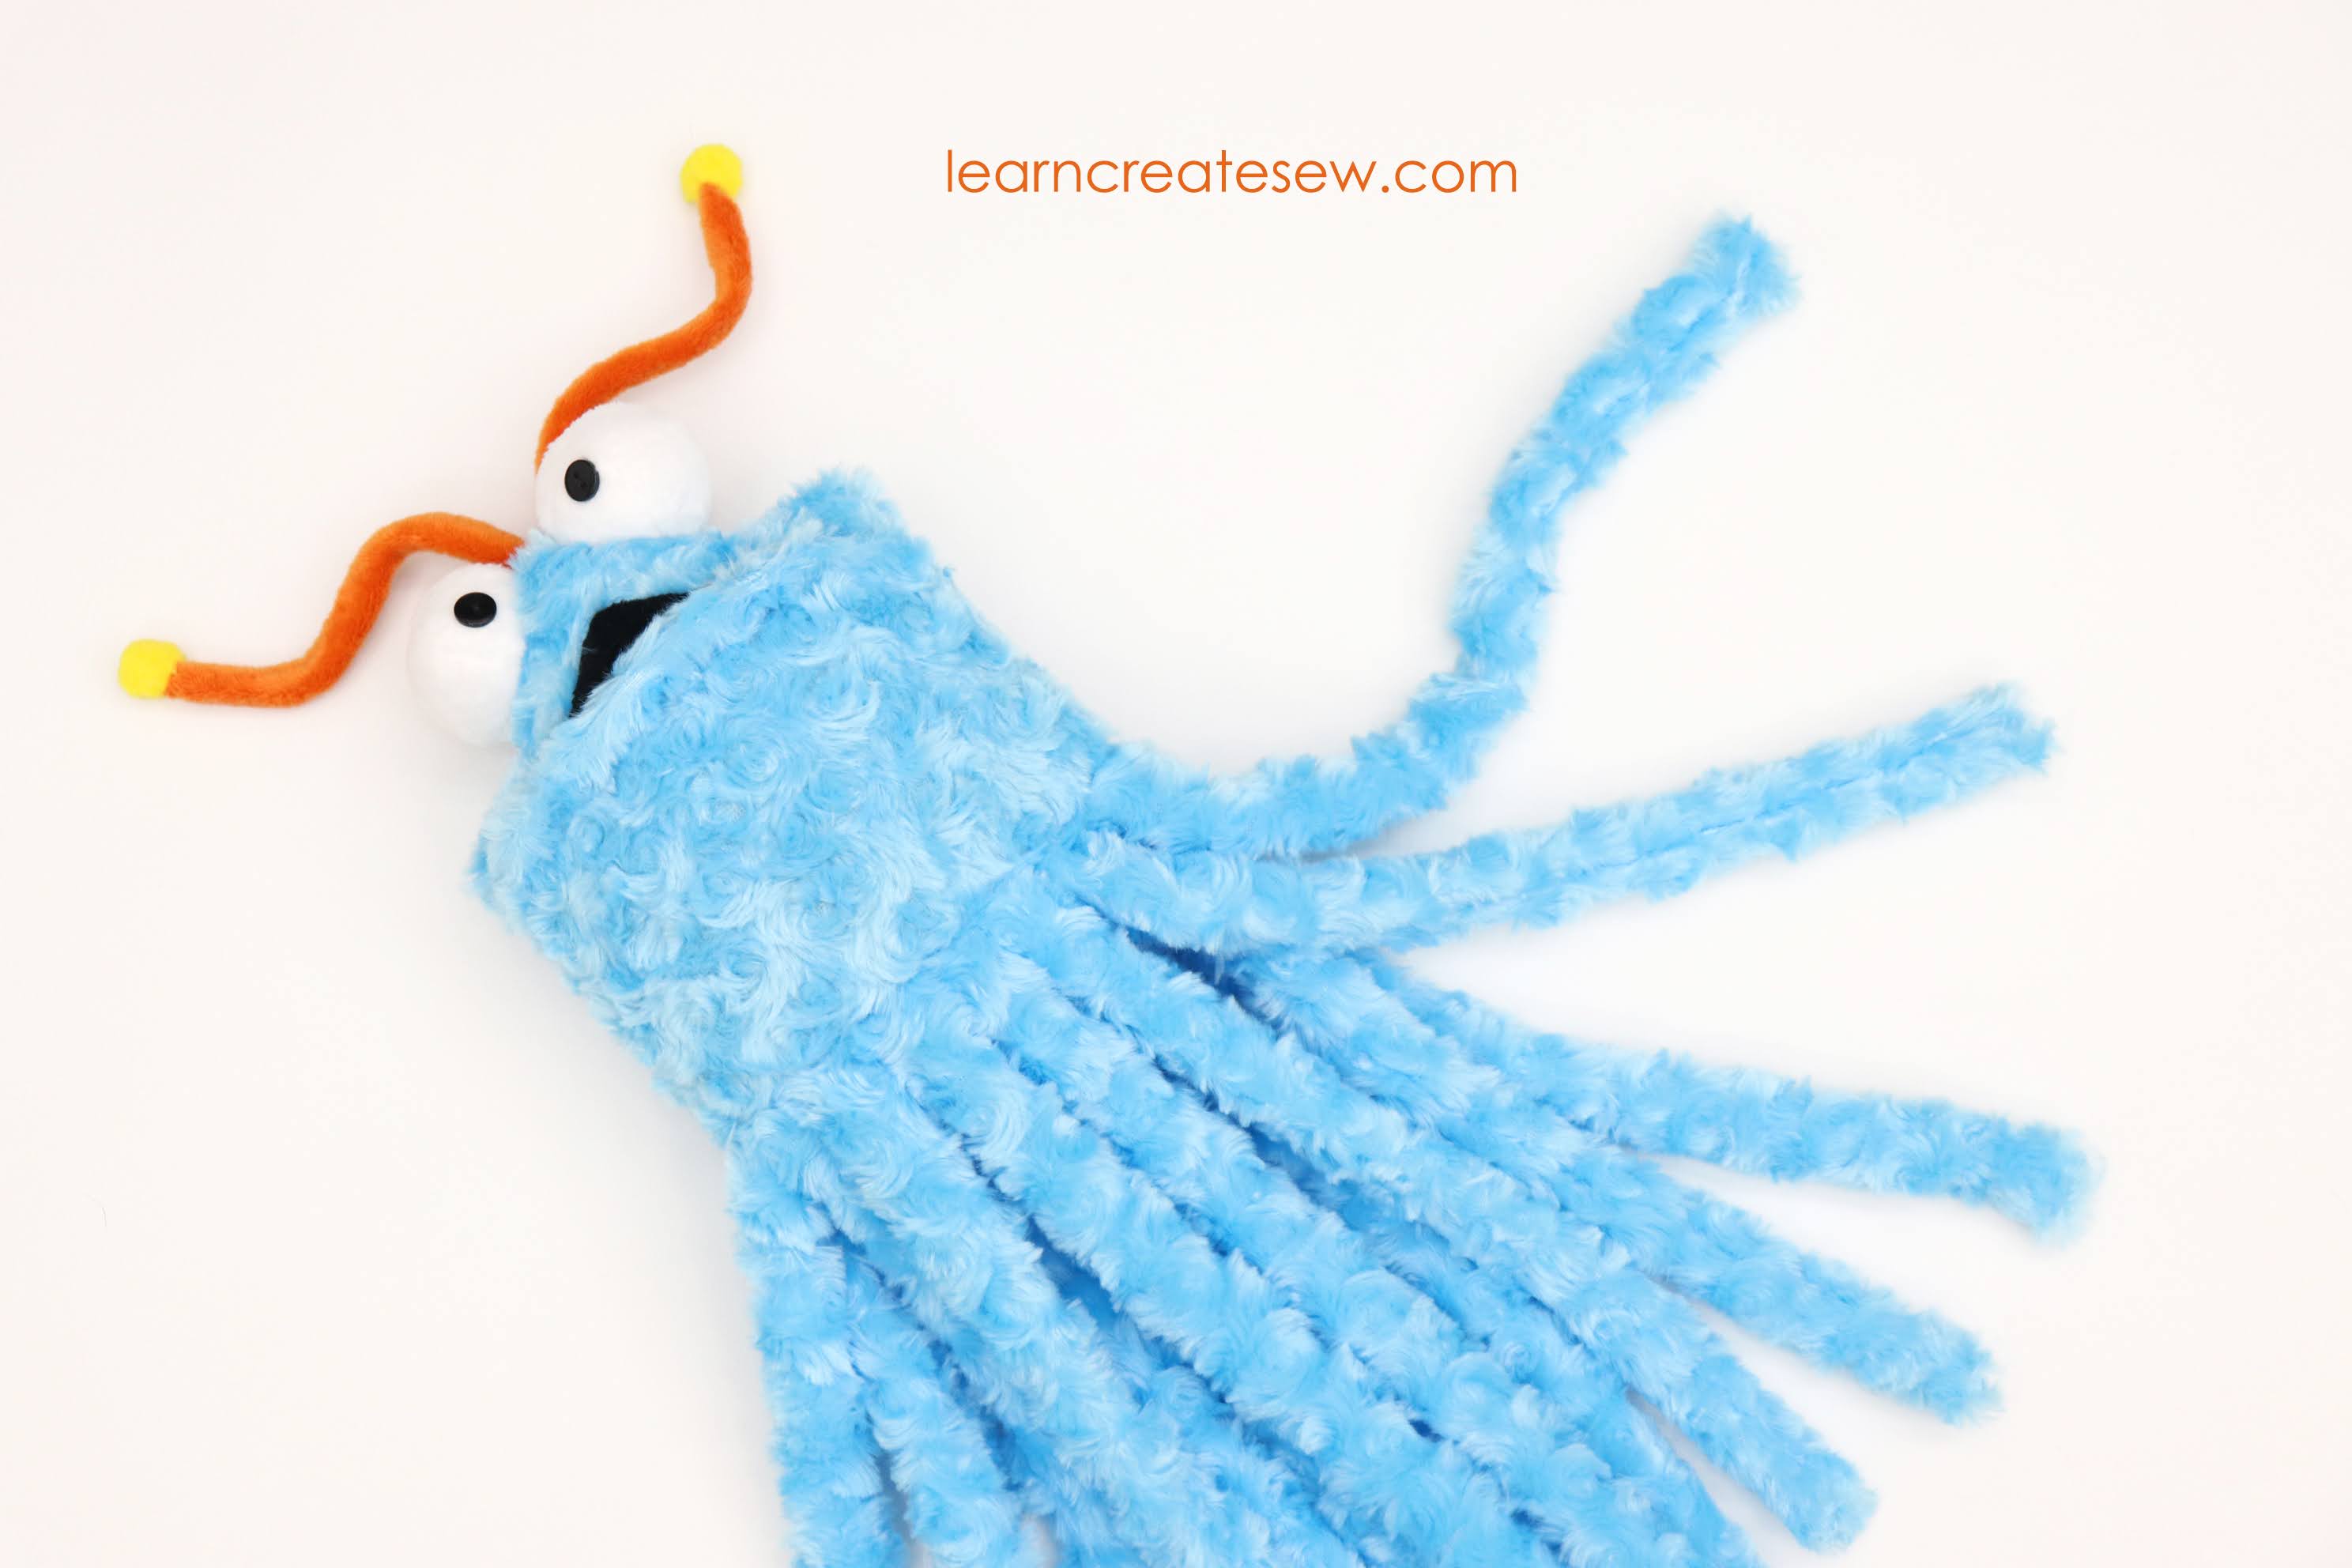
Small Sized Plush
The small aliens are made with fleece for both the body and the accents and have unfinished (unsewn) legs. The small size measures approximately 15 inches tall when finished. This is 75% scale of the regular-sized plush. This plush feels considerably lighter and smaller because of the reduced size and because the unfinished legs eliminate a lot of bulk.
Finished v Unfinished Legs
You have two legs finish choices when you make the alien, finished or unfinished. The small fleece aliens have unfinished legs. This means that they are not sewn. The fabric is simply cut into strips, the edges are left raw, and they are sewn directly to the plush. This shortens the construction time by quite a bit and reduces the difficulty of the project.
The regular-sized faux fur aliens have finished legs. The finished legs are sewn individually prior to attaching them to the plush. I chose to finish the legs on the faux fur to minimize shedding and to make them stronger. The finished legs take more time and more fabric.
UNFINISHED LEGSFINISHED LEGS
Accents
The eyes and antenna of the aliens bring out their fun personalities. The eyes are sewn into balls with minky or fleece fabric and then decorated with buttons. There are two options for making the antenna, the first which is shown on the small fleece plush, is simply to bend a pipe cleaner and hot glue pom poms to the ends. The other is to cover the antenna with fabric, which is shown on the larger fur aliens. You make a fabric tube, insert wire or pipe cleaners, and then sew pom poms to the end. The single pipe cleaner option is definitely faster and easier, and I prefer that look best, but the covered option is much stronger and helps the antenna stand out.
Supplies:
Refer to the Cut Layout included with the free pattern for fabric quantities
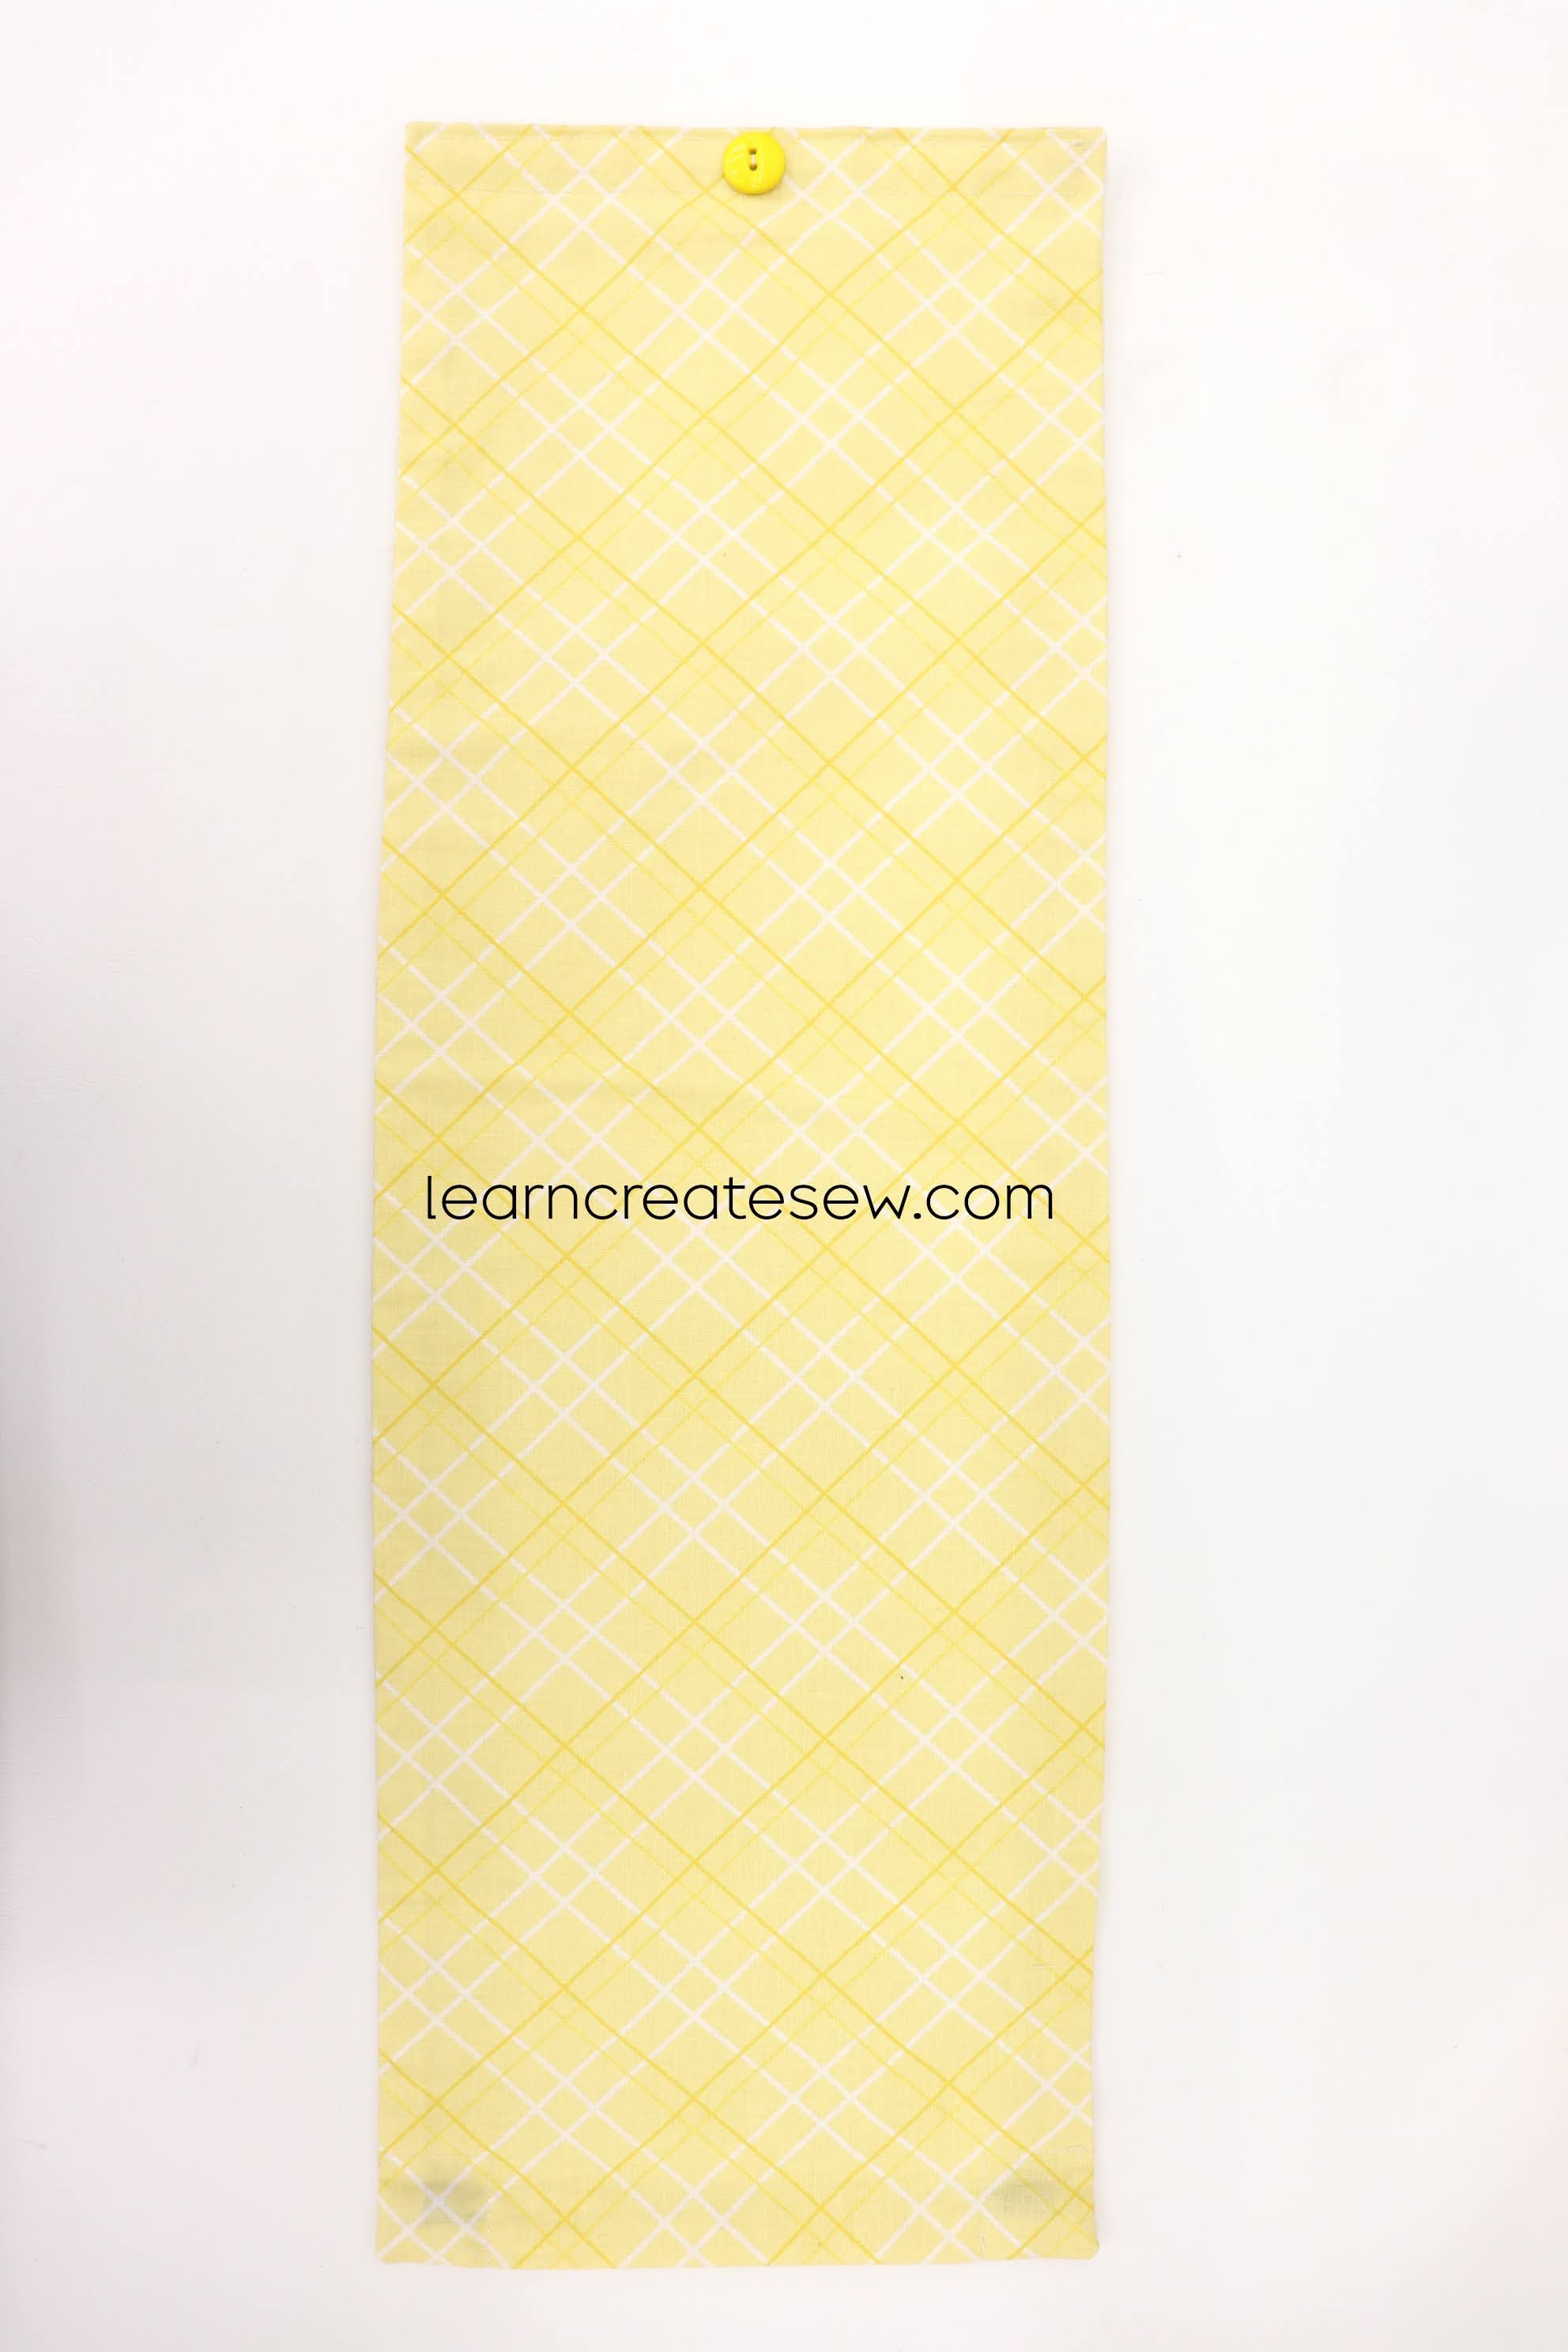
I was recently asked to help with a service project at our school. Parent volunteers are making curtains for all the classroom windows! They are going to be so nice!
Our school will be attaching the curtains to the door using velcro. If your school isn’t doing that you can use magnets, or ribbon loops with 3M hooks instead.
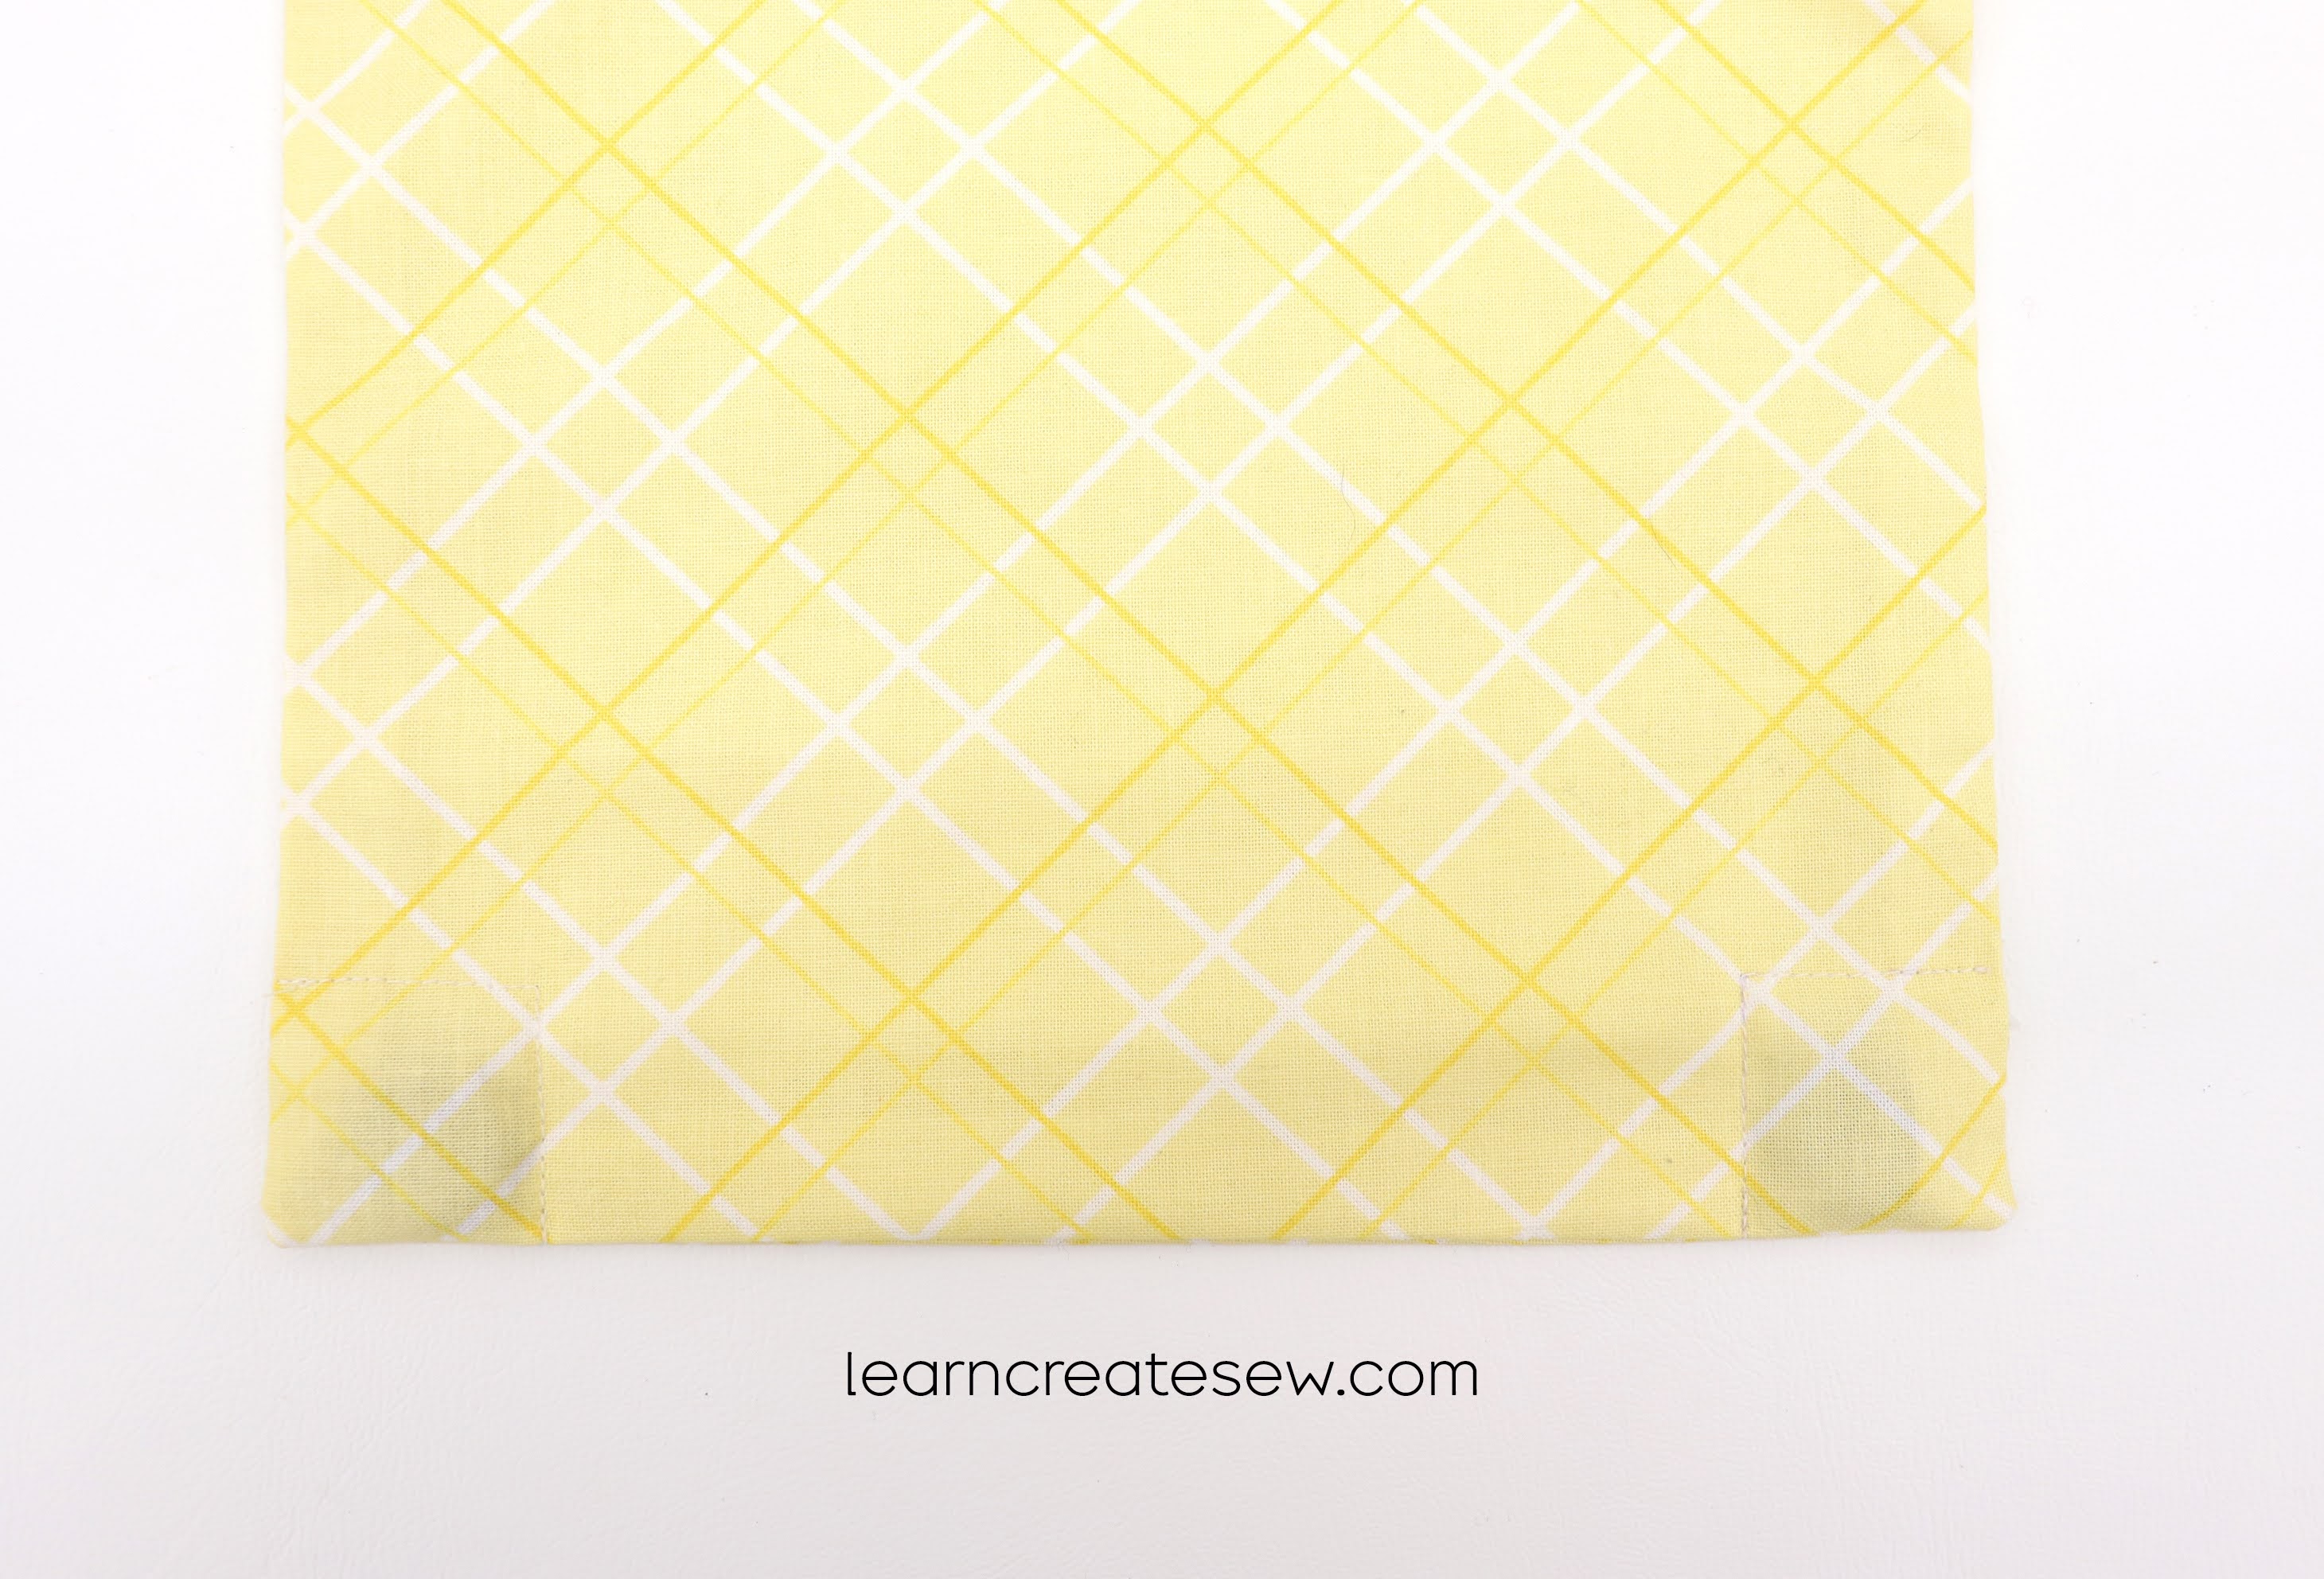
There are two magnets at the base of the curtain which will help it stay in place when in use. If you don’t want the magnets to be visible on the outside of the curtain, select a darker fabric print.
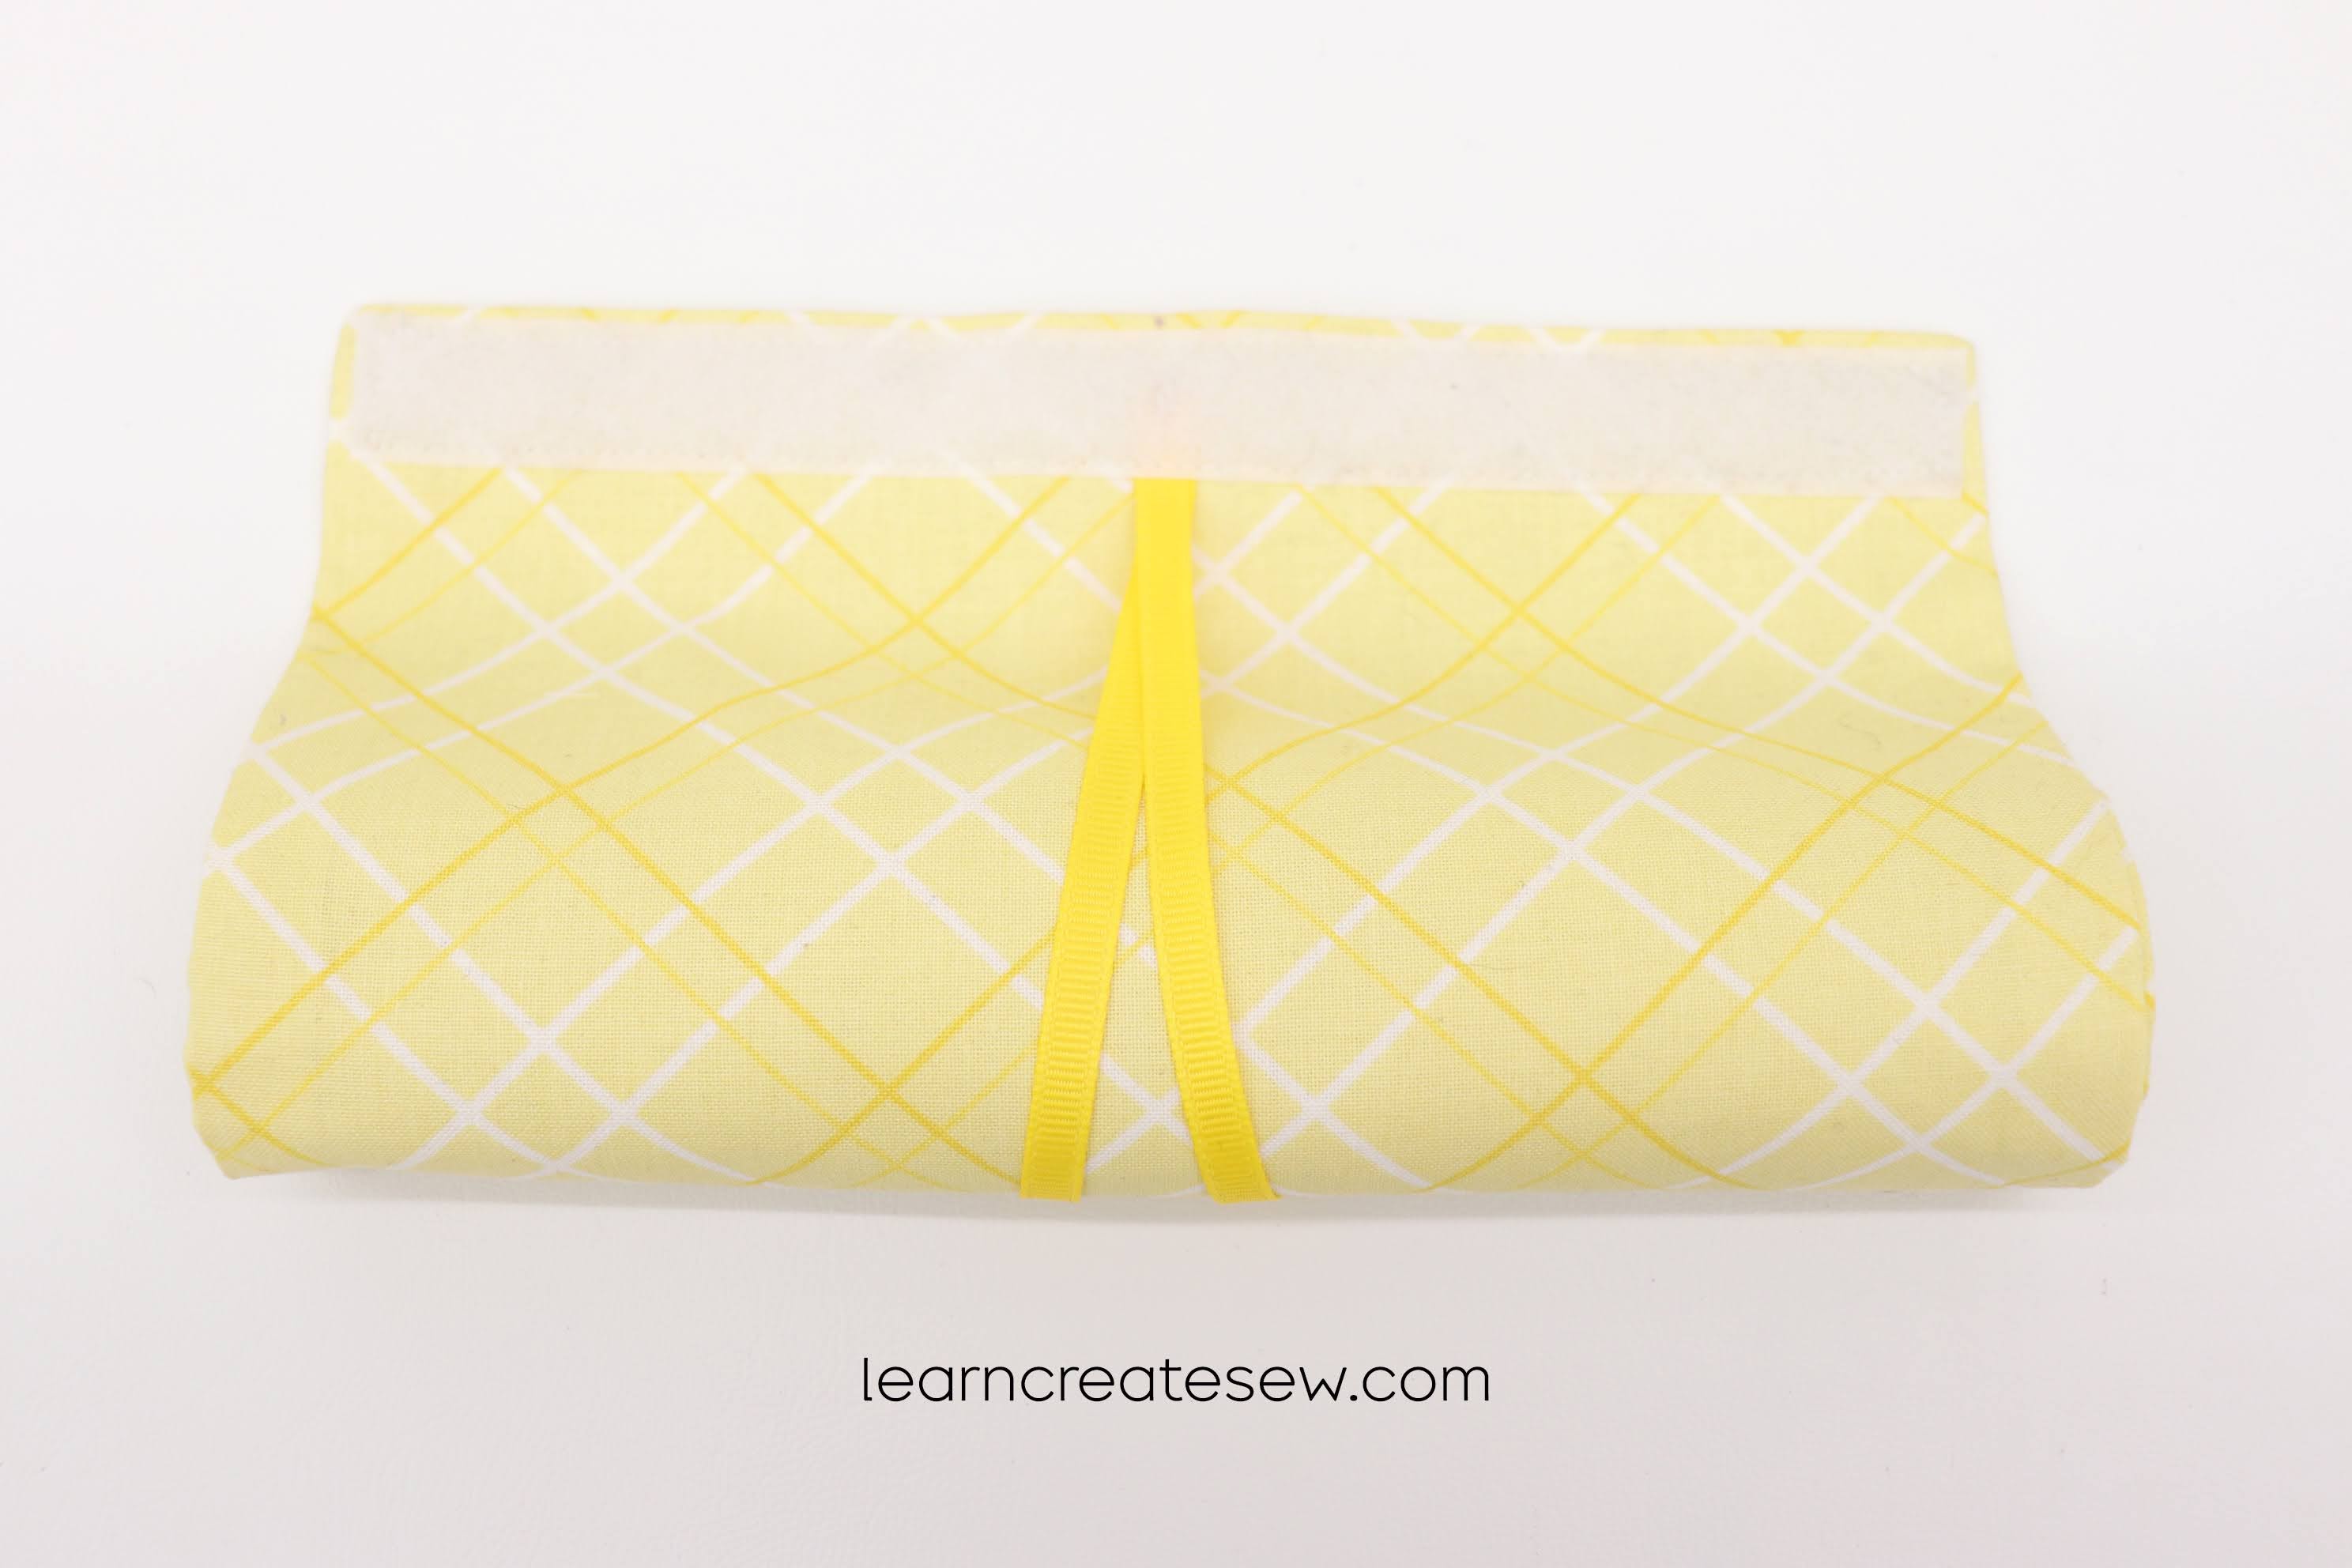
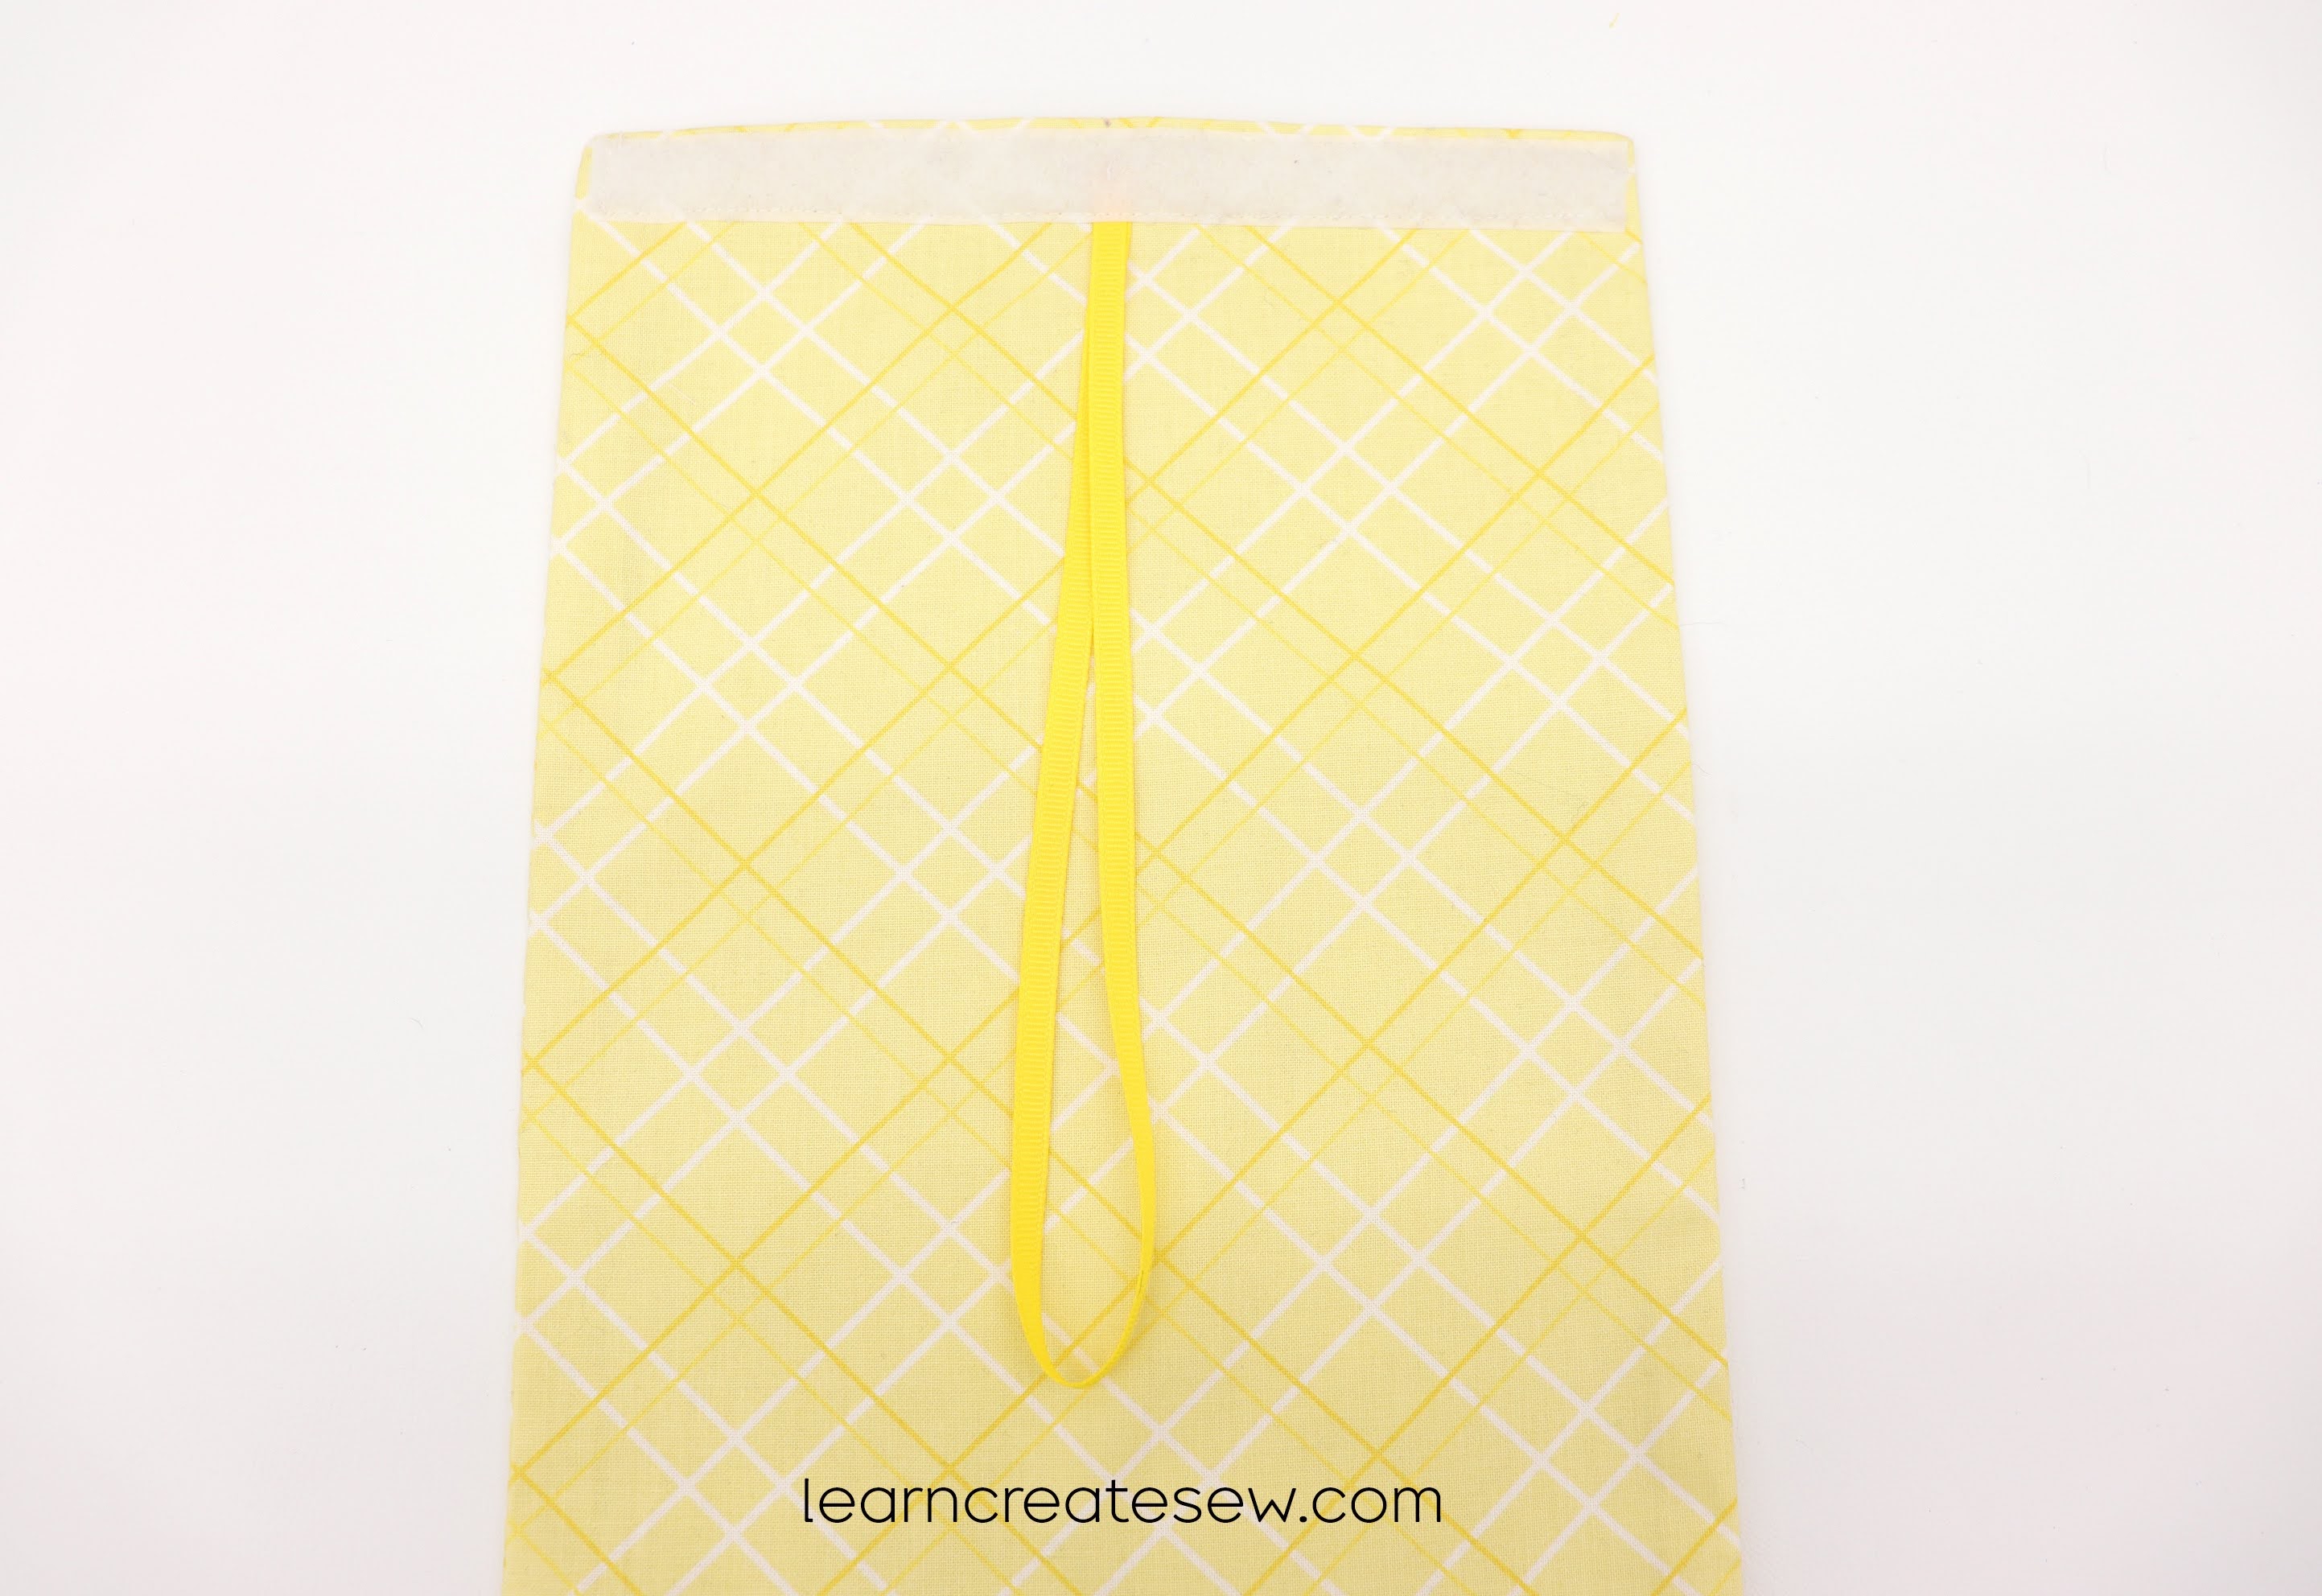
A ribbon and button will hold up the curtain when it is not being used.
This is a quick and easy project and can usually be completed in 15 – 30 minutes.
Supplies:
3/4 yard of cotton fabric (this is enough fabric for two curtains)
1/2 yard ribbon (1/4 inch wide) – (You will need more if you plan to attach the curtain using loops)
One Button (3/4 – 1 inch wide)
Sew-on Velcro (Loop side only – Approximately 1/4 yard)
Two Magnets (18mm) – (I needed 6 magnets to attach the curtain to the frame without the velcro)
Coordinating thread
Tools
Sewing Machine
Ruler
Fabric Marking Tool
Zipper foot (optional, but may be necessary on some machines)
I have long been meaning to post a tutorial on how to make a dress for the Sloth plush, but it always seemed to slip my mind. A special thanks to Carol for reminding me about it! The dress is a cute little addition to the sloth plush and a lot of fun to make.
I don’t have a video for this one, but I do have several photos. I hope you find them helpful.
Here are some quick instructions on how to make the dress.
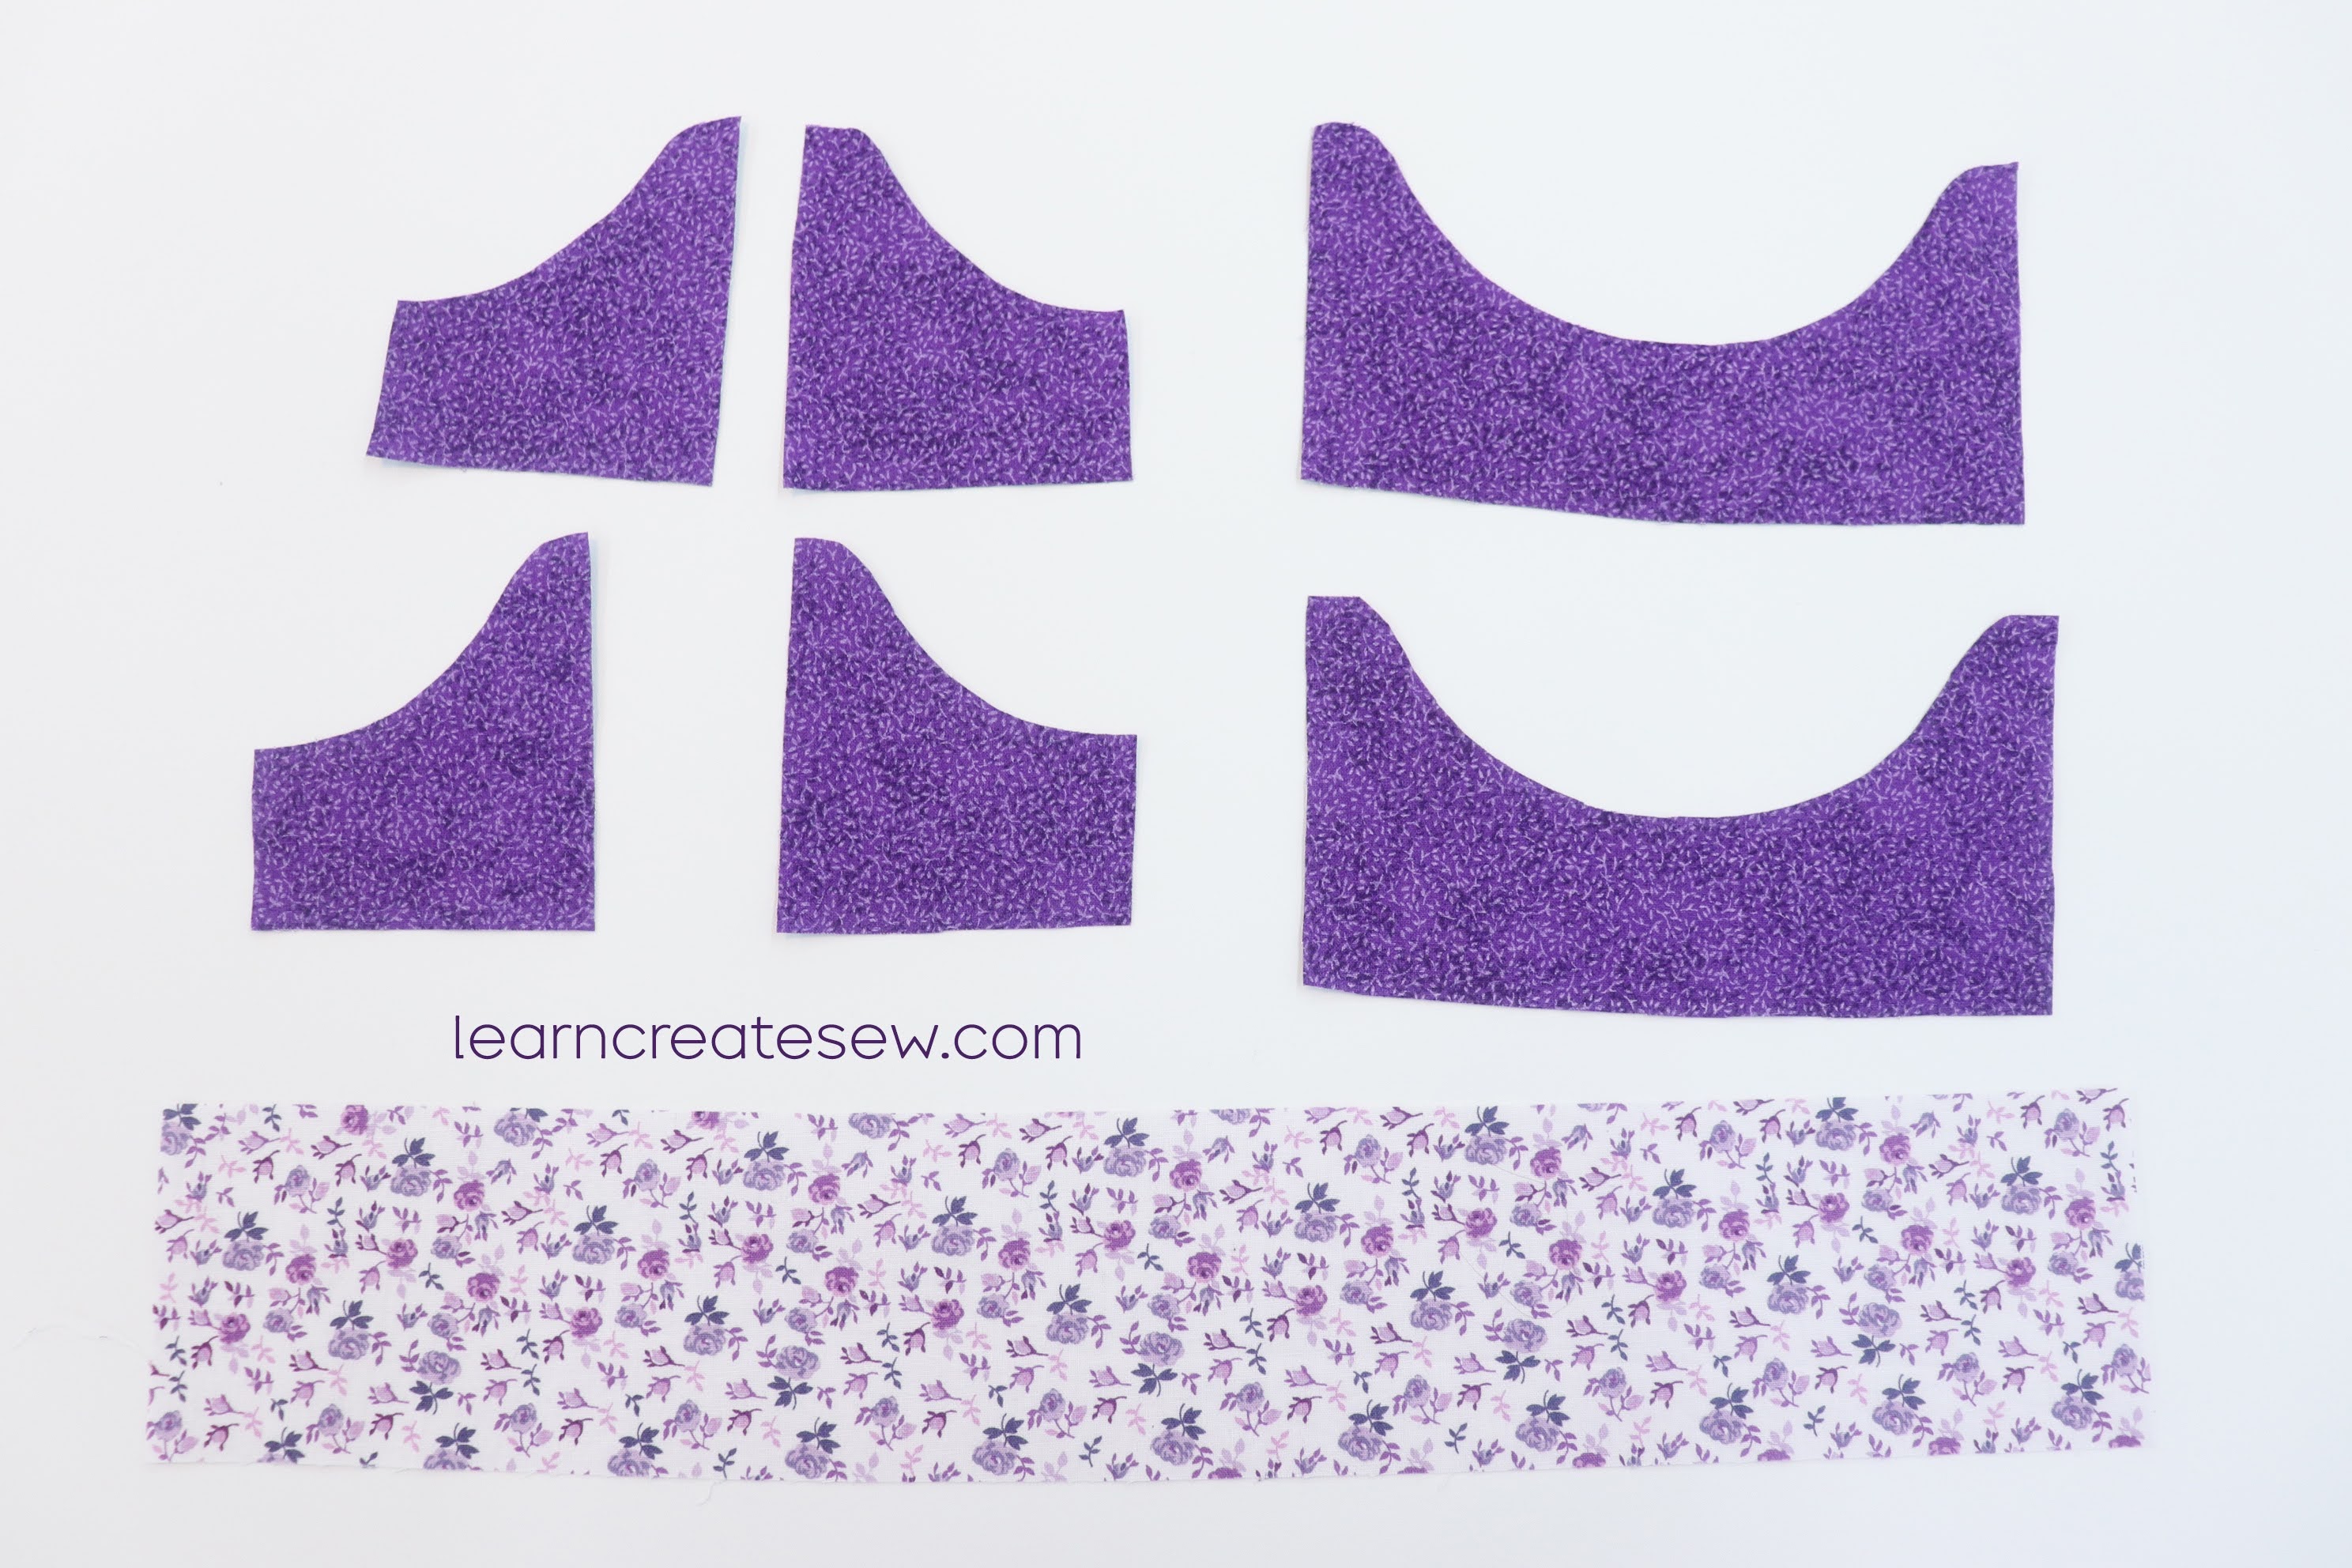
First, cut out the pieces. The skirt rectangle is approximately 3 x 18 inches, but you can adjust that as desired.
Hem the bottom and two sides of the skirt with a double-fold narrow hem. Approximately, 1/4 inch wide.
Gather the top edge.
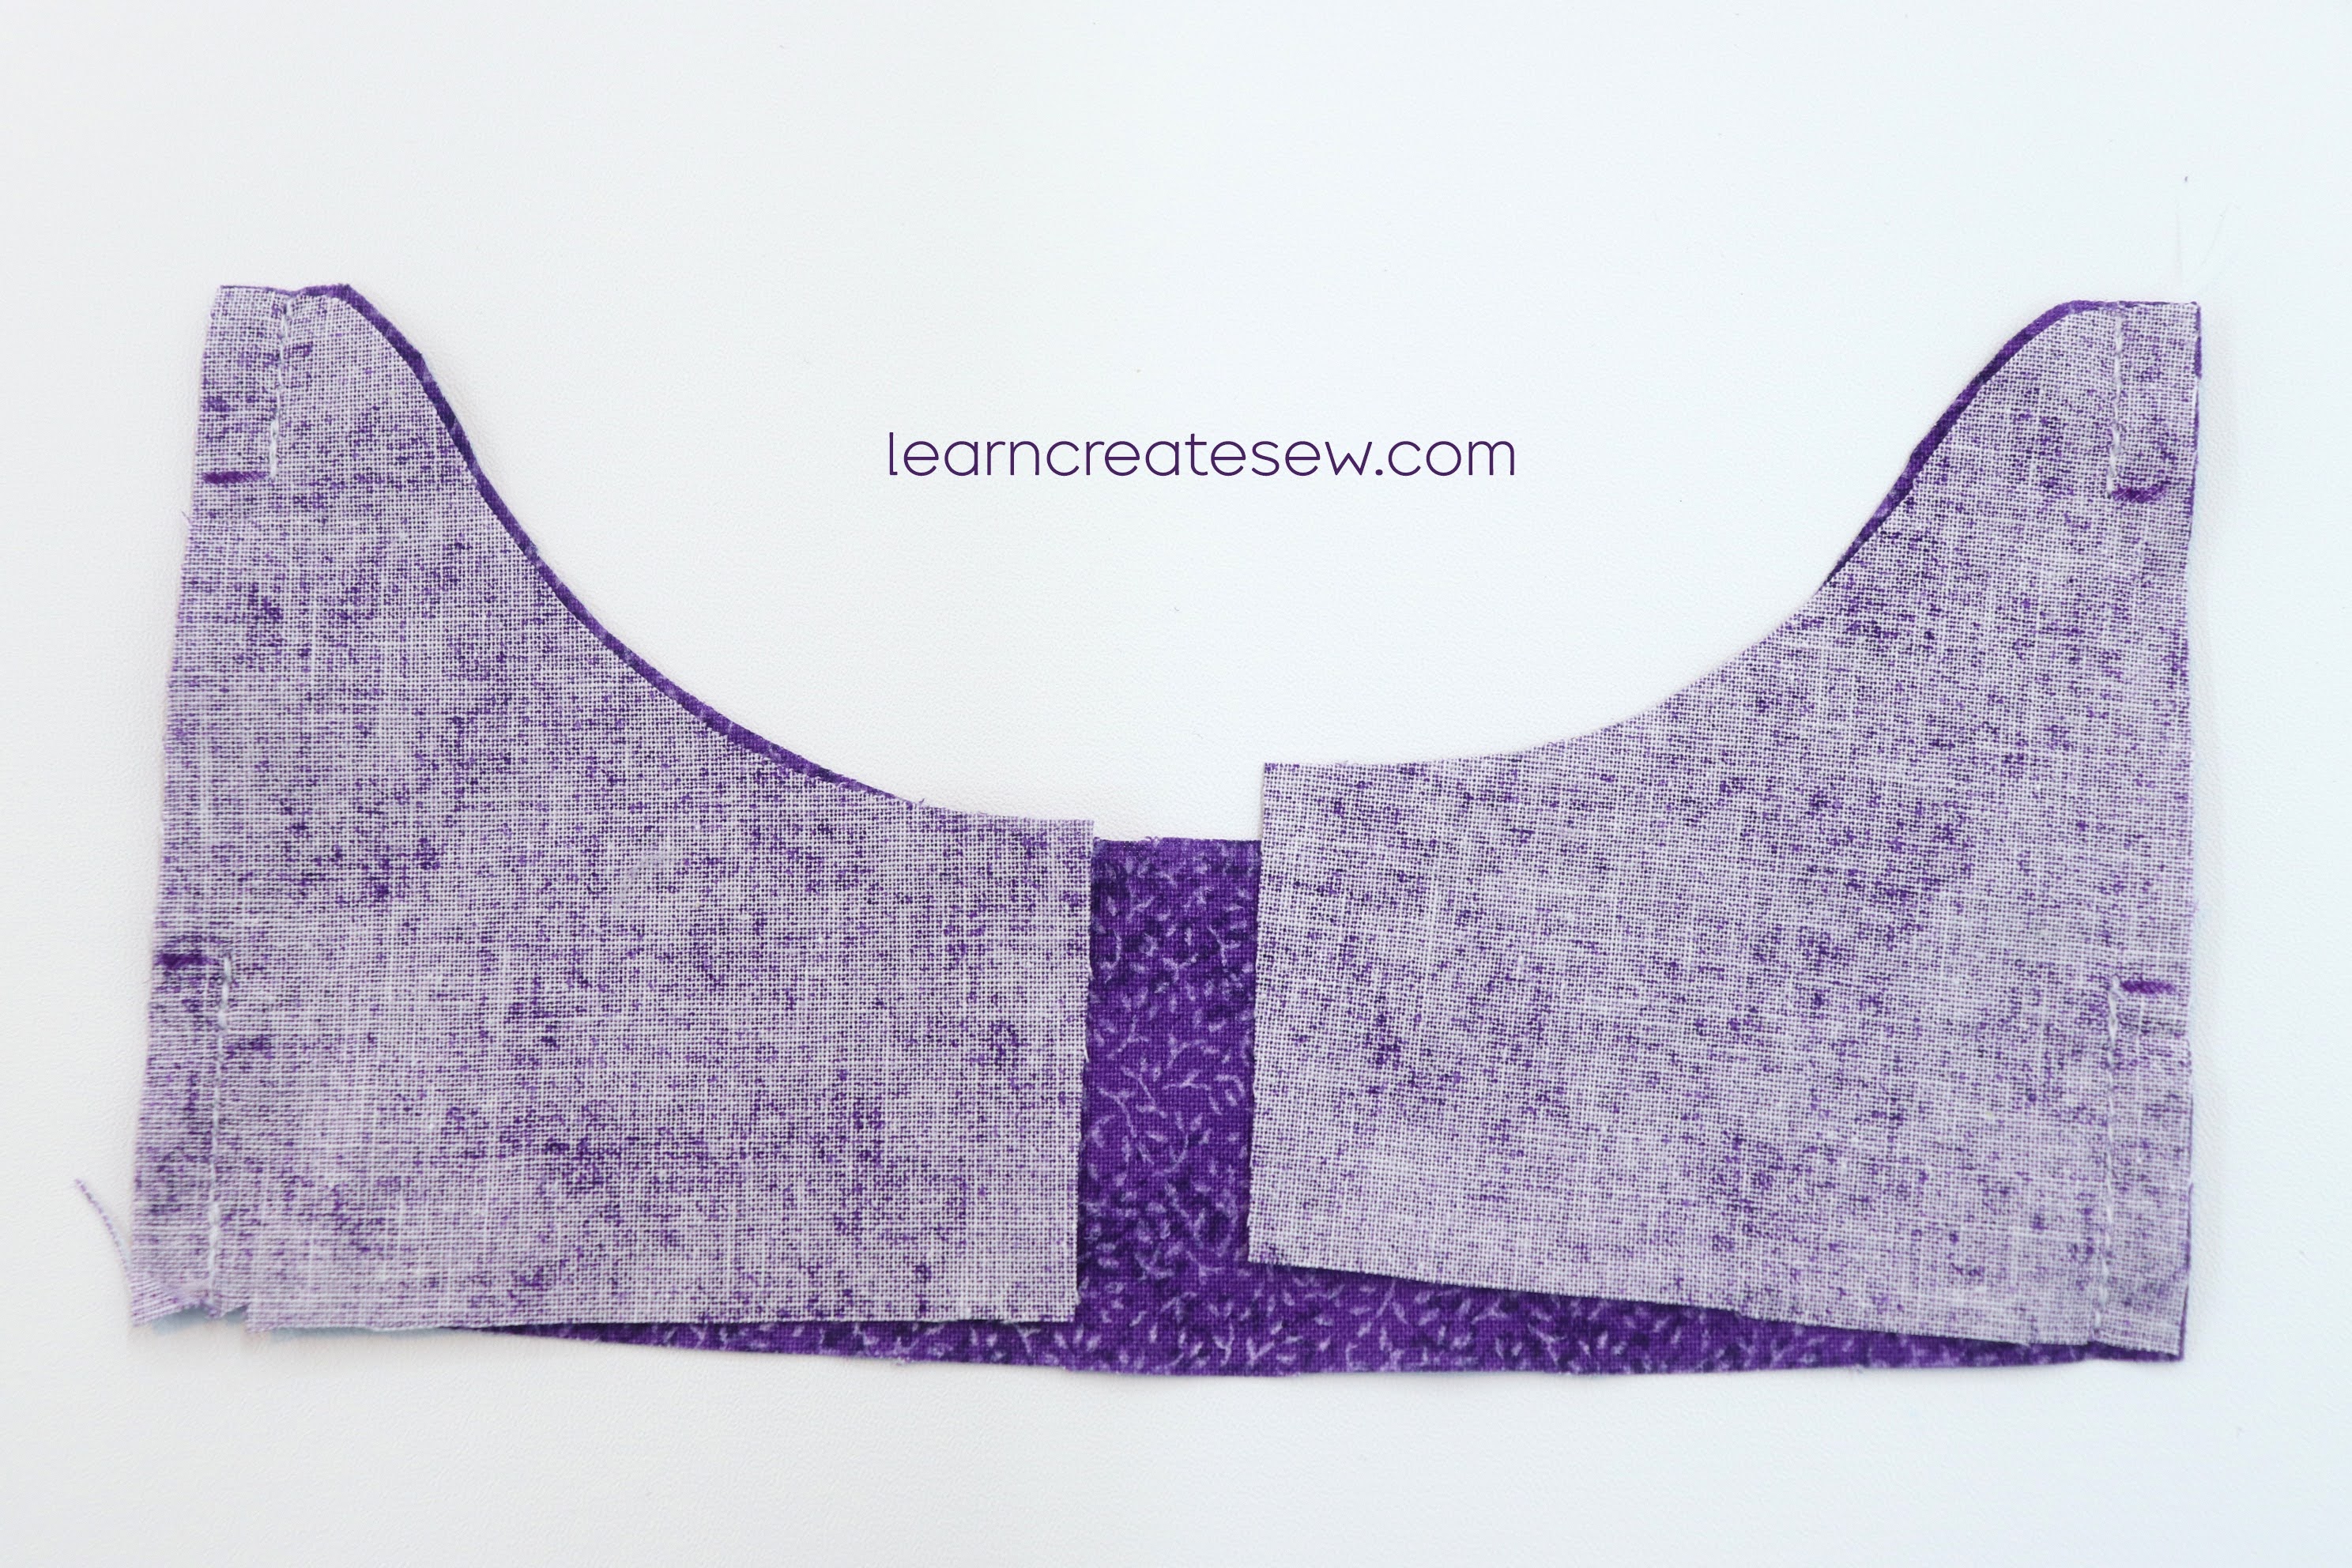
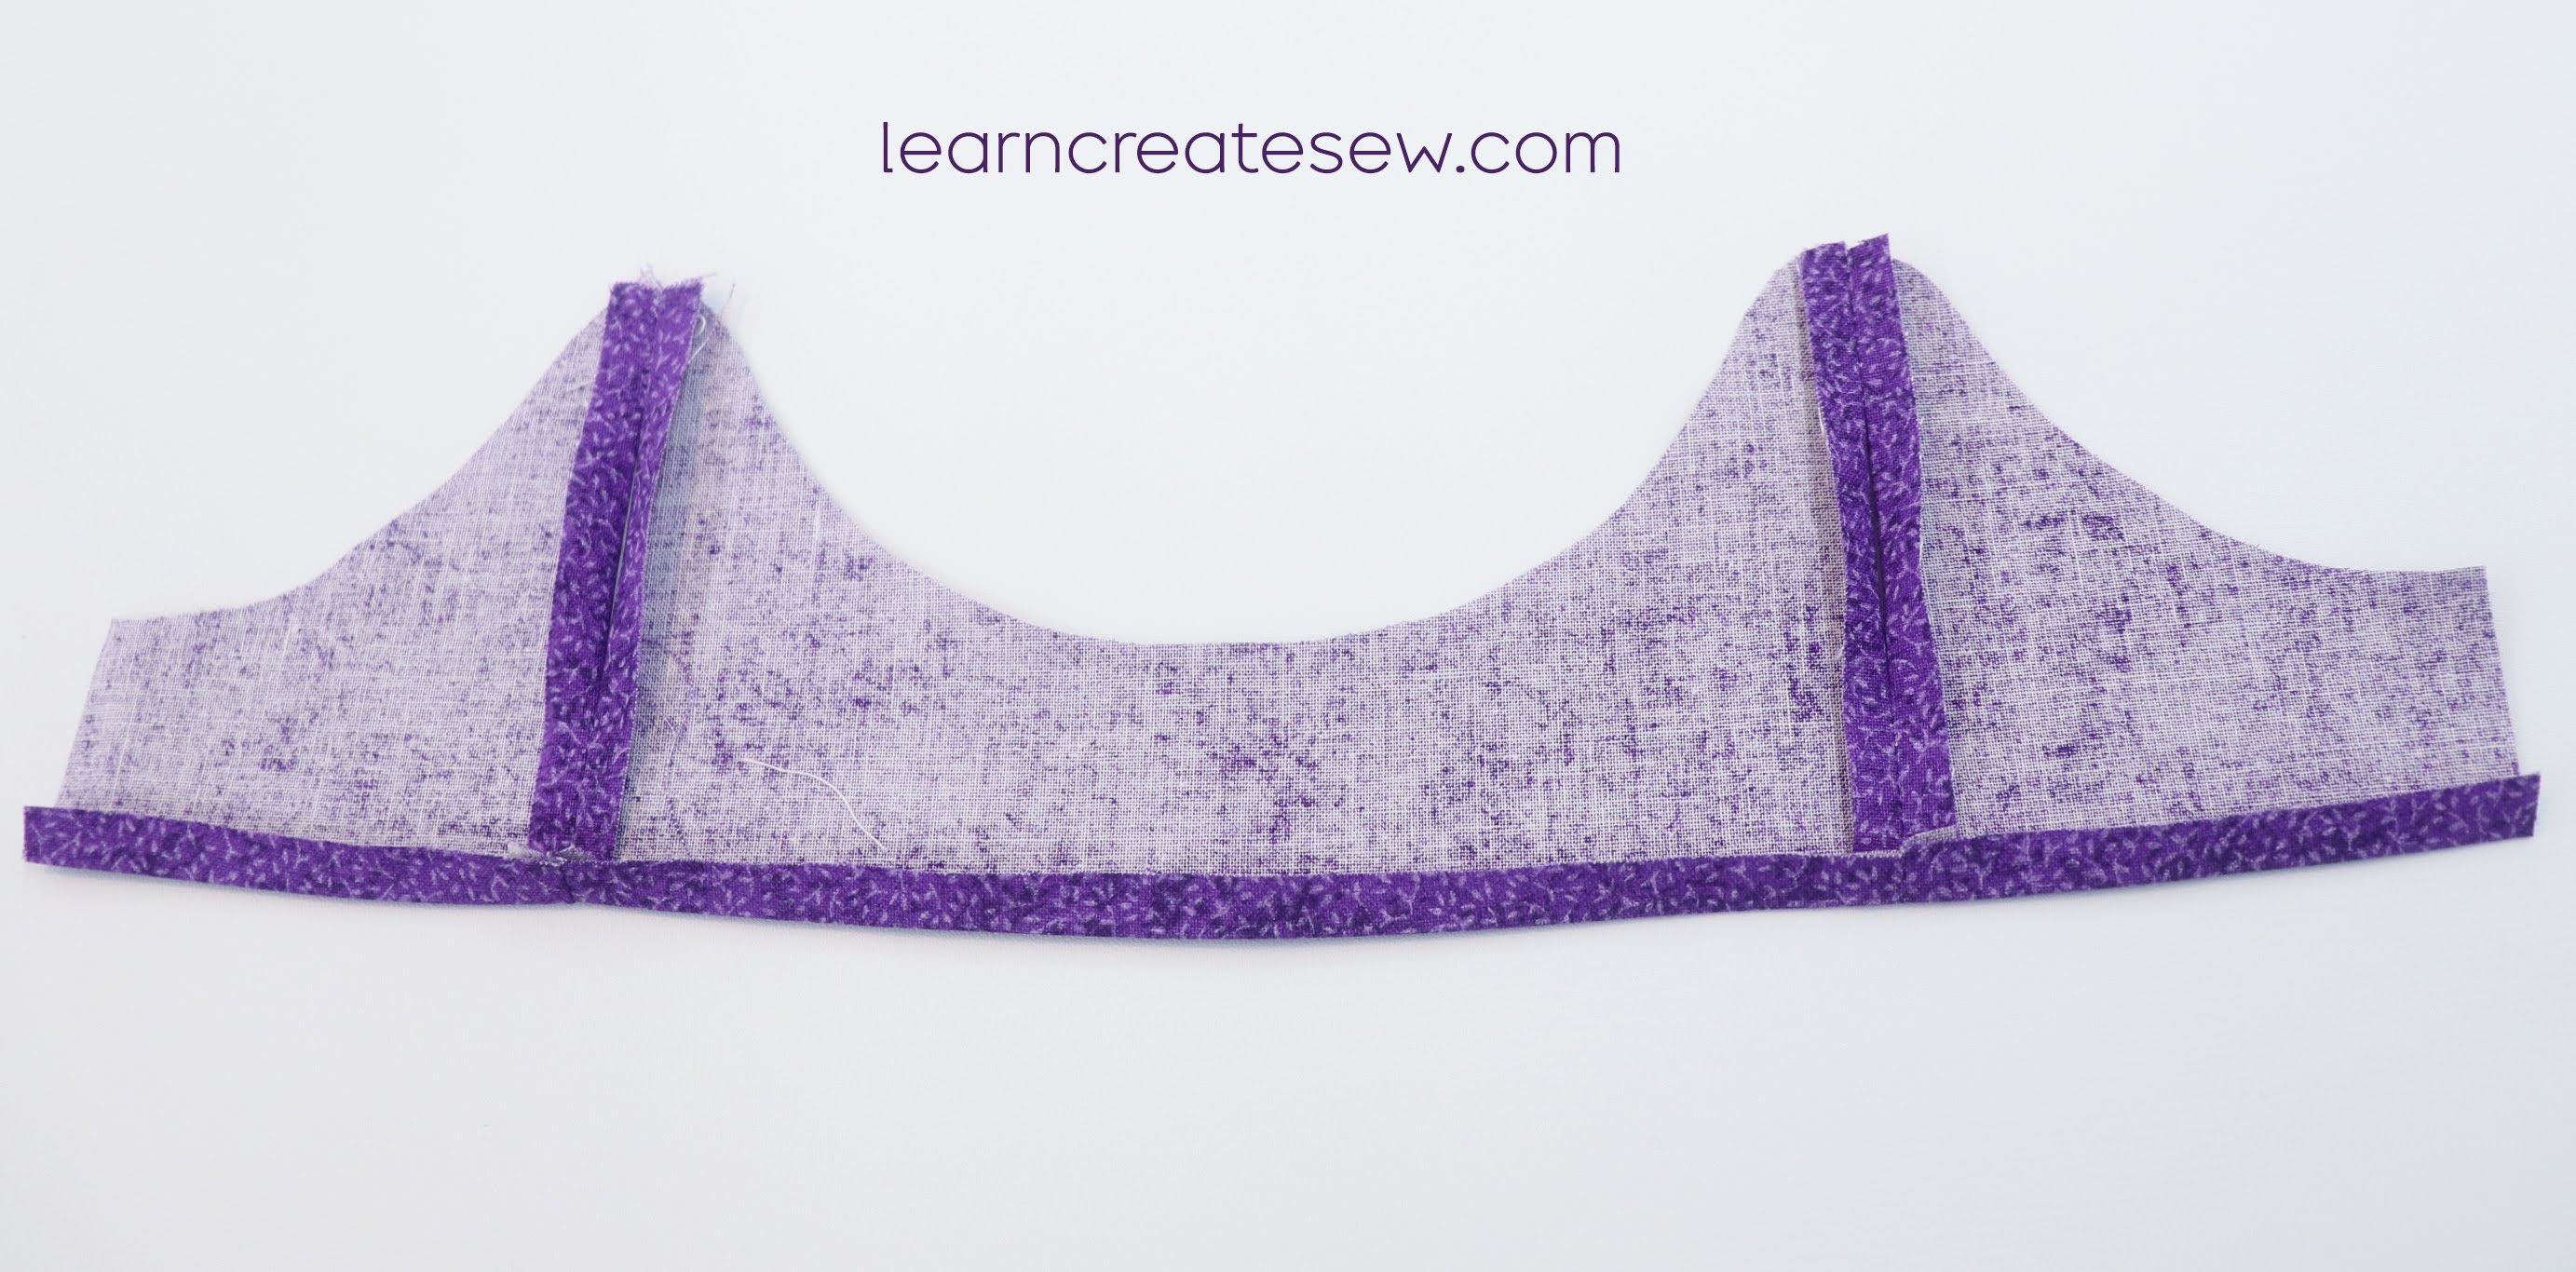
Pin two of the bodice front pieces to a bodice back piece, right sides together. Align the dashes marked on the pattern.
Stitch the side seams with a 1/4 inch seam allowance. Only sew above and below the dashes, leaving a gap in the middle. This is for the sloth’s arms to pass through.
Repeat this process again for the other front and back pieces. You should end up with two identical dress bodices. Press the side seams open on both bodices.
Fold up the bottom edge of one of the bodices 3/8 inch. Press. Keep the bottom edge of the other flat.
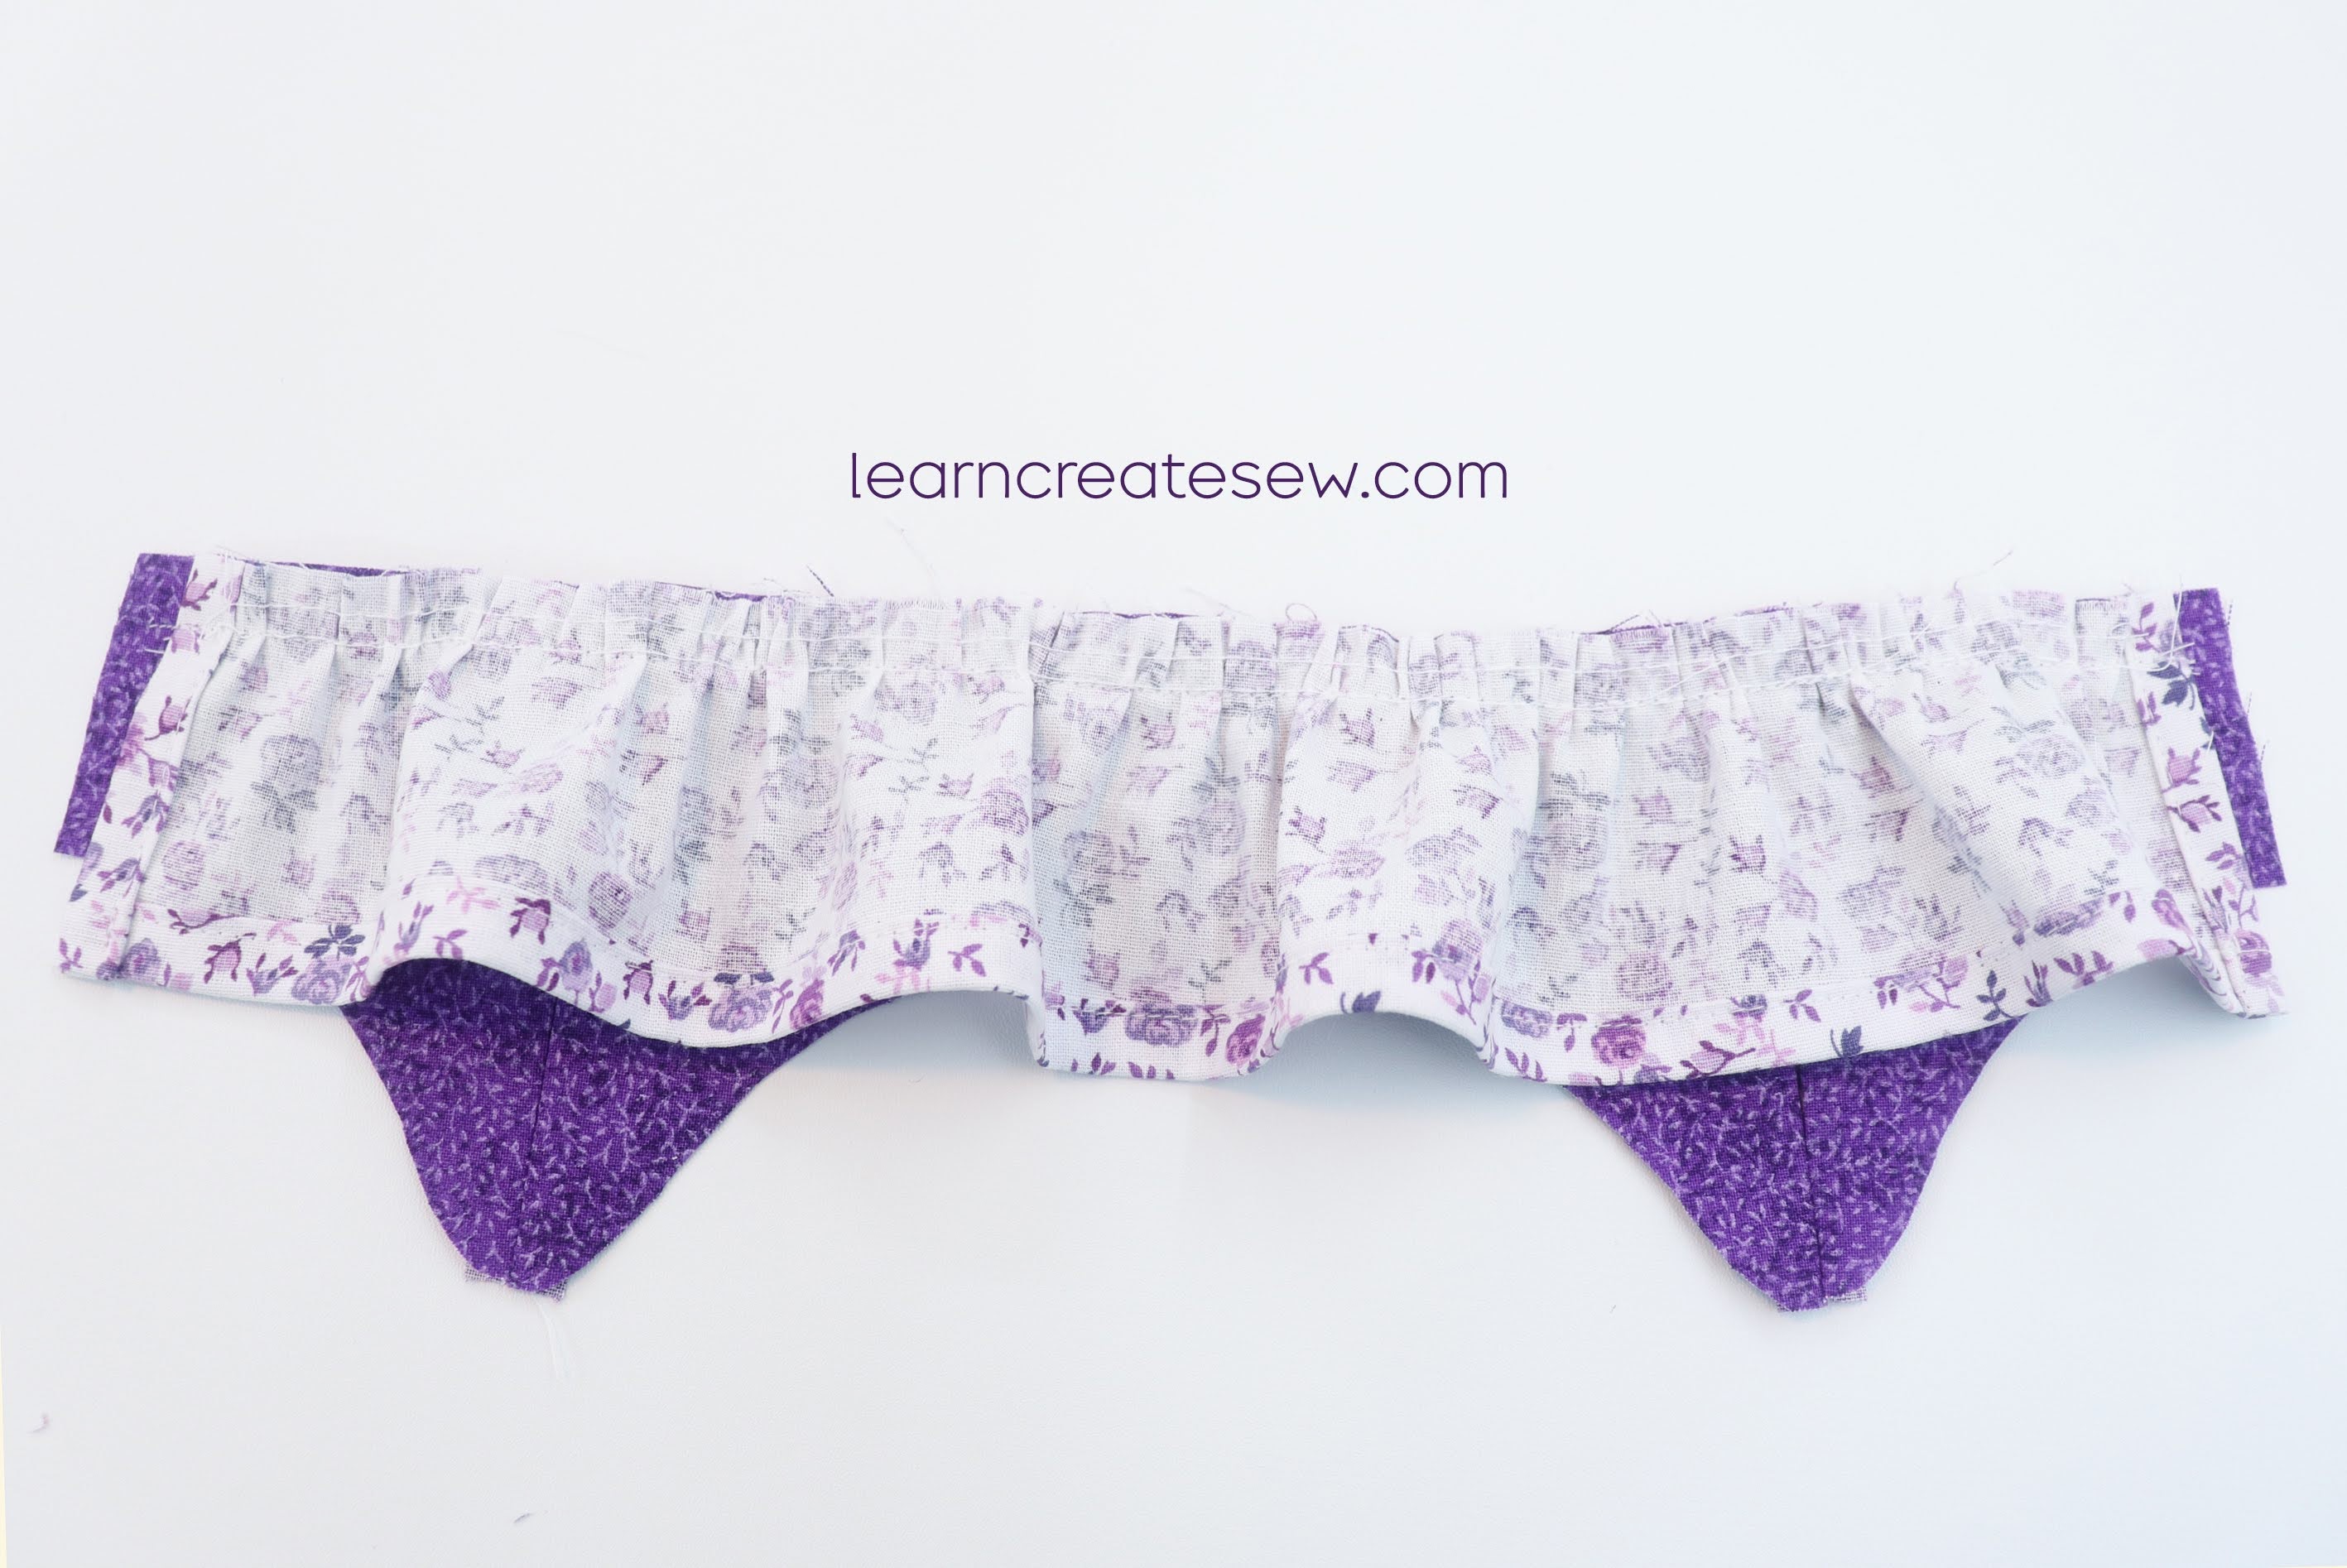
Lay the bodice with the bottom edge flat (the one you did not press) right side up. Place the skirt right side down on top of it. Align the gathered edge of the skirt with the raw edge of the bodice. Let the bodice extend an extra 1/4 inch on each side beyond the skirt. Stitch the skirt in place along the gathered edge with a 1/2 inch seam allowance.
Flip the skirt down and press the seam allowance toward the bodice.
Place the dress right side up. (You can disregard the topstitching shown on the bodice in the photo. It’s not necessary in this step. We will get to that later.)
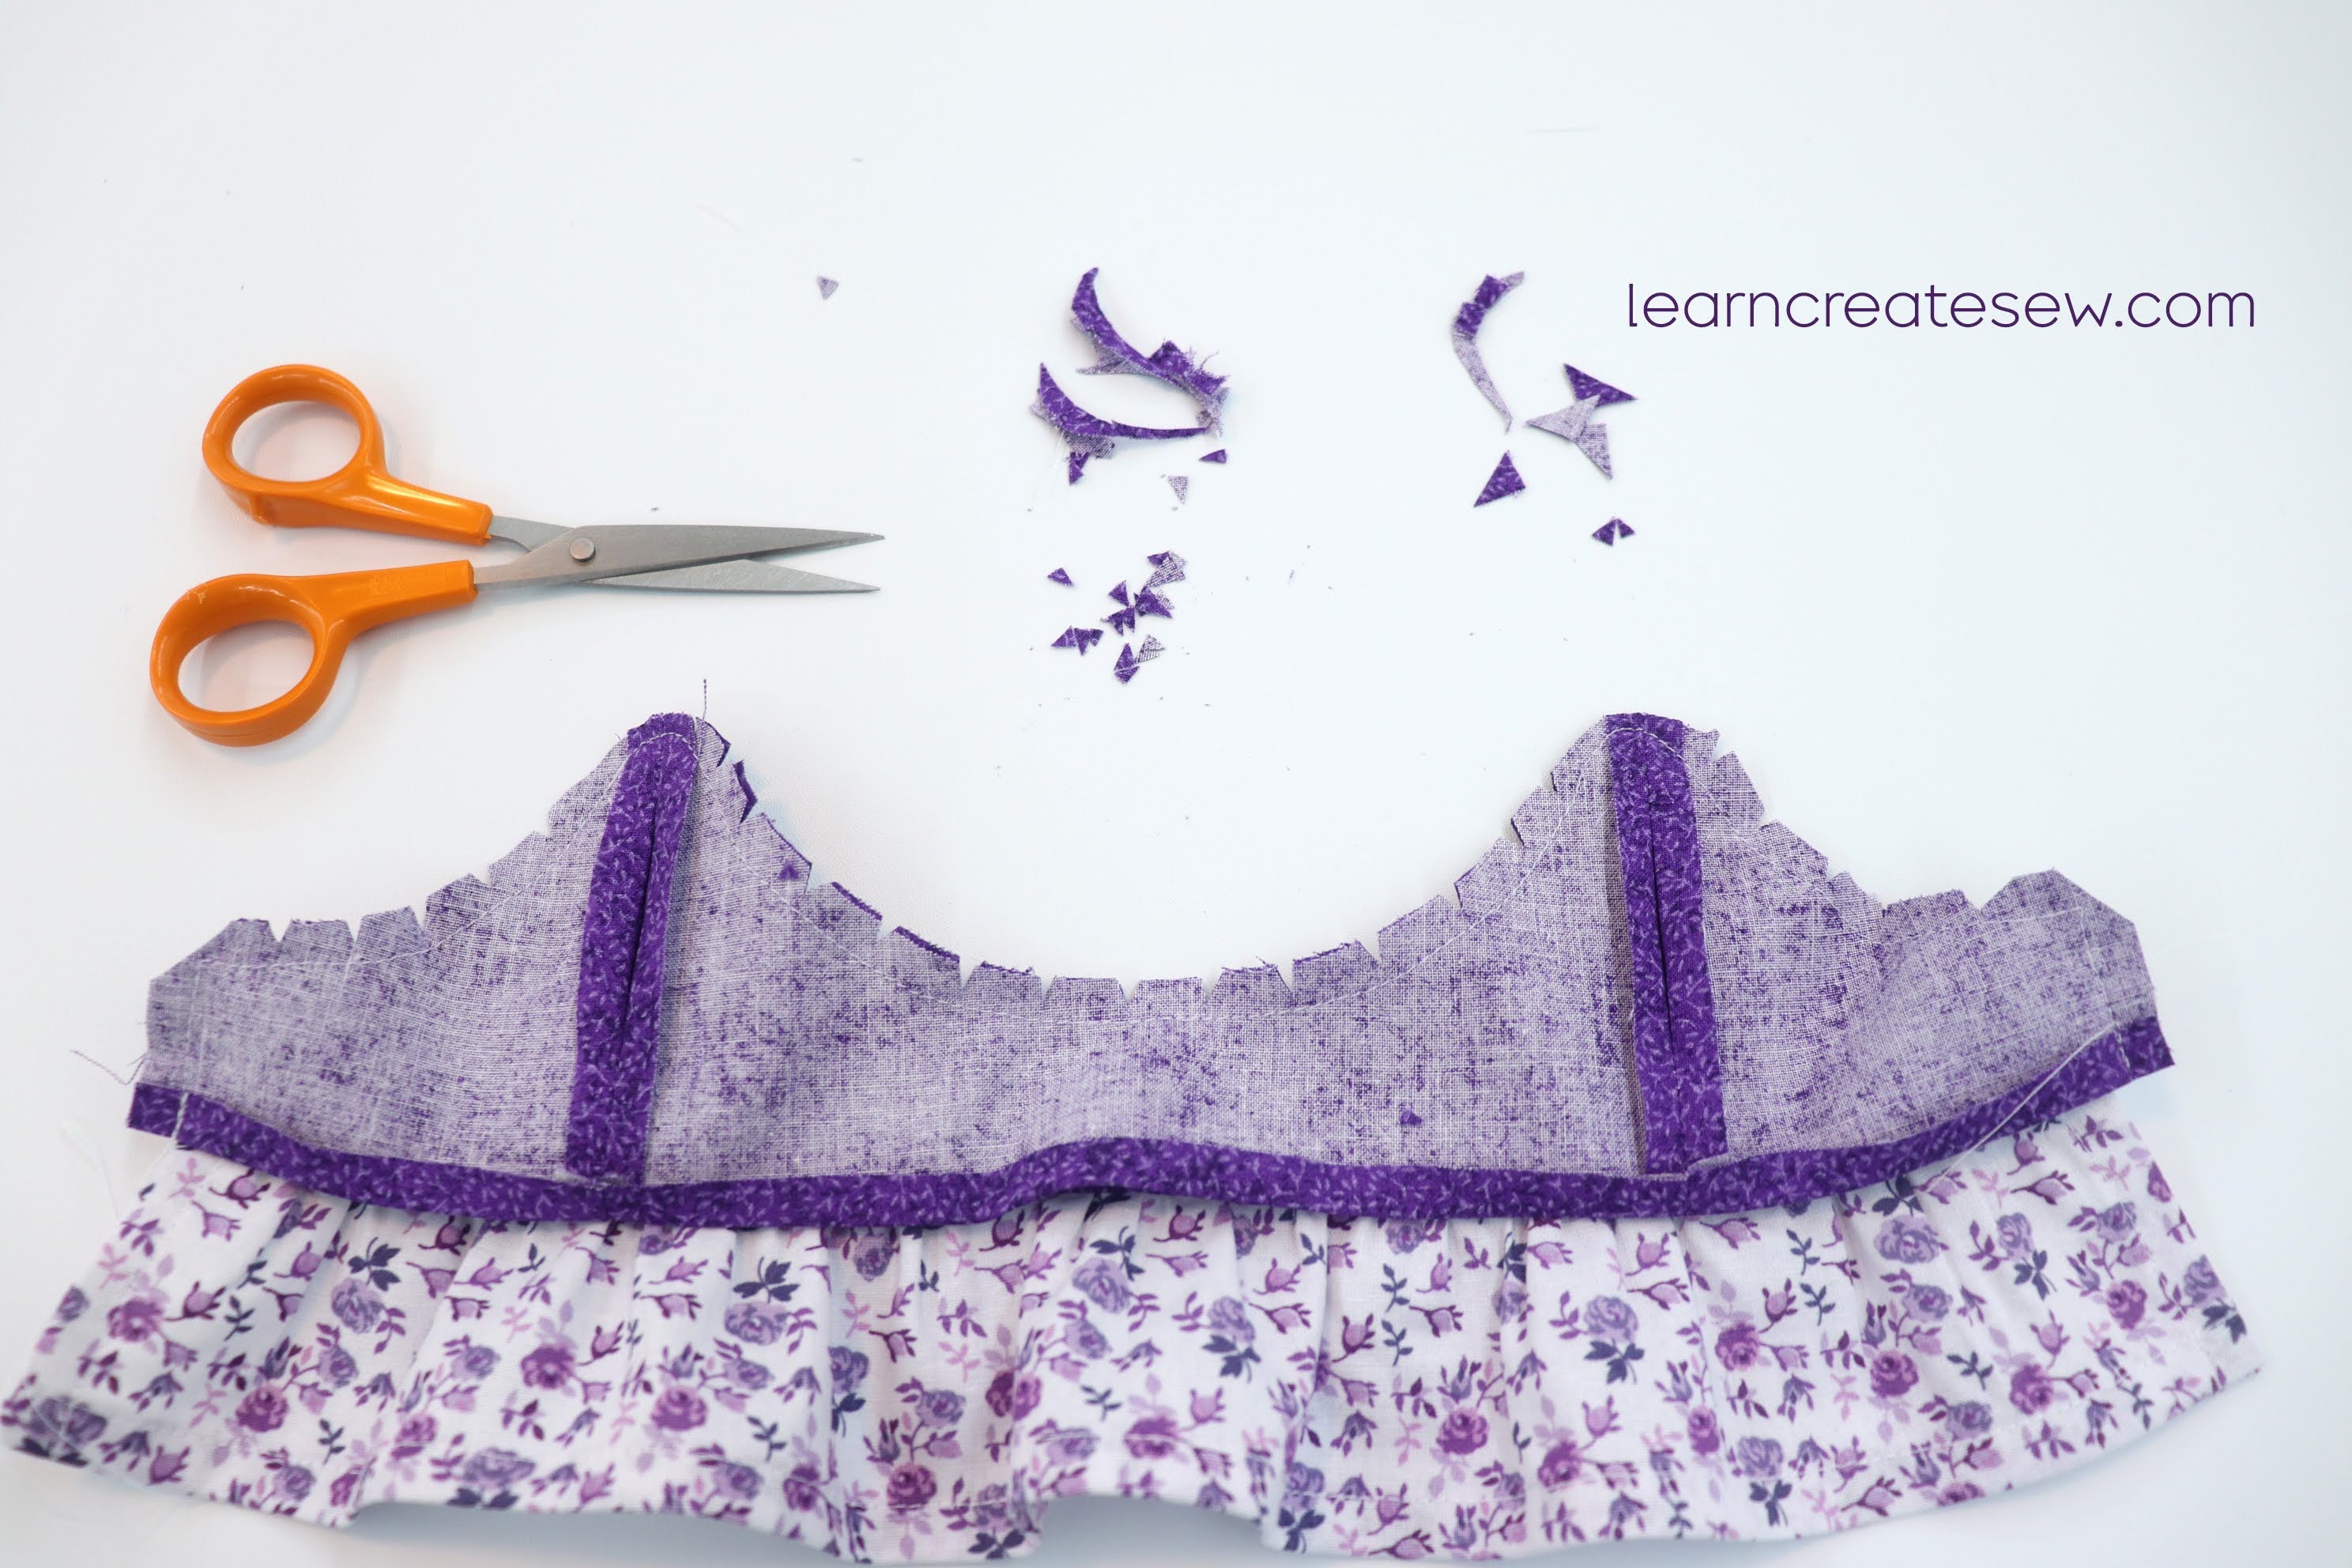
Lay the other bodice, the one with the folded bottom edge, right side down on top of the dress. Align seams and edges of the bodice pieces. Make sure the seams are open and flat. Sew all of the way around the edge of the bodice with a 1/4 inch seam allowance, everywhere except the bottom edge where the skirt is attached, that will stay open. (None of your stitches should be on the skirt section. Only the bodice fabric is being stitched.)
Clip the curves and corners.
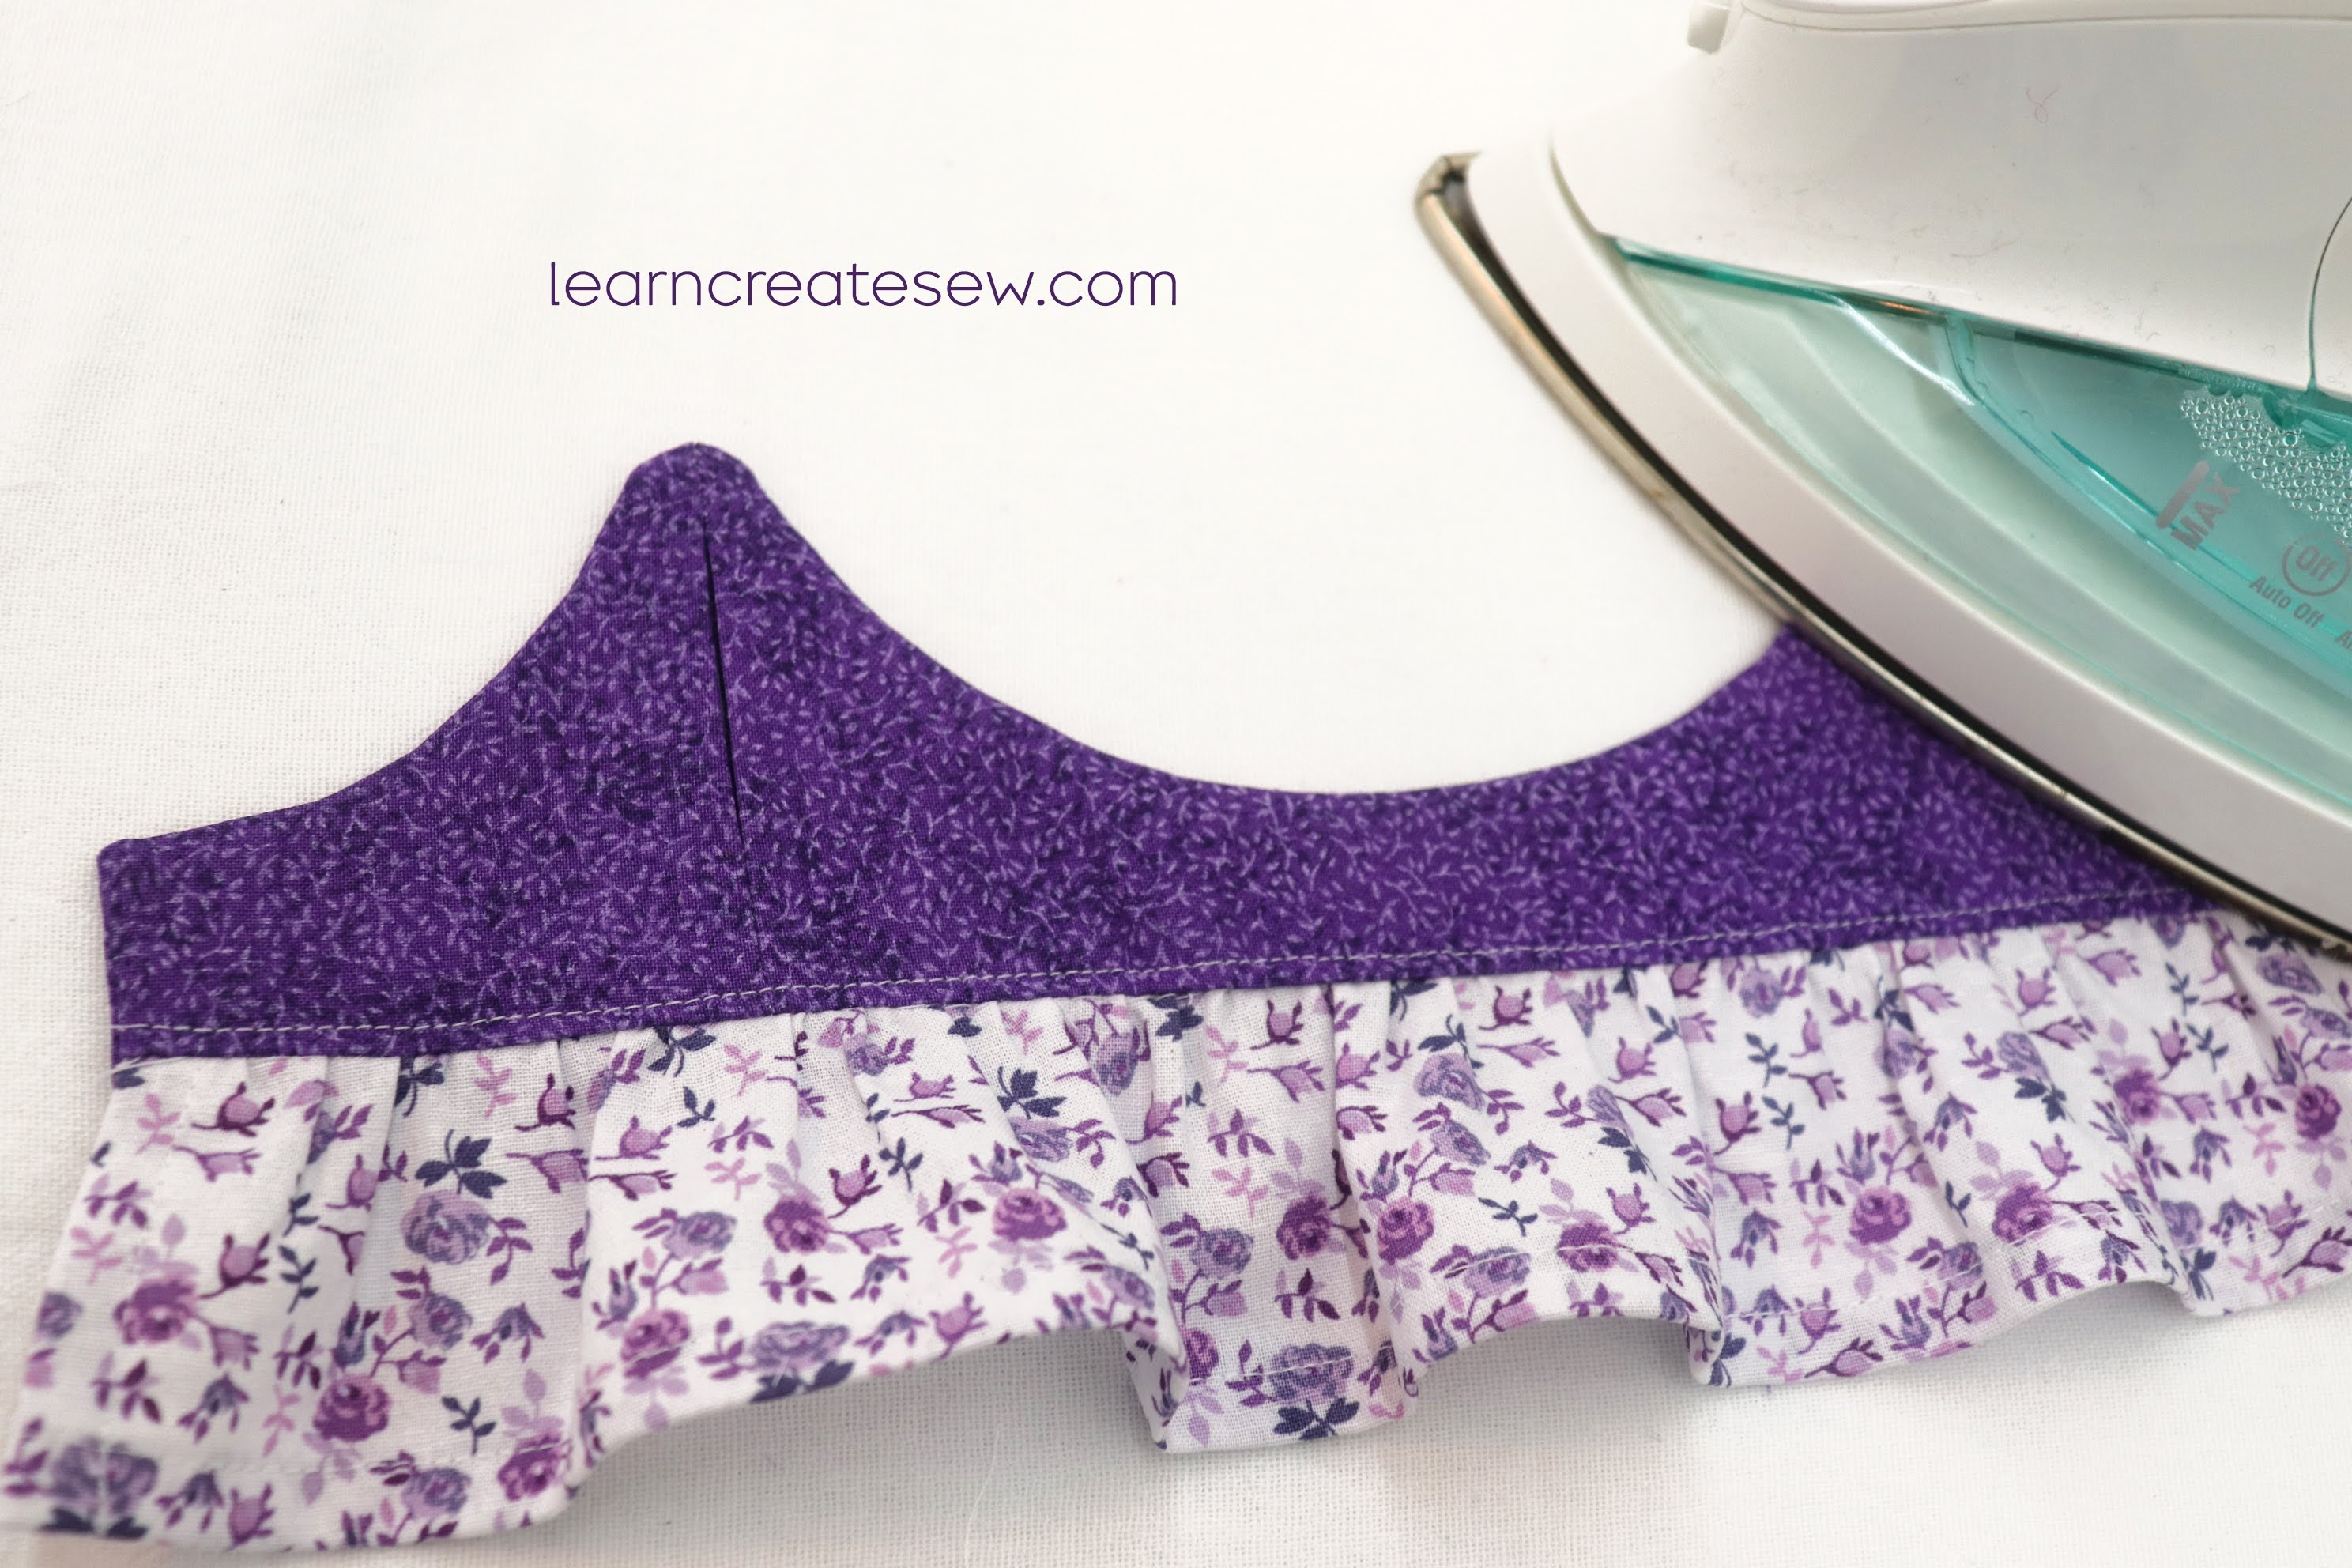
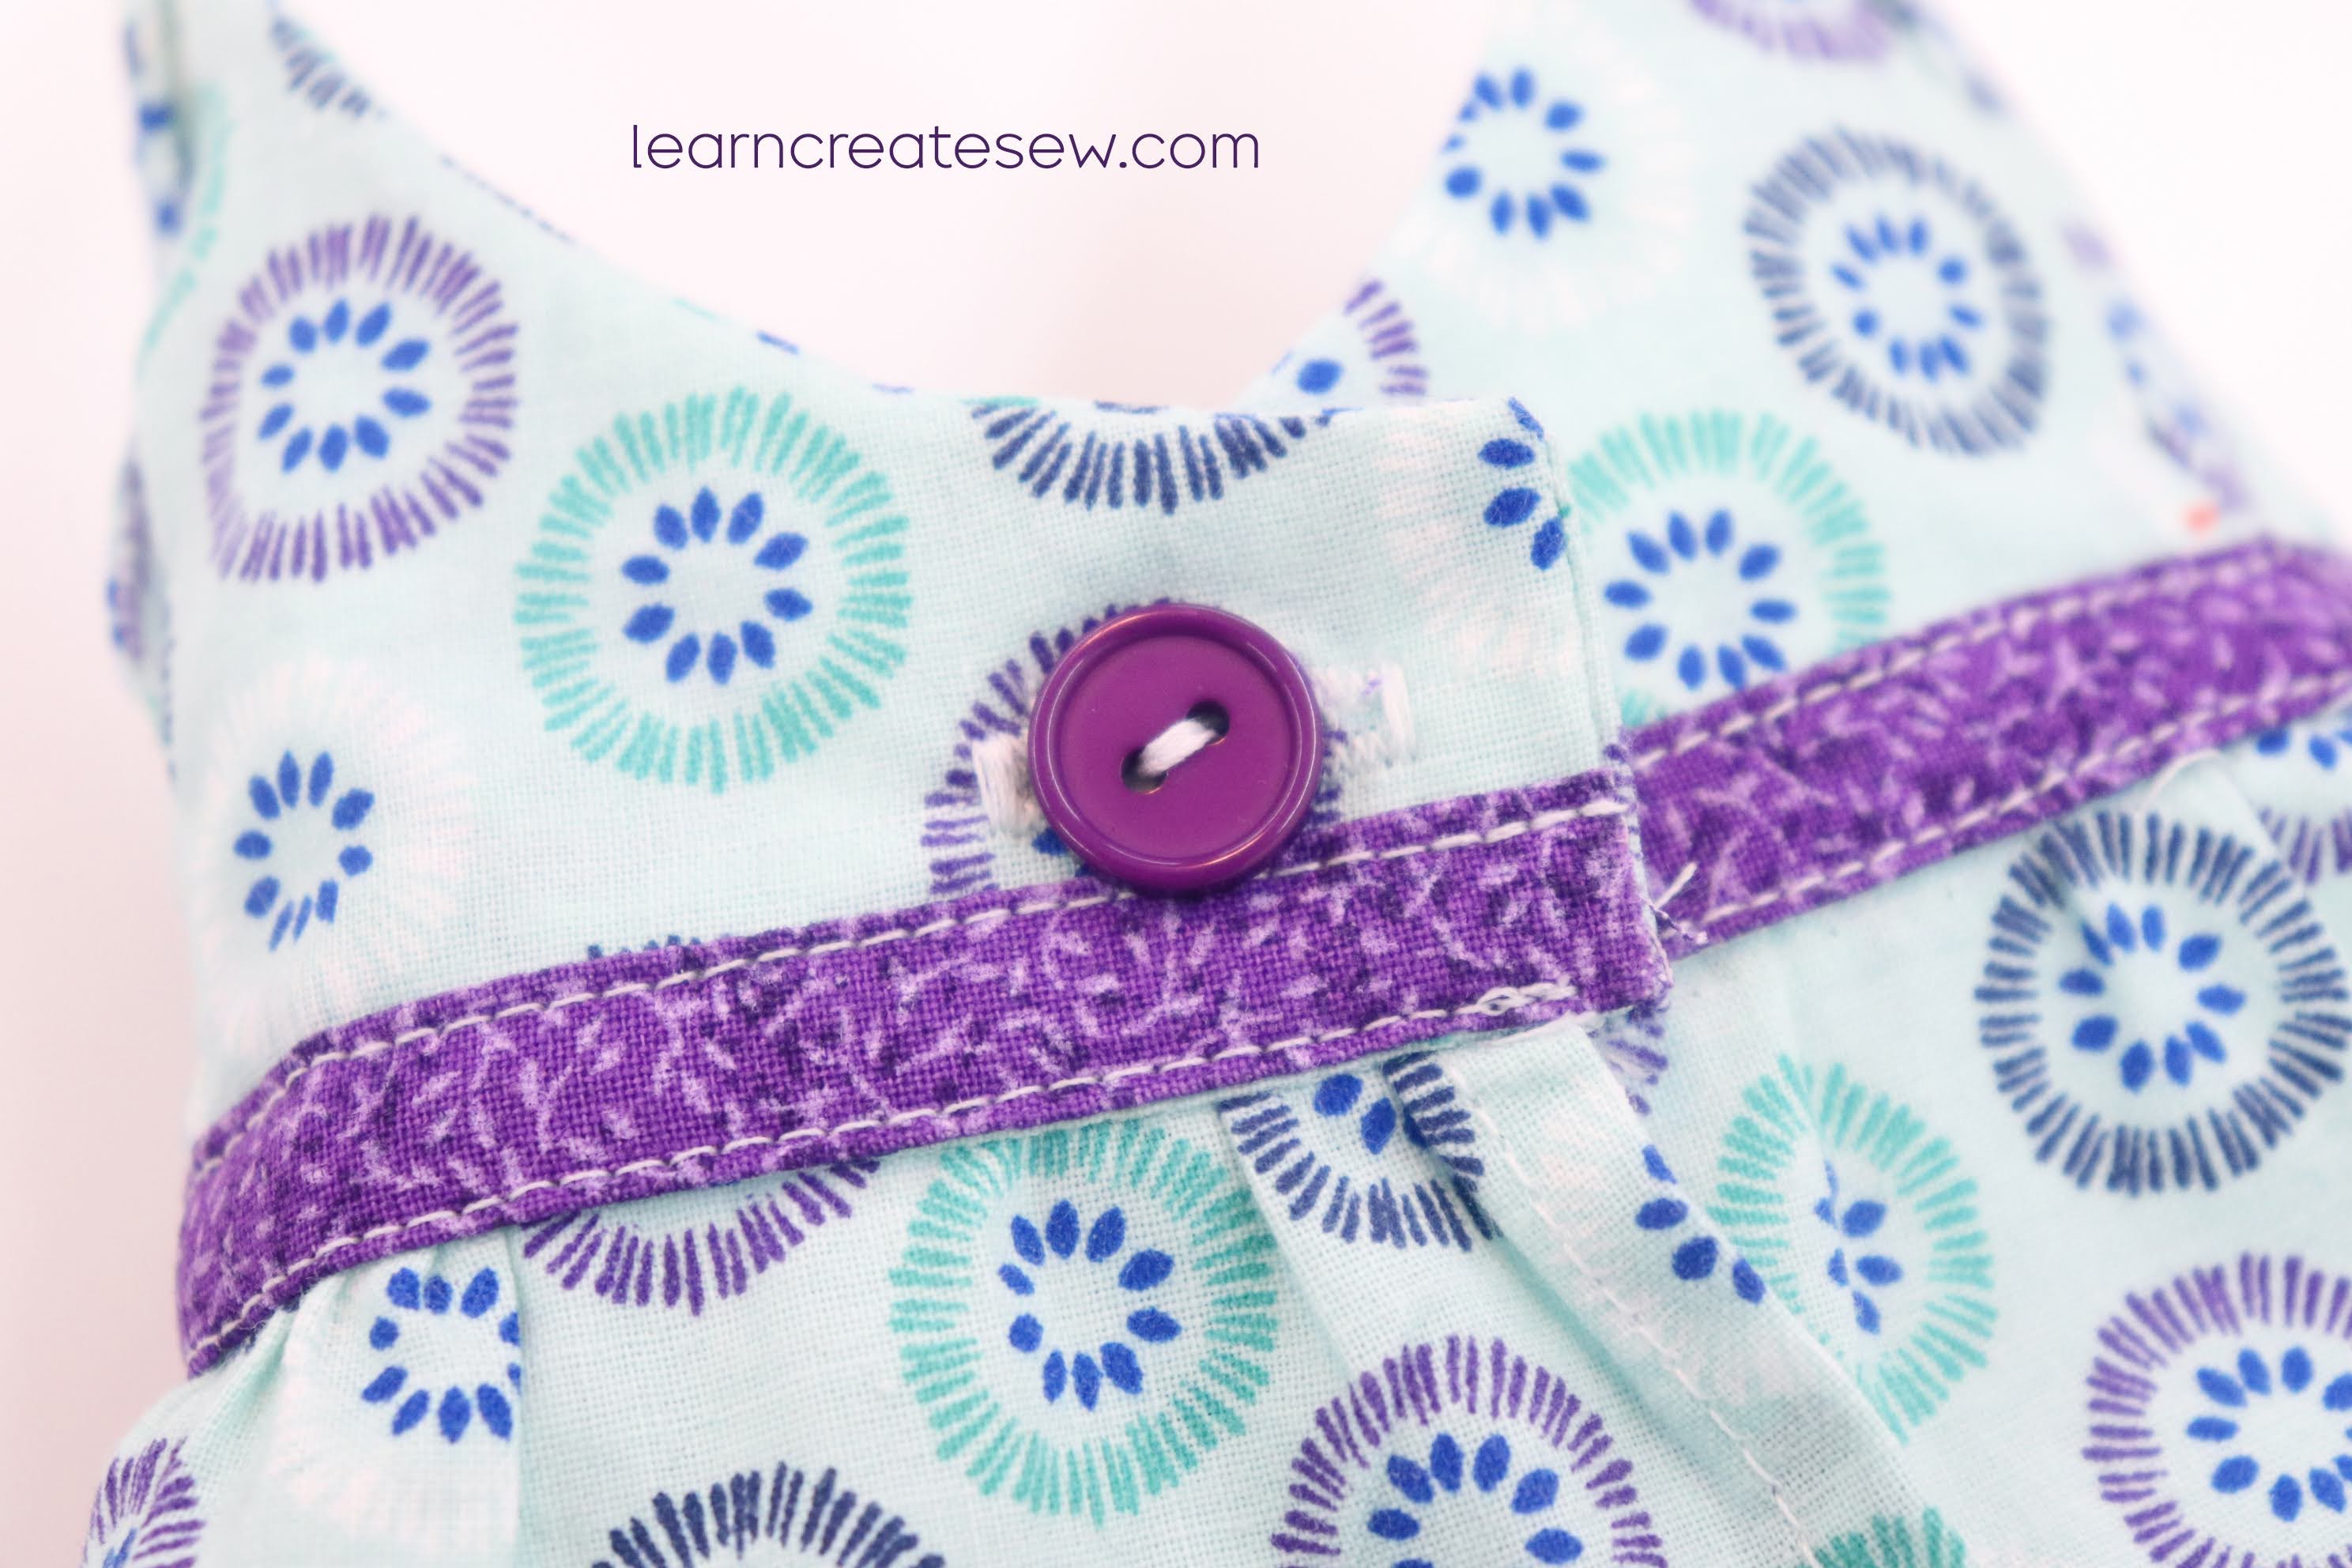
Flip the bodice right side out and press. Carefully align the bottom edge of the folded bodice so it covers the gathers and hides the seam allowance on the inside. The folded bodice edge should extend about 1/8 inch below the stitch line of the skirt. Flip it over. Pin in place as needed. From the front side, topstitch along the bottom of the bodice edge (more detailed photos below) and then press again. The skirt will now be sandwiched between the two bodice layers.
I usually topstitch with a 1/8 inch seam allowance.
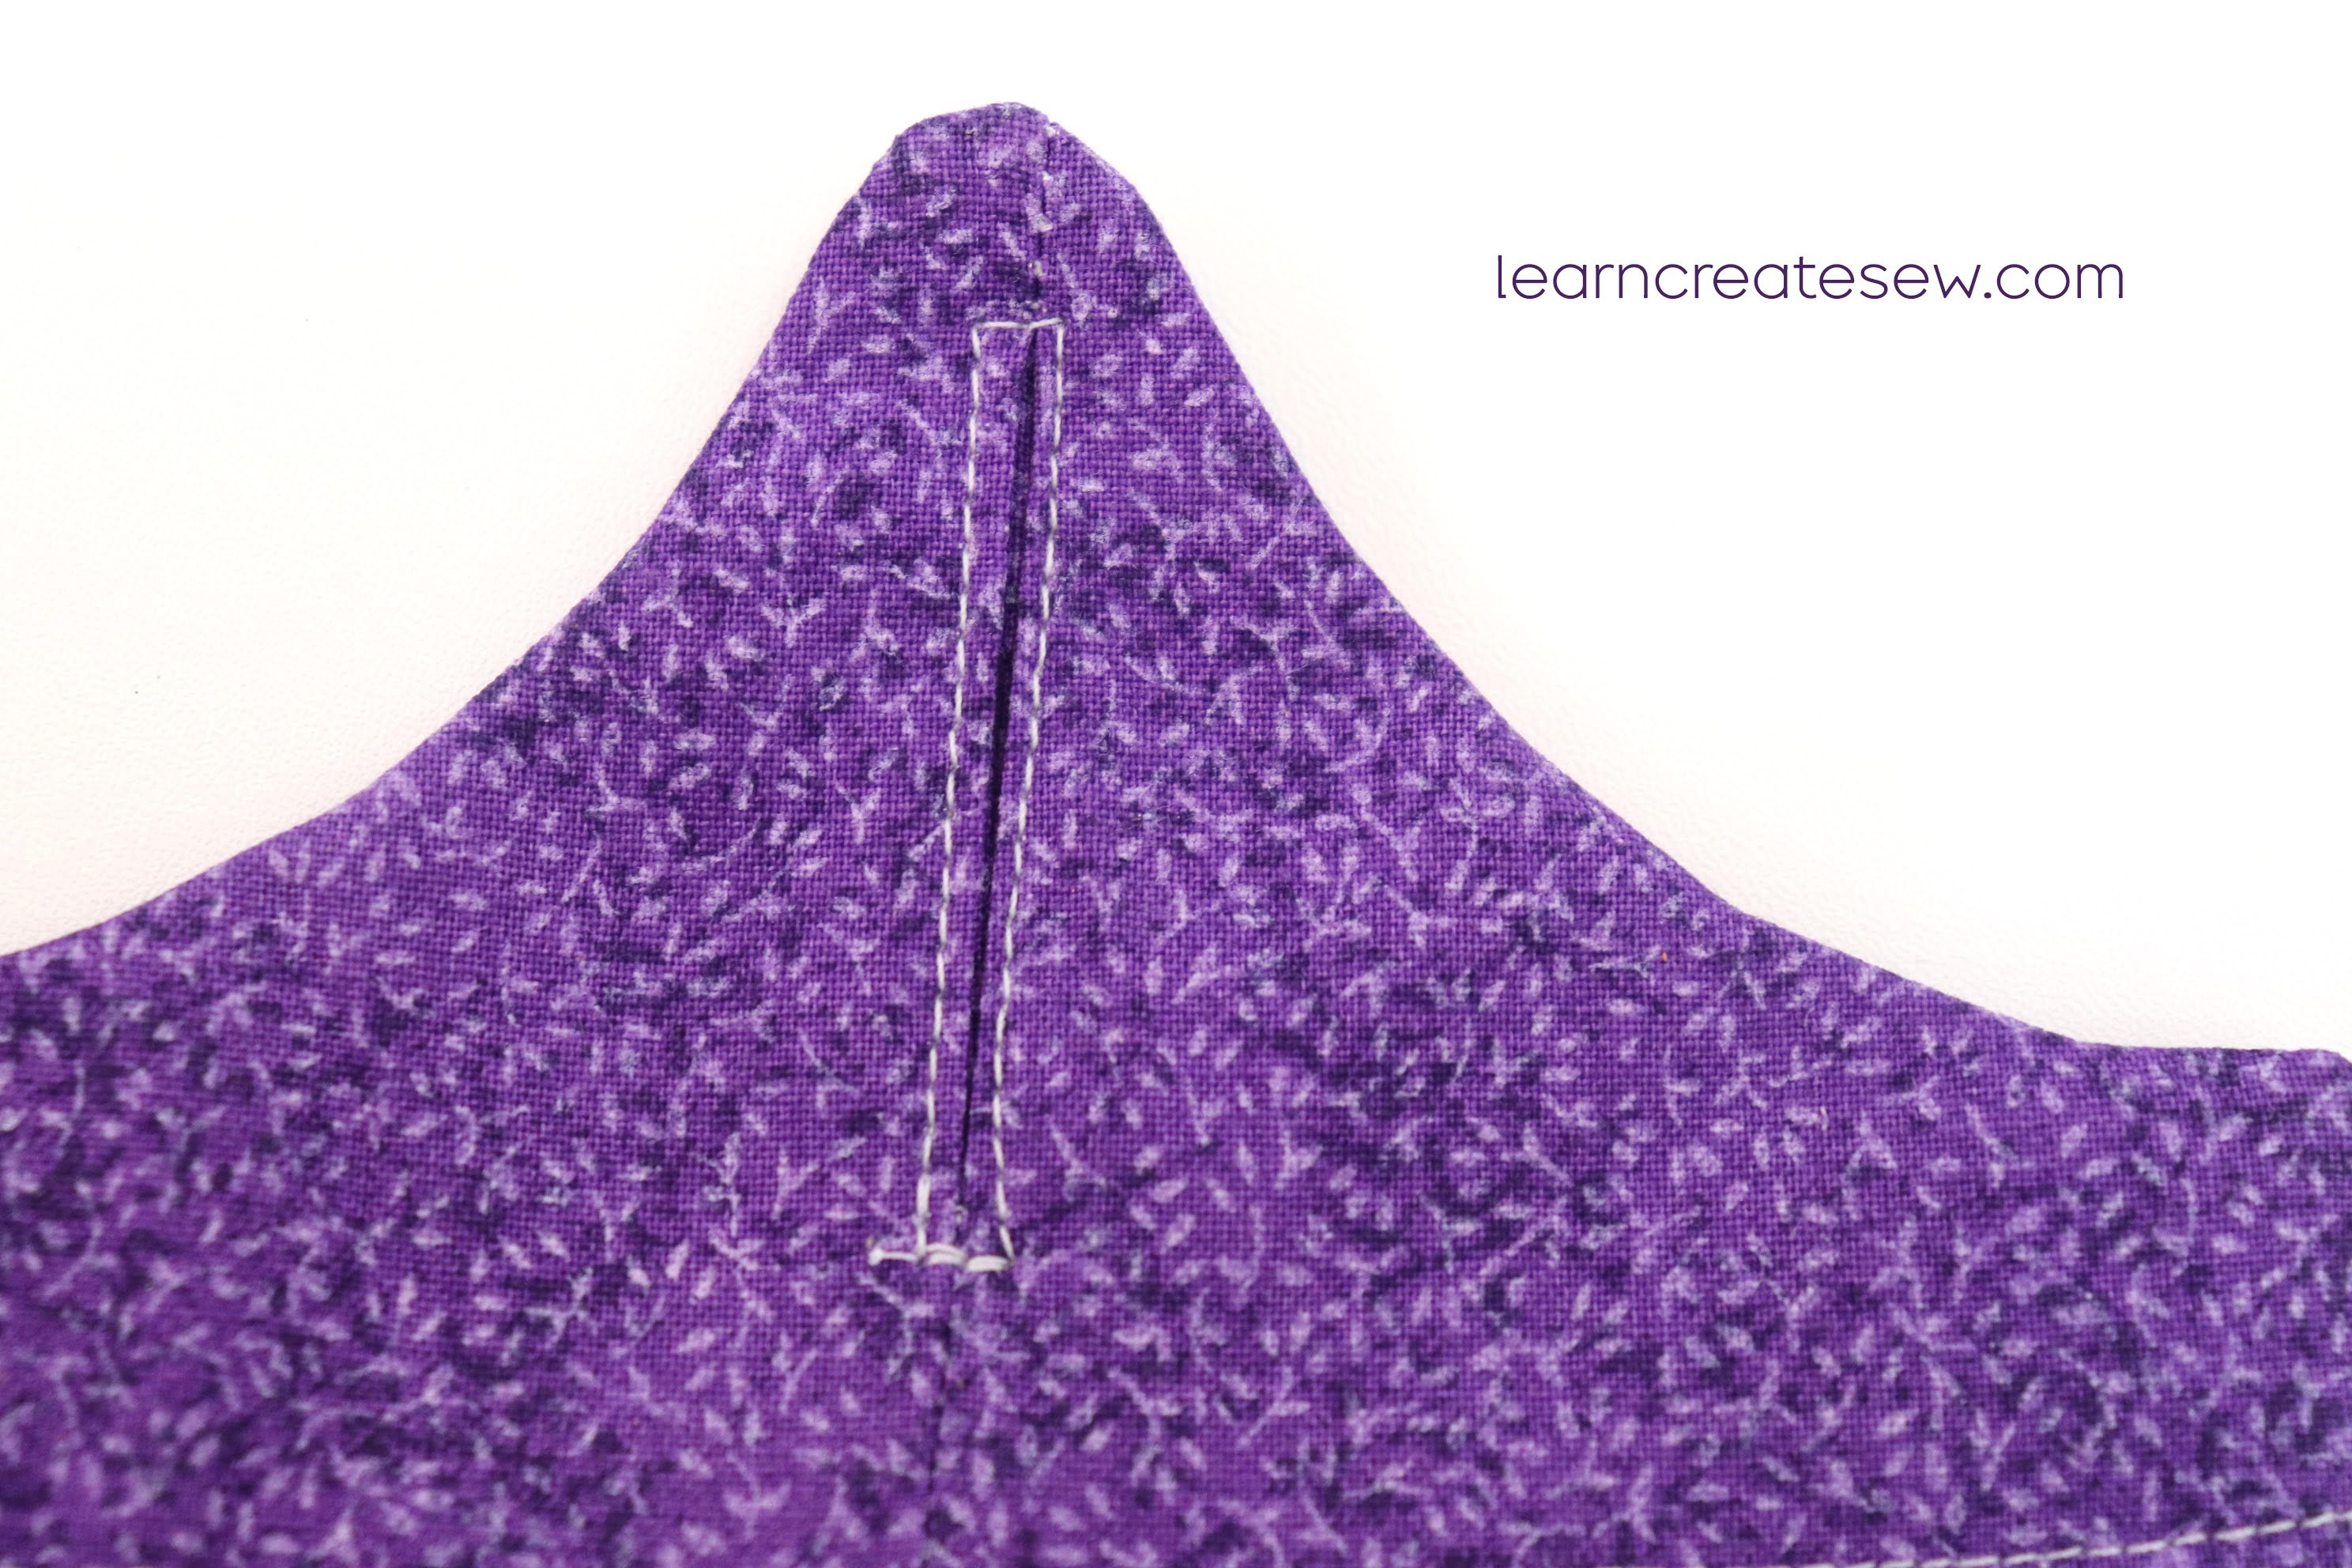
Notice there is an opening for the arm hole.
Topstitch around the slit with a 1/8 inch seam allowance.
Add decorative ribbon, buttons, or trim if you like.
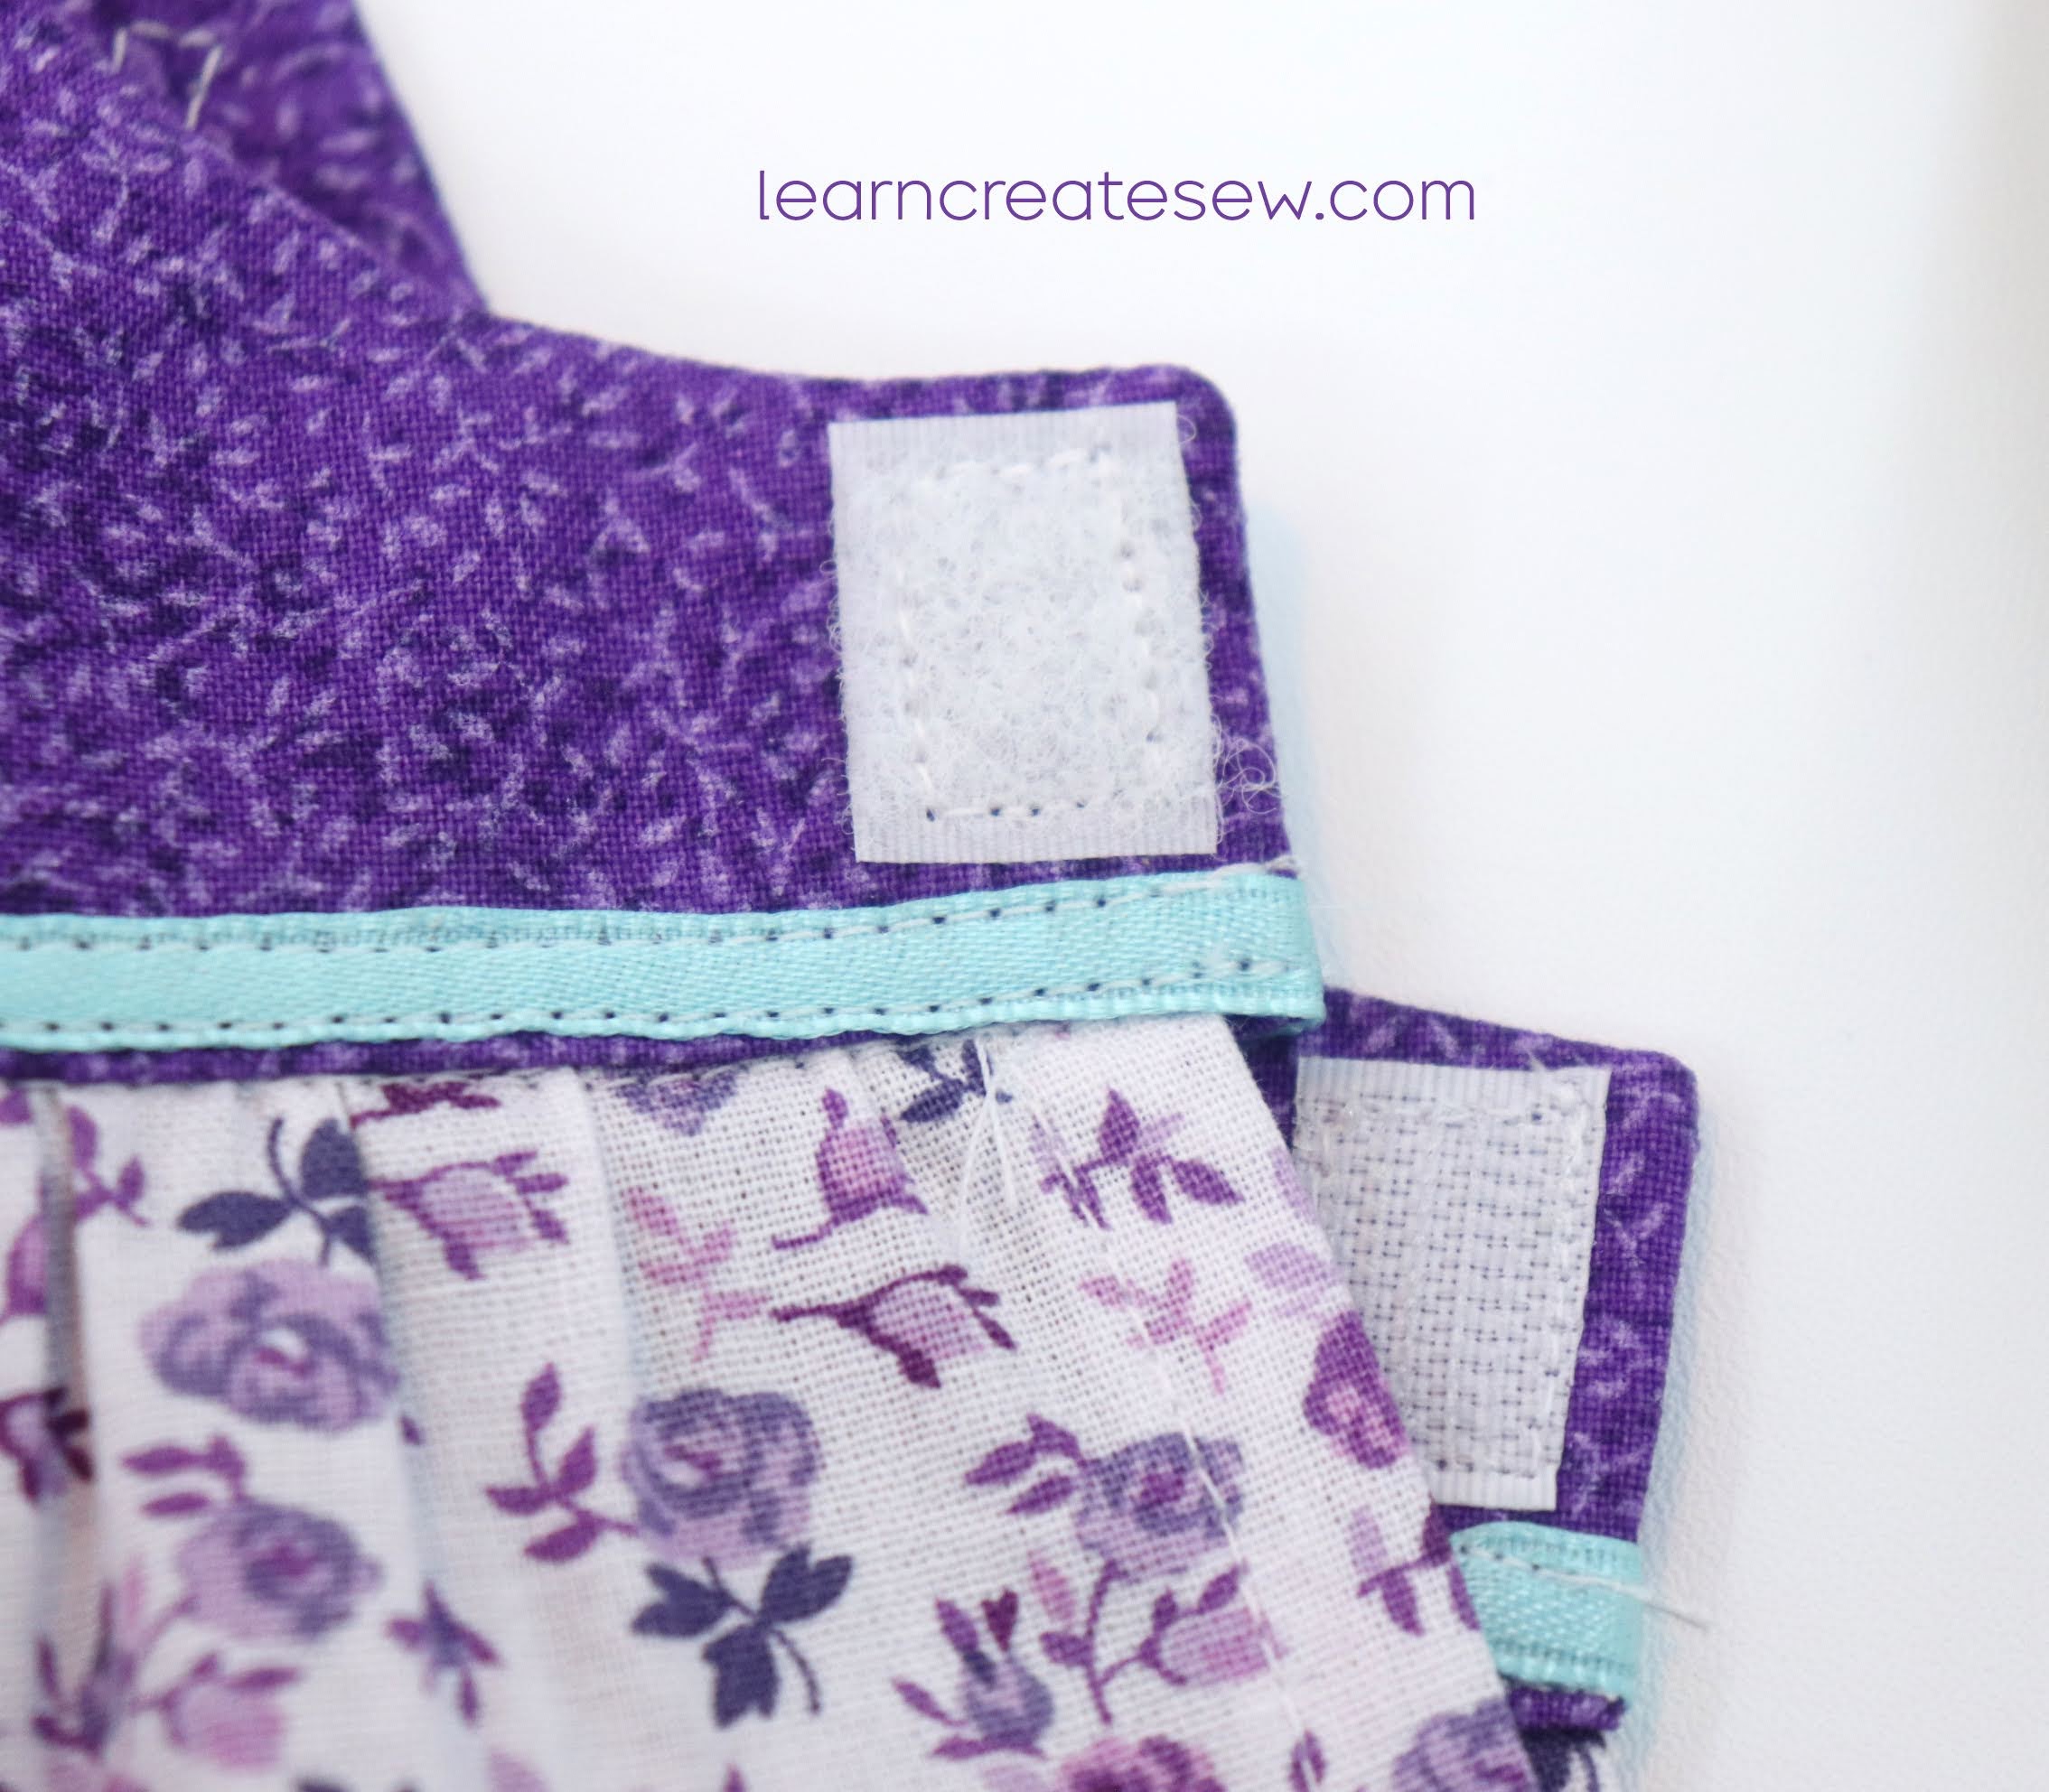
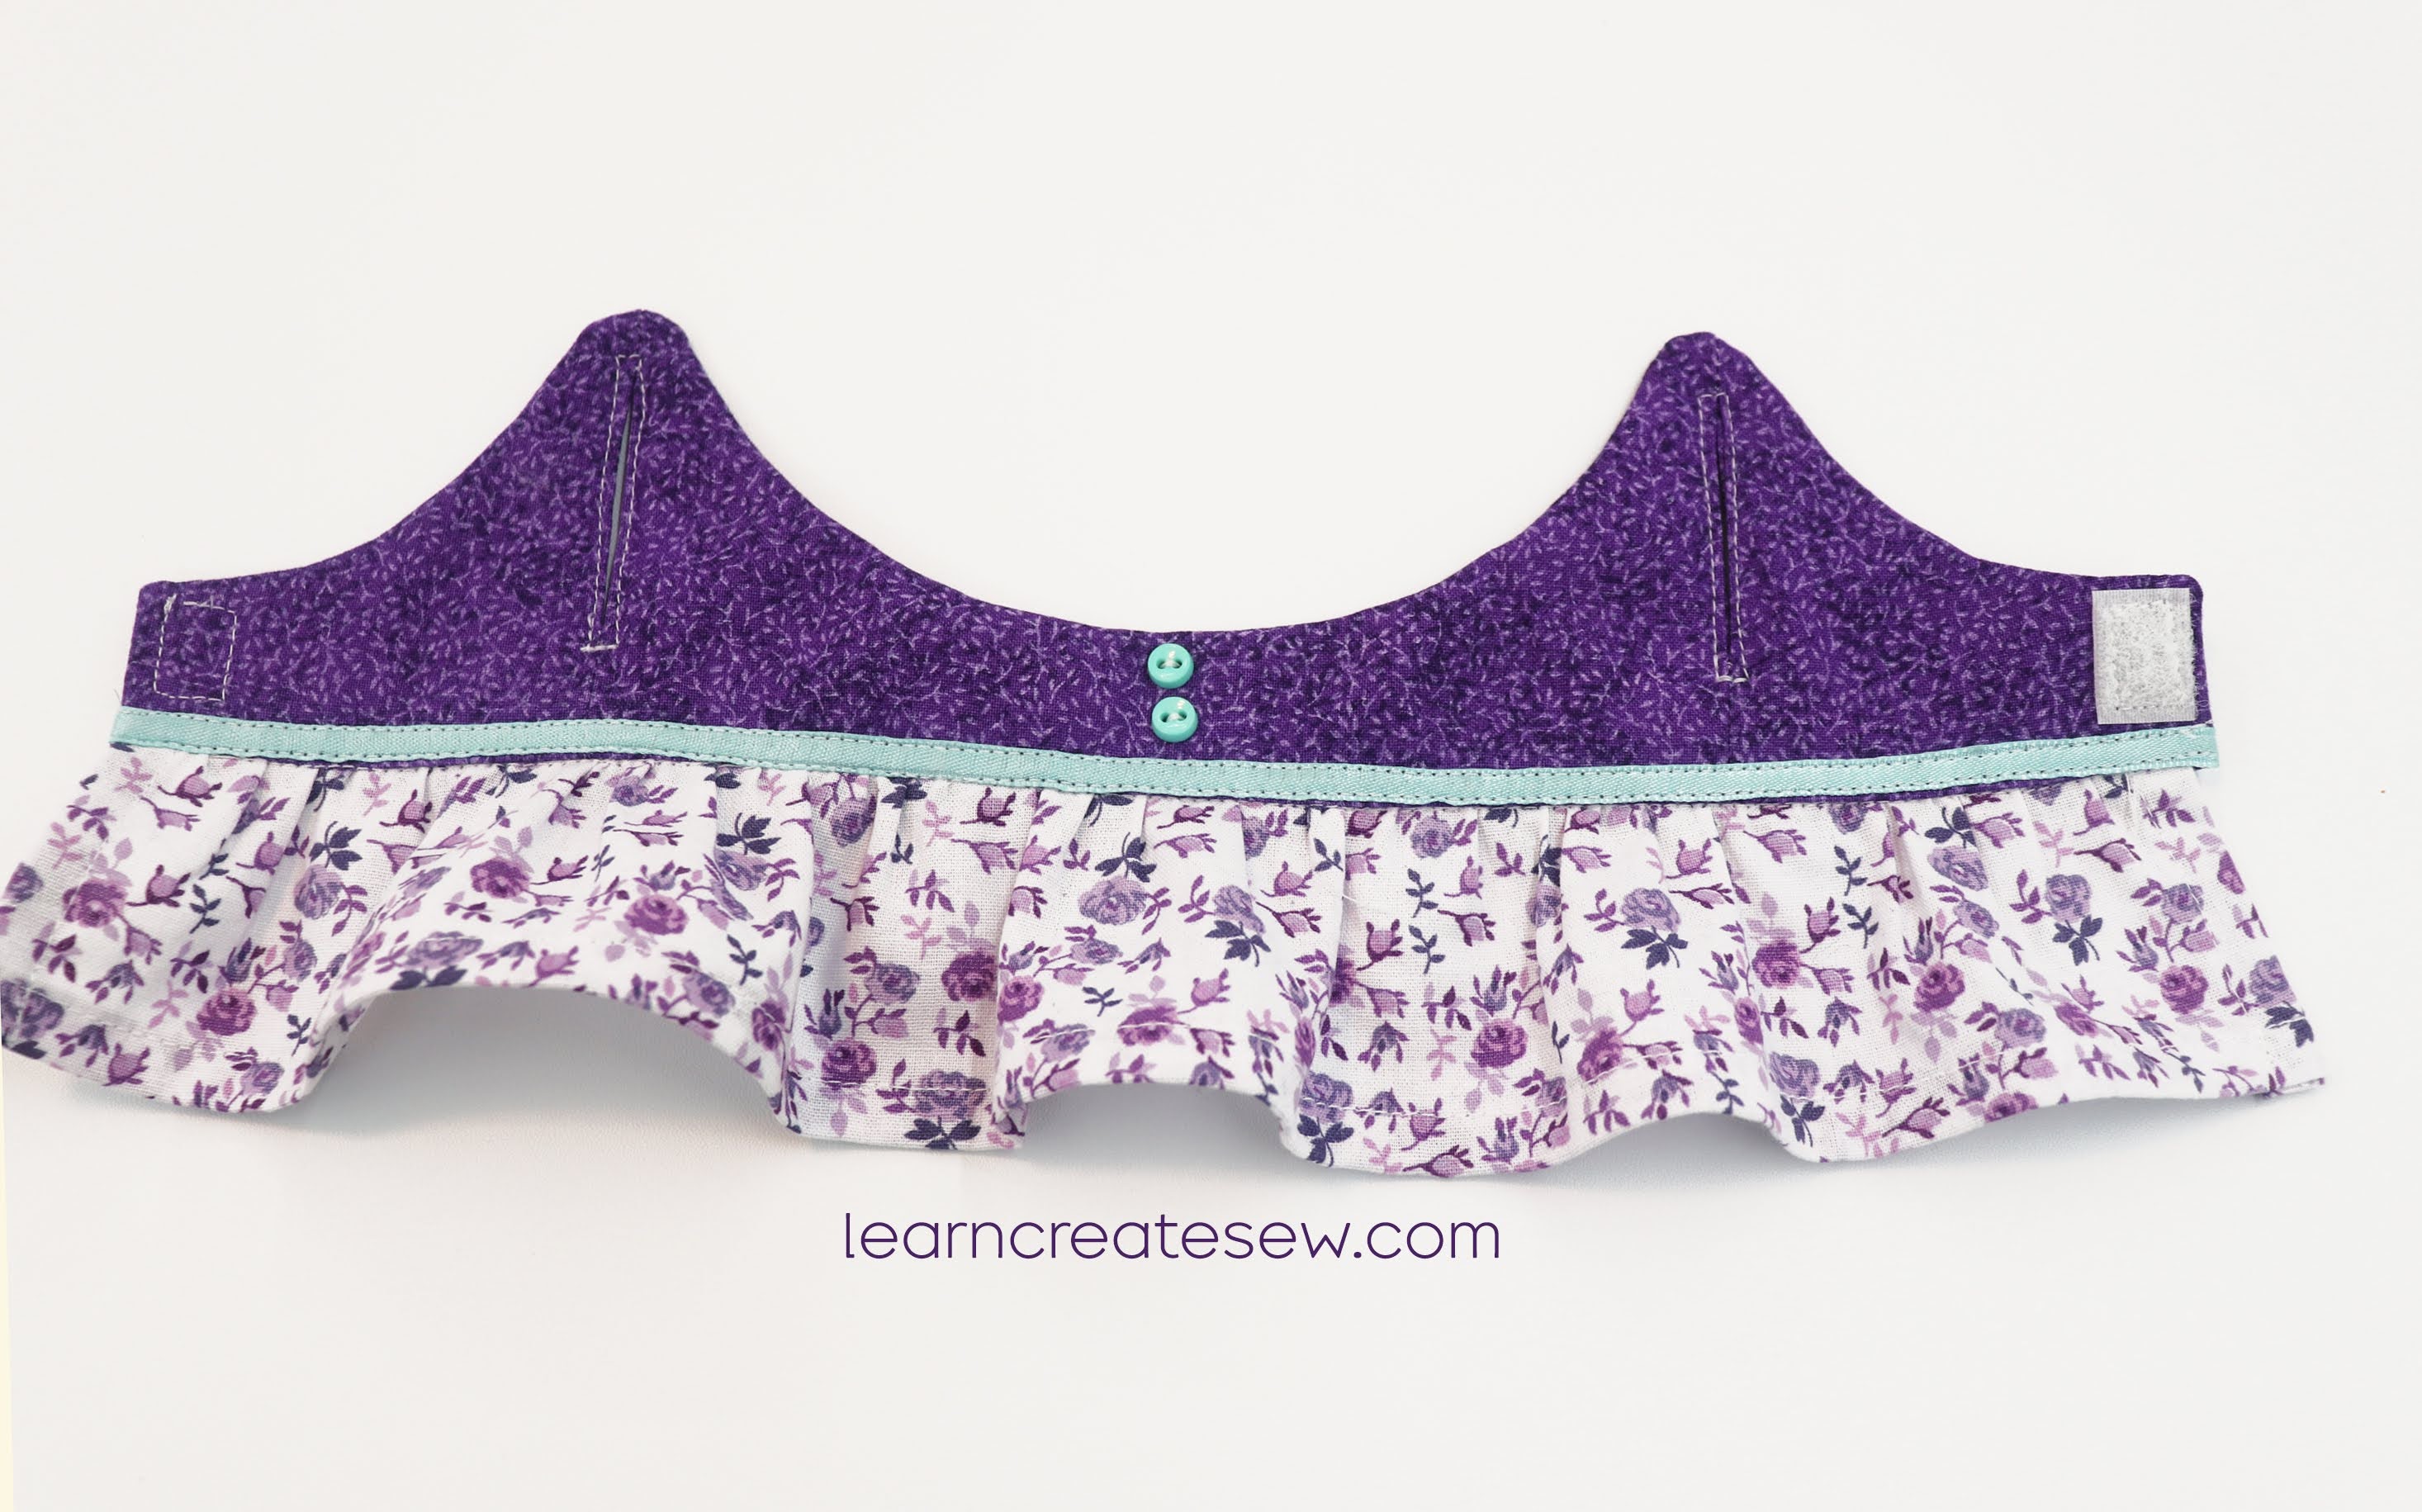
Try the dress on your sloth and then attach a closure. Velcro, buttons, and snaps all work great.
And your dress is done!
Happy Sewing!
(FYI, the shoulder seams were done differently in this picture. I still love the dress but prefer the technique described above.)
I am happy to share my latest project with you today! These are quick and easy drawstring gift bags.
I made mine quite small, but you can easily adjust the size. These are great for scrap fabric projects and are perfect for the holidays! They are also fun for beginning sewers.
There are two style options available, flat or standing. The standing bag has boxed corners.
Supplies:
1/3 yard (or more) fabric or scrap fabric – (The process is easier if you select a fabric that can be ironed)
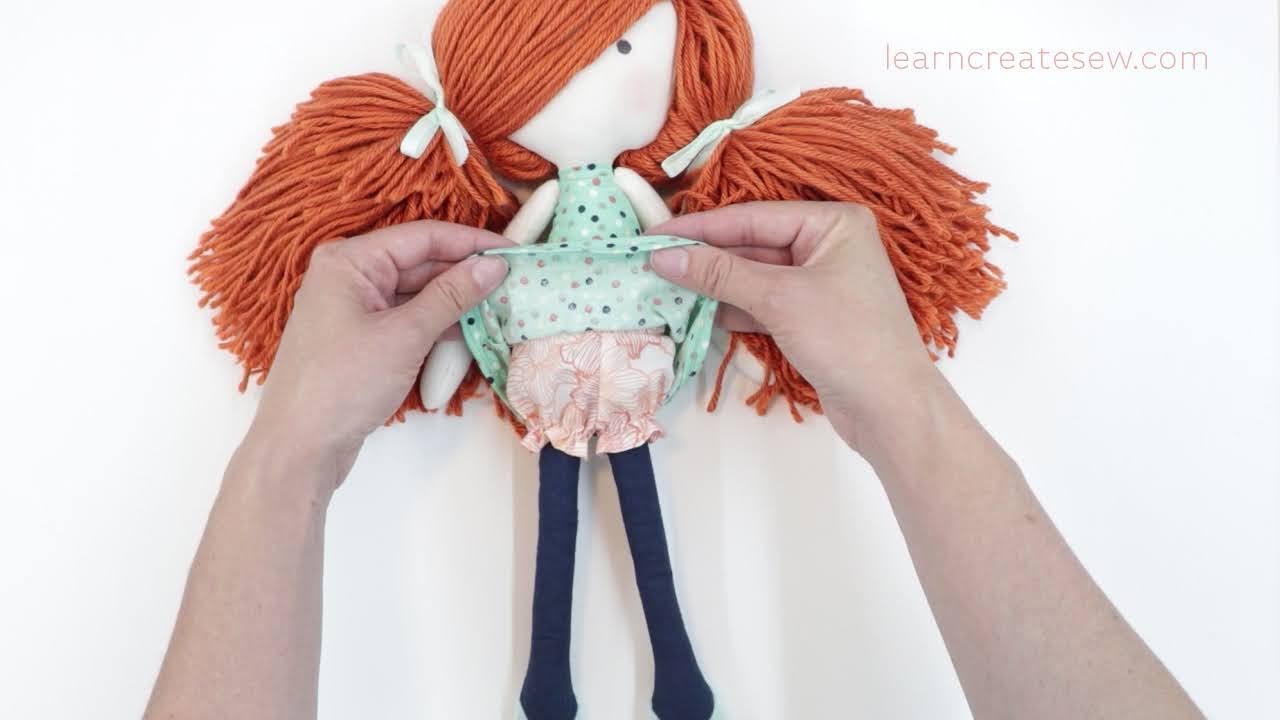
It is so nice to have the time to post projects once again! This project is here for you today thanks to a viewer request. Thanks Joanne for your idea!
This is a quick little project that is a great addition to your rag doll.
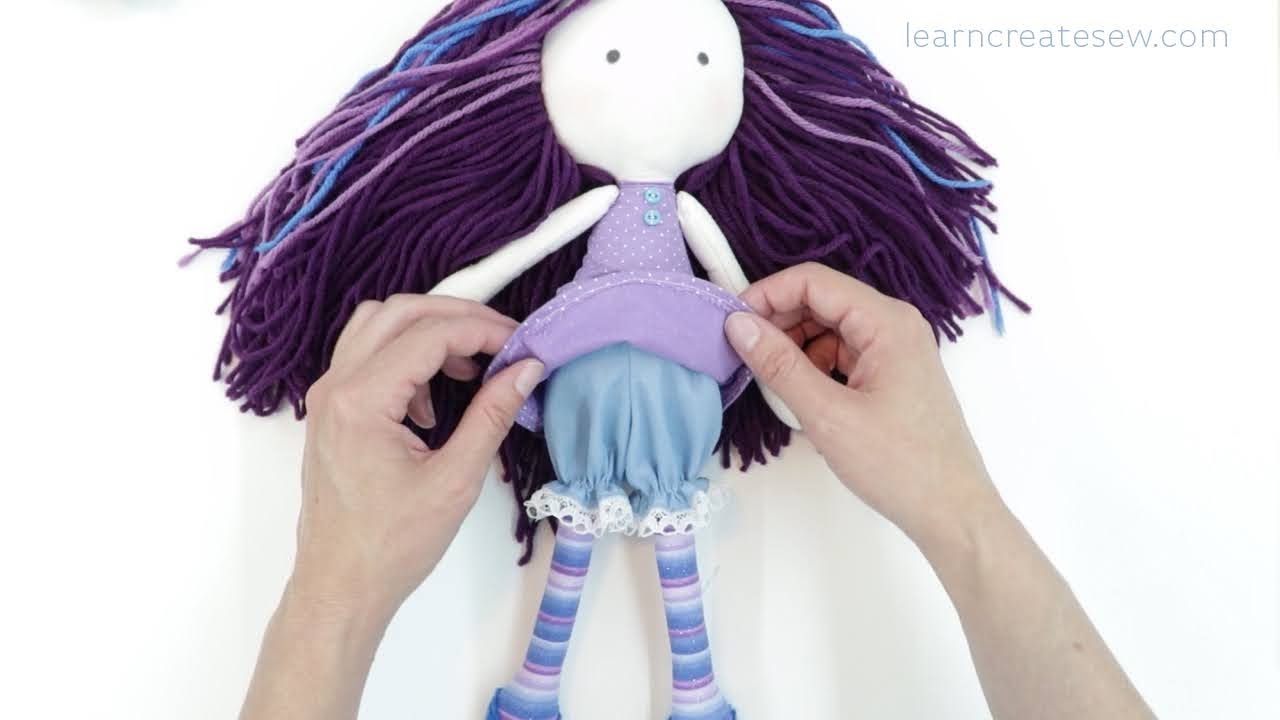
These beauties are available in 3 lengths, Short – Undies (Above) , Medium – Bloomers (Below), and Long – Extra Long Bloomers (Not Pictured).
This project is pretty quick, but their tiny size does make them a challenge. As a result, I tried to make as many of the steps as possible flat.
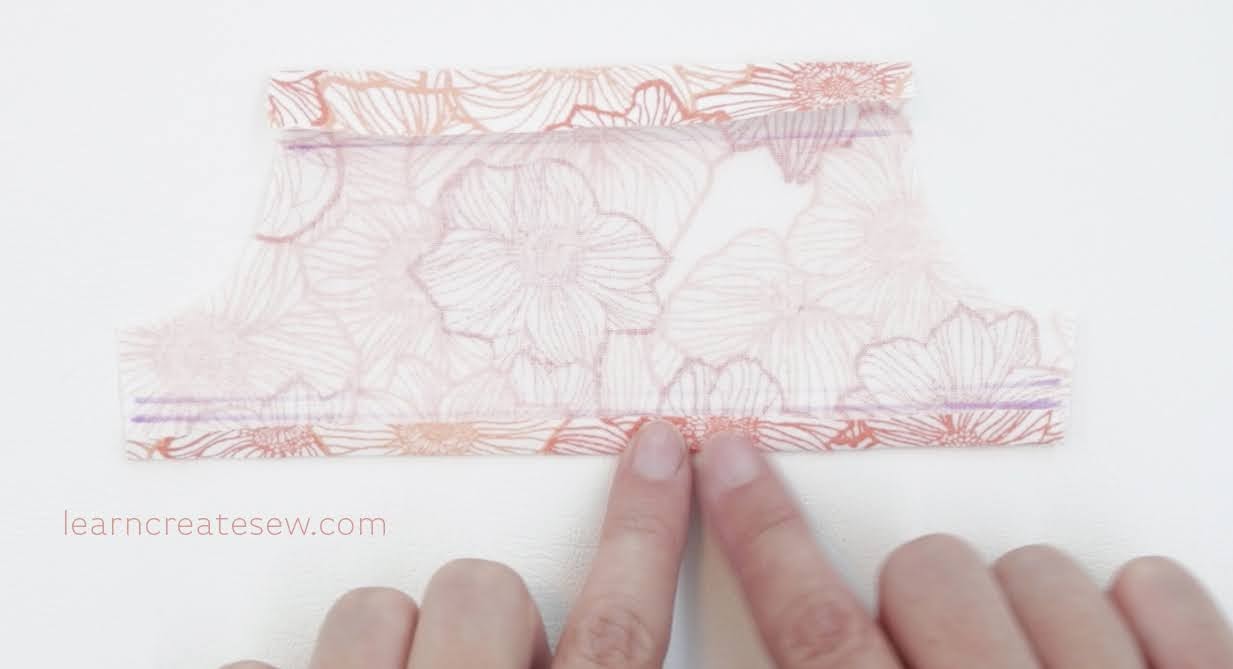
The hems in this project are finished with a single fold. If you want to avoid fraying, you can finish the top and bottom edges with a serger. You could also use double fold hems by add 1/4 inch to the top and bottom edge of the pattern and folding over 1/4 inch before following the other directions shown in the video. This may be recommended if you plan to remove the bloomers from the doll frequently.
There are two waistband styles demonstrated in the video. One is constructed flat and the ends of the elastic are visible in the seam allowance. The other is constructed in the round and the elastic is completely hidden.
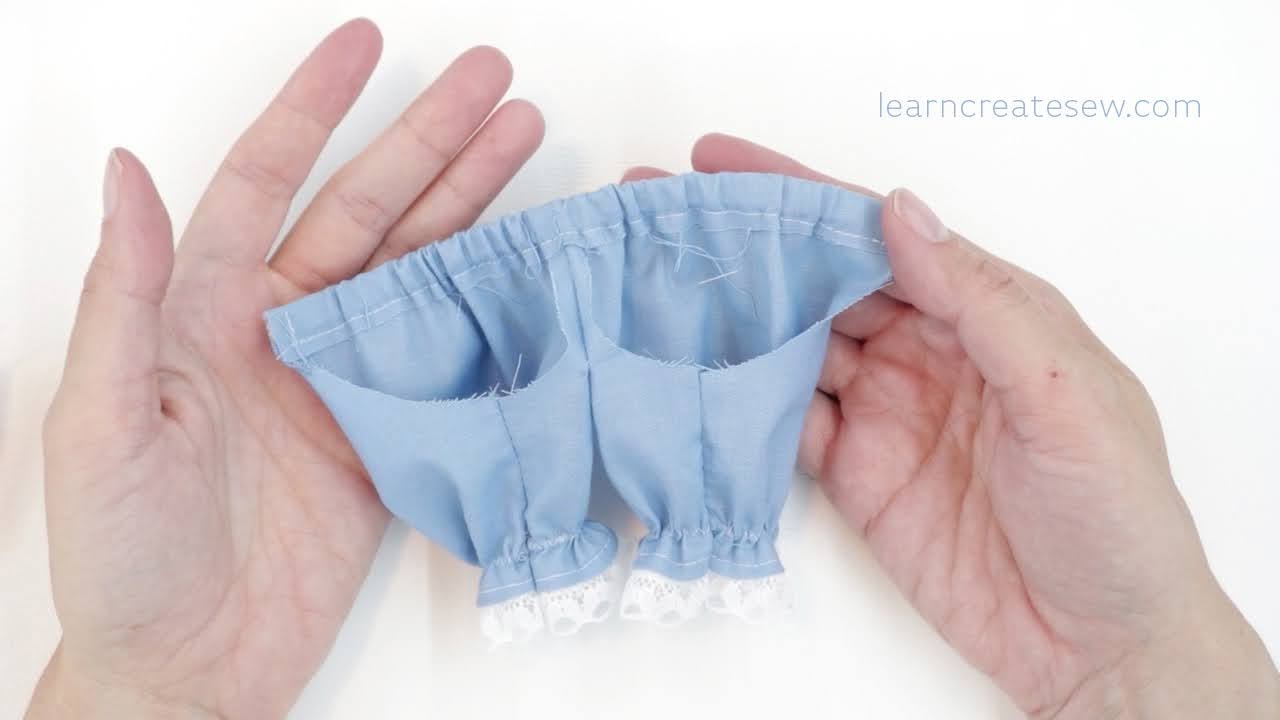
You can also add lace to the bottom edge to add a bit of extra cuteness 🙂
To help reduce bulk, instead of adding an elastic casing using fabric or binding, I used a zig zag stitch over narrow elastic cord. This worked very well around the teeny tiny legs of the rag doll.
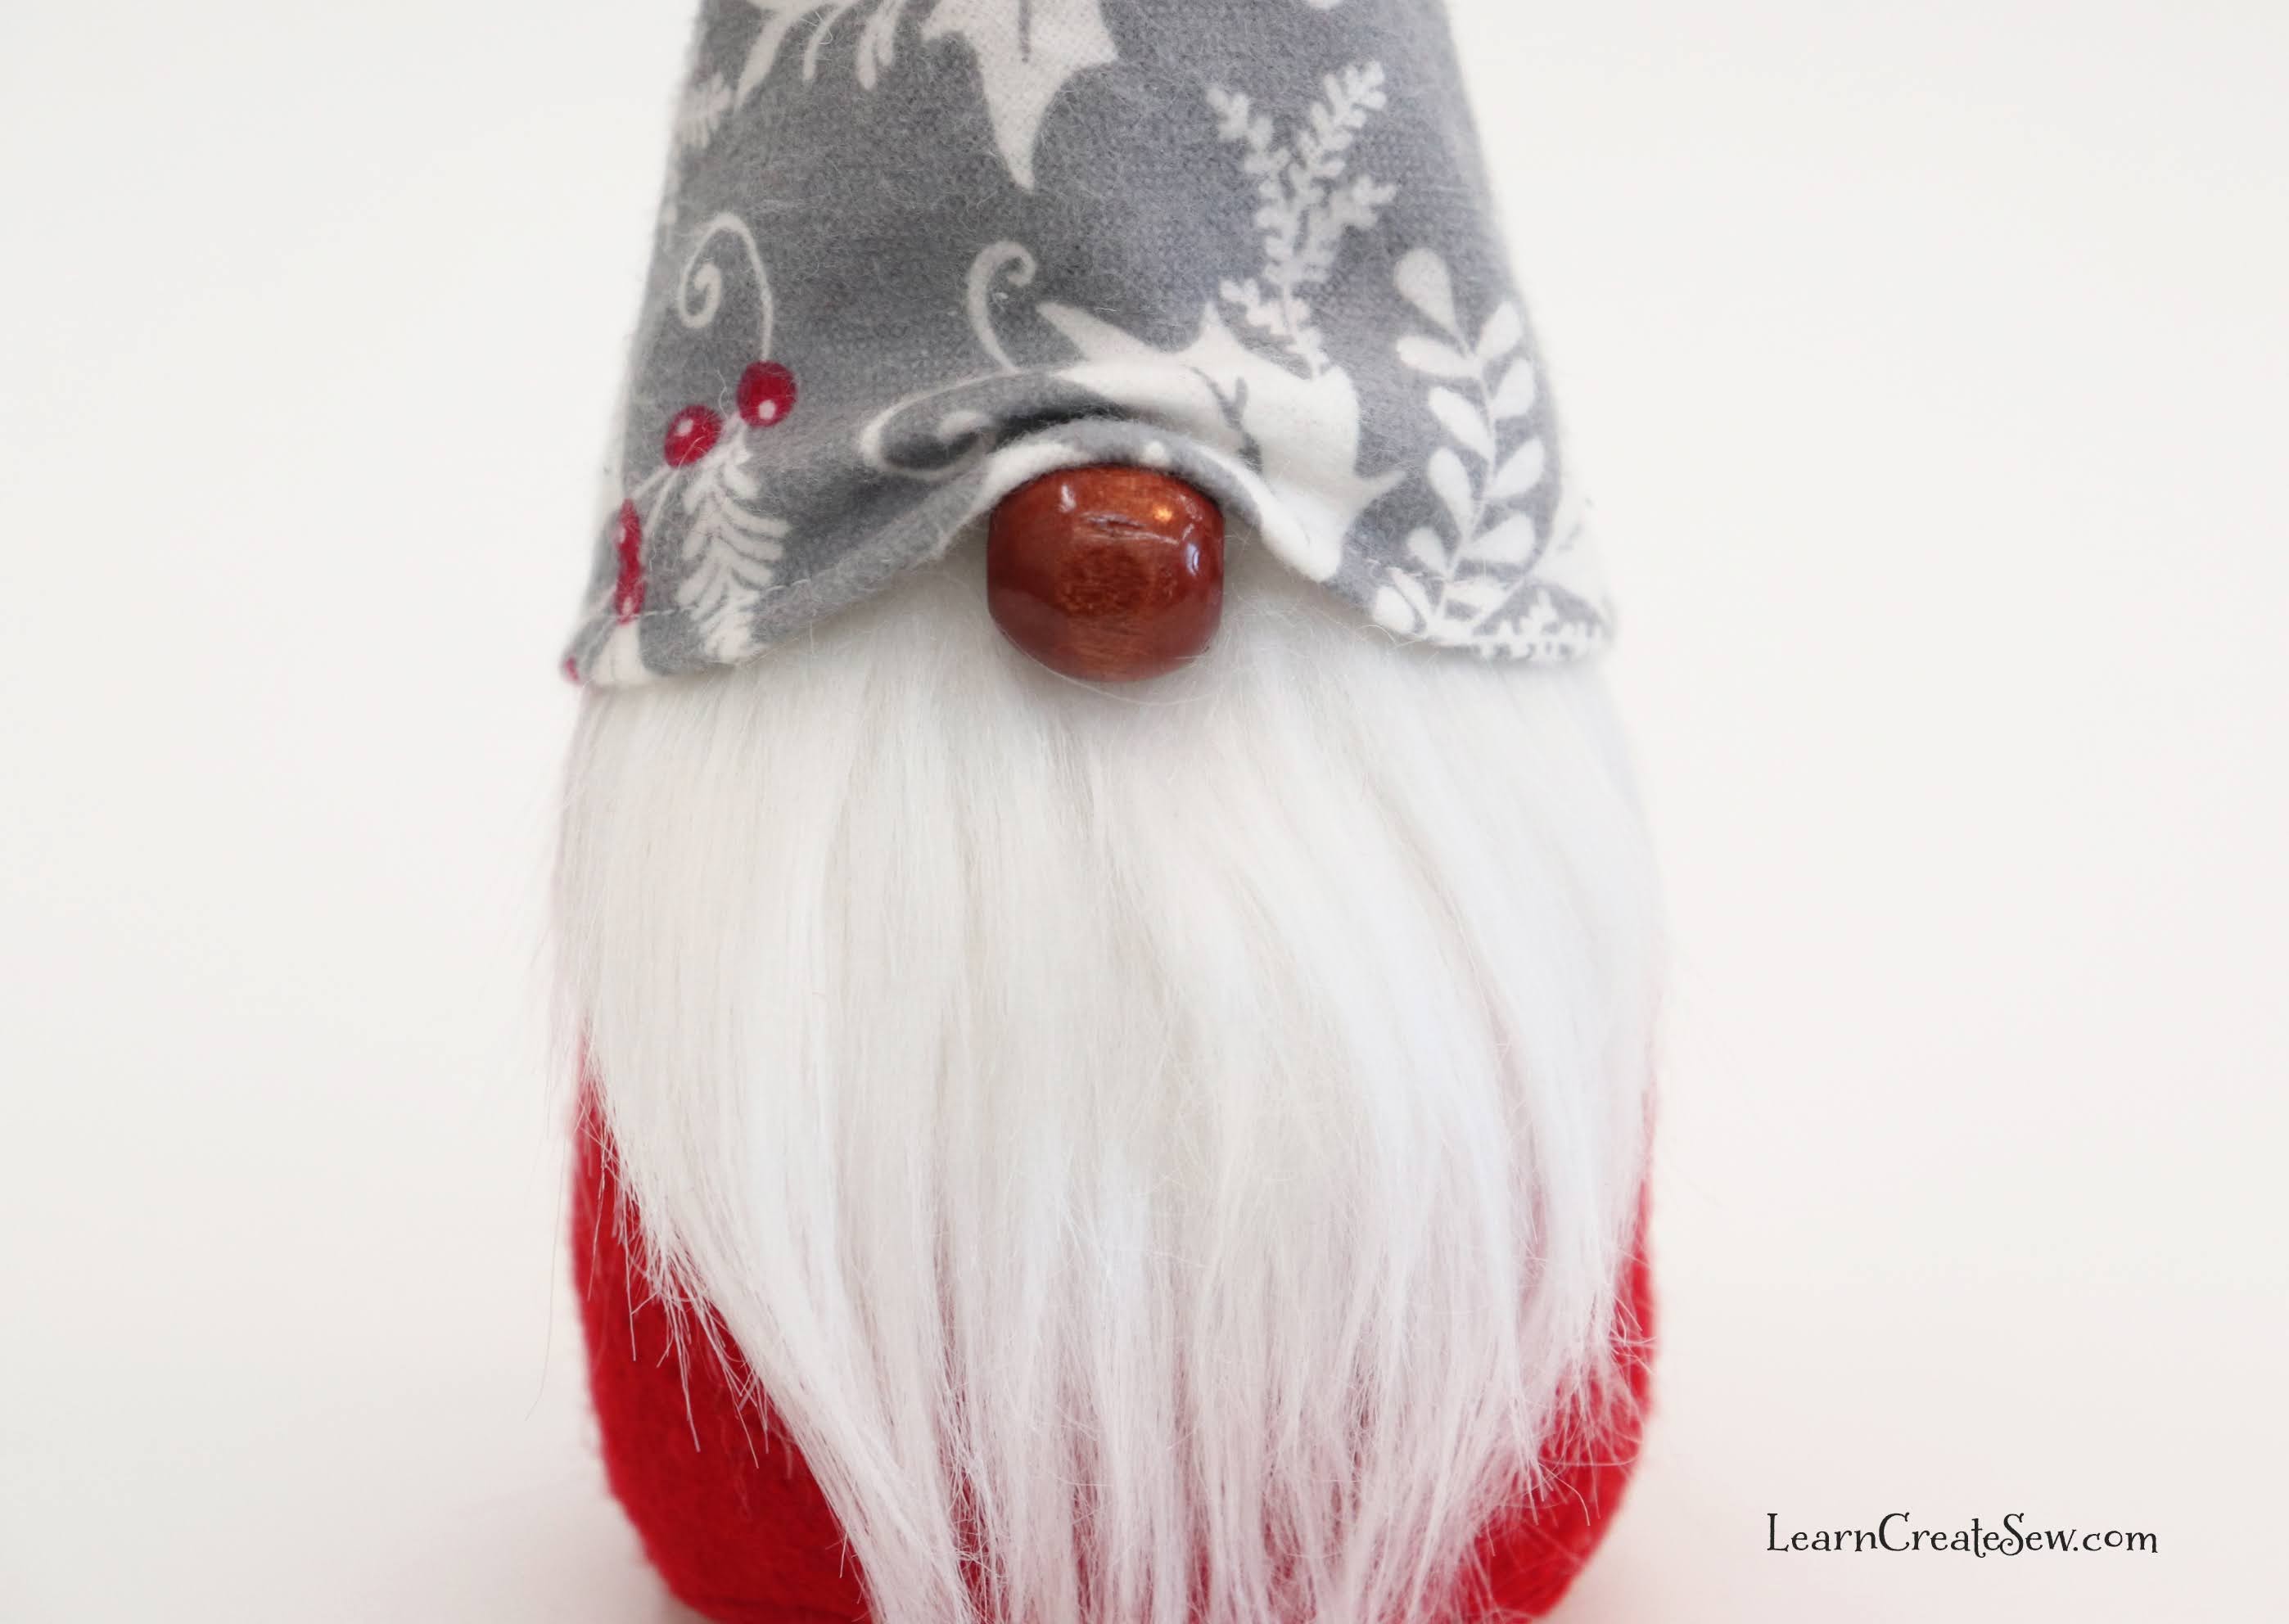
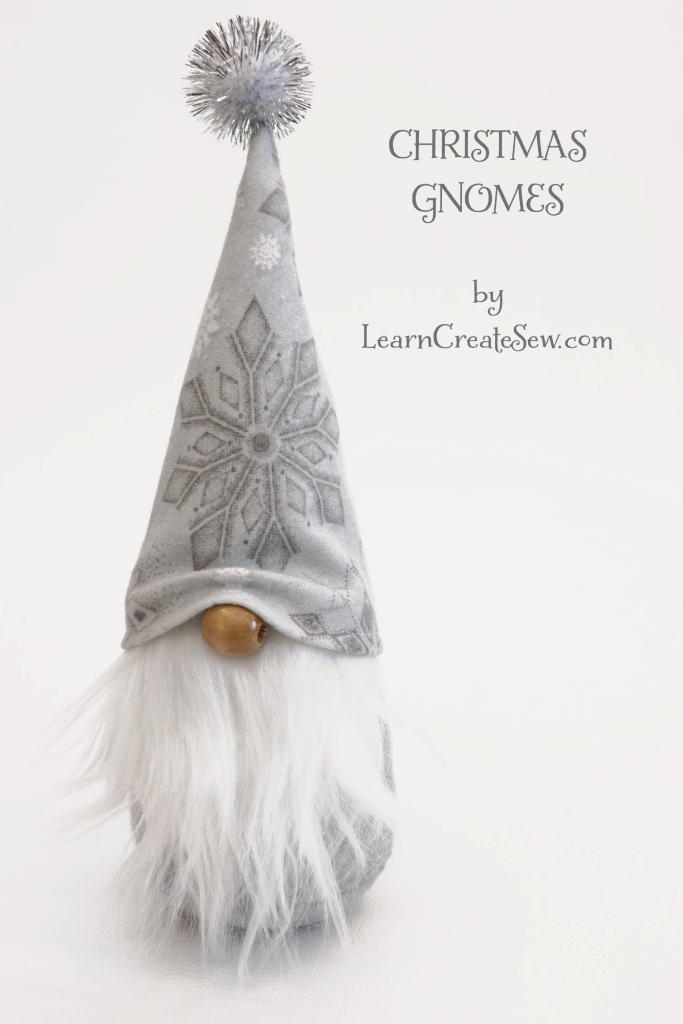
Happy Holidays! These little Christmas Gnomes are a great addition to your holiday decorations.
They are quick and easy to make and super cute!
I used flannel fabric for the hat and felt for the body. My favorite part is the sparkly pom poms I found for the tops!
The beard is faux fur and gives the little gnomes a lot of character. I also picked up a mixed set of wooden beads at Walmart that work great as noses!
Each gnome is filled with polyfil and poly pellets to weigh them down.
At this holiday season, I want to express my gratitude to all of my followers. Thank you! Thank you for supporting learncreatesew.com and subscribing to my YouTube Channel. Having the opportunity to share my love of sewing with so many is a great privilege and an opportunity I never thought I would have.
Thank you for making all of this possible and encouraging me to keep creating.
And for you, here are my next videos!
I had a lot of fun adapting the Christmas Stocking pattern for you! I don’t know about you, but I love options. But what if I did this…or this…? That is what I am always asking myself. As a result, I wasn’t satisfied with just the basic stocking. I wanted to expand upon it to provide more great options for creativity.
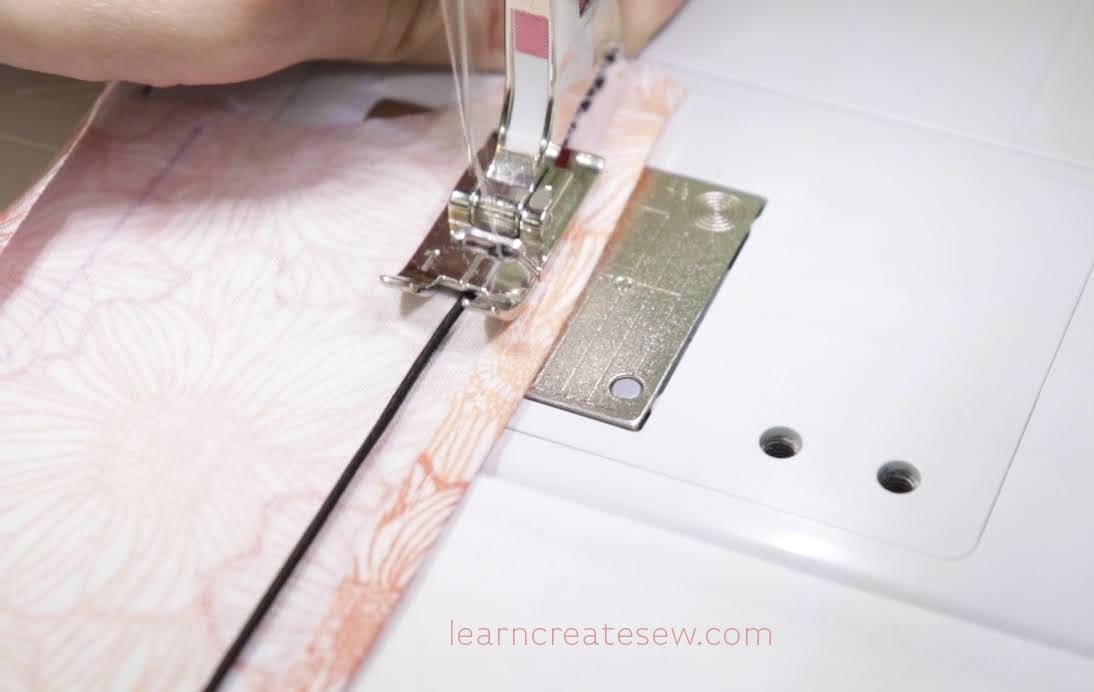
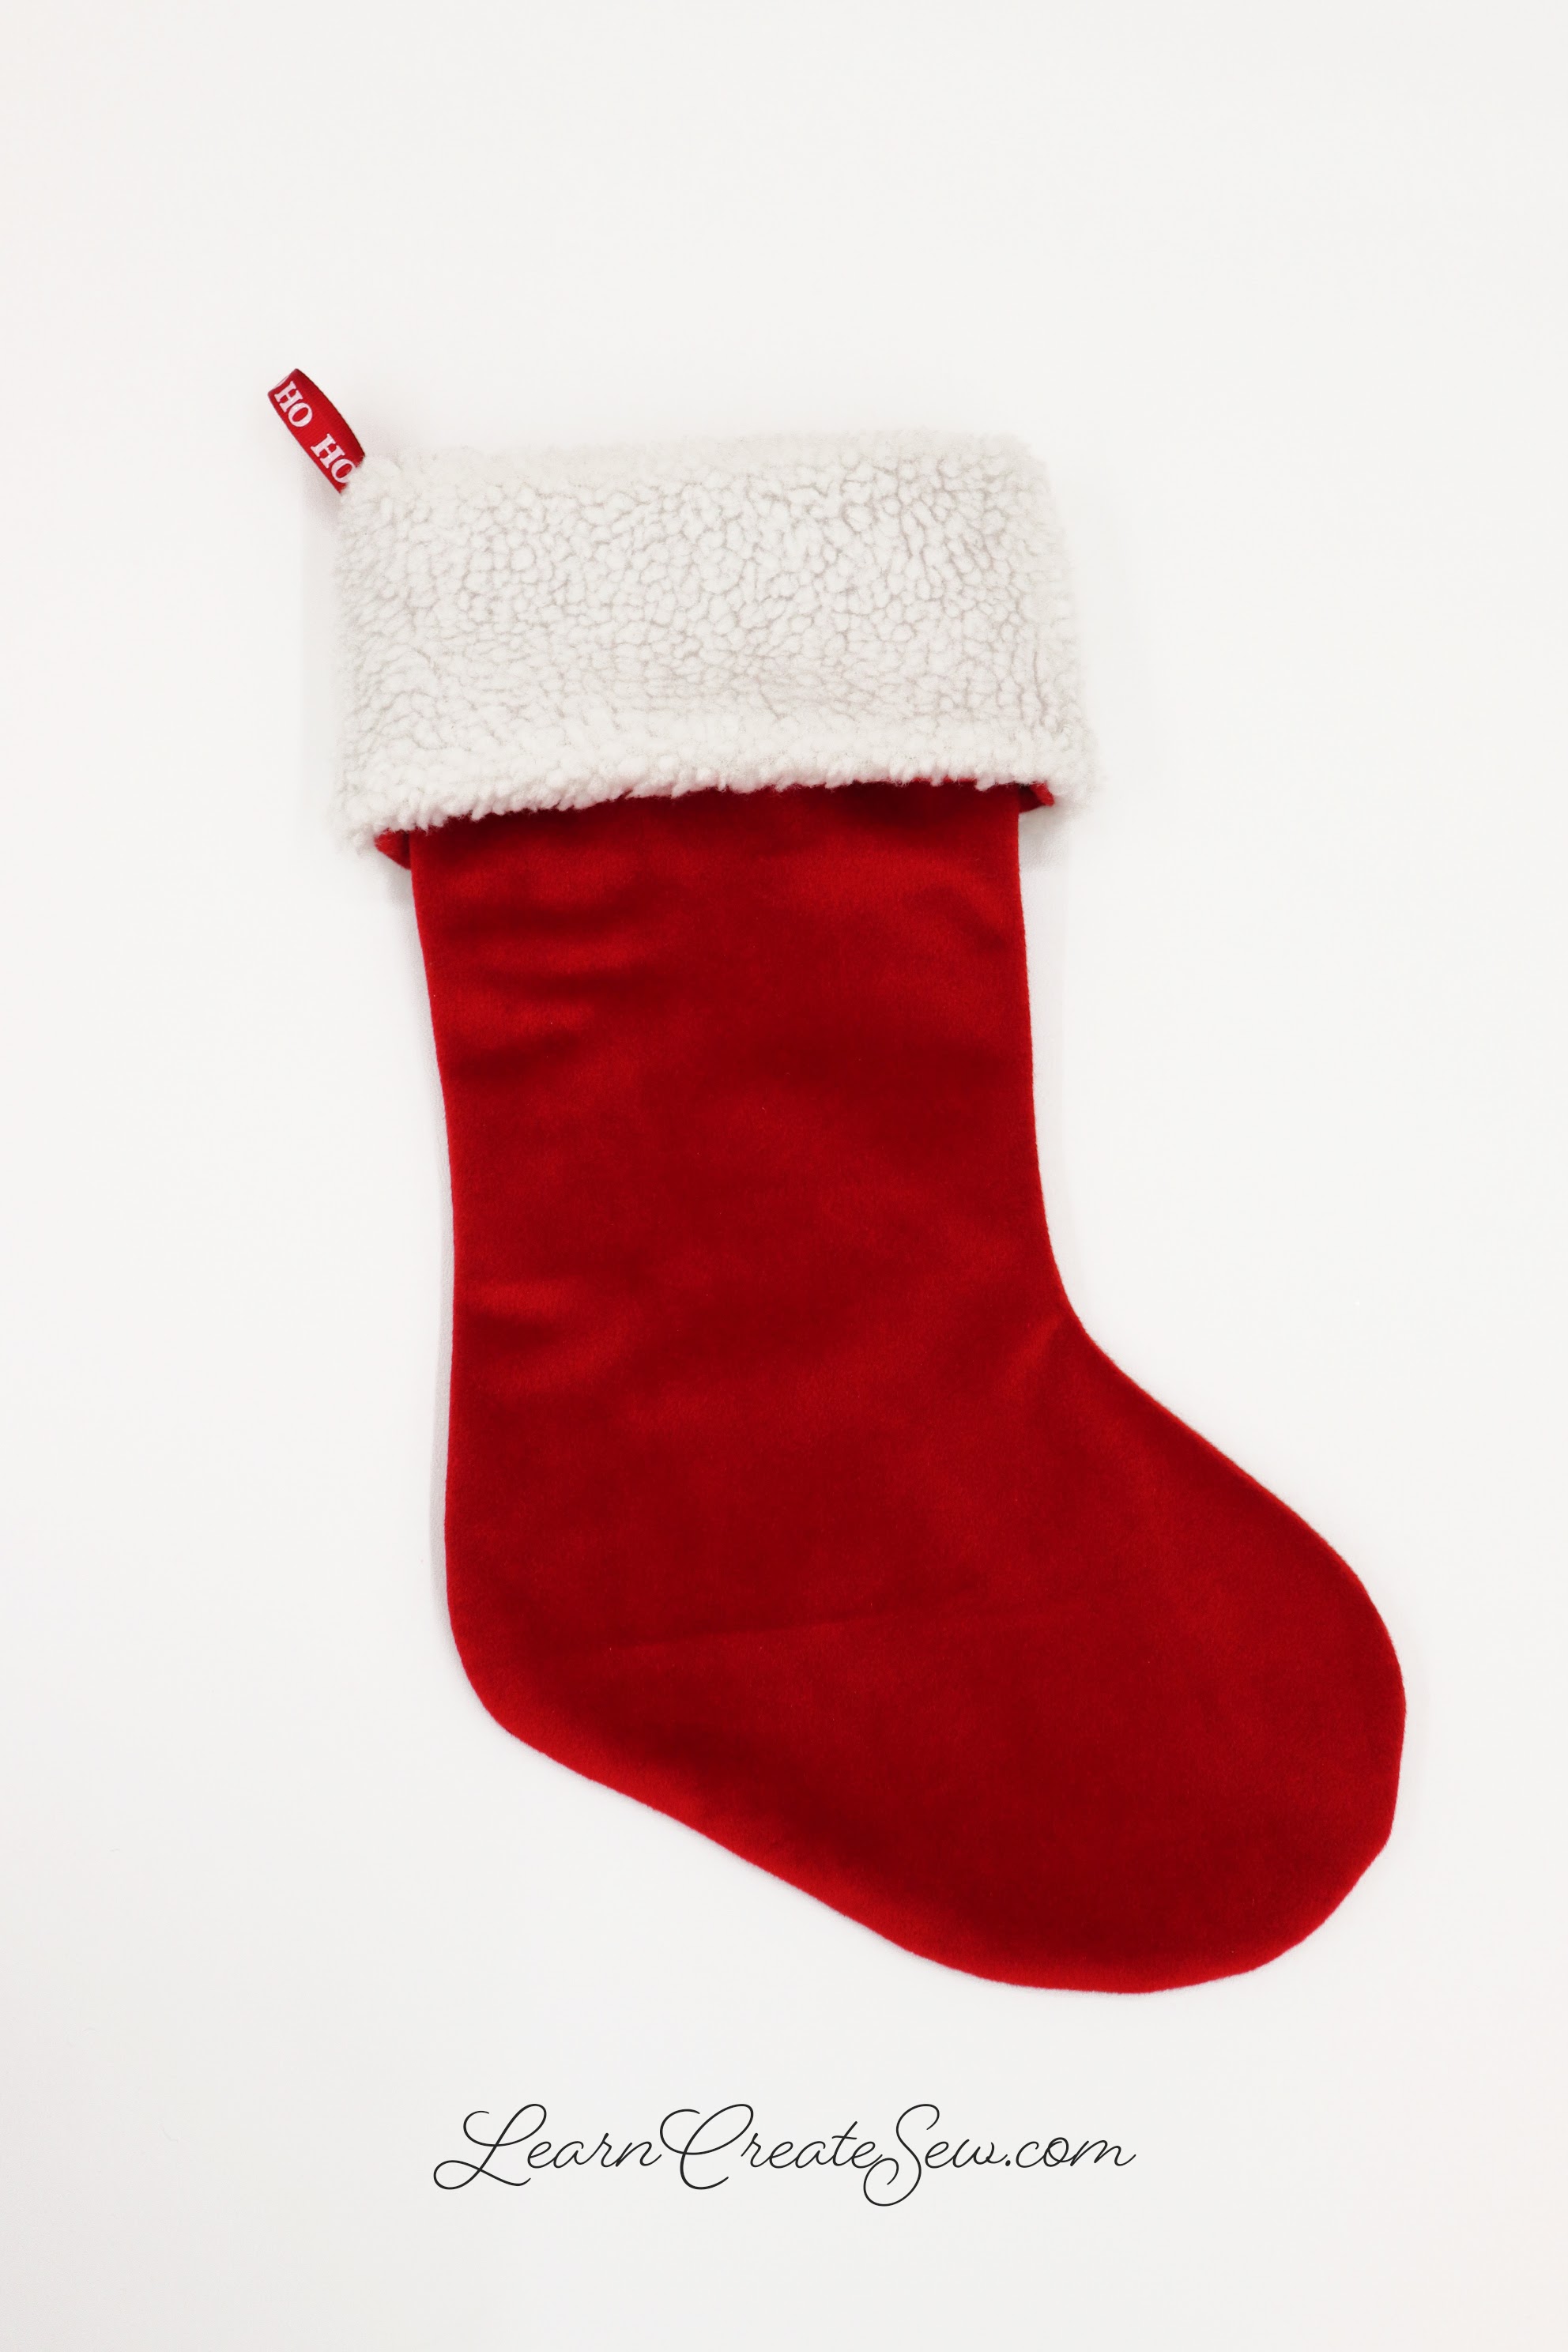
The first video explains how to add a contrasting cuff, if you wanted the fabric of the lining to vary from the fabric of the cuff. The stocking shown here has a sherpa cuff but a flannel lining.
The next video adds a burlap overlay to the main fabric as well as decorative embellishments.
I hope these videos inspire creativity, and I hope you have a lot of fun making your own stockings!
See the Christmas Stocking page for the free pattern.
I’m so excited to share this project with you today! It has been quite a while since my last post and I am happy to finally share with you a fun holiday project.
Life and work caught up with me the last few weeks and it took the excitement of Christmas projects to motivate me to get back to sewing!
This is a quick easy Christmas Stocking.
It is fully lined and has a fold over cuff!
The free pattern is available in several sizes.
The pattern works great with flannel, fleece, and cotton fabrics.
If you enjoy this tutorial keep an eye out for future posts in which I’ll show you a few quick alterations to the same pattern.
SUPPLIES:
Coordinating Thread
Ribbon (4 – 8 inches)
7/8 yard (or less) Fabric for the Outside of the Stocking (Cotton, Flannel, or Fleece)
7/8 yard (or less) Fabric for the Lining and Cuff (Cotton, Flannel, or Fleece)
The project works best when the lining and outside fabrics are the same type of fabric.
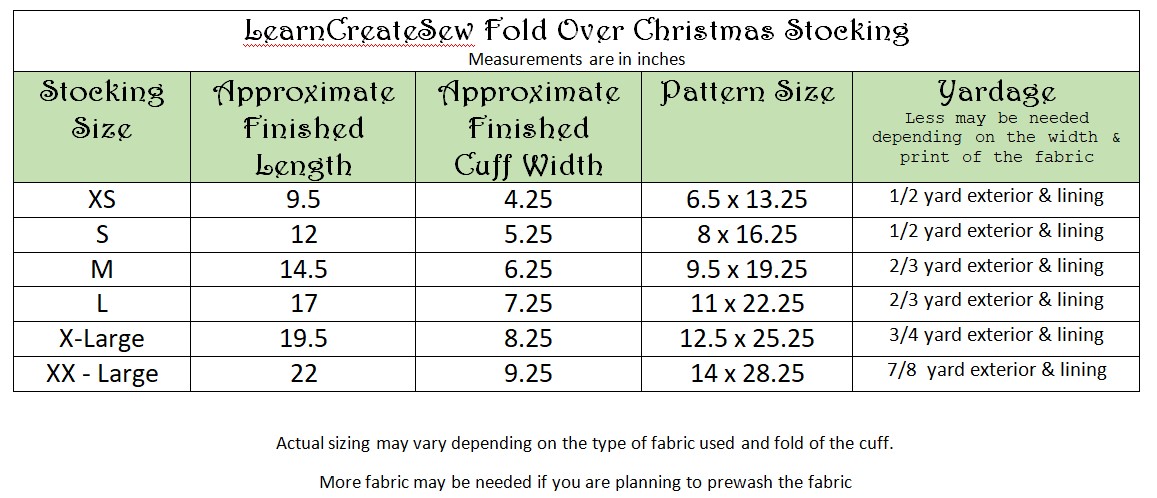
The amount of fabric needed varies a lot depending on the size of the stocking you make and the direction you need to cut your fabric.
I recommend reviewing the pattern sizes in the table below if you would like more specific measurements.
Remember you will need two lining pieces and two outside pieces.
A bit more on yardage:
For instance, if I want to make a size small I know I need two pieces of outside fabric that will fit the pattern (which is 8 by 16.25 inches). If the direction of my fabric doesn’t matter 1/4 yard would work…but if I have to follow the selvage, for example on fabrics with words or a specific direction, I may need 1/2 yard.