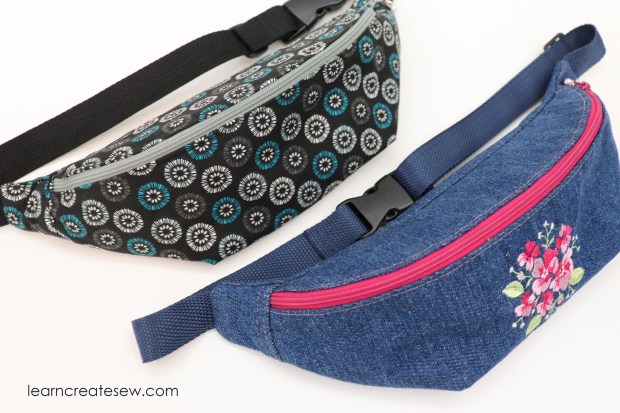
Here is my second fanny pack! This one is a flat version.
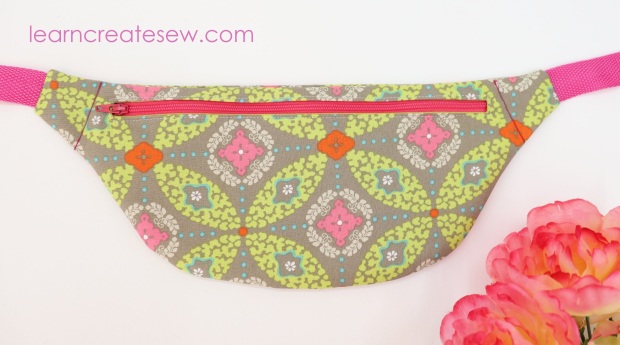
The construction of this fanny pack is quite a bit easier than my classic fanny pack.
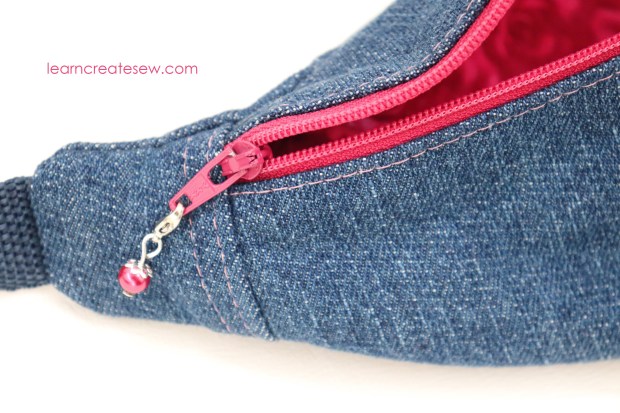
It has a zipper window rather than a zipper on a curve. This is a great option if you are learning how to sew zippers. The difficulty level on this project is about a 3.5/10. You have to use a zipper foot. You will be working with lining, and your stitching has to be exact.

Since it is flat it can’t hold much, but it is perfect for your phone, lip gloss, or to act as a wallet. There is even an optional credit card pocket.
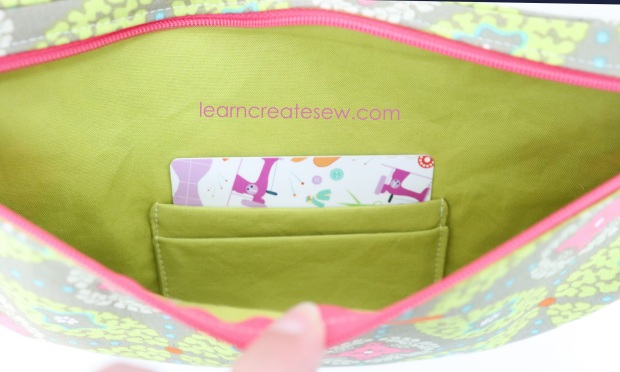
The pattern has two sizes, small and regular. The regular fanny pack is about 14.5 inches wide, 6 inches tall from tip to top, with a pocket about 5.25 inches deep. The small size is about 13 inches wide and has a pocket approximately 4.75 inches deep.
Here is the free pattern!
Flat Fanny Pack Pattern by learncreatesew
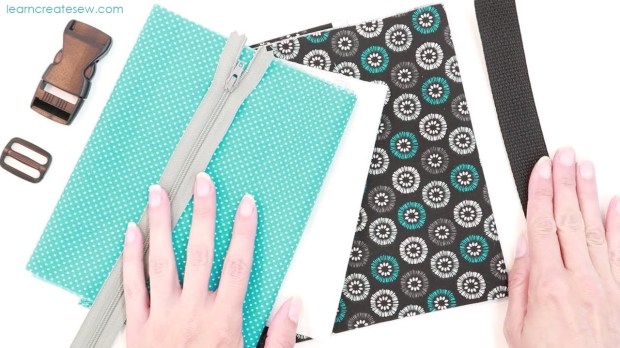
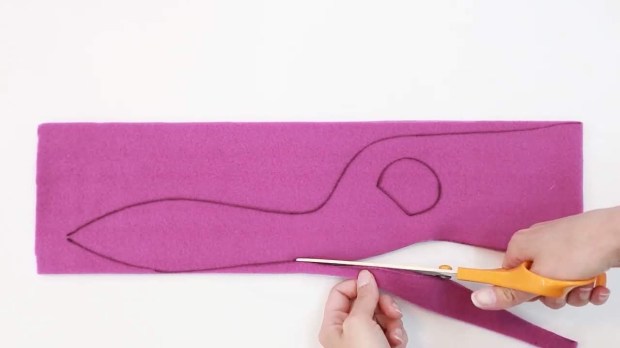
DETAILED INSTRUCTIONS: