
I have finished my rag doll pattern! I’ve been working hard to create the instructional videos and I am happy to say that I have the body instructions ready to share with you today.
I really enjoyed working on this project and mixing and matching fabrics to create the body of the doll.
I love all of the different styles you can design to make the doll uniquely your own!
This project is a bit more time consuming than others and does require a bit of patience. It is probably a 5/10 in difficulty just for the amount of time needed to hand stitch the hair and for the exactness of seam allowance that is needed. When sewing plush projects, a small error in your seam allowance can make a big difference in the appearance of your doll. You also need to be comfortable slip stitching and working with small curves.
The doll measures between 14 and 14.5 inches tall when finished.
Rag Doll Pattern by learncreatesew
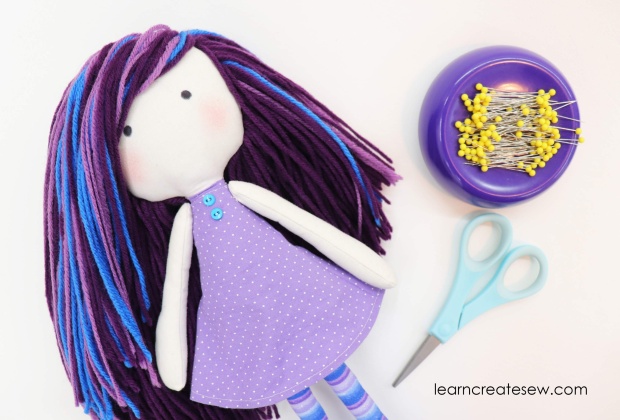
Tools:
CONSTRUCTING THE BODY – DETAILED INSTRUCTIONS:
PART 2:
Here is the second installment of my rag doll tutorial. This was by far one of the most difficult videos I have made. Not because the process is hard, but because there are so many different styles of hair that can be selected and so many methods with which it can be applied.
I spent a lot of time deciding what I would share because I didn’t want anyone to feel limited in the approach they had to use. Not to mention, there was a whole lot of yarn that did not want to cooperate and stay in place while filming! Apparently it does not take direction well.
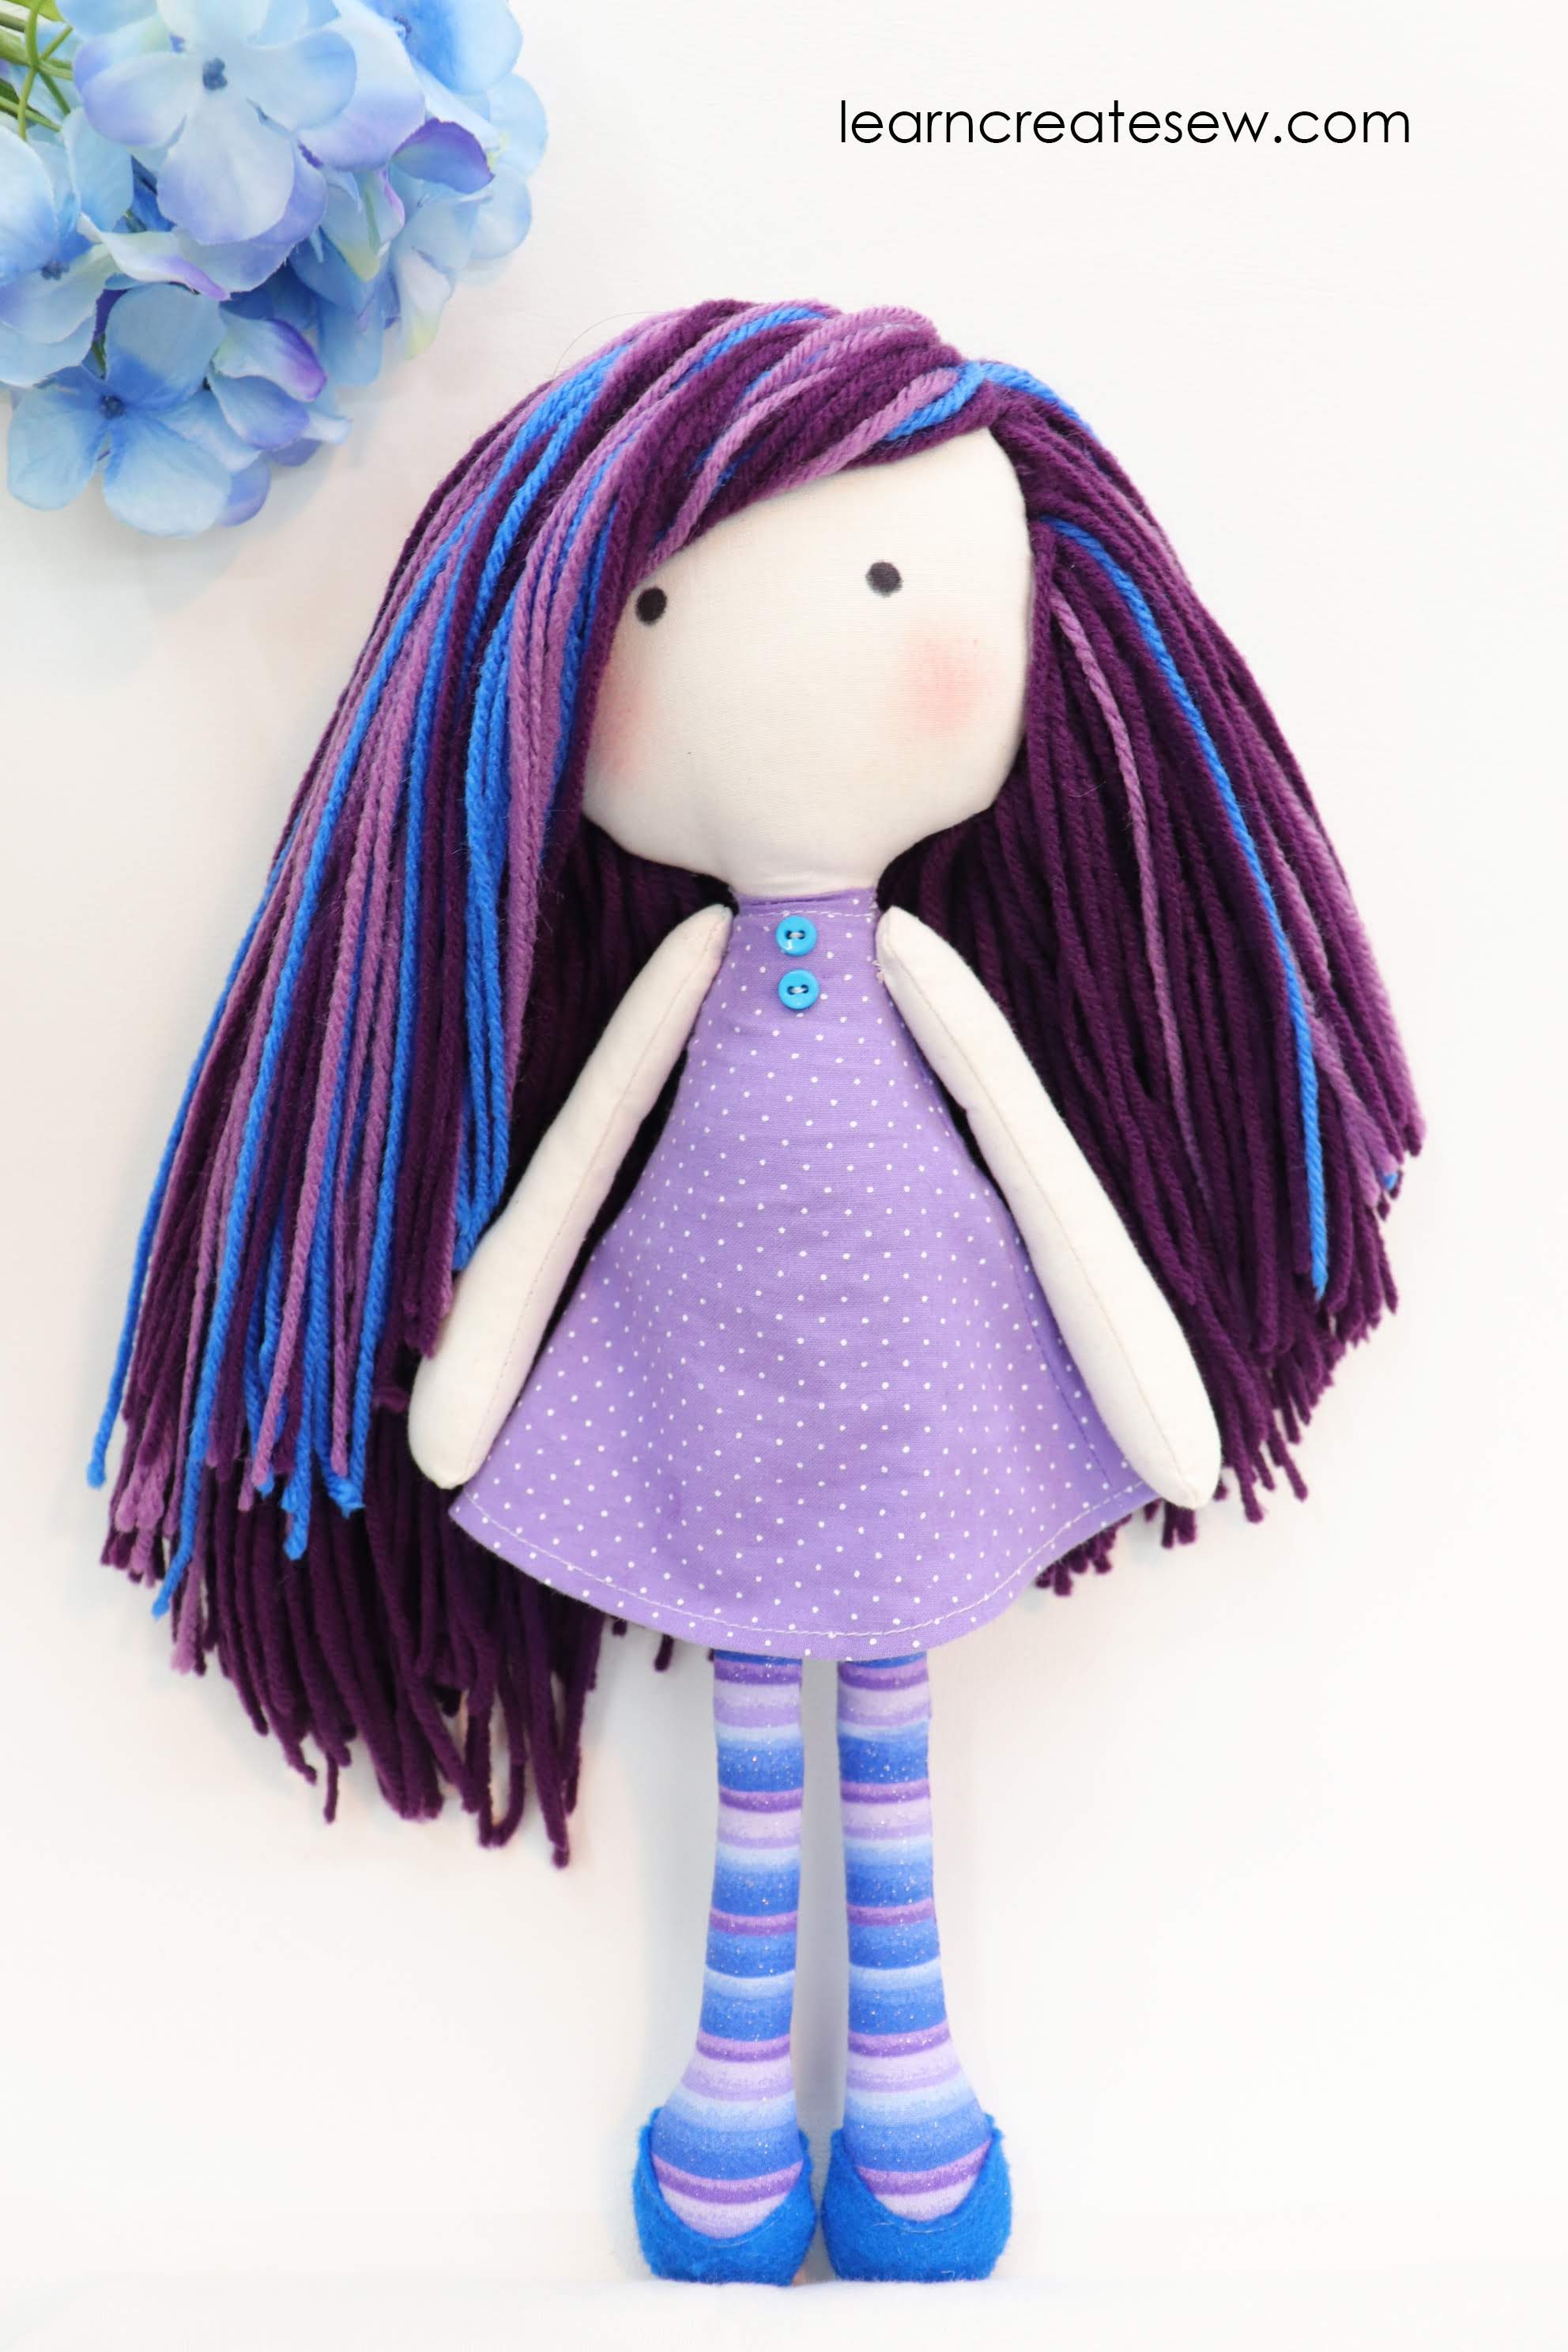
I really enjoyed using multi-colored hair on this doll. Mixing and matching colors strand by strand was a lot of fun, and I really like the look it created.
On the above doll the majority if her hair is the dark purple color. The wefts added at the bottom were all the same color, however at the top, I added just a bit of contrast.
I hope that you can take the methods used in this video and expand upon them to make something all your own 🙂
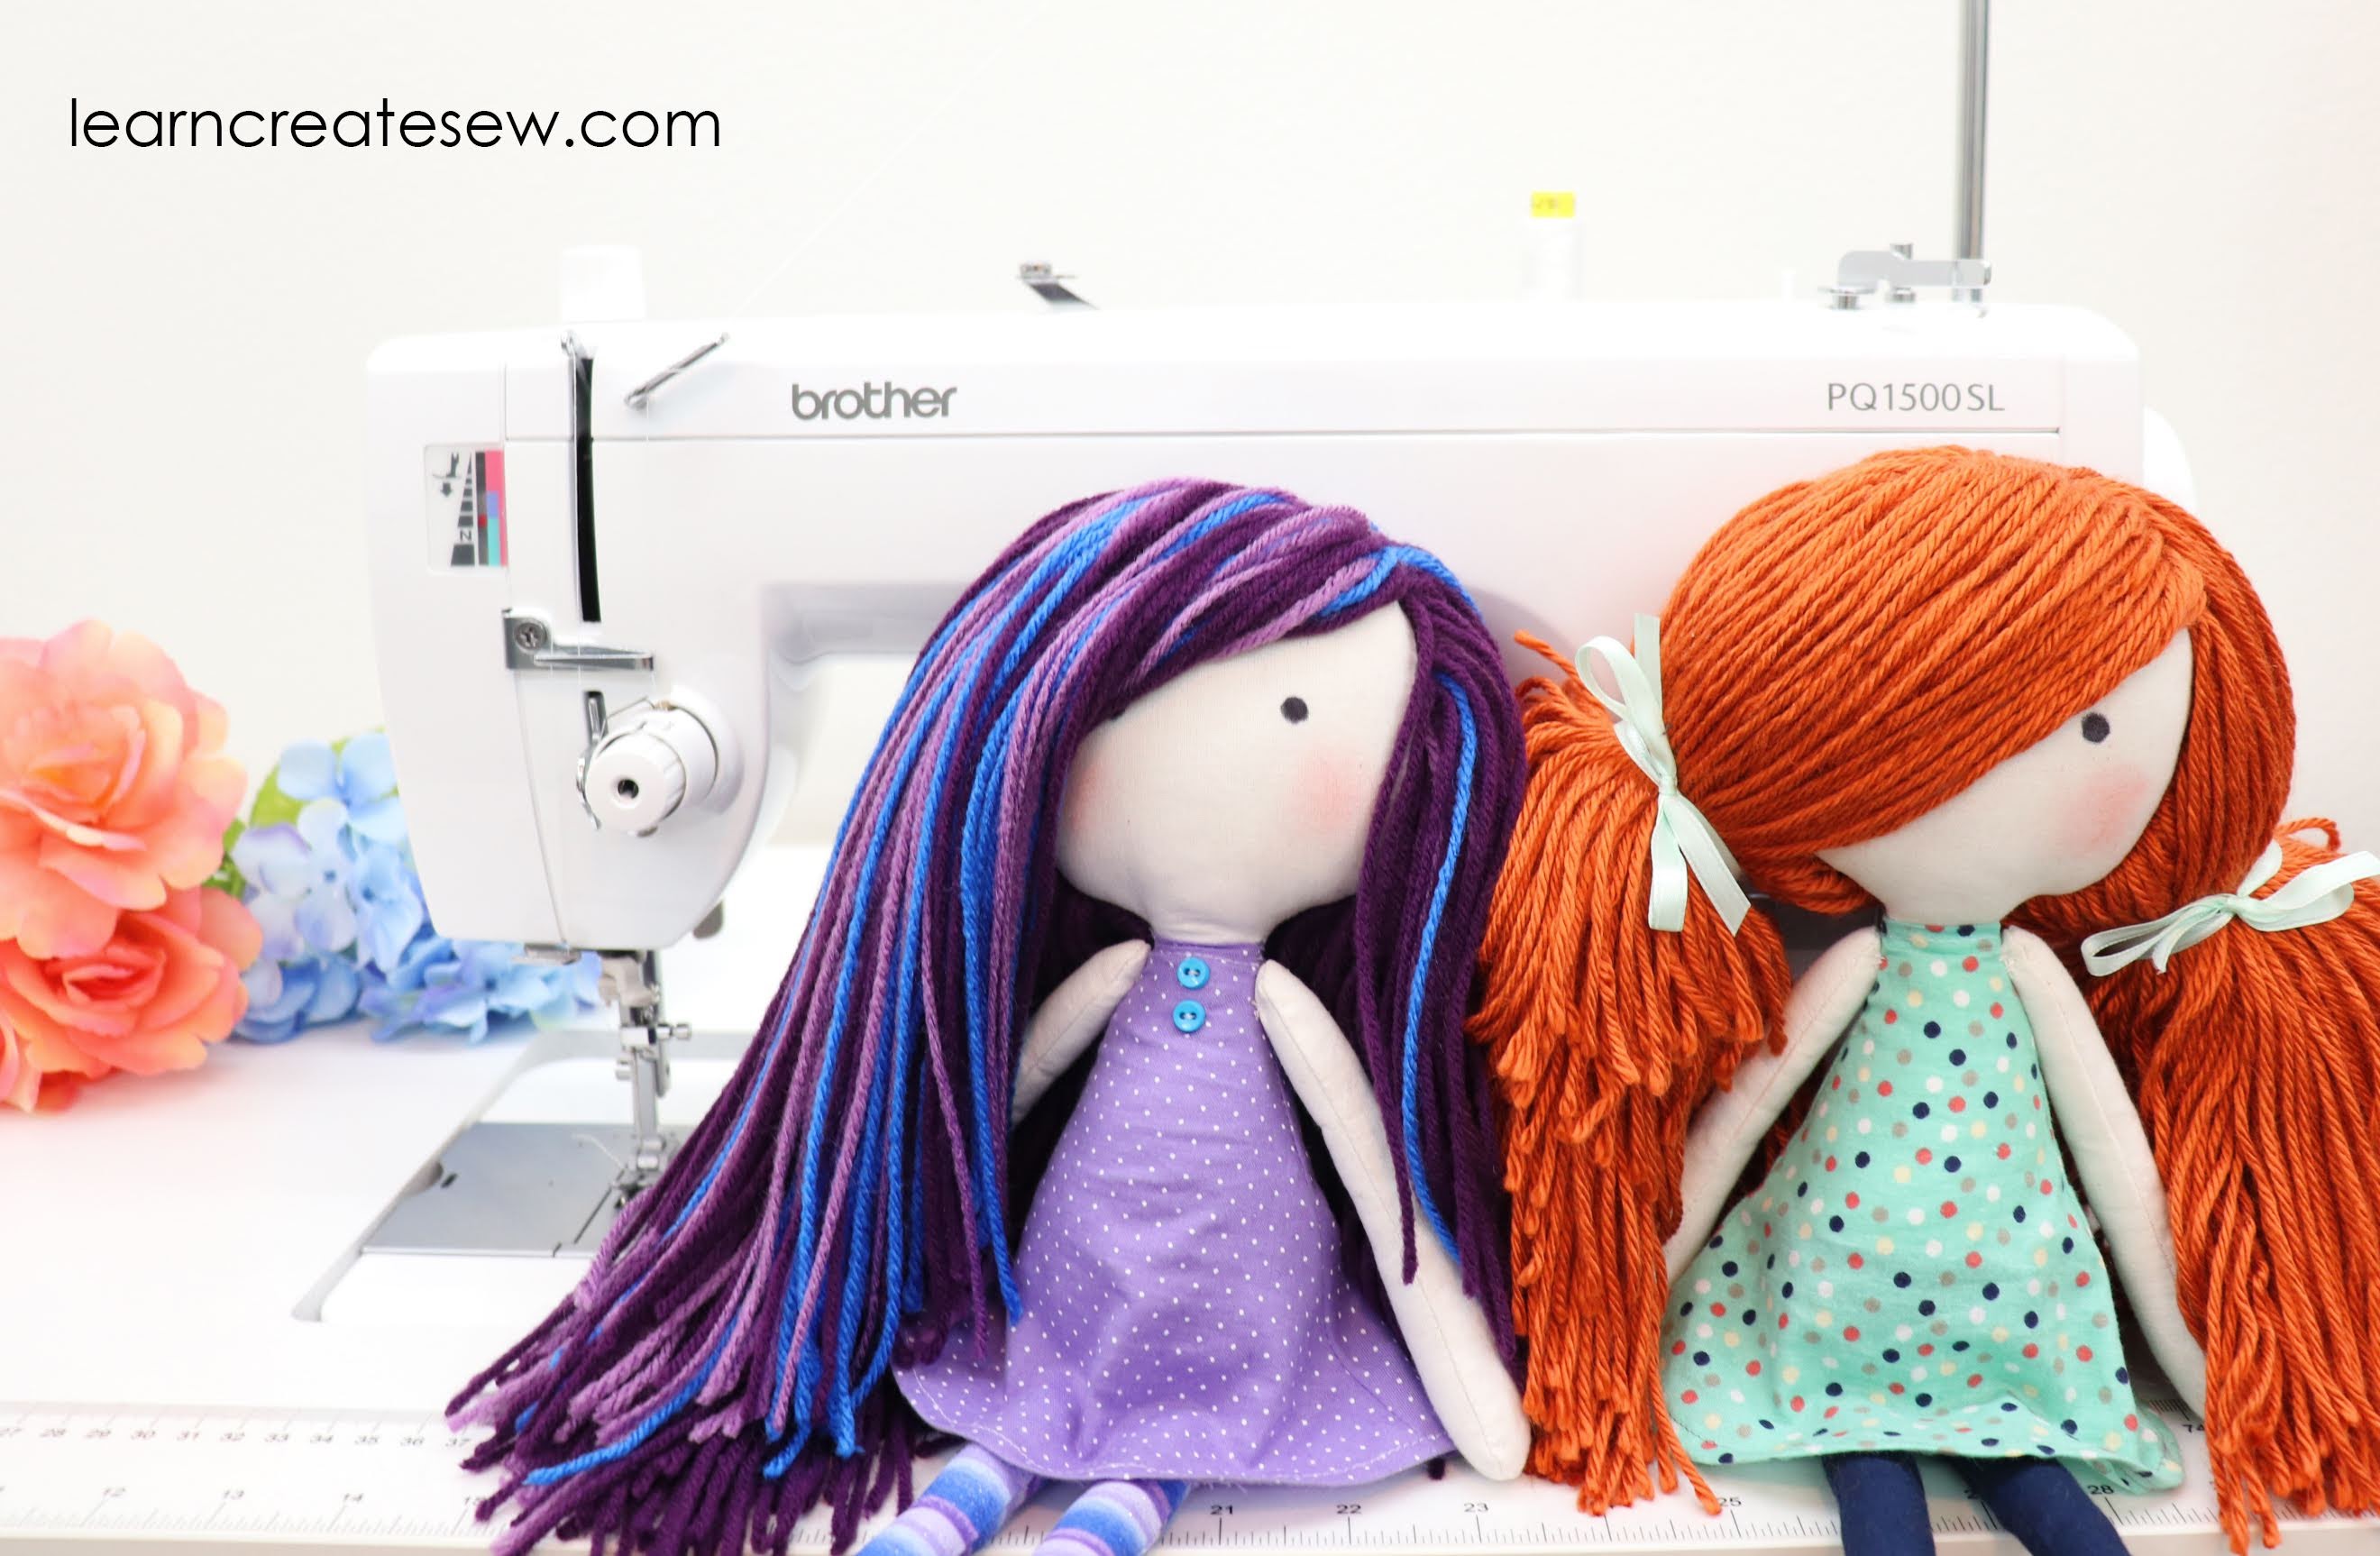
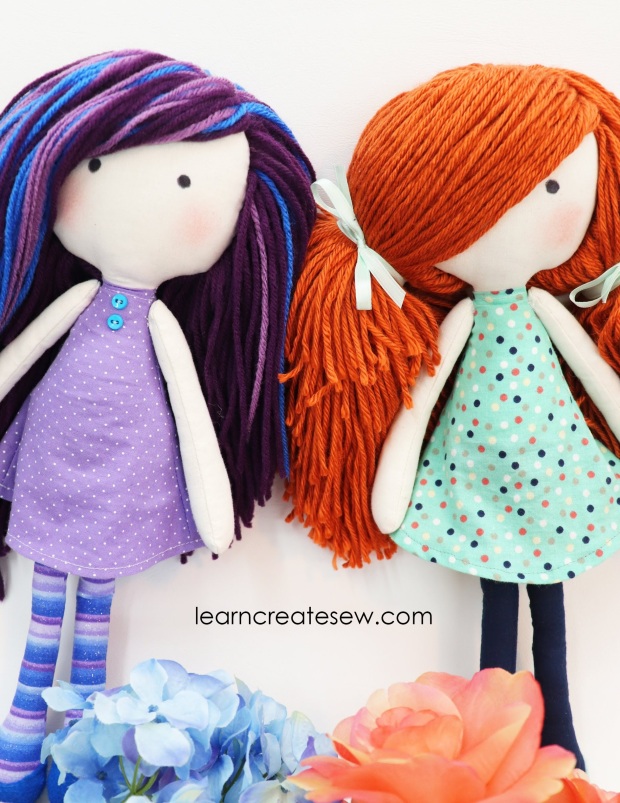
I love the drastically different looks you can create by altering hair styles and color.
Here is my rag doll pattern in case you missed it in the last post. The doll is just over 14 inches tall when completed.
Rag Doll Pattern by learncreatesew
ADDING THE HAIR – DETAILED INSTRUCTIONS:
PROJECT TESTING:
A rag doll was one of the project brainstorm ideas that I posted in my sketchbook recently. The project is a bit time consuming, so I opted to do other projects first.
However, this weekend I was quite excited to have the time to work on the project.
First, I drafted two pattern options. After testing them both I made some adjustments to my favorite version and found a shape I was pretty happy with!
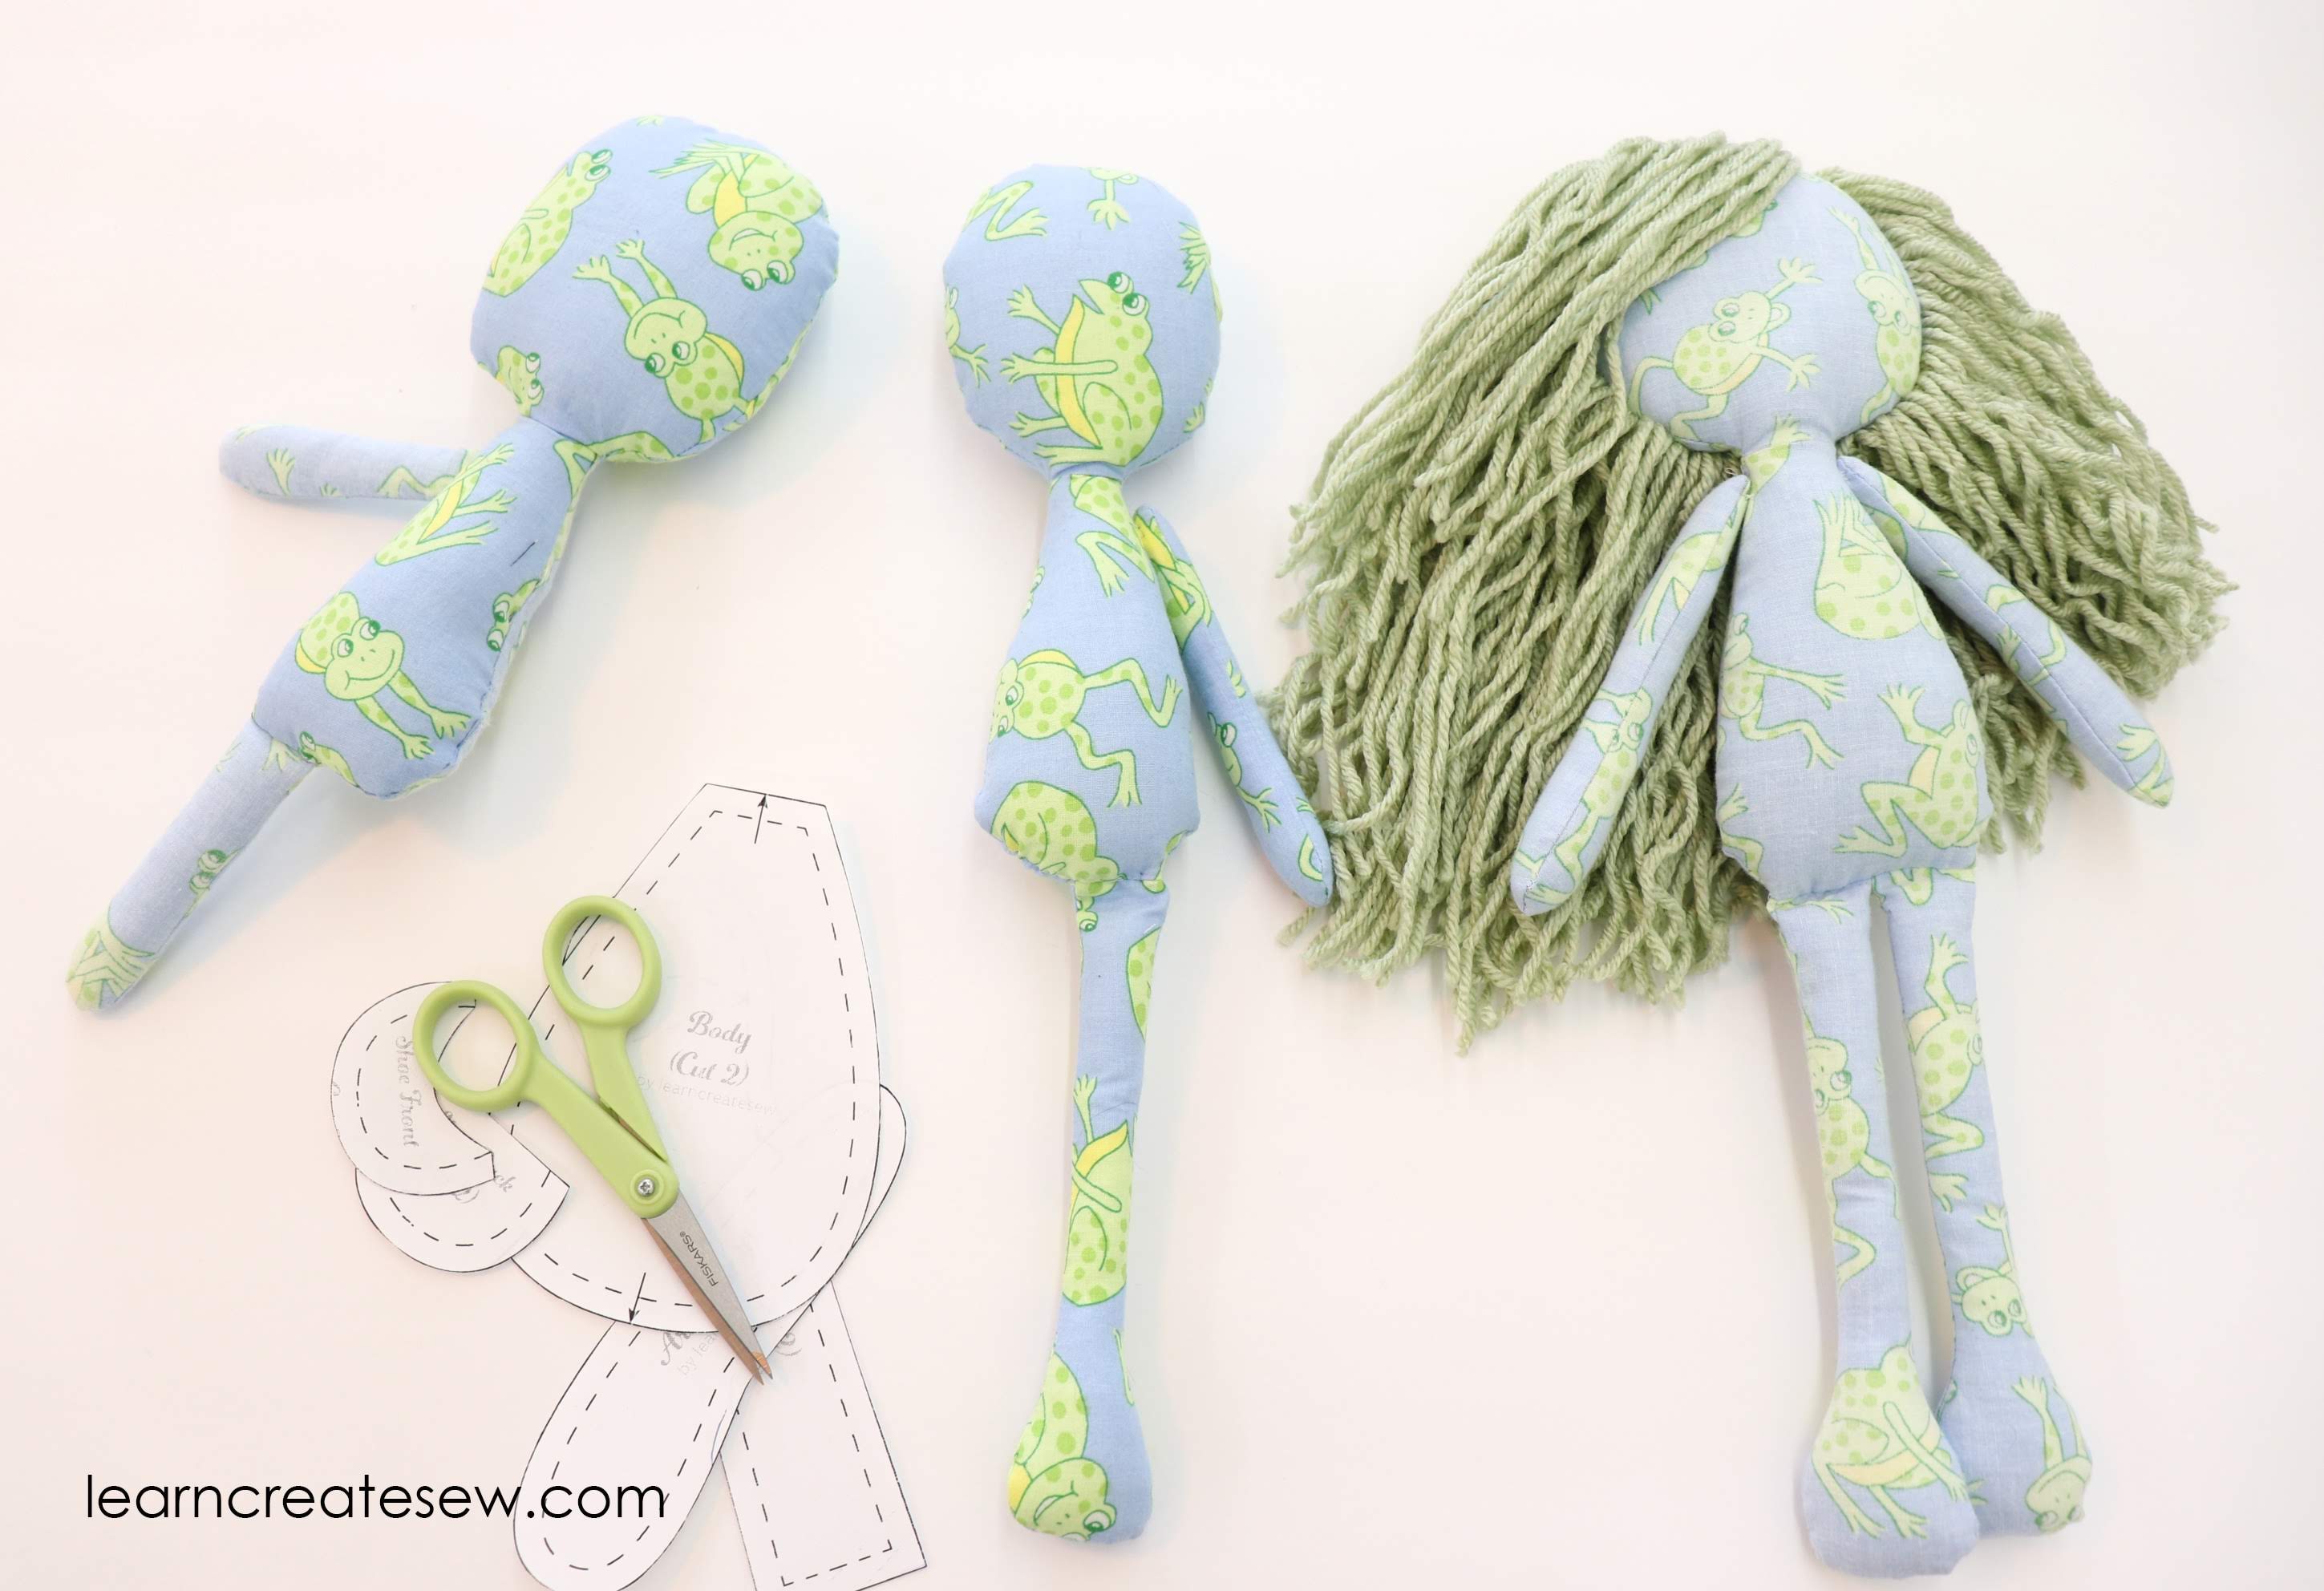
Next came the daunting task of tackling the hair! I do have to say that it took longer than expected to hand stitch all that yarn! Thank goodness for comfy couches and Netflix. It definitely helps the process.
Once I was happy with my rough drafts, I went on to test the project!
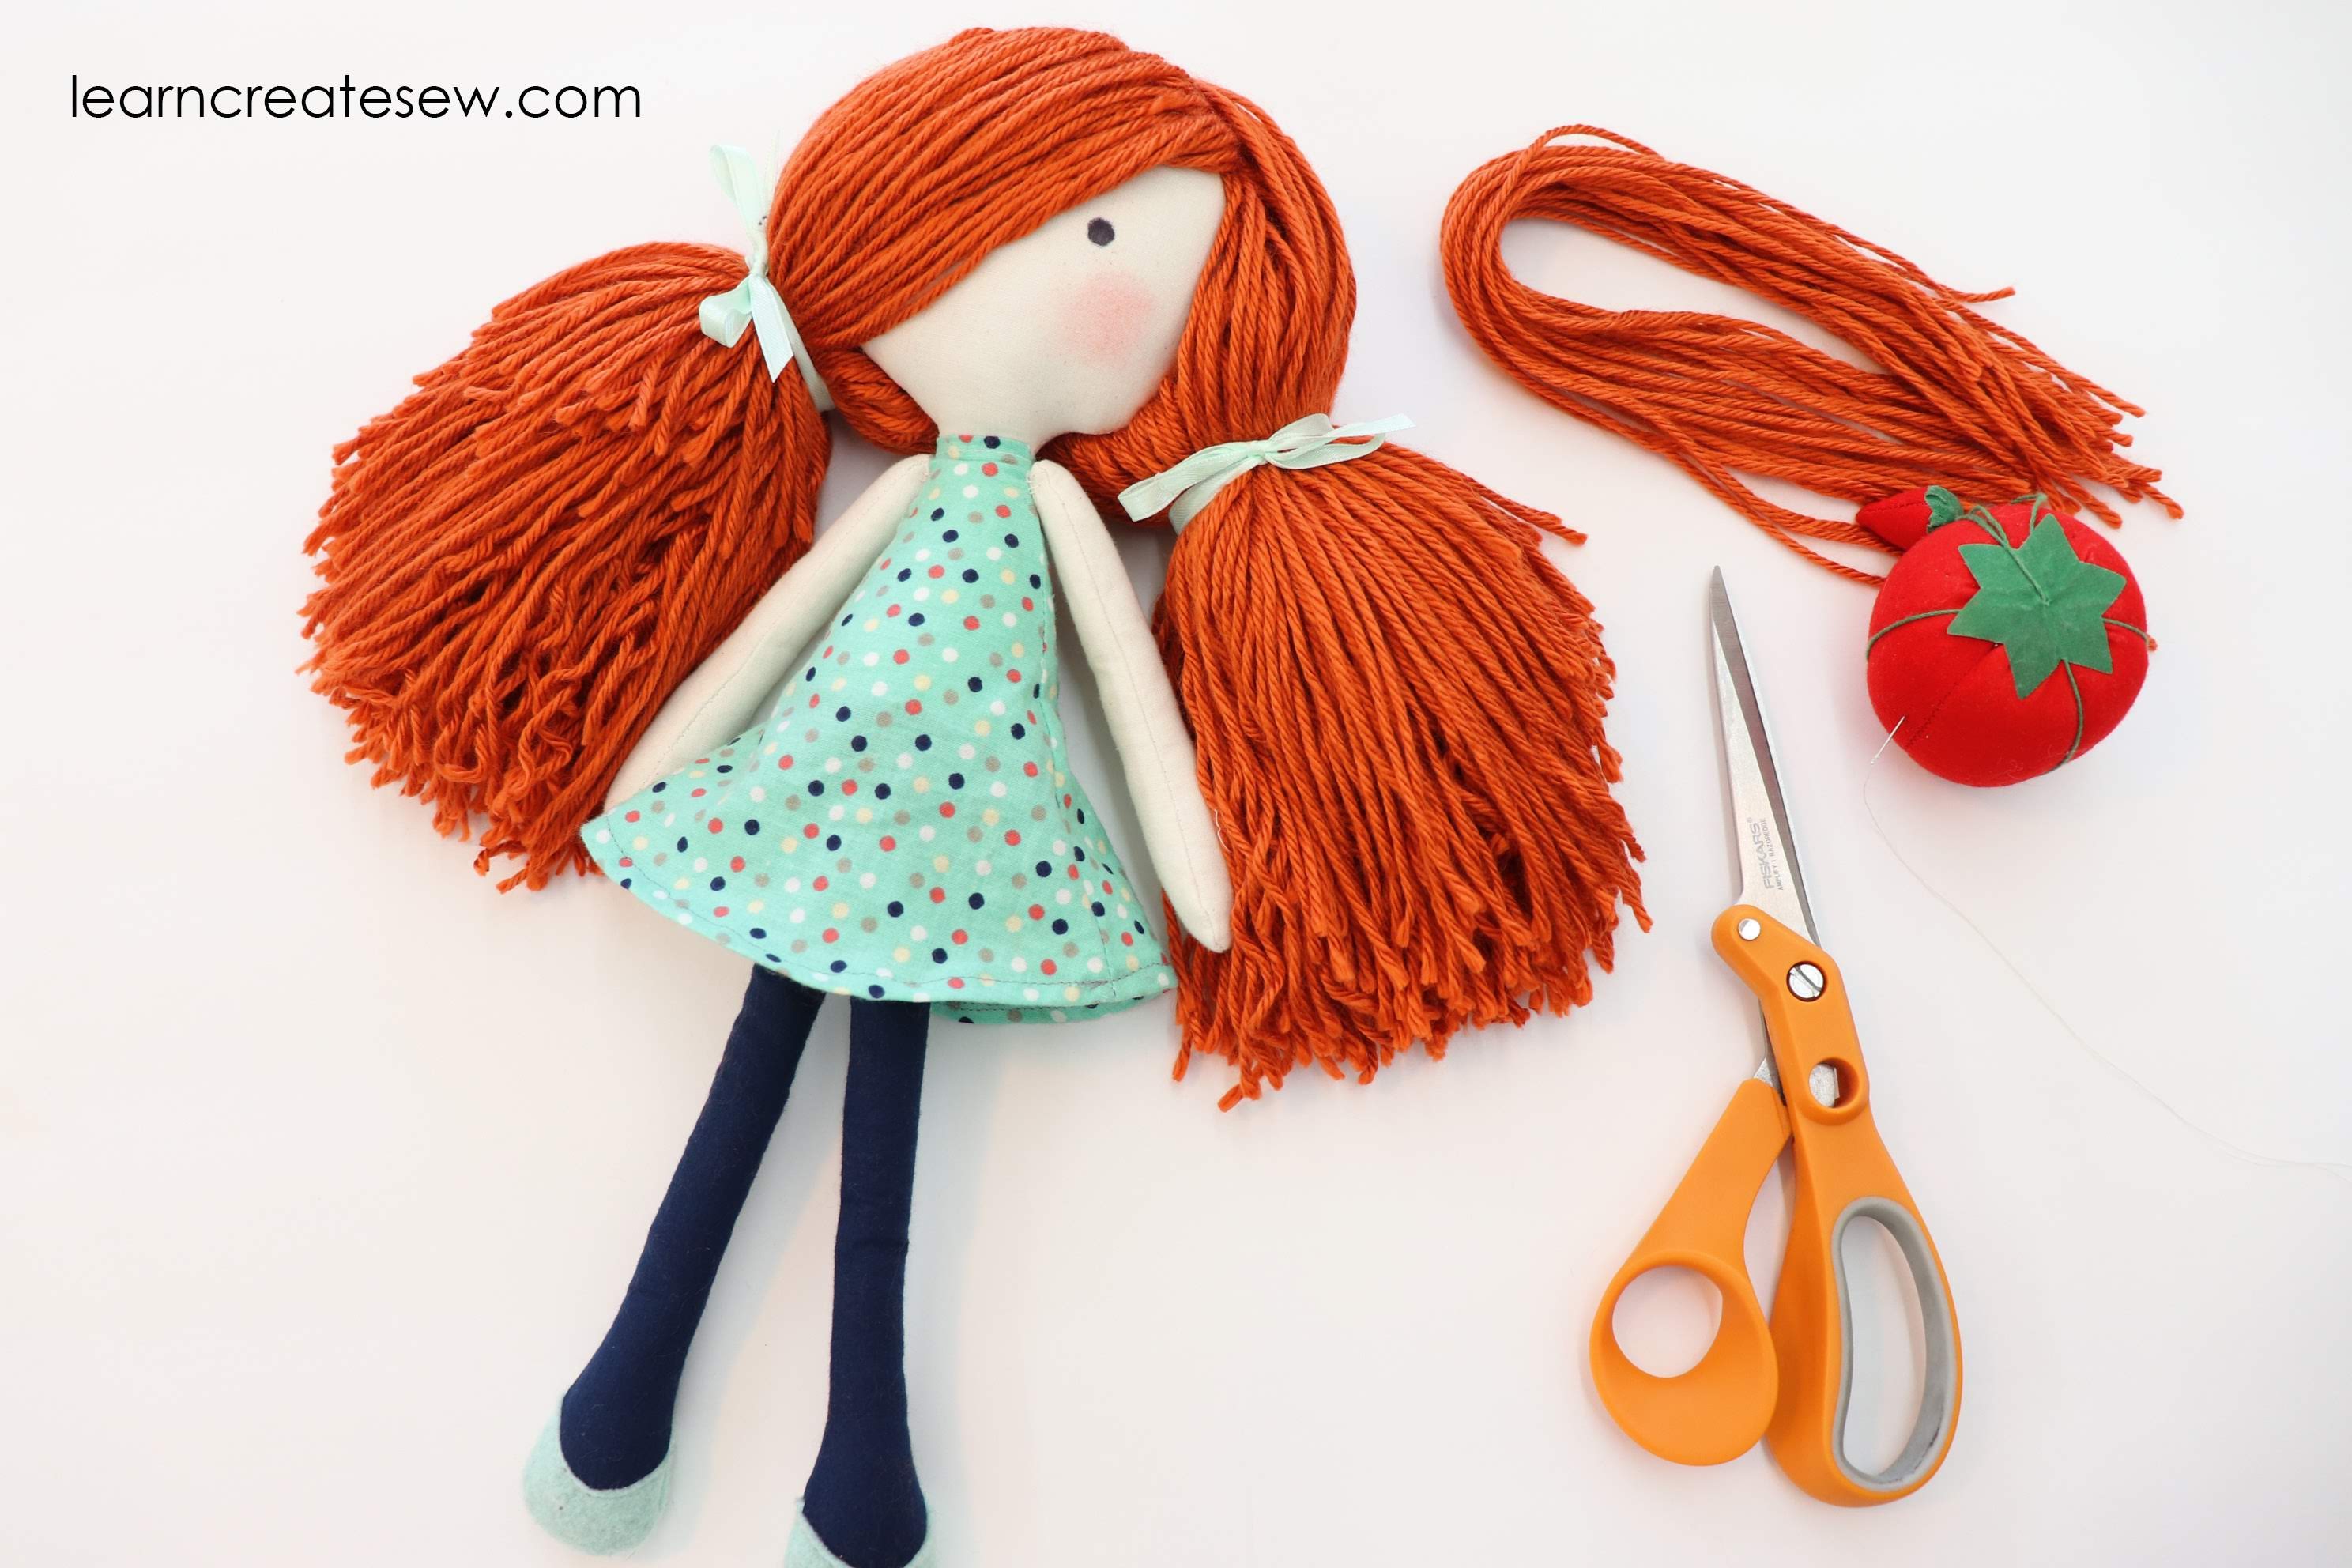
I have to say, I was quite happy with the results! I love all of the hair! It took about a half skein of yarn, but I love how puffy it is!
Tools:

This doll pattern is so easy and cute! I’ve made around 20 of them and gave them away. I have had someone wonder if I’d take orders for them. My question is, is this copywrited, or is it ok to sell the dolls I make from this pattern?
How wonderful! Thank you so much for sharing 🙂 You are more than welcome to sell any dolls you make from the pattern! As long as they are sewn with love at home and not manufactured or mass produced, that it is totally fine! I would just ask that you reference learncreatesew.com as your source for the pattern 🙂 I am very happy to hear that the dolls have been so popular! I wish you the best in selling those you make!
Can you send a copy of the designs
Thank you for your question! Unfortunately, I cannot send a copy of the designs, but you are welcome to download the free patterns directly from the website. Thanks!
Definately with love and at home. And I will credit you if using your pattern.Thankyou so much!
I’m having the pattern printed n does it happen to print the correct size ready to use… Just wondering, excited to make the rag Doll for my new grandaughter💞
Thank you for your question! Yes, it should print the correct size! Just be sure to select “Do Not Scale” or “Actual Size” for your printer options. I hope your grand daughter loves it!
Hello, I’m trying to find the forceps you used to inside out the doll. Where can I find them? Thank you.
Thank you for your question! I purchased mine years ago on ebay, but similar items are now available on Amazon. The hemostats are available with both curved and straight tips in an assortment of sizes. I have used a variety of sizes and styles 5 – 12 inches in length. I find I use my 5.5 and 8 inch straight hemostats the most. They are super handy when making stuffed animals and dolls! I have linked a variety pack that is sold on Amazon at an affordable price below.
Oops! It looks like the link isn’t showing up. I will try to post it to the Rag Doll page.
Would love to try and make this doll. Can I get pattern please? I can’t find link. I watched the beginning of your video and am anxious to get started.
Thank you.
Thank you for your question! If you look on the Rag Doll page, just above the first video and tool list, there is a pink link “Rag Doll Pattern by learncreatesew”. If you click on that link a pdf of the pattern should pop up that you can print and/or download. It is also posted again just above the Part 2 video. If you are still unable to find it please let me know! I hope you enjoy making the Rag Doll 🙂
Thank you so much! This is very clear. Thank you for sharing the pattern as well and all the little tips and reminders.
You are very welcome! 🙂
Thank you so much for this adorable doll pattern and the videos! What is the best fabric to buy that is fine and not coarse? I want to paint the face on so I want a fabric that’s pretty smooth. If you have a favorite fabric and/or online source for it can you share? I also have the big 3 US craft stores nearby, so if they have a great fabric I can look for. I don’t sew much so when I go to those places the choices are overwhelming.
Thank you for your question! I am sorry to say that I didn’t pay very close attention to the fabric I selected for my dolls, I usually just wander the store and grab what feels nice (probably not the best method), and I can definitely see how that could be overwhelming 🙂 I will have to do better at keeping track of what I use in the future! I know I have used both quilters cotton and muslin, both purchased from JoAnn Fabrics. They were both smooth enough to paint on. I wish I could remember the brand and colors, but it is escaping me. The next time I am at the store I will be sure to make a note of what I used and reply again. For both the muslin and the cotton I backed the fabric with Pellon SF101 interfacing. I wish I had more information to provide you with now, but I will be sure to give you an update as soon as possible! Thank you!
It is very nice and this help me very much.
Thank you! I am so glad it was helpful!
Thanks! No biggie – I’ll just go to Joann’s and feel stuff. That’s a better method than ordering online and hoping for the best anyway. 🙂 Thanks for the tip about the interfacing. I watched both of your doll videos (body construction and hair) and can’t tell you how thankful I am to you! You explain and demonstrate things in a way that makes so much sense. I really understand the process now, so it’s not daunting. I’ve always been crafty, but it used to take so much to learn a new craft before the internet! Now, with people like you sharing your expertise on Youtube it’s just so much easier to figure things out and not have to reinvent the wheel every time. Thank you so much for everything. I looked for you on Instagram, but @learncreatesew didn’t garner any leads. Would love to follow you if you’re on there… 🙂
-Jenya Rose
You are very welcome! I hope you enjoy making the rag doll!
I know I’m about a year late to add a respons but I just made the doll and I used muslin and lined it with flannel. The skin is soft and would do nicely with paints.
Thank you so much – your instructions are fantastic, i finally made my first rag doll with your instructions and tips. Thank you so much
I’m so glad it worked well for you! Happy Sewing!
Thank you for this informative article. This is exactly what I’ve been searching for!! Your instructions and pattern are perfect and I can’t wait to start making some dolls.
I’ve subscribed to your youtube channel too – so many reat videos
You are very welcome!
How can I get a free pattern
Thank you for your question! There is a link to the pattern just above the video instructions on the Rag Doll page. Go to free patterns – plush – rag doll. The link is pink and says “Rag Doll Pattern by Learncreatesew”. When you click the link it should pop up for you. Thanks!
Hi I so love making your rag doll pattern it is the best one by far that I have found. I have a question on the hair. Ponytails versus straight look. Do I just put the weft vertically in the middle once and then put the other way is horizontal if you could let me know I would appreciate it and I will send you a picture of my doll thank you
Yes, that is how I did mine! I just used a vertical weft once in the center. All of the other wefts were placed horizontally. Thank you for your question! I am glad you enjoy the pattern 🙂
bruh I was sewing few dolls with pattern that I made while looking on plushie toys I had but this pattern is lot easier and cleaner(?) just love it ;))))
I am glad you like it! Happy Sewing!
I think your rag doll is just toooo adorable!!!! Looking forward to making in the future. I was wondering if you had any pictures of different hair styles you’ve made. Would love to see them. THANKS!!!
I am so glad you like it! Thank you for your question! I wish I had more photos to share. Unfortunately, the only hairstyle photos I have are the two on the website. The orange ponytails and the blue and purple long hair. If I make more I will let you know. Sorry I couldn’t be of more help!
So kind of you to share this with the world! You have just gained a belgian fan! I watched your hair tutorial first. It is the best hair tutorial I ever saw, thank you so much! I have made very pretty rag dolls before, but was never satisfied with the hair. I think I might try making the scalp in a fabric more or less the colour of the air, so it doesn’t shine through as much… I have a month long holiday coming up and am planning to make some dolls!
Thank you so much for sharing! I am so glad you enjoyed the video. Changing the color of the scalp fabric is such a good idea! I hope it all goes well for you. Happy Sewing 🙂
Hello from Spain!!!! Thanks so much for these beautiful patterns and great videos with “how to sew them” really veeeeeery useful and well done.
I downloaded the pattern this afternoon and can’t wait to start it. I’m going to try to made the dress to put on and take off, so I can sew different ones.
Thanks for all again, I’m sure I’m going to have a great time.
Thank you so much for sharing! I hope the removable dress works out great! That is a wonderful idea. Happy Sewing!
Hello!
Excellent, easy to follow video for showing how to do long hair! Thank you! 👍🙂
Question… do you have any video or perhaps suggestions on how to do a boy plushie’s hair that is of a mixed race? I say mixed race because I might want to make his hair a bit curly but not overly curly because he would ultimately be a cross between Black, Mexican, Indian, Etc. I know this means it’s a very wide range of hair texture, but I’m just mentioning this so you understand my end vision….and that I’m trying to appeal to as many nationalities as possible. Any help you can give would be greatly appreciated!
If you’d like to take a look at the two characters that I have to figure out the hair for, you can check out my website at joannebieler.com
Or email me as indicated below….
Thanks a million for any help you can give me!
Blessings!
Joanne 🙂
Thank you so much for your question! I am glad you liked the video! I wish I could be of help, but unfortunately, I don’t have much experience with a wide variety of doll hair applications. You may want to check out youtube creator Pepitas de Chocolate. She has absolutely wonderful doll tutorials and may have more hair variety examples. If she doesn’t have what you are looking for here are a few things I might try. First, I would try unraveling the yarn pieces prior to sewing them to the doll so the twist is visible and the strands look a bit wavy. As another option, I might also try looping the yarn back and forth, while sewing, so that rather than cut ends of yarn, the loops create the body of the hair, giving it texture and body. If you choose this option, the hair might need to be a bit more densely packed so the loops stand up rather than laying flat. I hope you can find something that works for your project! Wish I could be of more help!
Hi there! Thank you for taking the time to help! I absolutely understand the first idea, lol, but not the 2nd one (i.e. looping the yarn back and forth). I know you must be busy so don’t worry about trying to explain it further! 🙂
Thank you also for the referral to Pepitas… That was most kind of you! I will try that now!
All my very best, you have a VERY kind heart!
Joanne from joannebieler.com
You are a fantastic instructor, better than any other presenter I’ve ever heard either in person or on You Tube. Years ago I made dolls for my sisters, probably as large as six months old babies, but never have I attempted a little rag doll. It just so happens that I ordered several of them from someone on Etsy only to discover that the hair coloring on two of them was wrong. Thanks to you two of my little rag dolls now have beautiful brunette hair. Thank you for your expertise, your patience, and your dolls. You deserve an award.
Thank you for your comment! It made my day 🙂 I am so glad you enjoyed the video!
I would love to share photos of my dolls from your pattern. I am obsessed with their cuteness and giving them for gifts .Anyway to attach a photo? Thank you
Thank you for letting me know! I will look into it and see if I can figure out a way to make adding photos and option 🙂 I will reply again if I’m able to set it up.
Thank you!
You are very welcome!
I made theirs doll for my daughter and it turned out so lovely! She is young and really wants a mouth added. Do you have any ideas on how to add a mouth once it is finished that looks as classy as the doll? I fear I will try to add a mouth and it will ruin the entire look. lol
That’s a good question! I would probably try drawing the mouth on the doll with an air-erase marker first. That way you can adjust it if needed. Then once you have the style and placement you like, trace it with thread, fabric paint, or sharpie. I would test it out on scrap fabric first just to get the hang of it and to make sure the marker/paint doesn’t bleed or spread on the fabric. I hope it works out great for you!
How did you add the rosie cheeks?
I may have missed it
I just used blush 🙂 I have heard of some crafters using chalk pastels instead, but blush has always worked well for me.
Hi, I’m.currently working on two of these dolls for me twin girls! How much wool do you need to create that level of volume of hair? Just need to get supplies in!
Hello! For the hair, I used a worsted weight yarn. The skein size was 6 oz for 380 yards. I didn’t measure, but I used about half of the skein. Hope this helps!
Looks so cute!!! I am definitely going to try to make it….
Thank you for sharing! I hope it works out great for you! Happy Sewing 🙂
Love your tutorial video regarding hair placement. I made a 24” rag doll for my daughter 37 years ago. Her body is in perfect condition. Unfortunately her hair is not and her face needs some work. I’m going to try and bring her to life for my granddaughter. Your video gives me hope that I possibly can do her hair.
Thank you so much for sharing! That is amazing. It sounds like a very special gift. I hope you are able to fix the hair 🙂
Could anyone give a tip on how to make these dolls as male gender? I am turning this pattern into persona dolls for my classroom and I want to make boy dolls for the set. Any tips? I did see the bloomer pattern maybe a form of that?
Hello! To make a boy doll, what I would do is make the fabric color of the body and legs, the colors of pants and shirts. Basically, instead of using a single piece of fabric to cut the body pieces, you can sew two together. This will make the top the shirt fabric and the bottom the pants fabric, the seam will act as the waistband. I would do the same for the legs, making the top the pants fabric, the bottom boot or shoe fabric, and then the seam would be the top of the boots. Similarly, for the arms, you can make the top the shirt fabric (for sleeves) and the bottom the skin tone fabric for arms/hands. When I use this technique I usually sew the fabric together, just rectangles, first, and then I will cut out my pieces. You want to make sure to carefully place the pieces on the fabric when you cut so the seams will line up. You can also shorten the dress to make it a shirt. I hope this helps! Happy Sewing!
Thank you so much for this pattern! For some reason my granddaughter thinks I am a sewing queen and can make anything so she requested a doll for her 6th birthday. She has requested a hair style more like the orange hair doll. Do I only sew a weft down the center and along the sides? And then do the bangs the same as you show in the video? How do you hide the stitching down the center?
LOL! First, I sewed a weft vertically down the center back. Then I sewed a weft all around the hairline. After that was done, I moved those wefts out of the way and added horizontal wefts in between. She has a lot of hair 🙂 Yes, you can do the bangs like the video. You can then leave them long like mine or trim them short in front. To hide the stitching down the center back I would make sure to use a thread color that matches the yarn as closely as possible. When securing the ponytails one side of the center weft will go to the left and the other will go to the right, hiding the fabric beneath. The stitches kind of sink into the yarn, so you won’t notice them much if the color blends in, but if it is contrasting it may be noticeable. I hope this helps! Happy Sewing!
Thank you so much for sharing this beautiful rag doll tutorial and pattern. My daughters loves it so much:) i have jest one question cause I am going to donate a few of them to the hospital but I am.not sure is this wooden stick is allowed to be inside the doll for kids age over 7 years old. What I should put instead if not this wooden stick? Mayne you have some ideas?;) thank you again ❤❤
Thank you for your question! I am so glad you enjoy the pattern and tutorial! Just to be safe, I probably wouldn’t use the wooden stick for donations to children. Instead, I might try using a very tightly rolled-up tube of cotton fabric that extends a little above and below the neck. A sturdy piece or roll of Craft foam might be another thing to try. I wish you the best! Happy Sewing!
Great idea 🙂 thank you very much for so fast response 🙂
Hello! I just discovered your channel, and I’m so happy with the detailed tutorial your provided there, I followed every step and I came out with a beautiful doll, I’m sure it would be not the only. Thanks to you I discovered a new experience and I’m so in love with it💗💗💗
Thank you so much for sharing! I am so glad you liked the project!
Such a cute pattern. I have made about 30 of these to give away to the little girls in my church. I love this pattern because it has a cute dress. I also made purses for each of them. Cut out about a 2 inch square, then a 2×3 inch. Fold the longer one over the other to make the purse. Sew down. Use 3 pieces of braided yarn for the strap. I use glitter felt for both the shoes and purse. This is an easy wonderful pattern. I love it!
I am so glad you enjoy the pattern! Thank you for sharing 🙂