I was recently asked to help with a service project at our school. Parent volunteers are making curtains for all the classroom windows! They are going to be so nice!
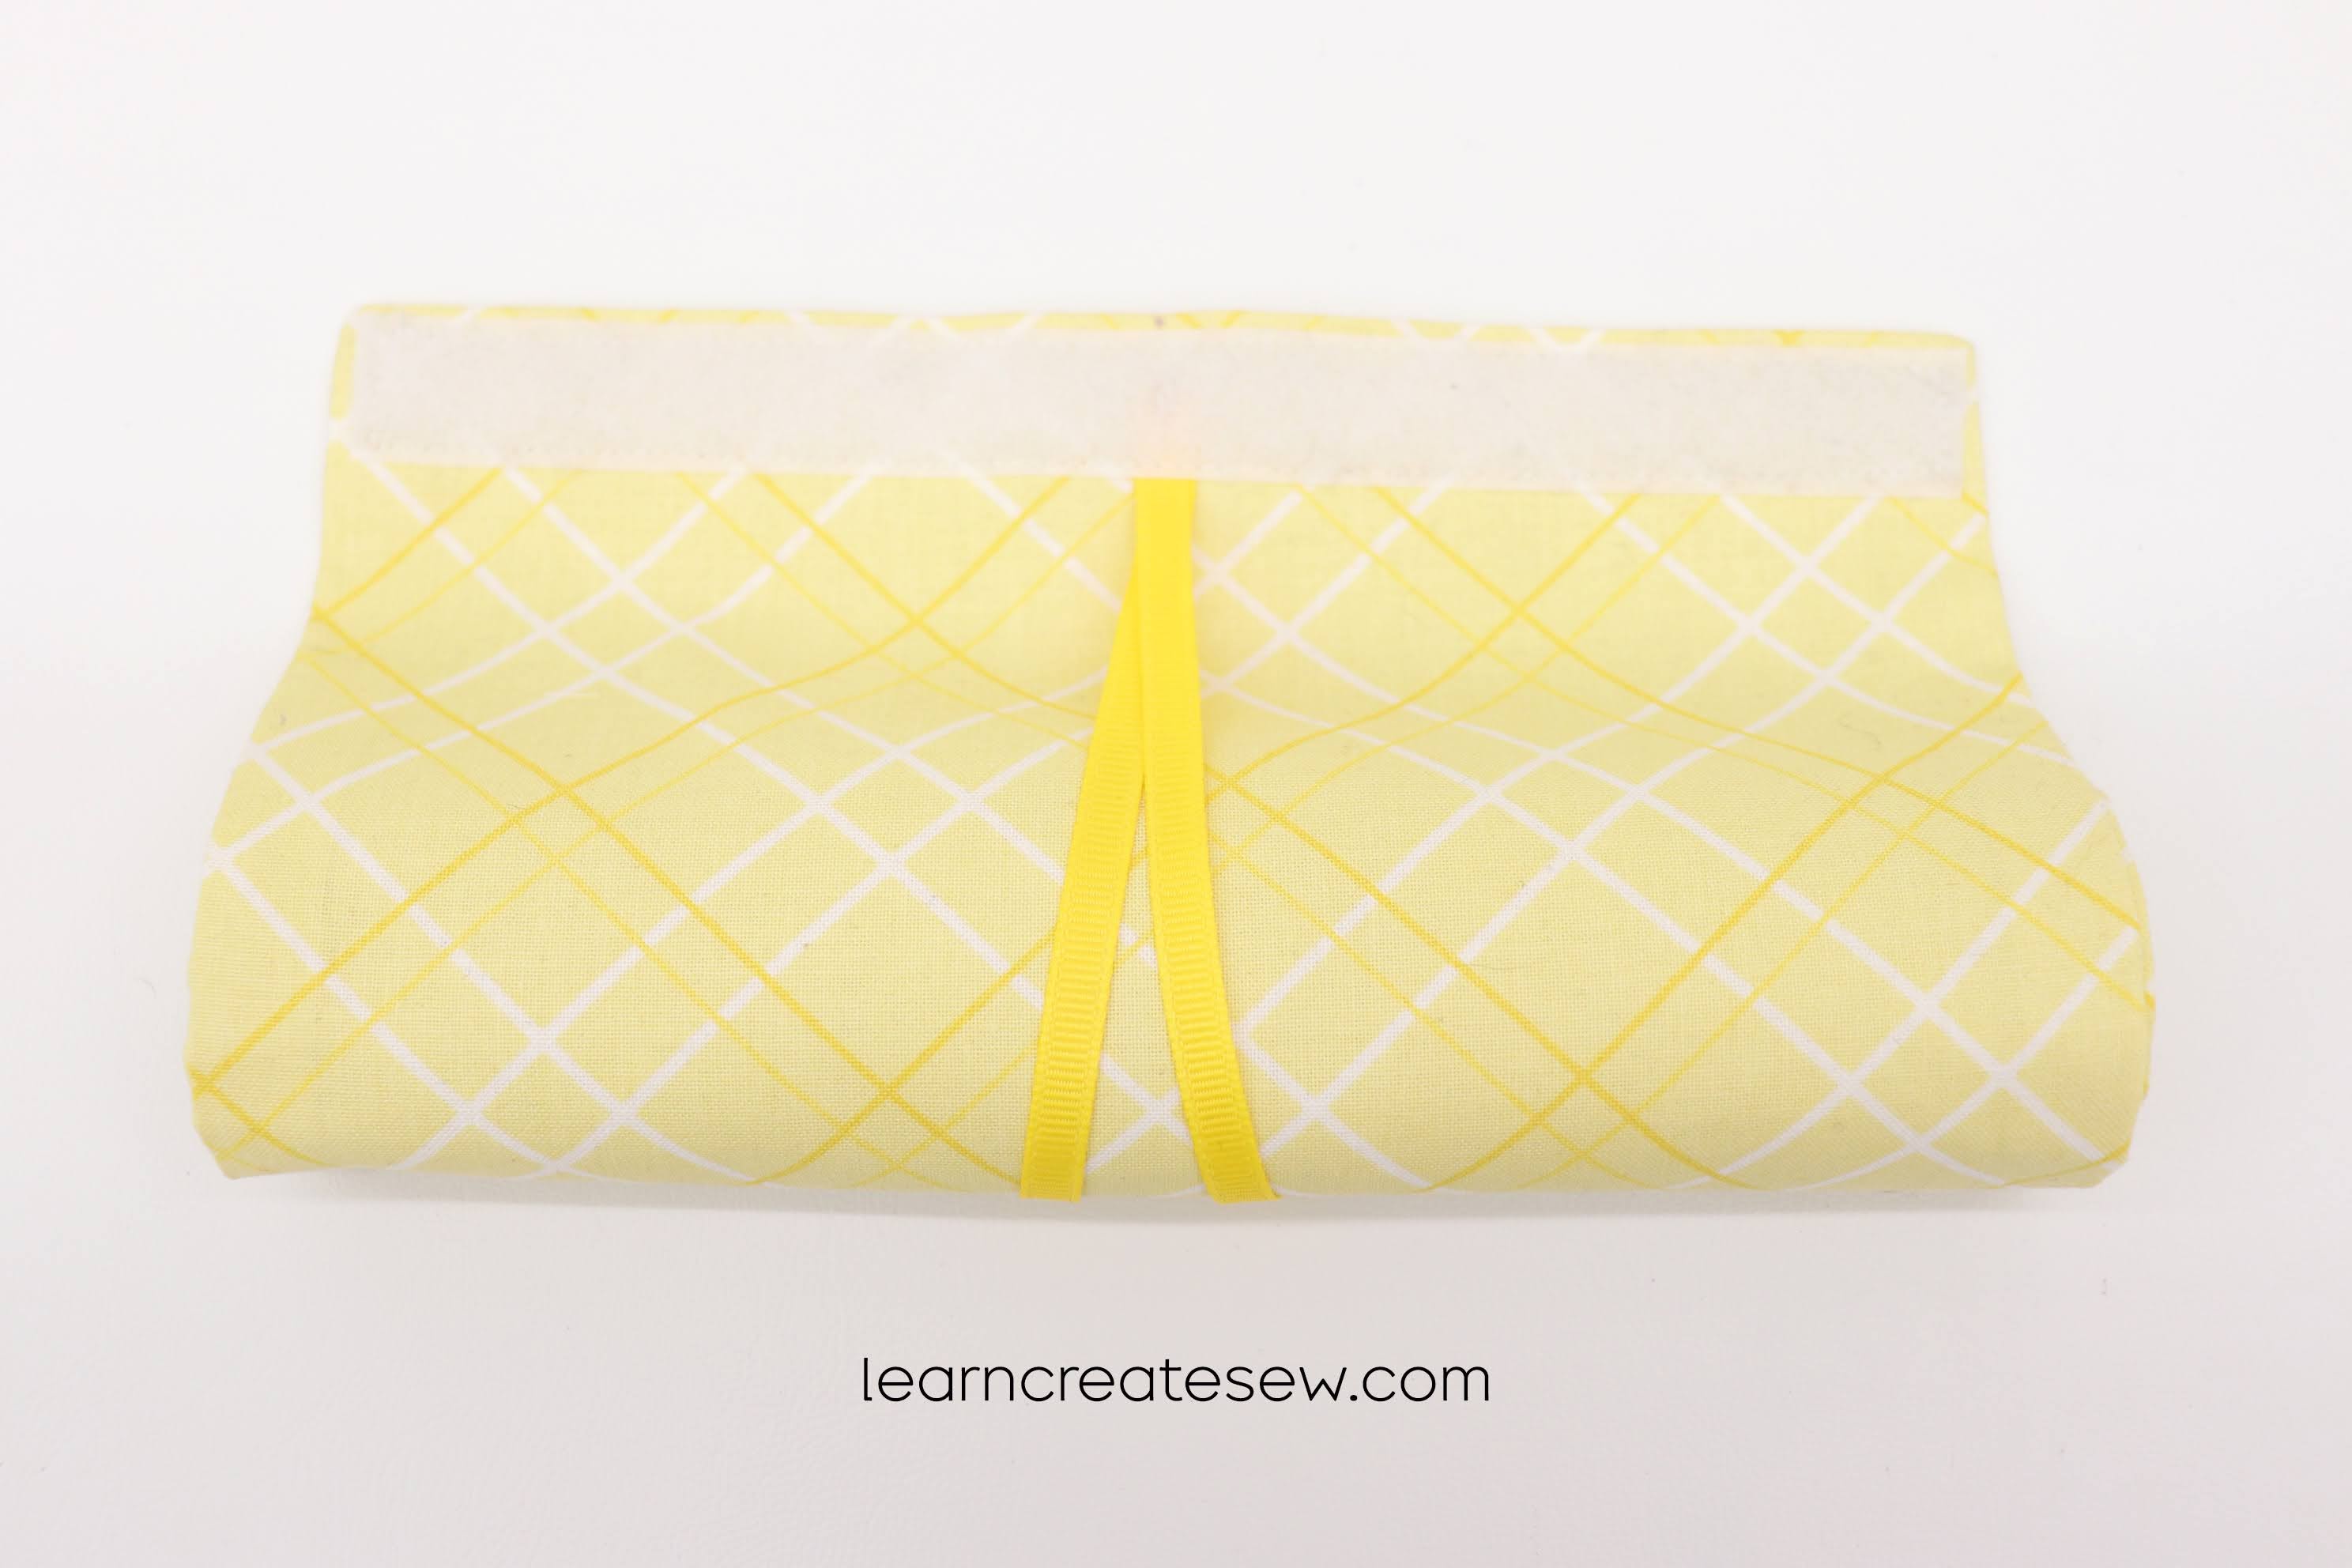
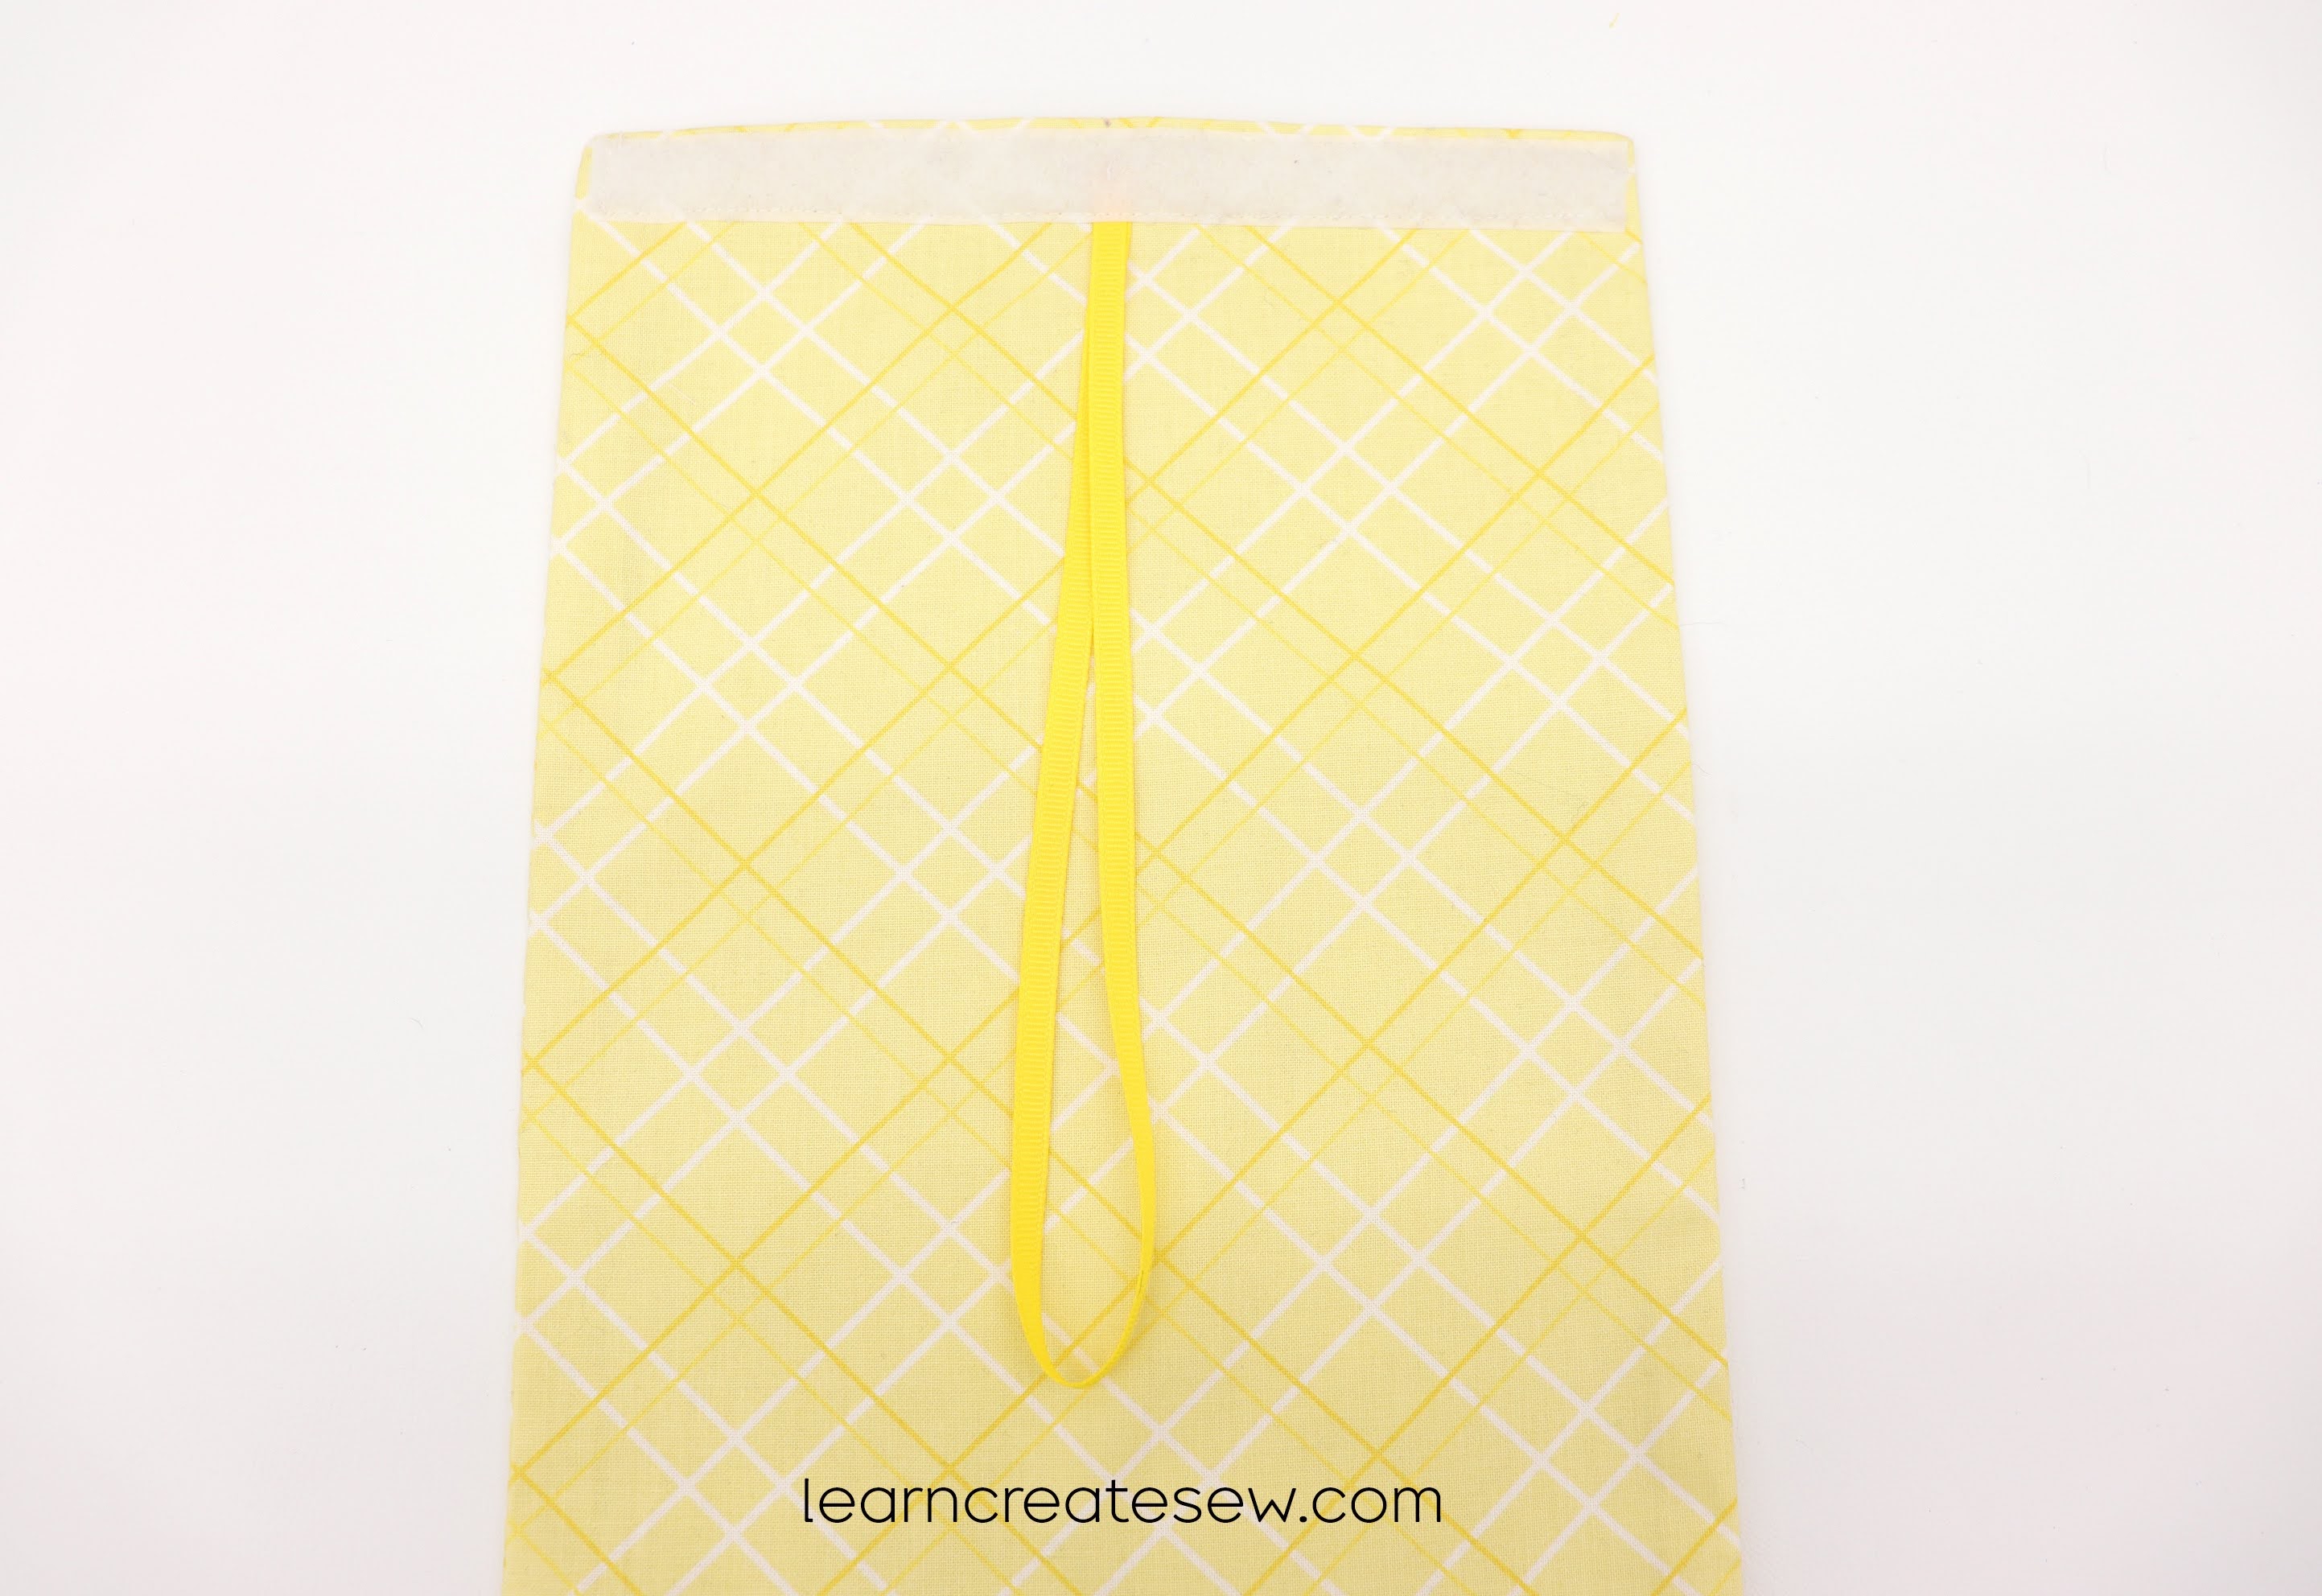
Our school will be attaching the curtains to the door using velcro. If your school isn’t doing that you can use magnets, or ribbon loops with 3M hooks instead.
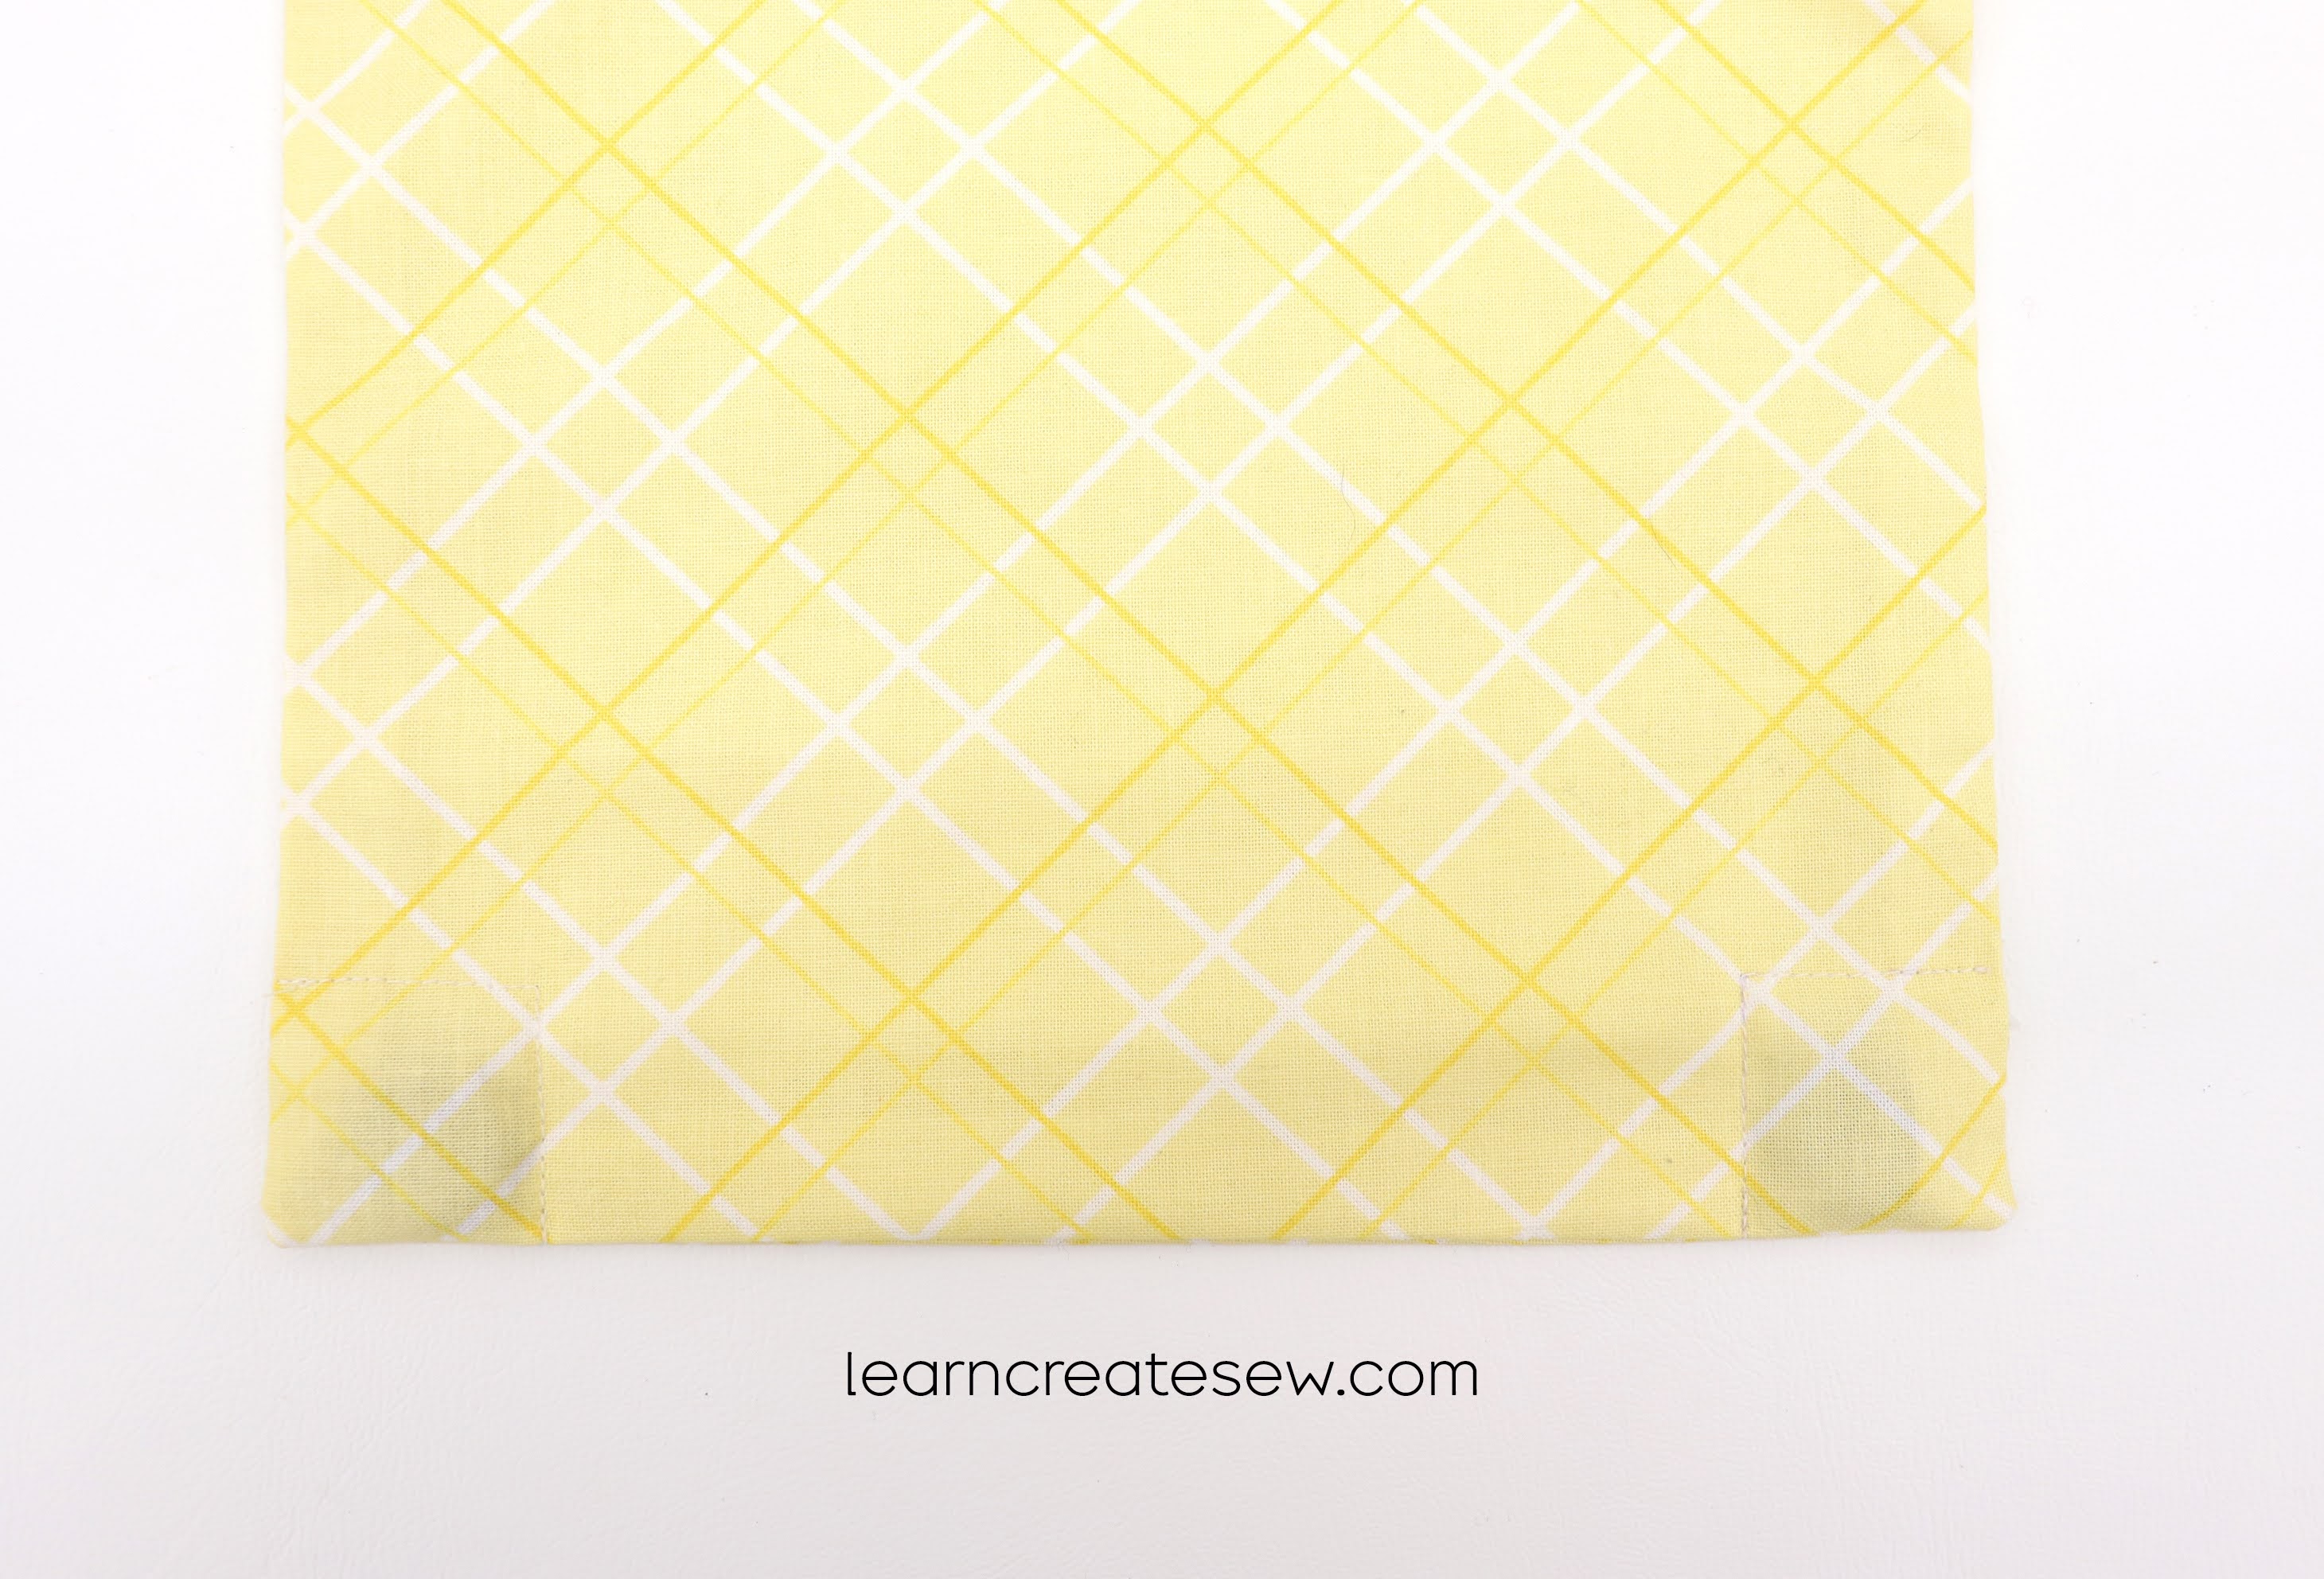
There are two magnets at the base of the curtain which will help it stay in place when in use. If you don’t want the magnets to be visible on the outside of the curtain, select a darker fabric print.
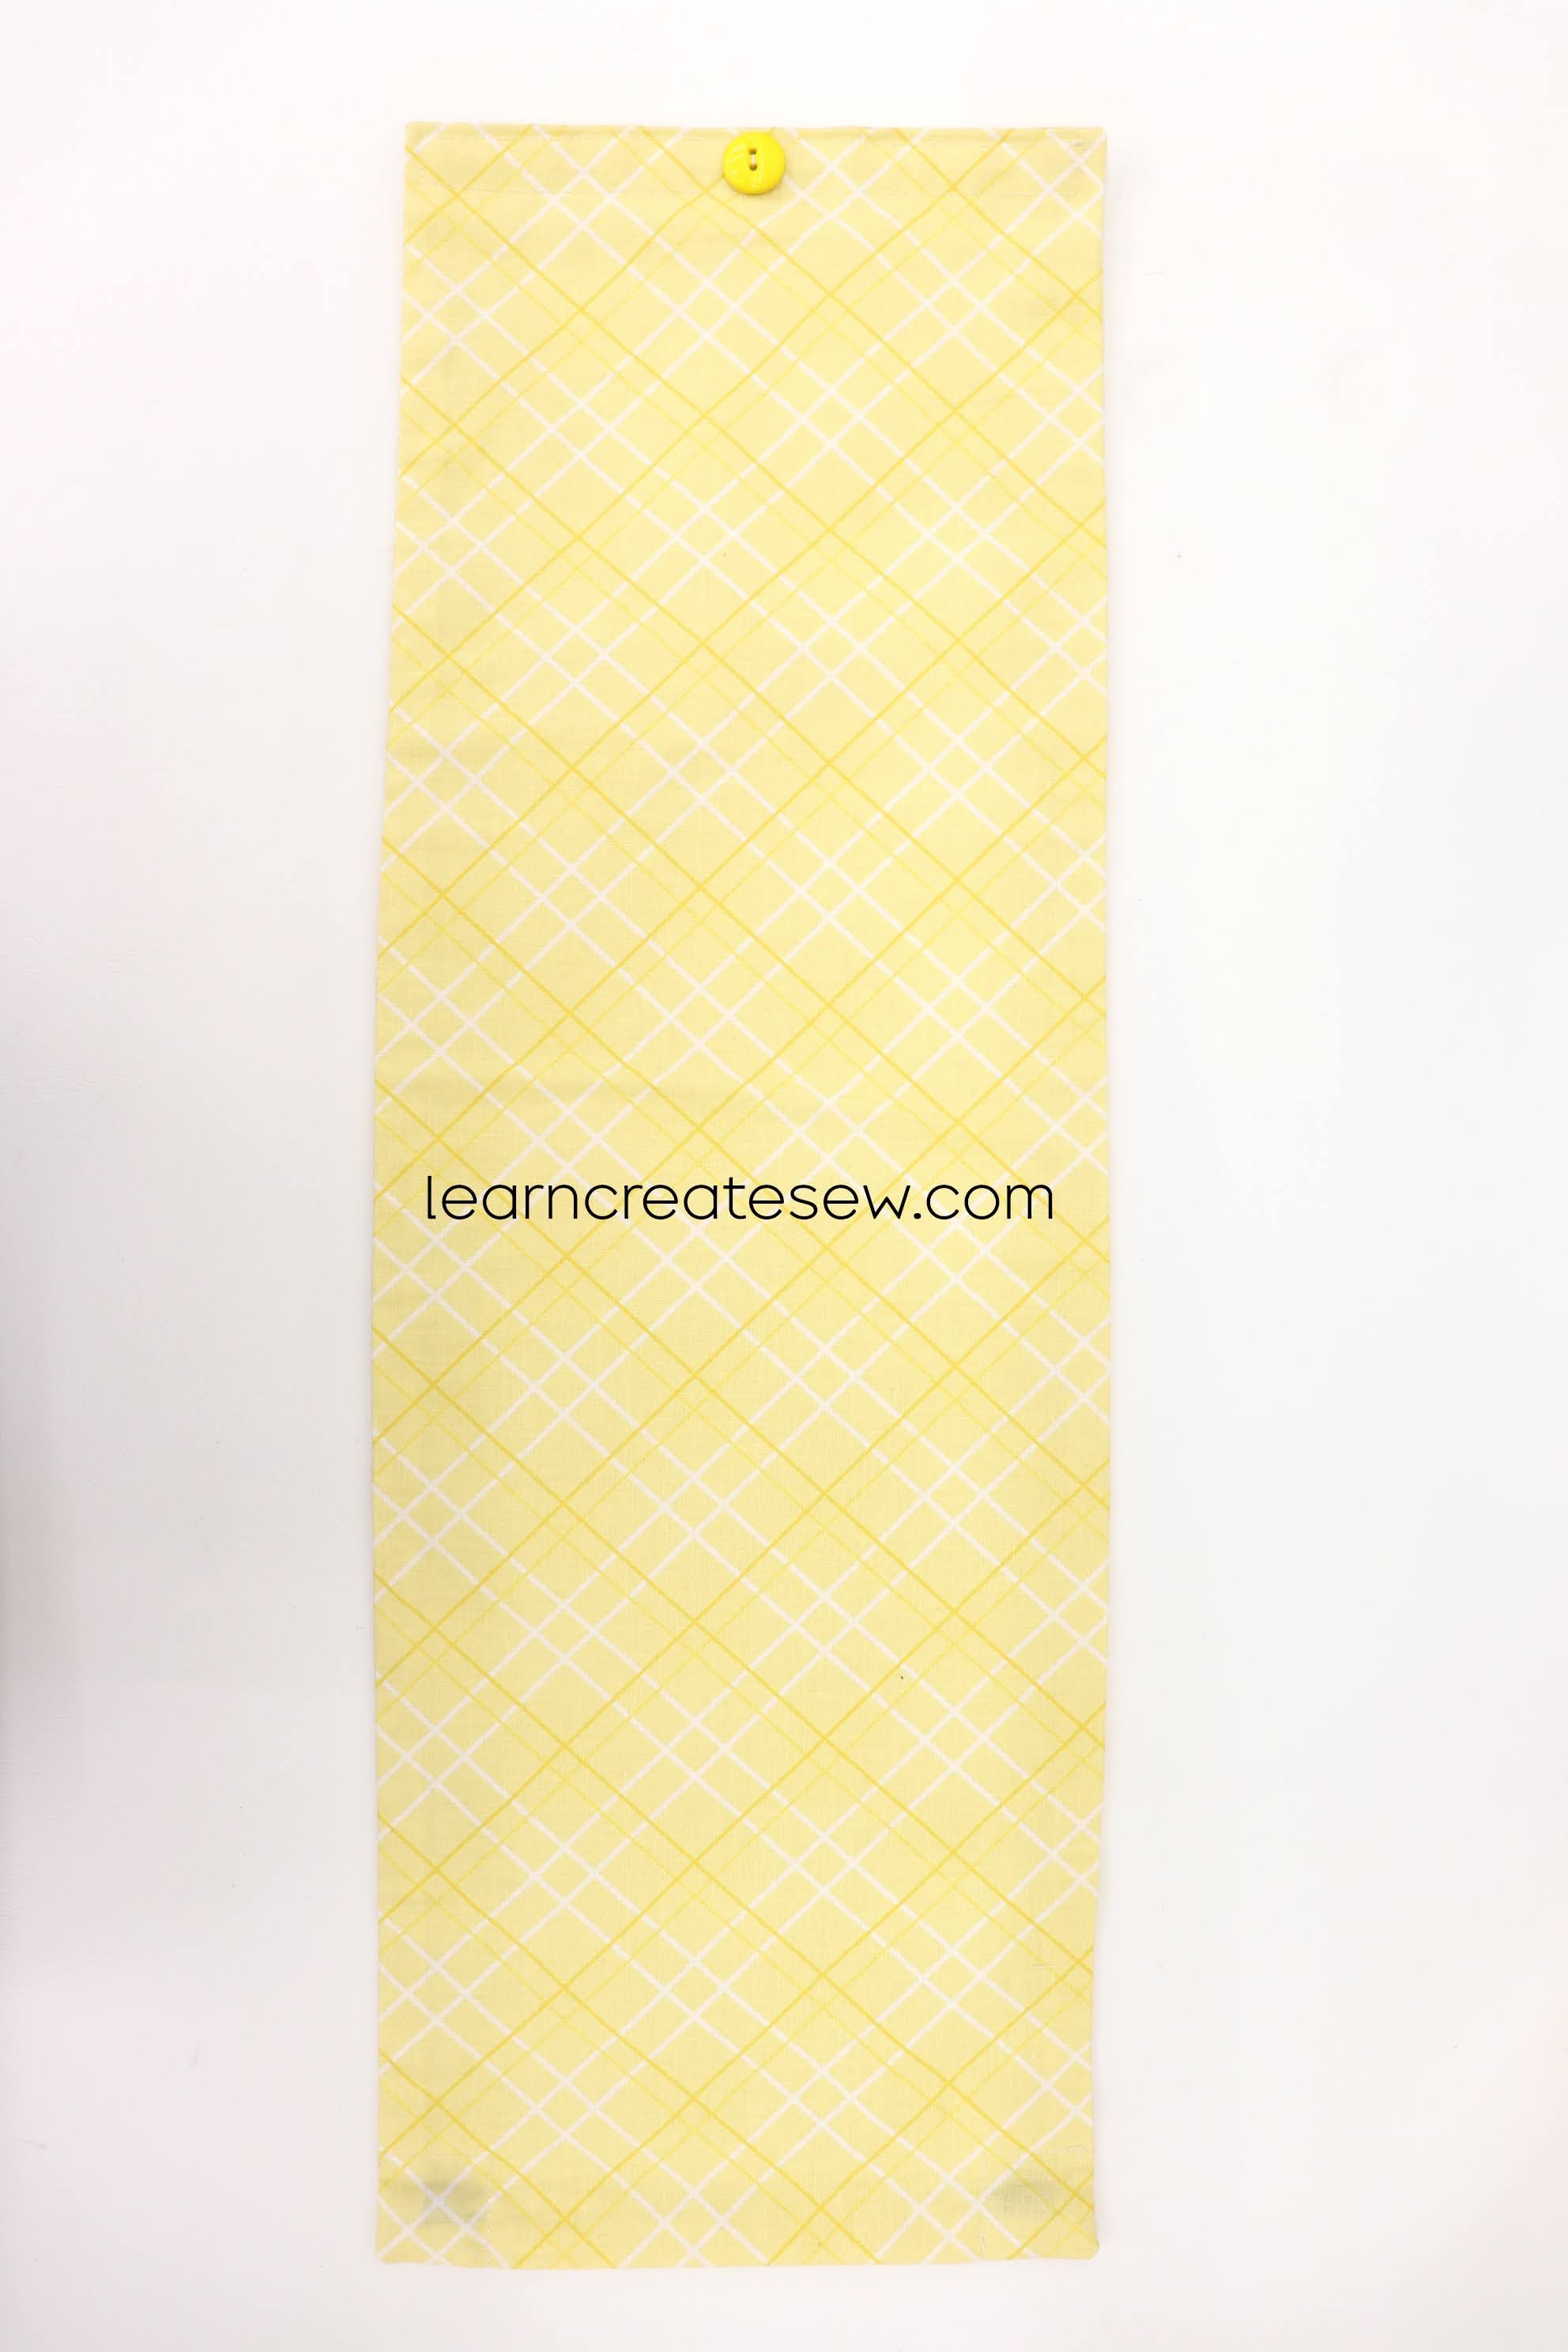
A ribbon and button will hold up the curtain when it is not being used.
This is a quick and easy project and can usually be completed in 15 – 30 minutes.
Supplies:
3/4 yard of cotton fabric (this is enough fabric for two curtains)
1/2 yard ribbon (1/4 inch wide) – (You will need more if you plan to attach the curtain using loops)
One Button (3/4 – 1 inch wide)
Sew-on Velcro (Loop side only – Approximately 1/4 yard)
Two Magnets (18mm) – (I needed 6 magnets to attach the curtain to the frame without the velcro)
Coordinating thread
Tools
Sewing Machine
Ruler
Fabric Marking Tool
Zipper foot (optional, but may be necessary on some machines)
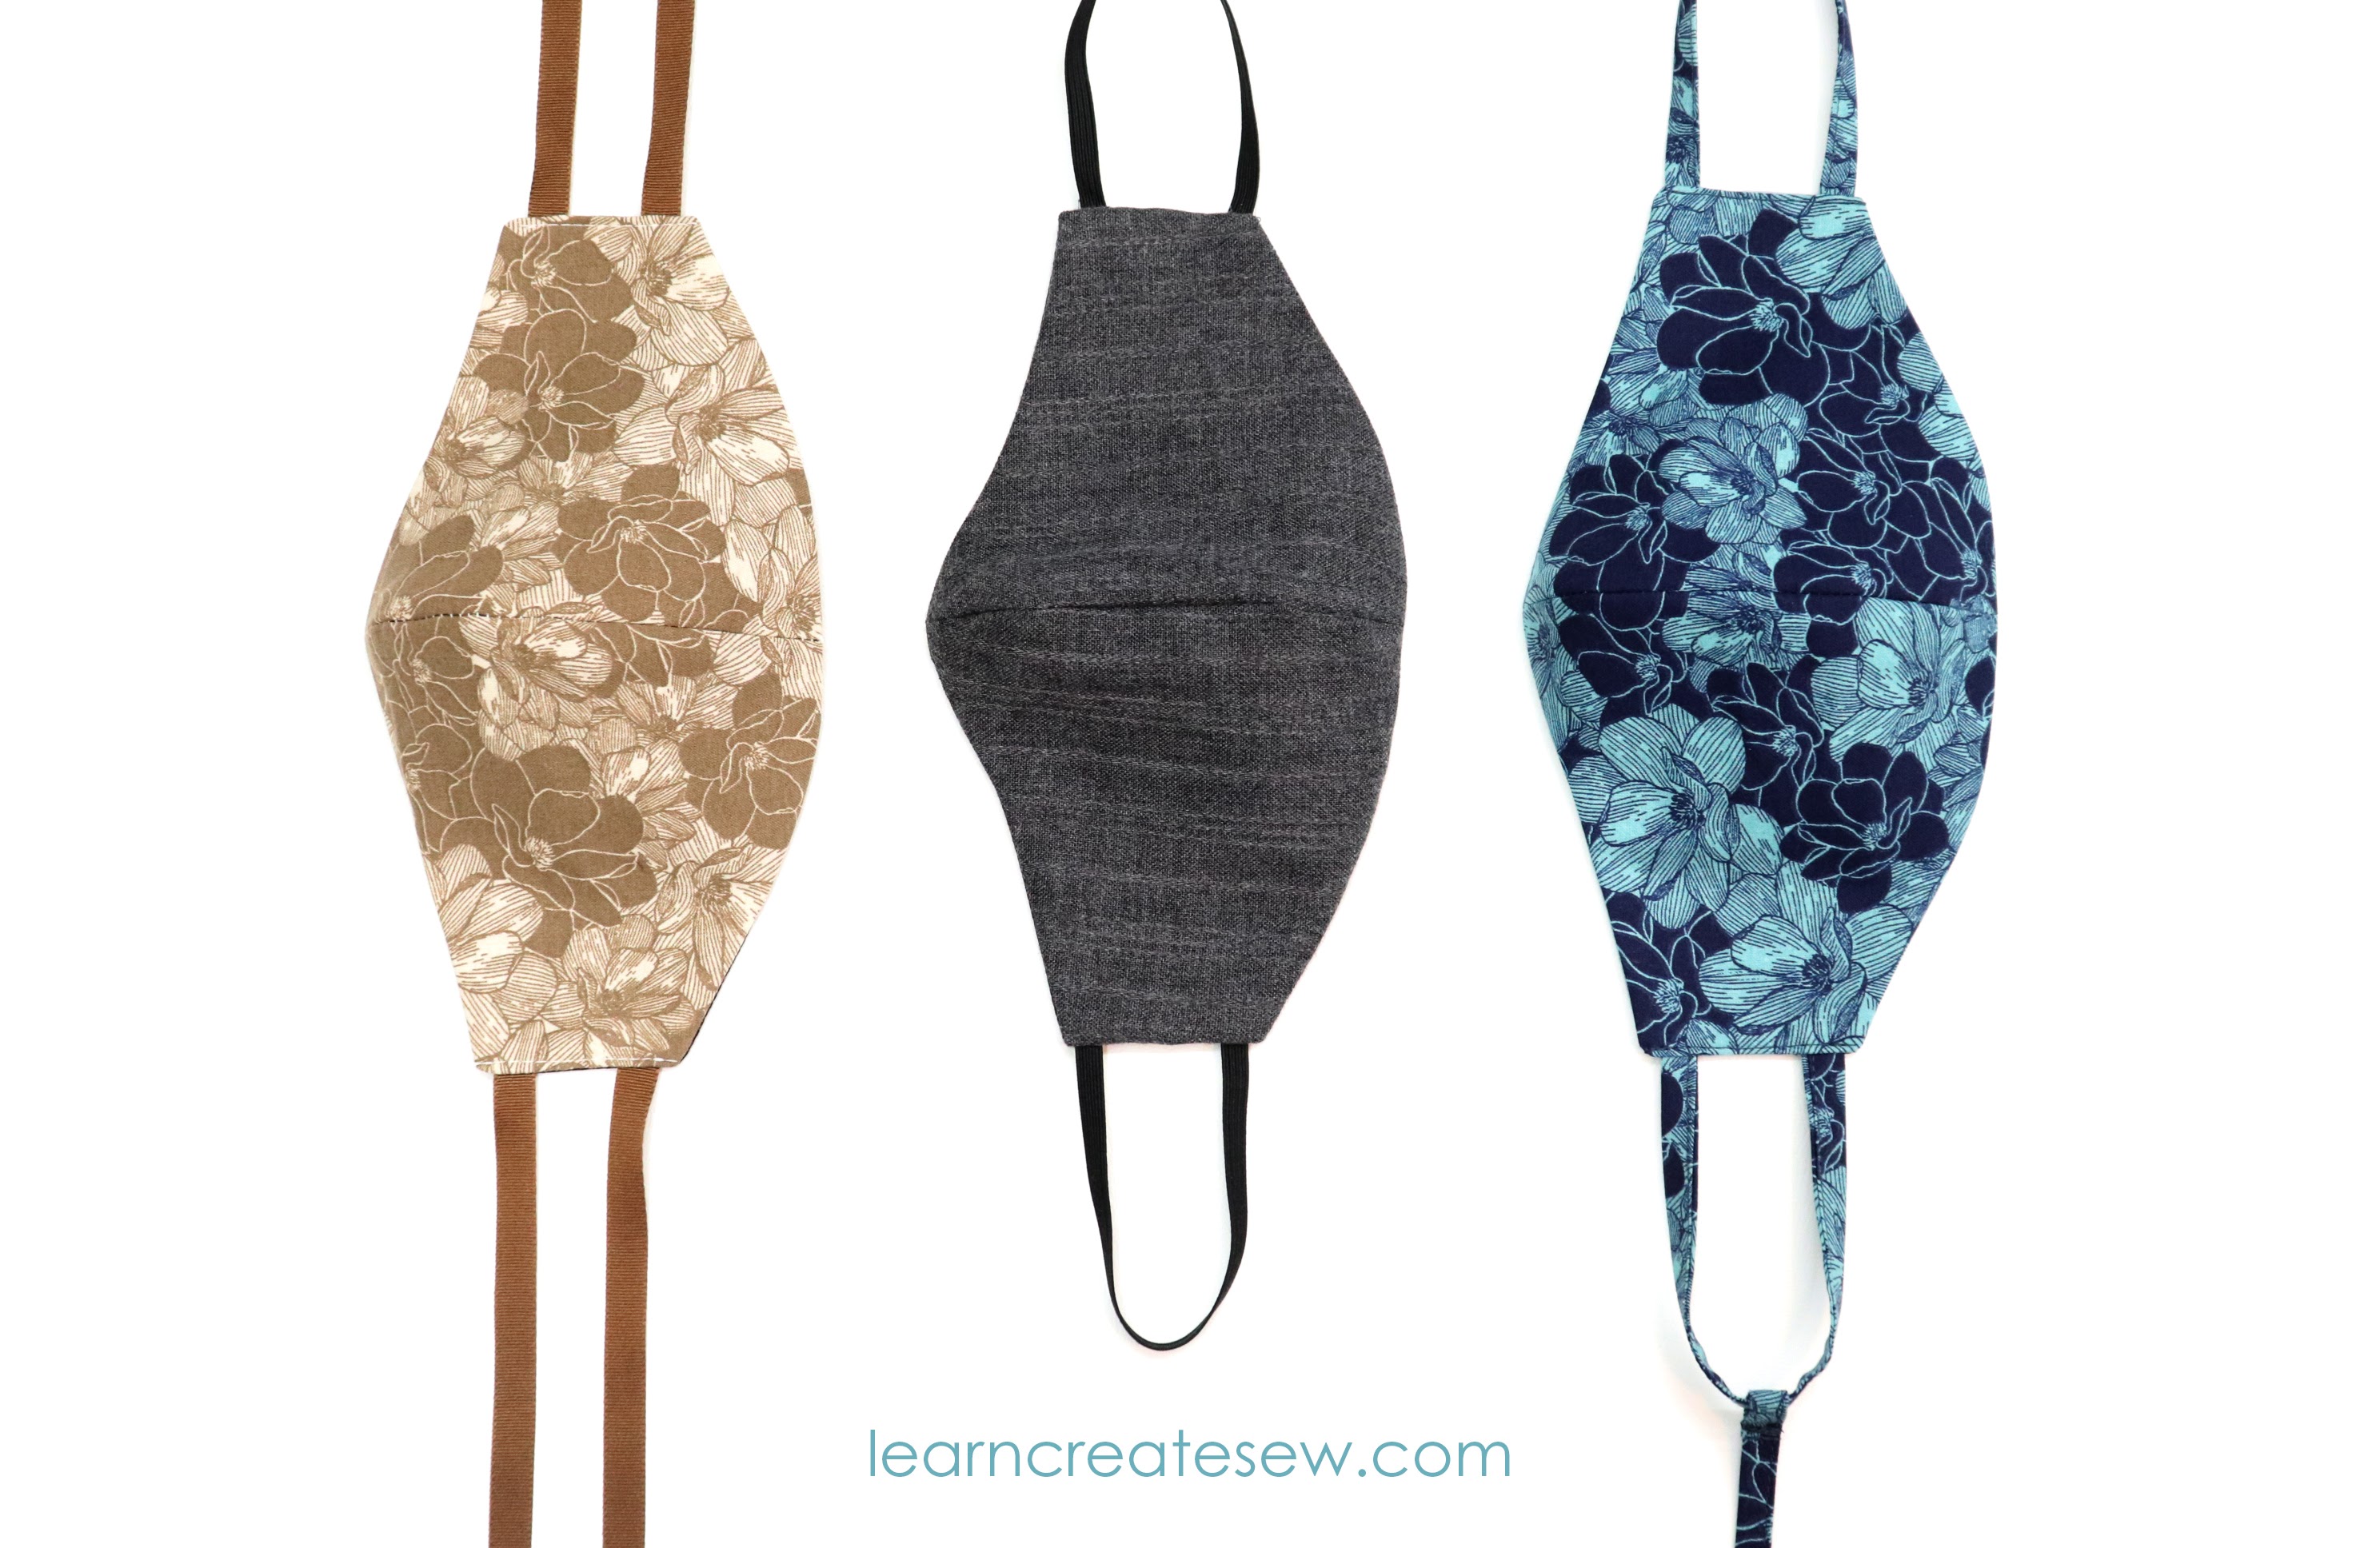
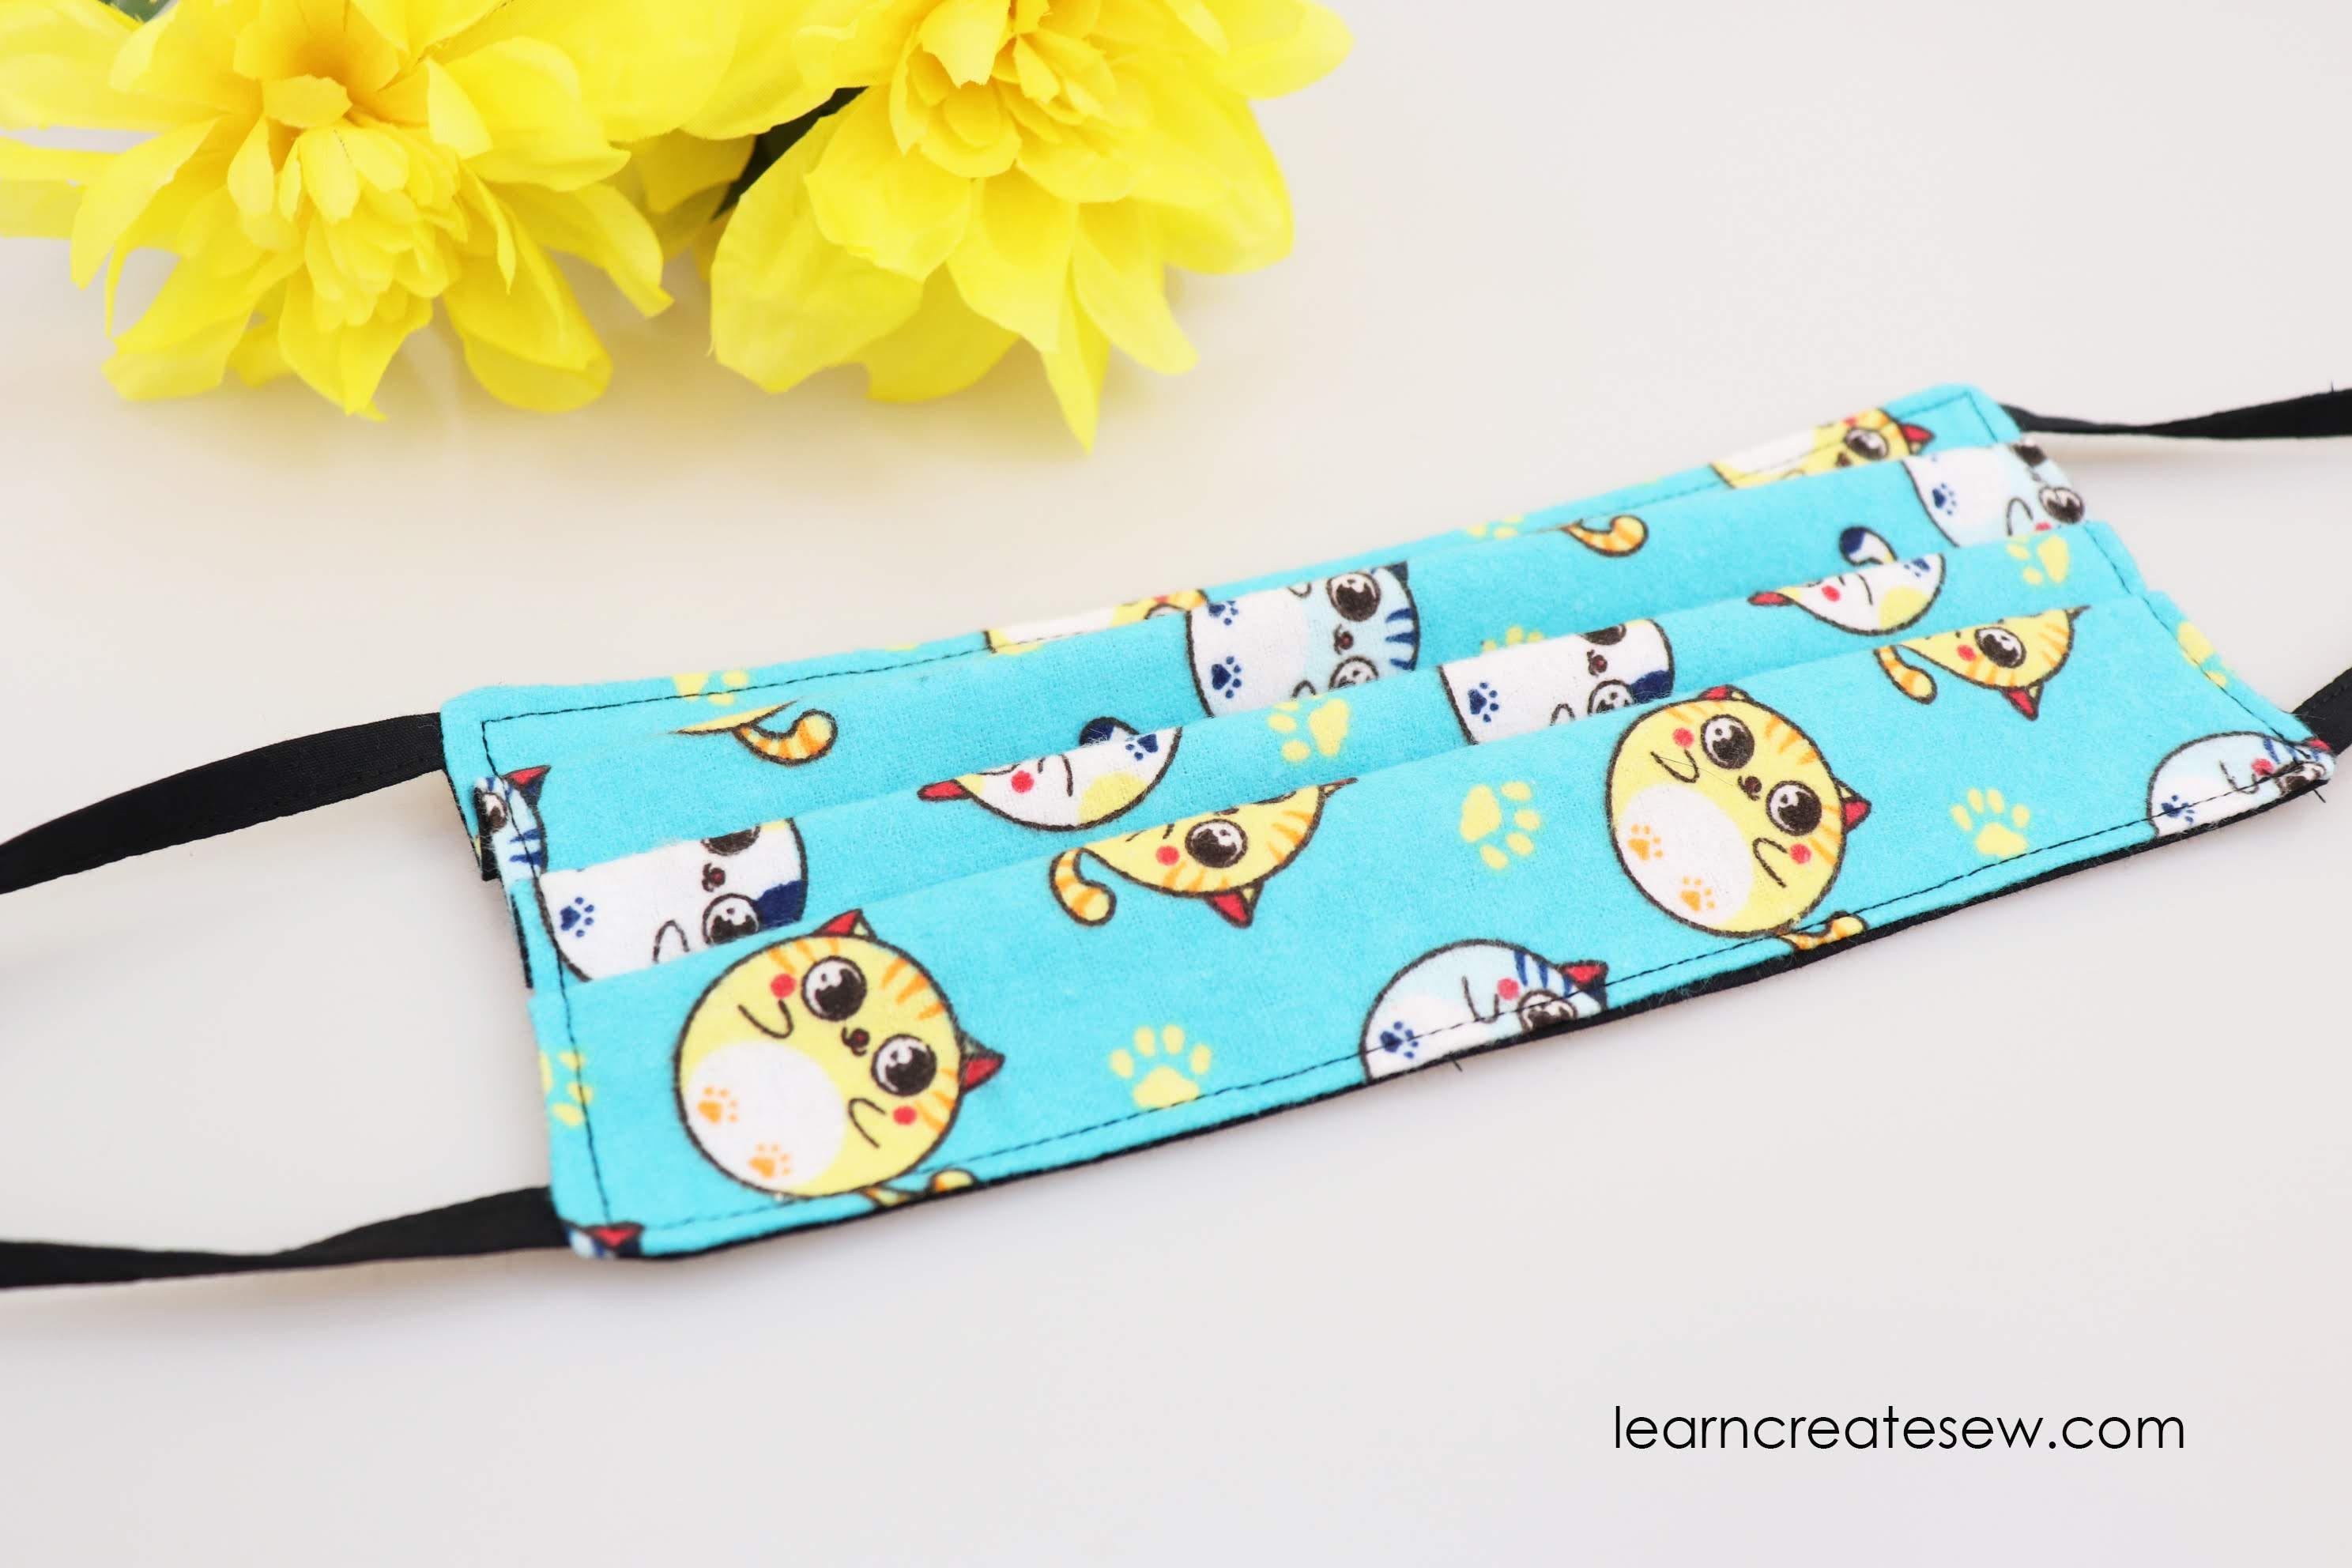
I really like the look of contoured face masks! Making a pattern has been on my to-do list for several weeks, and I am happy to share it with you today!
With many of the patterns I tried, I found that the mask would move around a lot when I spoke. This drove me crazy, and as I result this project sat at the bottom of my stack for a while. But this week I found new motivation and tested it out again.
Lo and behold I made a pattern that works! This mask has a great shape, but allows me to talk without worrying about having to adjust my mask every two seconds. Since you are supposed to touch your mask as little as possible, I think this is a big plus!
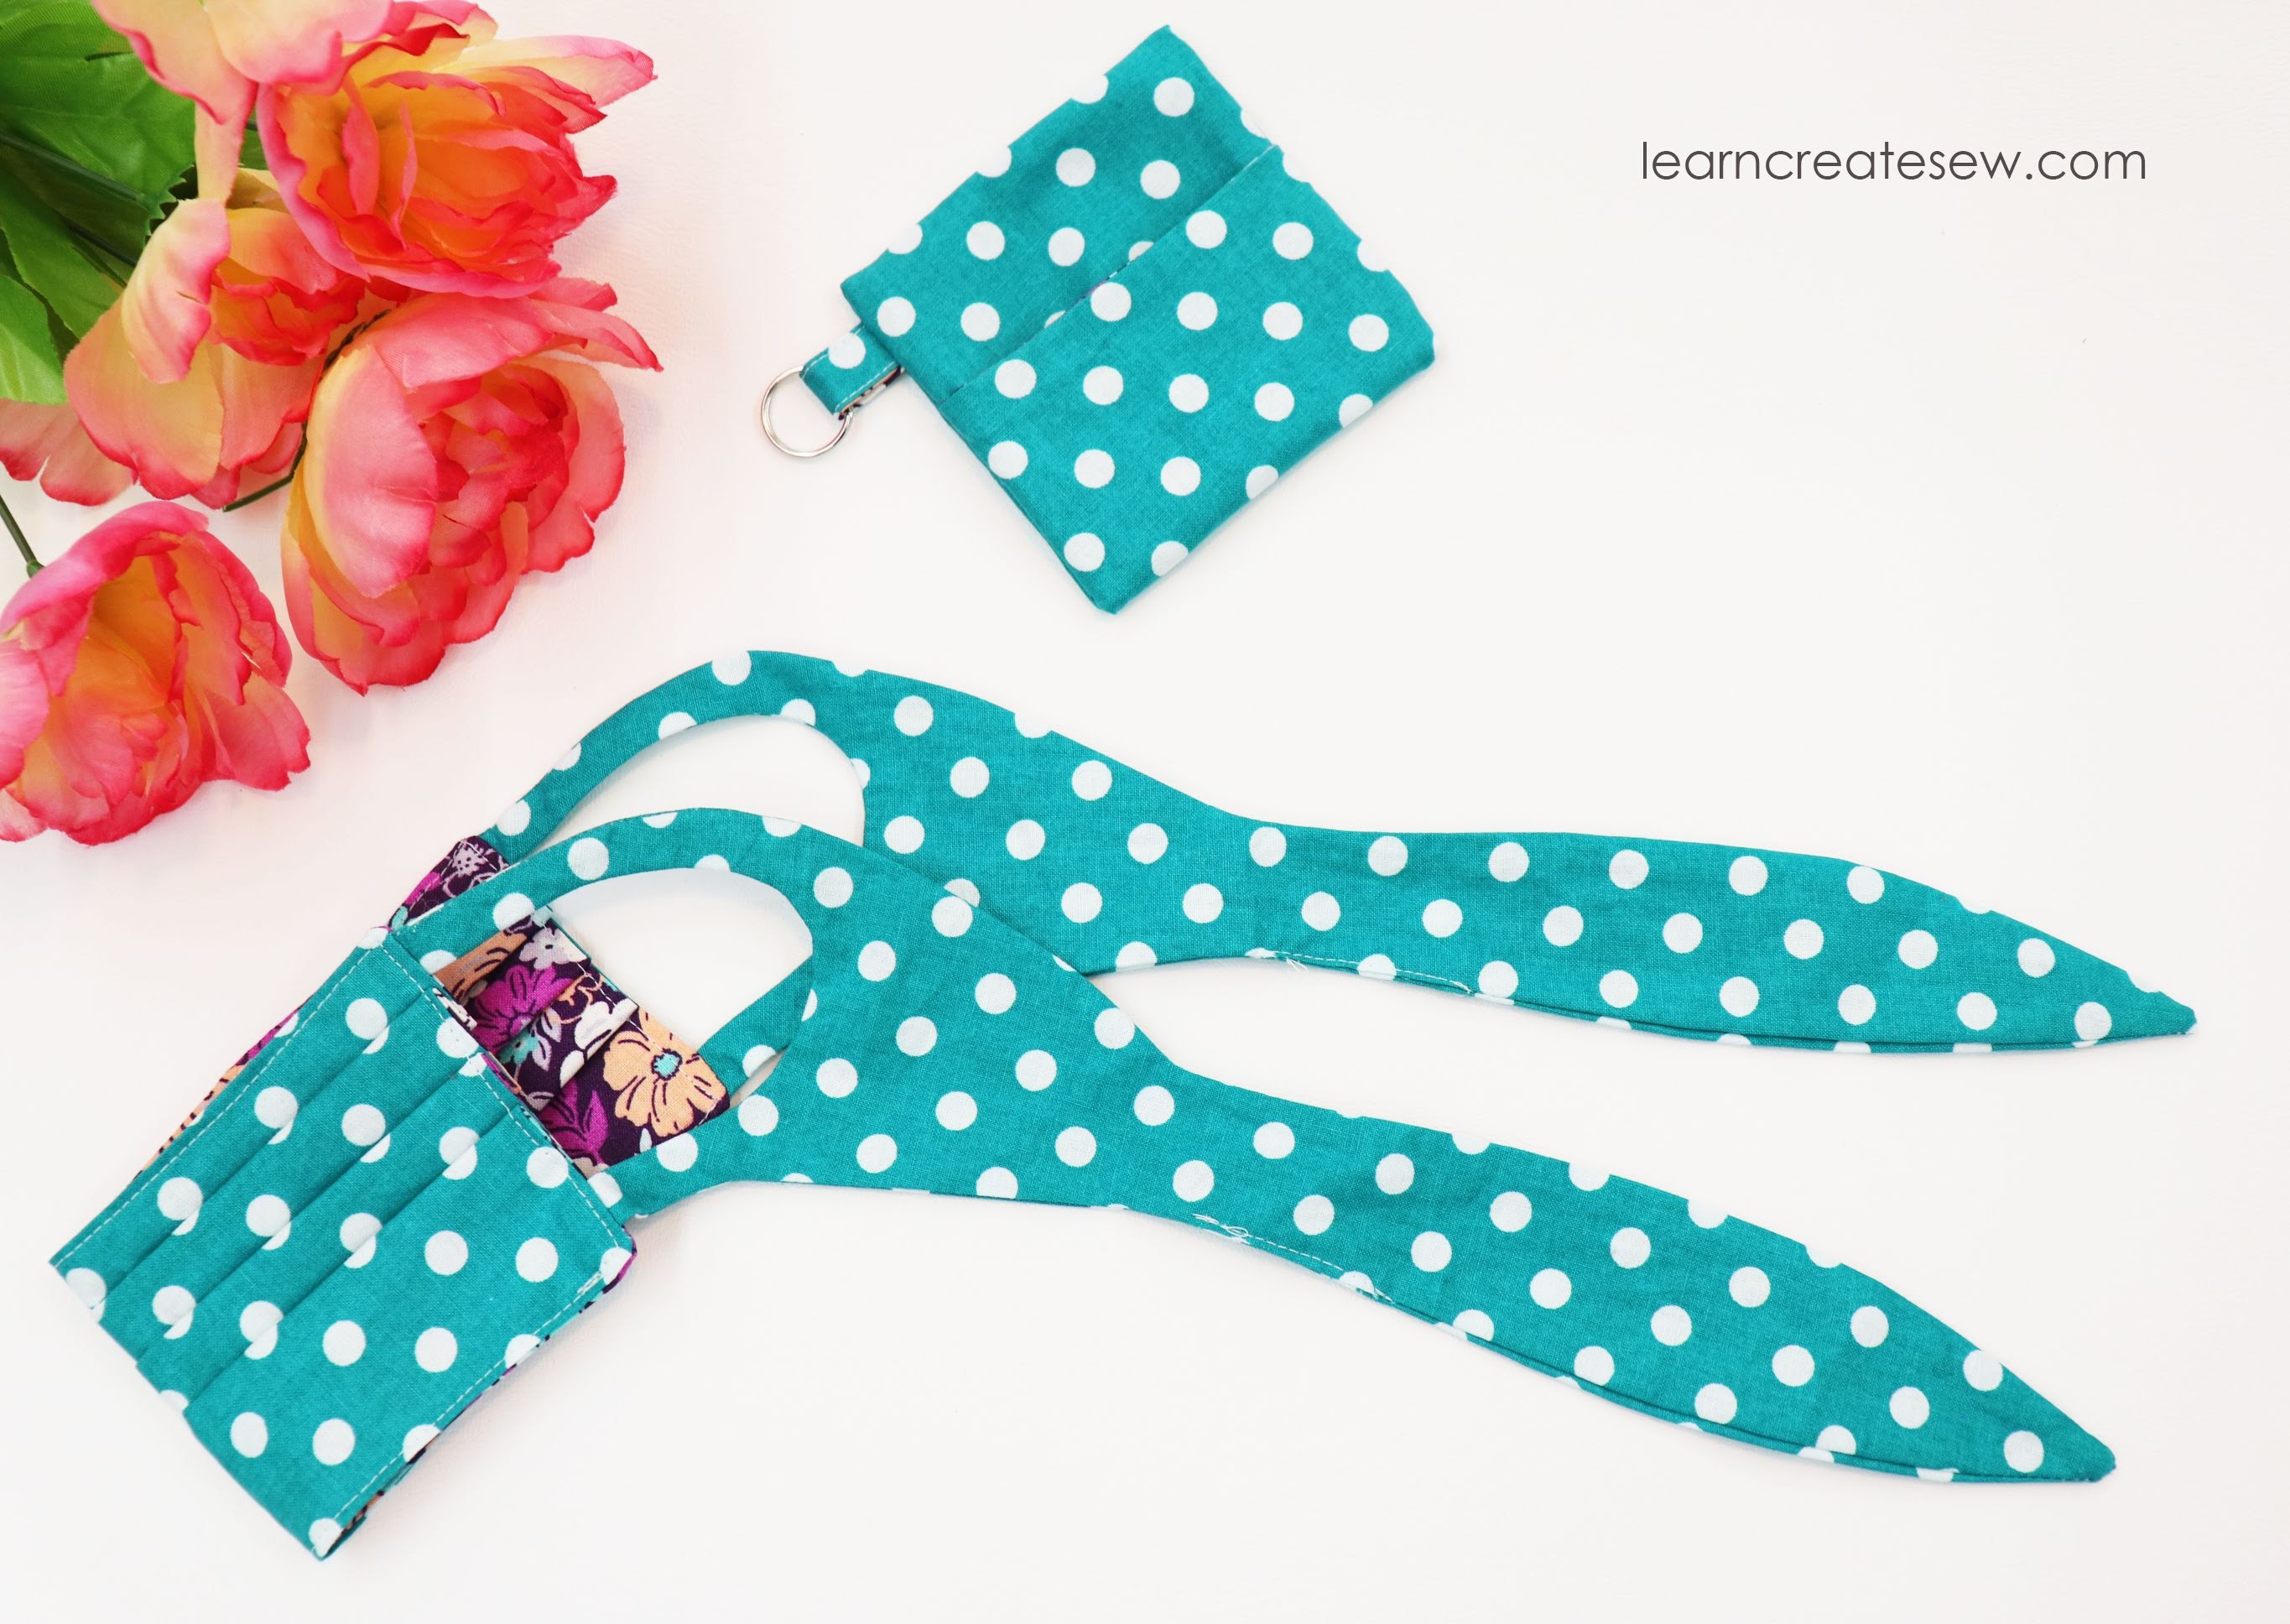
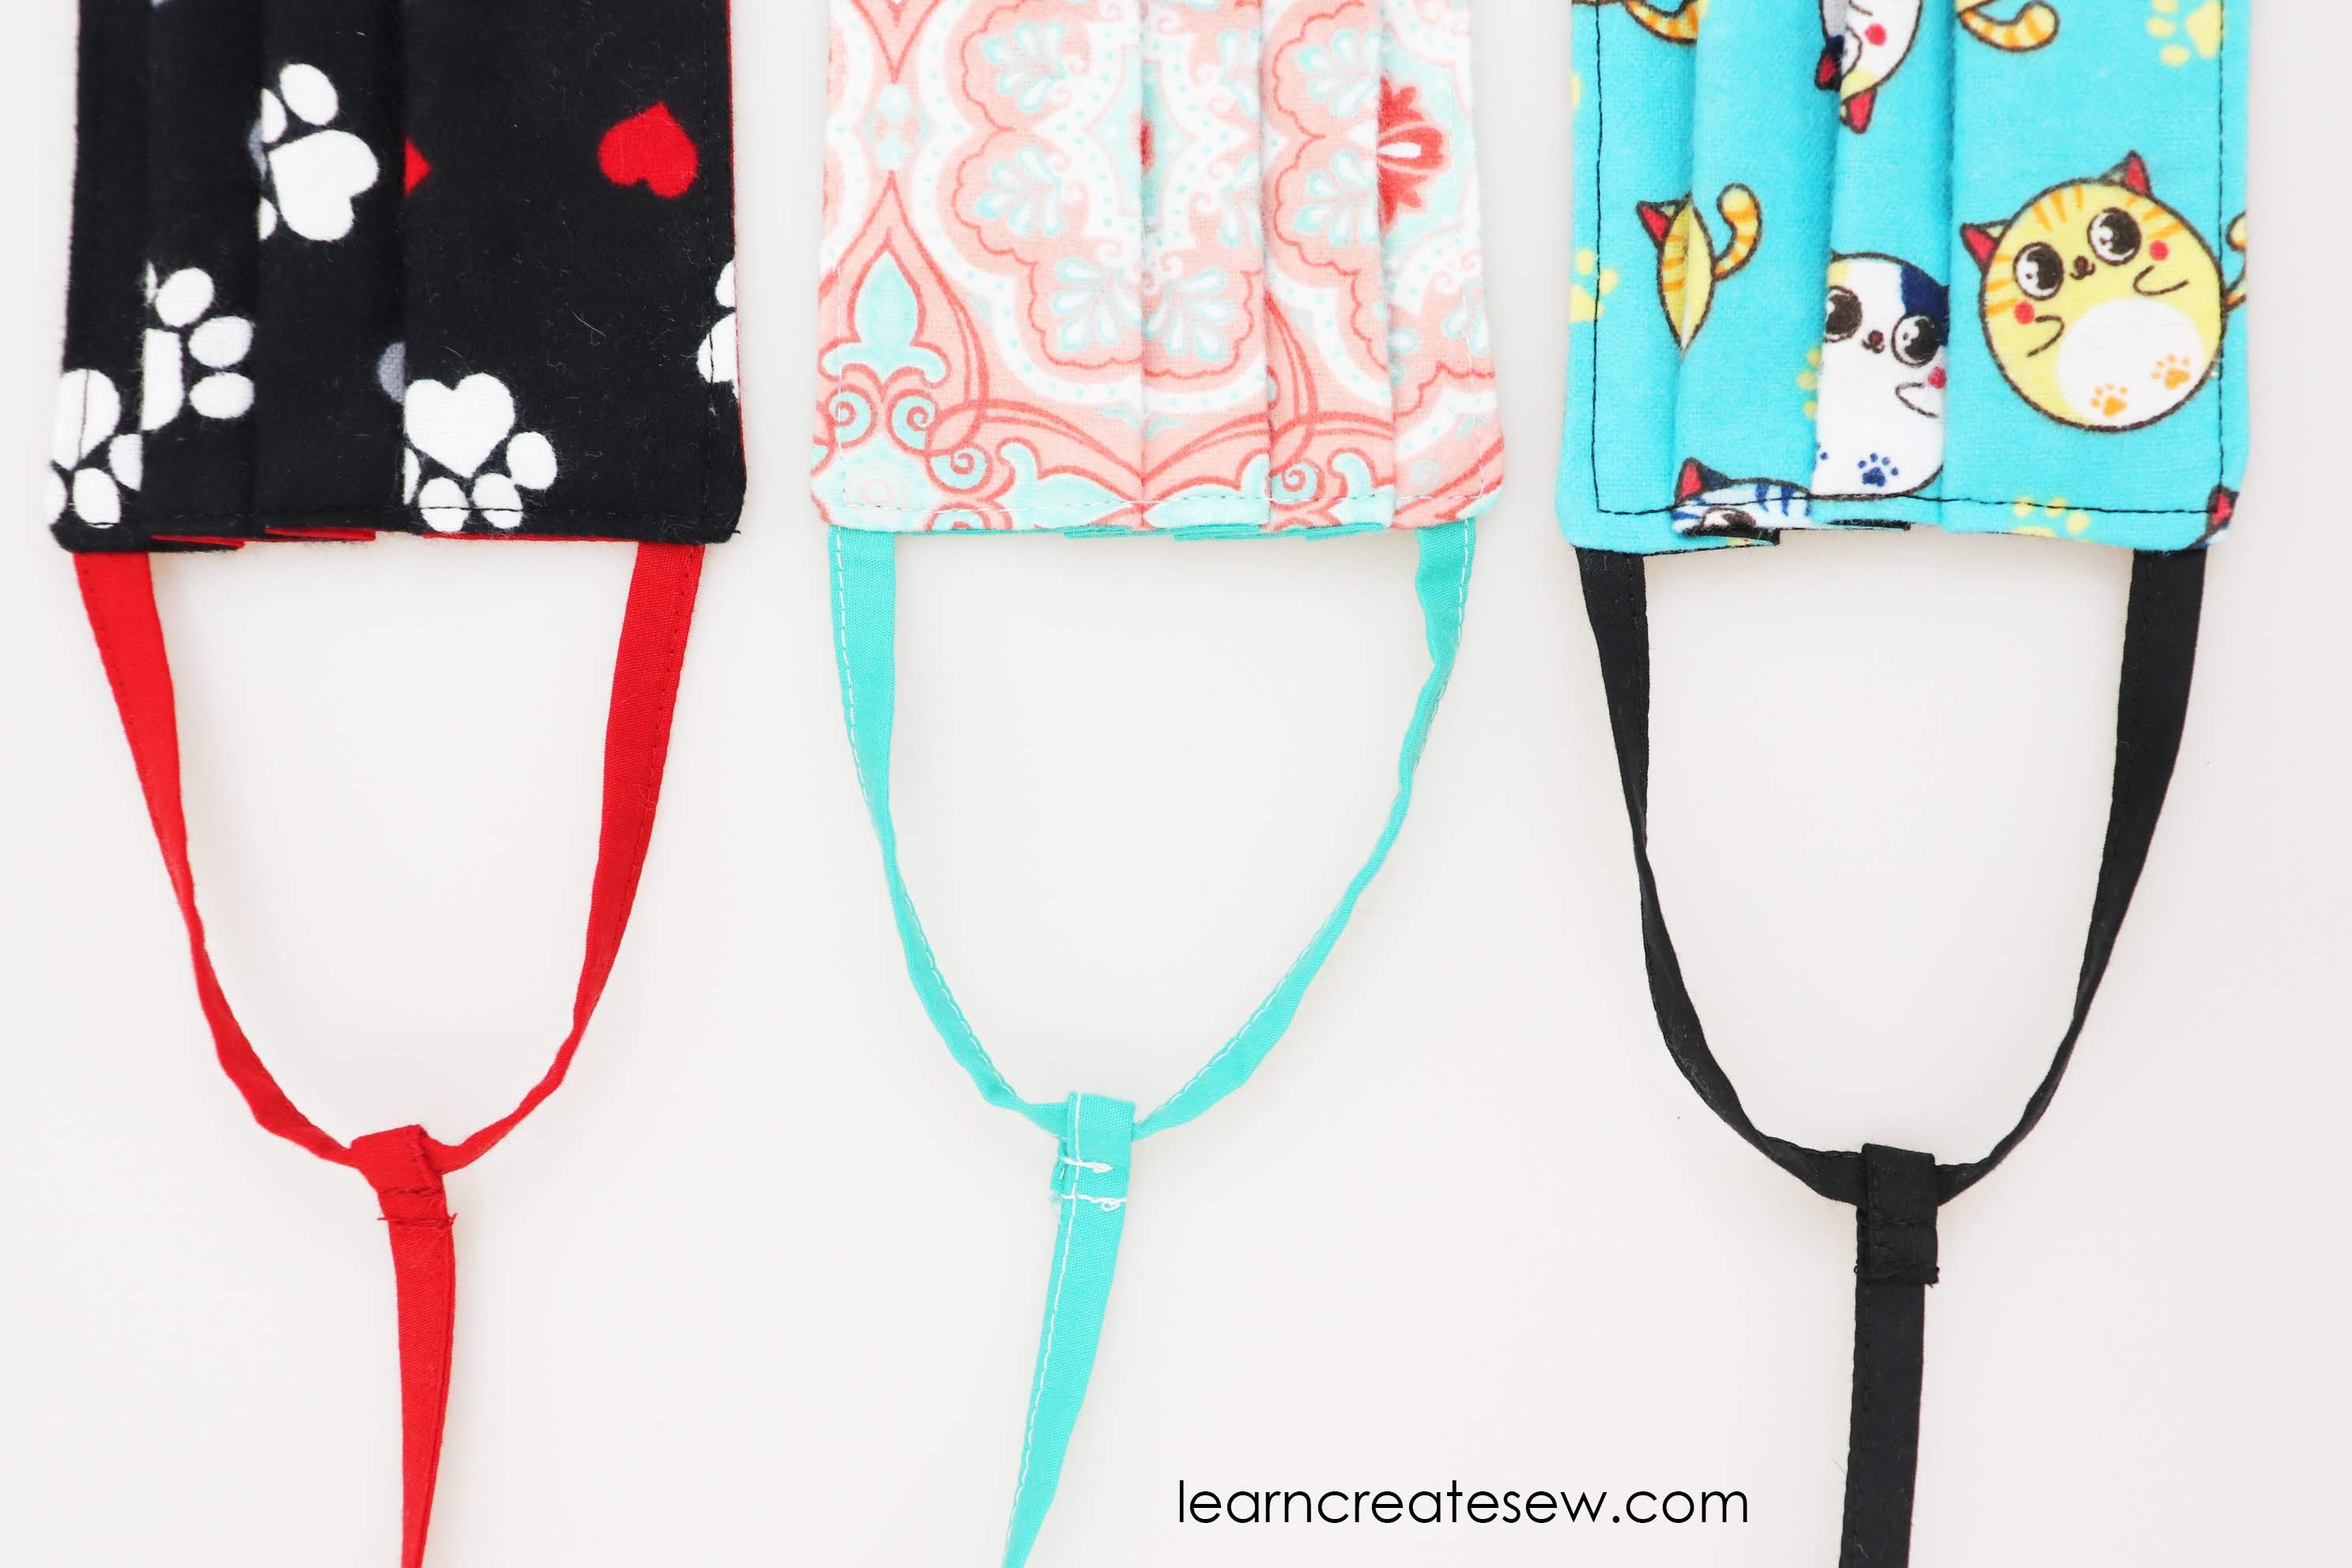
This pattern makes two different styles of mask. Masks with either fixed ties or masks with adjustable ties.
FIXED TIES & ELASTIC
I have to say, I definitely prefer fixed ties. Maybe it’s because I have made so many masks that I know exactly what size works for me, and since the ties don’t move I feel like I always get a really good fit.
Even with fixed ties you still have plenty of options for the ties that work best for you. There is the single tie back mask, elastic, or the basic two tie option. Also, with fixed ties you use less elastic, so if you have a limit supply, that is something to consider.
ADJUSTABLE TIES & ELASTIC
While fixed ties are my favorite, there is no question that there are definite advantages to using adjustable ties. If you are planning to use elastic, and you want to donate the mask to a charity, friend, or relative, adjustable elastic is great as the wearer can adapt it to their preference and size.
You can also make a single fabric tie that is adjustable.
While this option looks great, I found this to be one of my least favorite options, as I had a hard time tying the mask to fit just right, but I know a lot of people prefer this design.
You can also use two basic ties on the side to tie behind your head or ears. If you are planning to tie behind your ears, I would definitely choose a thin ribbon.
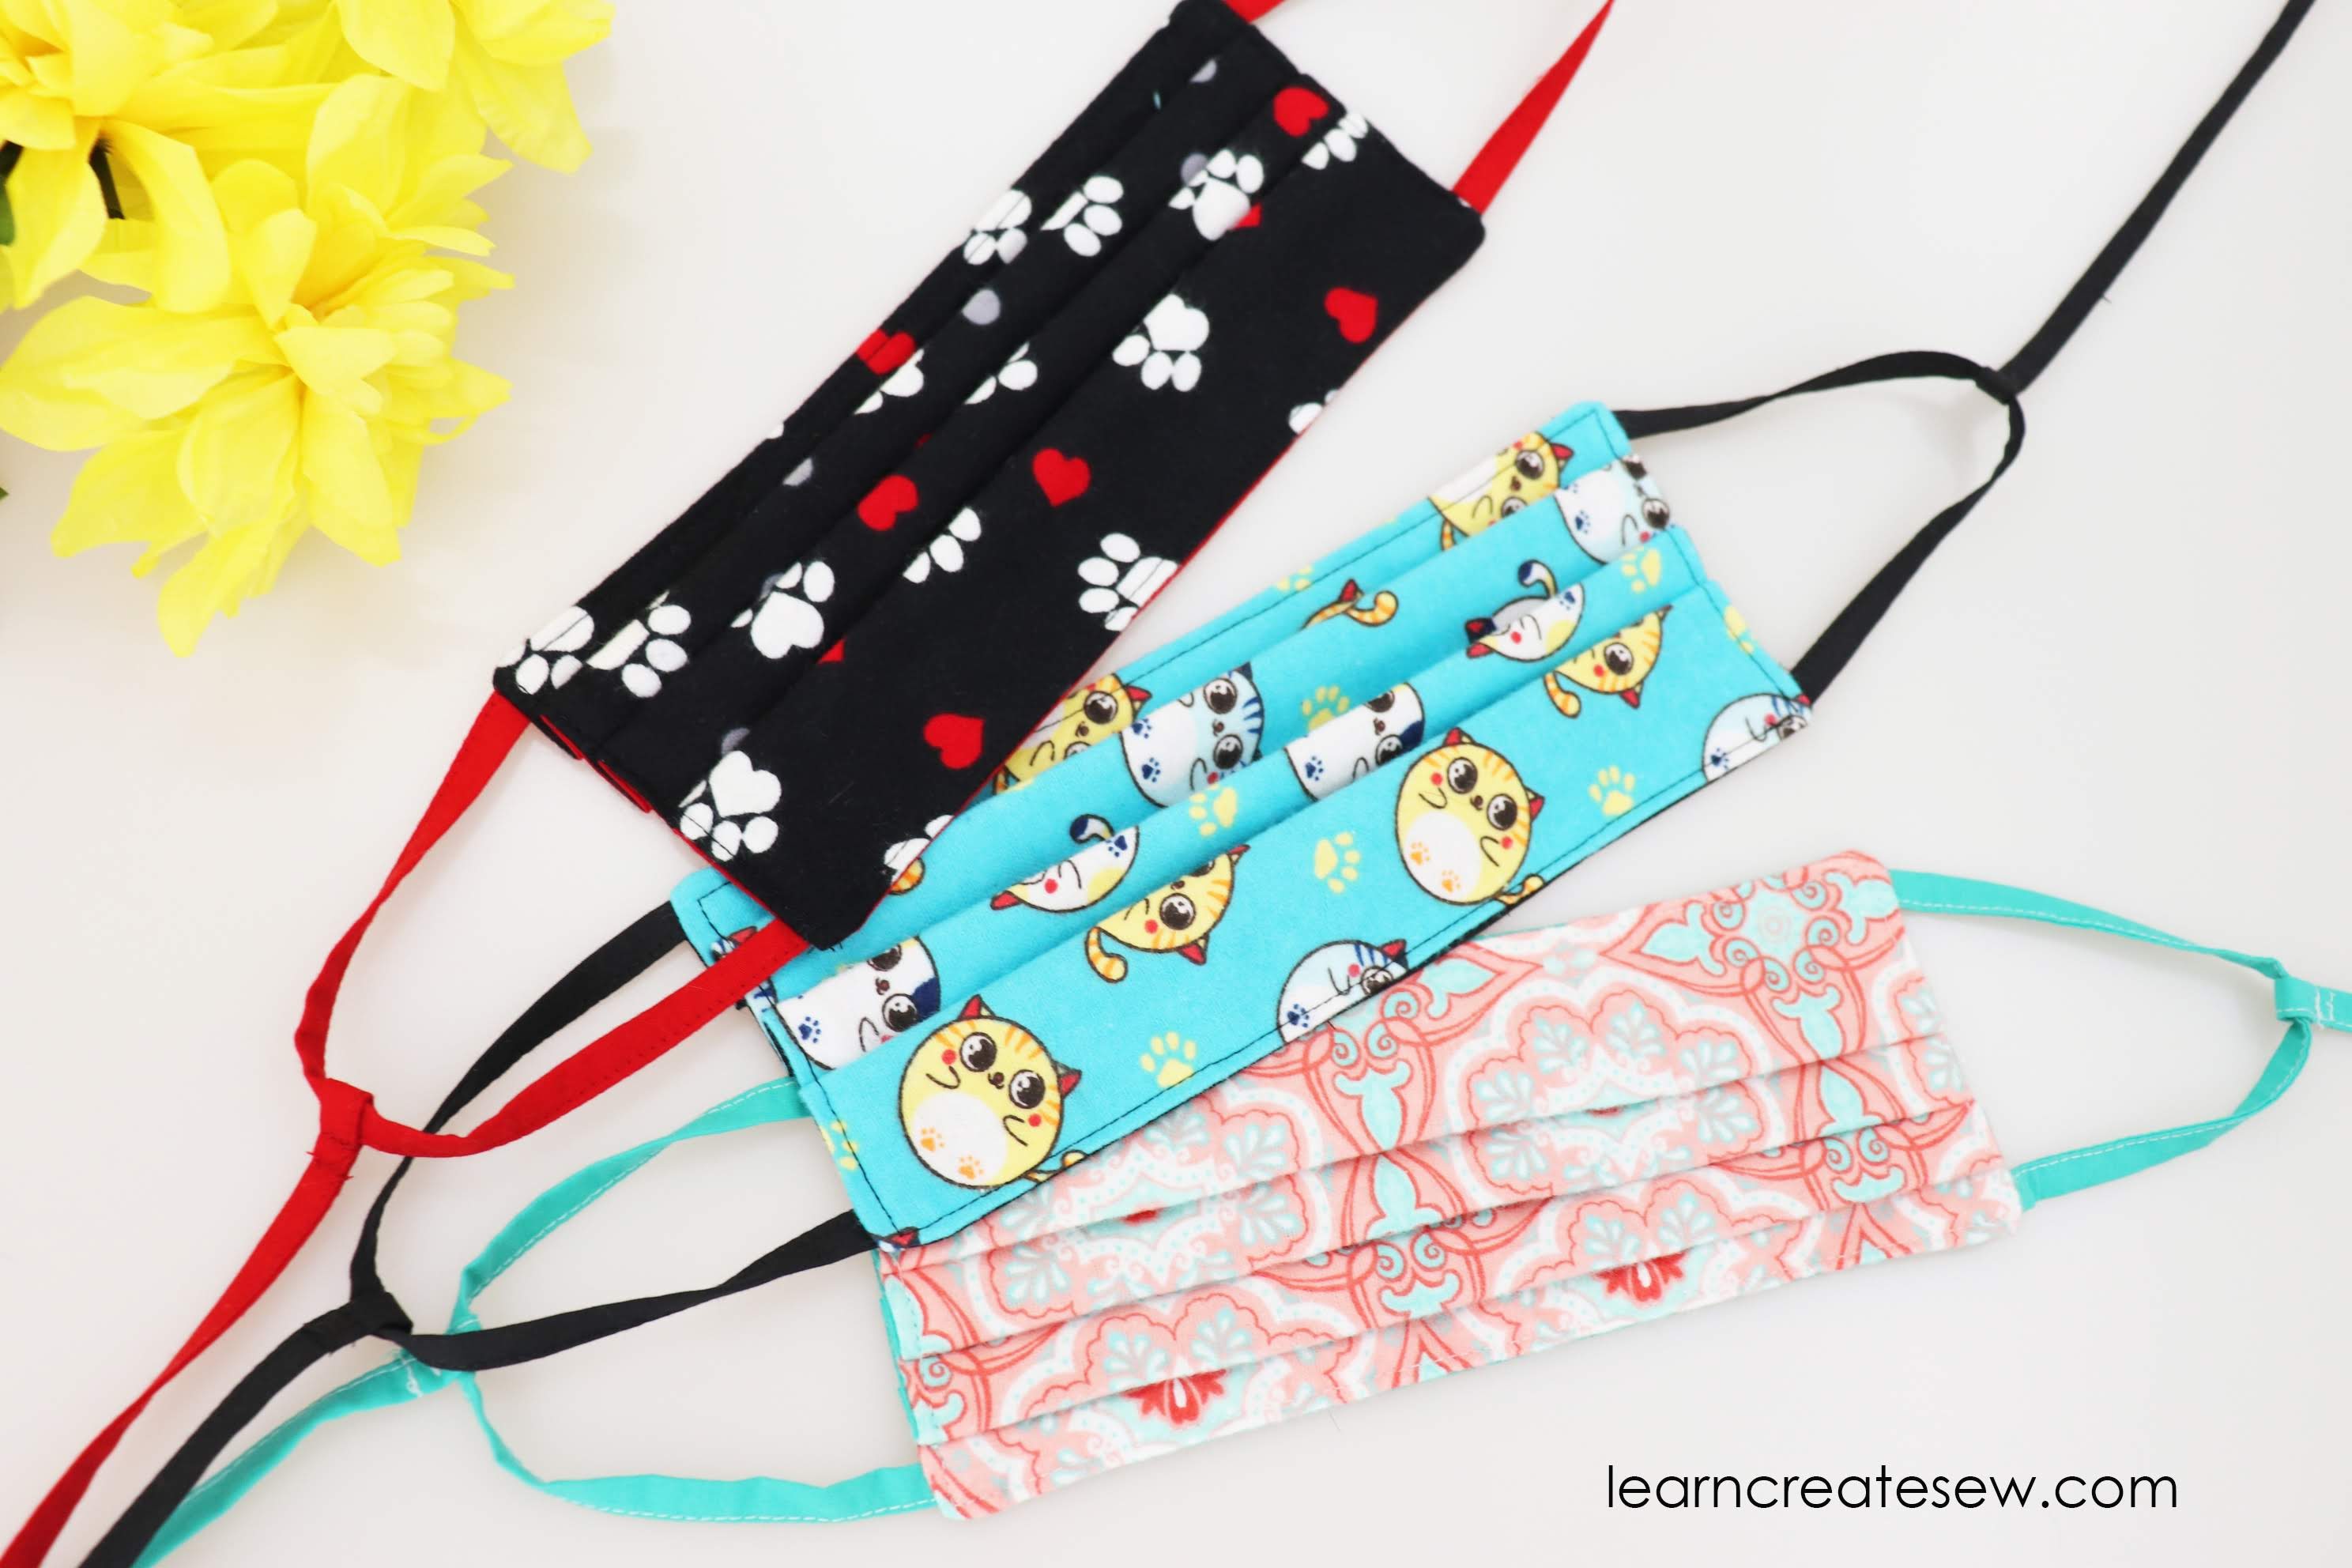
All of the masks fit in my key chain carrying cases, which I always love 🙂
MY FAVORITES
My overall winner for comfort and fit was the single tie back mask. I don’t know what it is, but it is just comfortable! I never have to worry if it is going to fit right.
For convenience you can’t beat either of the elastic masks. They are still really comfortable if you make the elastic the appropriate size, and so easy to use. There is nothing better if you need something that is a quick on and off. Plus you don’t have to worry about the long ties when storing or washing.
Supplies:
These dimensions will work for all sizes. Actual size needed may be smaller if you make a smaller size.
About 8 x 15 inches Main Cotton Fabric
About 8 x 15 inches Lining Fabric (I used cotton)
About 8 x 15 inches Interfacing (Optional – I used Pellon SF101 for some of the masks. The black and gray mask has no interfacing.)
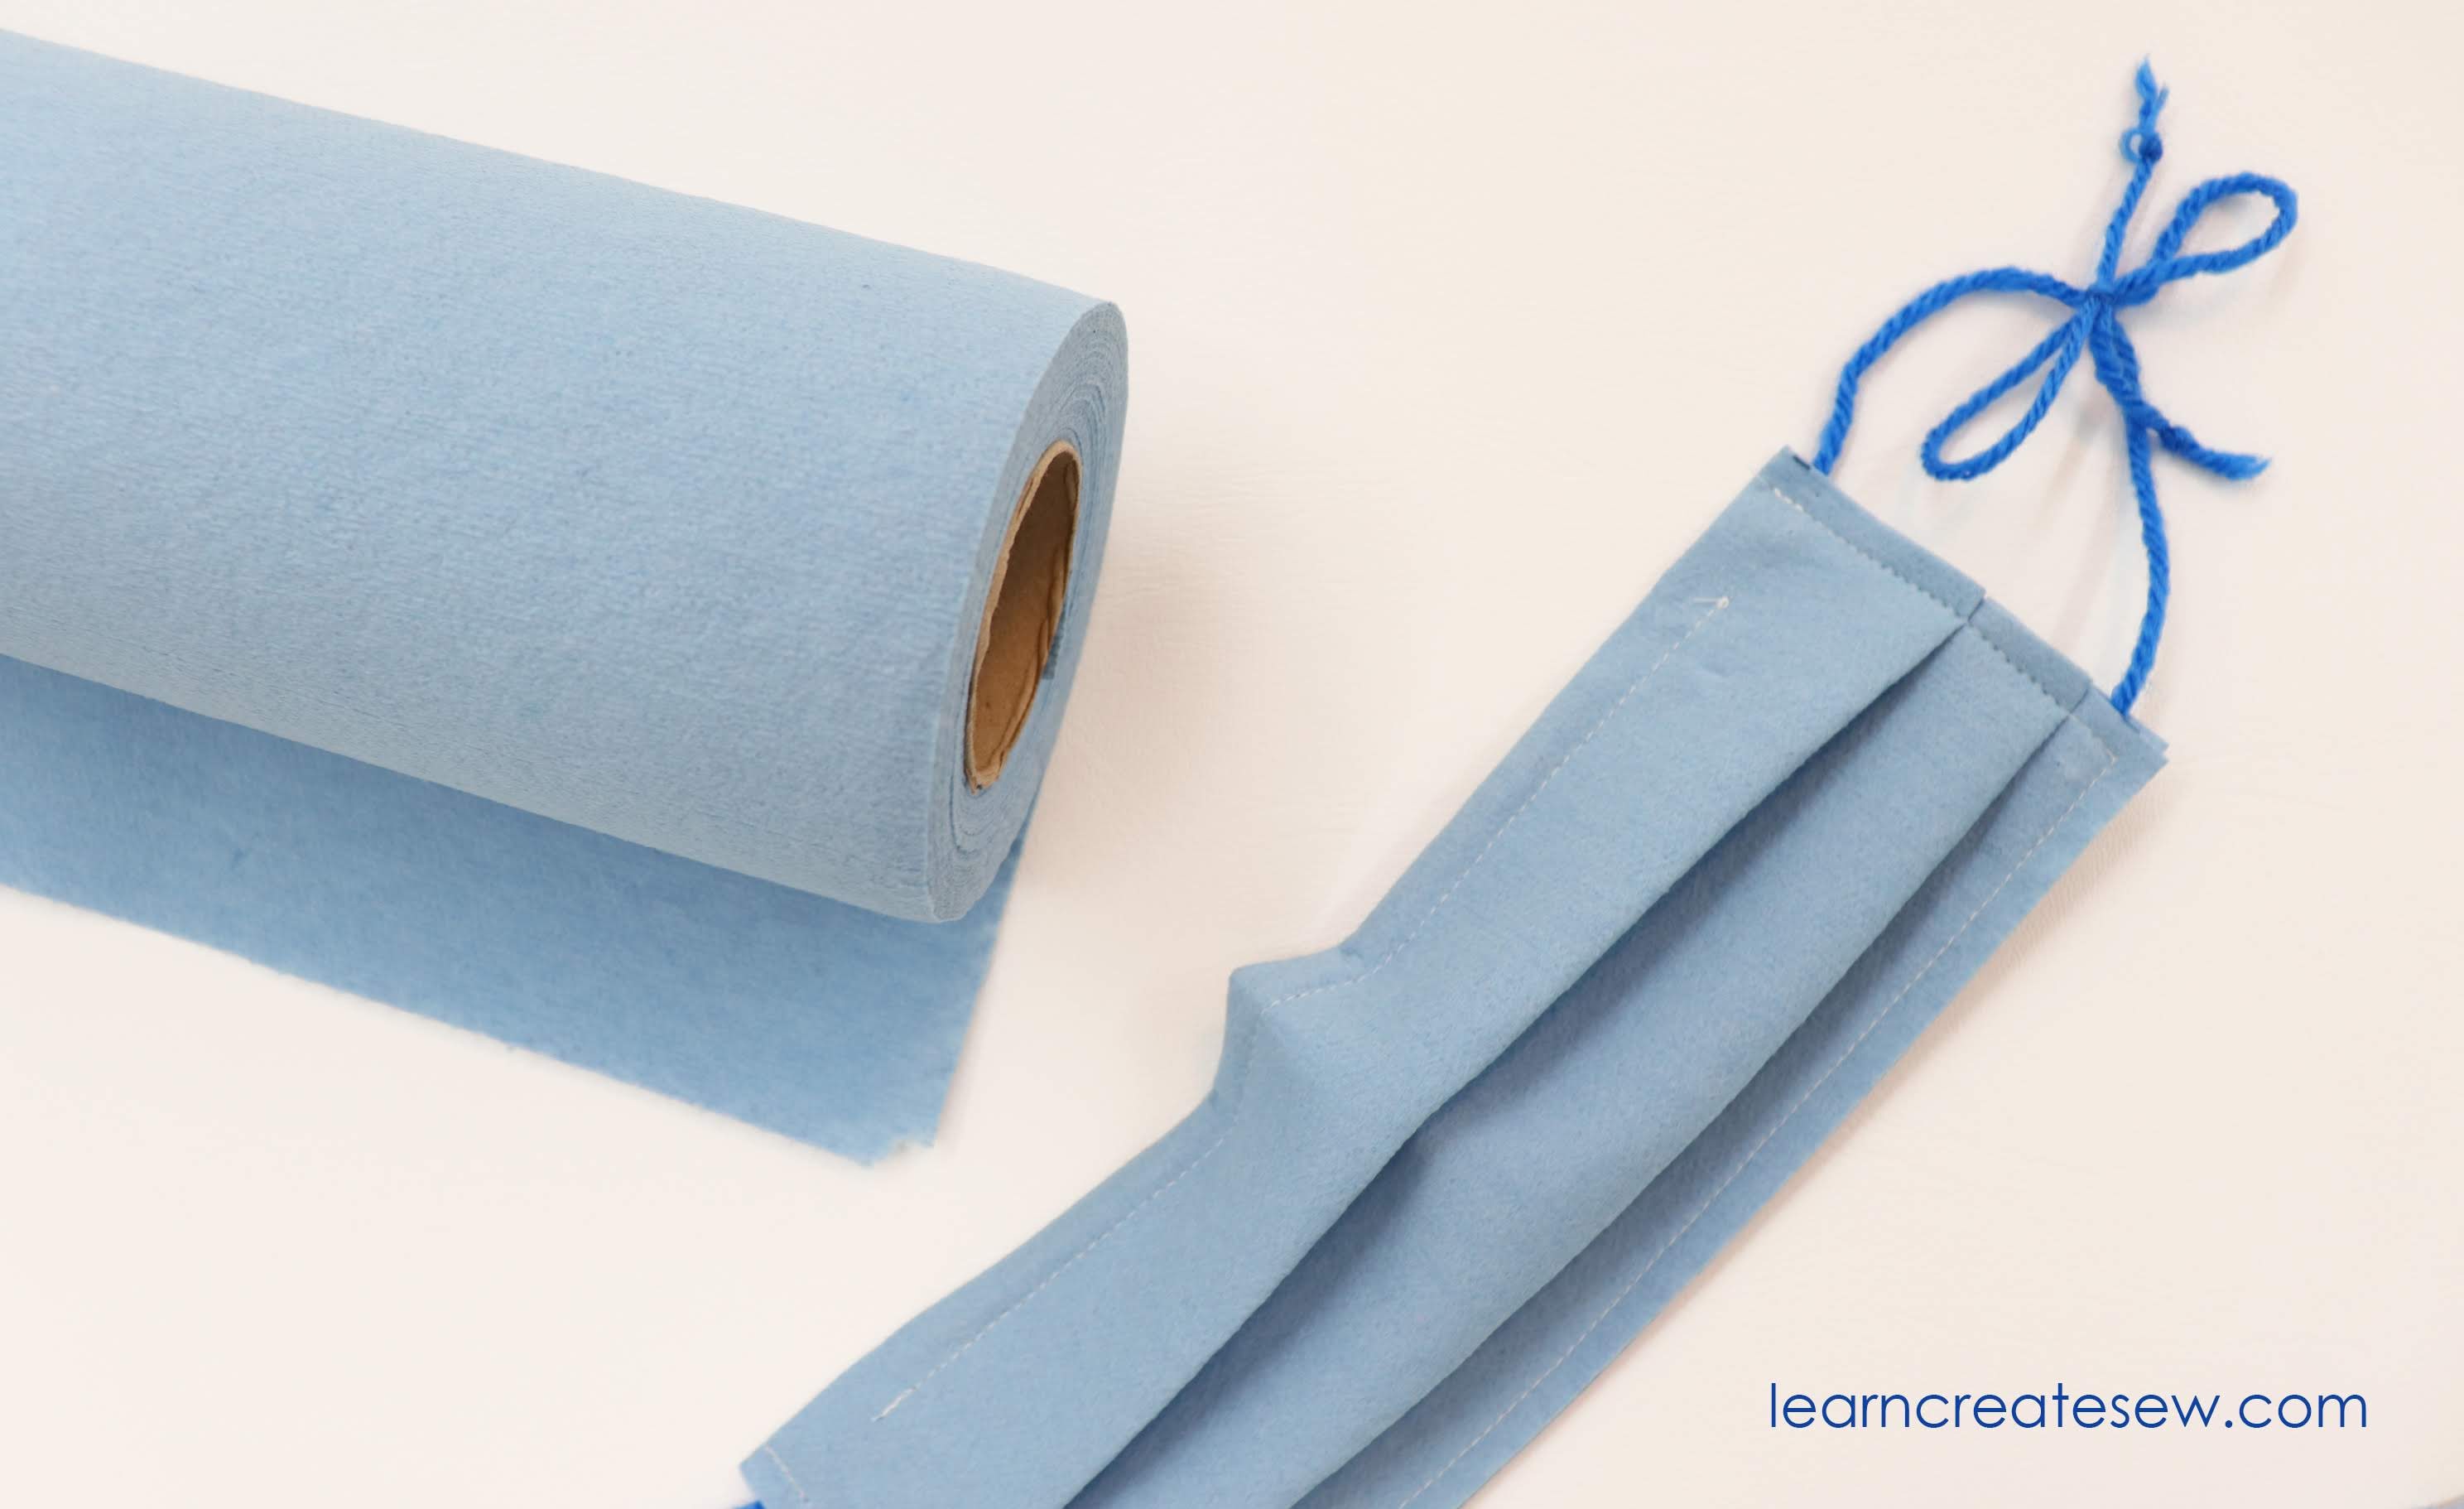
I was doing some research into how materials filter particles and found that Shop Towels, filter particles better than a lot of fabrics and interfacing.
As a result, I decided to make a quick face mask using blue shop towels. If the supplies are available near you they are quick, easy, and affordable. I was able to purchase enough supplies for four dozen masks for just $6!
Please keep in mind that these products were not designed for use in face masks. It is always a good idea to check with the manufacturer to make sure it is safe to breathe through. While these masks work great for me, it is always a good idea to test your mask for breath-ability and make sure you can breathe freely while wearing it.
This mask also has a channel for wire to create an arched bridge for the nose. This creates a great shape and a helps personalize the fit just for you. I used pipe cleaners to help shape my mask. Take care and stay safe, as there is always a potential hazard when placing wire next to your face and eyes.
Since these products have not been approved by the manufacturers for use in face masks, these masks are not recommended for children. But if you are looking for a quick, cheap way to make disposable masks for yourself, this is a great option!
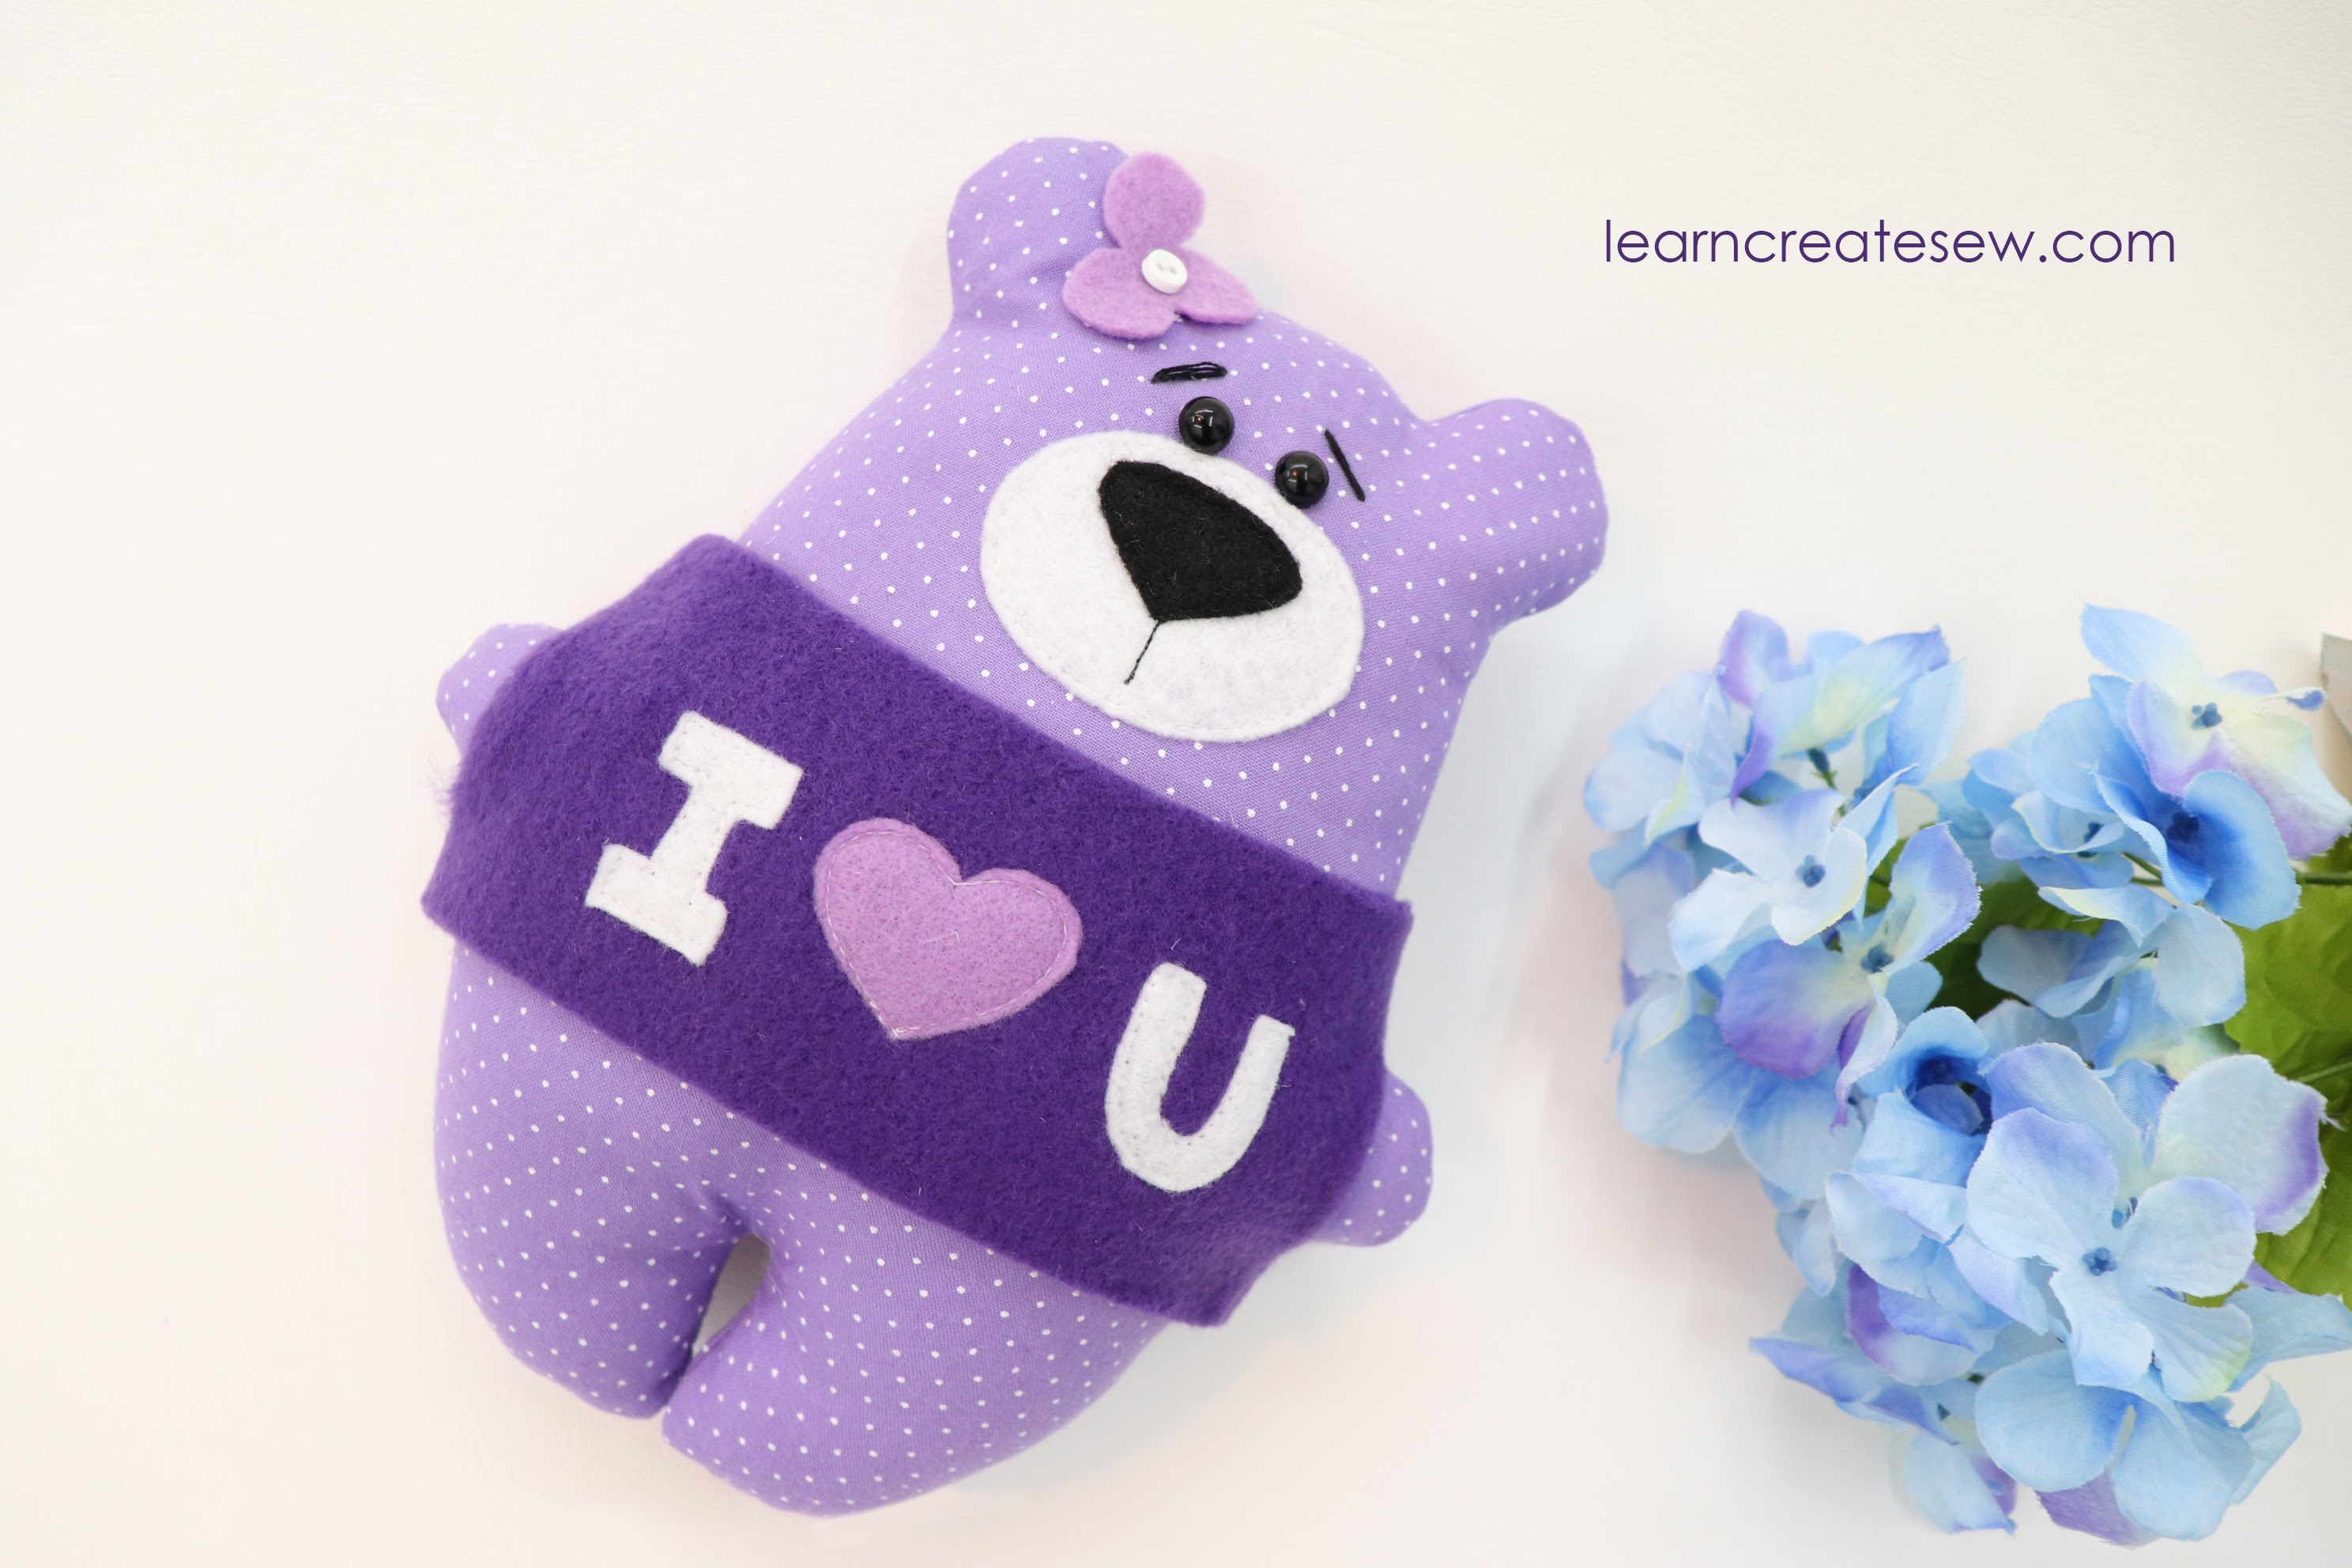
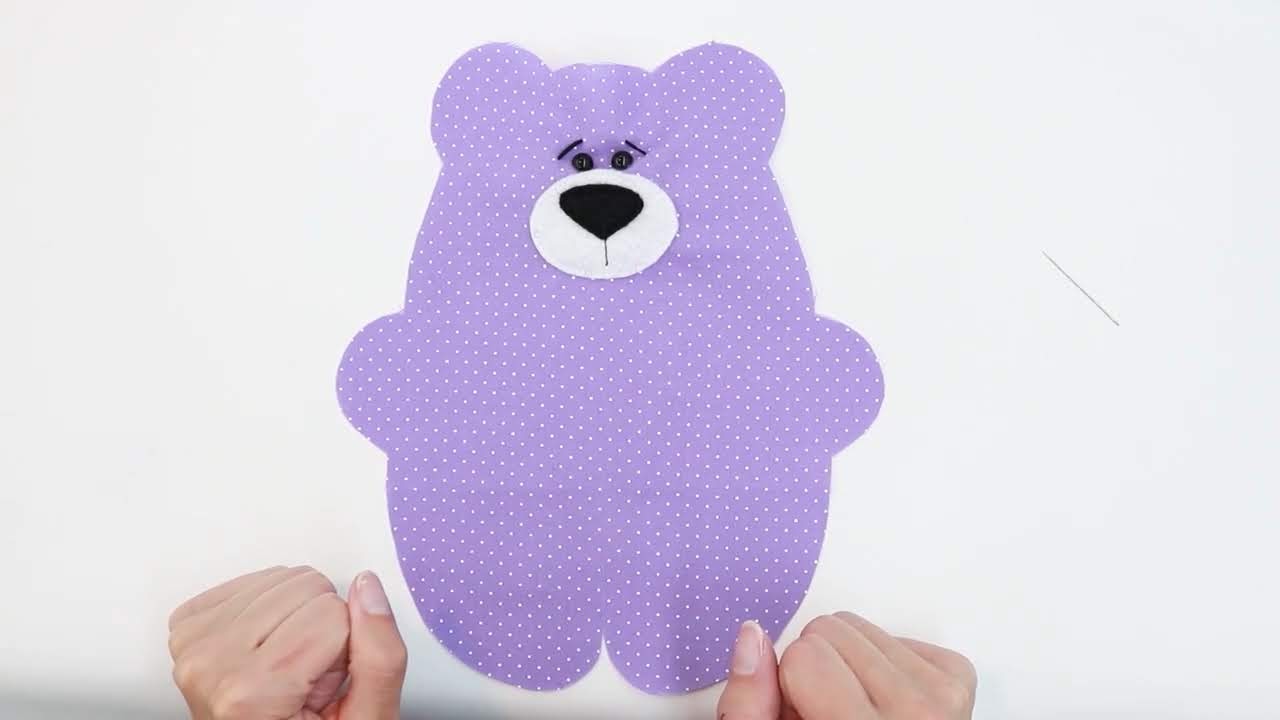
This simple bear plush is great for beginning sewers and service projects! My first year sewing students made these bears for a children’s hospital. They were a big hit for both those making the bears and those receiving them. They are quick to make and even my new sewers were successful! They are also a lot of fun 🙂
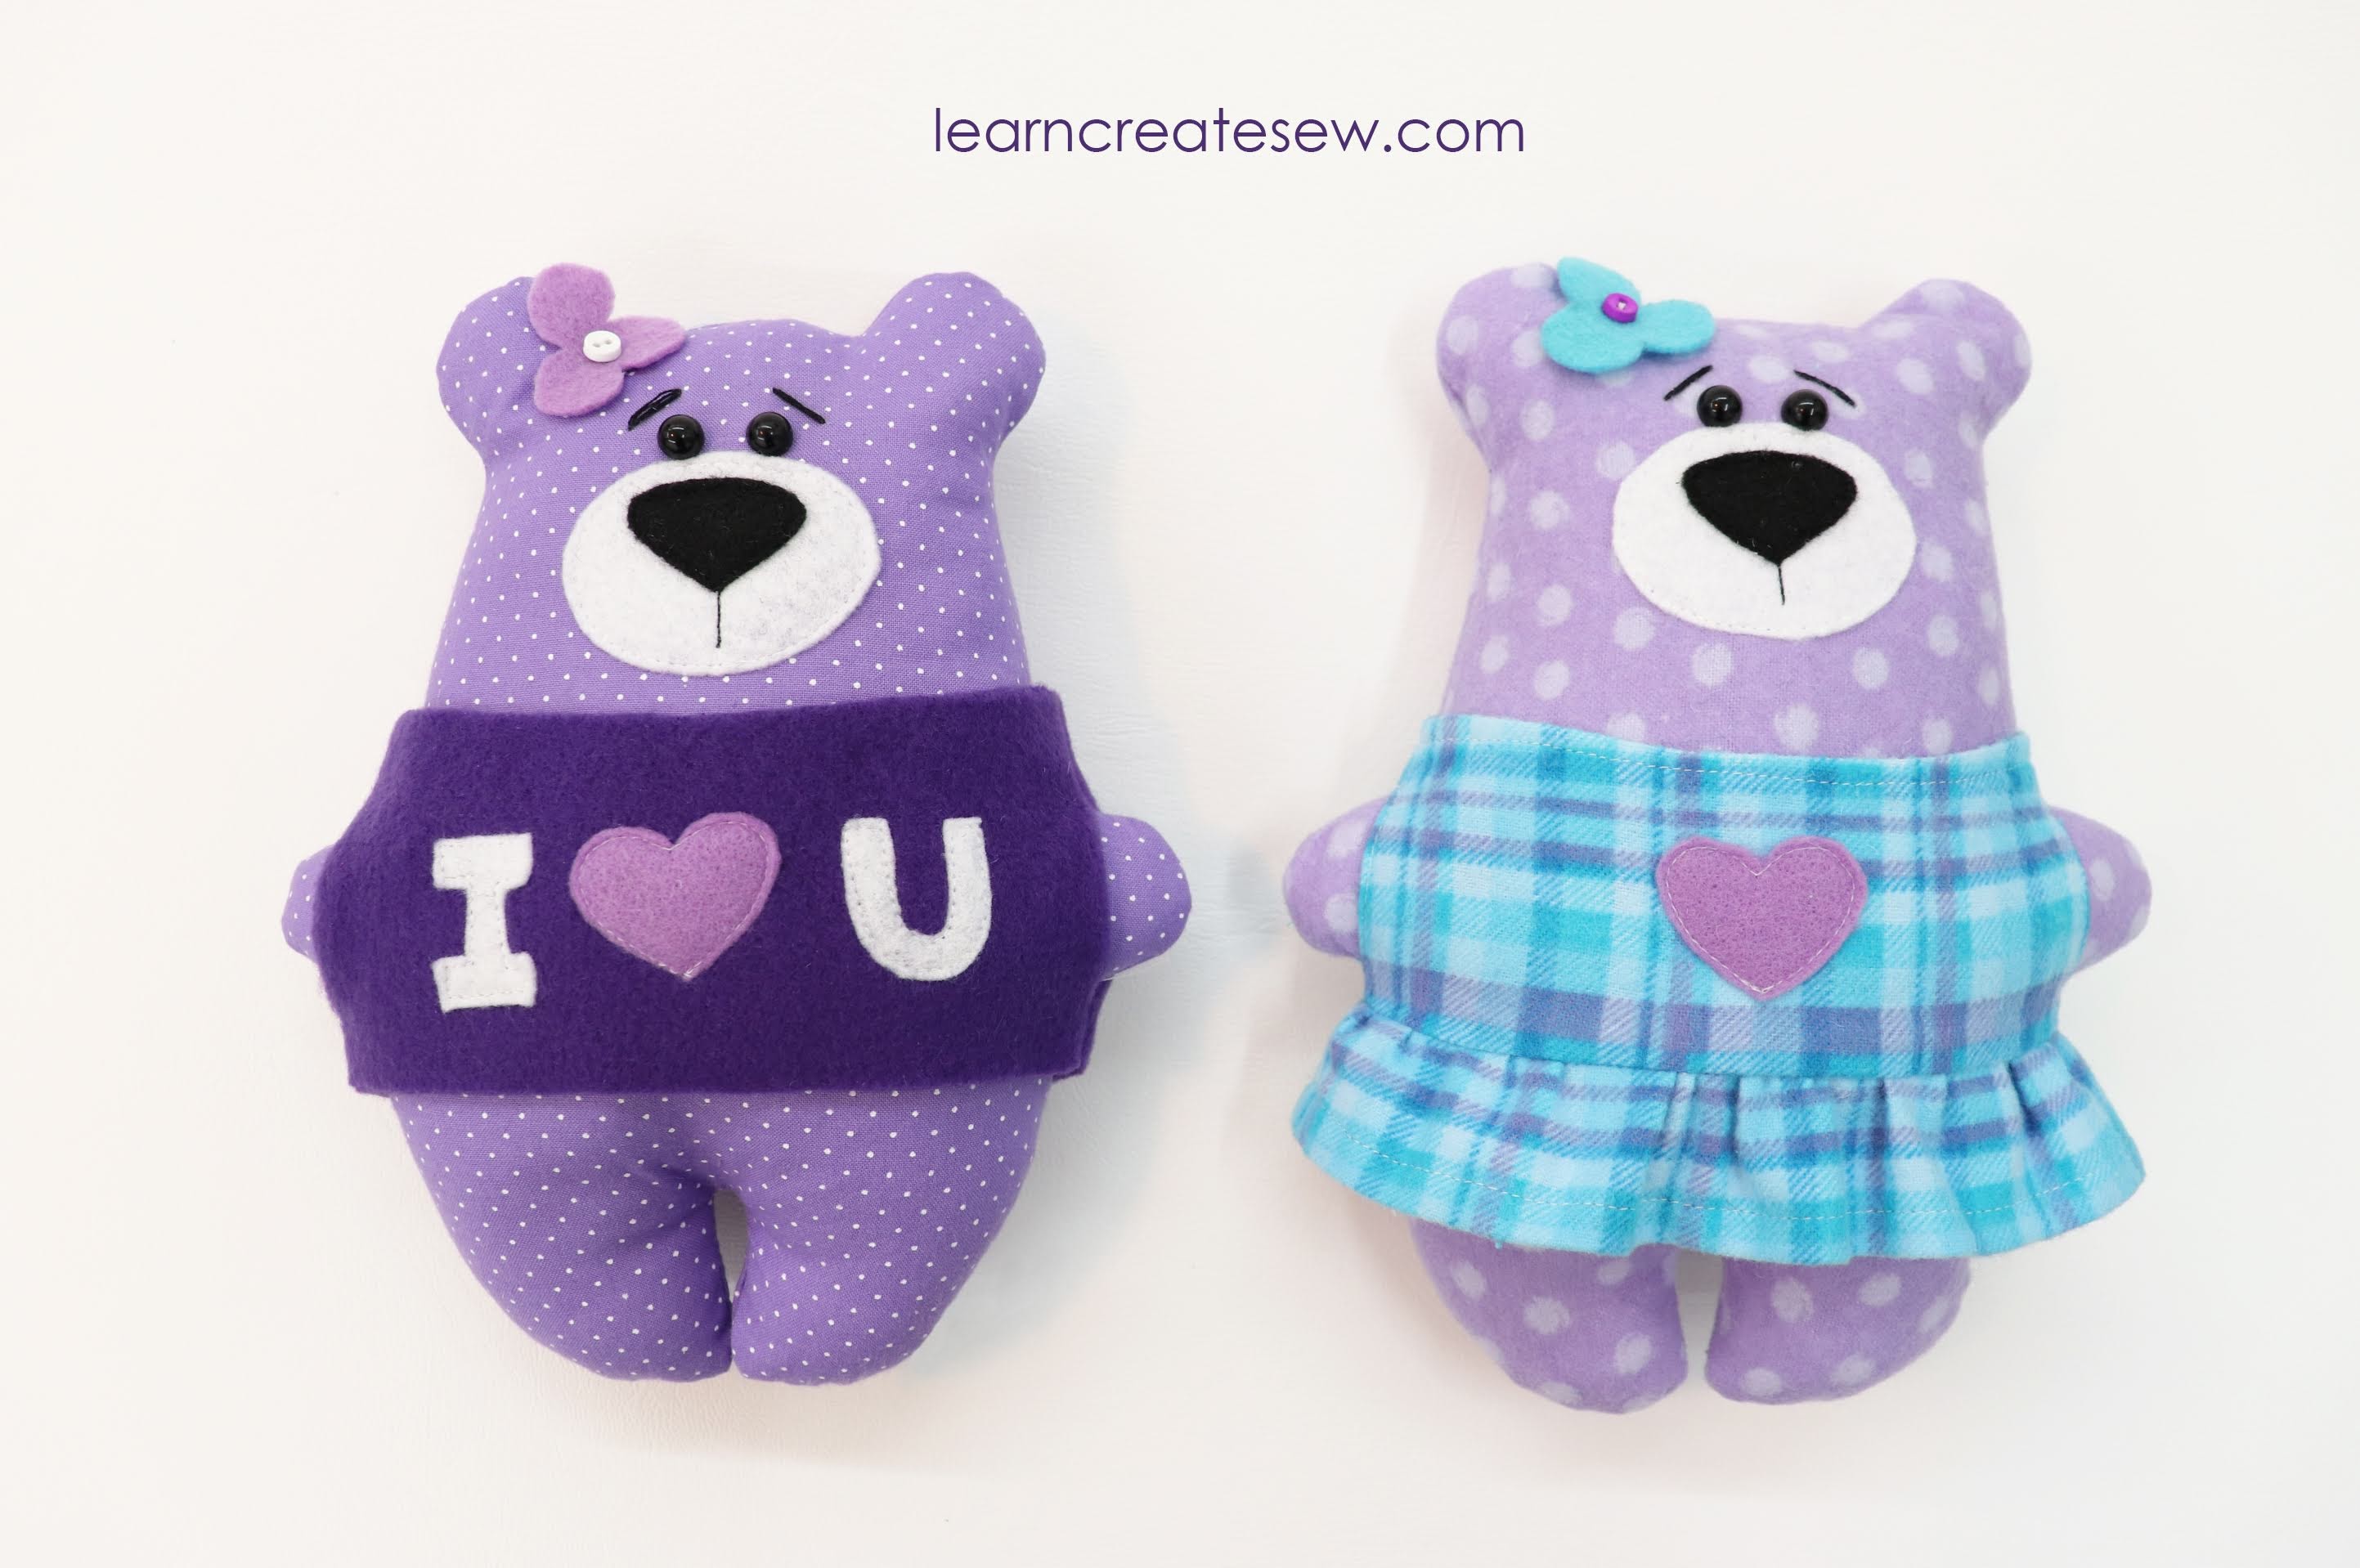
This bear can be made with or without accessories, and it is adorable either way! The dress may be a bit of a challenge for beginning sewers as it involves gathering.
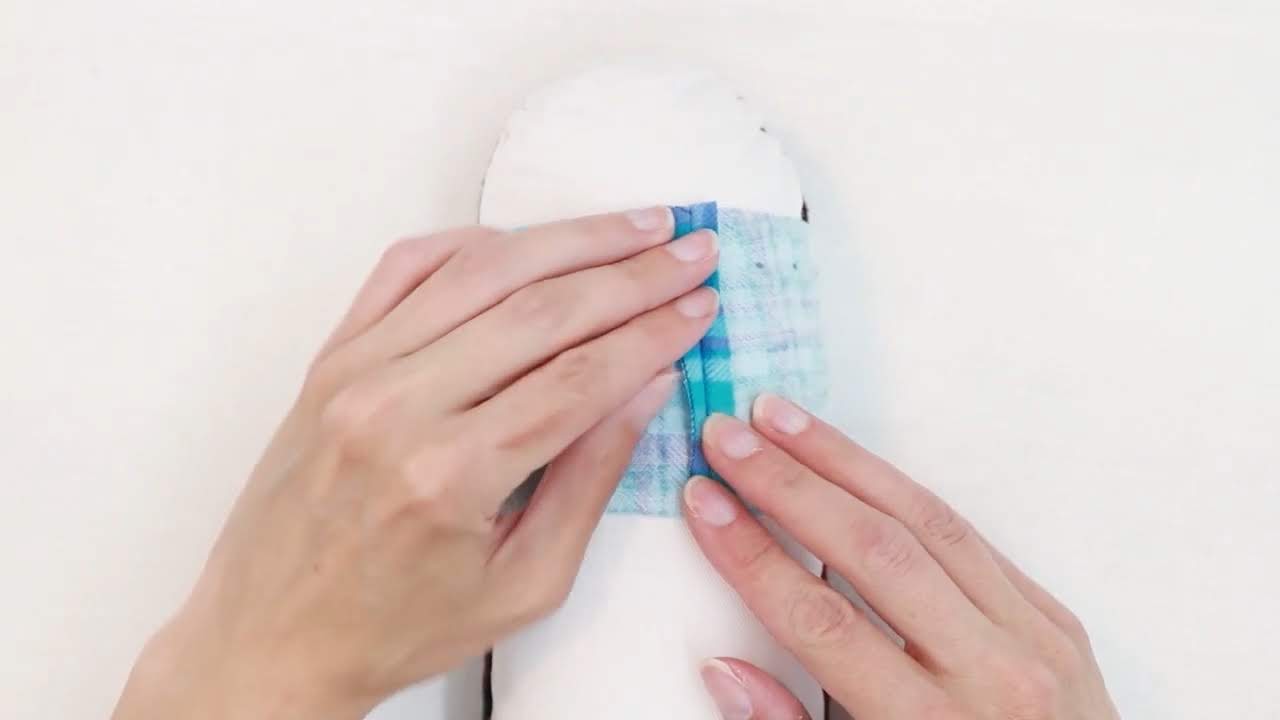
The body of the bear can be made with cotton, flannel, or fleece. Felt is great for the details. I used fleece for the I love You sweatshirt and flannel for the little dress. I also used 8mm safety eyes, buttons are also a great option. Embroidery floss was used for the eyebrows.
It is really fun to personalize your bear. Decorate as you prefer! Be creative and make it all your own. Since much of the decoration is simply felt shapes, this is really easy to do.
I hope you enjoy making this project as much as I did.
I know what you are thinking…not another face mask! I promise, my next project will be something different, but I couldn’t resist. I was talking to my mom about different types of face masks and when fleece came up I just had to share this idea.
Not all of us are seamstresses, but we all need face masks.
Here is a super quick pattern if you need something easy and convenient.
They only take a couple minutes to make! You trace and cut.
Fleece is a great choice for the fabric, as it won’t fray, but I have also used the pattern for flannel. I used pinking shears to limit frayed edges. Just know if you choose to use a woven fabric the edges will fray eventually, especially when washed.
The fabric ties are great! They are durable, comfortable, and work really well. That said, they can be time consuming to sew and can be challenging for beginning sewers, so I started searching for an alternative.
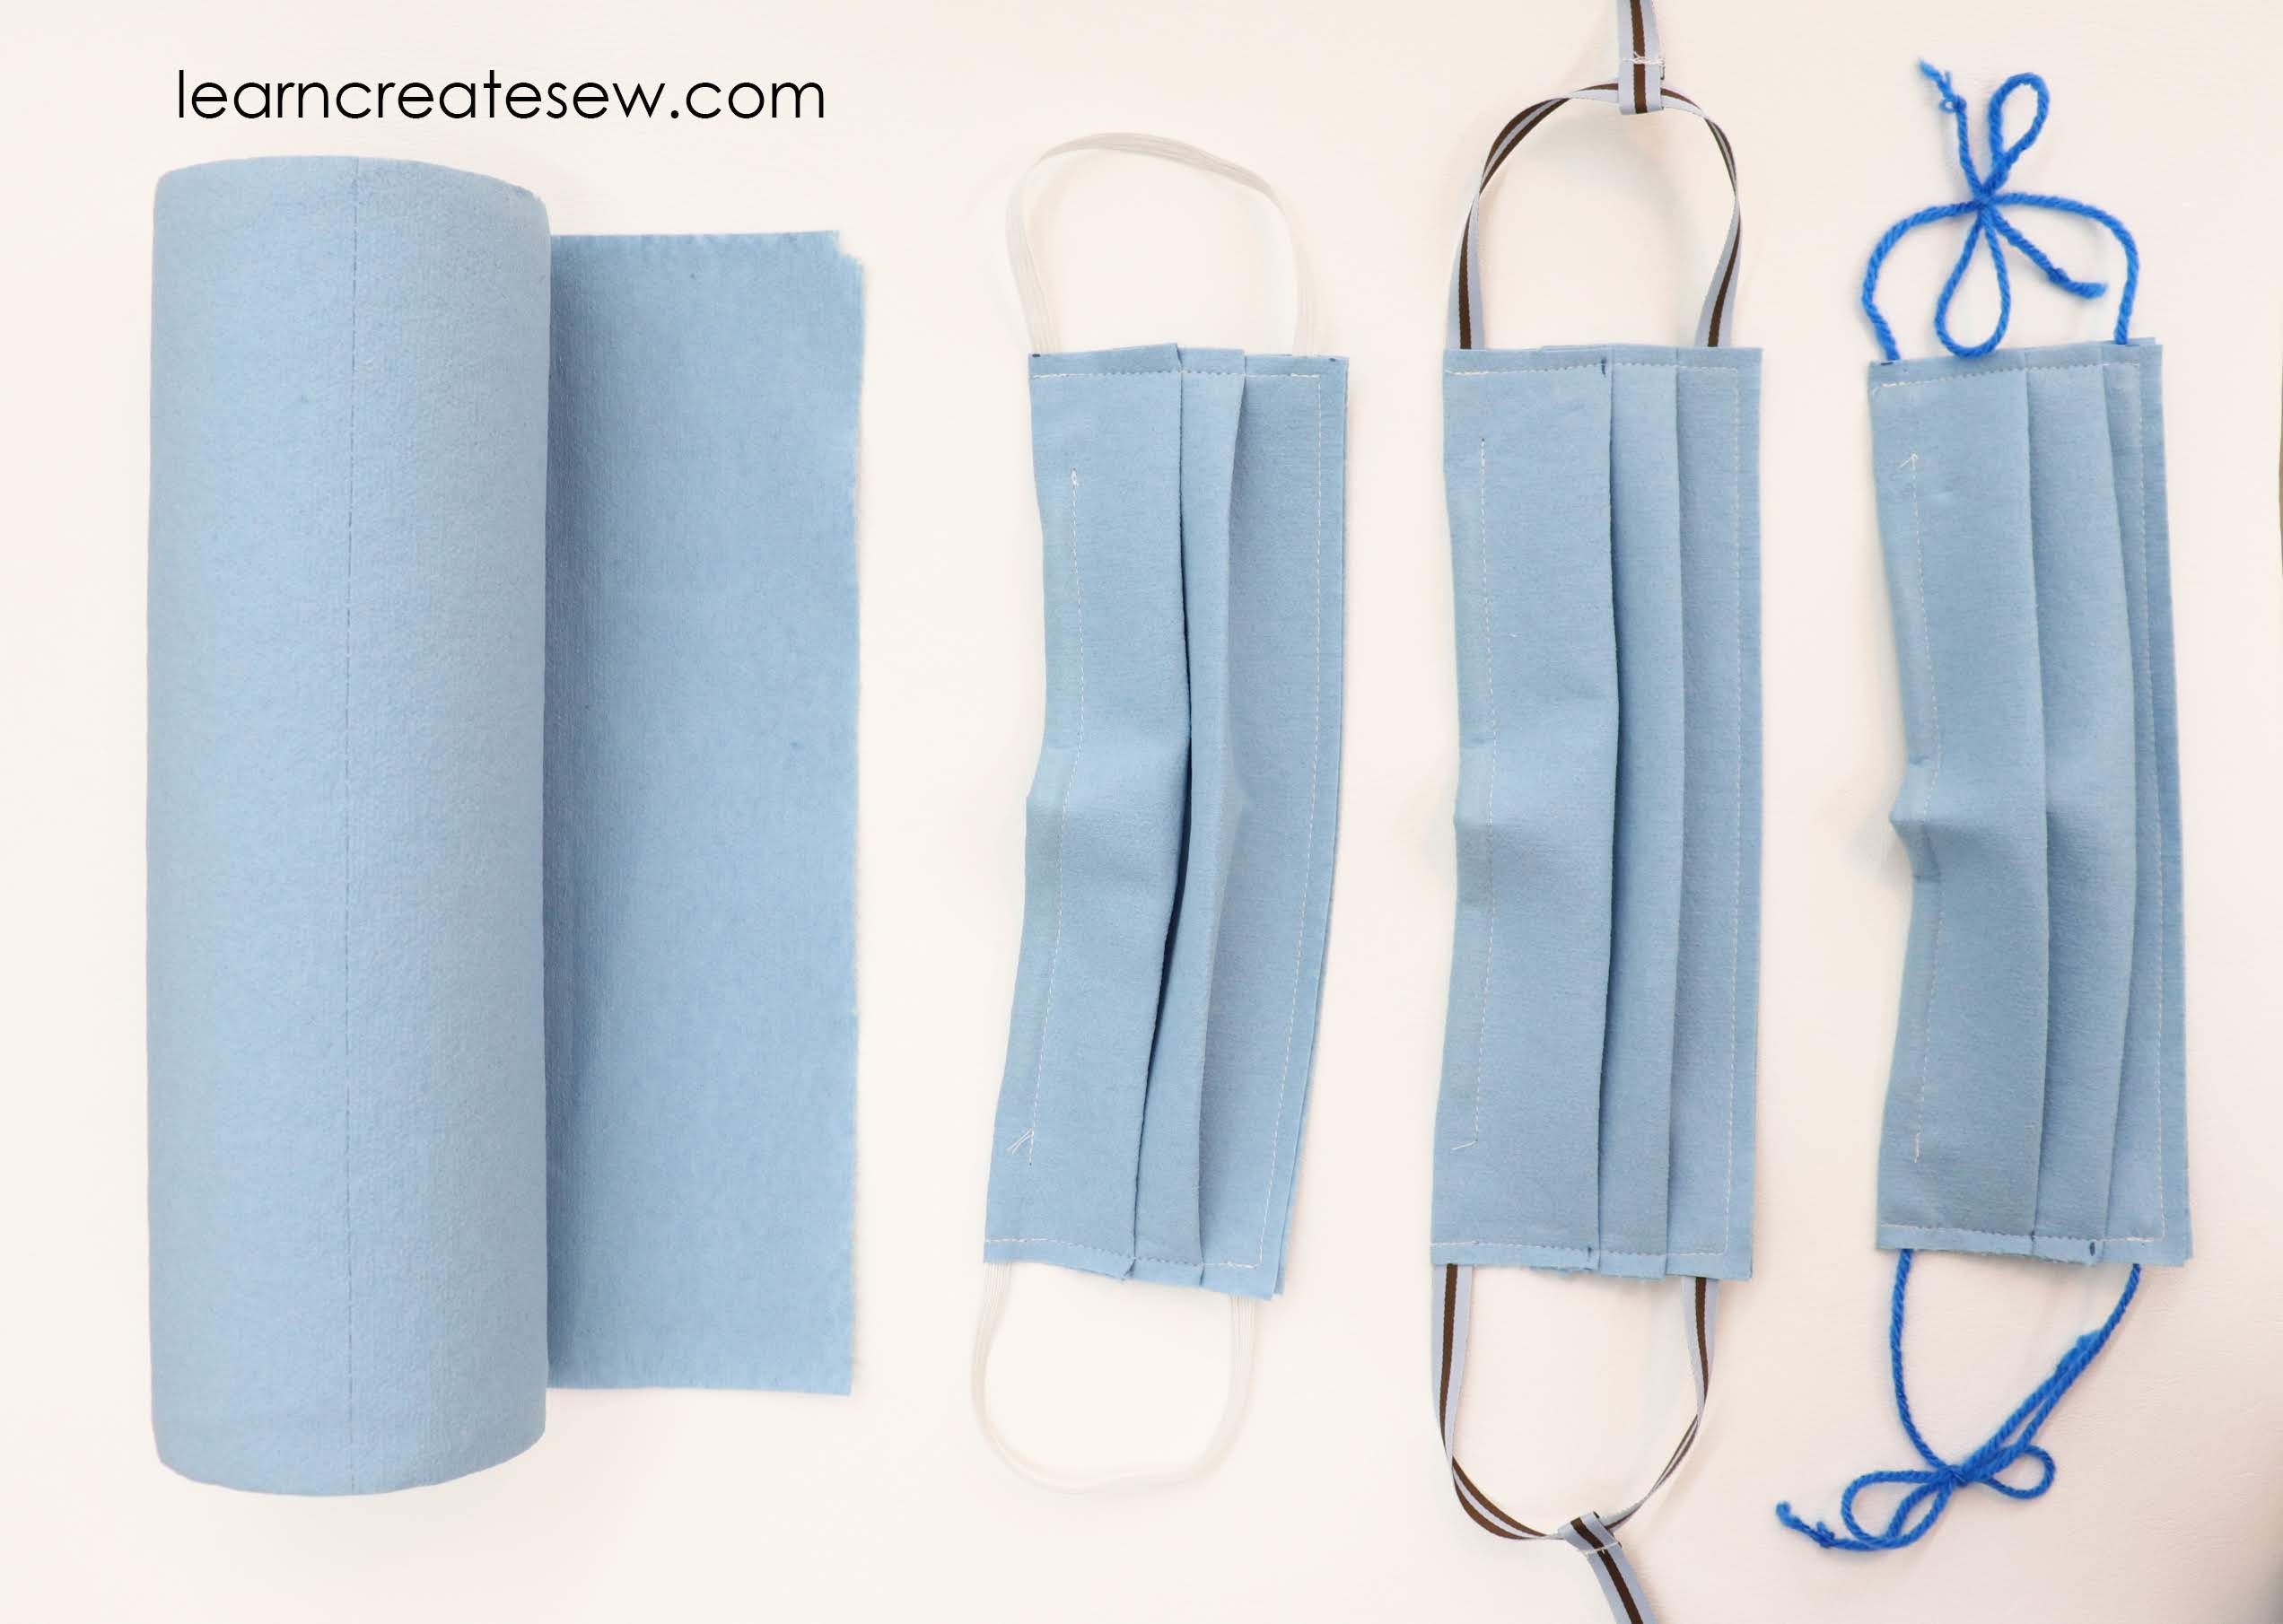
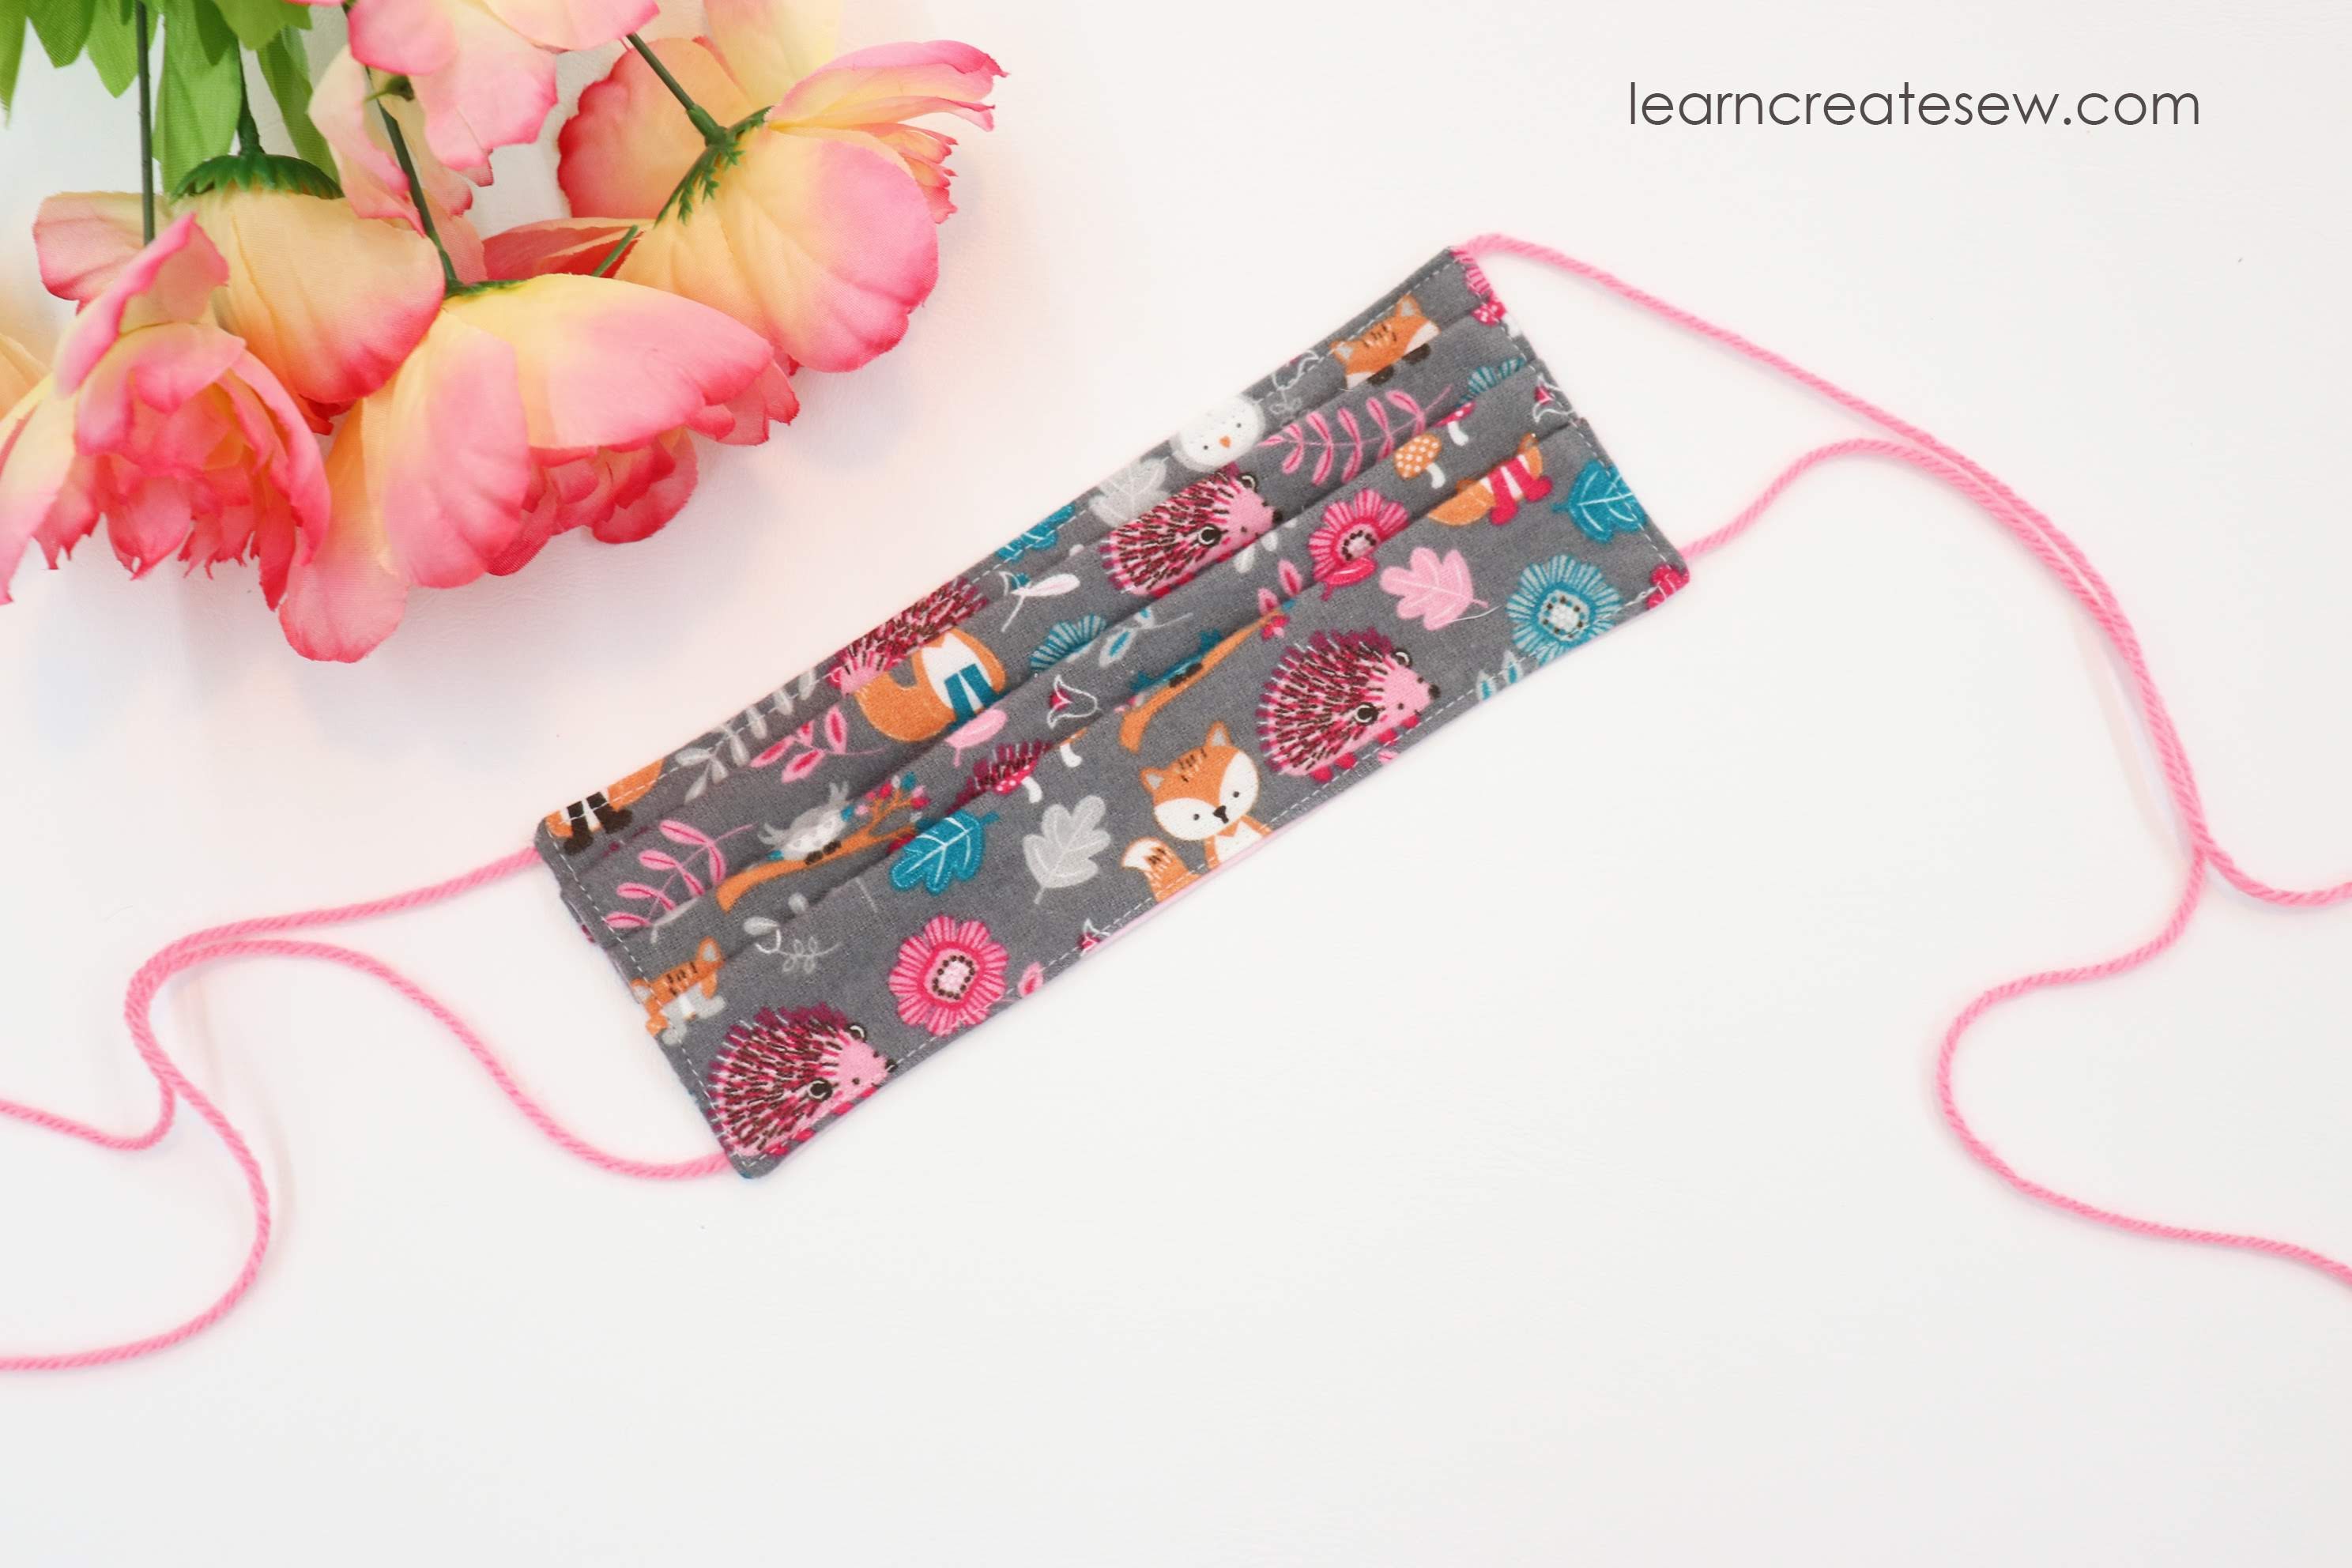
I had just finished my rag doll tutorial and yarn was EVERYWHERE in my house. It inspired me 🙂 Why not have yarn ties for face masks.
Yarn ties are super easy! They are quick and make the construction of the face mask very simple. I made a few test masks and ran them through the washer and dryer in a lingerie bag and they came out great. The ties also are easy to make in different styles.
There are a few drawbacks to yarn ties. First, always tie them with bows. If you get a knot, you may not be able to get it undone and may have to cut your tie. Second, some people may be sensitive to the feel of the yarn behind their ears and neck. Use soft yarn if possible. They are also not as sturdy. As a result, I still recommend fabric ties for durability and for donations, but yarn ties are great for ease and convenience. So, if you’re just looking for something to grab when you run to the gas station or mail box, these are great!
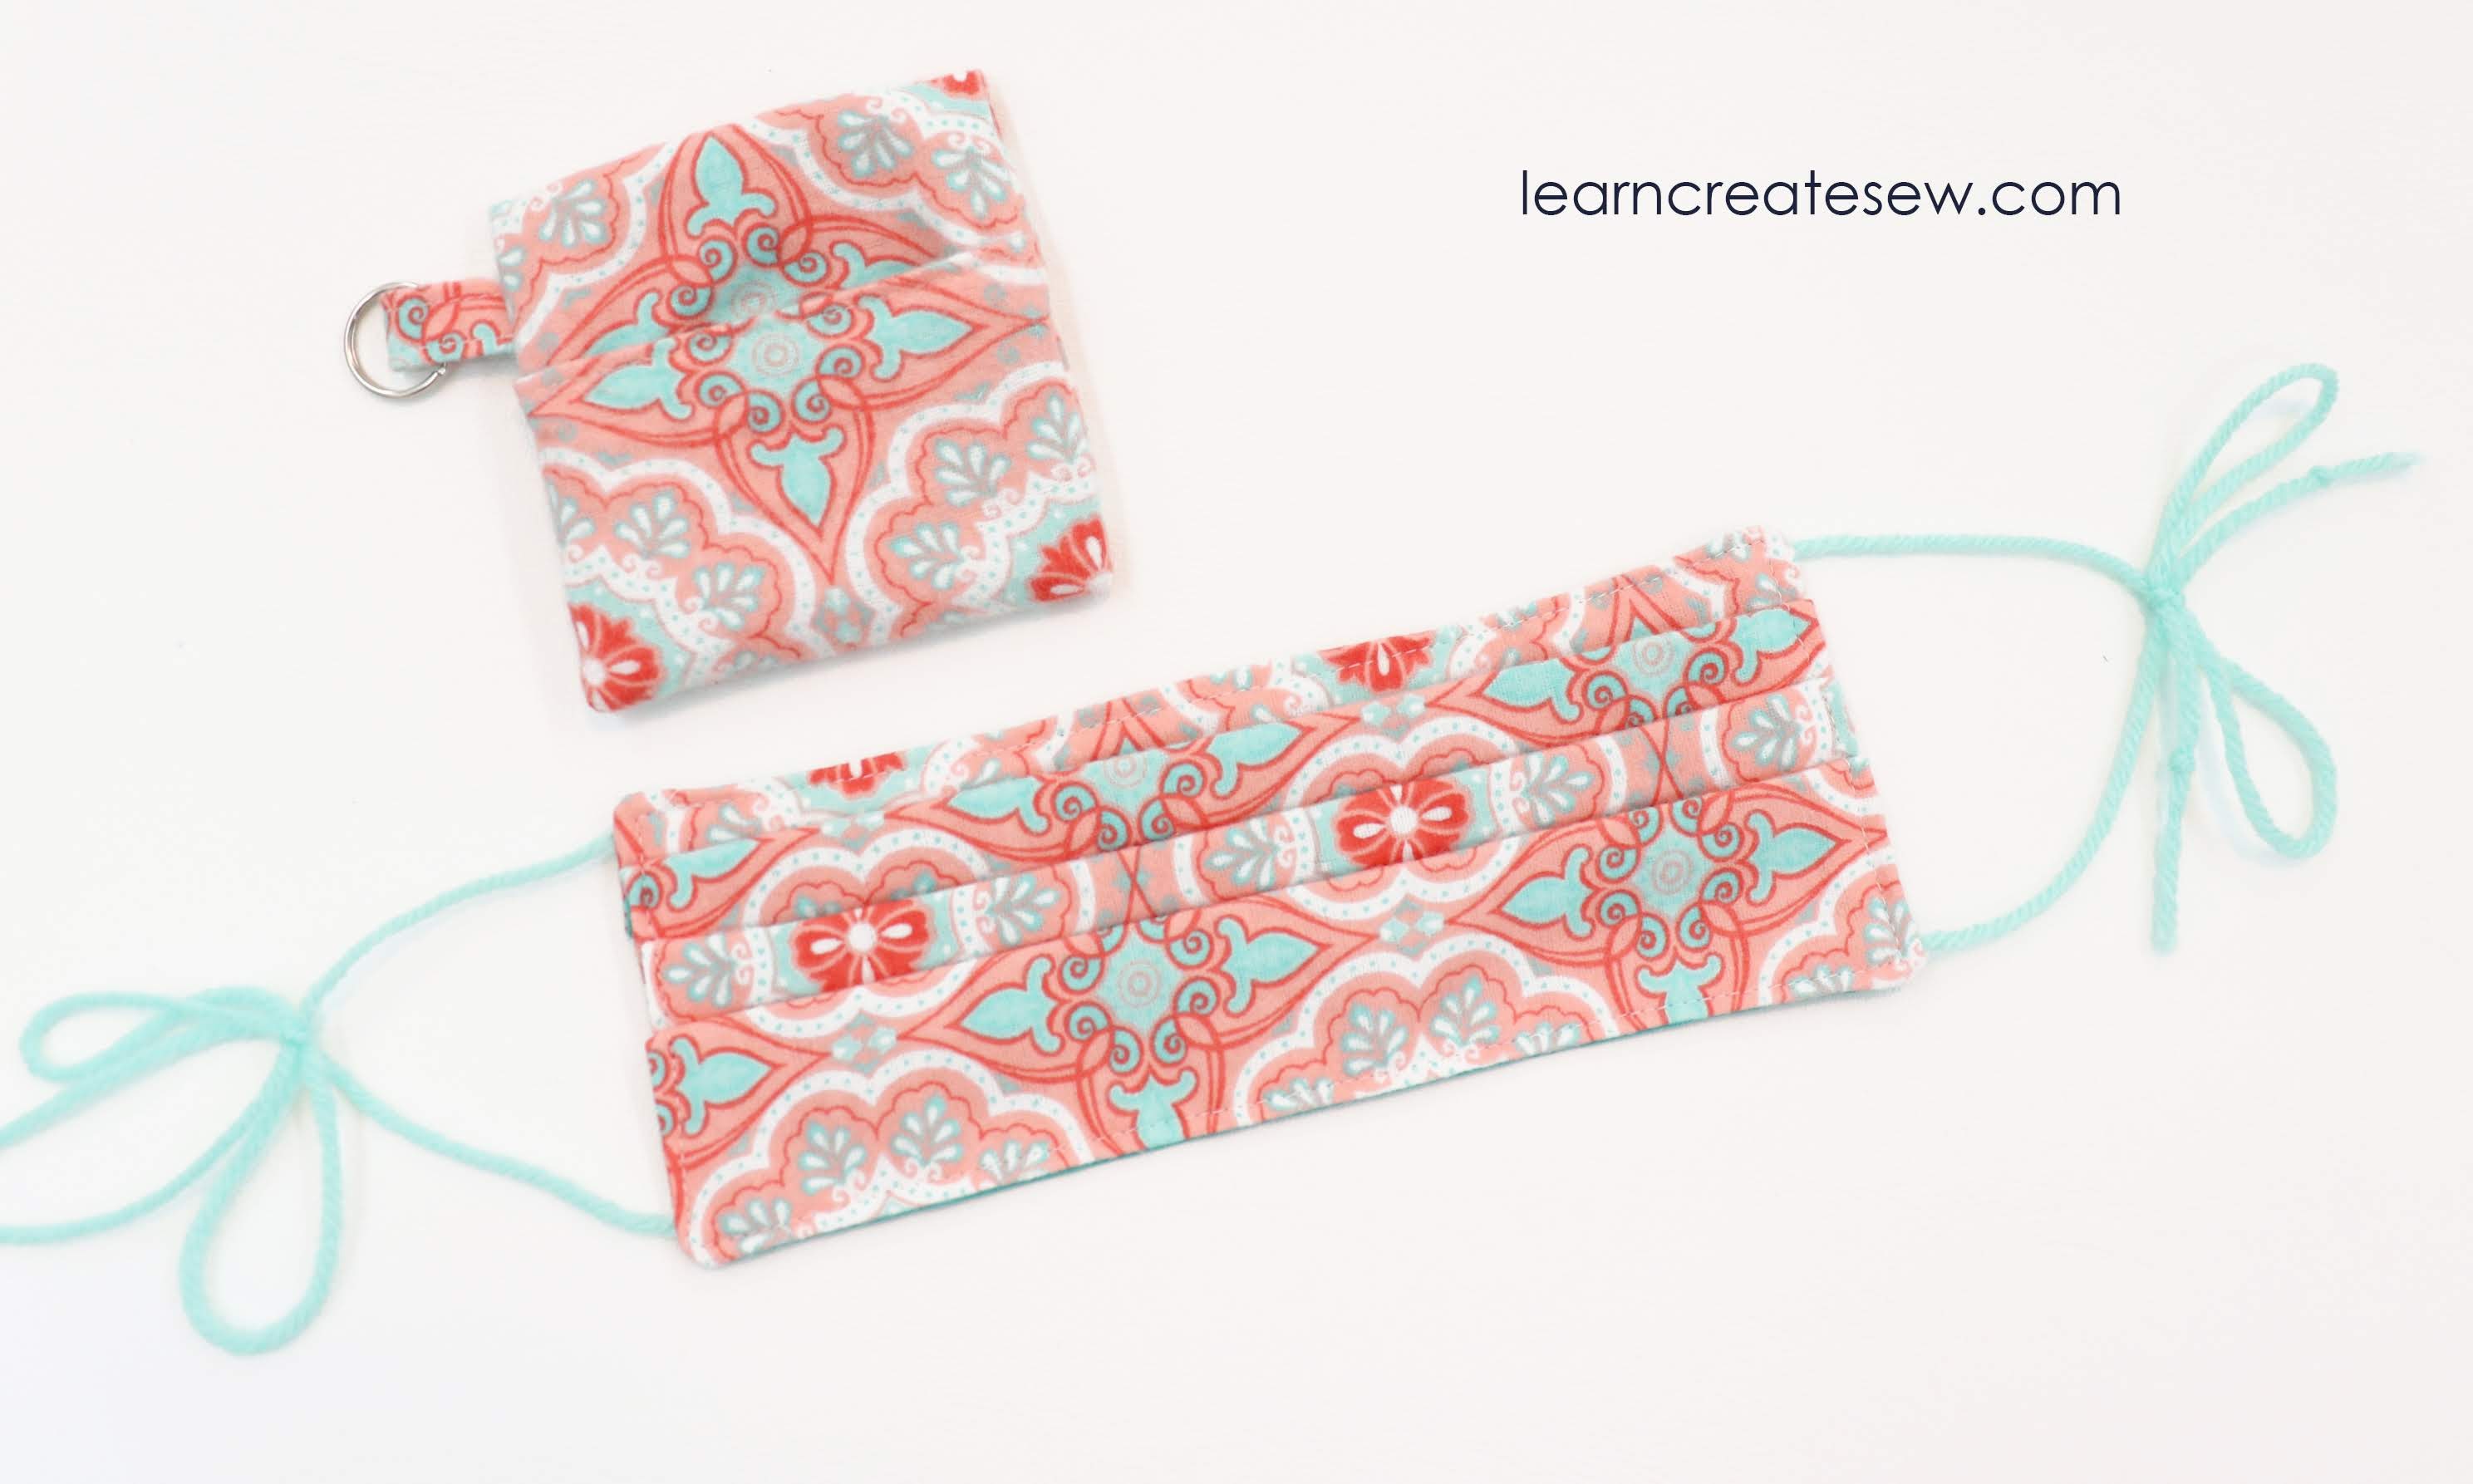
This tutorial shows you how to make 3 different styles of yarn ties. Two long ties behind the head and neck, two short ties to tie behind the ears, and one long tie to tie behind the head.
DETAILED INSTRUCTIONS
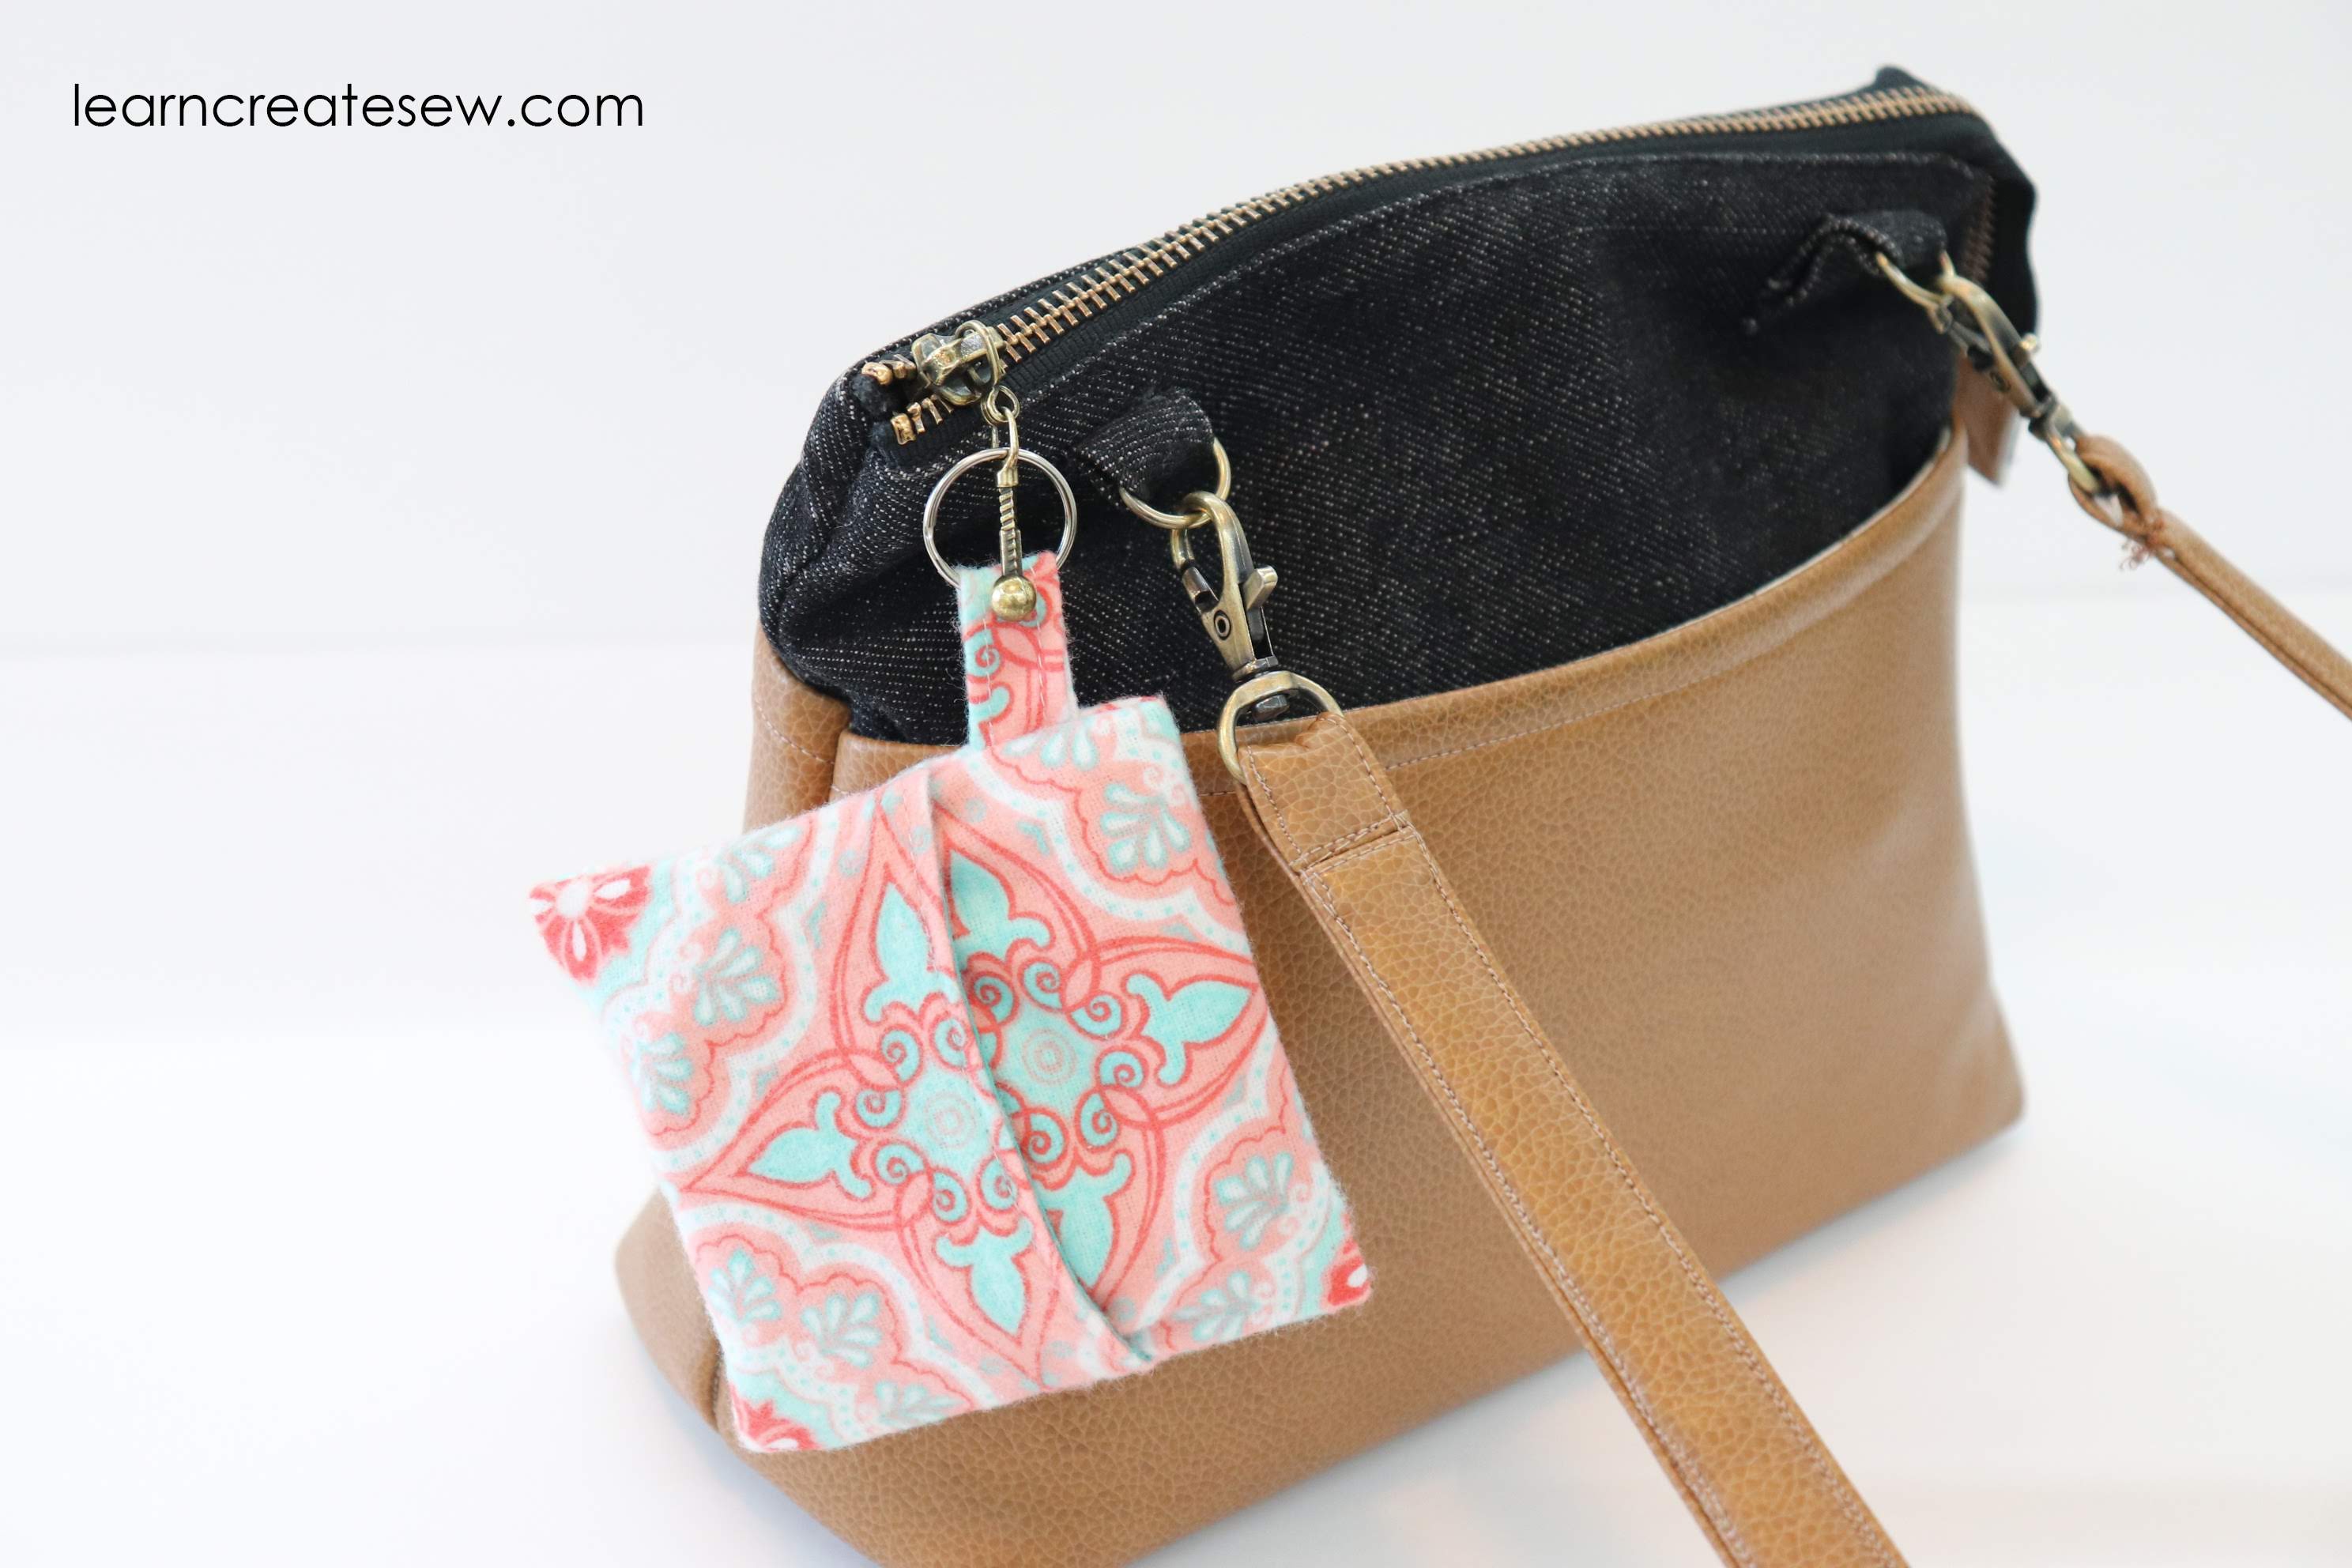
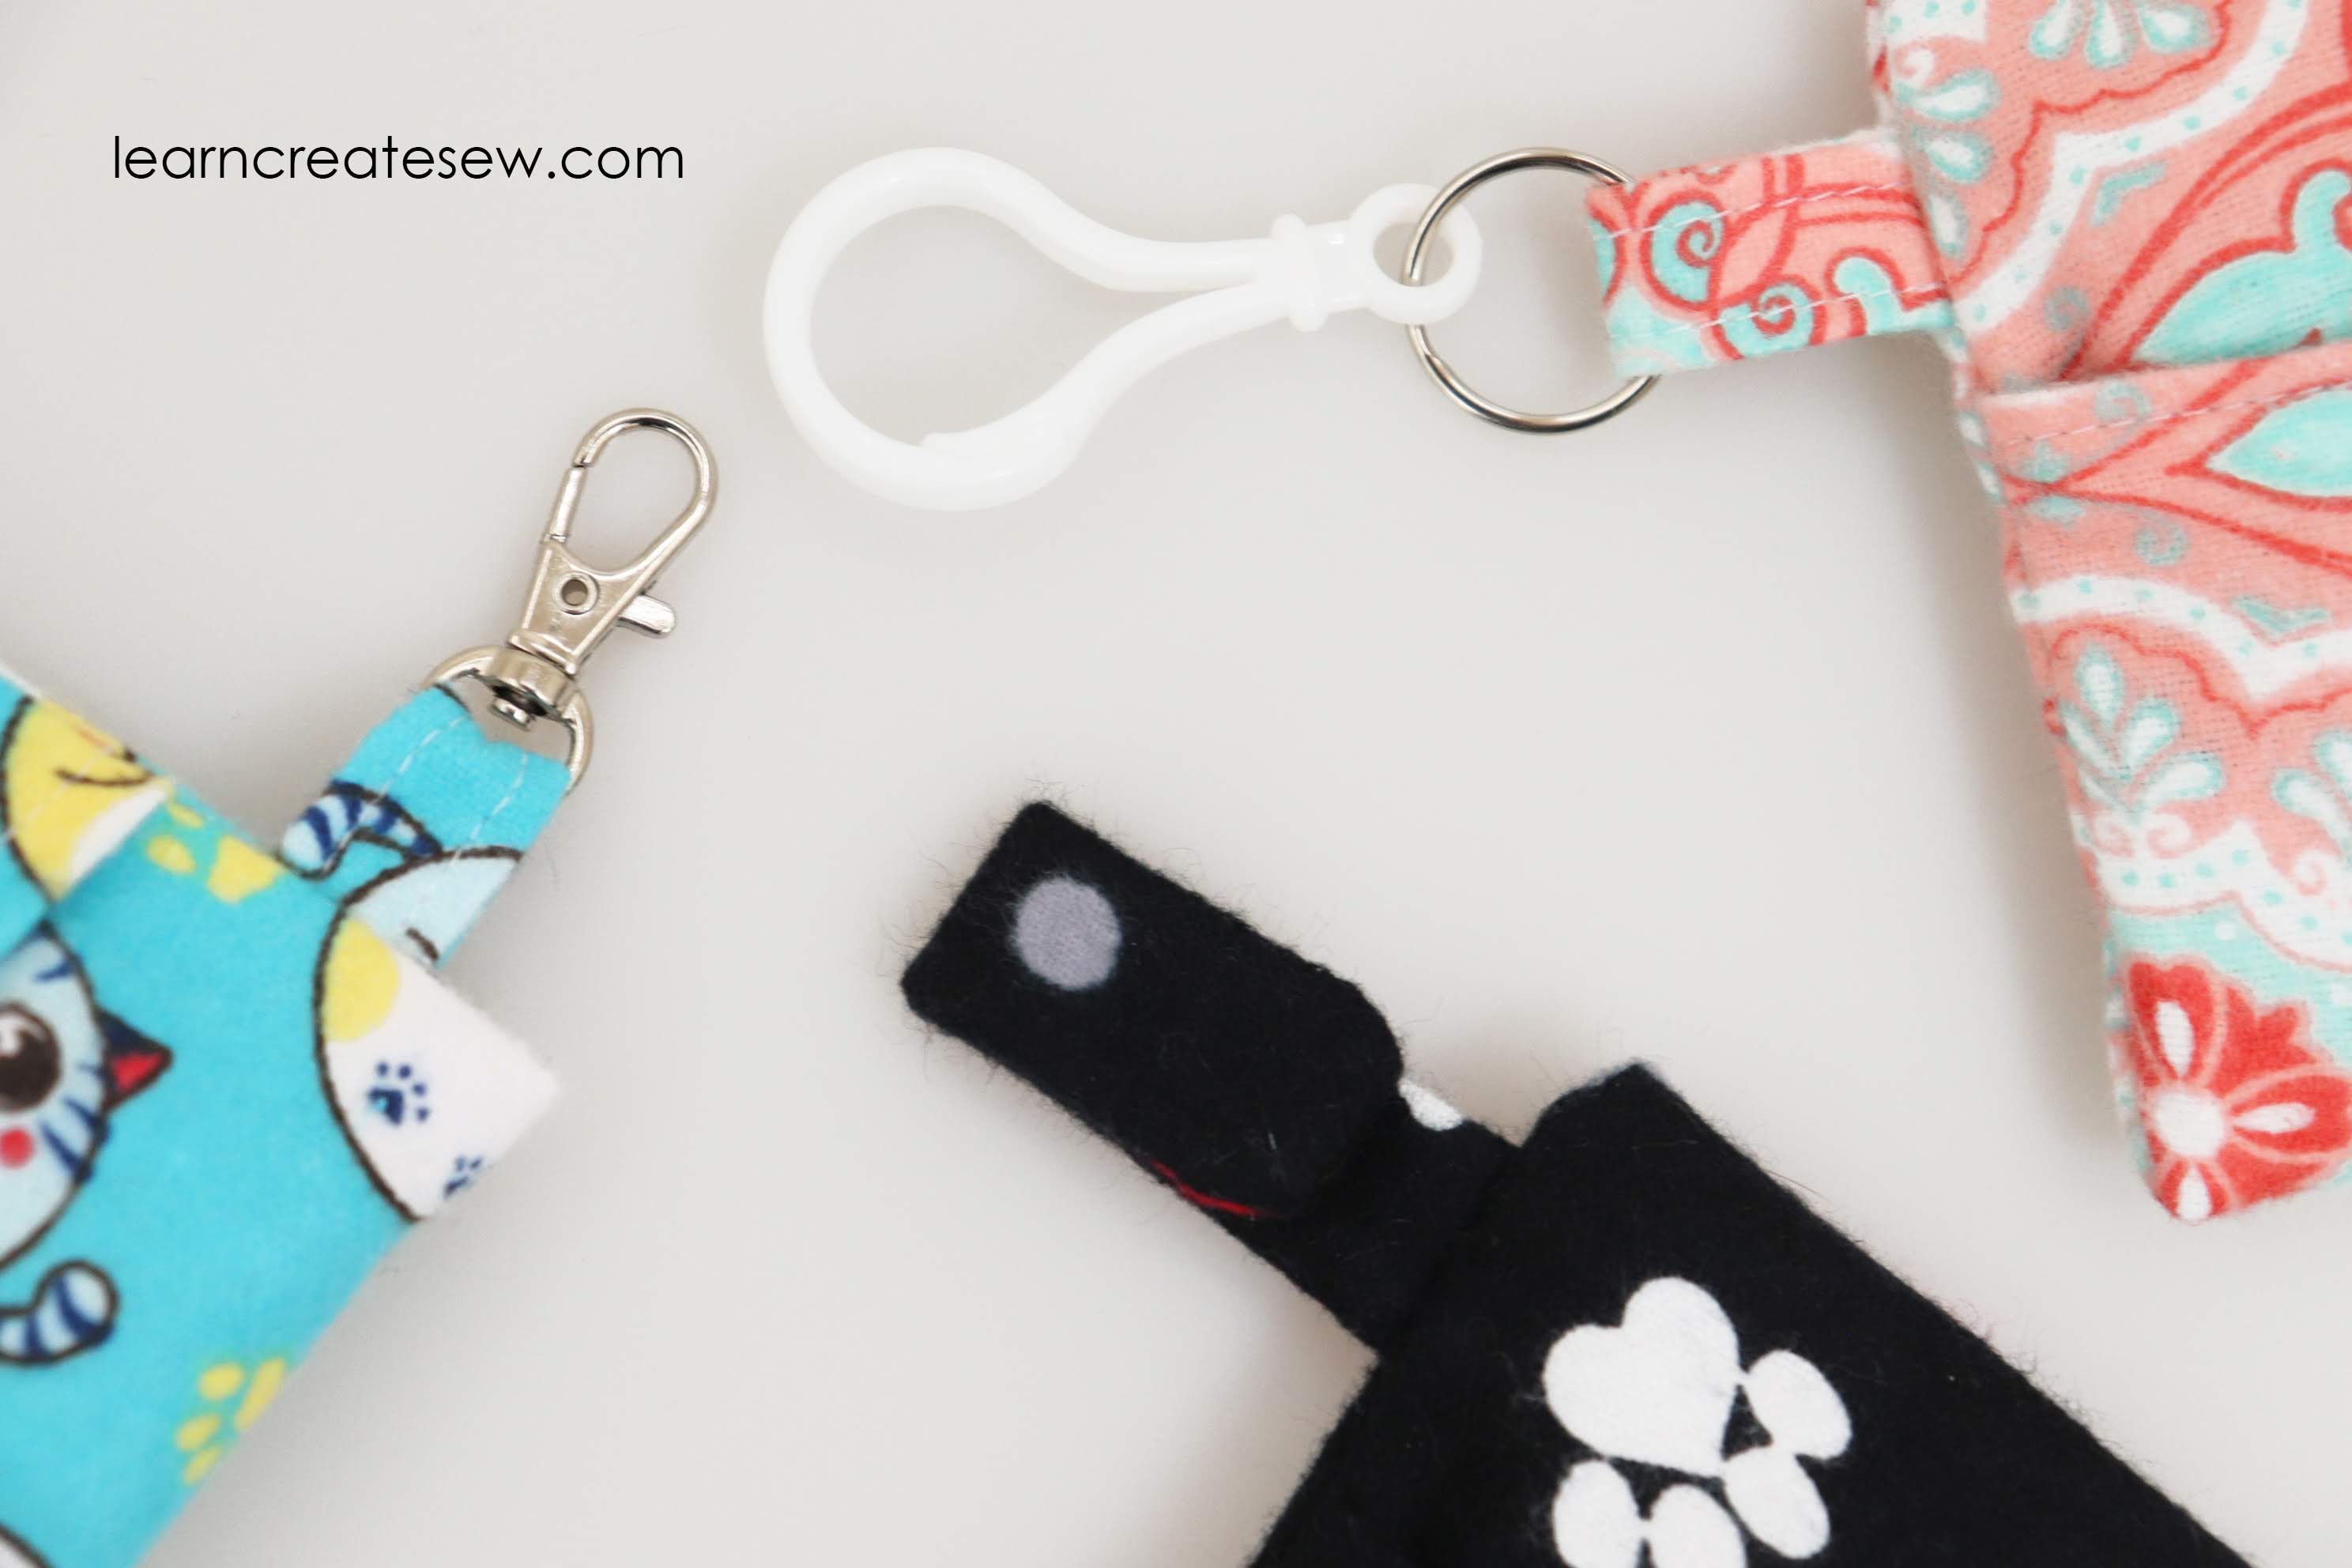
These masks also fit great in my Face Mask Key Chain Cases
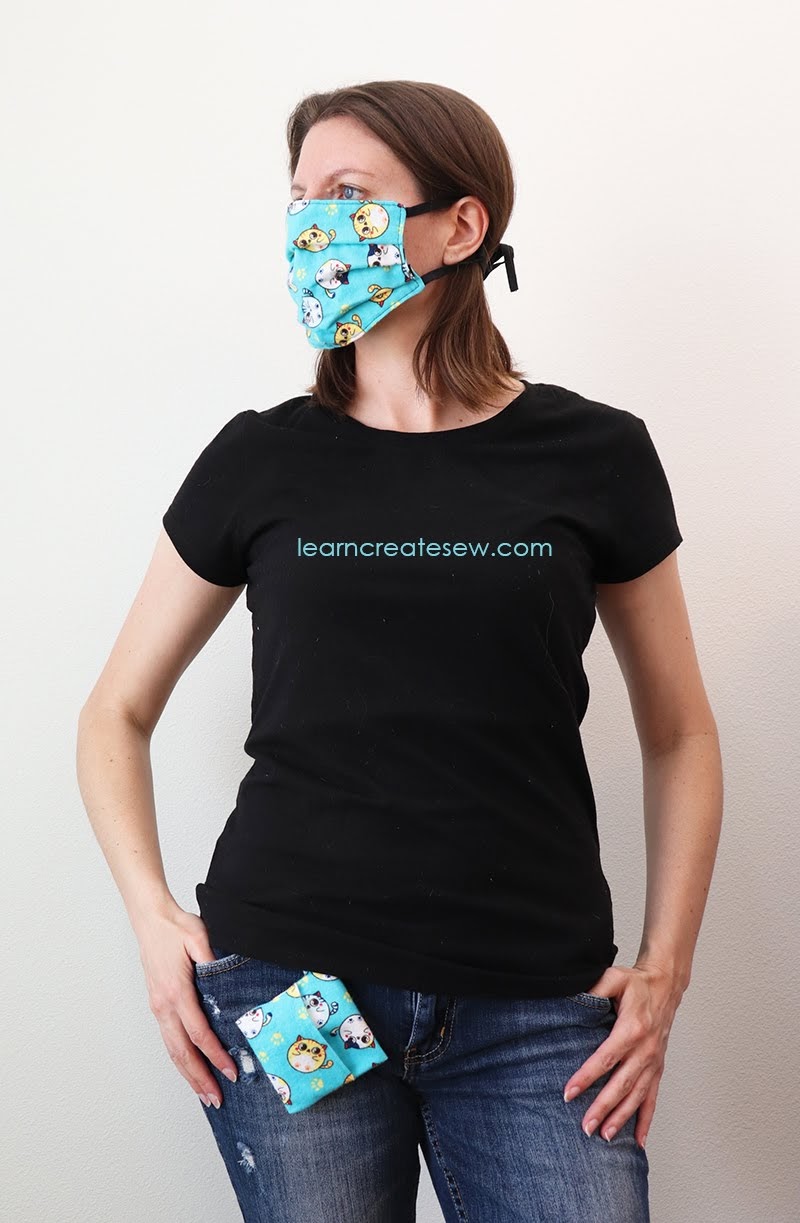
I had a few requests for shots of the face mask in action! Here you go 🙂
I have to say, while I have face masks with elastic and with ties, I definitely prefer the ties! I don’t know about you, but I don’t like the feel of the elastic rubbing against my ears. While sewing the ties is not my favorite thing to do, I do appreciate the comfort it brings verses the elastic. The tie in the back also allows me to adjust the fit to a snugness that works for me. I also find it much more comfortable without interfacing.
I made my ear ties, 0.5 inch longer than the elastic suggestion in the pattern, but you can adjust to your preference.
I was worried originally that the mask might slide a lot with just the single tie, but I haven’t found it a problem. I have even worn it out for walks on windy days with no issues! And when you’re not using the mask for a moment, it hangs easily around your neck.
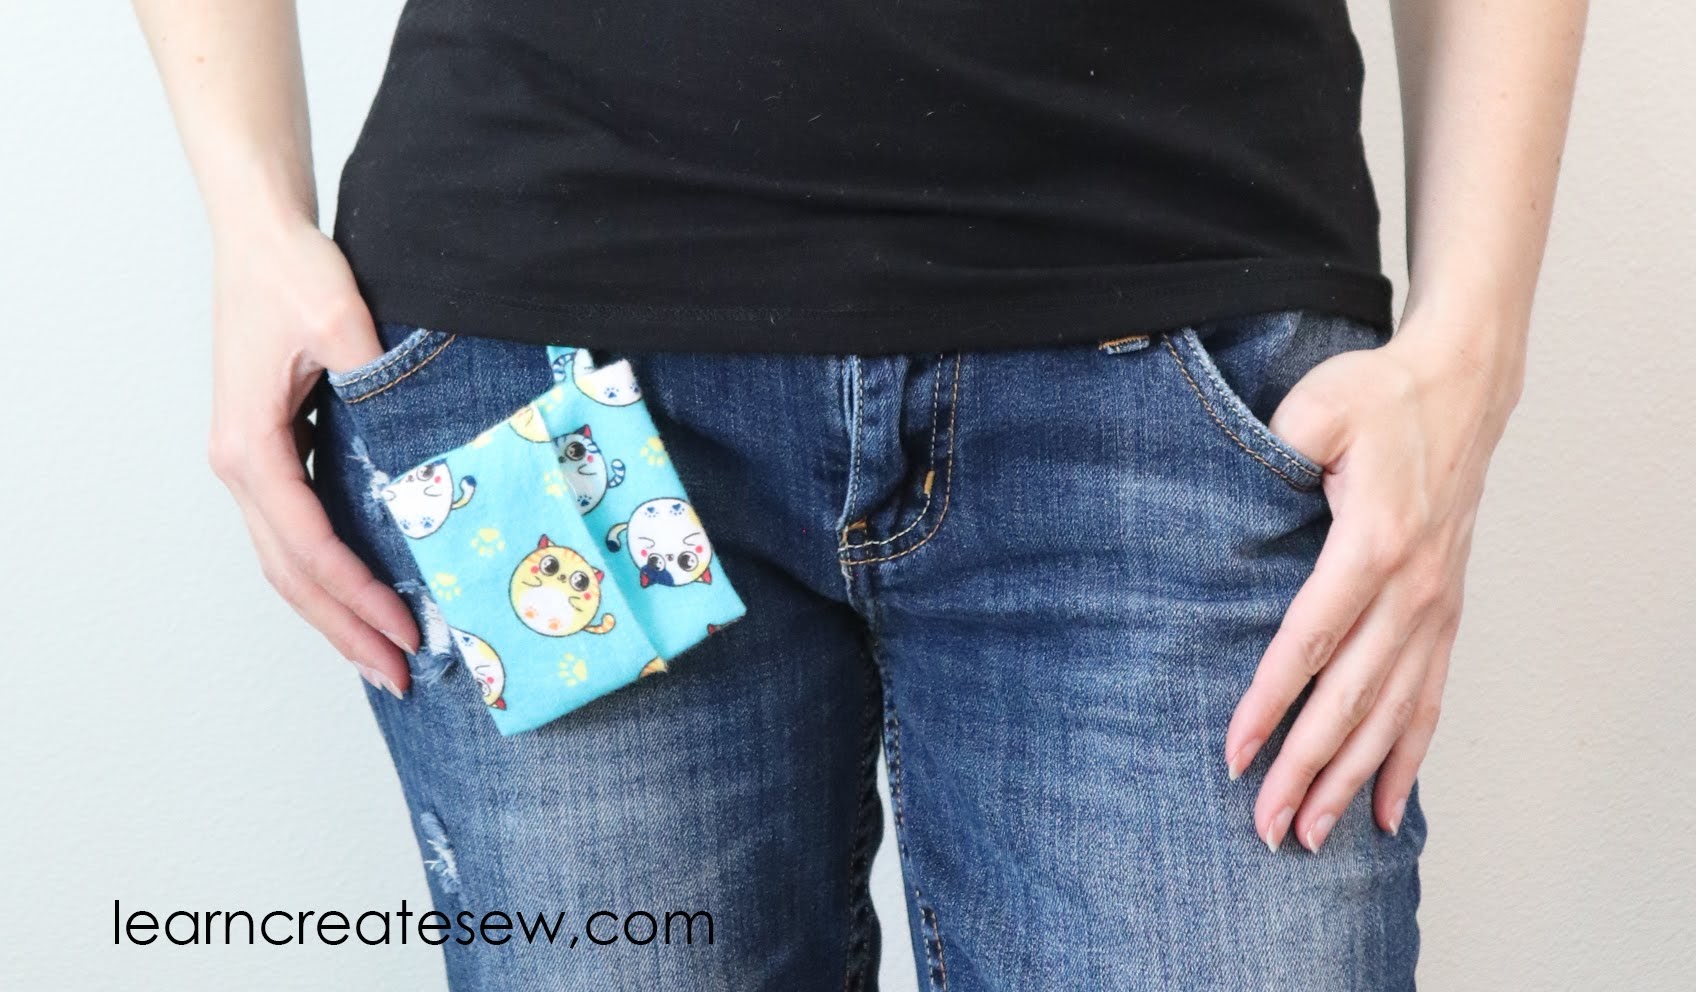
I also use my little case for my mask absolutely all the time! First, I loved the cat print shown above. Second, I have one attached to my purse, so I literally don’t leave home without it.
I highly recommend the little case for convenience. Here is the free pattern.
With supplies and resources scarce, and with traveling to stores discouraged, I wanted to make a face mask that required as few specialty supplies as possible.
I decided to make a face mask with ties instead. The ties can be made with 1.25 inches (by width of fabric) strip of cotton fabric. It also only has a single tie in the back for easier wear.
Thanks to my mom and her fabulous testing of face masks, she gave me dimensions for face masks of multiple sizes.