In this lesson we will be threading Brother sewing machines. This will be demonstrated on two different machines.
The first is a Brother Computerized Machine with a Horizontal Spool Pin. The second is a Brother Mechanical Machine with a Vertical Spool Pin. Brother machines are very similar, so chances are if you have a Brother machine it will be similar to one or both of these.
If you don’t have a Brother machine I encourage you to consult your manual or find videos specific to your machine. Knowing how to thread your machine properly and being comfortable doing so, will solve 90% of your problems when sewing.
Lesson Category:
- Sewing Machine Basics
Lesson Topics:
- Quality Thread
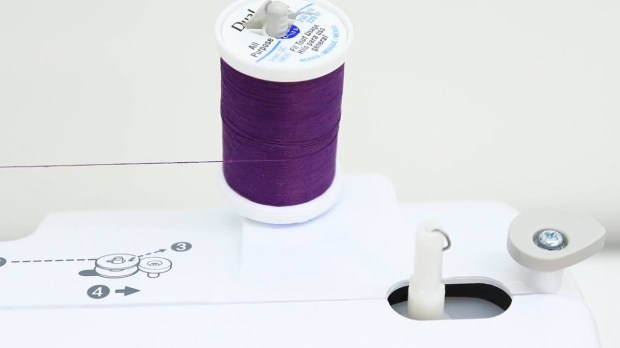
- Threading a Bobbin
- Threading the Machine
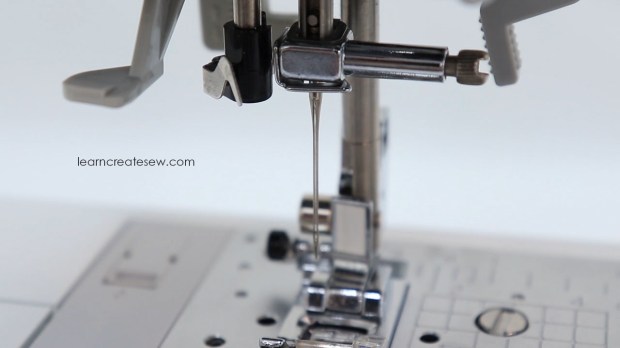
- Threading the Needle
- Using an Automatic Needle Threader
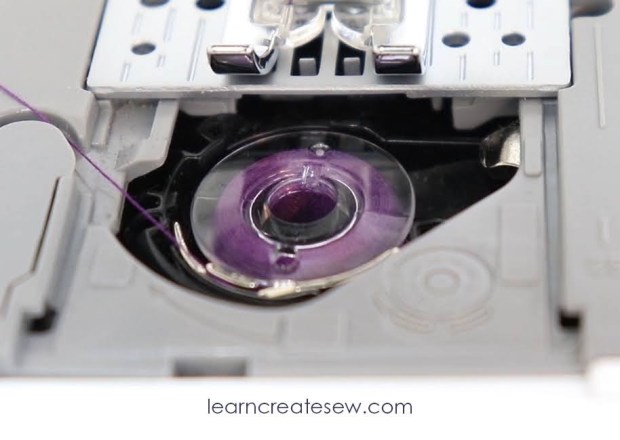
- Inserting the Bobbin into the Machine
First thing to know when threading your machine is that the quality of thread matters! If poor thread is used in a sewing machine it breaks frequently. Not only is this annoying, but if you are just learning to sew it can make you want to give up altogether.
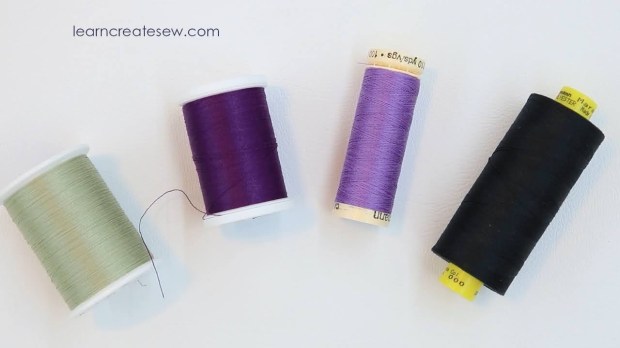
I mainly use Gutermann and Coats and Clark All Purpose threads.
You also want to make sure you have the correct bobbins for your specific machine. Unfortunately, bobbins were not all created equal and while some look similar, just a slight difference in size can be significant. Most of the Brother machines I have used take SA156 Bobbins.

Since your sewing machine requires a bobbin in order to sew, we first learn how to thread the bobbin and then how to thread the machine.
It’s helpful to identify if your machine has a vertical or horizontal spool pin. Thread spools that are wound with a crisscross pattern, such as the Gutermann threads shown in the picture shown at the beginning, work best on horizontal spool pins.
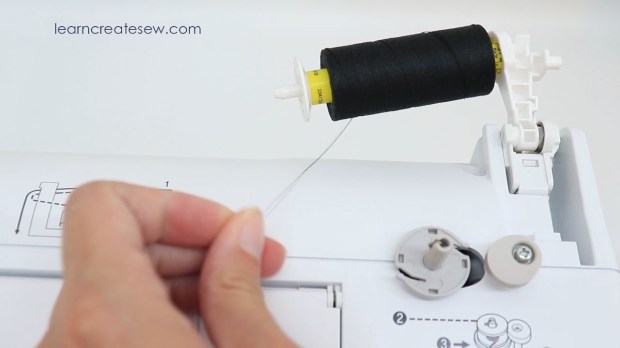
Threads that are would so that the thread is stacked, such as the Coats and Clark threads, work best on vertical spool pins.
While I have used both styles of spools on both types of machines successfully, it is something to consider if your thread is giving you trouble.
I also occasionally have to use an adapter on my vertical spool pins in order to use the larger Gutermann spools (1093 yds). My adapter is very fancy…just kidding…it’s the body of a basic Paper Mate pen. I just take off the tip and the ink and use the hollow pen. I simply slide it over the spool pin and then slide the spool of thread over it. It’s definitely not the recommended method, but it has always worked great for me 🙂 It adds a bit of stability for taller spools. It’s also a whole lot cheaper than official spool pin adapters.
A note on a popular machine. The Brother CS6000i (and CS7000i) is wonderful model. It’s a computerized machine, but has a vertical spool pin. If you have this machine, threading the top of the machine and the bobbin will be most like my video on vertical spool pins, while inserting the bobbin casing will look like the one shown in my video with horizontal spool pins. You can just skip to the appropriate chapters in each video.
HOW TO THREAD BROTHER COMPUTERIZED MACHINES WITH A HORIZONTAL SPOOL PIN:
HOW TO THREAD BROTHER MECHANICAL MACHINES WITH A VERTICAL SPOOL PIN: