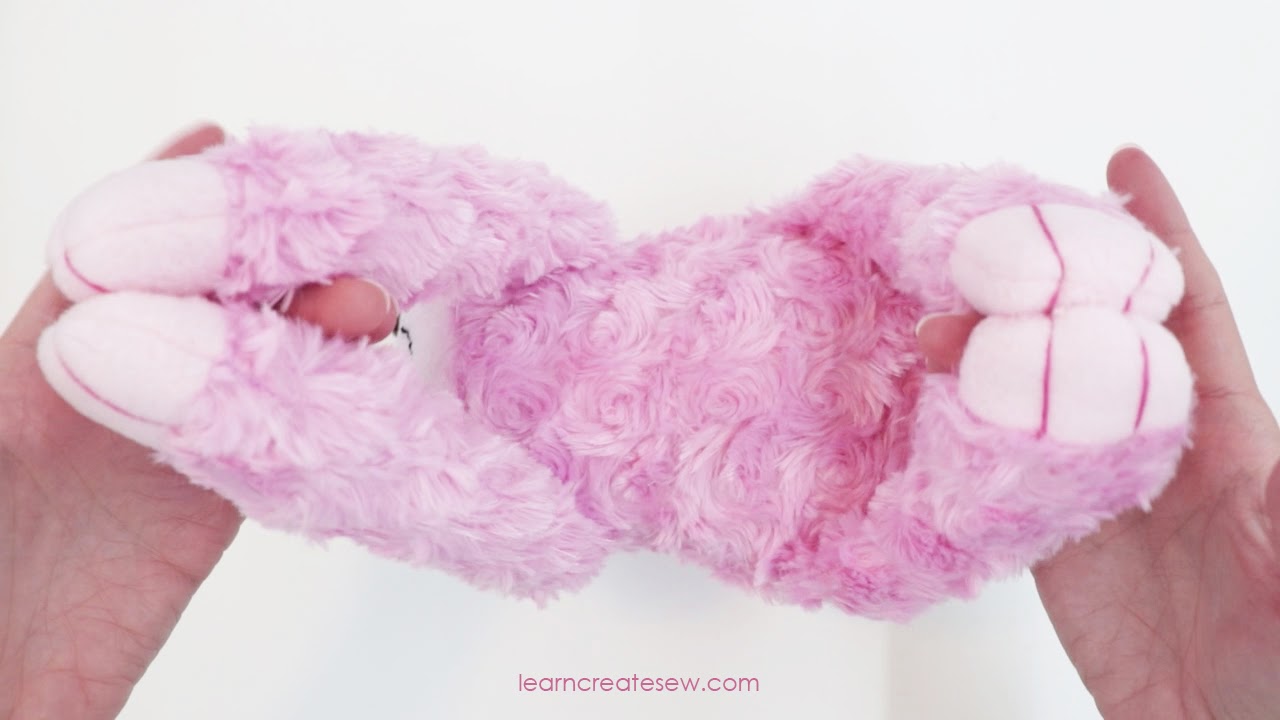
The sloth plush has been one of my posted free projects for quite some time, but I thought it was time to make a video!
I absolutely LOVE this project! It is so cuddly, which just makes me happy! It does take a bit of time, especially if you choose to work with fur, so the instructions for this project will be in two parts.
Supplies:
7 x 48 inches Faux Fur or Fleece for body and legs
4.5 x 18 inches of fleece for the face and claws
Scrap felt for face details
Two 16mm Safety Eyes (You could also use felt circles or buttons if you prefer)
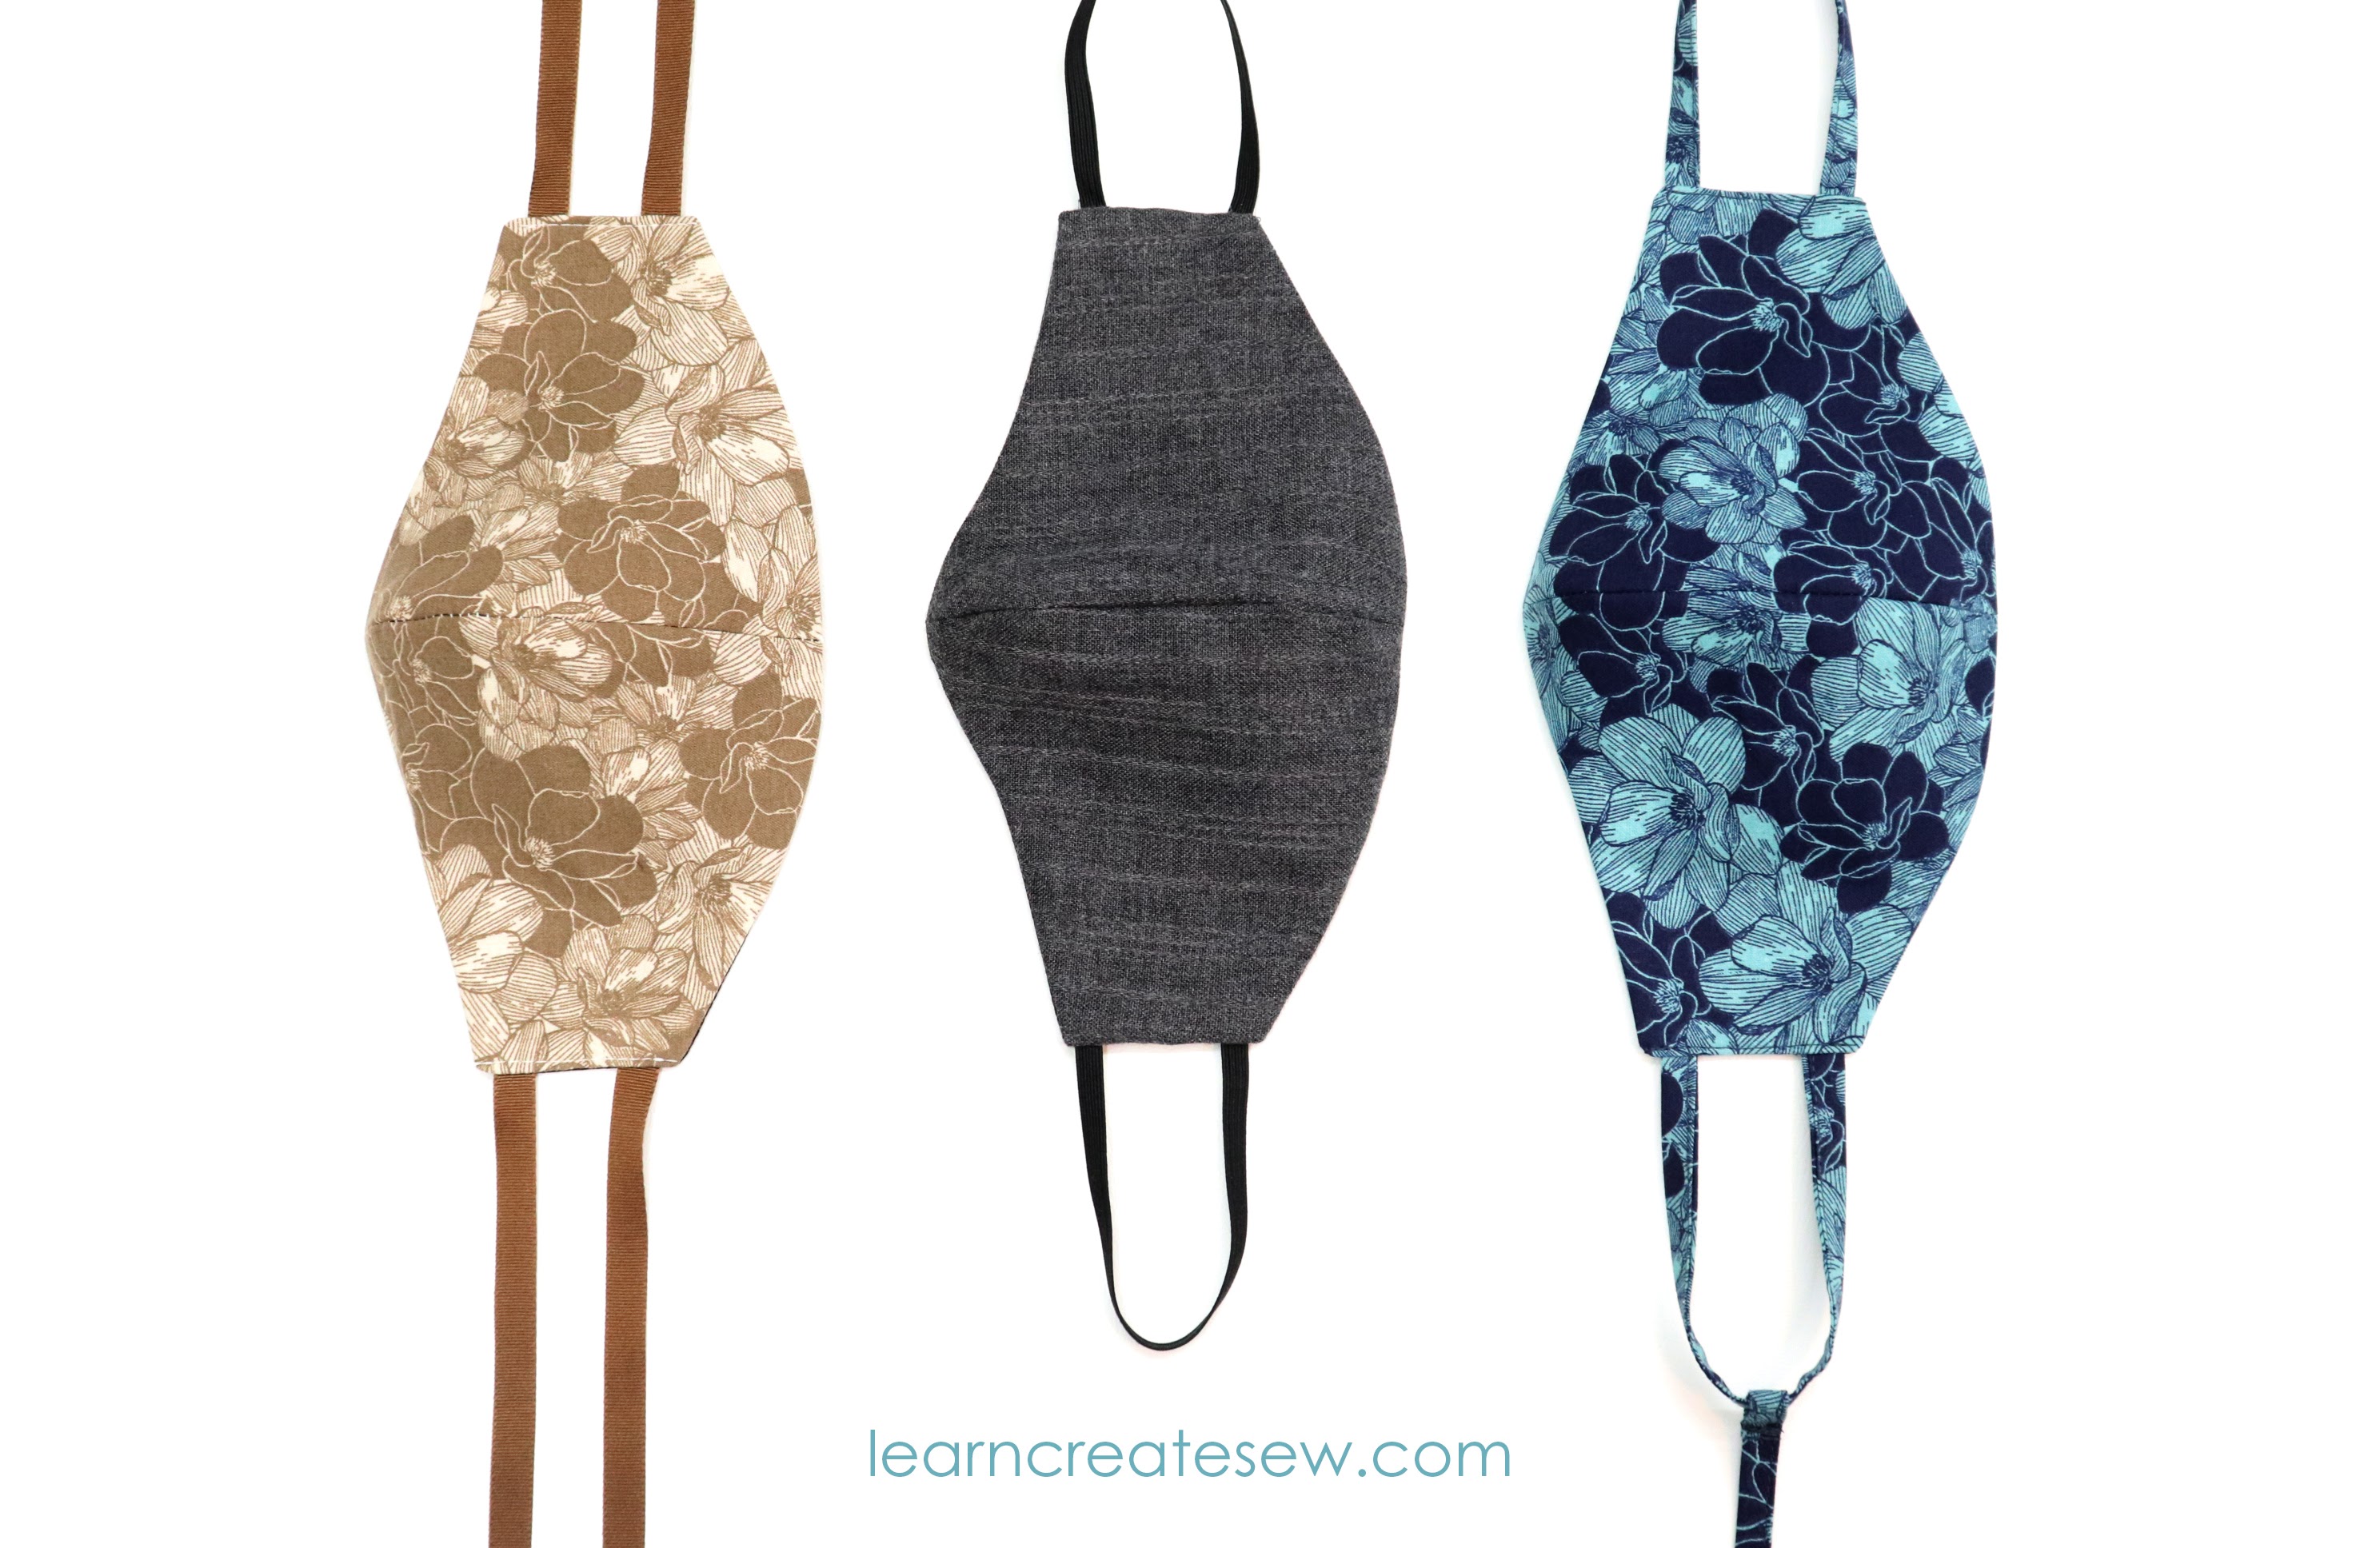
I am constantly trying the think of new ways to improve face masks. I am going to be wearing these every day to work like many of you and I hope to create masks that are both comfortable and functional.
After making the 3 layer mask with a filter pocket I thought I would give this one a try. I was very pleased with the results.
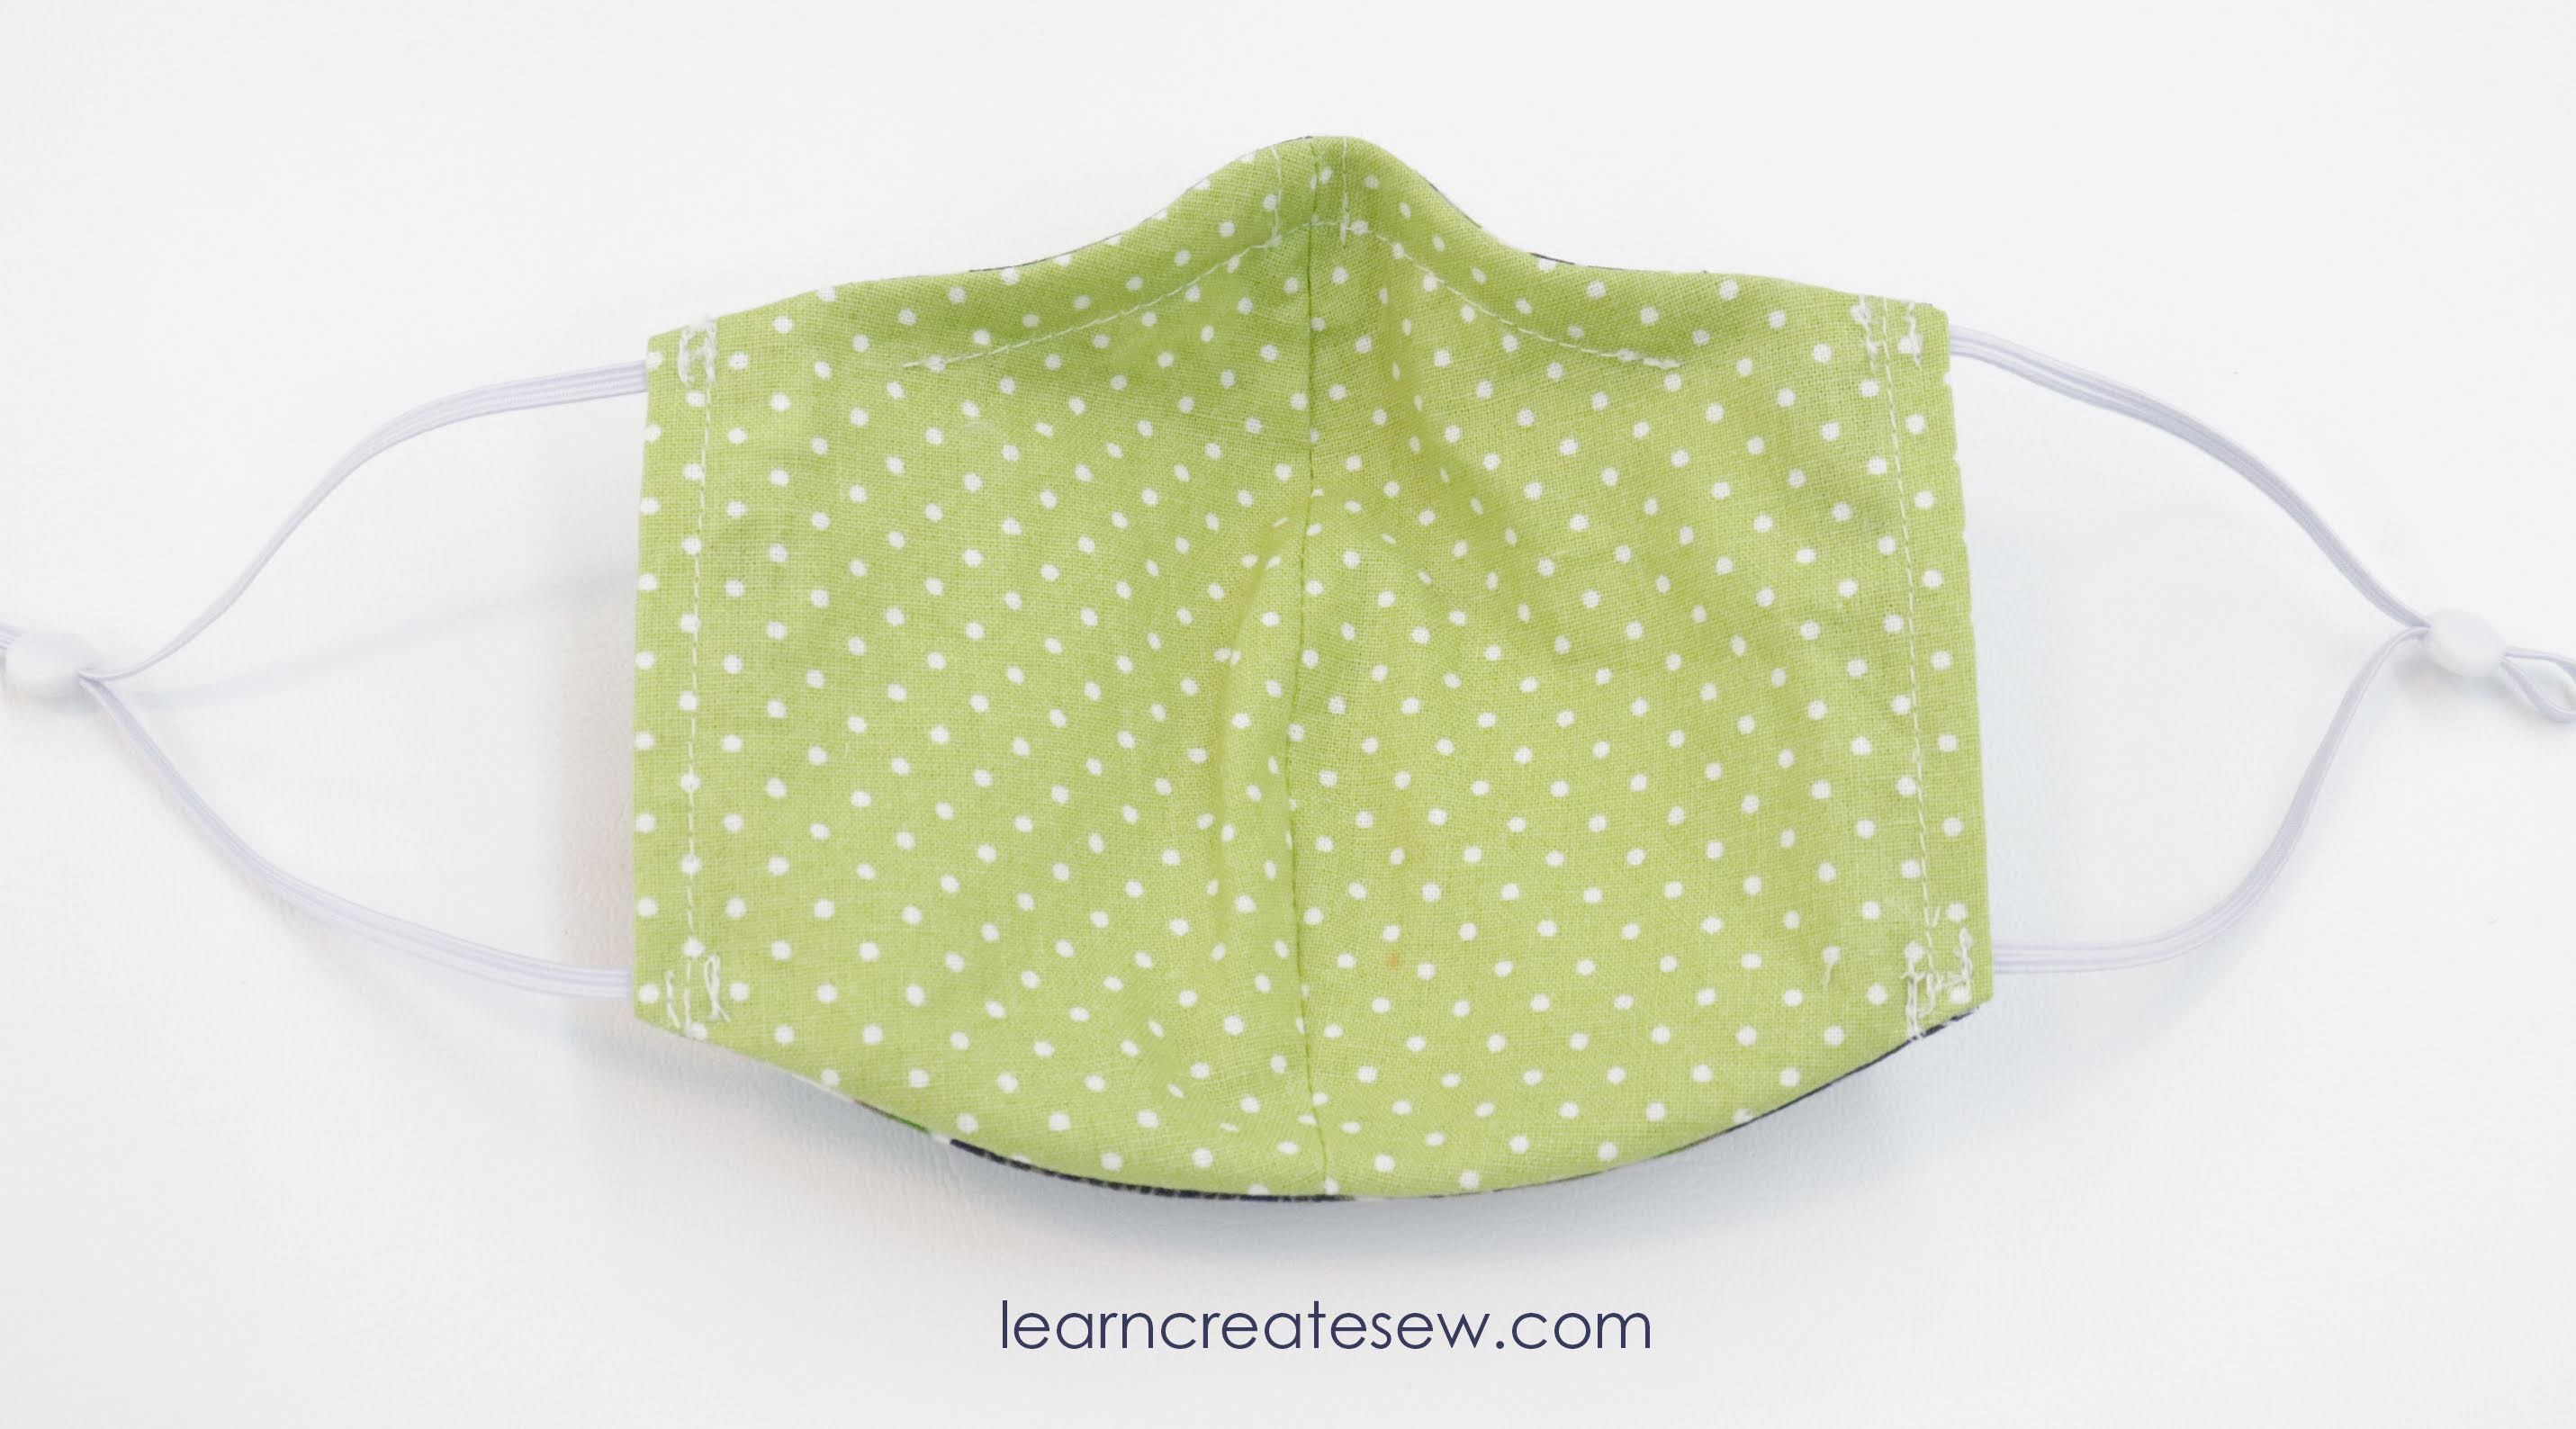
This mask uses my regular contoured face mask pattern, but cut at the pocket line, so it is a bit more narrow. This actually is nice because it’s not as hot since it doesn’t extend as far toward the ears.
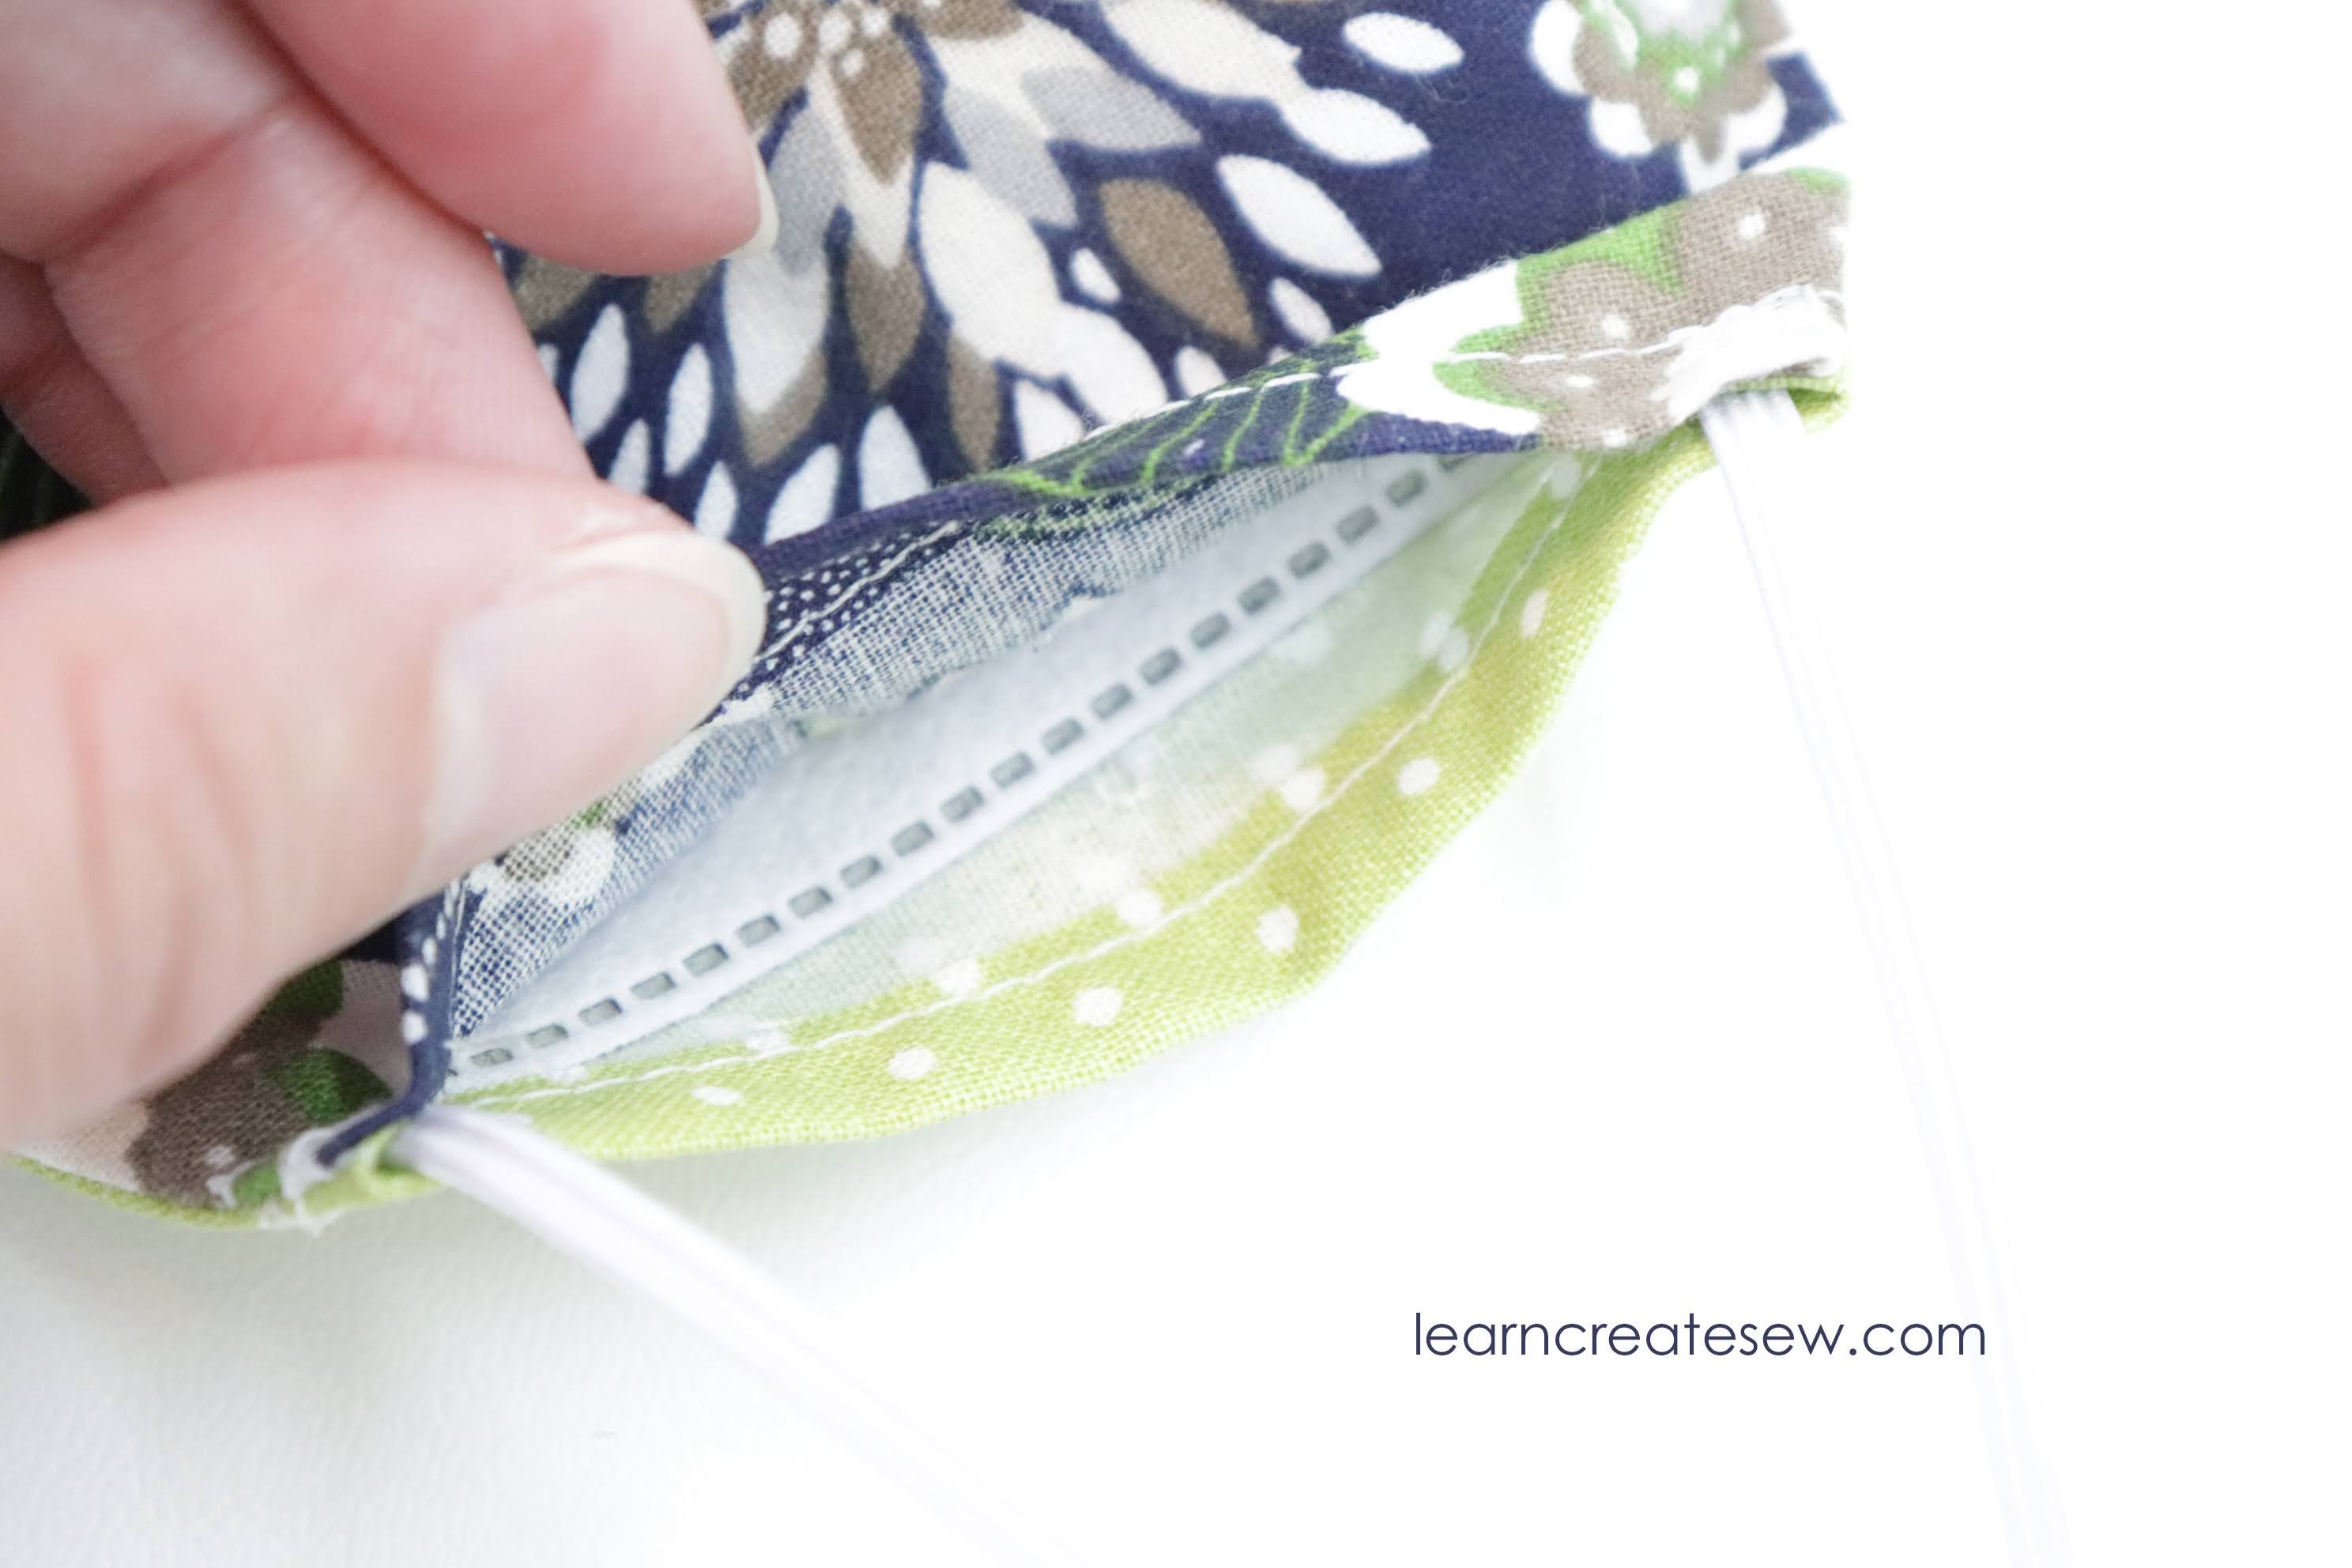
The channel for the nose bridge wire is optional, but is simply a row of stitches attaching the lining to the exterior fabric.
I didn’t use any interfacing on mine, and I really like how lightweight it is, even with the filter.
I also tried strap adjusters with this mask. They are handy and are quite easy to use. I like that they are small and not bulky.
Supplies:
8 x 10 inches Main Cotton Fabric (Dimensions work for all sizes. You may need less fabric for smaller sizes)
The face mask key chain case is always a fun project 🙂 It’s a little tight fitting the nose bridge wire, and you have to fold the filter, but I like to store my mask in the case when it’s not in use, without the filter and wire. I find it keeps my masks nice and organized.
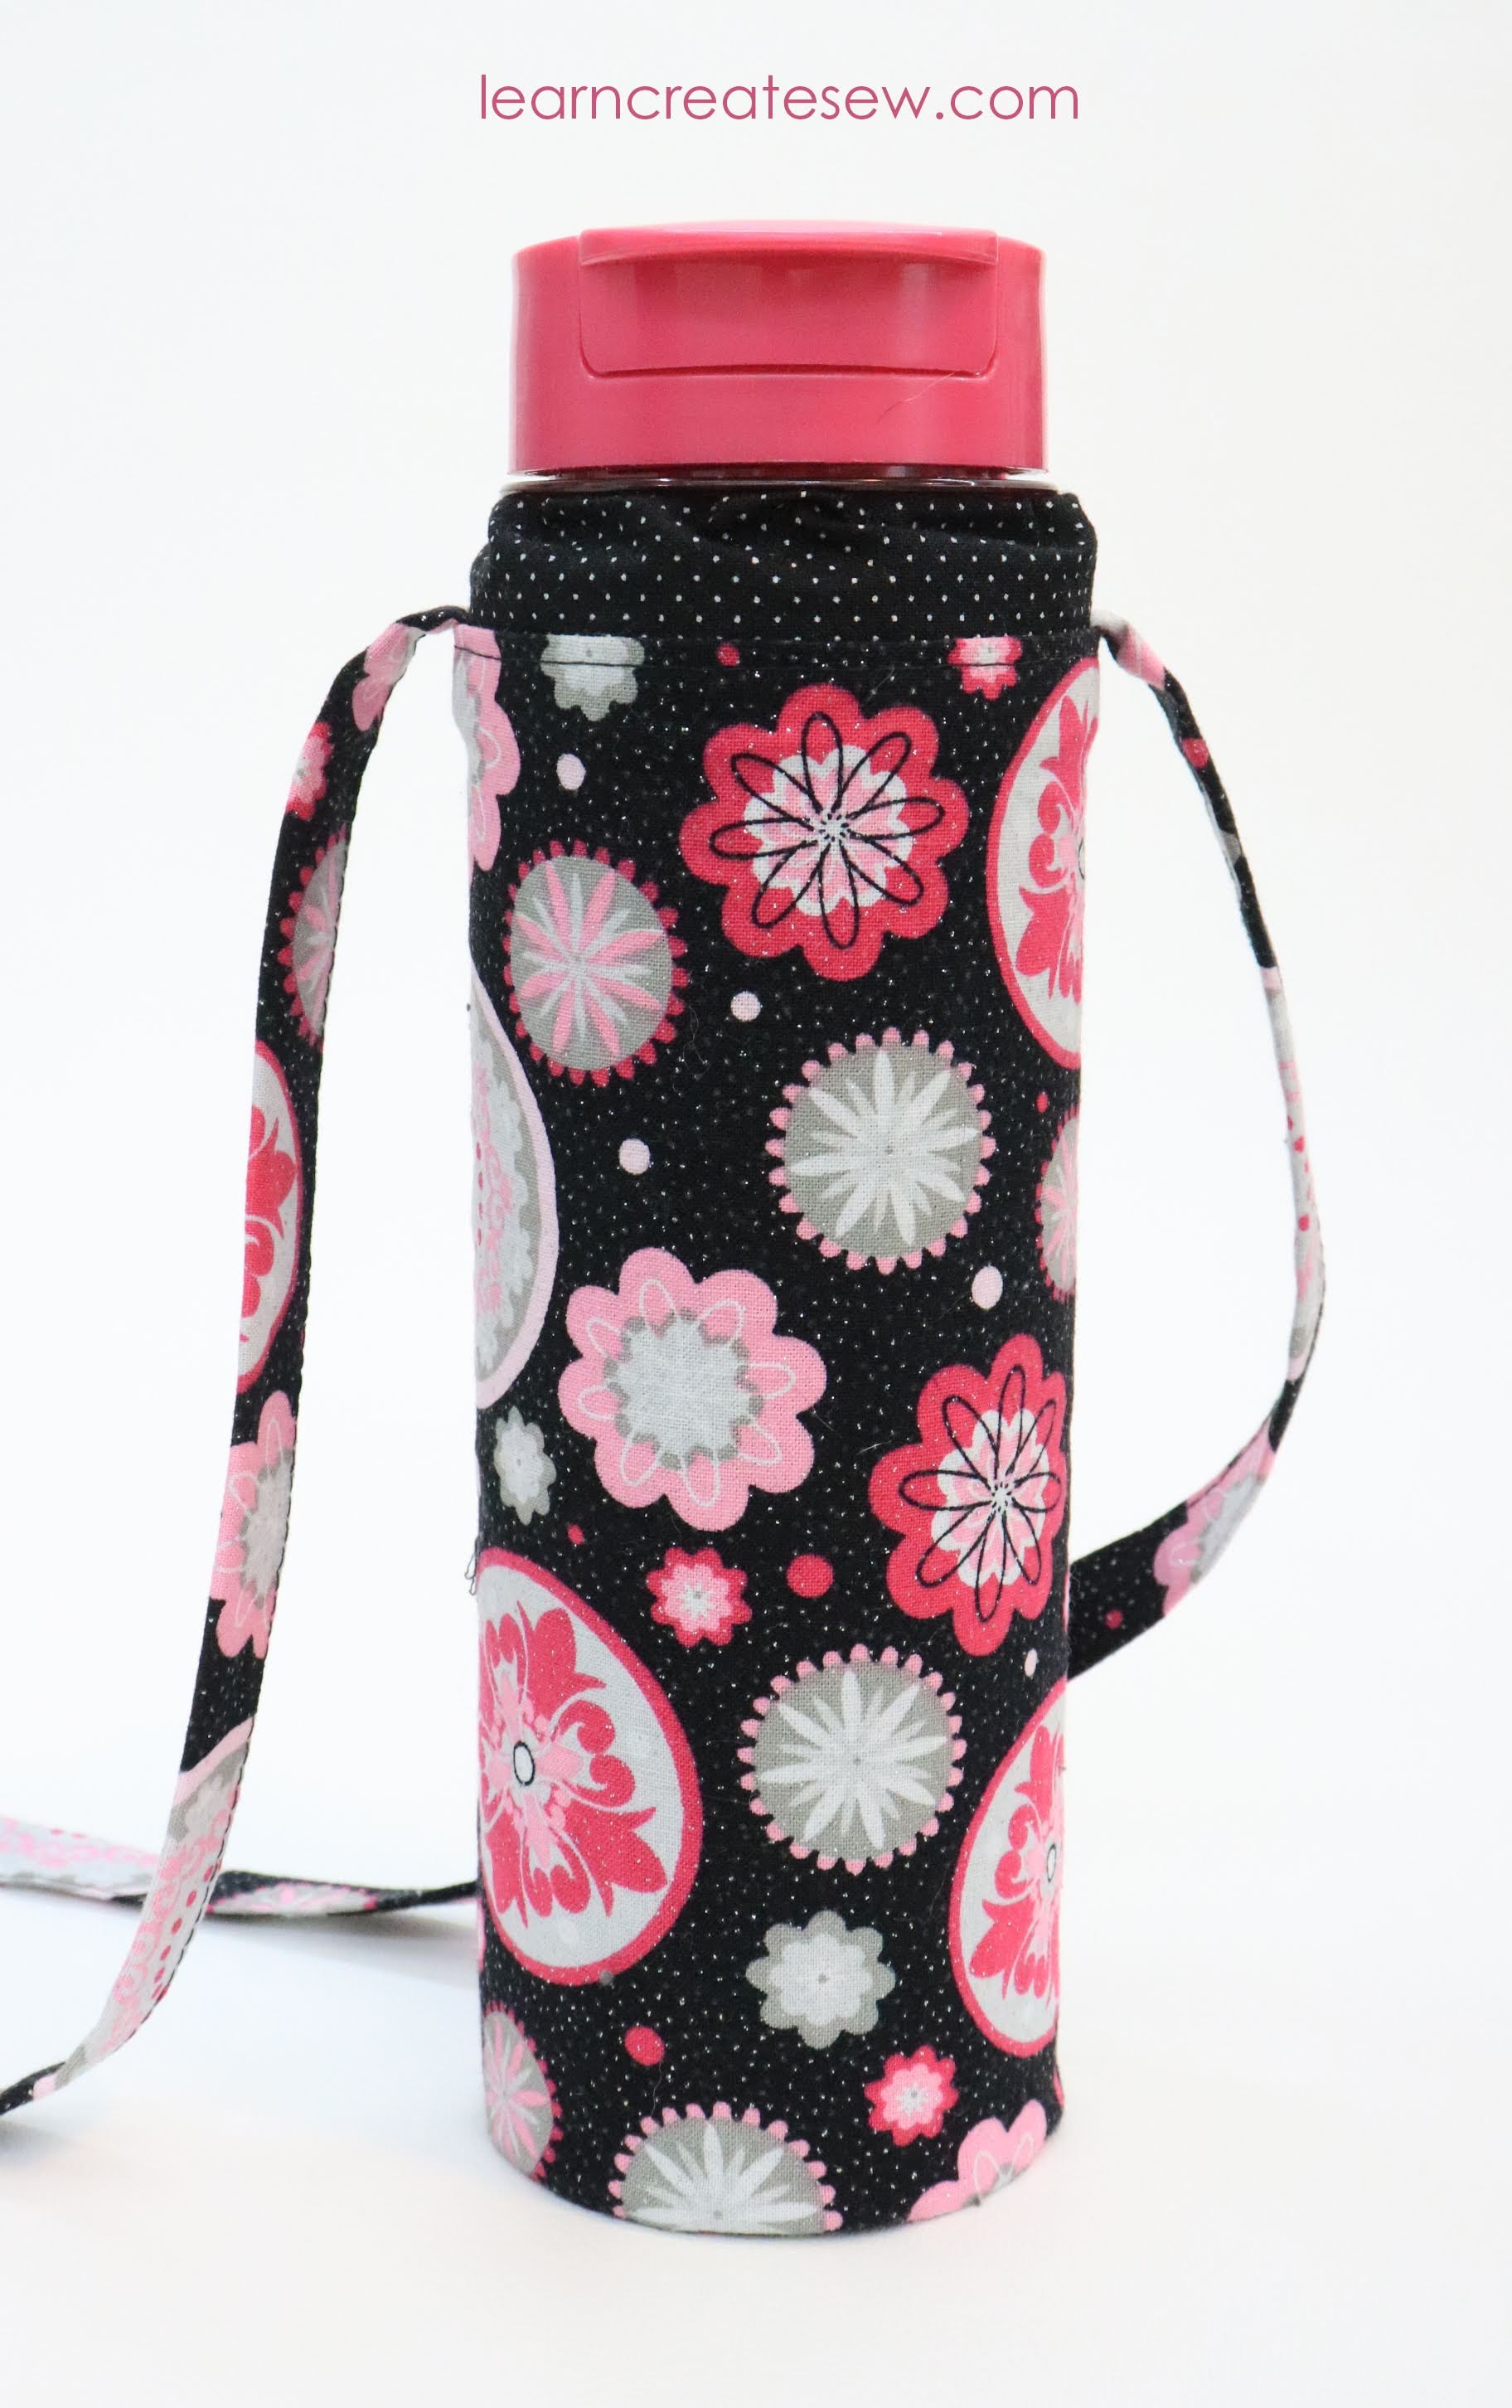
The supplies for making a water bottle holder have been sitting in my closet for quite a while, and I was excited to finally use them!
I was walking through the Dollar Tree and found this super cute water bottle and thought it was just perfect for the water bottle holder that I wanted to make.
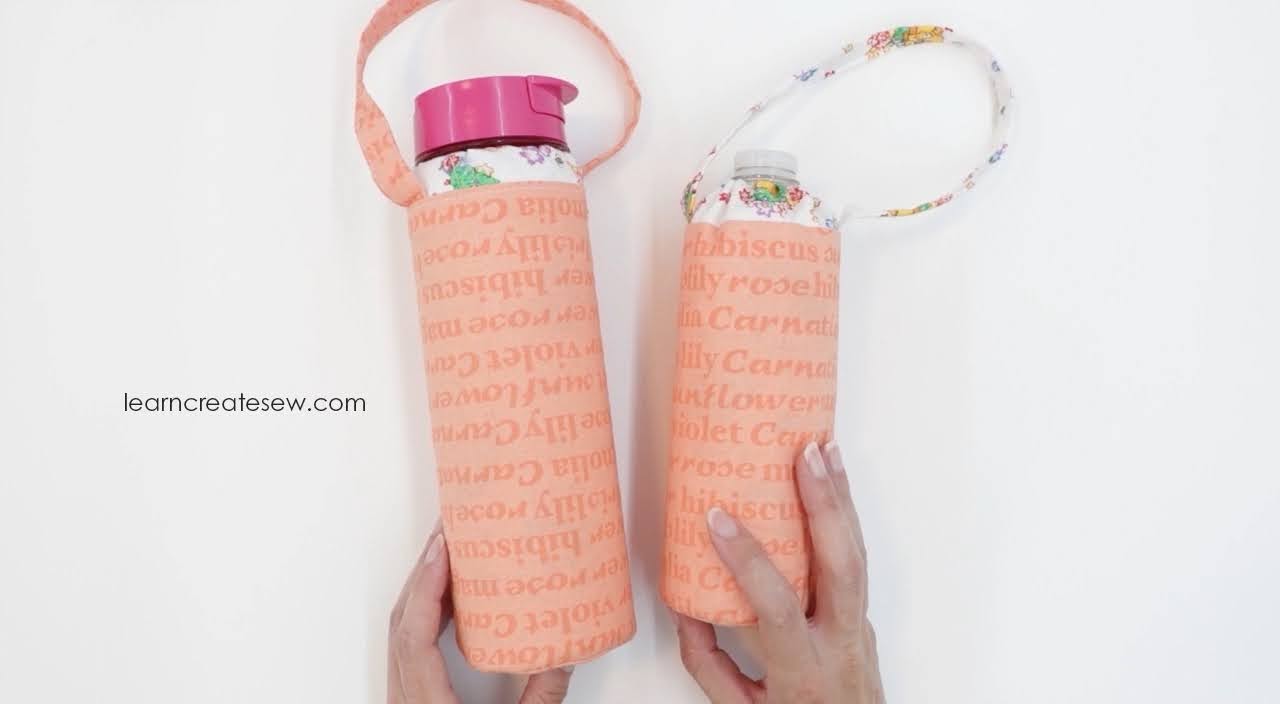
This water bottle has an optional drawstring at the top. The pattern is adjustable and can work for water bottles of various sizes. The pattern has templates and measurements calculated for water bottles with diameters from 2.5 – 3.125 inches. You can also adjust the height and the handle length as you like.
So, whether you are using a disposable water bottle or one that is more durable, this pattern can work for you.
I have been using this water bottle holder for a week now and I have to say that I LOVE IT! I have started carrying it around with me and have found it super handy 🙂
Supplies:
Exterior Cotton Fabric (1/3 yard should be enough for holders up to 9 inches tall)
Lining Cotton Fabric (1/3 yard should be enough for holders up to 9 inches tall)
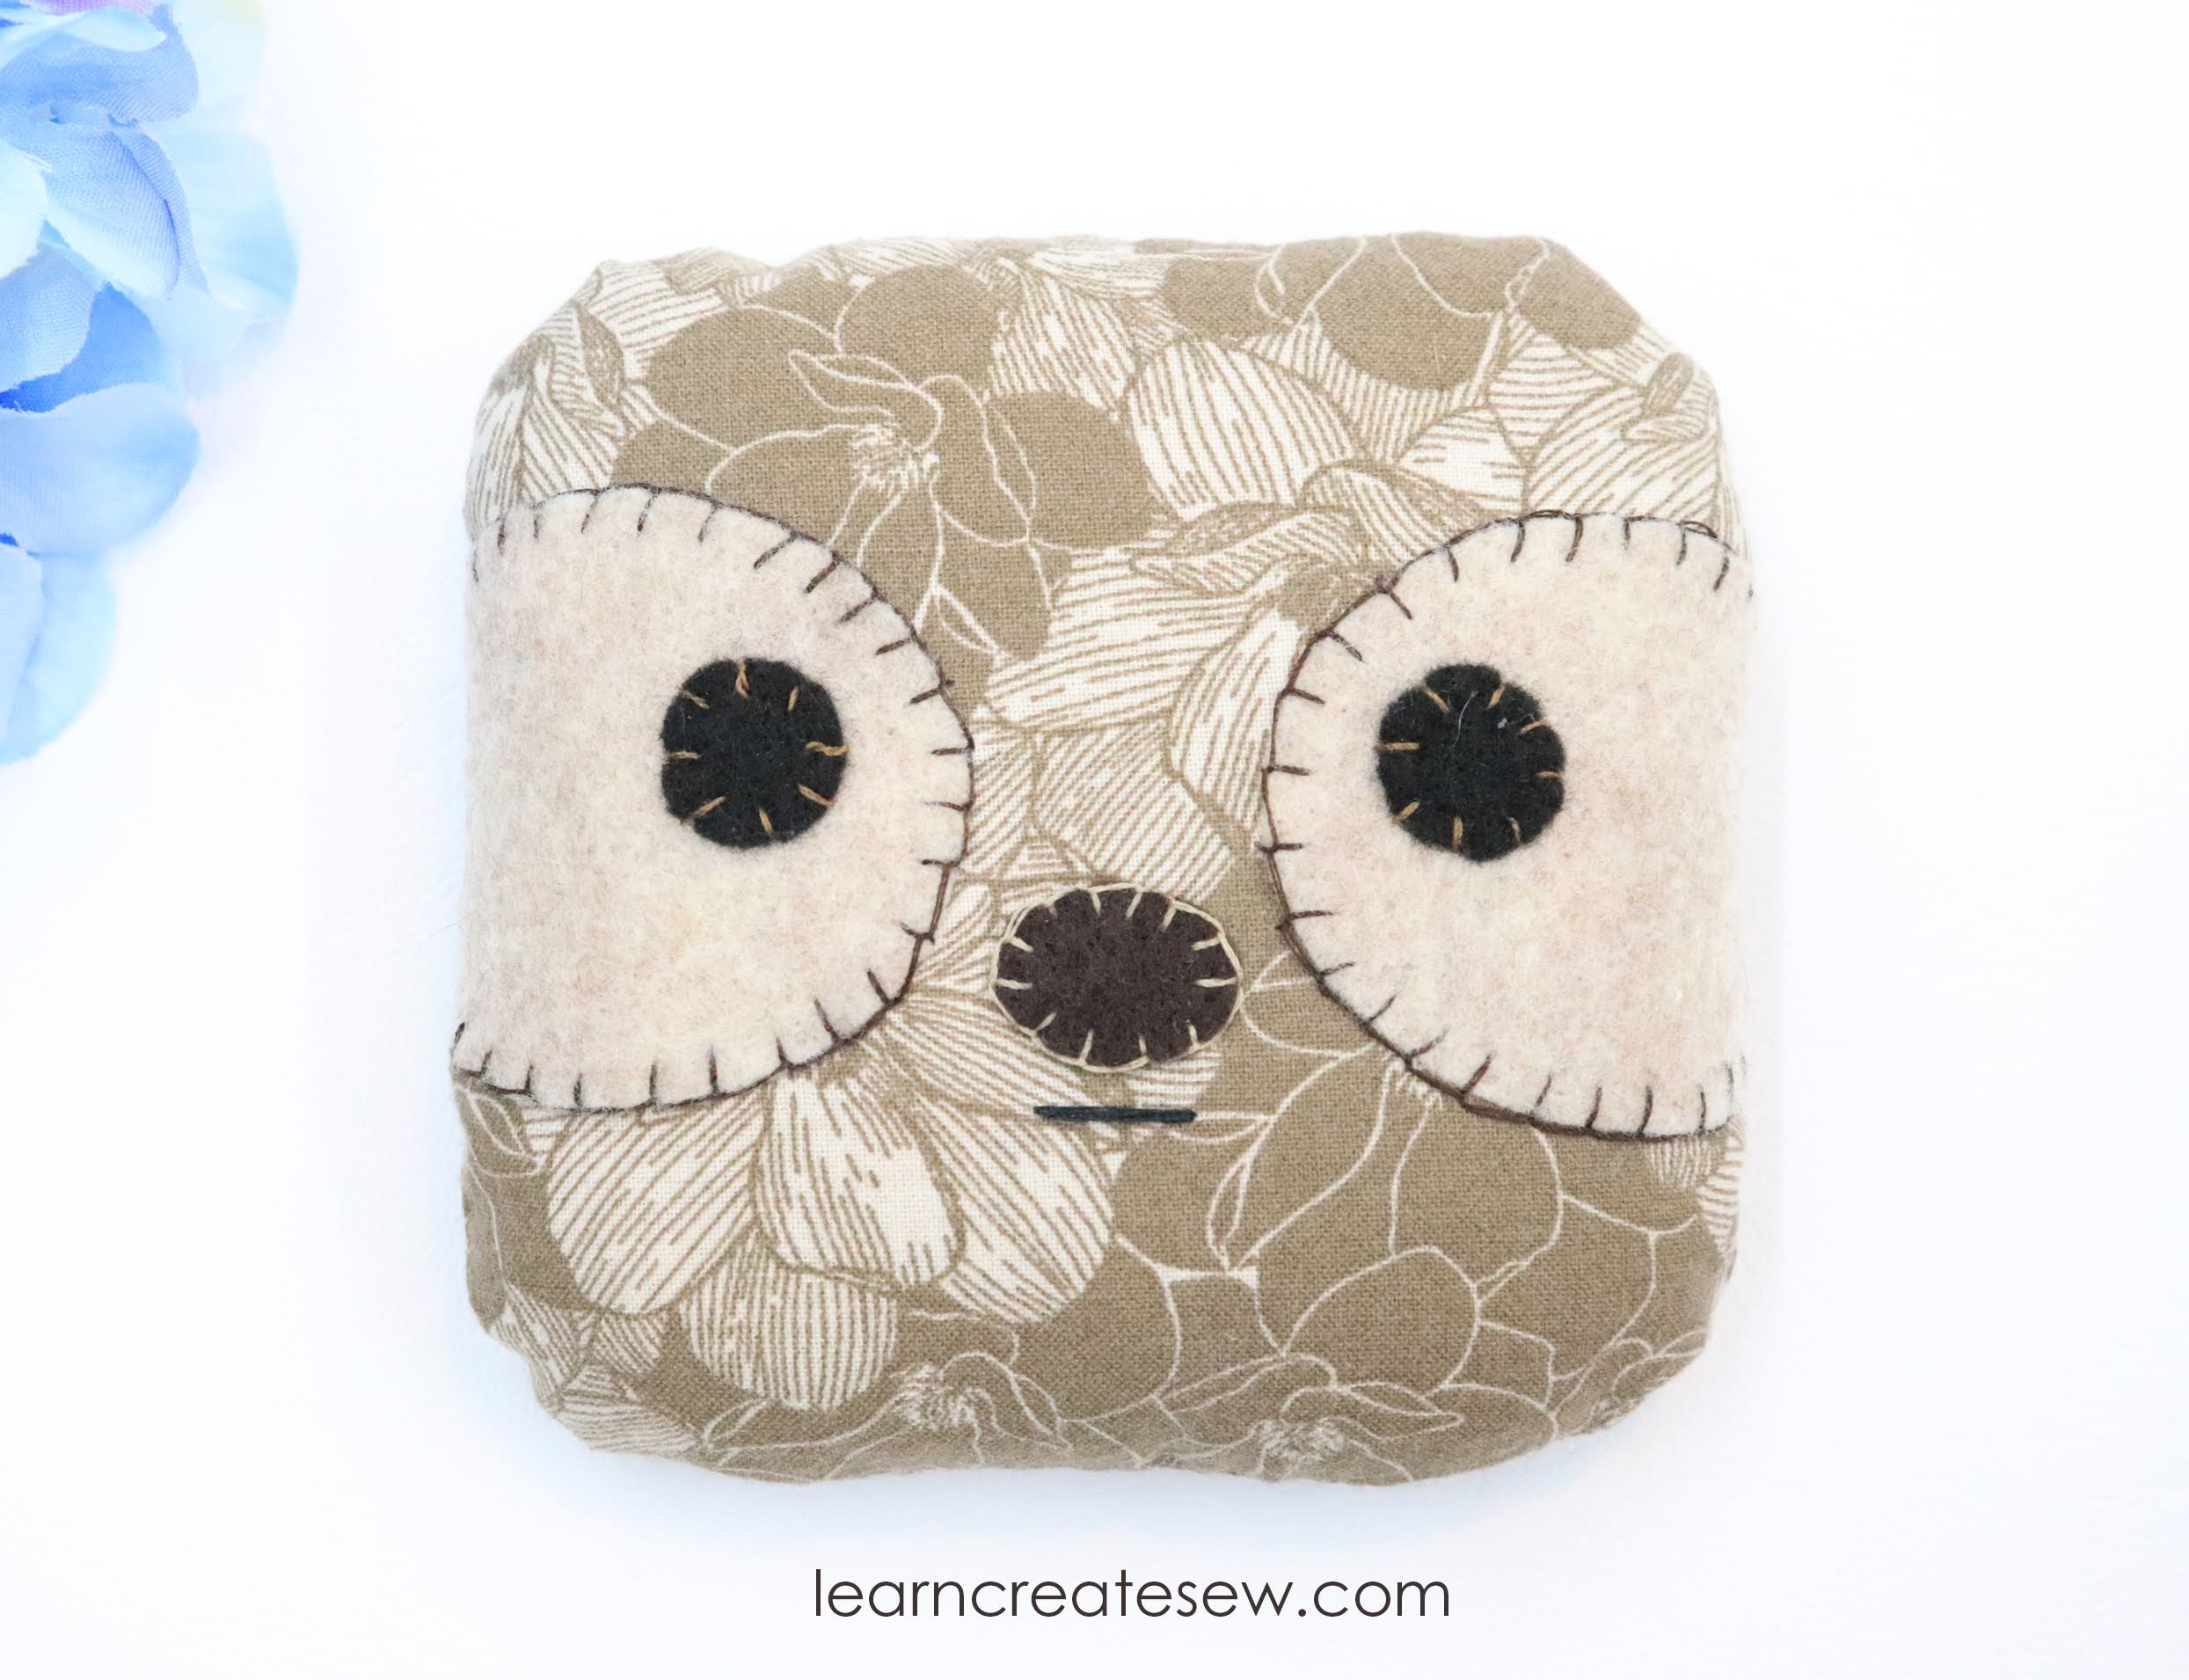
The second Learn to Sew lesson continues to focus on hand-sewing. Most of the time when we are hand sewing we are not working with felt or yarn. As a result, it is very helpful to practice your stitch size and placement, as well as working with regular all-purpose thread.
Whether you have been sewing for a while or are picking up a needle and thread for the first time, rice bags are always a fun project 🙂
For this project, you get to add decoration of your choice to really personalize your project! Decorative stitching can add dimension to any project and is a great skill to have even when sewing complex projects. These also make great gifts when you are finished.
I just had to give this project a try, I couldn’t help myself. I normally do a lot of costuming, and when I had the idea to branch away from cotton fabrics for the mask I couldn’t resist!
This was a lot of fun to make 🙂 I don’t think it would be my everyday mask, but for special occasions or when I feel the need to be a bit fancy, this mask would be great.
This mask uses my contoured face mask pattern with adjustable ties. I used 1/8 inch ribbon.
This mask also has a satin lining. It’s a little bit trickier working with specialty fabrics, but I was really pleased with how it turned out!
Supplies:
These dimensions will work for all sizes. Actual size needed may be smaller if you make a smaller size. Make sure the fabric can be washed and pressed.
About 8 x 15 inches Main Cotton Fabric ( I used satin)
About 8 x 15 inches Lining Fabric (I used satin)
About 8 x 15 inches of Lace
About 8 x 15 inches Interfacing (Optional – I used Pellon SF101.)
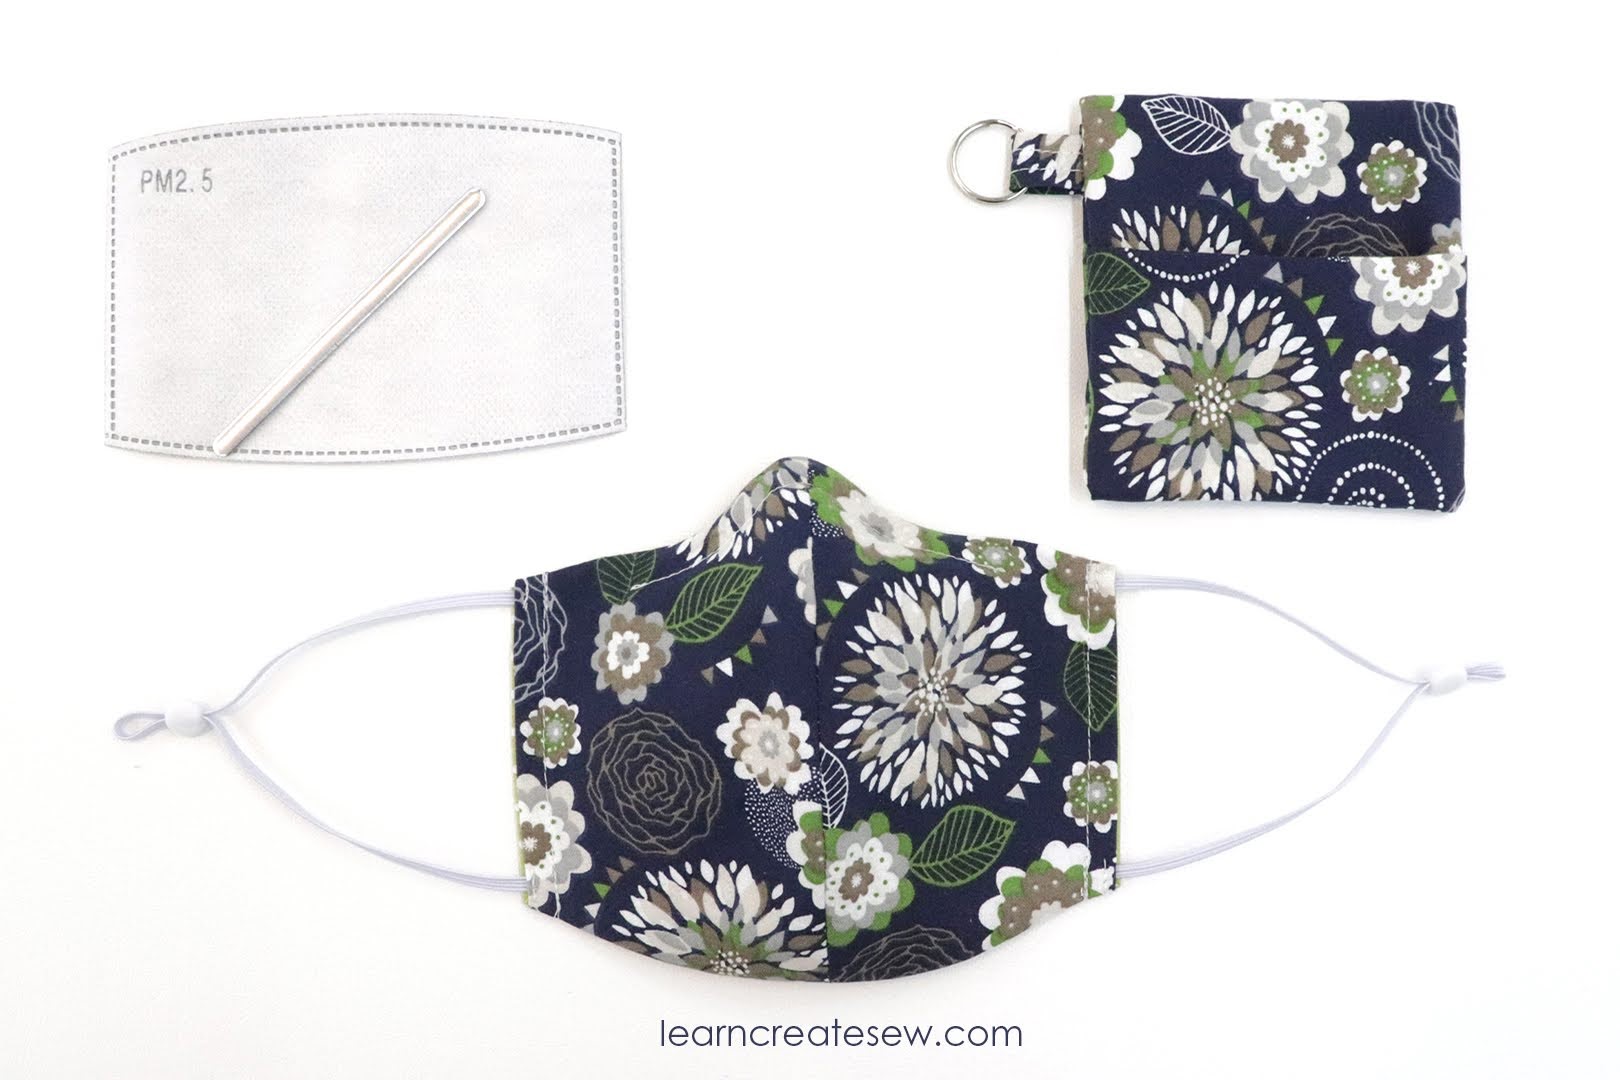
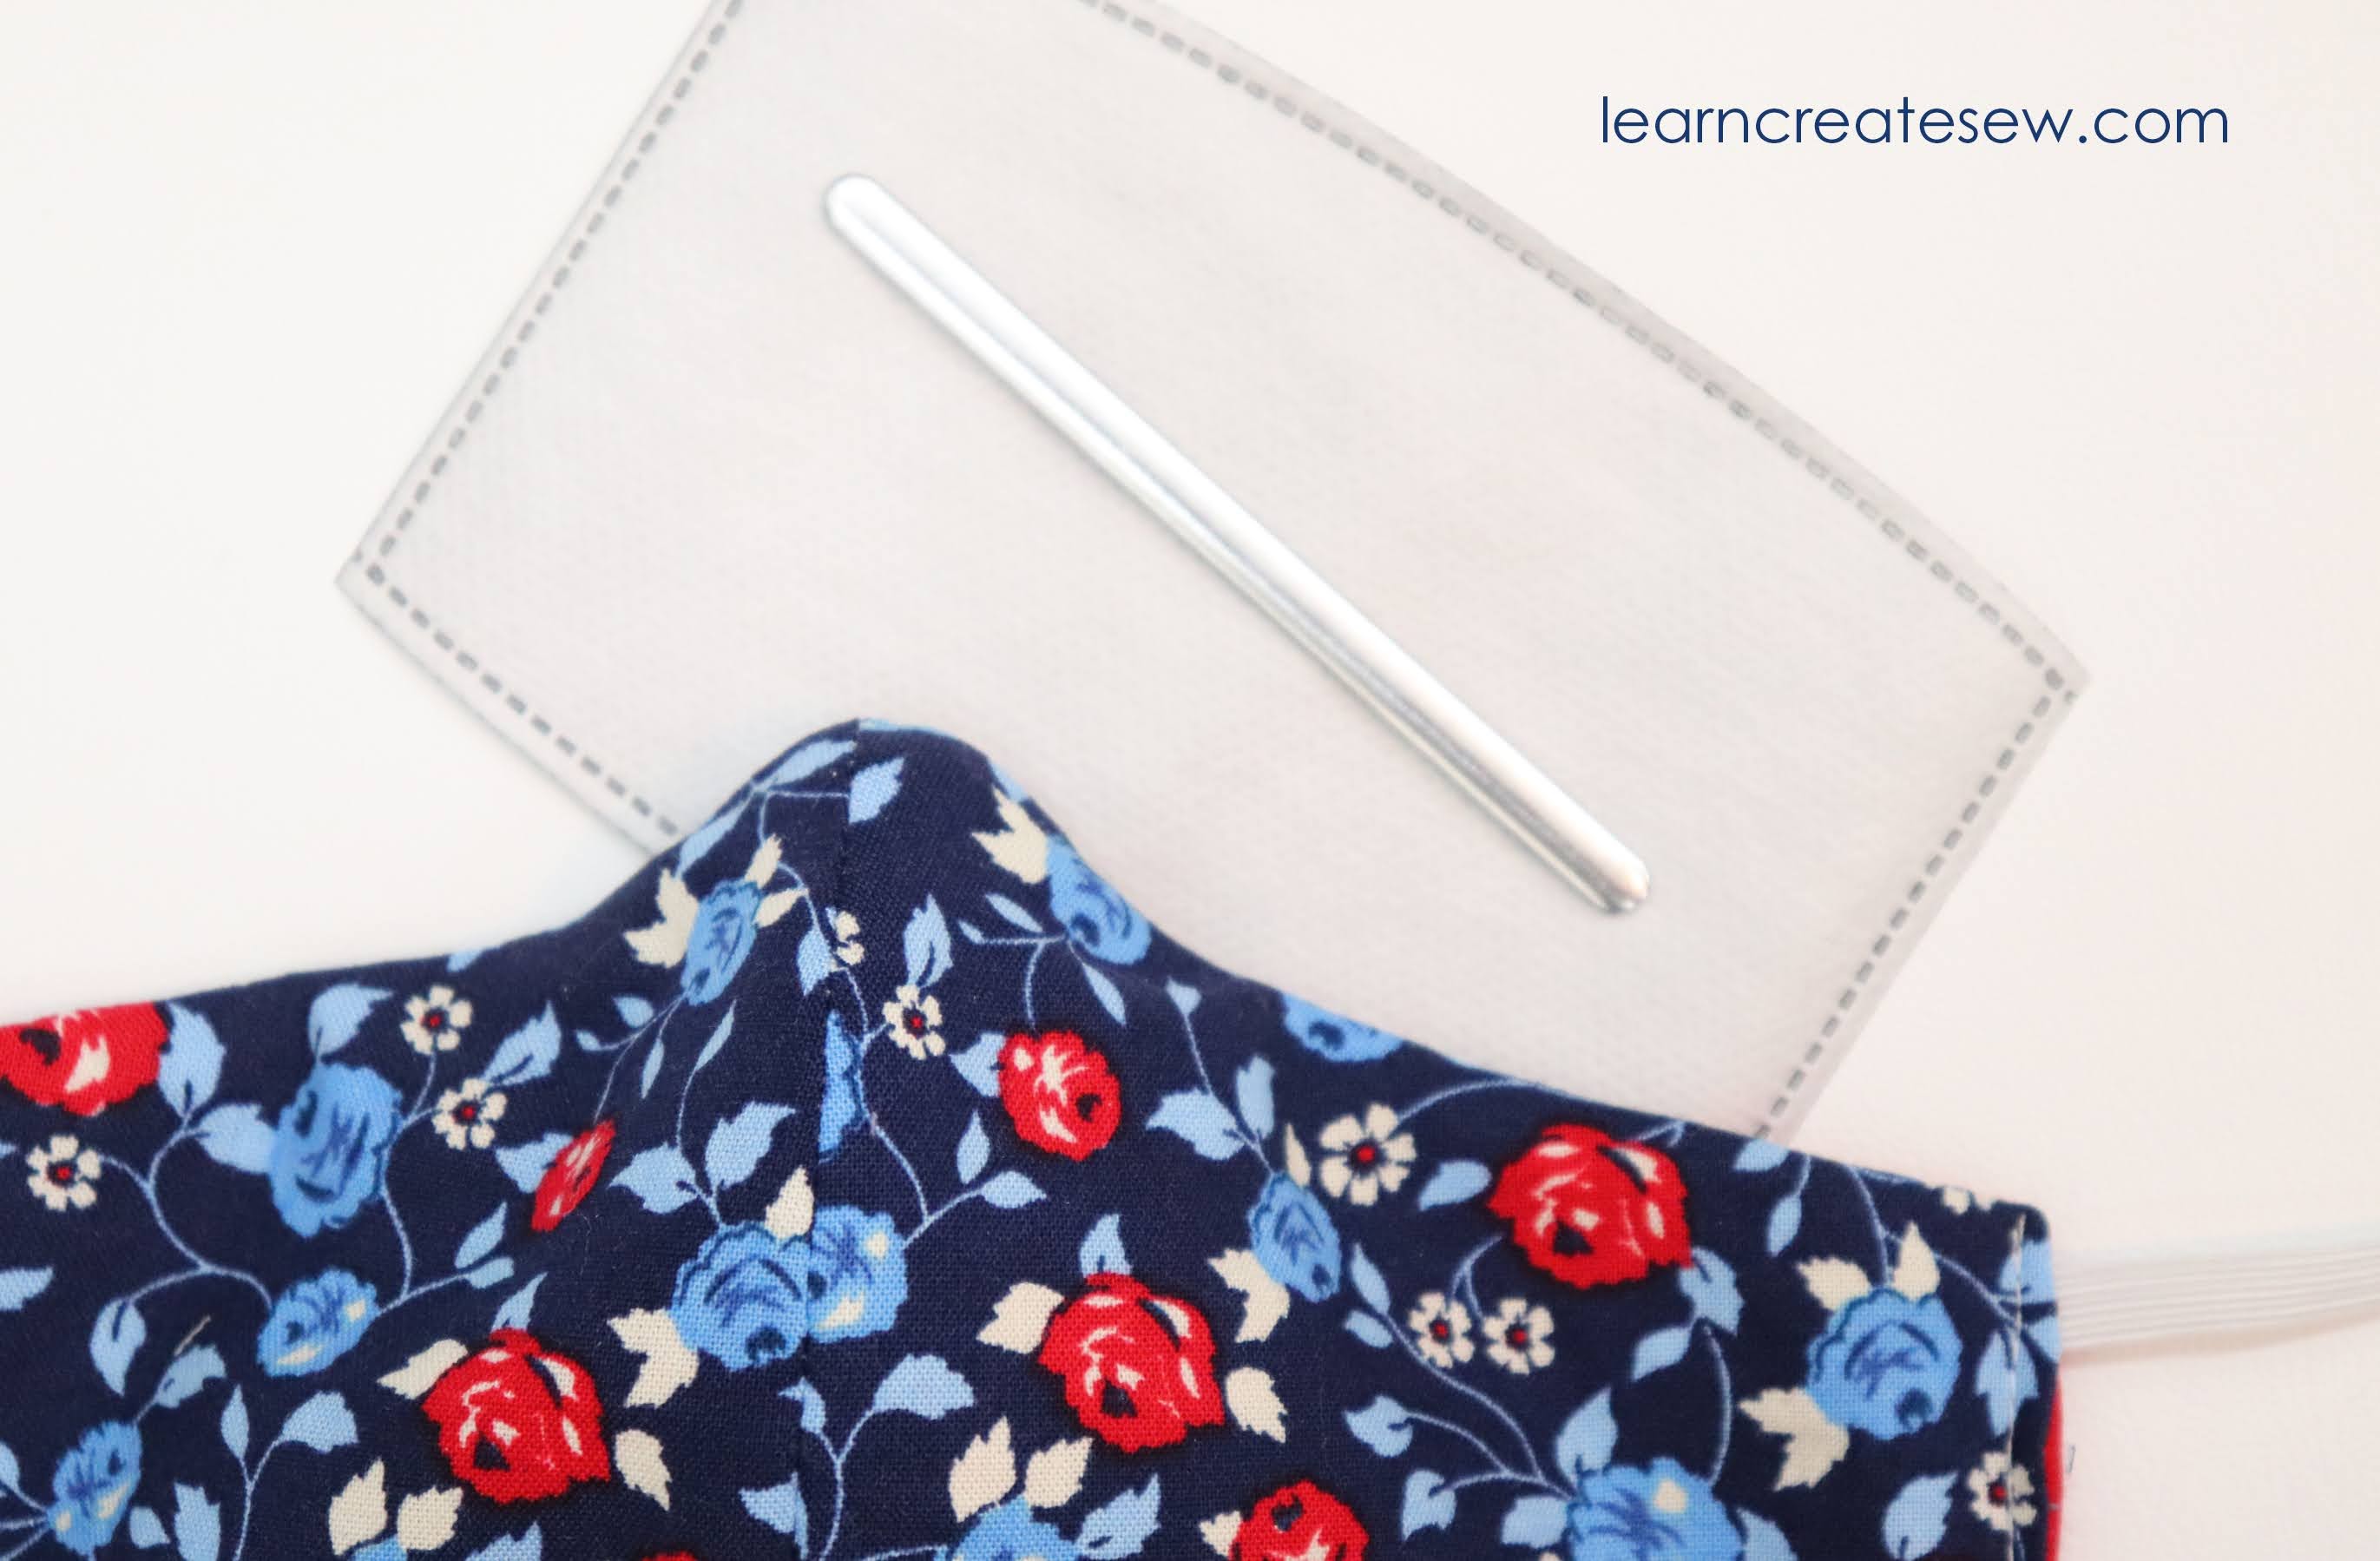
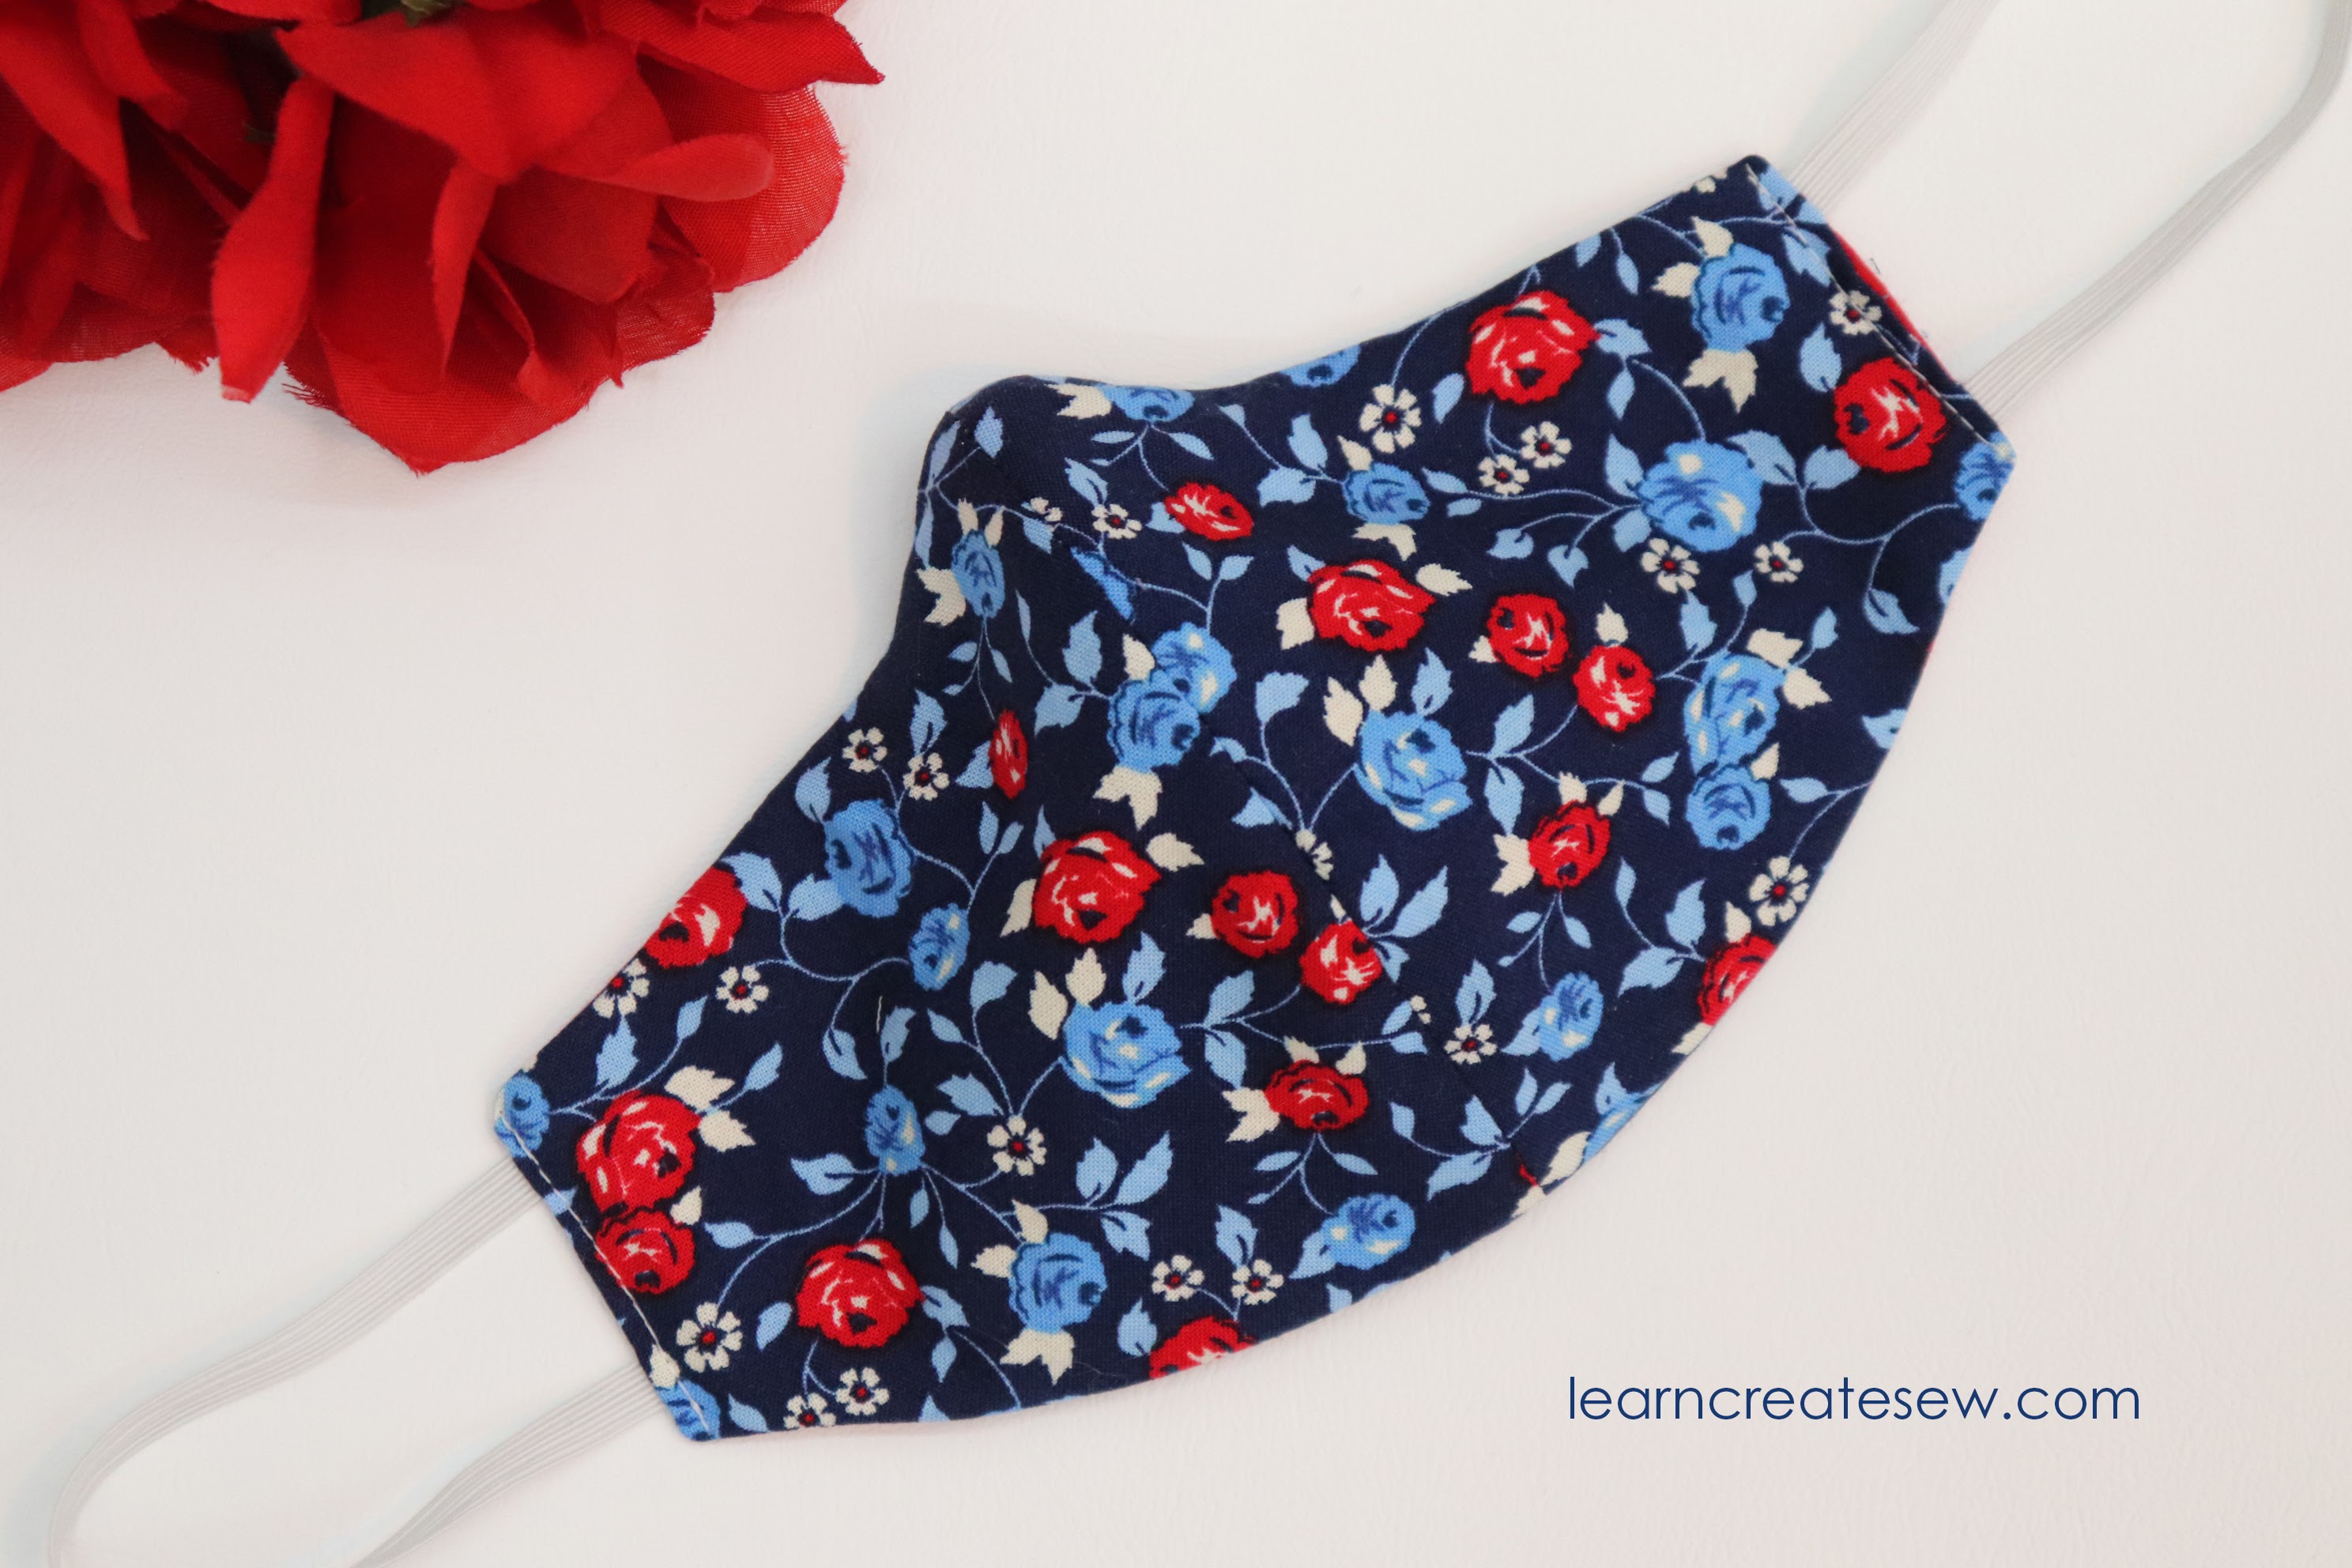
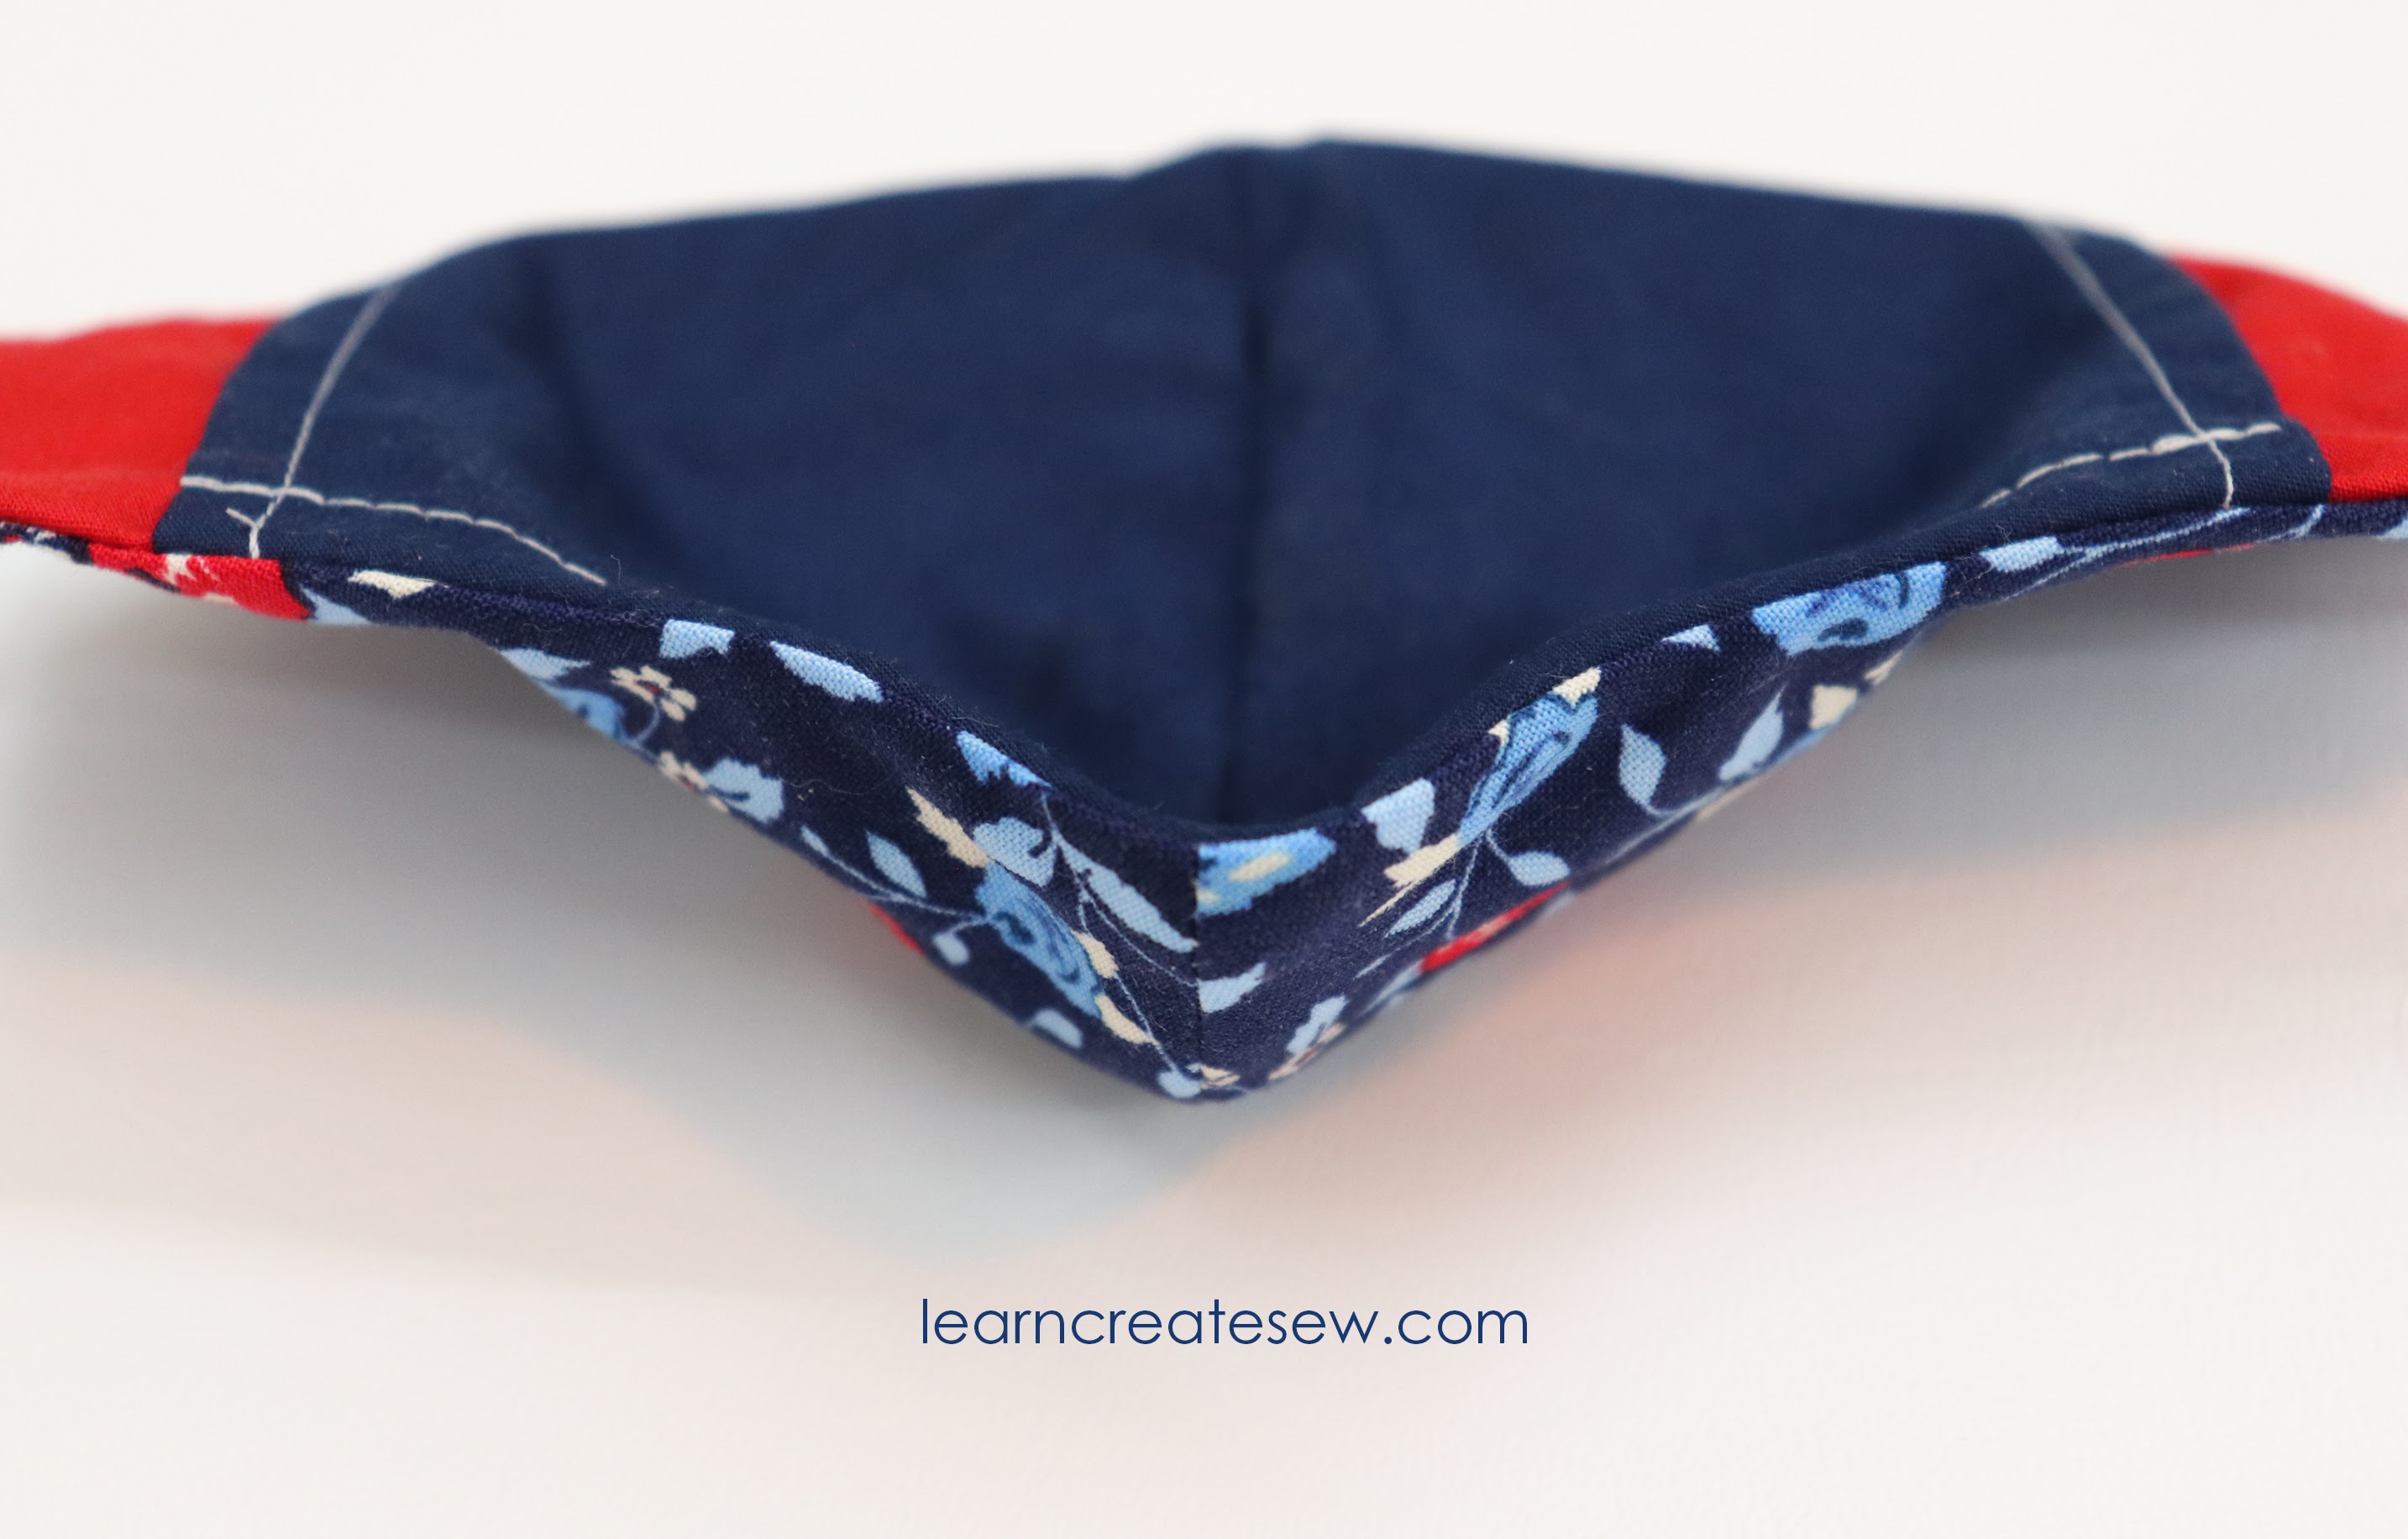
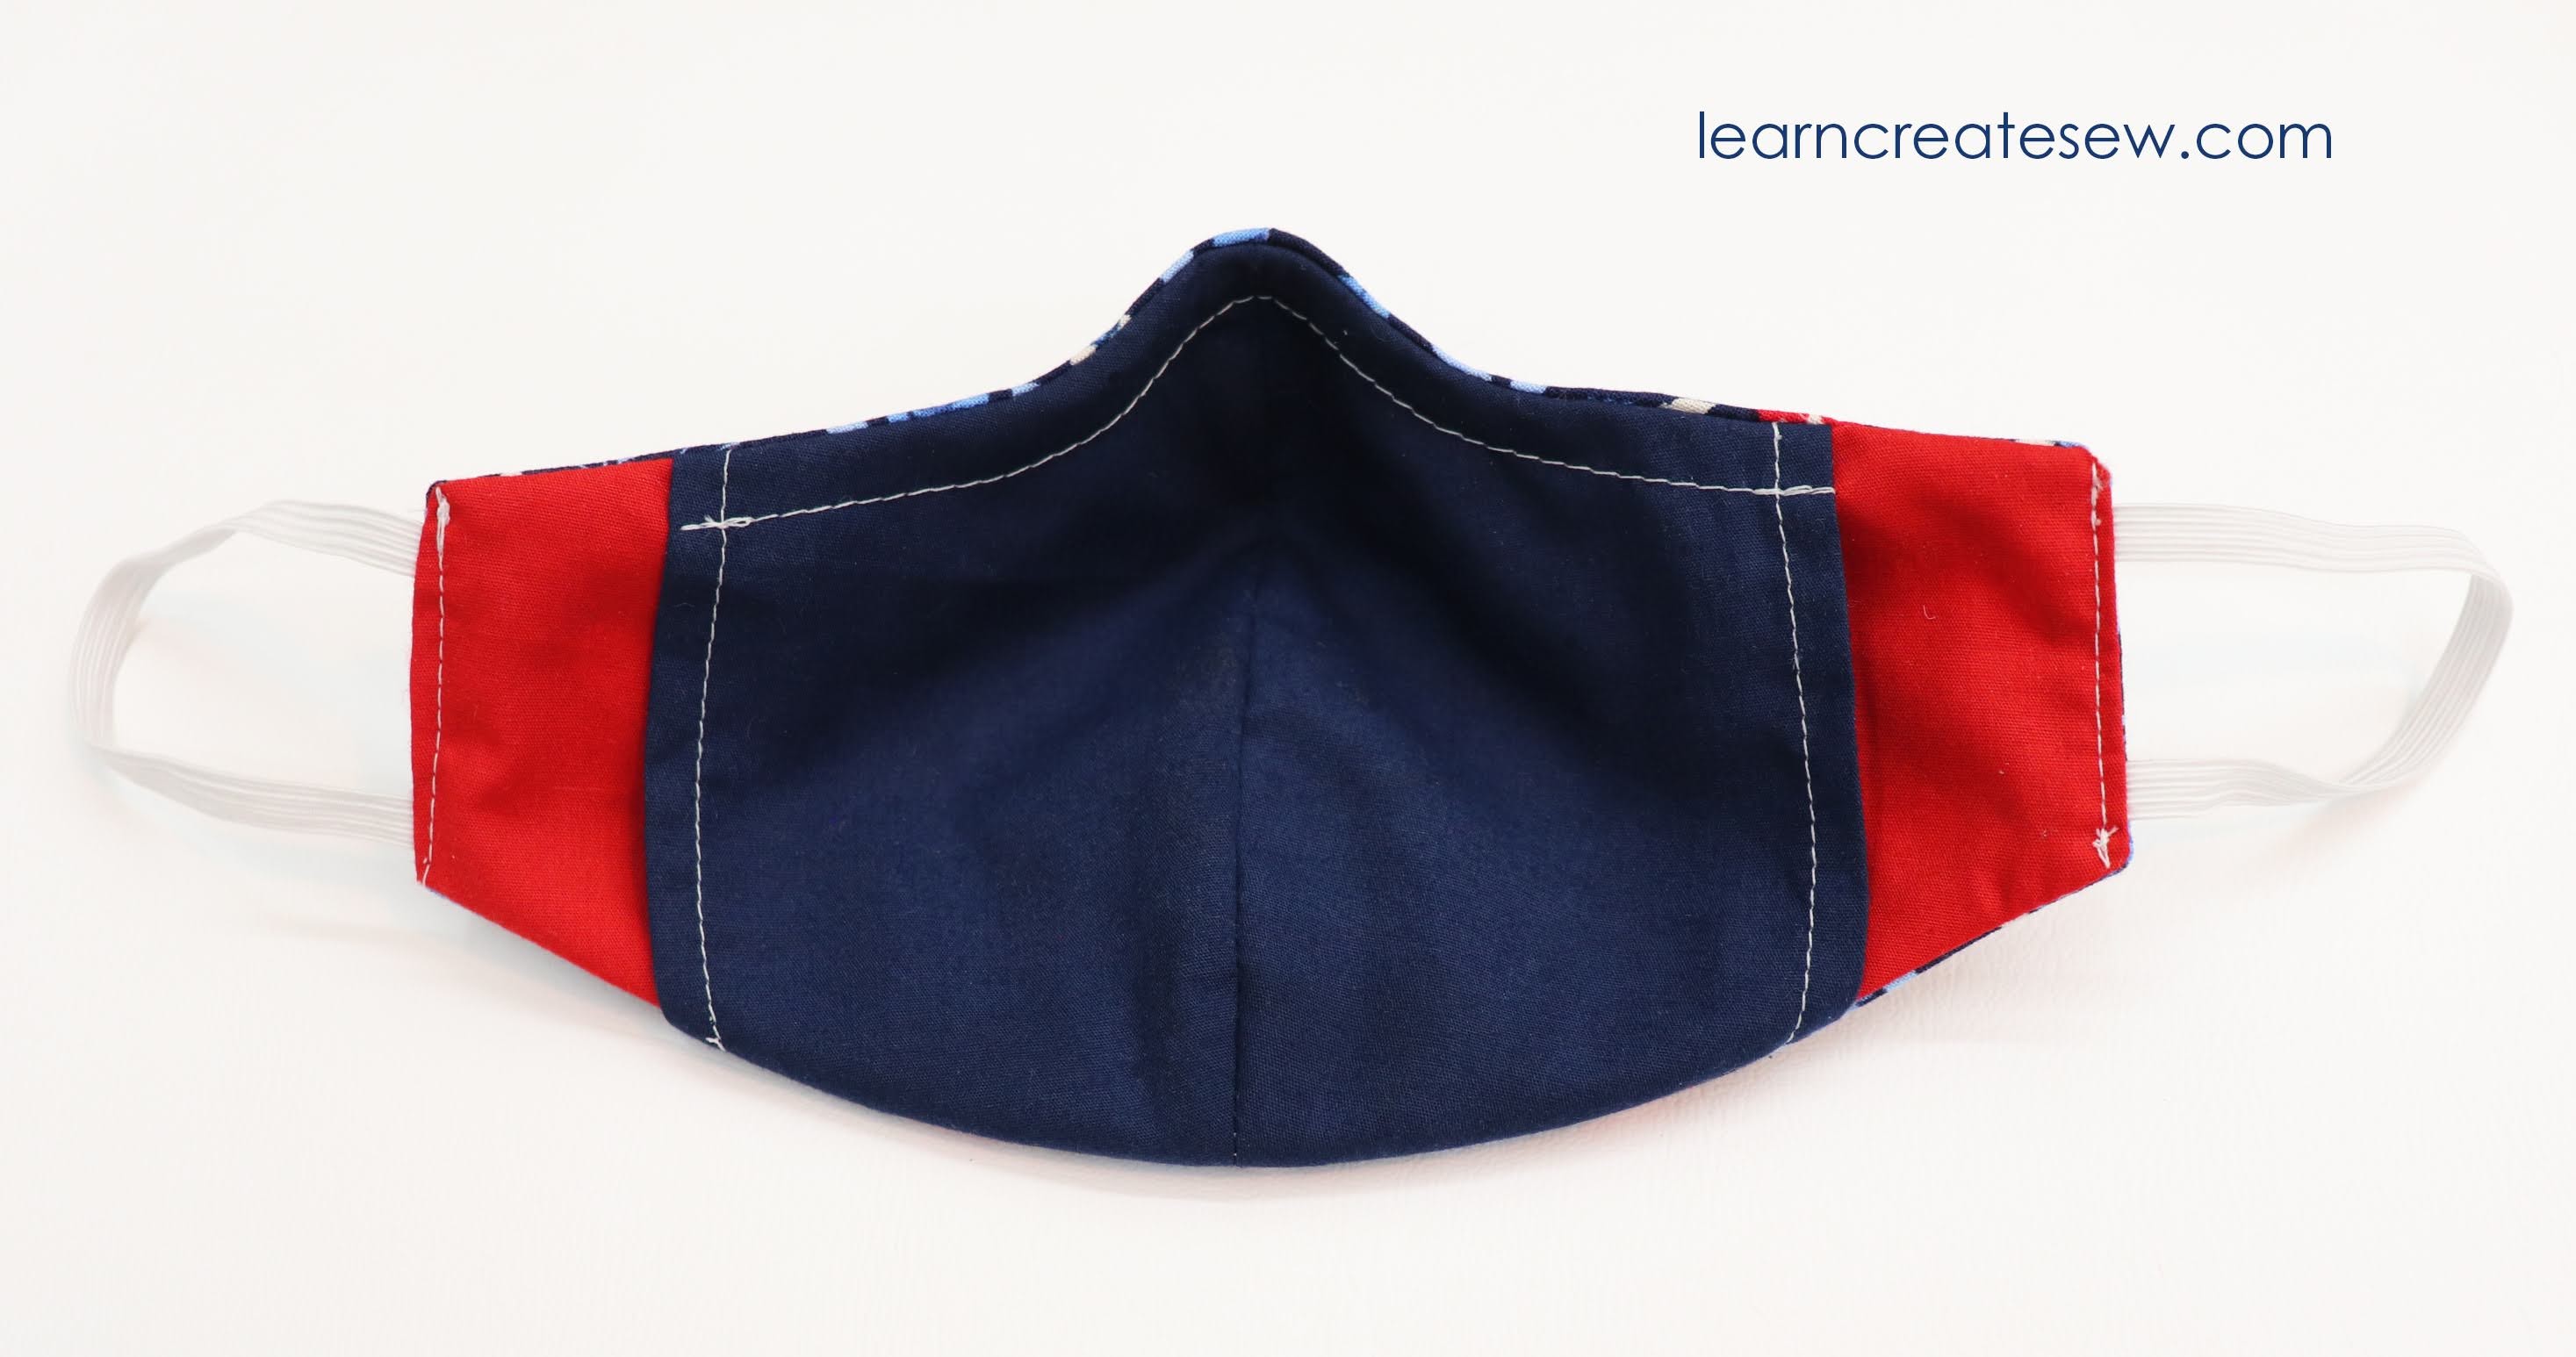
If you are looking for a face mask that provides additional protection, then this may be the mask for you. Nose bridge wire allows for a more personalized fit, and a filter will make your mask more effective.
This mask uses the same basic pattern shape as my regular Contour Face Mask, but has additional features. The updated pattern, with pockets, is linked below.
Adding nose bridge wire will let less air escape from the top of the mask and will force more air through the filter. I have heard it also helps minimize the fog you get if you wear glasses.
I made a size Medium and my purchased filters that I found on Amazon fit quite nicely inside. The filters are 4.72 x 3.15 inches. Smaller sizes may need filters or filter fabric that can be trimmed.
Supplies:
These dimensions will work for all sizes. Actual size needed may be smaller if you make a smaller size.
About 8 x 15 inches Main Cotton Fabric
About 8 x 15 inches Lining Fabric (I used cotton)
About 8 x 13 inches of Pocket Fabric (I used cotton)
I really like the look of contoured face masks! Making a pattern has been on my to-do list for several weeks, and I am happy to share it with you today!
With many of the patterns I tried, I found that the mask would move around a lot when I spoke. This drove me crazy, and as I result this project sat at the bottom of my stack for a while. But this week I found new motivation and tested it out again.
Lo and behold I made a pattern that works! This mask has a great shape, but allows me to talk without worrying about having to adjust my mask every two seconds. Since you are supposed to touch your mask as little as possible, I think this is a big plus!
This pattern makes two different styles of mask. Masks with either fixed ties or masks with adjustable ties.
FIXED TIES & ELASTIC
I have to say, I definitely prefer fixed ties. Maybe it’s because I have made so many masks that I know exactly what size works for me, and since the ties don’t move I feel like I always get a really good fit.
Even with fixed ties you still have plenty of options for the ties that work best for you. There is the single tie back mask, elastic, or the basic two tie option. Also, with fixed ties you use less elastic, so if you have a limit supply, that is something to consider.
ADJUSTABLE TIES & ELASTIC
While fixed ties are my favorite, there is no question that there are definite advantages to using adjustable ties. If you are planning to use elastic, and you want to donate the mask to a charity, friend, or relative, adjustable elastic is great as the wearer can adapt it to their preference and size.
You can also make a single fabric tie that is adjustable.
While this option looks great, I found this to be one of my least favorite options, as I had a hard time tying the mask to fit just right, but I know a lot of people prefer this design.
You can also use two basic ties on the side to tie behind your head or ears. If you are planning to tie behind your ears, I would definitely choose a thin ribbon.
All of the masks fit in my key chain carrying cases, which I always love 🙂
MY FAVORITES
My overall winner for comfort and fit was the single tie back mask. I don’t know what it is, but it is just comfortable! I never have to worry if it is going to fit right.
For convenience you can’t beat either of the elastic masks. They are still really comfortable if you make the elastic the appropriate size, and so easy to use. There is nothing better if you need something that is a quick on and off. Plus you don’t have to worry about the long ties when storing or washing.
Supplies:
These dimensions will work for all sizes. Actual size needed may be smaller if you make a smaller size.
About 8 x 15 inches Main Cotton Fabric
About 8 x 15 inches Lining Fabric (I used cotton)
About 8 x 15 inches Interfacing (Optional – I used Pellon SF101 for some of the masks. The black and gray mask has no interfacing.)
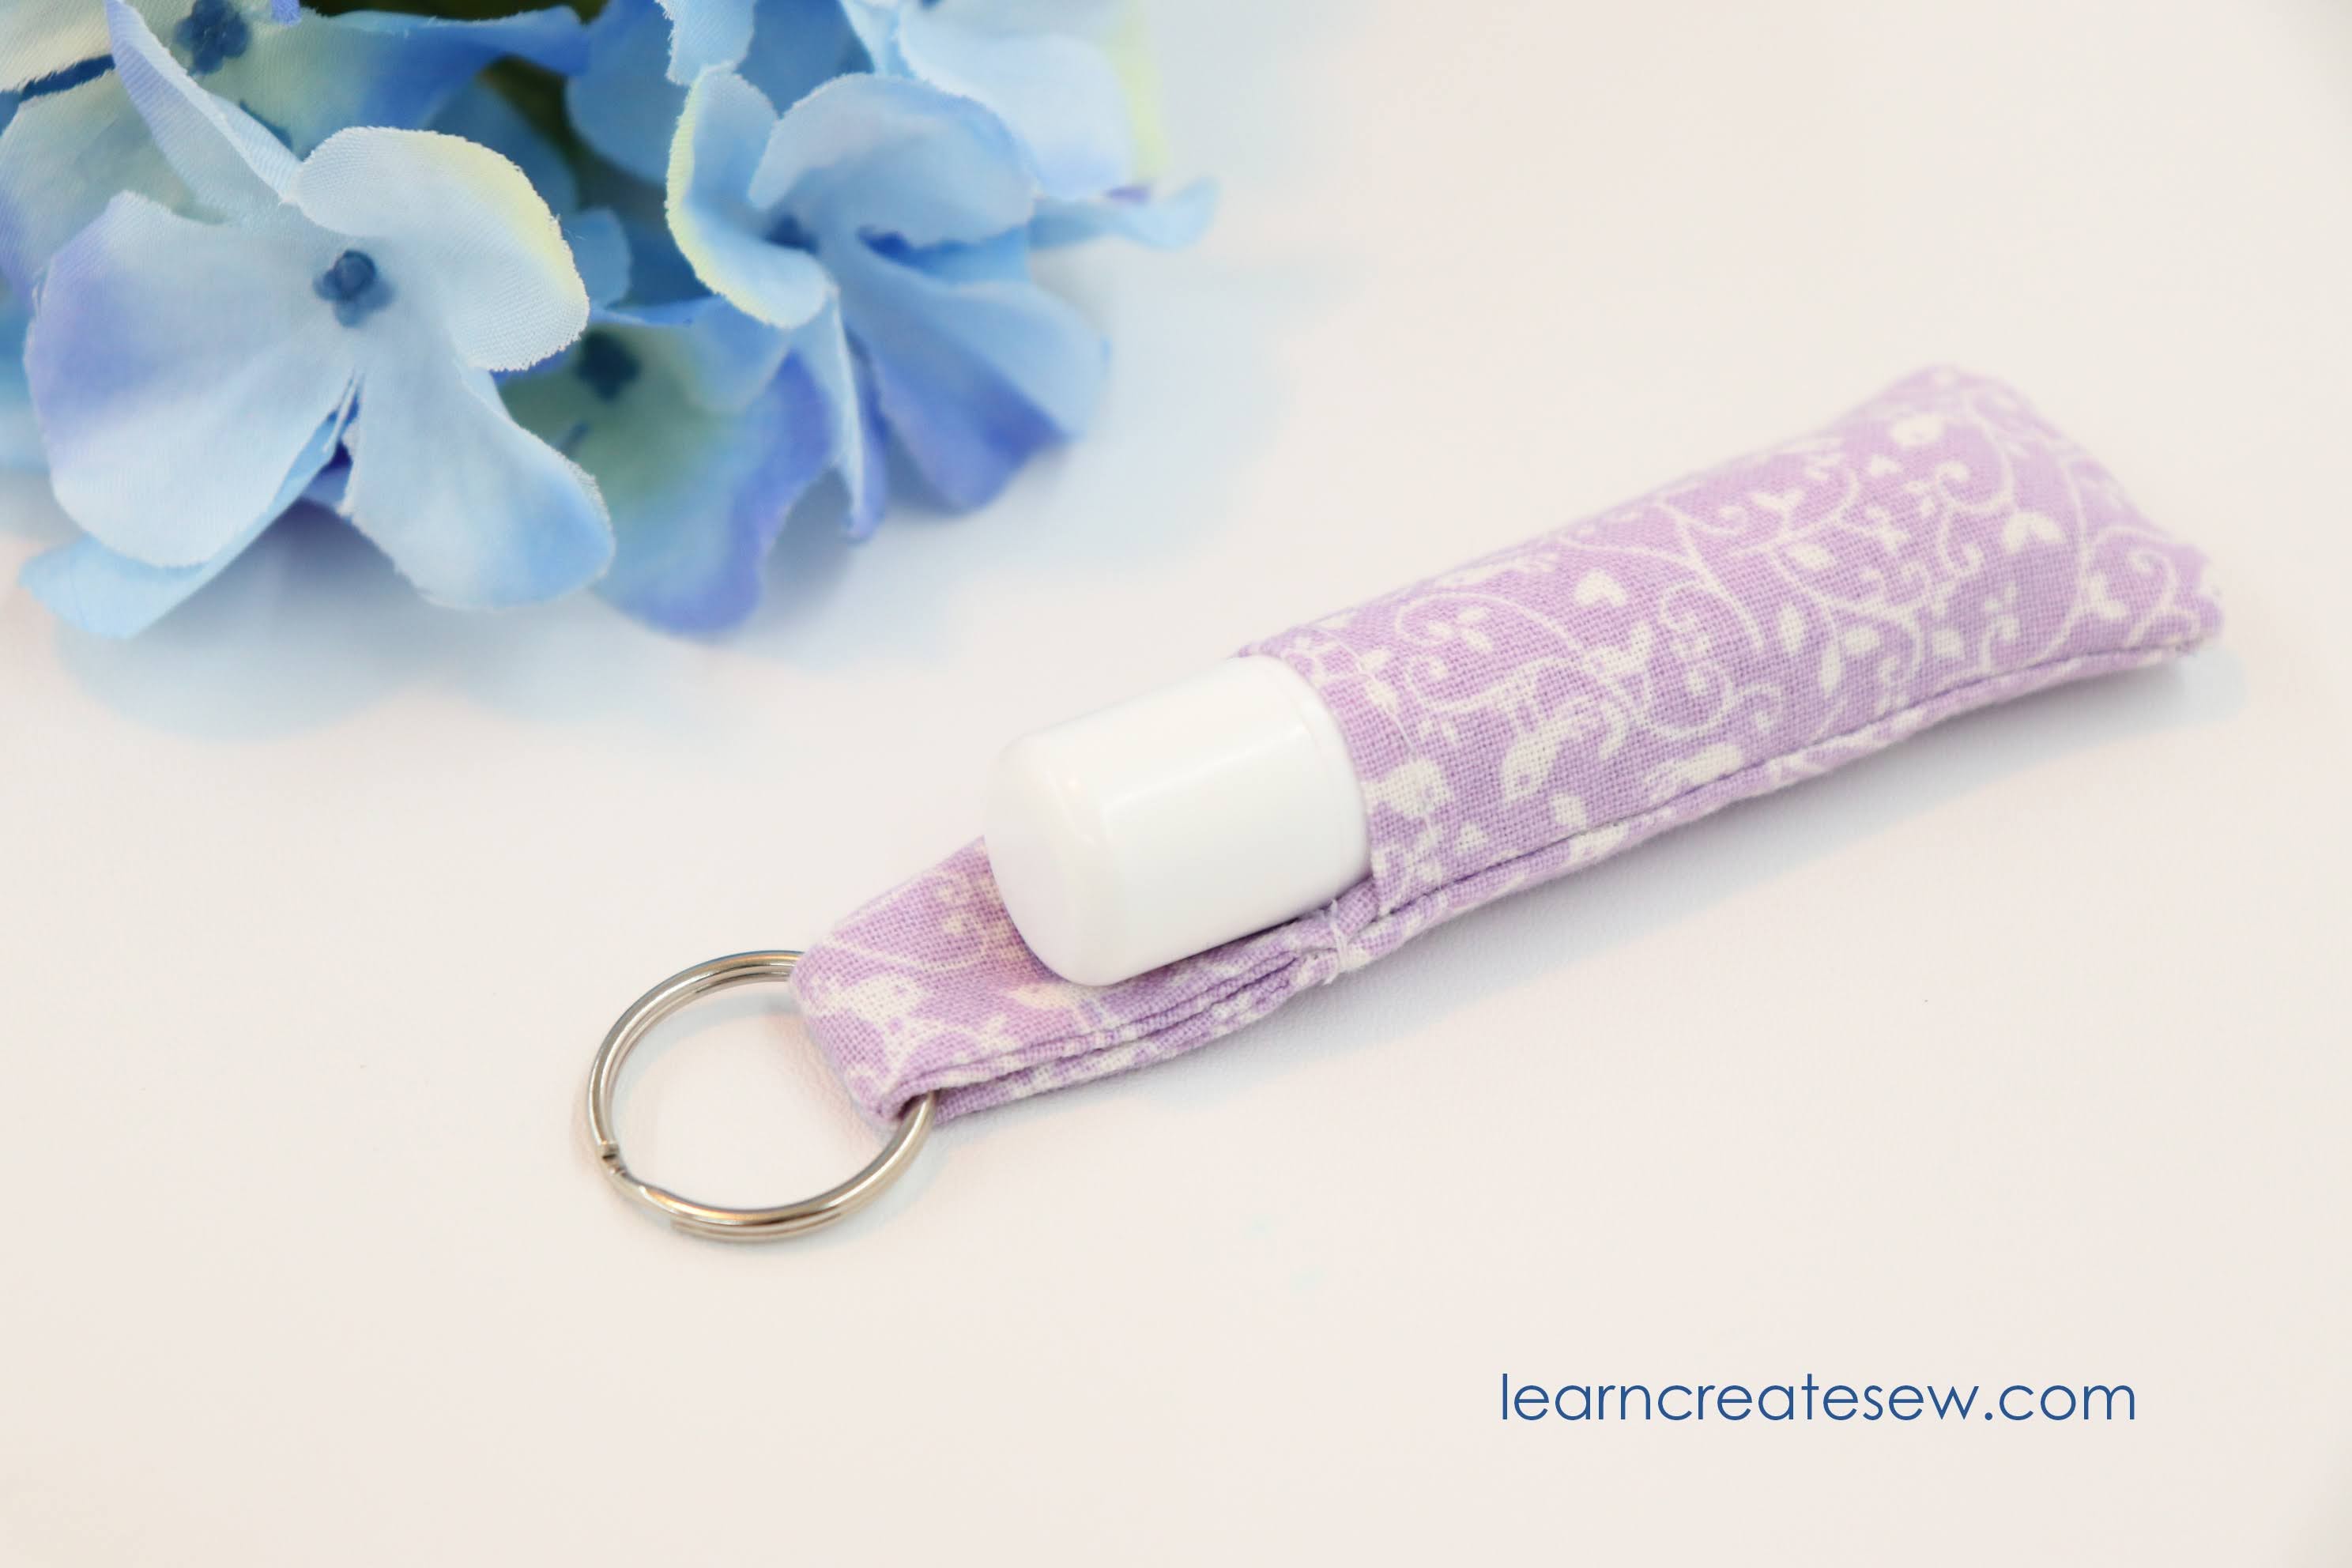
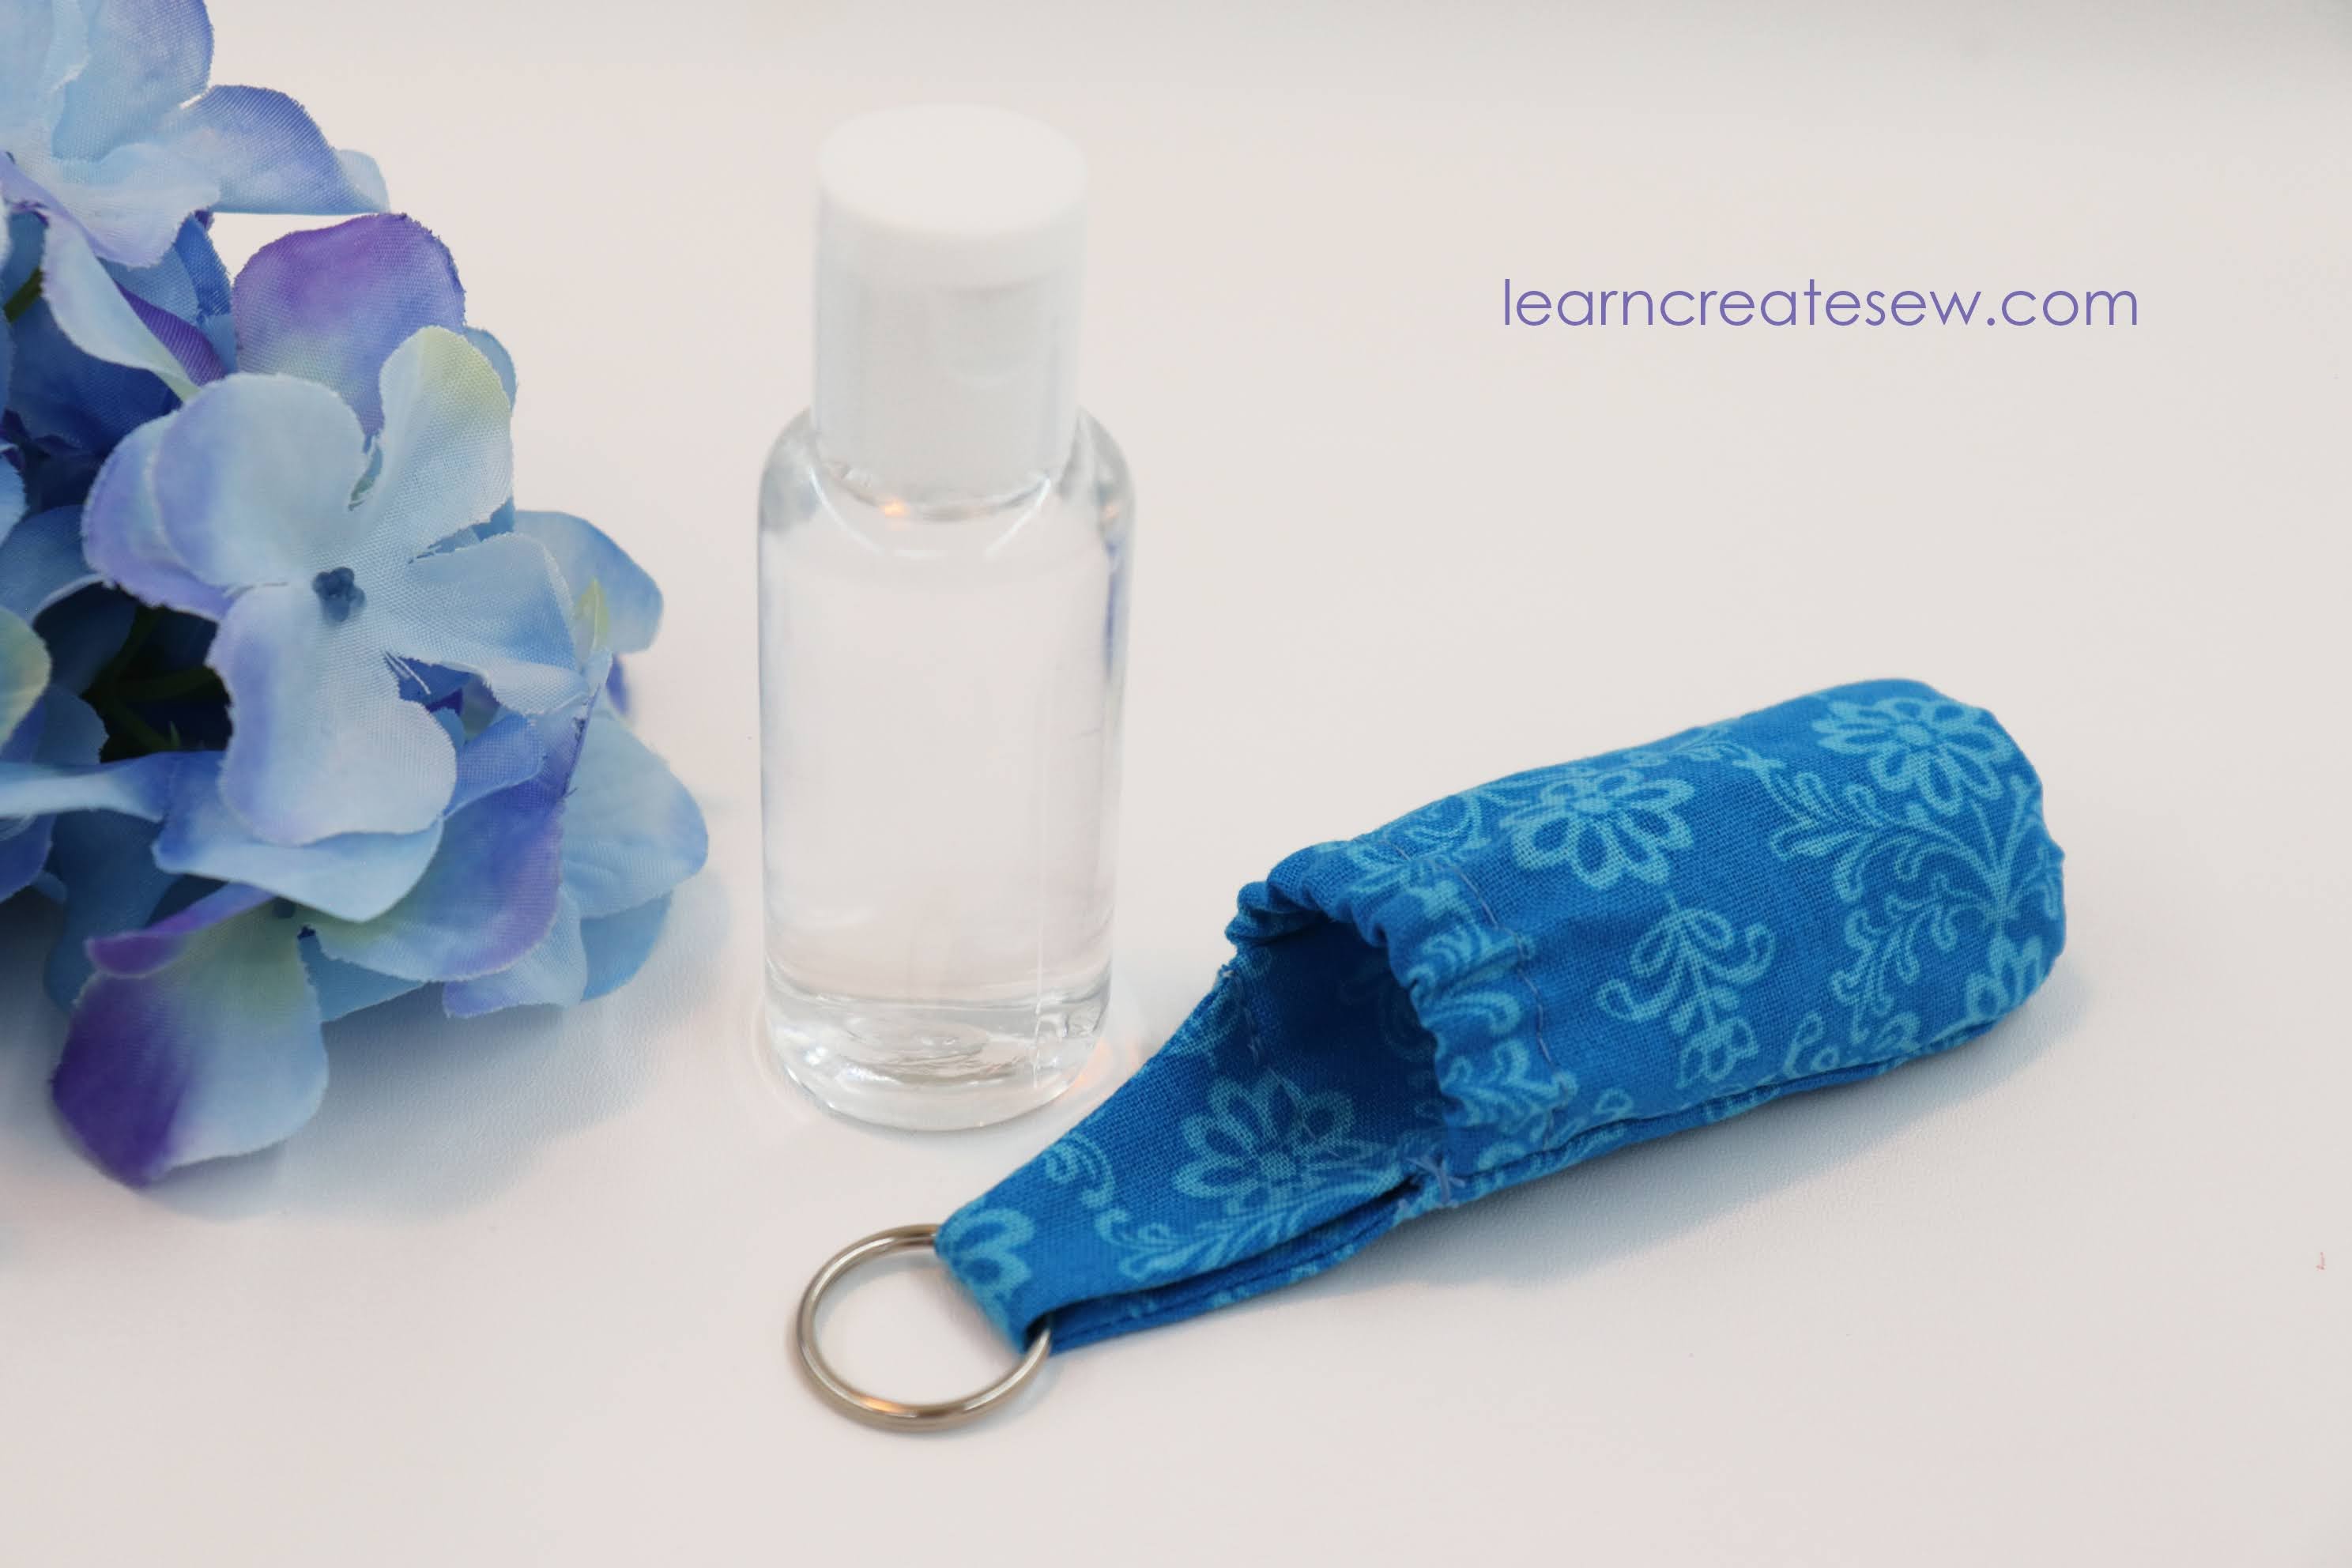
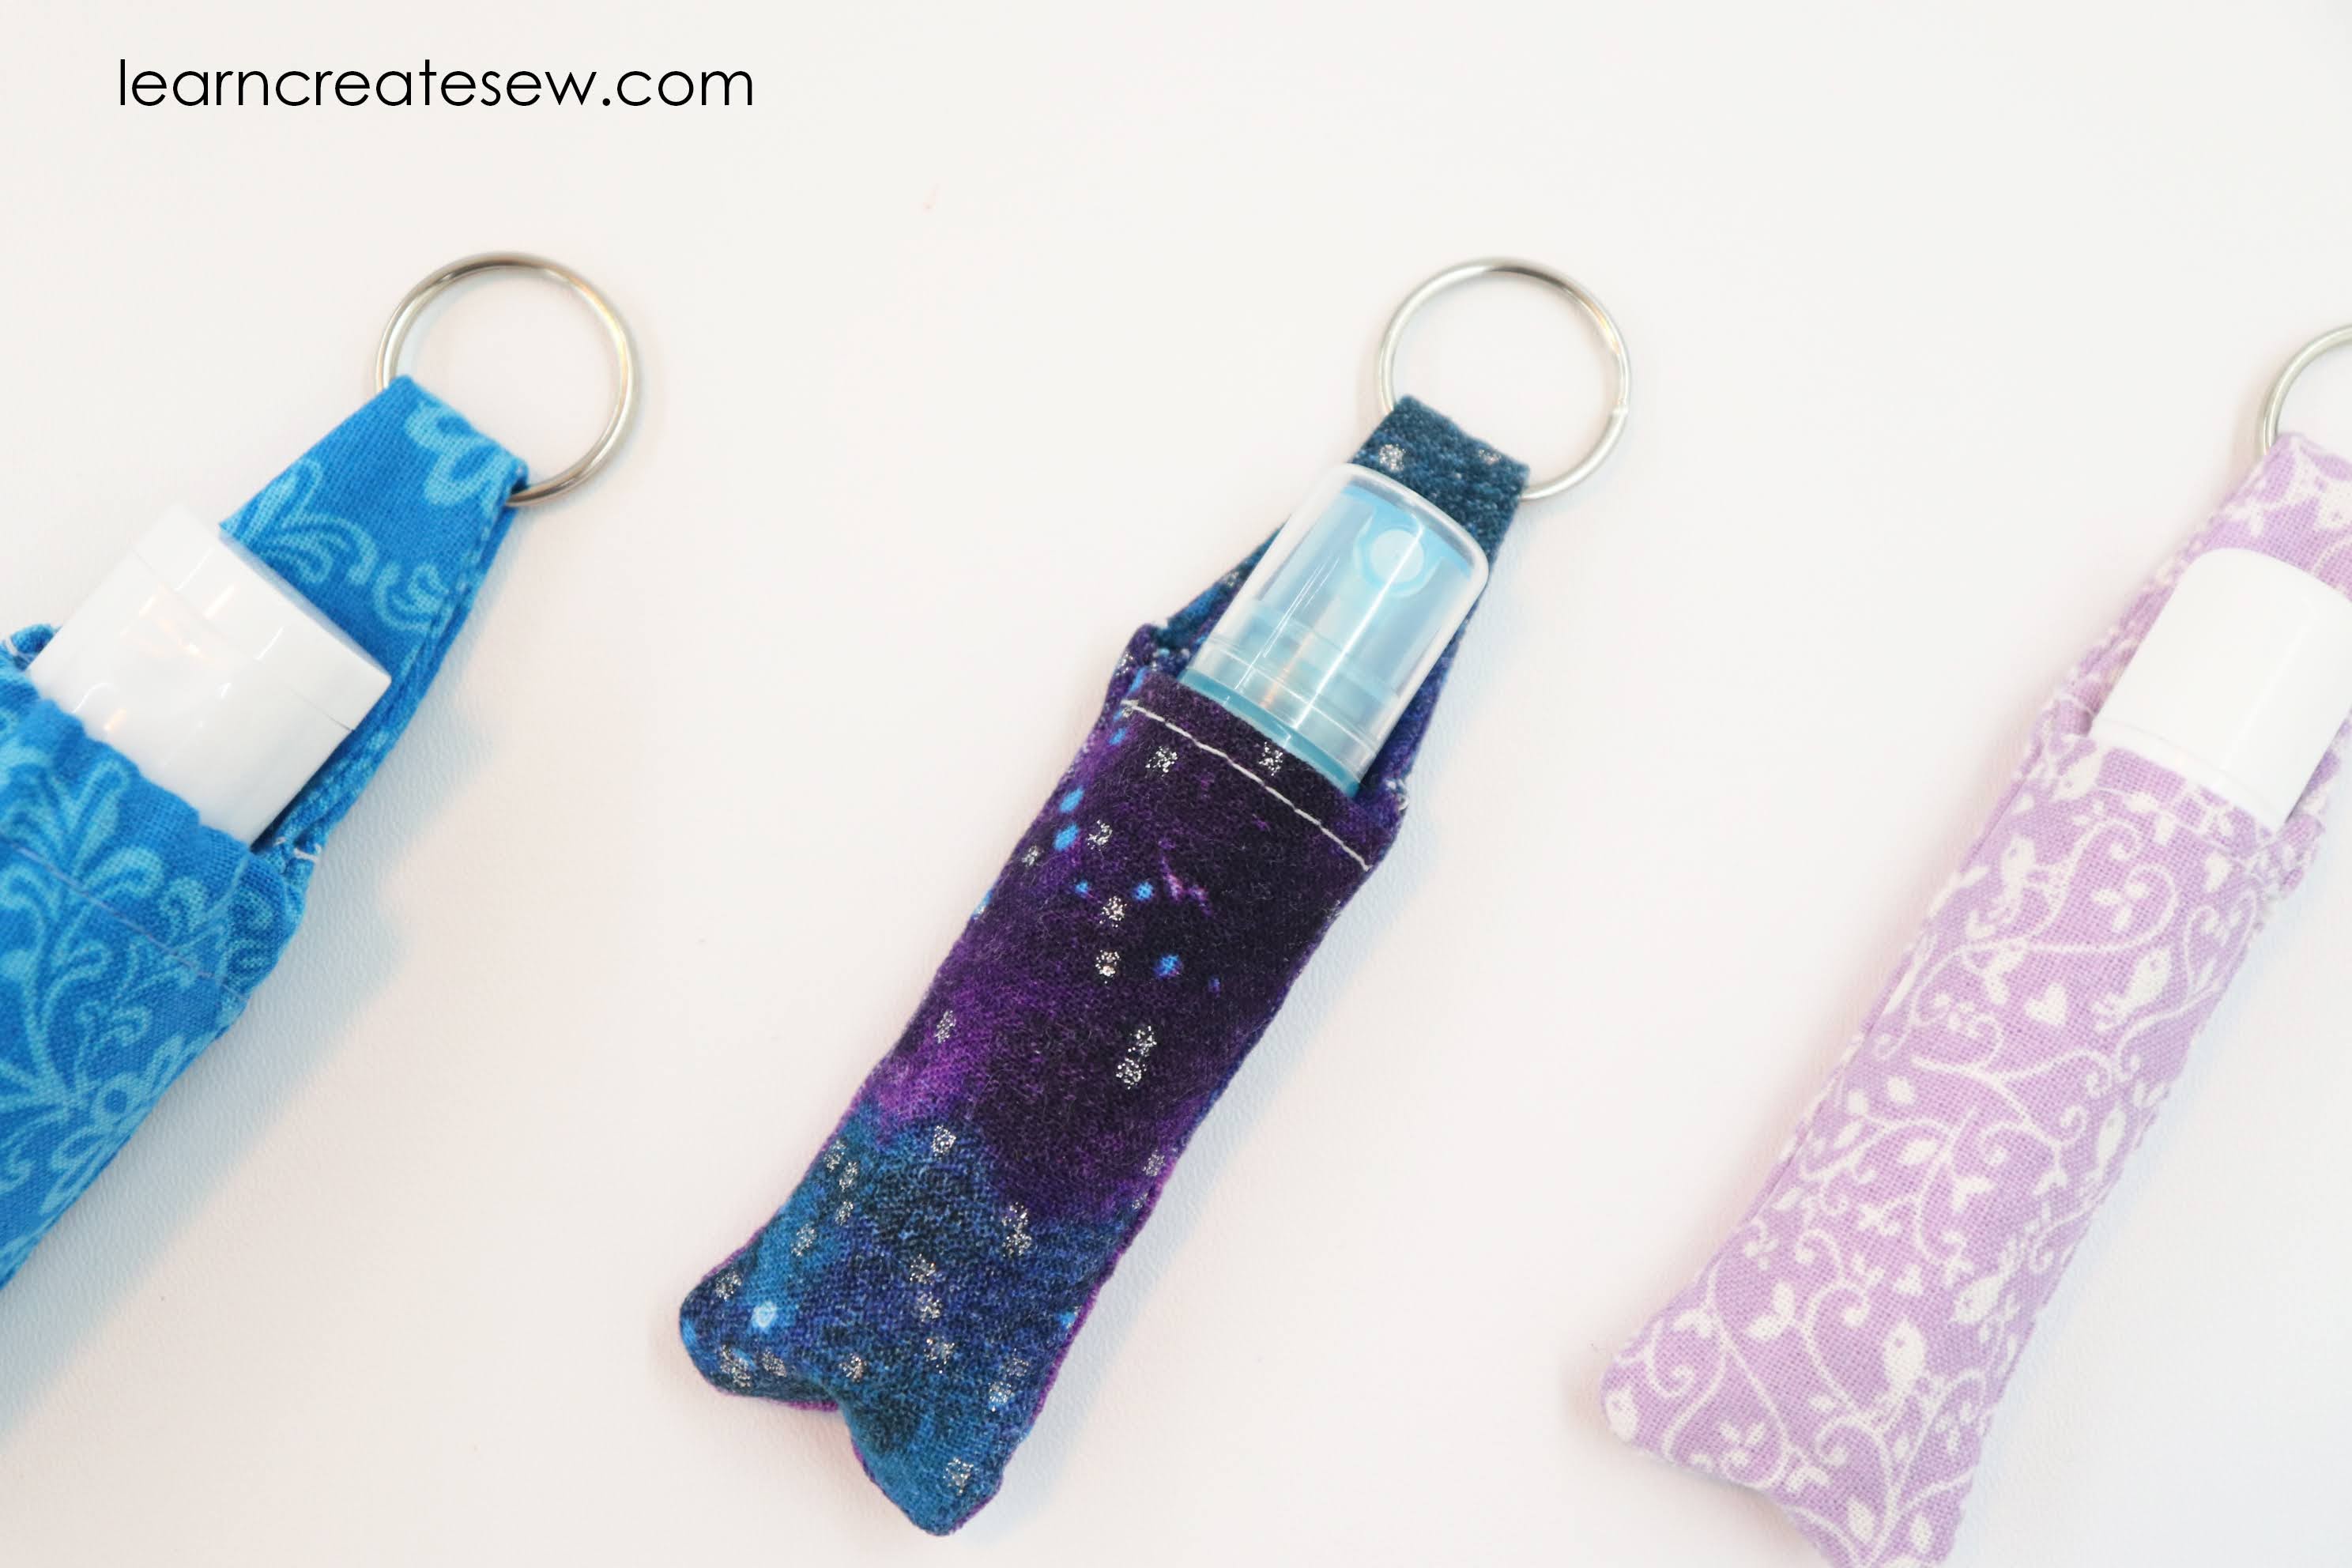
I have been wanting to make a lip gloss key chain for a while and finally had the chance to do so. I LOVE IT! They turned out just the right size 🙂 I was very pleased.
Once I had the lip gloss version done I was very happy to find a similar size spray bottle that works perfectly for liquid hand sanitizers! It would be awesome for perfume as well.
Once I had this key chain ready, I couldn’t resist making another size for larger hand sanitizer bottles. This works great for many 1 oz flip top bottles that usually hold gel hand sanitizers.
Since this project is so small, I used my purple thang a ton while sewing.
I used them for the first time today and I already love them. Perfect to add to your key ring or purse. These are also super cute as gifts! And since they don’t take much fabric, they are very affordable.
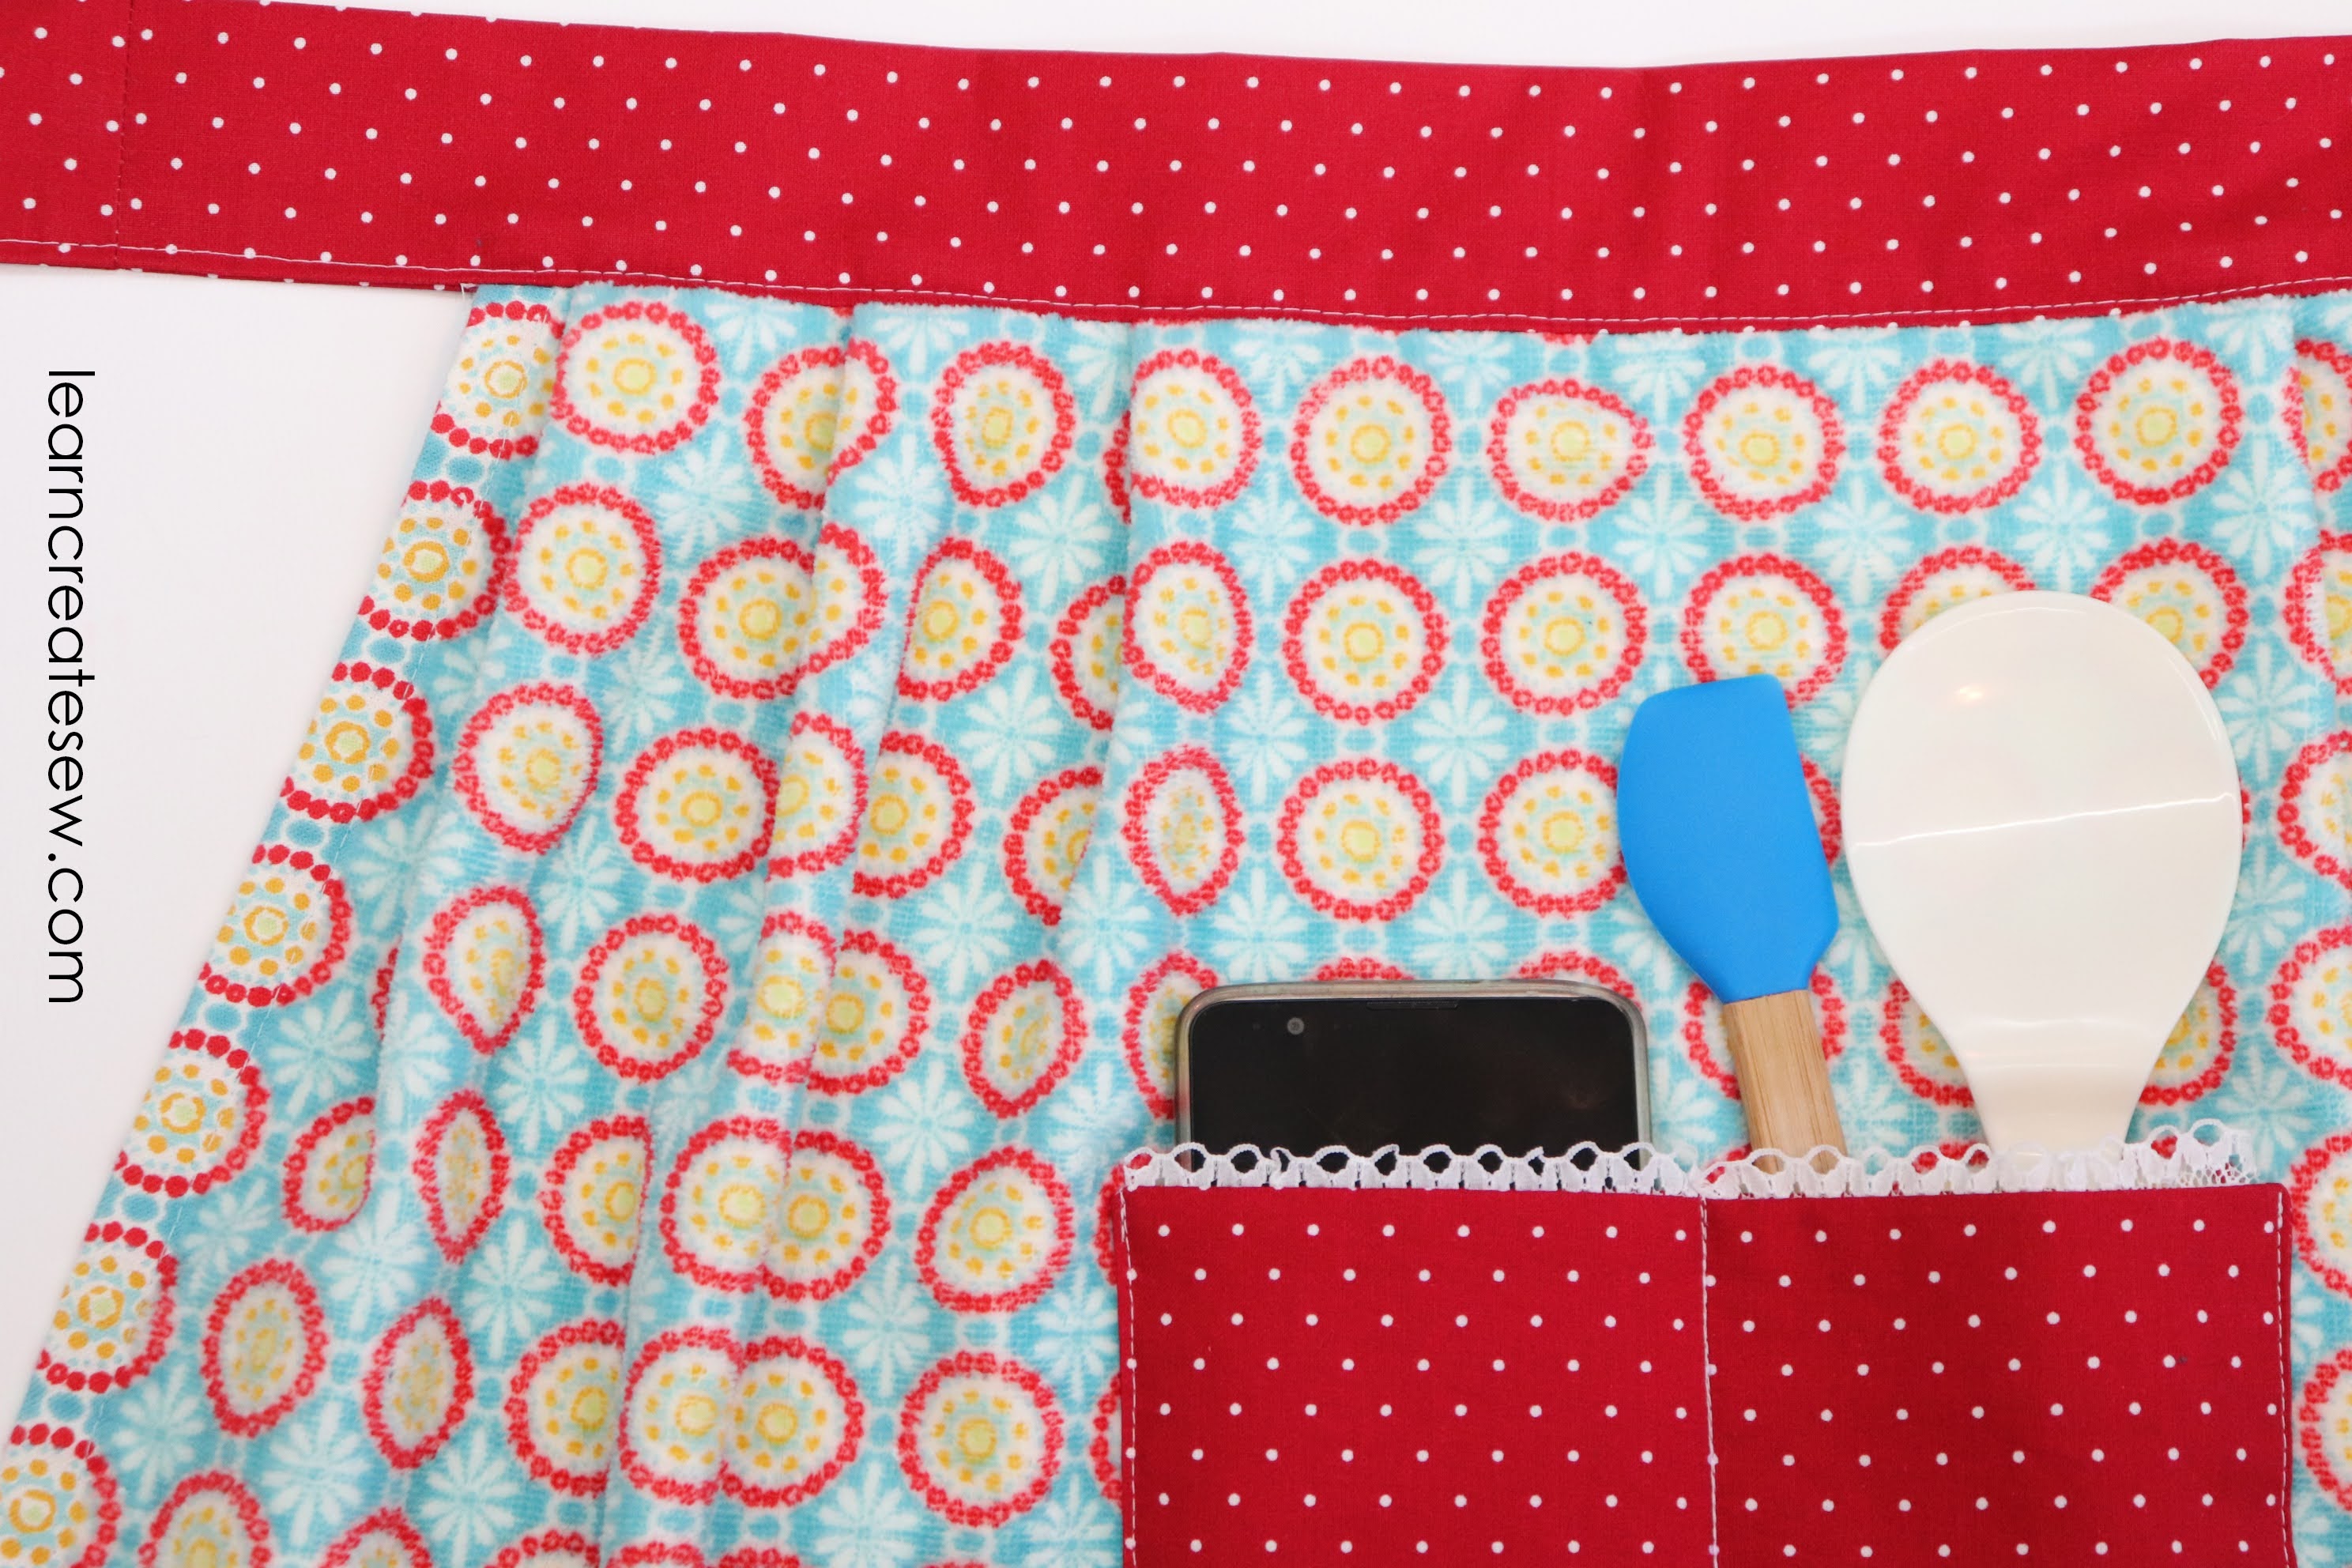
A special thank you to my Aunt for giving me the idea for today’s project! This is a cute little apron made from a dish towel. It’s pretty fast to make and doesn’t take a lot of fabric. It is a good way to practice sewing pleats and pockets.
It works best to have a dish towel with a general pattern design, rather than something that is directional, as the towel will be arranged horizontally along the waistband.
The width of the hand towel is adjusted using pleats to give the apron a skirt like feel.
It also has a good sized pocket that fits a cell phone and more.
This project was a lot of fun to make! It’s also pretty simple compared to many aprons. The only difficulty really lies in working with the terry cloth itself. I would rank this project a 3/10 for difficulty.
Supplies
1/3 yard cotton fabric (Fabric may shrink in the wash. I like to purchase a few extra inches just in case.)
This is a classic zipper pouch! It is a great project to start sewing zippers if you want to learn. These make great pencil bags. They are also fun to fill and give as gifts.
This is also a fun project to use decorative stitching on. I love adding a cute stitch to the contrasting bottom panel.
This is a flat pouch, kind of like a pencil pouch. So, it does not stand up on its own.
That said, it still holds quite a bit!
You can easily adjust the size of the rectangles to make the bag as bid or small as you would like.
The bag I made has final dimensions of approximately 6 x 9 inches.
Supplies
Two 7 x 10 inch rectangles for the lining fabric
Two 7 x 10 inch rectangles of lightweight fusible interfacing (optional)
Two 4.5 x 10 inch rectangles for the outside TOP fabric
Two 3.5 x 10 inch rectangles for the outside BOTTOM fabric