Centered Zippers & the Sewing Sample Dictionary!

I recently took a college sewing class and absolutely loved the way the instructor taught the course. We kept all of our practice samples neatly organized in a binder so we could refer to them in the future! It was so helpful!

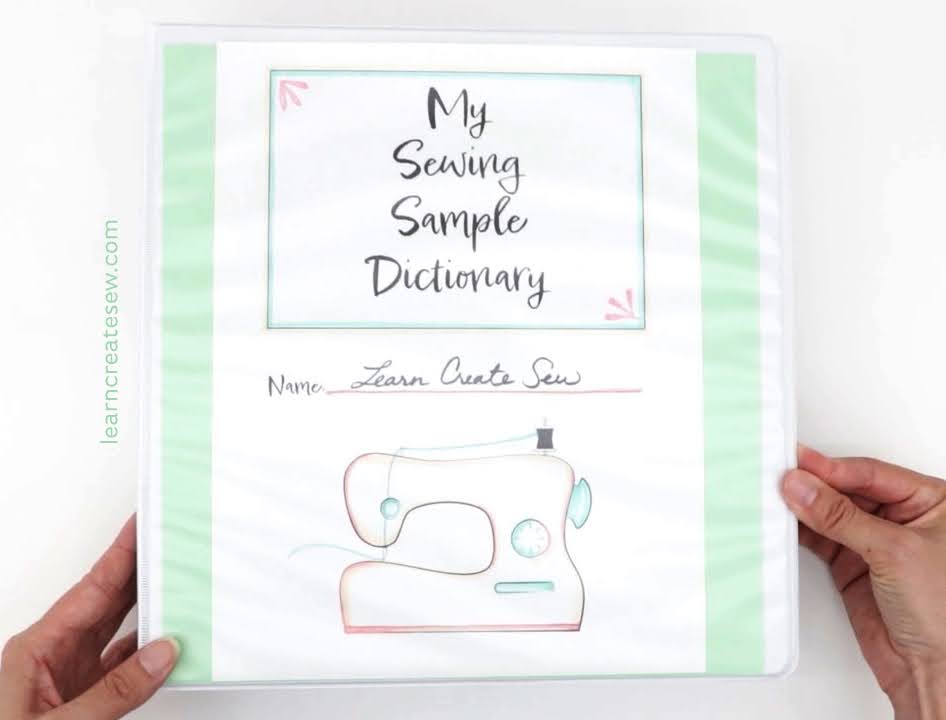
As a result, I decided to create my own Sewing Sample Dictionary. A reference book to help me organize my sewing samples.

To make your own Sewing Sample Dictionary, print out the templates and instructions for each sample.

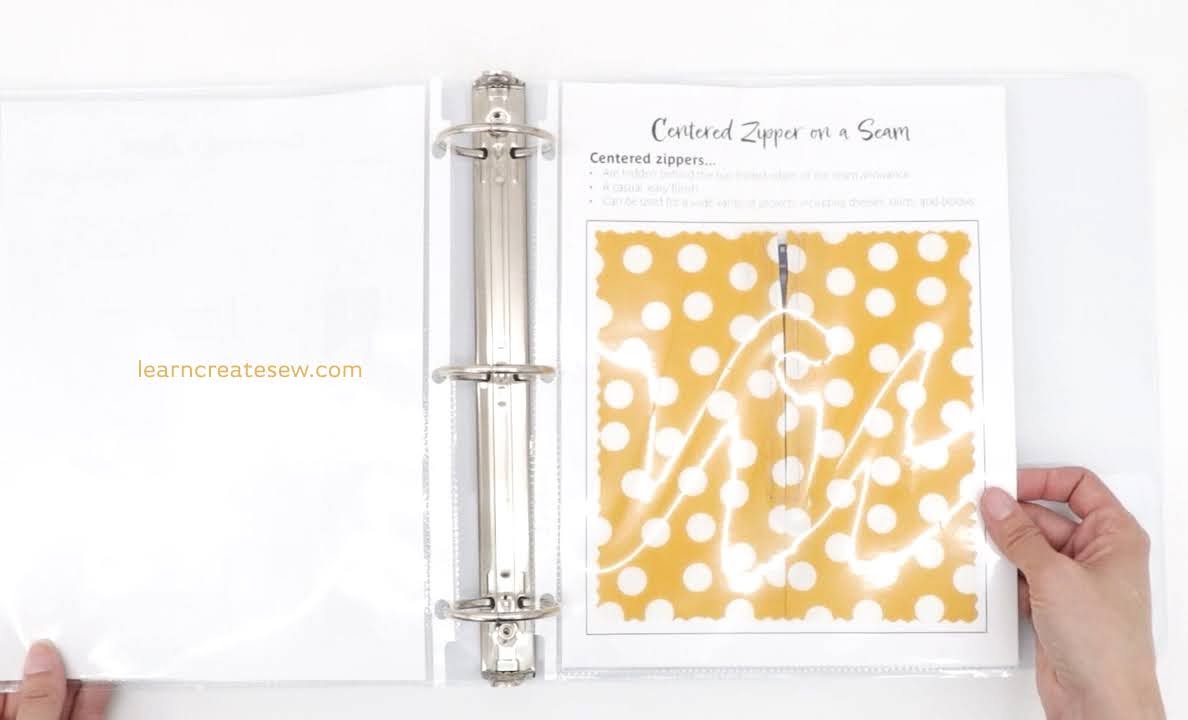
Follow along on with the instructional video to create your sample. Then, use sheet protectors and a 3-ring binder to store your samples.

COVER:

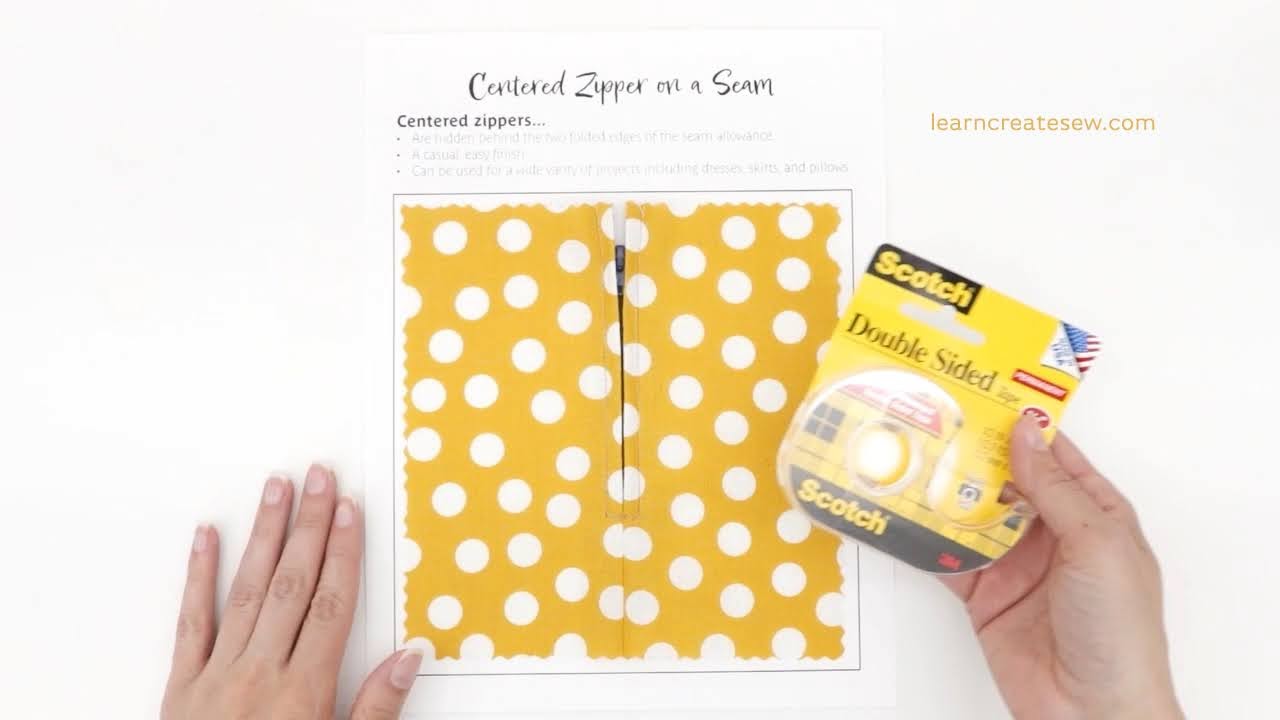
The Centered Zipper Sample is my first addition to the Dictionary!

Tools:

  • Sewing Machine
  • Zipper Foot
  • Basic Sewing Supplies
  • Hand Needle and Thread
  • Fabric Marking Tool (I use air erase markers)
  • Grid Ruler
  • Seam Ripper
  • Iron
  • Sewing Stiletto or Purple Thang (The wrong edge of your seam ripper will also work)
  • Serger (Optional)
  • 3-Ring Binder (For Sewing Sample Dictionary – Optional)
  • Sheet Protectors (For – Sewing Sample Dictionary – Optional)

Centered zippers are one of the most common zipper applications. They are quick and simple after a bit of practice. There are a lot of different techniques out there, but this is my favorite!

Do you always end up with wobbly stitches or horrible backstitching around the zipper pull? Have to redo your zipper over and over before it actually looks nice? Never again! With a few simple techniques, your zipper can look great the first time!

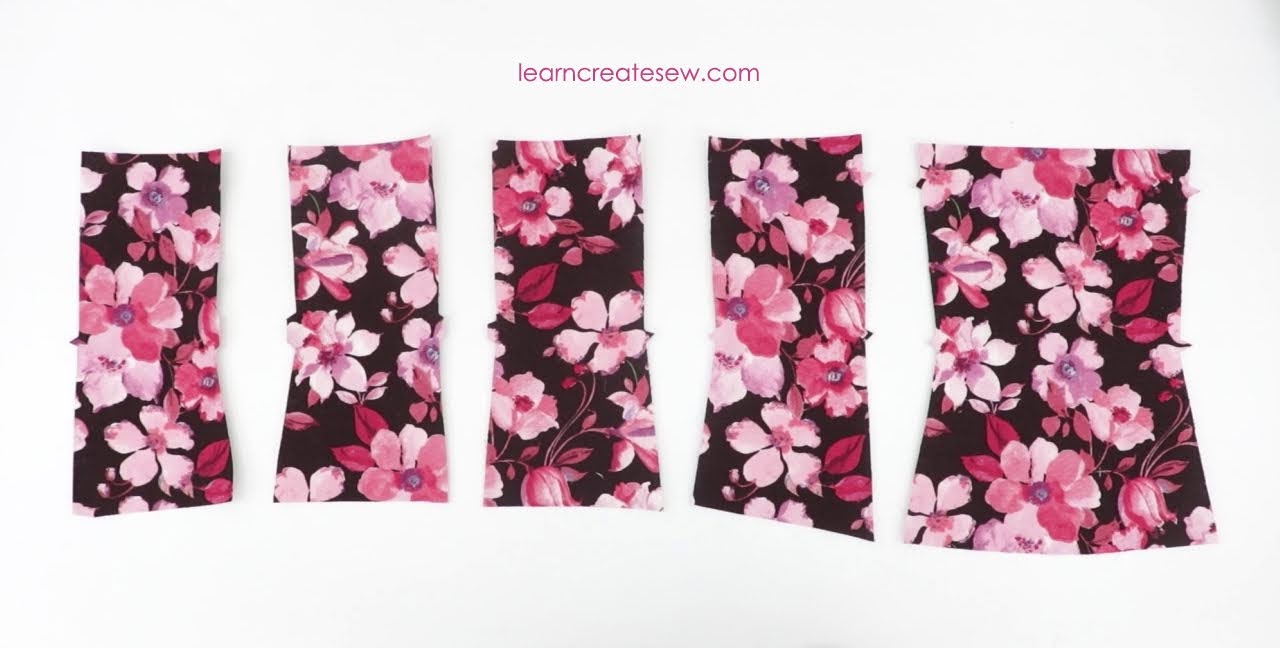
To make this sample I used two rectangles of fabric. Each measured 4.25 x 7.5 inches. I also used a 5-inch nylon coil zipper. (NOTE: If you don’t use a nylon coil zipper you cannot sew over the teeth as shown in the video.)

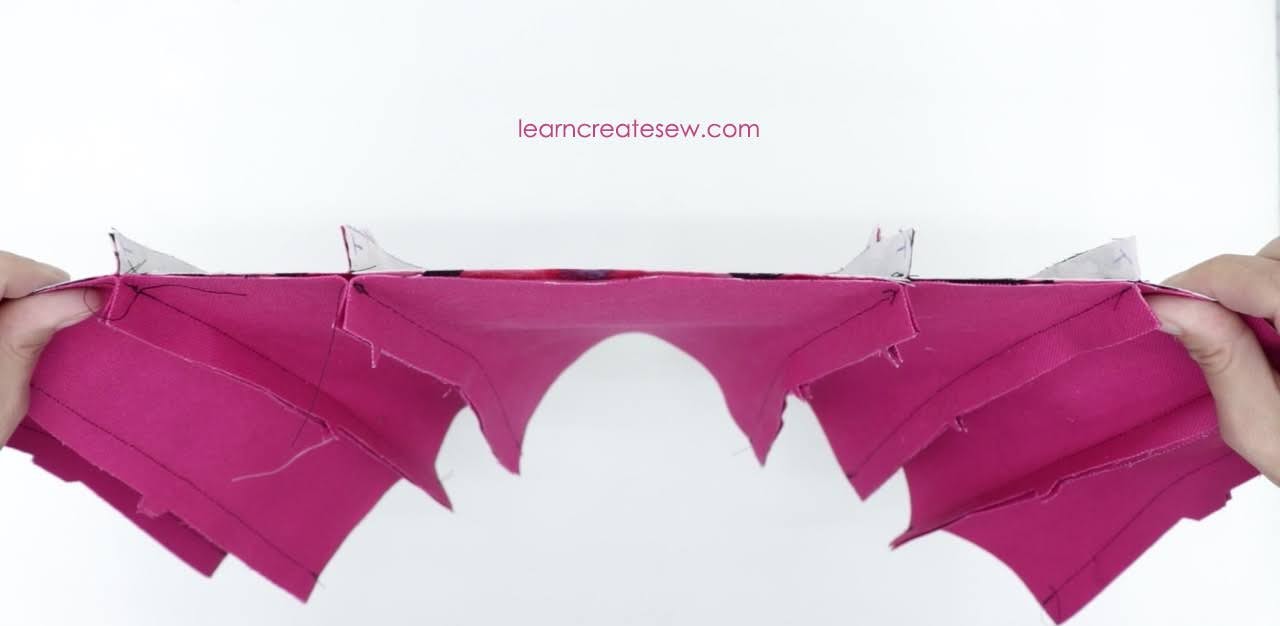
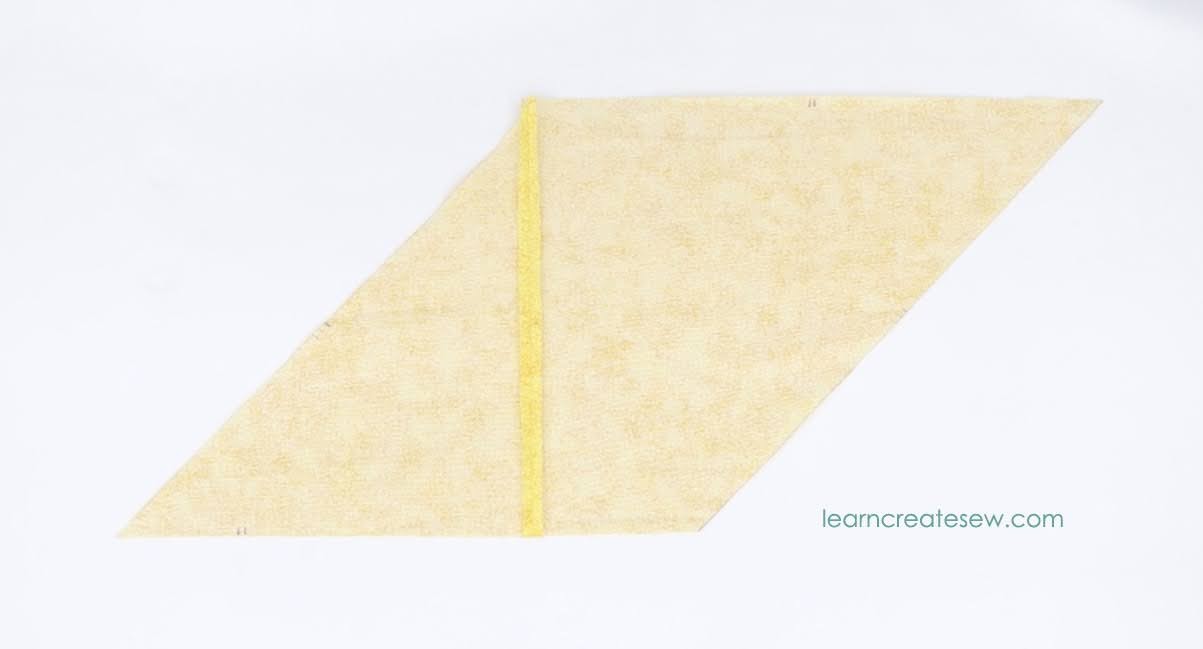
Place the fabric right sides together and sew a 5/8 inch seam allowance using two different stitch lengths. The upper stitch length will be 5.0 (basting stitches) so they can be removed later. The bottom section will be stitch length 2.5 as they will remain. The transition point is where the zipper’s opening will stop and the seam will begin.

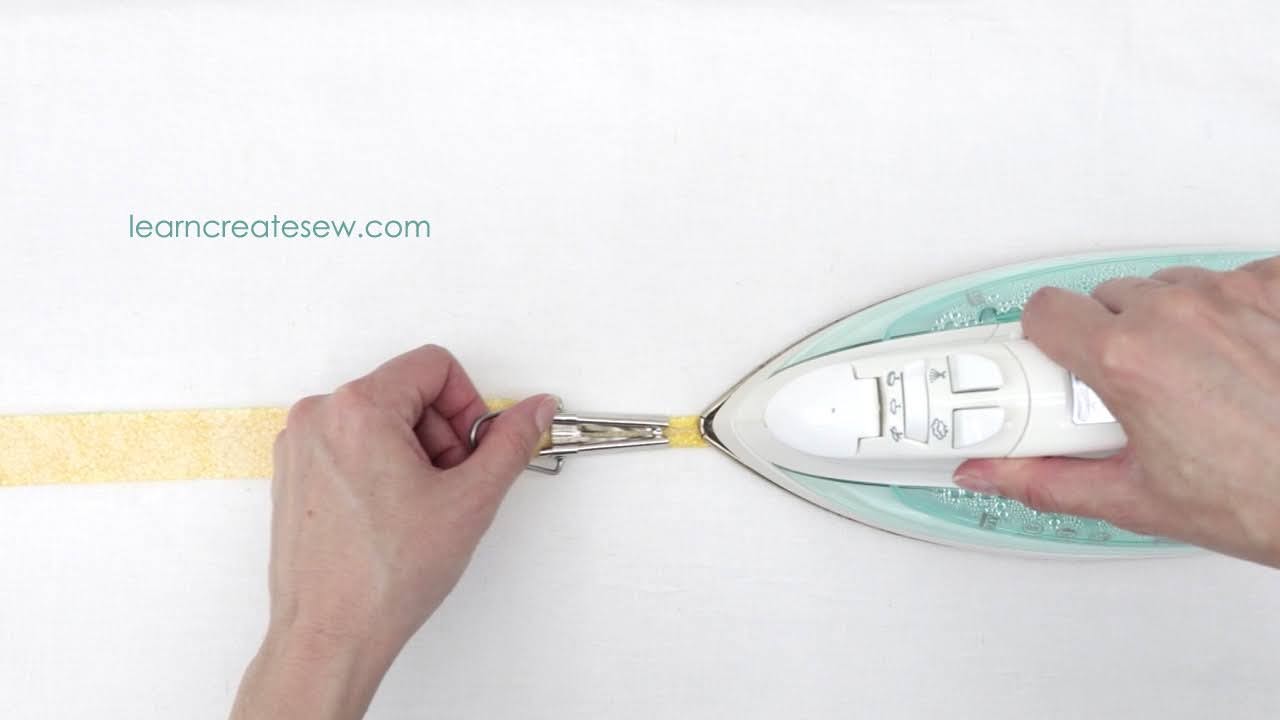
Press the seam flat to set the stitches. Then, press the seam open. Serge the edges to finish. Serging is optional but very much recommended if the zipper will be in an unlined garment.

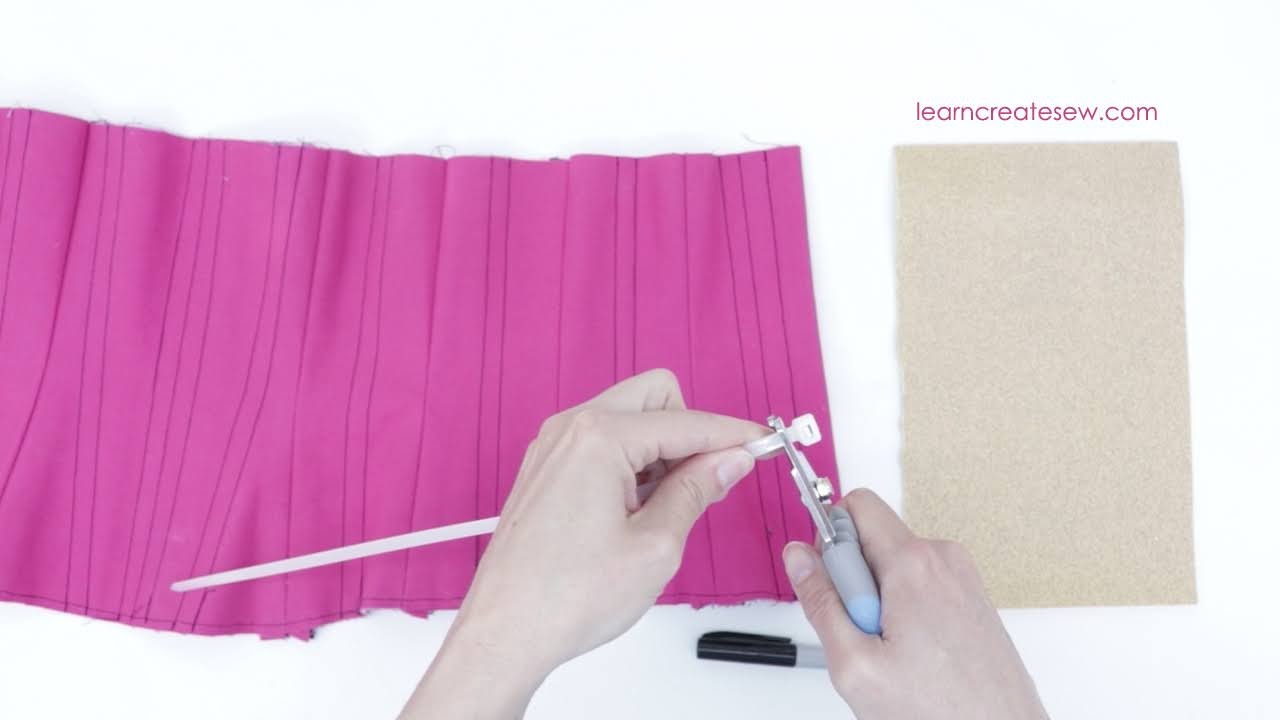
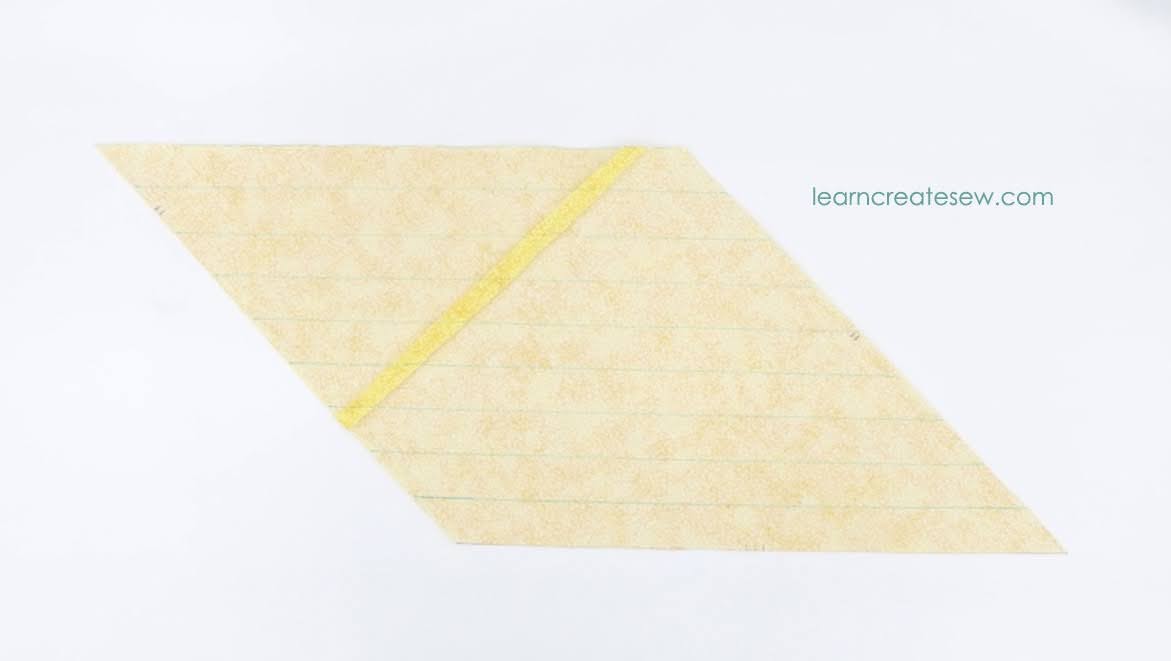
Turn the fabric right side up, and draw your stitch line. This will be three sides of a rectangle. Draw a line 1/4 inch to the left and right of your seam. Start at the top edge and stop where your stitches change length. Connect the two at the bottom.

Now, we will attach the zipper.

Turn the fabric right side down and place the zipper right side down on top of it. Make sure to leave enough room at the top for seam allowance. I usually place my zipper so the top stops are 7/8 of an inch from the top edge.

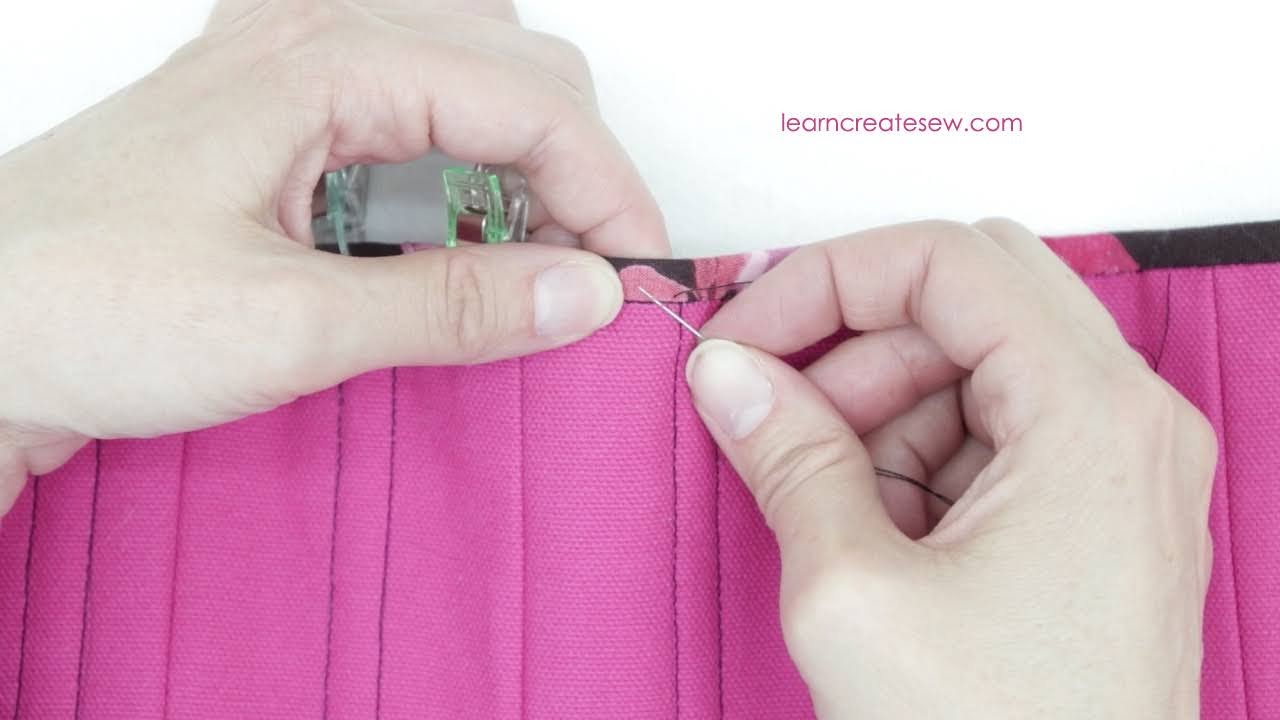
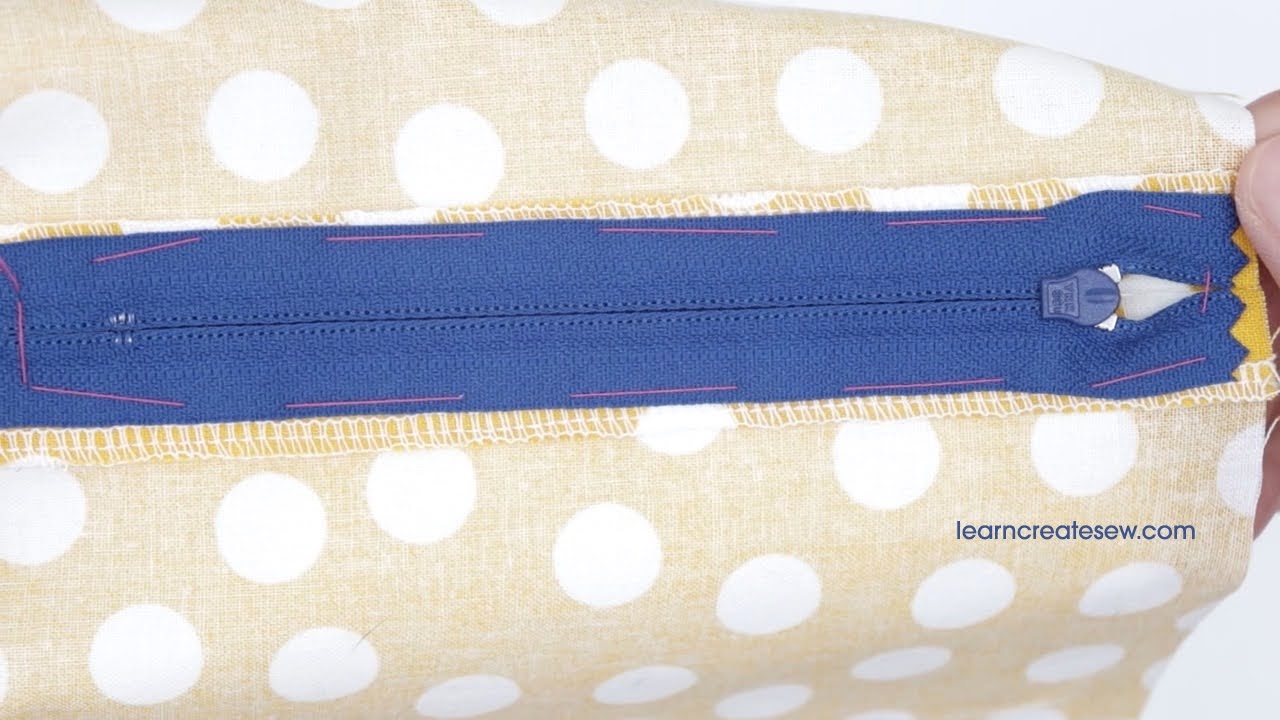
Hand-baste the zipper in place along the edges. The basting stitch should not be on your drawn line as it will make them difficult to remove later. It is tempting to skip this step, but I highly recommend that you don’t. It only takes a minute and it really improves the quality of your zipper application. It also provides a greater chance of success the first time!

From the right side, sew the zipper in place by stitching exactly on your draw line. Make sure your zipper foot is on your machine. Use stitch length 2.5 or whatever is appropriate for your fabric. Be sure to use a sewing stiletto or purple thang to move the zipper pull out of the path of the stitch line when you sew. You do not what to hit it! If you don’t have a sewing stiletto the back edge of your seam ripper works great as well, just take care not to accidentally cut your fabric.

Remove the hand basting stitches as well as the machine basting stitches (length 5.0).

And you are finished!

Now all you have to do is add the zipper to your Sewing Sample Dictionary!

Centered Zipper Sewing Sample Dictionary Template:

Centered Zipper Sample Pattern:

Quick Overview:

Detailed Instructions:

What to add more to your Sewing Sample Dictionary? Here is some more information on zippers!

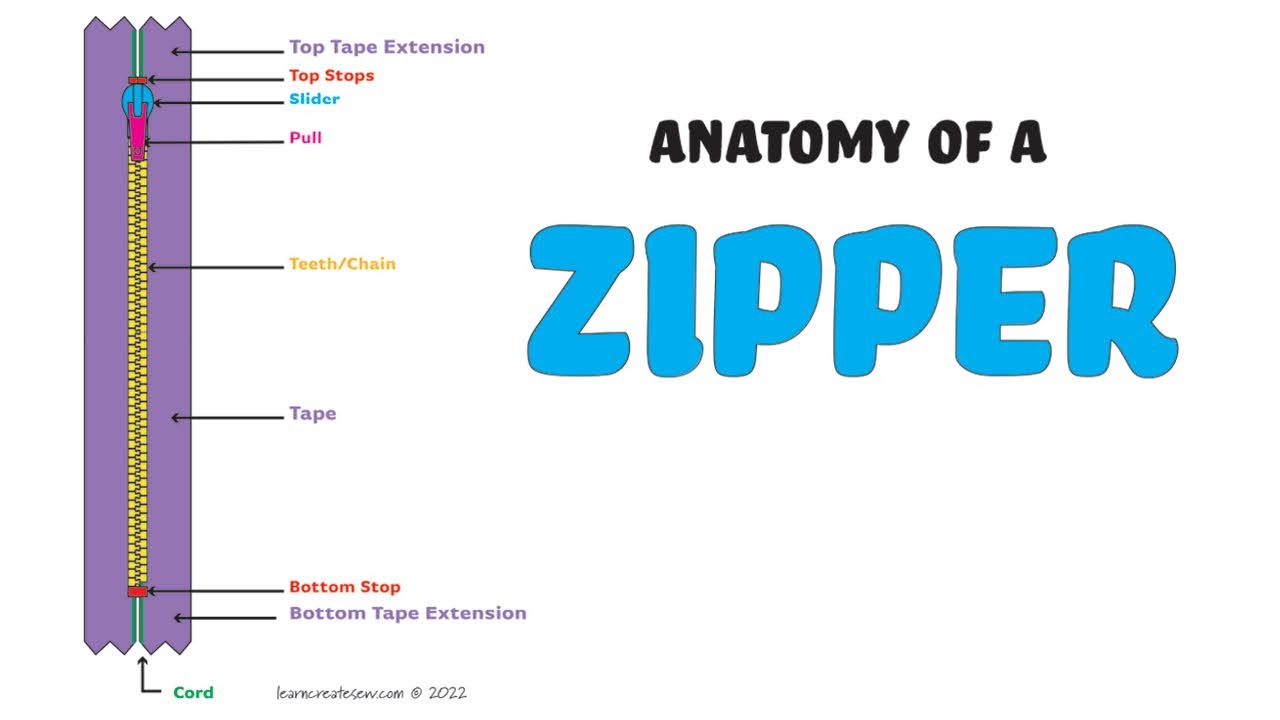
Zippers are used absolutely everywhere! Once you start sewing with zippers, it is important to know what all of the bits and pieces are called. Zippers can be intimidating to the new sewer. Being familiar with the components and terminology will help clarify sewing instructions and patterns and make them easier to use.

Sewing Sample Dictionary Template:

Printable Diagrams:

Instructional Video:

Happy Sewing!

Underbust Corset

I absolutely love corset making! I have made several over the years, and while they can be a challenge I always consider them a fun endeavor and a great addition to many costumes.

I recently picked up the book Corset Making by Julie Collins Brealey, and I really enjoyed it. I used the techniques described in her book to draft my own underbust corset pattern. It turned out great! I highly recommend her book if you would like to draft a corset pattern specific to your body measurements.

After completing my corset several of my students expressed interest in making a corset of their own. So, I decided it would be fun to share the techniques I used with everyone! This is just a simple costume corset and is not intended for tight lacing. I also used budget-friendly easy-to-find materials. For beginners, I think it is important to see if you enjoy the process of corset-making before investing in some of the more expensive materials and tools. I find corset making very rewarding, but many find the process frustrating and would prefer to purchase a ready-made corset instead.

But for those willing to face the challenge, who love corsets as much as I do, this tutorial is for you!

What are the most important skills in corset making, you ask? Organization and precision!

Unfortunately, in corsets, errors are often amplified. There are SO many seams, that a small discrepancy in cutting or sewing can leave the size of your corset off by an inch or two. As a result, I make precision a priority and cut the pieces out in a single layer. Corsets have tons of pieces. Those pieces often look very similar. It is super easy to get them mixed up. As a result, I like to label all of my pieces with significant markings, piece names, and top edges. This helps me ensure that I don’t get pieces mixed up while I am sewing.

For similar reasons, I like to lay out my pieces in the correct order prior to sewing so they stay in the proper position as I put them together.

This corset is constructed by assembling a fashion layer and a structure layer and sandwiching them together. Boning casings are made by sewing the two together. No separate casings are needed!

The trick is to ensure that those two layers are the same size so the seams align!

I tried two different pressing methods for my corset. Pressing the seams open and pressing to the side. Watch the detailed instructional video to see what I liked best!

I used zip ties for the bones in my corset! I have always wanted to try them out, and while I found that a lot of them weren’t perfectly straight, they worked great! It was simple to grab a package of zip ties and some pet nail trimmers at Walmart. No waiting for shipping or delays. While they may not be the best option, they worked surprisingly well, and I wouldn’t hesitate to use them again for simple costume corsets.

Rather than eyelets, I used grommets with washers in my corset. These are a bit stronger and last longer. I used a grommet press, but grommet setters that use a hammer are also available.

To finish off the corset I made coordinating bias binding. You can see my skill-building tutorial for how to make your own! I just love it when the binding actually matches your project!

I like to finish the binding by hand to give it a nice finish.

Supplies: (Actual quantities may vary depending on size and style)

Tools:

  • Basic Sewing Supplies
  • Sewing Machine
  • Grommet Setter (and hammer) or Press
  • Awl or Grommet hole punch (I use a small sharp awl and a tapered awl)
  • Rulers
  • fabric marking tools
  • Plastic boning trimmers (I used pet nail trimmers. Sturdy scissors often work for thin plastic boning.)
  • Protective Eyewear
  • Sandpaper (optional)
  • Sewing Clips (optional)

Patterns: PATTERNS INCLUDE NEGATIVE EASE! There is an intentional 2-inch gap in the back. Corset will be smaller than the measurements given. (Measurements indicated are the body measurements, not corset measurements, with the exception of height.)

Measurements are in INCHES

SizeUnderbustWaistHigh HipWaist to HHHeight at Center Front
Original302934.53.59.5
C26.423.929.749
D2825.531.349
MORE SIZES COMING SOON!

Size Original: (UB 30, W29, HH 34.5, W to HH 3.5, CF Height 9.5)

Size C: (UB 26.4, W 23.9, HH 29.7, W to HH 4, CF Height 9)

Size D: (UB 28, W 25.5, HH 31.3, W to HH 4, CF Height 9)

More sizes coming soon!

Quick Overview:

Detailed Instructions:

Happy Sewing!

Bias, Continuous Bias Binding, and Grainlines

For many projects, a bit of coordinating bias binding can make a huge difference in overall quality and appearance. It can be tempting to just grab a package of premade binding from the store, but it is SO nice when it actually matches your project! The process of making your own can seem a bit strange at first, but once you get the hang of it can go pretty quickly.

Bias binding needs to stretch to mold around curves and edges. As a result, the binding has to be cut in the correct direction. Being familiar with the different grainlines of a woven fabric is very helpful. (See the video below for more information on fabric grainlines.)

Cut a square or rectangle of fabric. You then want to identify these grainlines on your fabric. I often use scrap fabric to make bias binding. (See the video below for how to identify the grainlines on your scrap fabric.) Most commonly, I use a fat quarter, but if I only need a little I have used squares as small as 10 x 10 inches.

Mark the bias line and cut along the line.

With the right sides together, sew the two pieces together along the lengthwise grainline.

Press the seam flat and then open. The seam is going in the same direction as the lengthwise grain. This means that the bias is at a 45-degree angle to the seam.

Turn the fabric so the bias edge is now on the bottom.

Draw lines parallel to the bias edge. The lines shown below were drawn 1 inch apart. This separating distance will be the width of your bias strips. You can make them wider, or more narrow depending on what you need for your fabric. A narrower strip will yield more yardage than a wide one. The rectangle below, which was 10 x 14 inches, provided about 3 yards of 1-inch wide bias strips.

Mark a 1/4 inch seam allowance on each side (following the cross-grain edges). Fold the fabric so it is right sides together. Offsetting the fabric by one strip, align the intersection points. See the instructional videos below for more details.

Stitch along the 1/4 inch drawn seam line (cross-grain) and press the seam open.

Cut along the lines to create a long continuous bias strip.

If needed, you can then fold the two raw edges to the center and press. This step is easier if you use a bias tape maker to help you. I am using a 12mm bias tape maker for my 1-inch strip.

Tools/Supplies:

  • Woven Fabric – Fat Quarter or Scrap fabric (recommend no smaller than 10 x 10)
  • Coordinating thread
  • Iron
  • Grid ruler
  • Precise fabric marking tool or sharp pencil
  • Scissors
  • Pins
  • Sewing Machine
  • Bias Tape Maker – half the width of your strip (optional)

The Grainlines of Woven Fabric: Lengthwise Grain, Cross Grain, and Bias

Identifying Grainlines on Scrap Fabric – (This clip is Included in the detailed instructions for bias binding video.)

Making Continuous Bias Binding Quick Overview:

Continuous Bias Binding from Scrap Fabric Detailed Instructions:

Happy Sewing!