Stretch Knit Face Mask

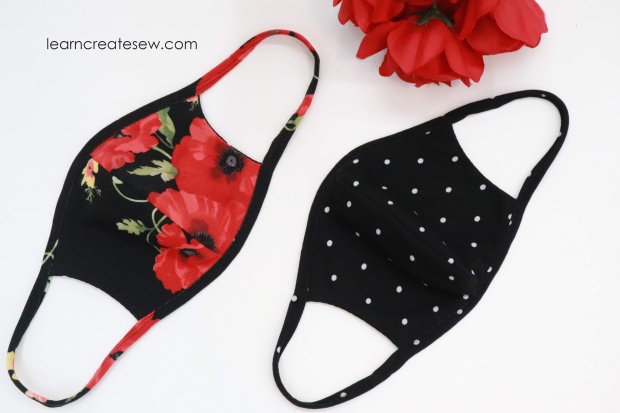
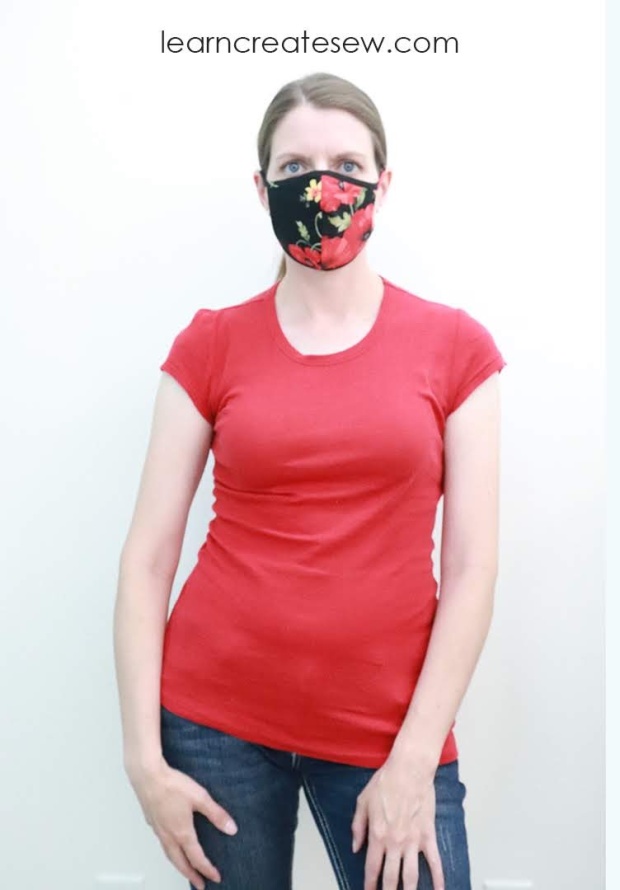
This is one of my favorite face masks. SO comfortable! And I love the fit!
1img_9140

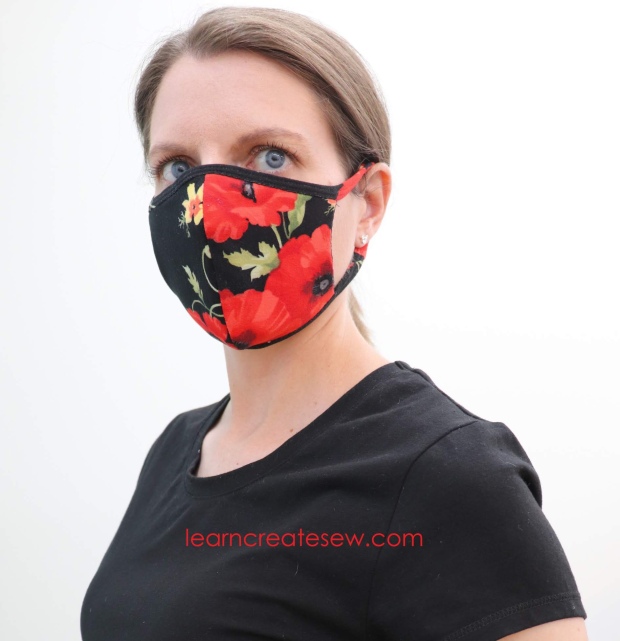
With a lot of face masks I have a hard time finding just the right fit. Since the knit fabric stretches, it wraps around the face quite nicely.
1img_9265

I used a brushed polyester spandex from JoAnn that has a great stretch and holds its shape.
1img_9176

In addition to providing a safer environment, these masks also double as protection against dog licks.

1img_9311

This masks can be made using a zigzag stitch and stretch or ball point needle, or with a combination of a zigzag and twin needle. I used a stretch twin needle with width 2.5. The purple thang tool was very handy when sewing the binding.

1mvi_9120

Here is the pattern for the face mask. The pattern is available in a variety of sizes. I made a medium for myself and used 26 – 26.5 inches of trim. I used 26.5 of the zigzag stitched trim, and 26 with a twin needle.

Stretch Knit Face Mask Pattern by learncreatesew

DETAILED INSTRUCTIONS:


Scrunchies with Removable Ties

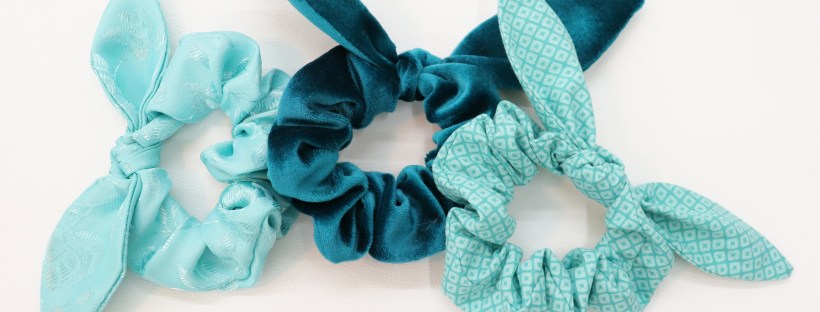
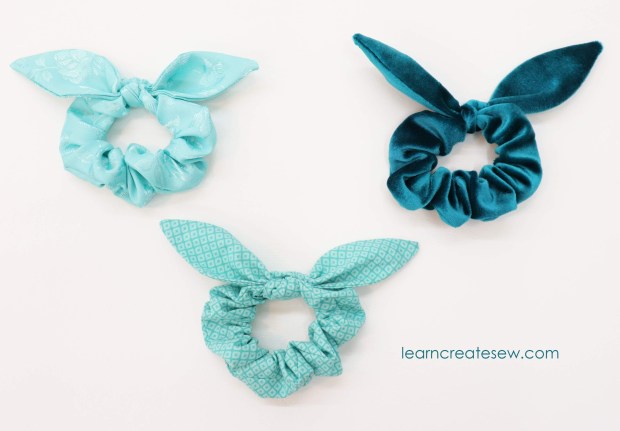
One of the projects that my students request to make most frequently is scrunchies! They are quick, easy, and don’t take a lot of fabric.

1img_873

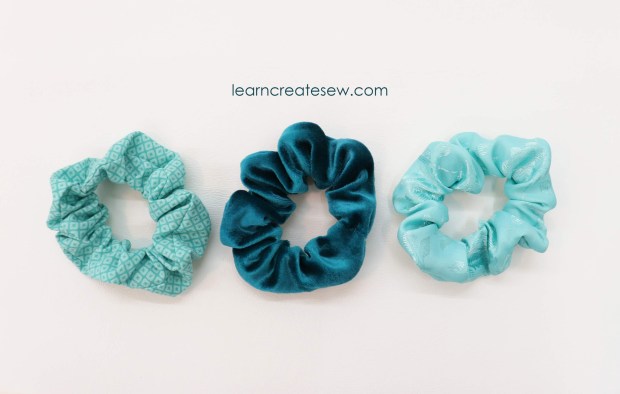
You can use a variety of fabrics to make scrunchies, so it’s a great way to use the fabric in your scrap bin. Scrunchies are great in cotton, flannel, velvet, satin, and more.

1mvi_8725

You can mix and match removable ties to add a bit of flare to your scrunchies.

1img_8846

Scrunchies only take a few minutes to make and even beginning sewers can be successful with this project.

1img_8870

You can make the scrunchies without the ties if you prefer.

Here is the pattern for the removable ties!

Scrunchie Tie Pattern by learncreatesew

DETAILED INSTRUCTIONS:
QUICK OVERVIEW:

Disposable Blue Shop Towel Face Masks

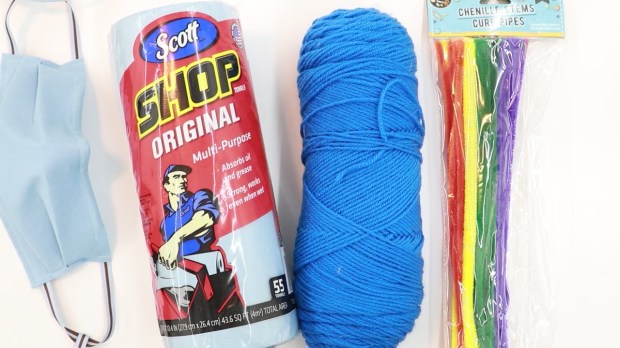
I was doing some research into how materials filter particles and found that Shop Towels, filter particles better than a lot of fabrics and interfacing.

As a result, I decided to make a quick face mask using blue shop towels. If the supplies are available near you they are quick, easy, and affordable. I was able to purchase enough supplies for four dozen masks for just $6!

1img_8686

Please keep in mind that these products were not designed for use in face masks. It is always a good idea to check with the manufacturer to make sure it is safe to breathe through. While these masks work great for me, it is always a good idea to test your mask for breath-ability and make sure you can breathe freely while wearing it.

1img_8634

This mask also has a channel for wire to create an arched bridge for the nose. This creates a great shape and a helps personalize the fit just for you. I used pipe cleaners to help shape my mask. Take care and stay safe, as there is always a potential hazard when placing wire next to your face and eyes.

MVI_8700

Since these products have not been approved by the manufacturers for use in face masks, these masks are not recommended for children. But if you are looking for a quick, cheap way to make disposable masks for yourself, this is a great option!

DETAILED INSTRUCTIONS:

Little Bear with Accessories

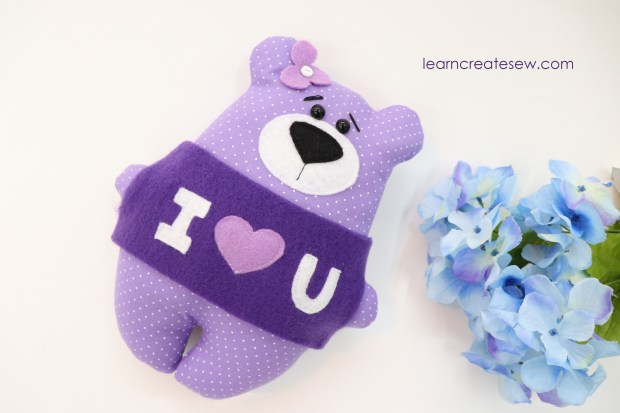
This simple bear plush is great for beginning sewers and service projects! My first year sewing students made these bears for a children’s hospital. They were a big hit for both those making the bears and those receiving them. They are quick to make and even my new sewers were successful! They are also a lot of fun 🙂

1img_8465

This bear can be made with or without accessories, and it is adorable either way! The dress may be a bit of a challenge for beginning sewers as it involves gathering.

1img_8421

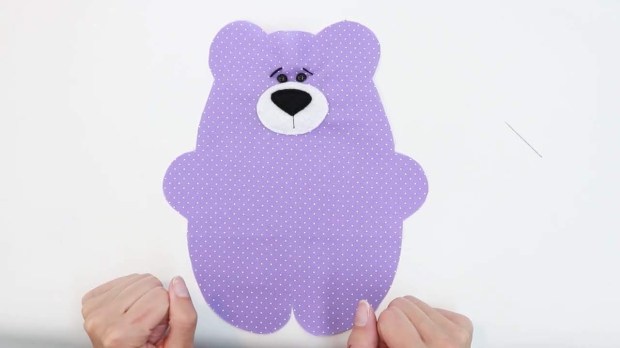
The body of the bear can be made with cotton, flannel, or fleece. Felt is great for the details. I used fleece for the I love You sweatshirt and flannel for the little dress. I also used 8mm safety eyes, buttons are also a great option. Embroidery floss was used for the eyebrows.

2-1

It is really fun to personalize your bear. Decorate as you prefer! Be creative and make it all your own. Since much of the decoration is simply felt shapes, this is really easy to do.

3-1

I hope you enjoy making this project as much as I did.

Little Bear Pattern by learncreatesew

DETAILED INSTRUCTIONS:

This video introduces the use of some pressing tools, like the seam roll.

5

That Purple Thang tool also comes in really handy when sewing the tight curves.

1-1

When using cotton or flannel fabrics don’t forget to clip the curves and corners in the seam allowance to get the best possible shape.

4

In the end, this is a cute, fun little project that is great to make over and over.

1img_8522

Flat Fanny Pack

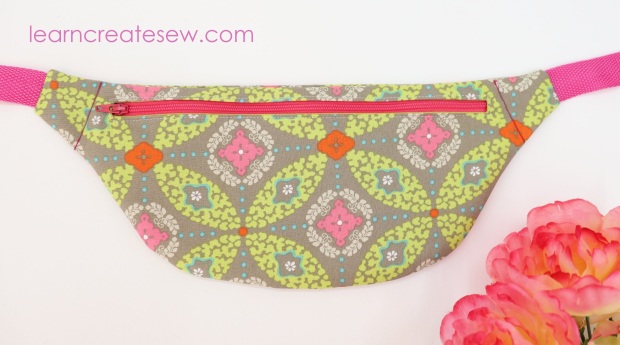
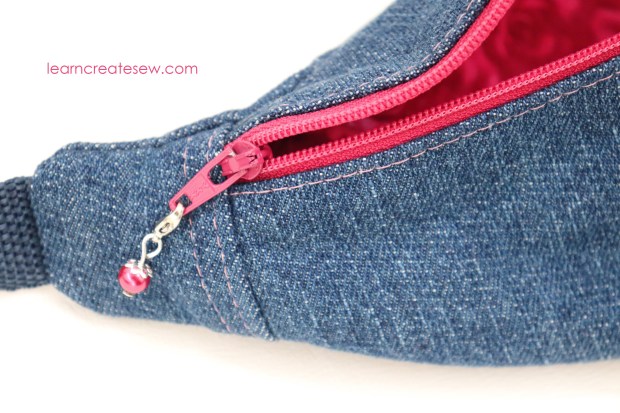
Here is my second fanny pack! This one is a flat version.

1img_8083

The construction of this fanny pack is quite a bit easier than my classic fanny pack.

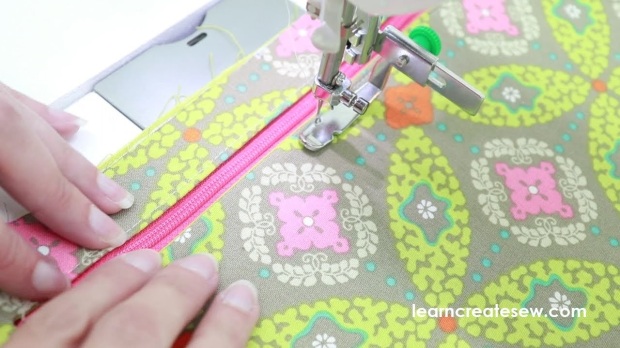
It has a zipper window rather than a zipper on a curve. This is a great option if you are learning how to sew zippers. The difficulty level on this project is about a 3.5/10. You have to use a zipper foot. You will be working with lining, and your stitching has to be exact.

1mvi_8027

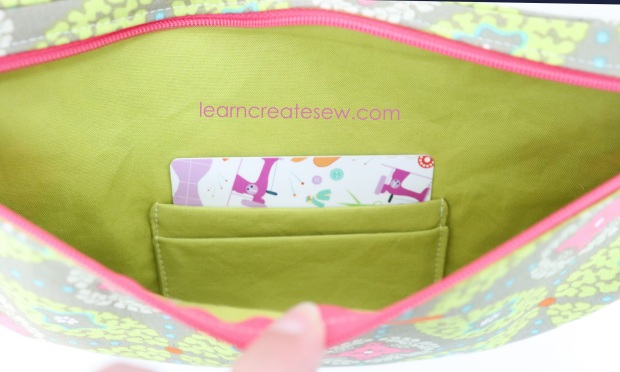
Since it is flat it can’t hold much, but it is perfect for your phone, lip gloss, or to act as a wallet. There is even an optional credit card pocket.

1img_8100

The pattern has two sizes, small and regular. The regular fanny pack is about 14.5 inches wide, 6 inches tall from tip to top, with a pocket about 5.25 inches deep. The small size is about 13 inches wide and has a pocket approximately 4.75 inches deep.

Here is the free pattern!

Flat Fanny Pack Pattern by learncreatesew

DETAILED INSTRUCTIONS:

Classic Fanny Pack

I have been wanting to make a fanny pack for years, and I finally did!

1img_8339

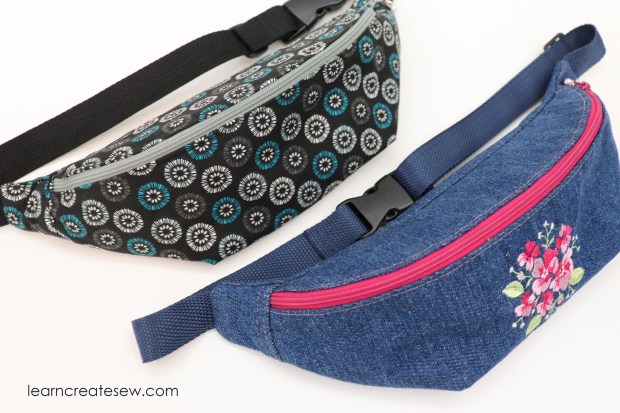
This is a classic fanny pack with a curved top flap. It’s what I always picture in my head when I think of a fanny pack. I made several different patterns before I settled on this one, and it was by far my favorite. It is fully lined, so no raw edges! But you could definitely make it with a single layer if you wanted to.

1img_8269

The waistband is also adjustable.

1img_8151

Since the zipper is on a curve, there is a bit of difficulty, probably a 5/10. If you aren’t as comfortable sewing zippers and think this might be a bit much for you, don’t worry! My next tutorial is a flat fanny pack and the zipper installation is much easier.

1img_8189

The dimensions of the fanny pack are approximately 13.5 inches side to side, 4 inches tall, and the top flap is about 2.5 inches deep. It tapers to a point at the bottom.

Here is the free pattern & my video instructions!

Enjoy!

Classic Fanny Pack Pattern by learncreatesew

DETAILED INSTRUCTIONS:
You can use different fabrics for the fanny pack.

1mvi_7984

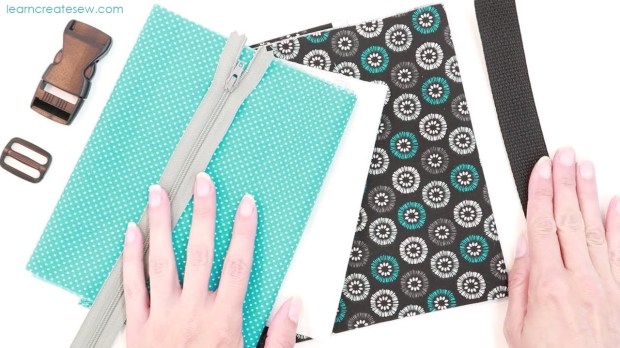
Canvas and denim are great for the exterior. You can even use regular cotton fabric, but I do recommend interfacing. I used SF101, but a fusible fleece would probably work good as well.

1mvi_8011

You can use top stitching as  a decorative element and to add stability to the bag.

1mvi_8004

On my denim bag I used contrasting thread so the top stitching would stand out, and two rows on the sides to give it more of a “jeans” feel.

1img_8284

Keep an eye out for my next tutorial and I’ll show you how to make a different style of fanny pack!

No Sew Fleece Face Mask

I know what you are thinking…not another face mask! I promise, my next project will be something different, but I couldn’t resist. I was talking to my mom about different types of face masks and when fleece came up I just had to share this idea.

Not all of us are seamstresses, but we all need face masks.

1img_7978-1

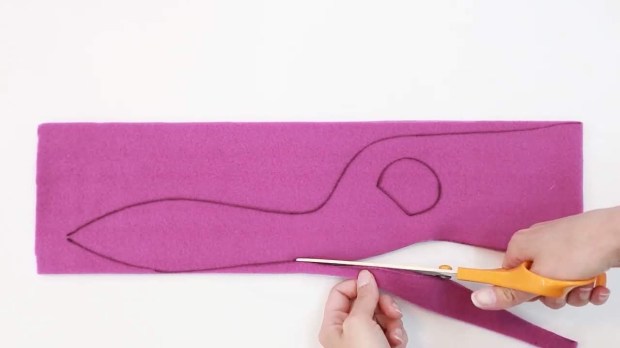
Here is a super quick pattern if you need something easy and convenient.

Fleece No Sew Face Mask Pattern by learncreatesew Final

1img_7931

They only take a couple minutes to make! You trace and cut.

123

Fleece is a great choice for the fabric, as it won’t fray, but I have also used the pattern for flannel. I used pinking shears to limit frayed edges. Just know if you choose to use a woven fabric the edges will fray eventually, especially when washed.

Here is the video tutorial if needed!

Detailed Instructions:

Face Mask with Wide Fabric Ties

With face masks on the brain lately, I can’t help but think of new ways to make them.

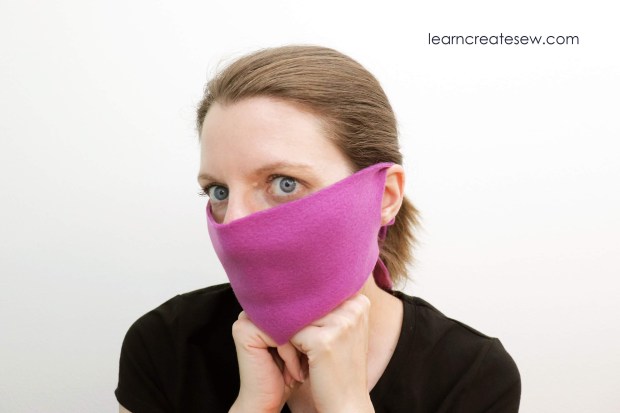
This new tutorial has a wide fabric tie in the back, kind of like you would see on a bandanna or headbands. I really like the look of it.

comp

It has an odd shape when flat, but when you wear it it fits snugly against the face. It is also easier to tie than the small straps.

1img_7816

Here is the free pattern!

Wide Tie Face Mask Pattern by learncreatsew Final

DETAILED INSTRUCTIONS:

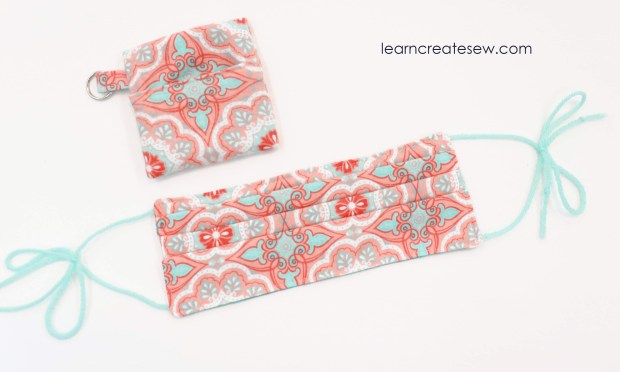
It also fits nicely inside the key chain face mask case!

1img_7803

Face Mask Key Chain Pouch Web Pattern by Learncreatesew

Key Chain Case Instructions:

Face Mask with Yarn Ties in 3 Styles

Here is a new version of my face mask tutorial!

It uses the same pattern as my previous tutorial that had fabric ties.

Face Mask Family Sizes by learncreatesew

The fabric ties are great! They are durable, comfortable, and work really well. That said, they can be time consuming to sew and can be challenging for beginning sewers, so I started searching for an alternative.

1img_7784video

I had just finished my rag doll tutorial and yarn was EVERYWHERE in my house. It inspired me 🙂 Why not have yarn ties for face masks.

Yarn ties are super easy! They are quick and make the construction of the face mask very simple. I made a few test masks and ran them through the washer and dryer in a lingerie bag and they came out great. The ties also are easy to make in different styles.

There are a few drawbacks to yarn ties. First, always tie them with bows. If you get a knot, you may not be able to get it undone and may have to cut your tie. Second, some people may be sensitive to the feel of the yarn behind their ears and neck. Use soft yarn if possible. They are also not as sturdy.  As a result, I still recommend fabric ties for durability and for donations, but yarn ties are great for ease and convenience. So, if you’re just looking for something to grab when you run to the gas station or mail box, these are great!

This tutorial shows you how to make 3 different styles of yarn ties. Two long ties behind the head and neck, two short ties to tie behind the ears, and one long tie to tie behind the head.

1img_7659

DETAILED INSTRUCTIONS

These masks also fit great in my Face Mask Key Chain Cases

1img_7705

Face Mask Key Chain Pouch Web Pattern by Learncreatesew

Rag Doll Part 2 – Adding the Hair

Here is the second installment of my rag doll tutorial. This was by far one of the most difficult videos I have made. Not because the process is hard, but because there are so many different styles of hair that can be selected and so many methods with which it can be applied.

I spent a lot of time deciding what I would share because I didn’t want anyone to feel limited in the approach they had to use. Not to mention, there was a whole lot of yarn that did not want to cooperate and stay in place while filming! Apparently it does not take direction well.

1img_7279

I really enjoyed using multi-colored hair on this doll. Mixing and matching colors strand by strand was a lot of fun, and I really like the look it created.

On the above doll the majority if her hair is the dark purple color. The wefts added at the bottom were all the same color, however at the top, I added just a bit of contrast.

I hope that you can take the methods used in this video and expand upon them to make something all your own 🙂

1img_7489

I love the drastically different looks you can create by altering hair styles and color.

Here is my rag doll pattern in case you missed it in the last post. The doll is just over 14 inches tall when completed.

Rag Doll Pattern by learncreatesew

ADDING THE HAIR DETAILED INSTRUCTIONS: