Skill Builder – Finishing Seams

One thing that comes up frequently in sewing is finishing seams. This can be just as important on simple projects as it is on garments and in more complex construction.

Having a bag of tricks for finishing seams can remove the need for linings and can simplify projects. It can also provide a more polished and professional look.

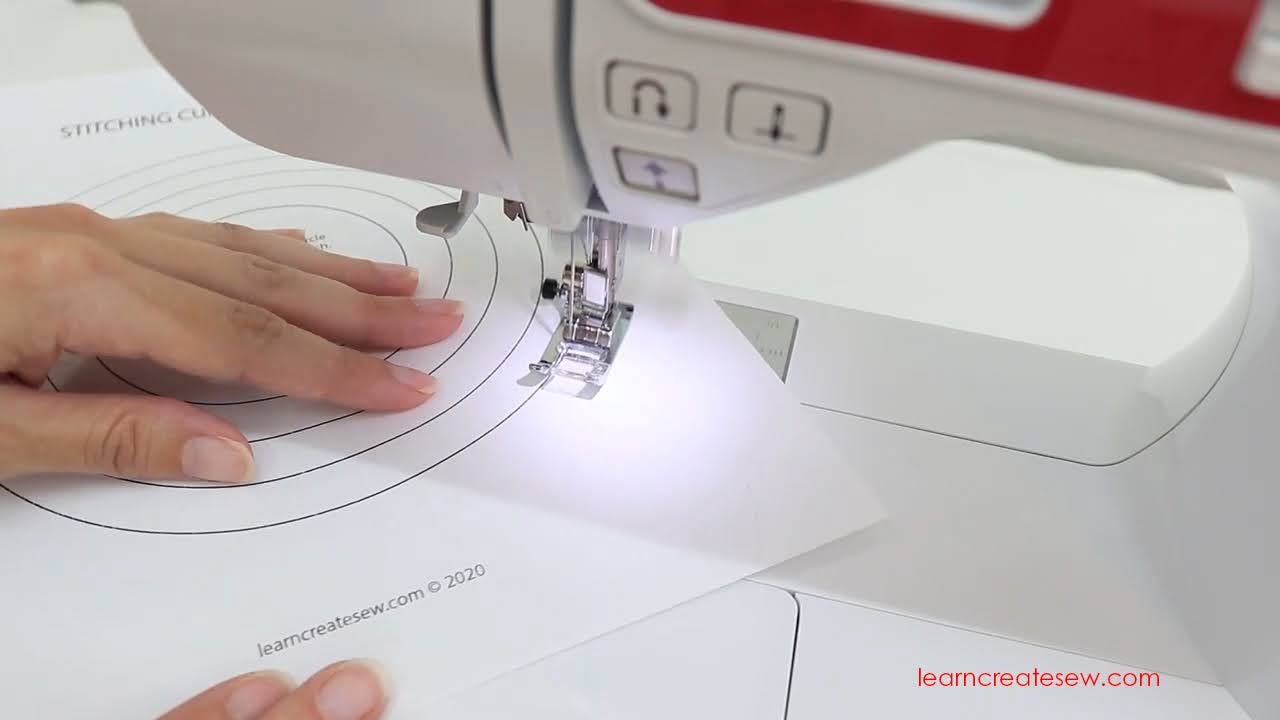
In my video I will demonstrate four different methods of finishing seams.

PINKING SHEARS

This is the easiest method for finishing seams. It takes very little time and is really convenient. However, it does require a nice pair of pinking shears and they can be a bit pricey.
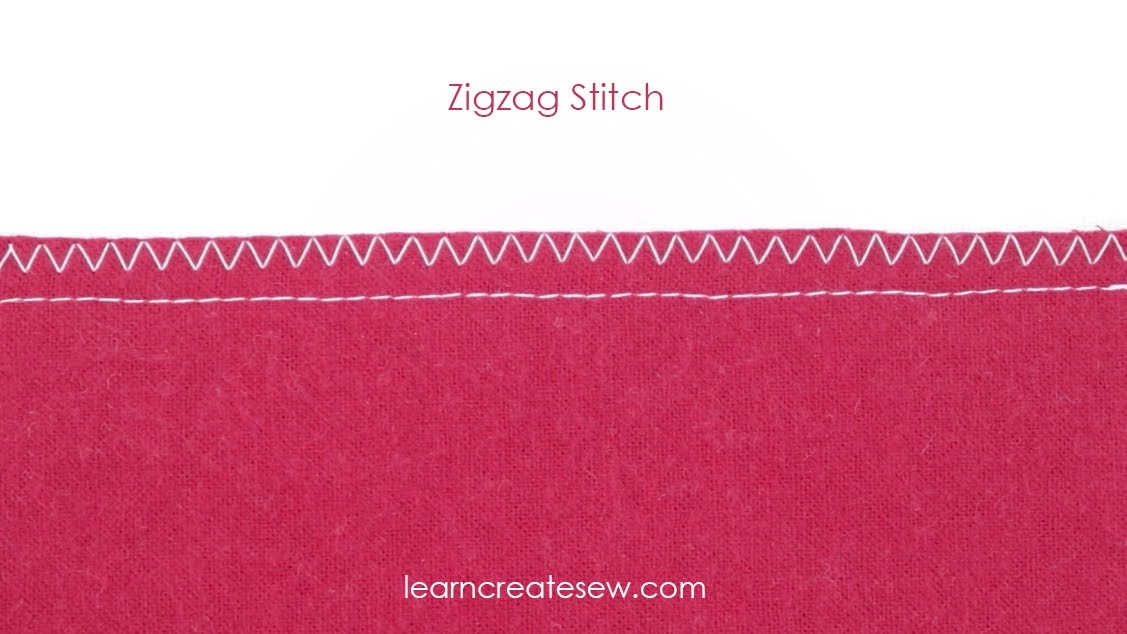
Zigzag Stitch

This method is very convenient as well. Most sewers are comfortable with the basic zigzag. It doesn’t require any special tools or accessories and it gets the job done.

Zigzag Over the Edge

This is a quick substitute for the overcast stitch if you don’t have the overcast foot available. However, depending on the weight of your fabric the edge may roll a bit when it is met with the tension of the stitch. I find it works well on heavier weight fabrics. The fabric shown in the example is a mid-weight flannel.

Overcast Stitch

This stitch provides the most professional finish. Since it is actually designed to go over the edge it is great for finishing seam allowances. However, it usually requires a special foot for your machine, and depending on your machine the stitch may or may not be an option.

Watch the video and learn how to use these seam finishing methods!

Learn to Sew: Lesson 3: Machine Stitching Practice

Using a sewing machine for the first time can be exciting, intimidating, and often frustrating.

With this lesson I hope to provide you with tips and instructions that will help you feel comfortable and confident as you begin to use your sewing machine.

Lesson Category:

  • Sewing Machine Basics

Lesson Topics:

  • Basic Machine Functions
    • A Brother Computerized Sewing Machine is used as the example
    • How to control the speed
    • Basic Stitches and Parts
  • Sewing Lines
  • Sewing Corners
  • Sewing Curves
  • Sewing with a Seam Allowance

It may seem strange, but the best way to start using the machine is to practice sewing on paper.

21-3

This allows you to learn how to control your machine without having to deal with the complications that arise when using fabric and thread.

41

We’ll learn how to sew corners and curves. We’ll also learn how to use a seam allowance.

51

This lesson uses a Brother Computerized Sewing Machine for the example, but the principles can be applied to any machine. If you are using a different type of machine you may want to do some research or consult your manual to find your machine’s default needle position as well as how to use the seam allowance measurement guides so you can accurately read your needle plate.

6

Stitching Practice Sheets:

Stitching Lines Practice by learncreatesew

Stitching Corners Practice by learncreatesew

Stitching Curves Practice by learncreatesew

Seam Allowance Practice by learncreatesew

Here is a Seam Allowance Measurement Guide for Brother Computerized Machines:

Brother Computerized Seam Allowance Guide by learncreatesew

Brother Computerized Seam Allowance Guide by learncreatesew.pdf

LESSON: