
As I was contemplating what my next sewing project would be, I couldn’t help thinking about what is on everyone’s minds at present. Toilet paper.
Yes, it is a rare and precious commodity nowadays. So! What to do…
Well, if you feel the need to travel with your toilet paper so you are prepared for those “just in case” moments, here is a little drawstring bag that is perfect to carry it!
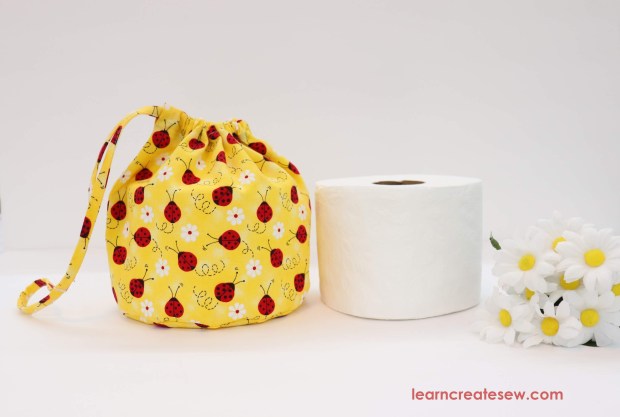
Of course, you don’t need to use your drawstring bag to tote around your toilet paper, it can carry a whole lot of different things, but the toilet paper sure fits nice!

This is a great little project to practice sewing curved pieces to straight pieces. It doesn’t take a lot of fabric and it is quick.

Take a look at my video to see how to make it!
DETAILED INSTRUCTIONS:
Here is the pattern for the circular base:
This project is fairly simple. You should be comfortable pressing, sewing curves, and working with small seam allowances. Difficulty 2/10.
OVERVIEW:
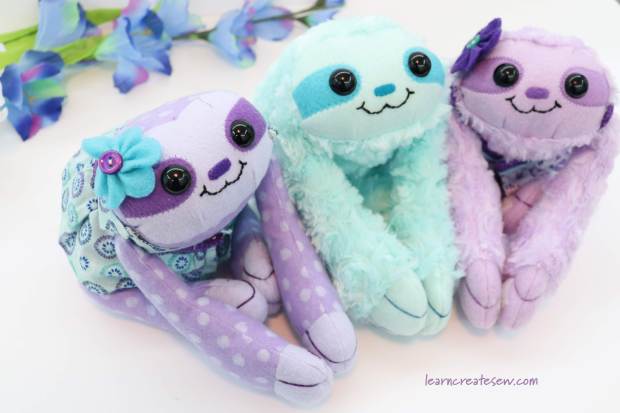


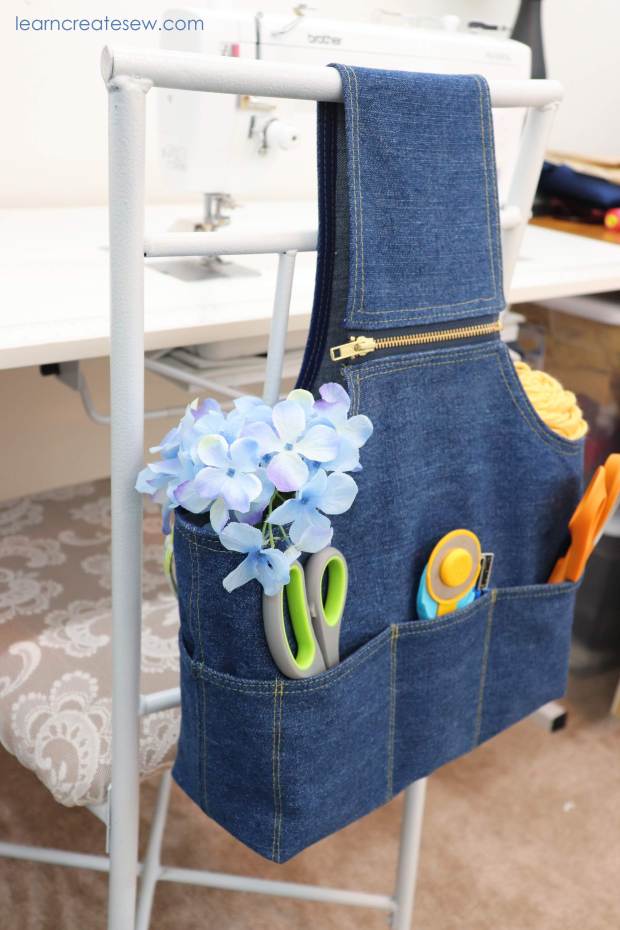
 As you can tell, I have been in the mood to make bags lately 🙂 Hope you look forward to the free tutorials!


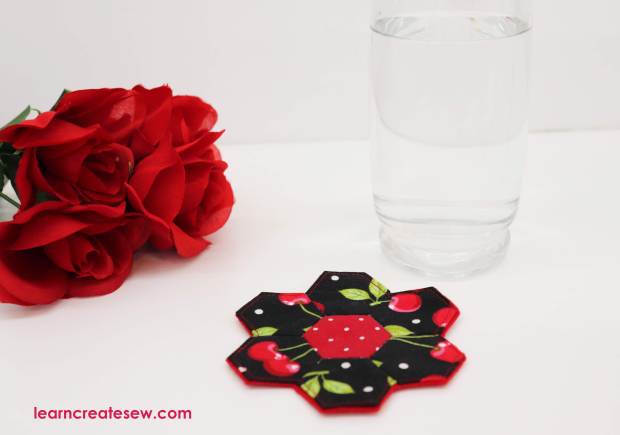
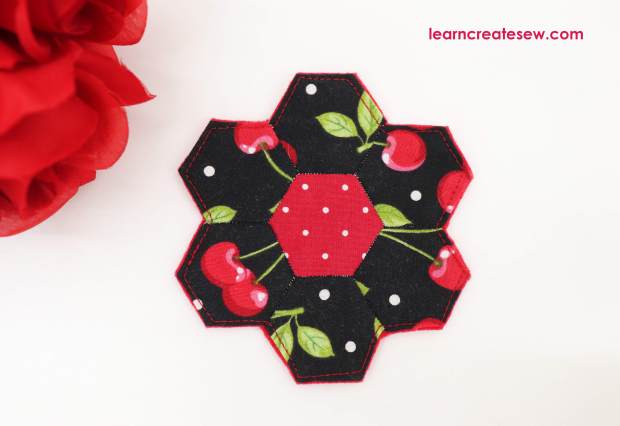
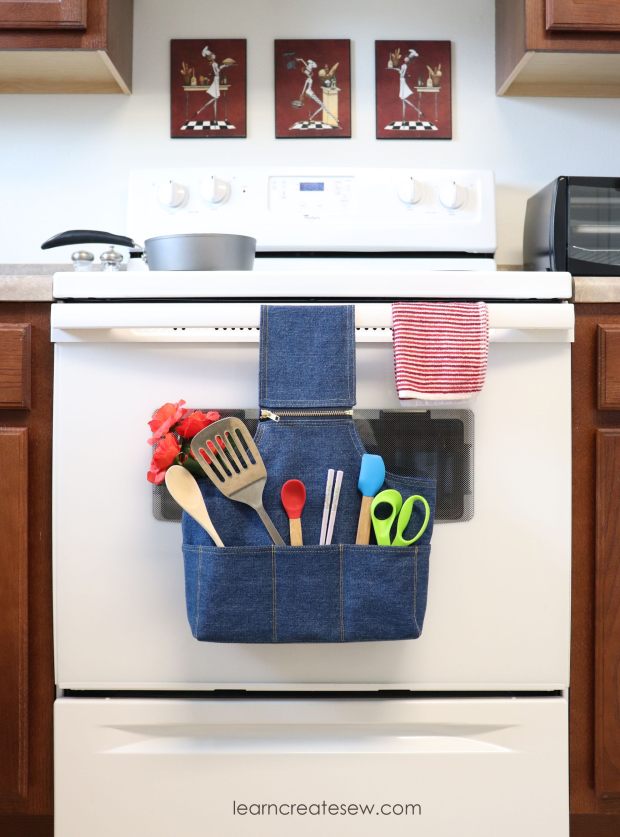 It’s handy in the kitchen!


