Once you’ve mastered threading and using seam allowances, as we studied in Lessons 3 and 4 of the Learn to Sew videos, you are ready to sew a seam.
This is where all machine sewing begins!
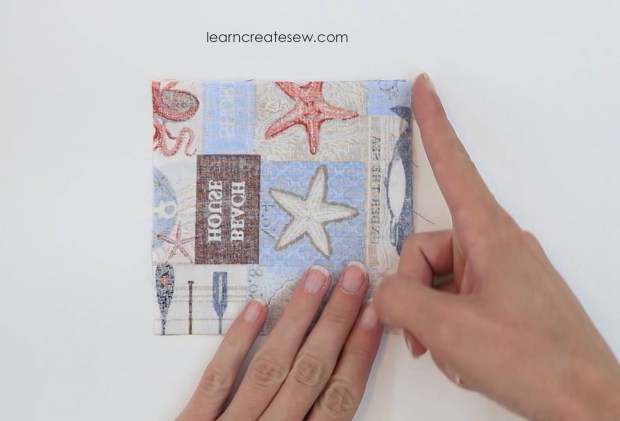
It’s important to be able to distinguish between the Right Side of the fabric, the bright side, the side you want to see on your final project, and the Wrong Side of the fabric, the dull side, the side you want hidden inside.
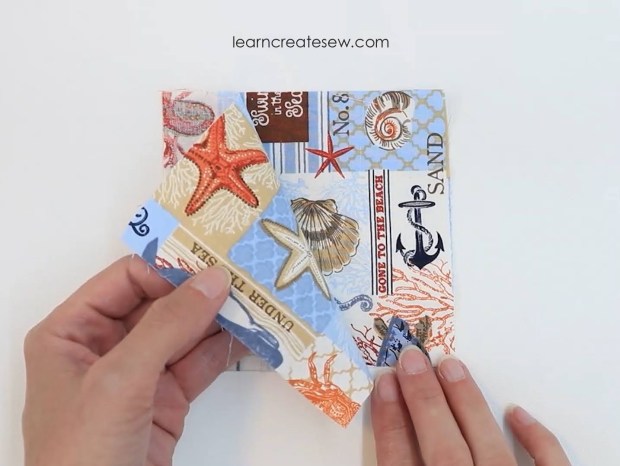
Almost always, when you sew a seam you sew with right sides together. This means the pretty sides of the two pieces of fabric will be touching.
You then align one of the sides with your seam allowance guide mark on your machine, and sew along the edge.
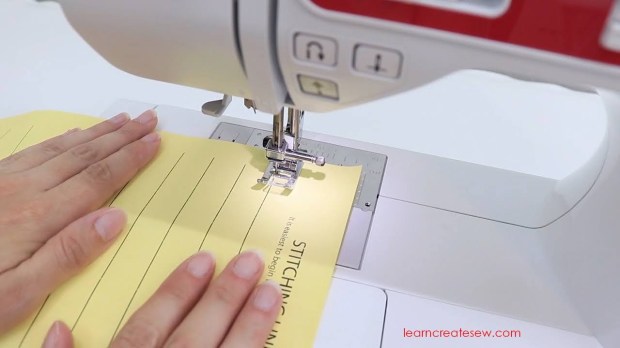
You use the needle plate on your machine as a guide to measure your seam allowance. As a result it is important to know your machine so you can ensure that your needle position aligns with the markings on your needle plate.

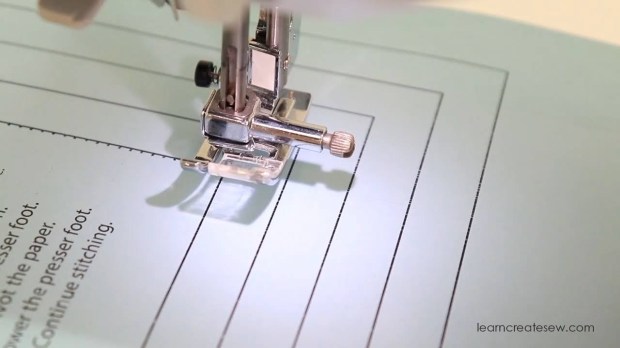
Once your needle is on the correct position and your machine is set to the correct stitch you can follow your guides as you sew to create a nice even seam allowance. It’s helpful to practice using different seam allowances so you feel comfortable using the different guides. That way when those seam allowance sizes appear in a project you are prepared.

It’s important to always back stitch when you start and stop your seam, unless told to do otherwise. This acts as a knot and prevents the seam from coming undone. Back stitching on a machine is different from the hand sewing back stitch. On a machine it’s when you make a few stitches in the opposite direction to secure your thread in place.

It’s also a good idea to trim your threads after each seam. This helps prevents tangles and having a lot trim at the end of your project. It also improves the overall appearance of your project.

In the videos below I have demonstrated sewing a seam on two different machines, on both a Brother Mechanical and a Brother Computerized Machine. The principles are the same for both, but there are slight differences in how you select your stitches and prepare your machine.
SEW A SEAM – BROTHER COMPUTERIZED MACHINE
SEW A SEAM – BROTHER MECHANICAL MACHINE