When I was younger and had been sewing for just a few years, my sewing machine started acting funny and I thought for sure it was broken. Turns out, that wasn’t the case at all. The problem was I had been using the same needle the whole time I had been using the machine. My goodness, I was lucky it lasted as long as it did!
Now that I have quite a bit more experience I realize how important your needle is, both the type of needle and its quality and condition.
When to change your needle?
There are many times and situations when changing your needle is a good idea. Here are a few examples.
- Every 8 – 10 hours of sewing
- Whenever your needle is bent or damaged
- Whenever you need a specialty needle or specific size
- Ball point / Stretch Needles (knits)
- Denim Needles
- Quilting Needles
- Microtex Needles (vinyl)
- Small Universal Sizes (8 -10) Lightweight fabrics
- Medium Universal Sizes (11 – 14) Mid-weight fabrics
- I usually use a size 12 when sewing cottons
- Large Universal Sizes (16 – 18) Heavyweight fabrics
- For every new project (or every few projects if they are small and/or lightweight)
- After sewing heavy duty projects
- When your machine is sewing with irregular stitches
- When your machine has tension issues
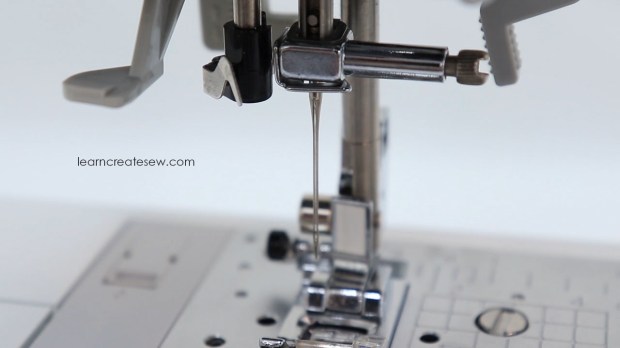
Once you become familiar with how to change a needle it’s really quick and easy! And since you can usually find needles at very affordable prices it’s best to change your needle rather than use an old one, if you are in doubt.
I like to purchase needles frequently, so I always have them on hand. Here is my favorite place to buy needles for both regular point universal needles and ball point needles.
Video Instruction: