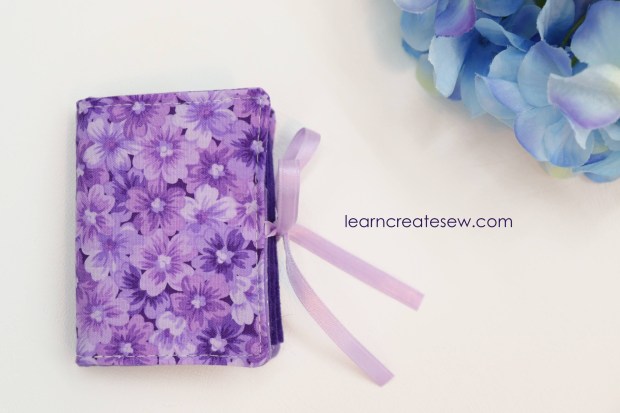
This is a cute fun little project. It is super fast to make, and handy to have around the sewing room, especially if you do a lot of hand sewing. These also make really cute gifts.
It doesn’t take much fabric, so it is a good way to use up your scrap fabric!
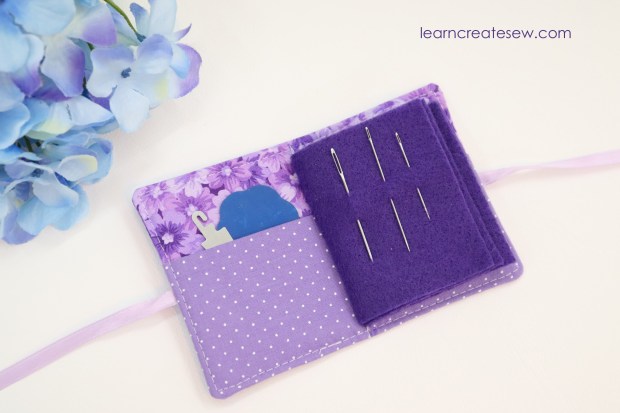
I love the little pockets. You can store thread, needle threaders, needle grips, and even tiny travel scissors.
This book measures approximately 3.5 x 2.625 inches when finished.
Supplies:
Scrap Cotton Fabric (or 1/4 yard)
Felt
12 – 14 inches of narrow ribbon (I used 1/4 inch wide)
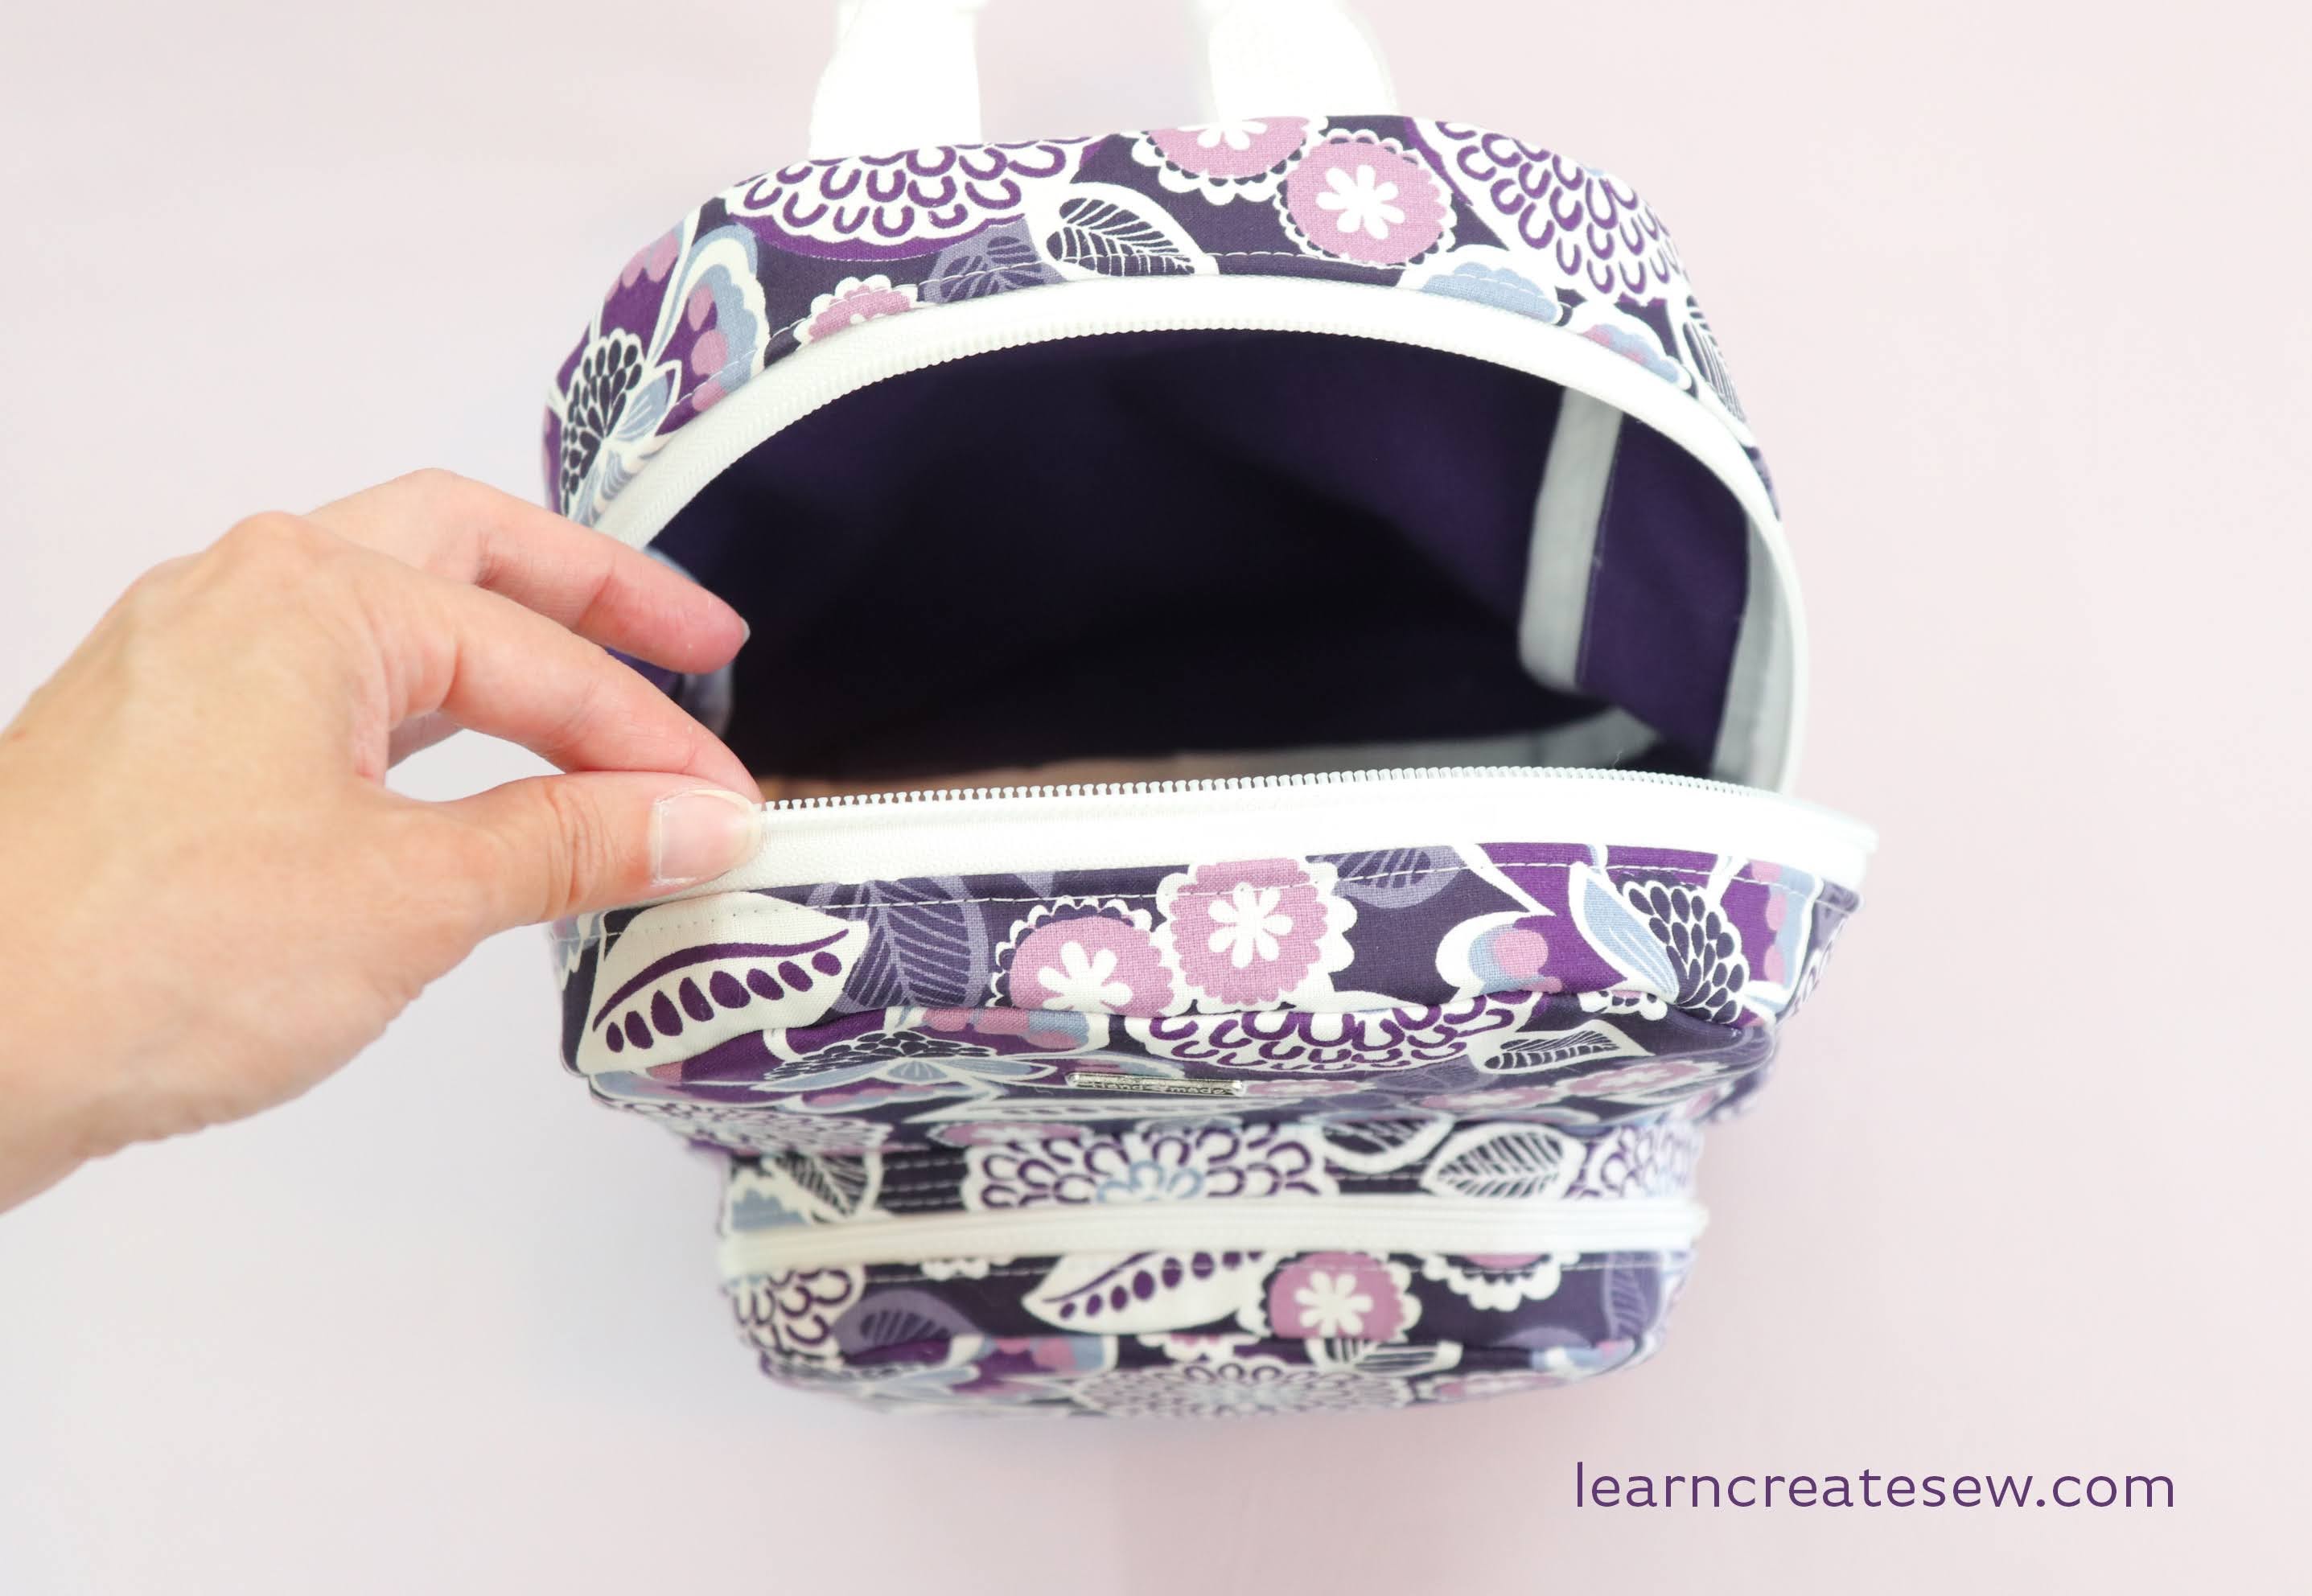
I absolutely LOVE this backpack! This is my favorite size backpack to take to amusement parks. At 9 x 11 inches it is smaller than regular sized backpacks, but large enough to hold a lot. I’ve stuffed this thing with water bottle, snacks, extra sweatshirt, wallet, keys, notebook, first aid kit, and more. However, it’s not so big that it gets too heavy, as regular sized backpacks can.
It even fits in a lot of the ride compartments at Disneyland. That is it’s best feature in my book!
It is constructed with a layer of cotton overlaying duck canvas. I used bias tape to bind the seams.
I’ve made six or seven of these bags using a variety of fabrics and interfacing. I’ve used vinyl, suede, plain canvas, fusible fleece, and even satin. The cotton covered canvas, with woven interfacing is my favorite combination! It is nice to work with, strong without being bulky, and holds its shape very well.
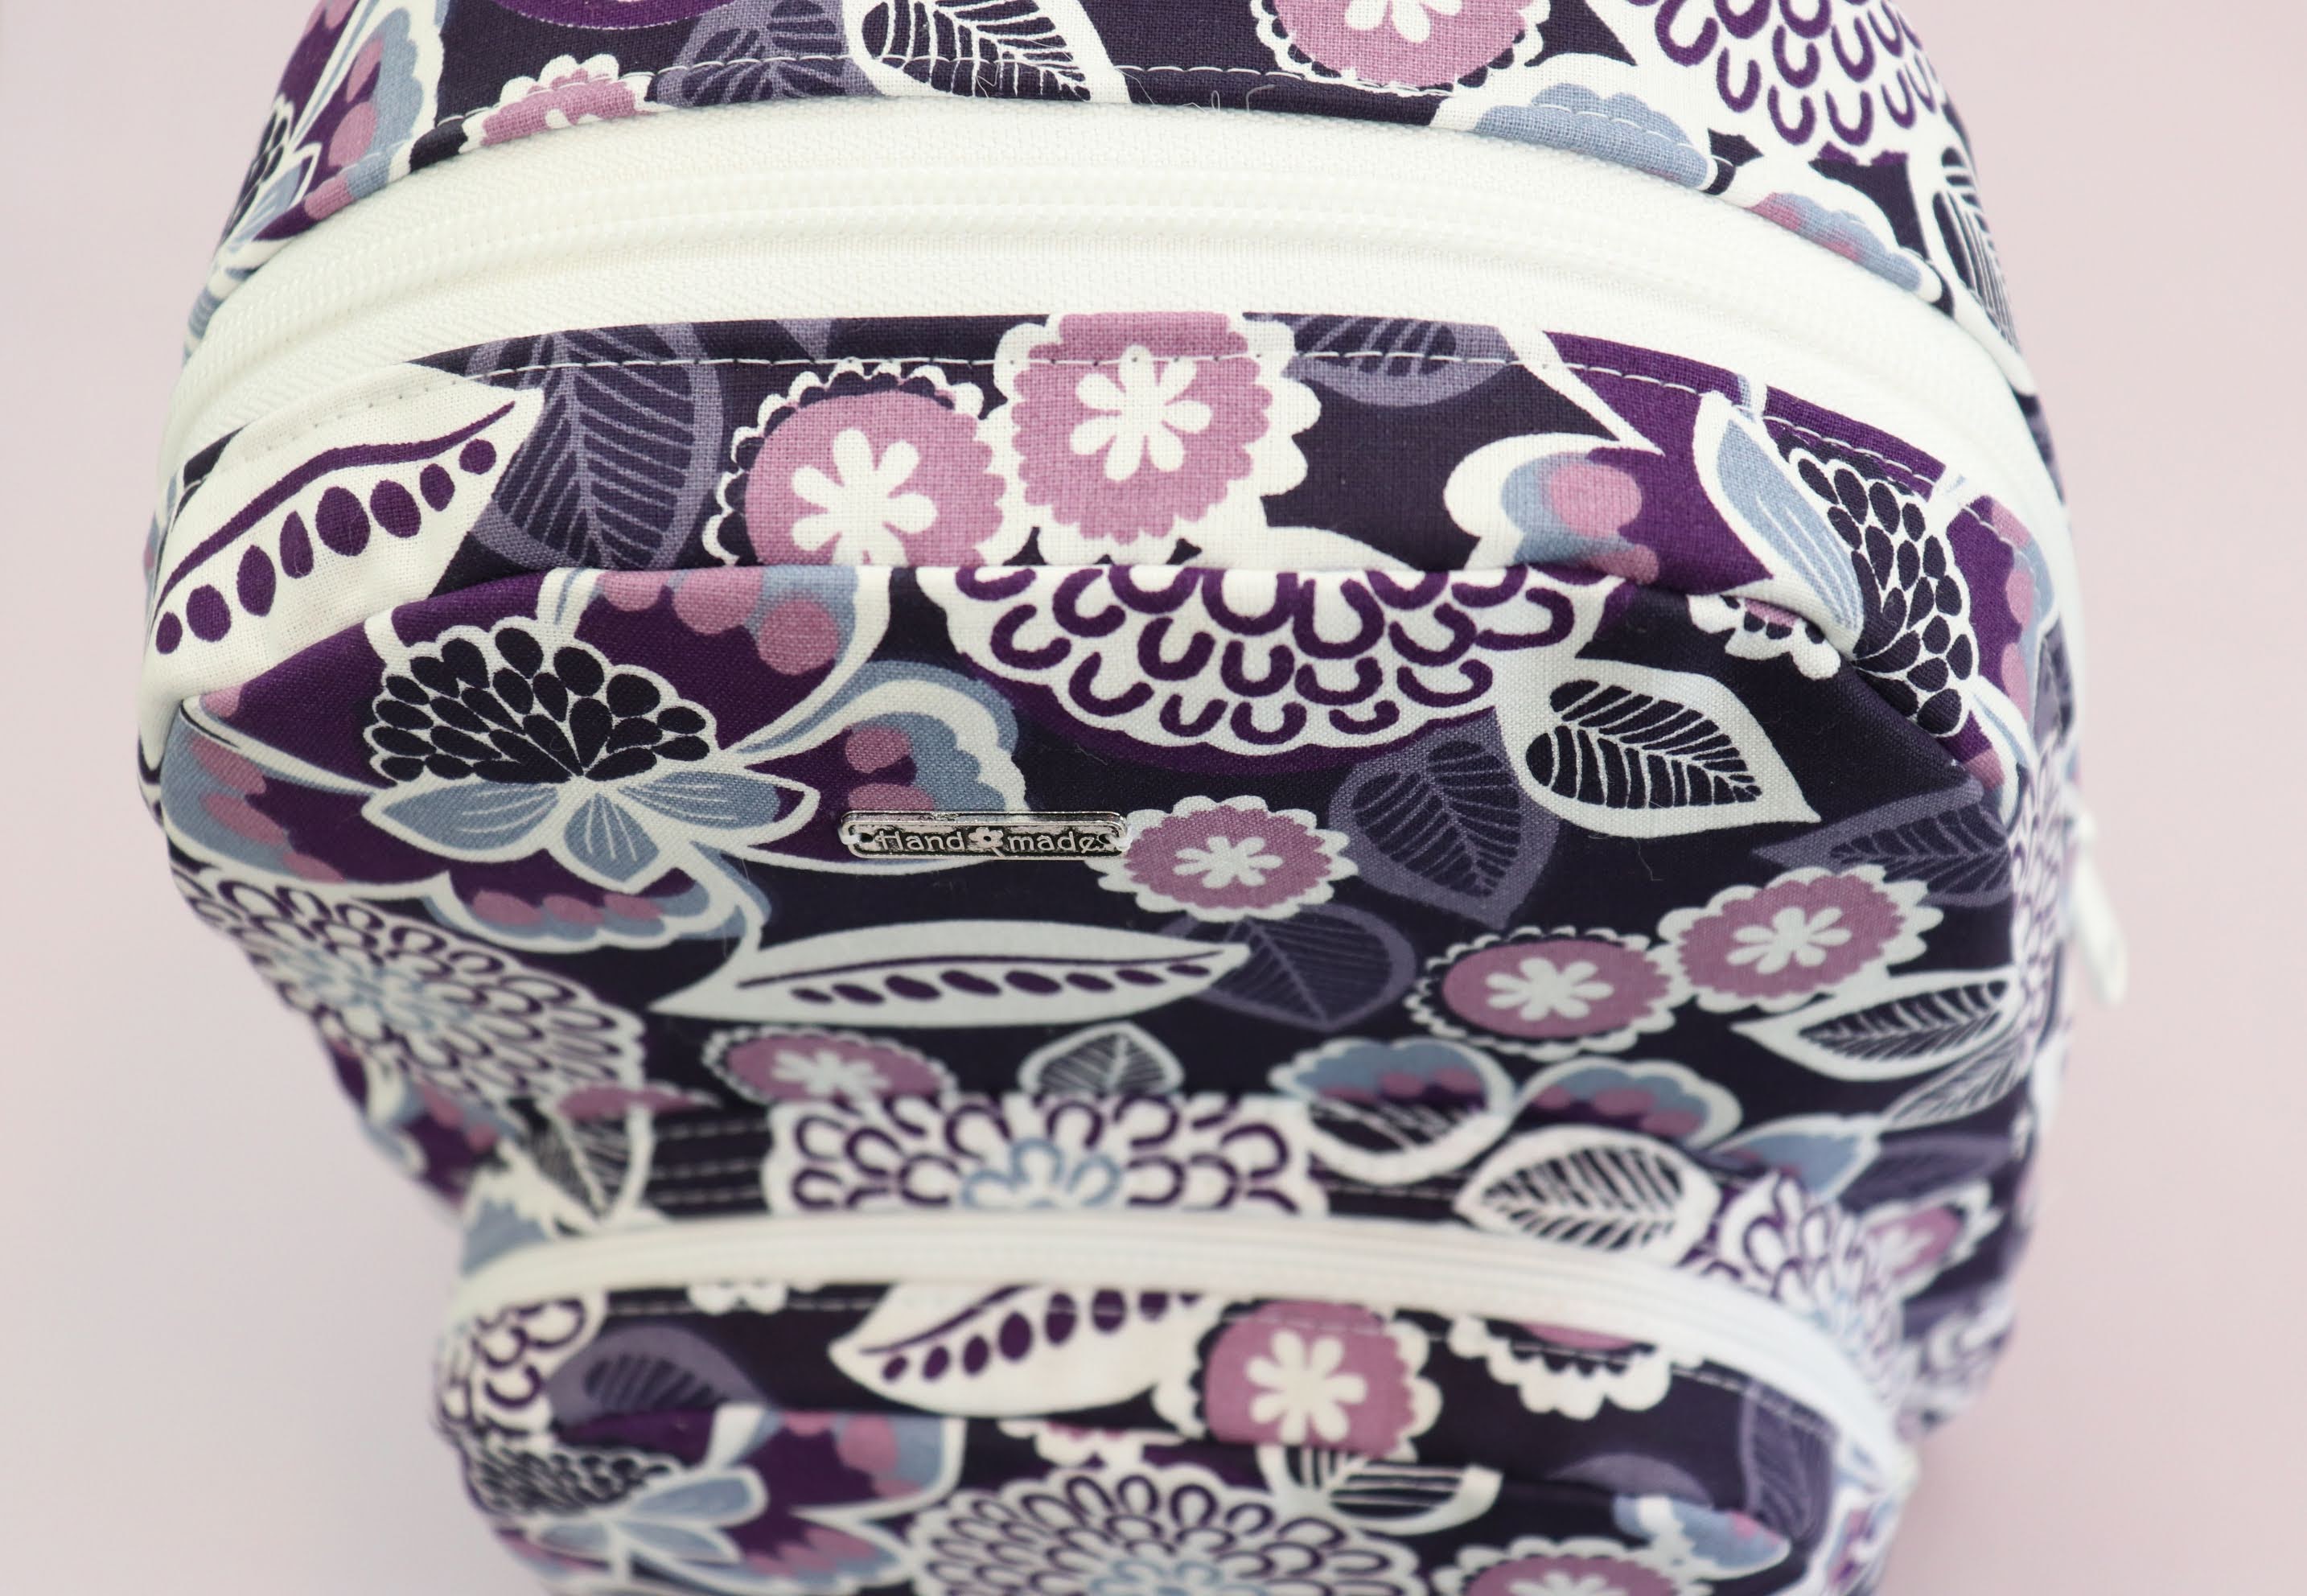
I love the pocket in front. While it takes patience to construct it’s not too difficult once you know the method.
This bag also has adjustable straps depending on how you like to wear your backpack.
Supplies Needed:
1/2 yd 41” wide Main Cotton Fabric 42 inches 19” wide Interfacing (I used Pellon SF101) 3/8 yd 58” wide Canvas (I used duck canvas from JoAnn) One 20 inch zipper One 13 inch zipper
1 pkg Extra Wide Double Fold Bias Tape 75 inches 1” wide Strapping Two 1” wide Rectangle Rings Two 1” wide Tri-glide adjusters One “Handmade” Metal Tag (Optional)
This project takes a bit of time and patience when working with multiple pieces, zippers, curves, and interfacings. Difficulty 7/10.
Approximate Finished Dimensions (inches):
Main Compartment 9 x 3.75 x 11, Pocket 7 x 1.5 x 5.75
DETAILED INSTRUCTIONS: PART 1: Fabric, Zippers, Pocket
Please note, this pattern has been updated. There was an error in the first version of the pattern, the bottom pocket gusset piece should measure 12.75 inches in length. Sorry for the inconvenience!
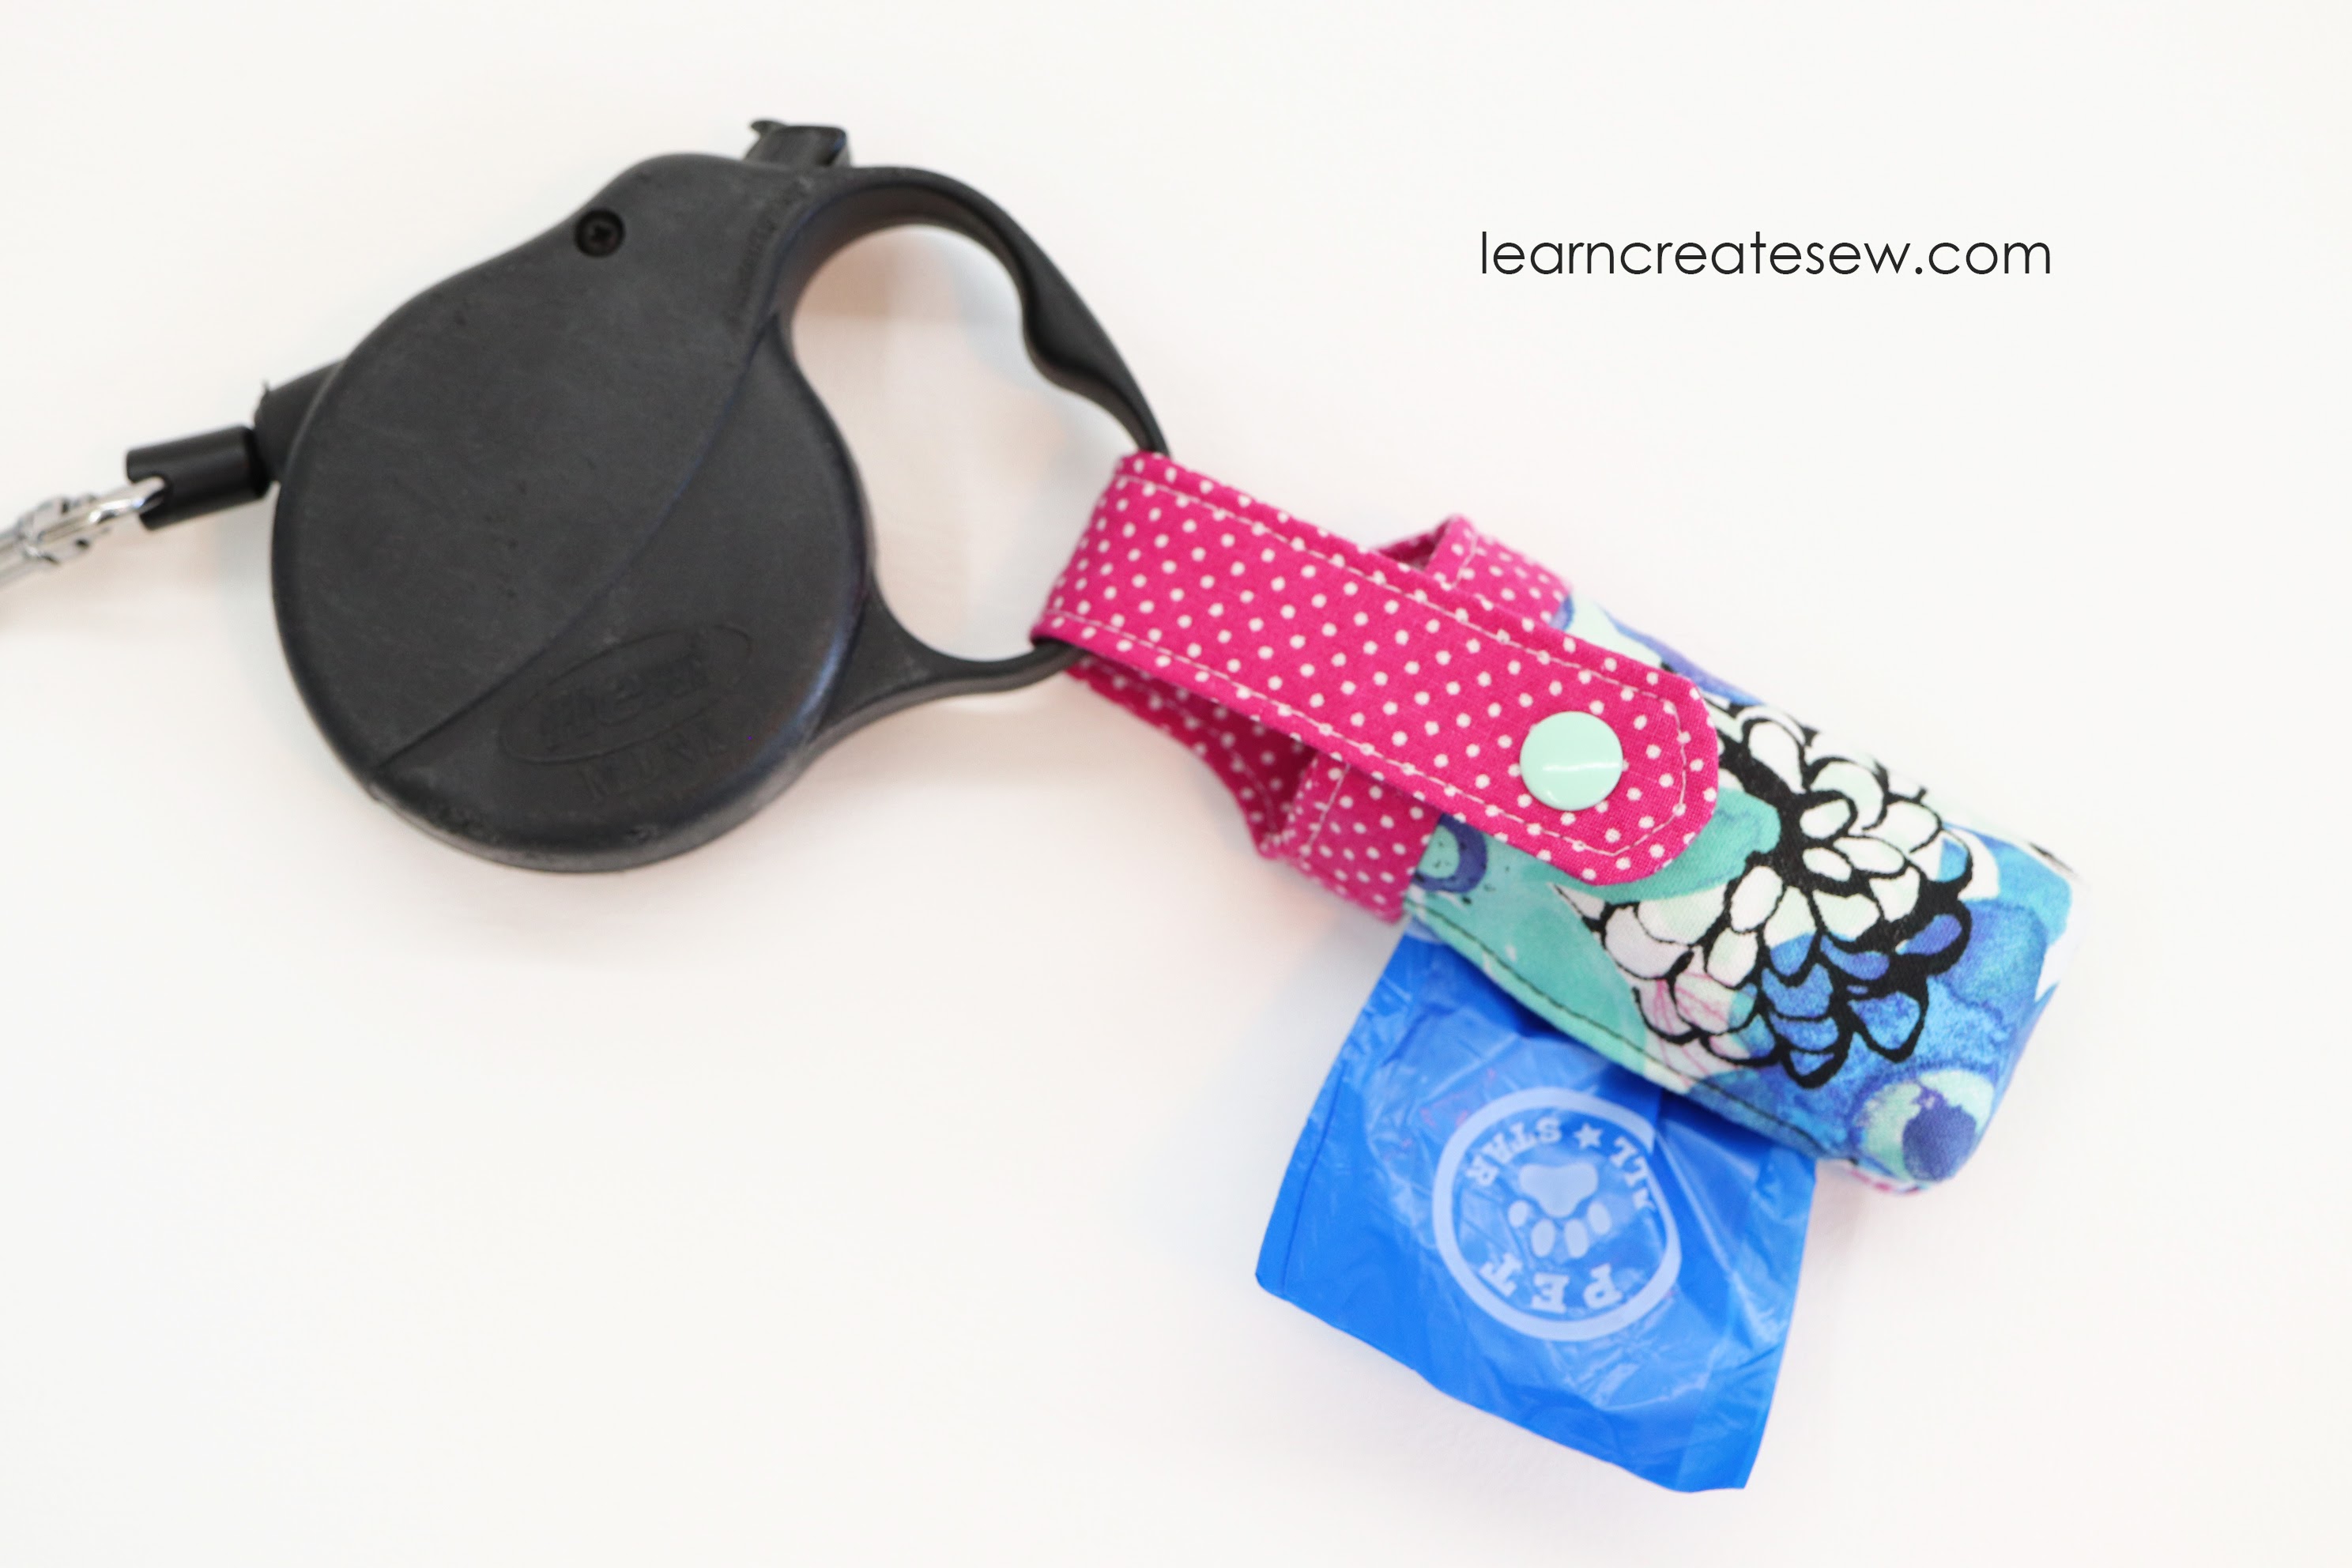
Thank you to my Grandparents for giving me the idea for this project! It was a challenge, but a lot of fun. I have to say, I never thought I would be making a tutorial that had anything to do with dog poop, but here it is 🙂
I have two dogs and they always…always…do their business while we are out and about. As a result, I have to carry these with me every time we go for a walk. Having a case to store the bags in is a must.
The pattern and instructions provide two different styles for the bag.
One is a loop handle which can be attached to the leash using Velcro, snaps, buttons, or more. This is a really cute style and is the typical style for waste bag holders.
The other is a simple drawstring bag. Both options have a slit in the side to allow for easy removal of the plastic bags.
This project is a bit challenging. I would say 6/10. Primarily because it is so small. Special tools can help, such as the Purple Thang to protect your fingers, and a detail pressing tool to reach the small areas.
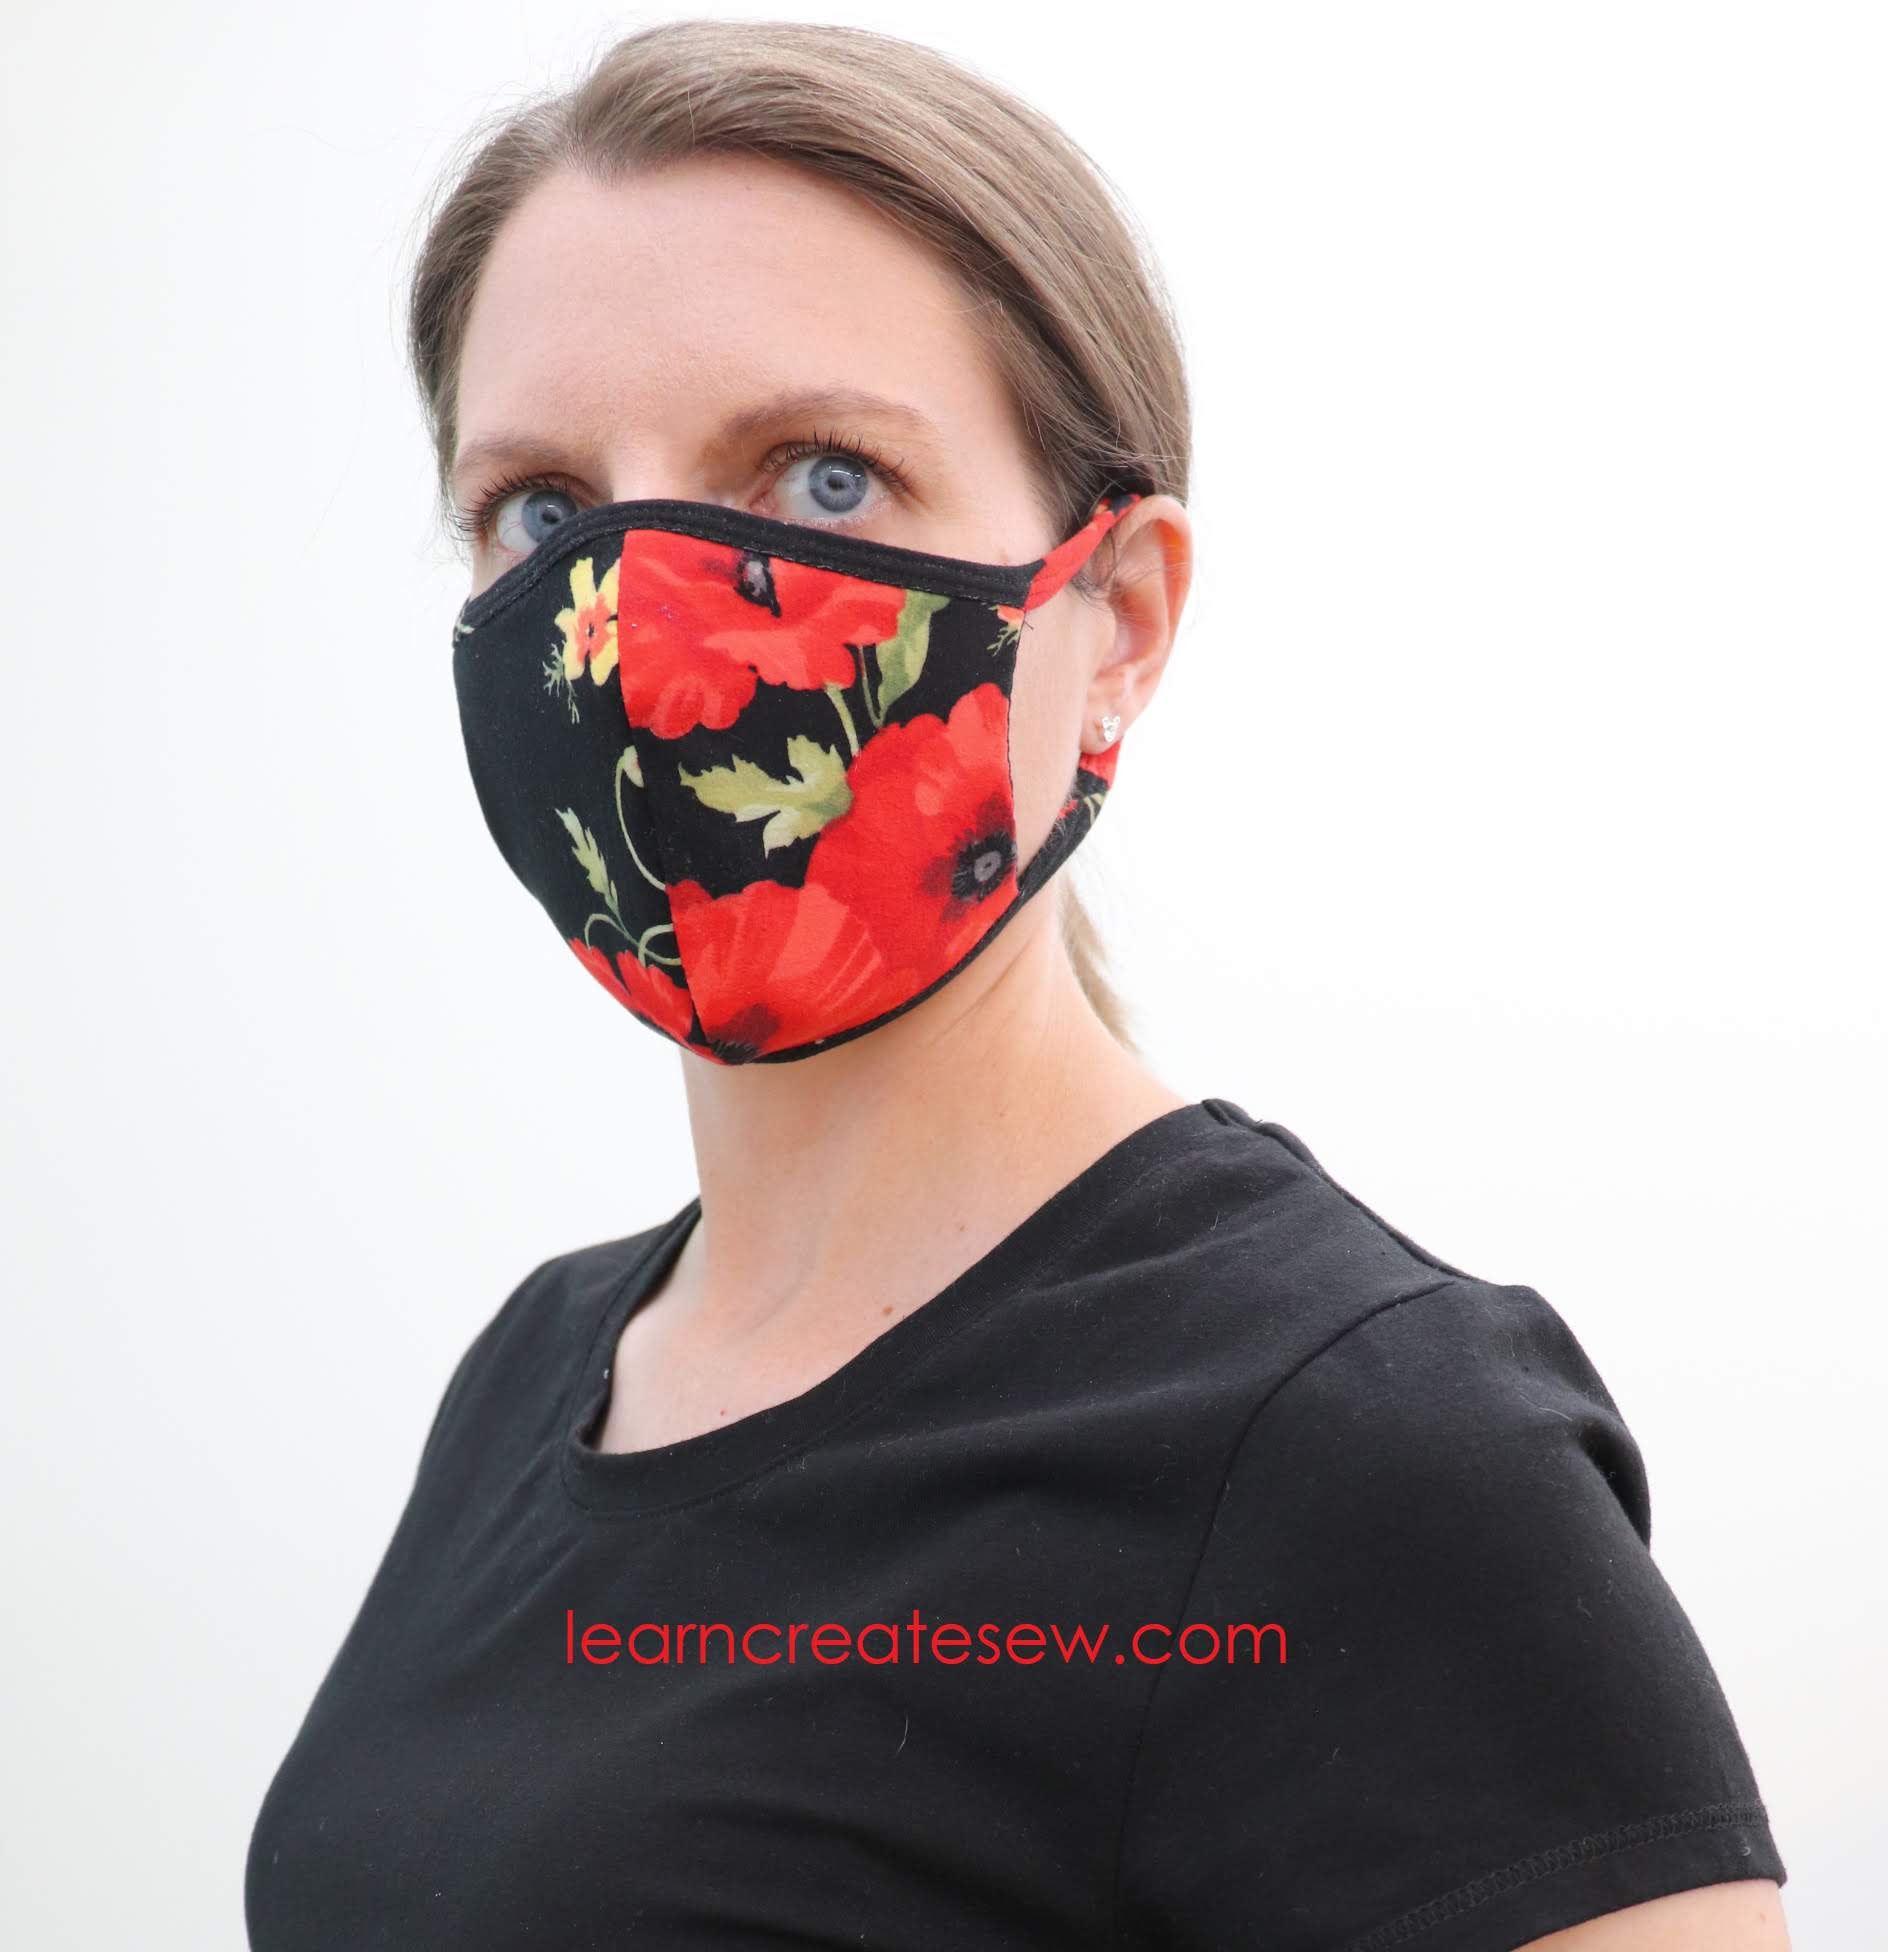
This is one of my favorite face masks. SO comfortable! And I love the fit!
With a lot of face masks I have a hard time finding just the right fit. Since the knit fabric stretches, it wraps around the face quite nicely.
I used a brushed polyester spandex from JoAnn that has a great stretch and holds its shape.
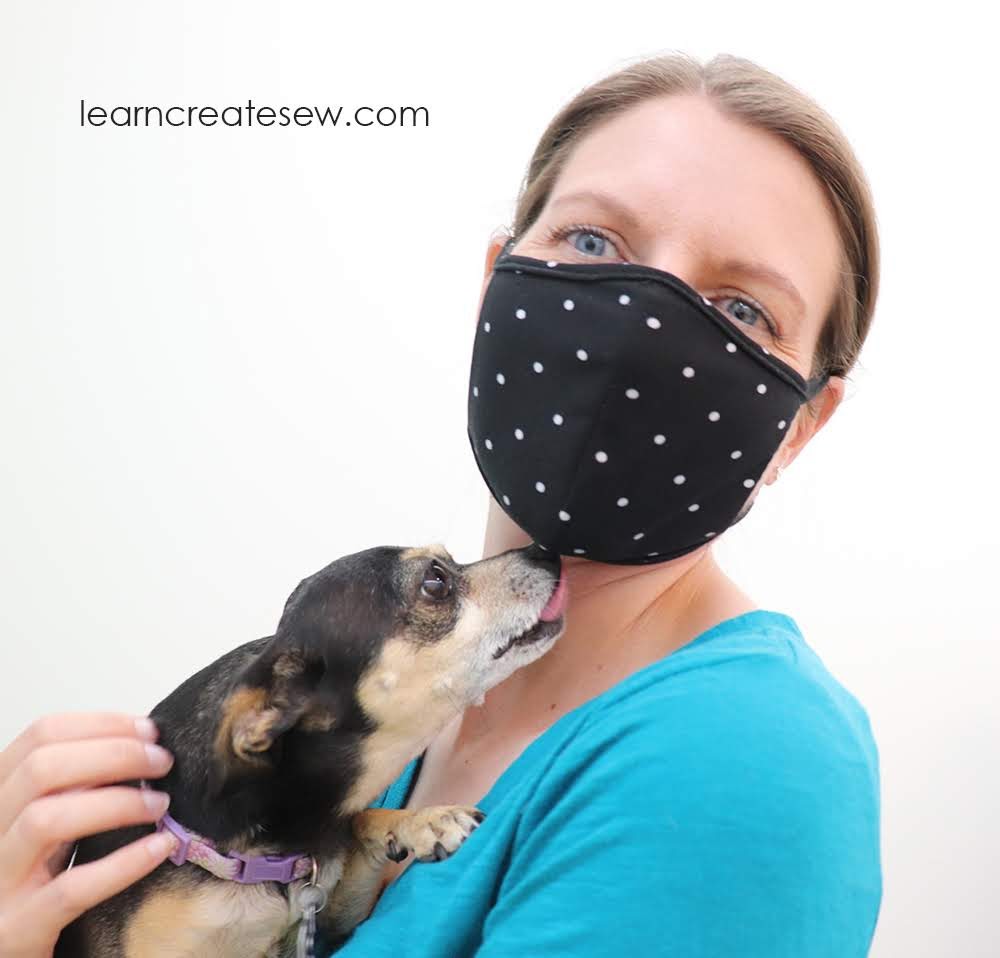
In addition to providing a safer environment, these masks also double as protection against dog licks.
This masks can be made using a zigzag stitch and stretch or ball point needle, or with a combination of a zigzag and twin needle. I used a stretch twin needle with width 2.5. The purple thang tool was very handy when sewing the binding.
Here is the pattern for the face mask. The pattern is available in a variety of sizes. I made a medium for myself and used 26 – 26.5 inches of trim. I used 26.5 of the zigzag stitched trim, and 26 with a twin needle.
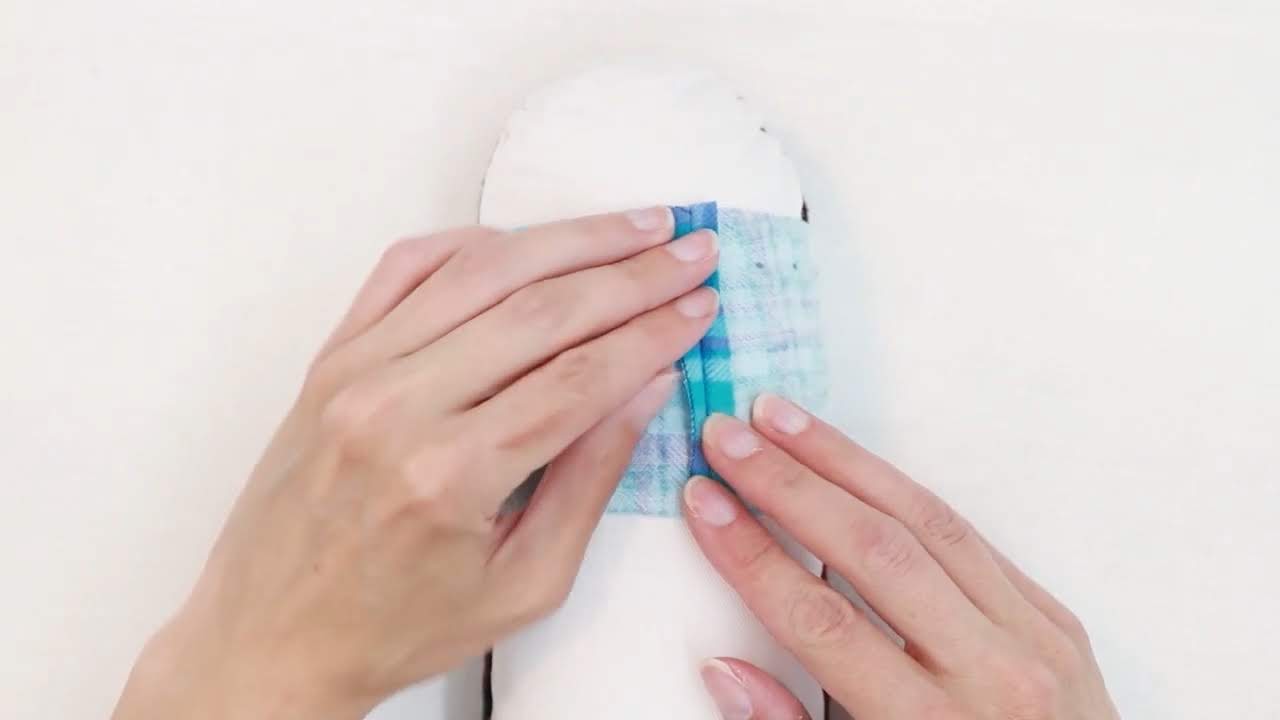
One of the projects that my students request to make most frequently is scrunchies! They are quick, easy, and don’t take a lot of fabric.
You can use a variety of fabrics to make scrunchies, so it’s a great way to use the fabric in your scrap bin. Scrunchies are great in cotton, flannel, velvet, satin, and more.
You can mix and match removable ties to add a bit of flare to your scrunchies.
Scrunchies only take a few minutes to make and even beginning sewers can be successful with this project.
You can make the scrunchies without the ties if you prefer.
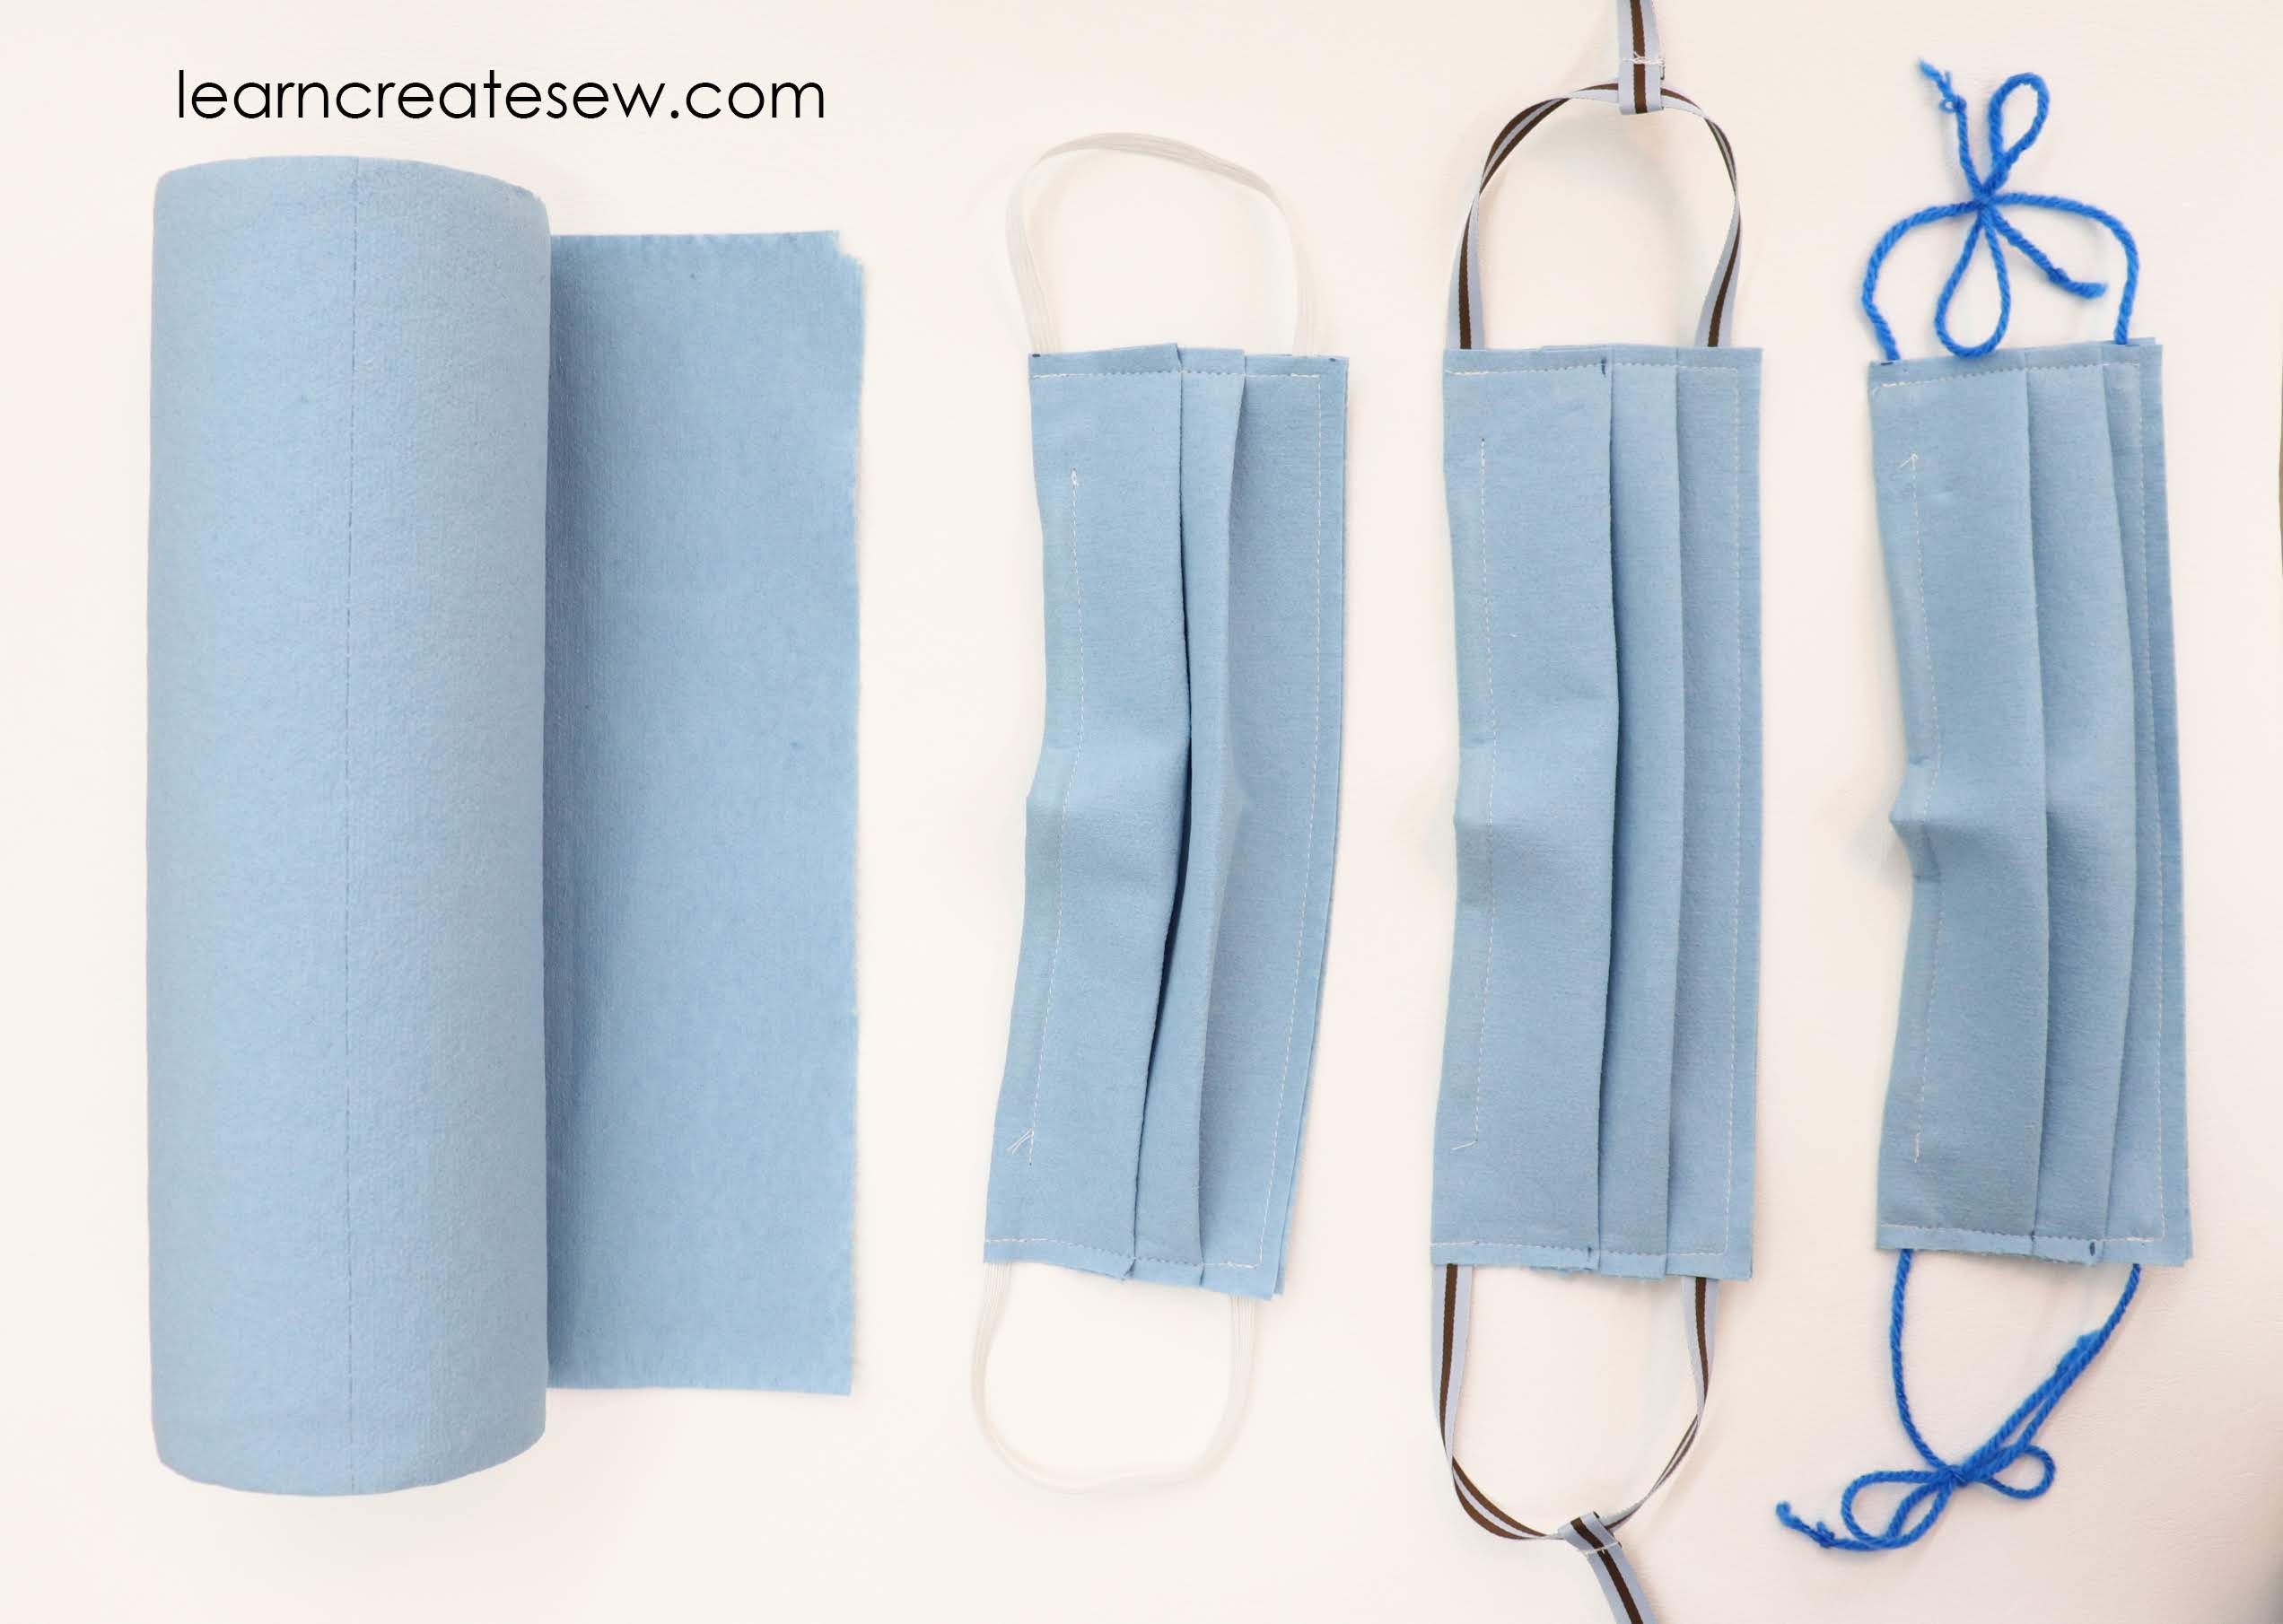
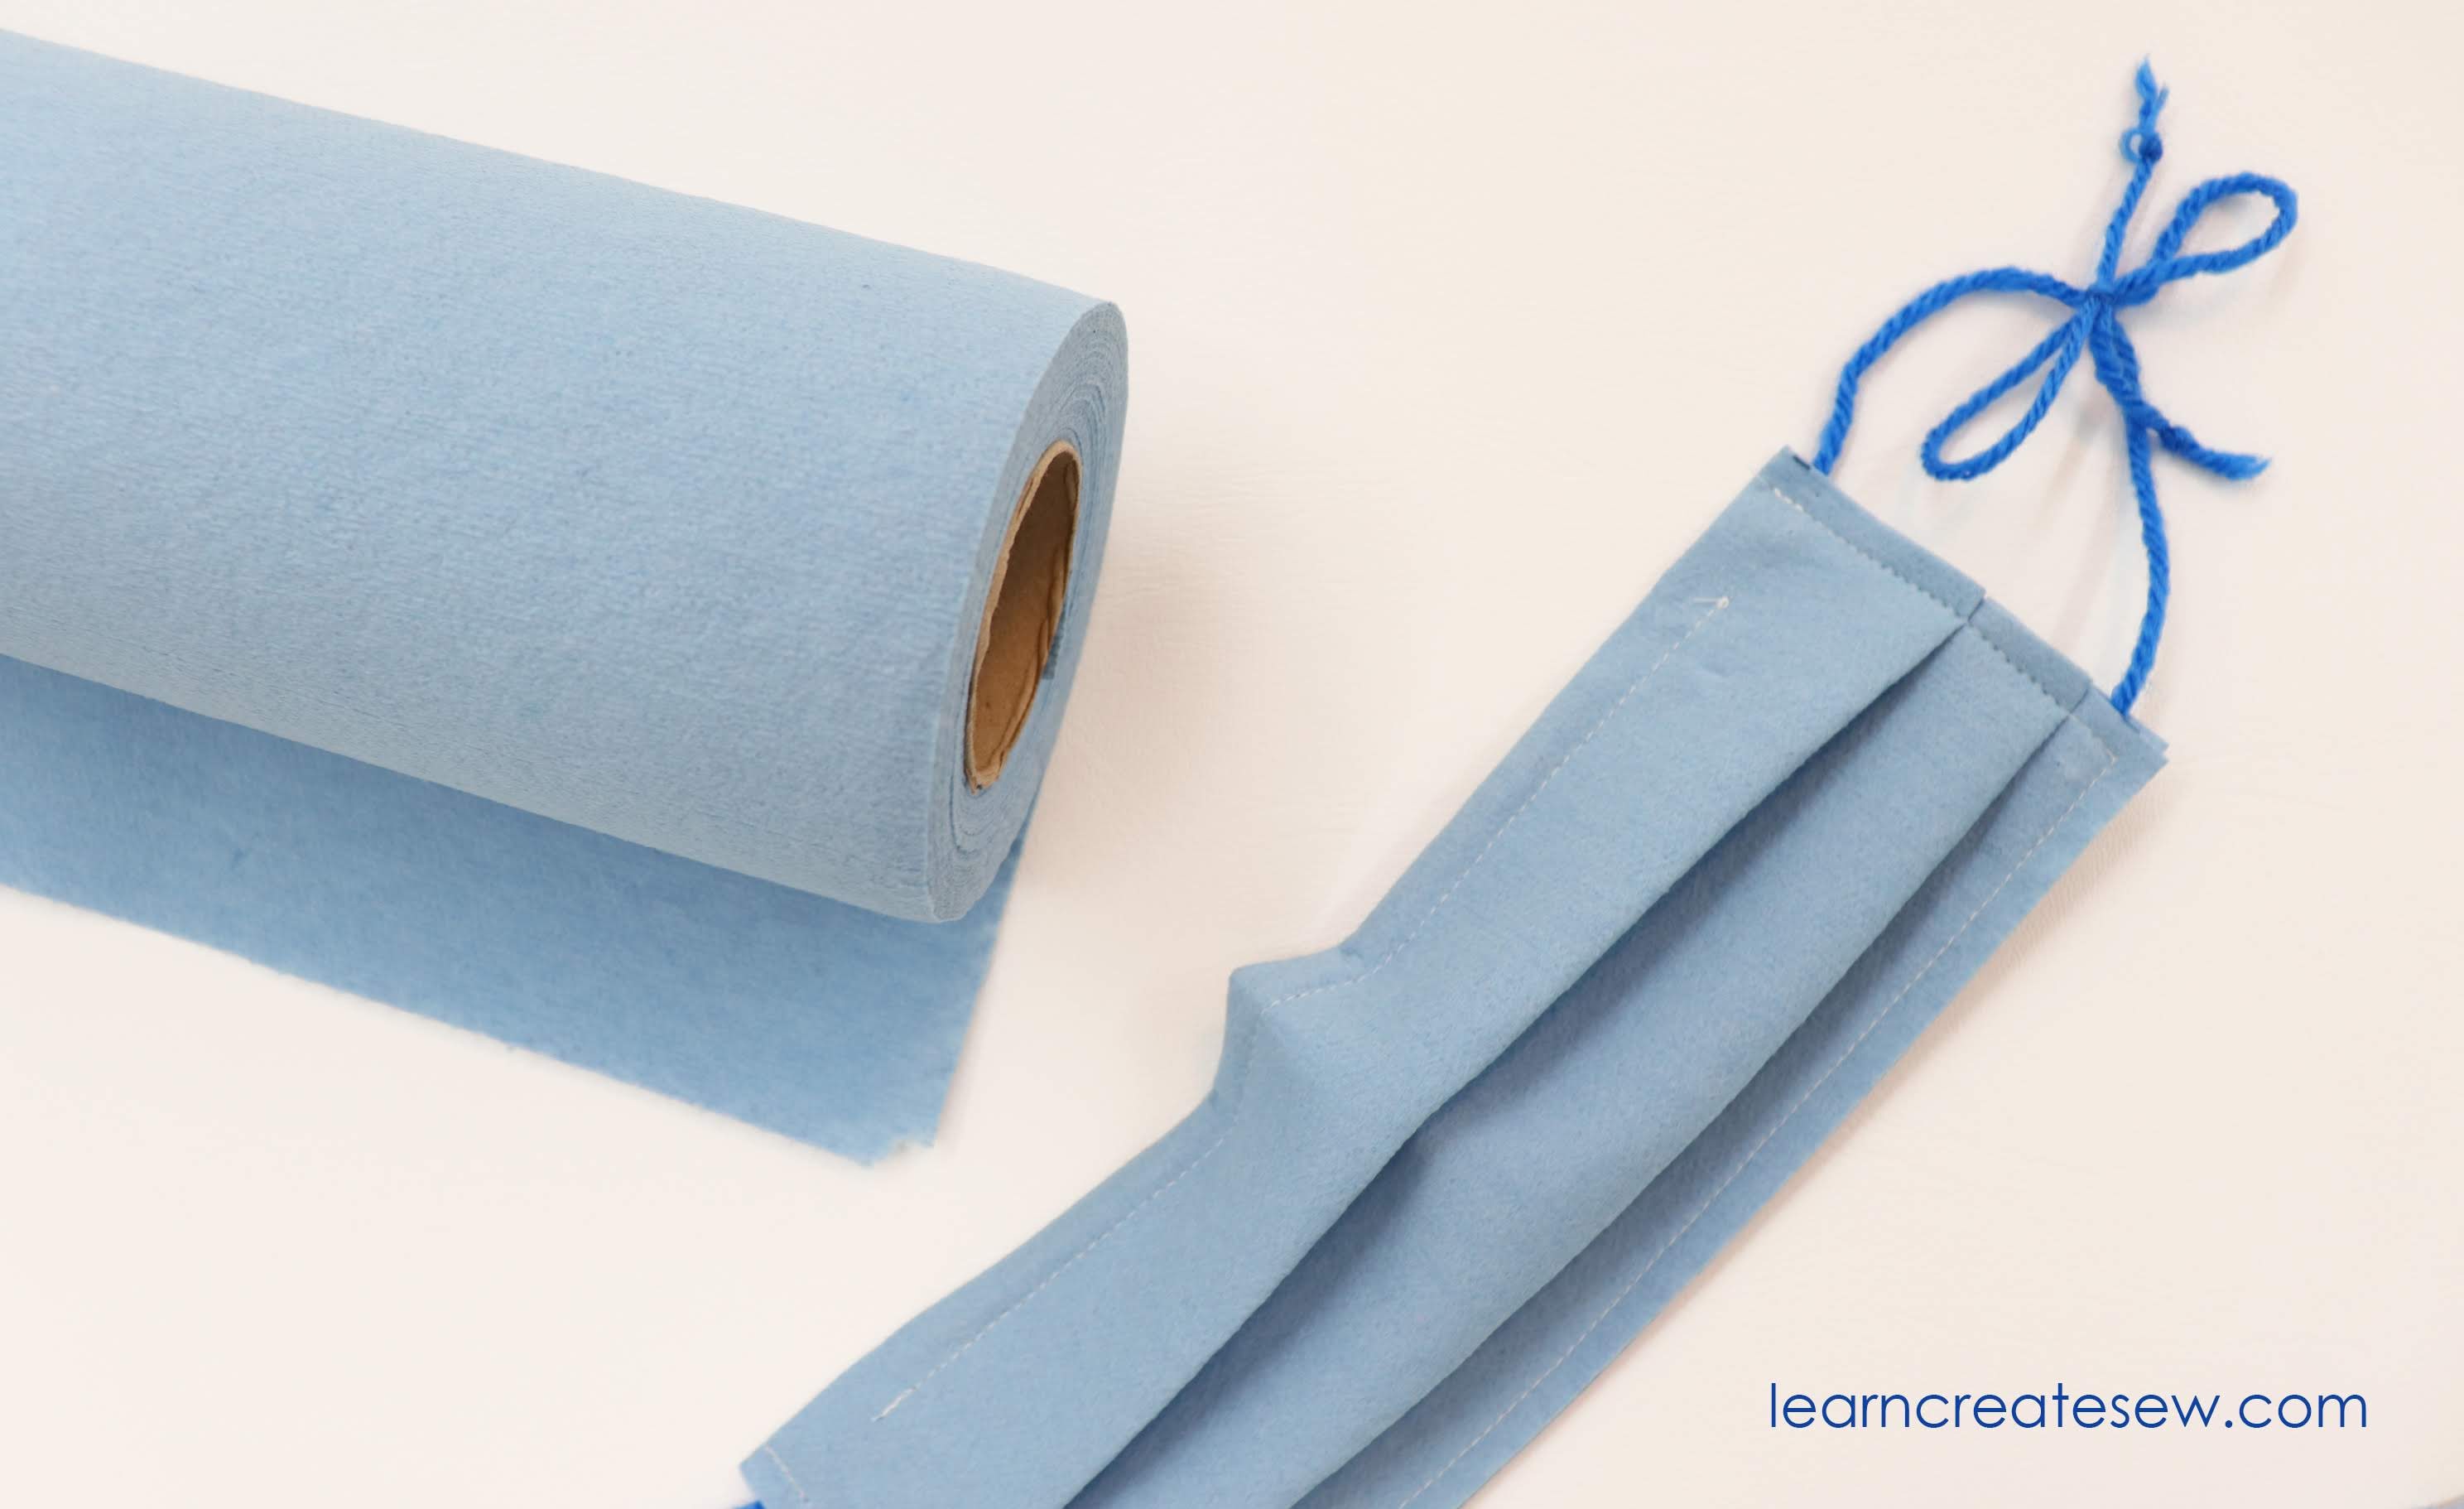
I was doing some research into how materials filter particles and found that Shop Towels, filter particles better than a lot of fabrics and interfacing.
As a result, I decided to make a quick face mask using blue shop towels. If the supplies are available near you they are quick, easy, and affordable. I was able to purchase enough supplies for four dozen masks for just $6!
Please keep in mind that these products were not designed for use in face masks. It is always a good idea to check with the manufacturer to make sure it is safe to breathe through. While these masks work great for me, it is always a good idea to test your mask for breath-ability and make sure you can breathe freely while wearing it.
This mask also has a channel for wire to create an arched bridge for the nose. This creates a great shape and a helps personalize the fit just for you. I used pipe cleaners to help shape my mask. Take care and stay safe, as there is always a potential hazard when placing wire next to your face and eyes.
Since these products have not been approved by the manufacturers for use in face masks, these masks are not recommended for children. But if you are looking for a quick, cheap way to make disposable masks for yourself, this is a great option!
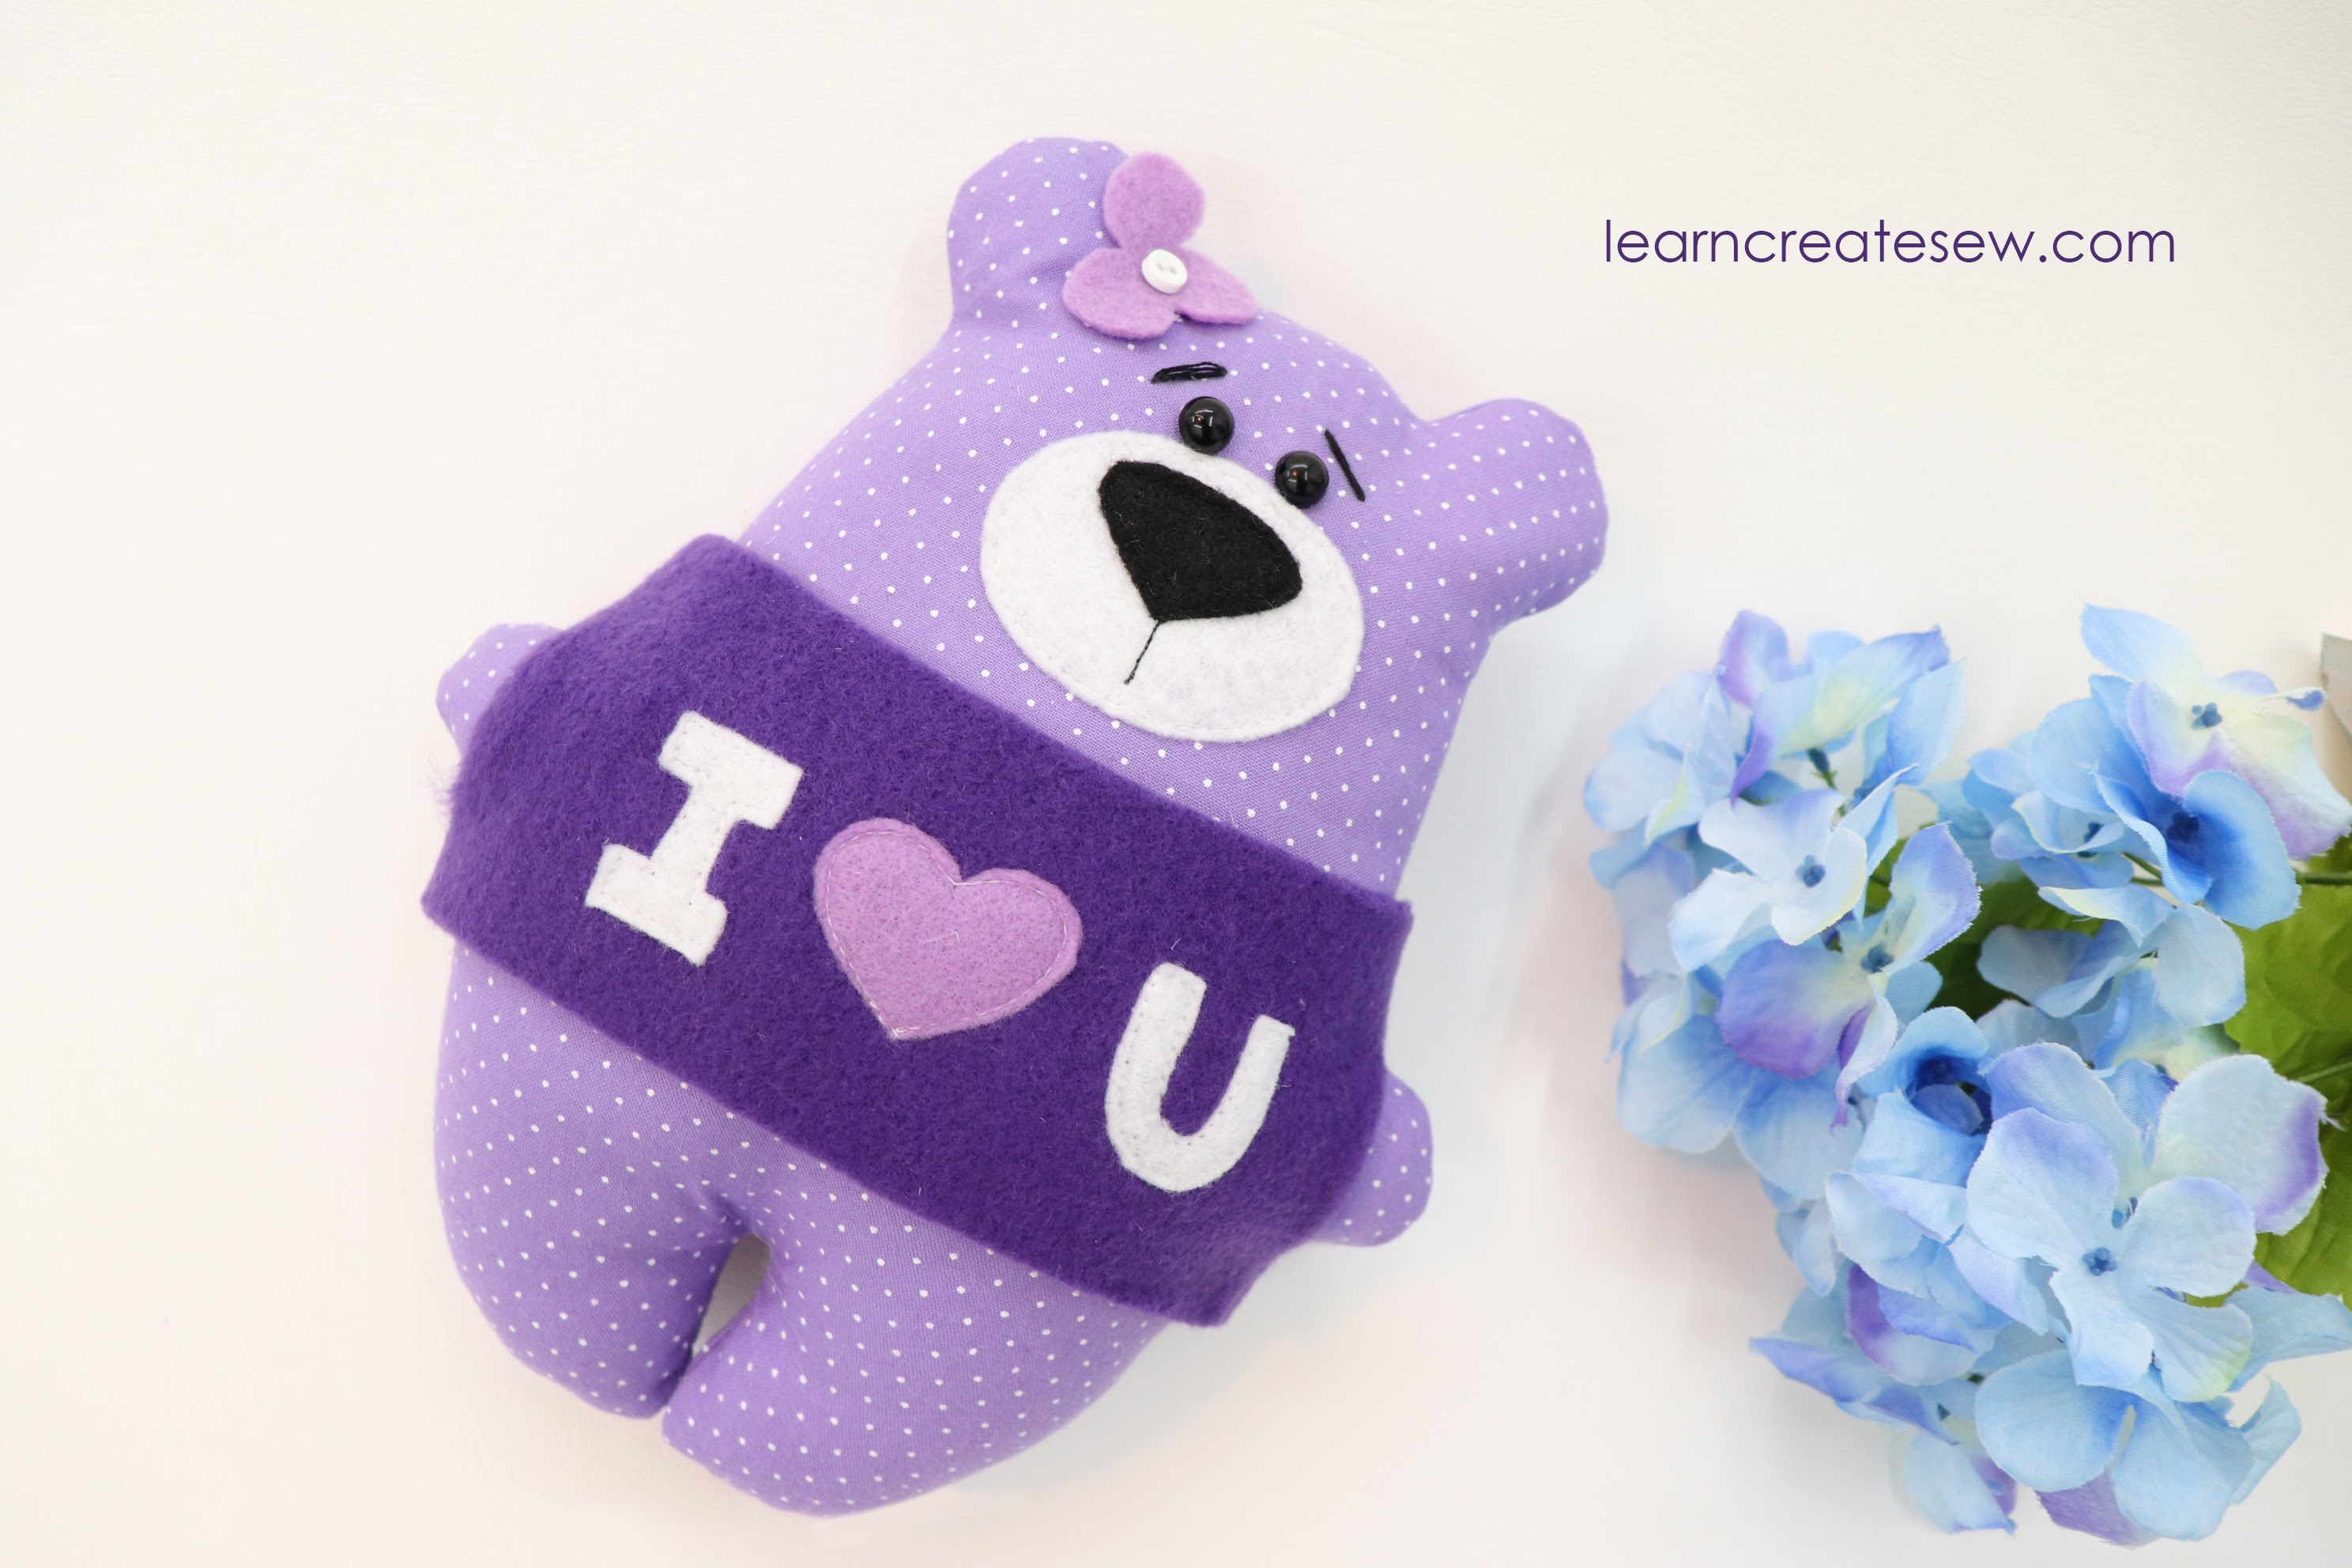
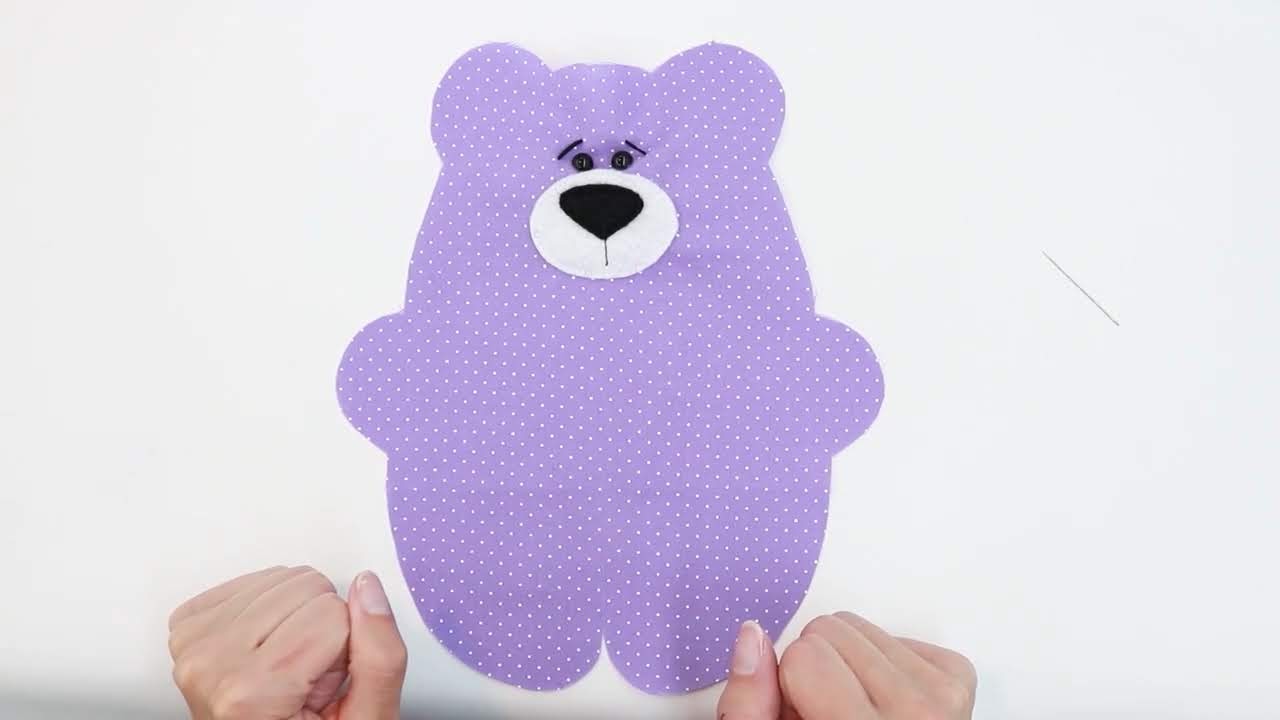
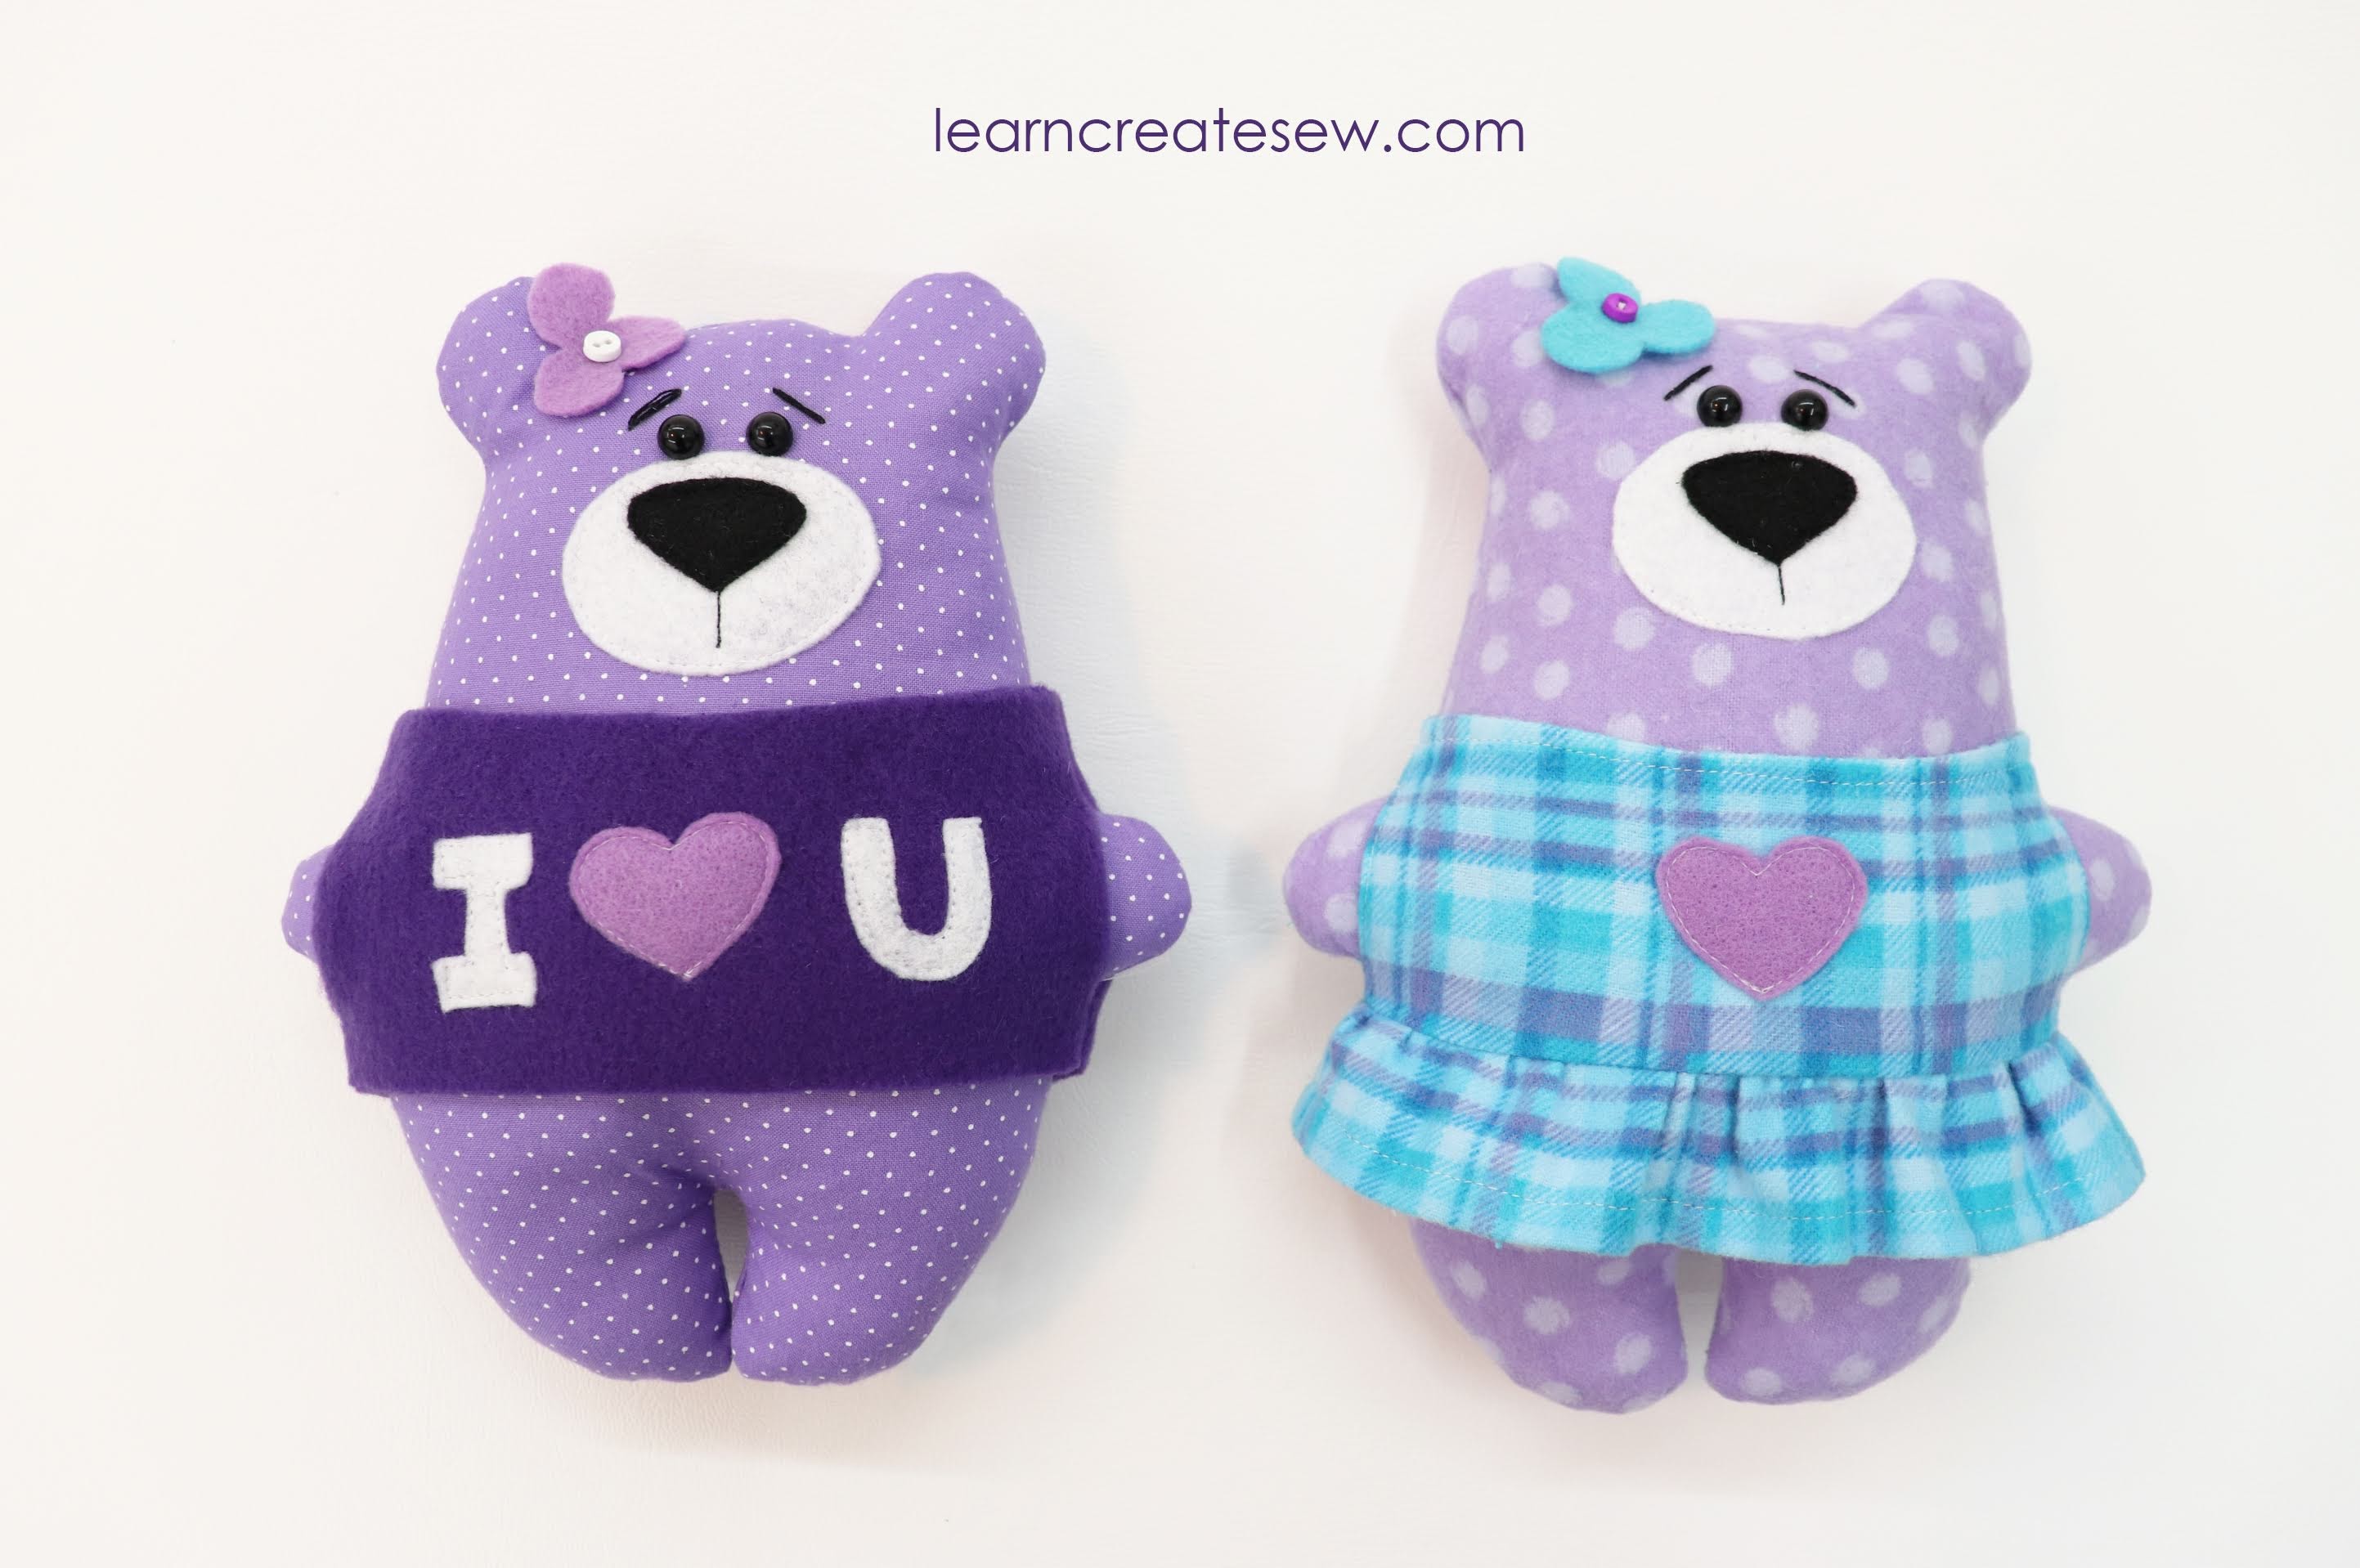
This simple bear plush is great for beginning sewers and service projects! My first year sewing students made these bears for a children’s hospital. They were a big hit for both those making the bears and those receiving them. They are quick to make and even my new sewers were successful! They are also a lot of fun 🙂
This bear can be made with or without accessories, and it is adorable either way! The dress may be a bit of a challenge for beginning sewers as it involves gathering.
The body of the bear can be made with cotton, flannel, or fleece. Felt is great for the details. I used fleece for the I love You sweatshirt and flannel for the little dress. I also used 8mm safety eyes, buttons are also a great option. Embroidery floss was used for the eyebrows.
It is really fun to personalize your bear. Decorate as you prefer! Be creative and make it all your own. Since much of the decoration is simply felt shapes, this is really easy to do.
I hope you enjoy making this project as much as I did.
Here is my second fanny pack! This one is a flat version.
The construction of this fanny pack is quite a bit easier than my classic fanny pack.
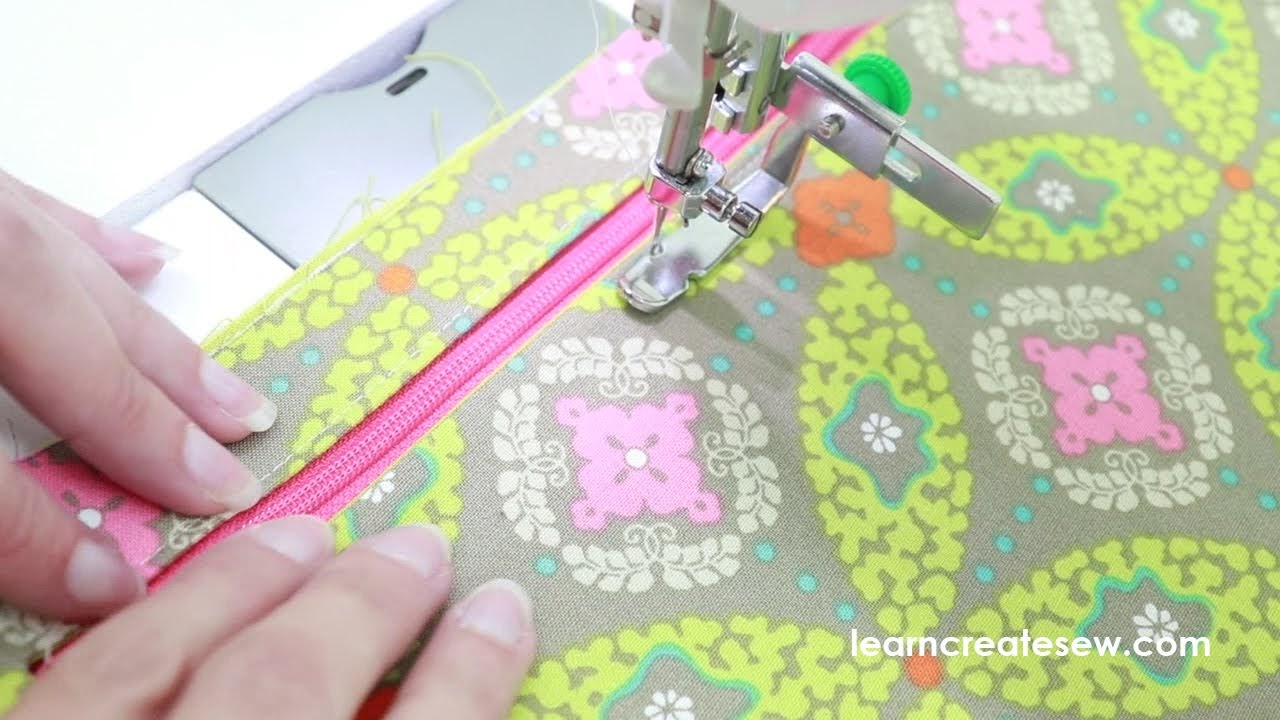
It has a zipper window rather than a zipper on a curve. This is a great option if you are learning how to sew zippers. The difficulty level on this project is about a 3.5/10. You have to use a zipper foot. You will be working with lining, and your stitching has to be exact.
Since it is flat it can’t hold much, but it is perfect for your phone, lip gloss, or to act as a wallet. There is even an optional credit card pocket.
The pattern has two sizes, small and regular. The regular fanny pack is about 14.5 inches wide, 6 inches tall from tip to top, with a pocket about 5.25 inches deep. The small size is about 13 inches wide and has a pocket approximately 4.75 inches deep.
I have been wanting to make a fanny pack for years, and I finally did!
This is a classic fanny pack with a curved top flap. It’s what I always picture in my head when I think of a fanny pack. I made several different patterns before I settled on this one, and it was by far my favorite. It is fully lined, so no raw edges! But you could definitely make it with a single layer if you wanted to.
The waistband is also adjustable.
Since the zipper is on a curve, there is a bit of difficulty, probably a 5/10. If you aren’t as comfortable sewing zippers and think this might be a bit much for you, don’t worry! My next tutorial is a flat fanny pack and the zipper installation is much easier.
The dimensions of the fanny pack are approximately 13.5 inches side to side, 4 inches tall, and the top flap is about 2.5 inches deep. It tapers to a point at the bottom.
Canvas and denim are great for the exterior. You can even use regular cotton fabric, but I do recommend interfacing. I used SF101, but a fusible fleece would probably work good as well.
You can use top stitching as a decorative element and to add stability to the bag.
On my denim bag I used contrasting thread so the top stitching would stand out, and two rows on the sides to give it more of a “jeans” feel.
Keep an eye out for my next tutorial and I’ll show you how to make a different style of fanny pack!