I’m so excited to share this project with you today! It has been quite a while since my last post and I am happy to finally share with you a fun holiday project.
Life and work caught up with me the last few weeks and it took the excitement of Christmas projects to motivate me to get back to sewing!
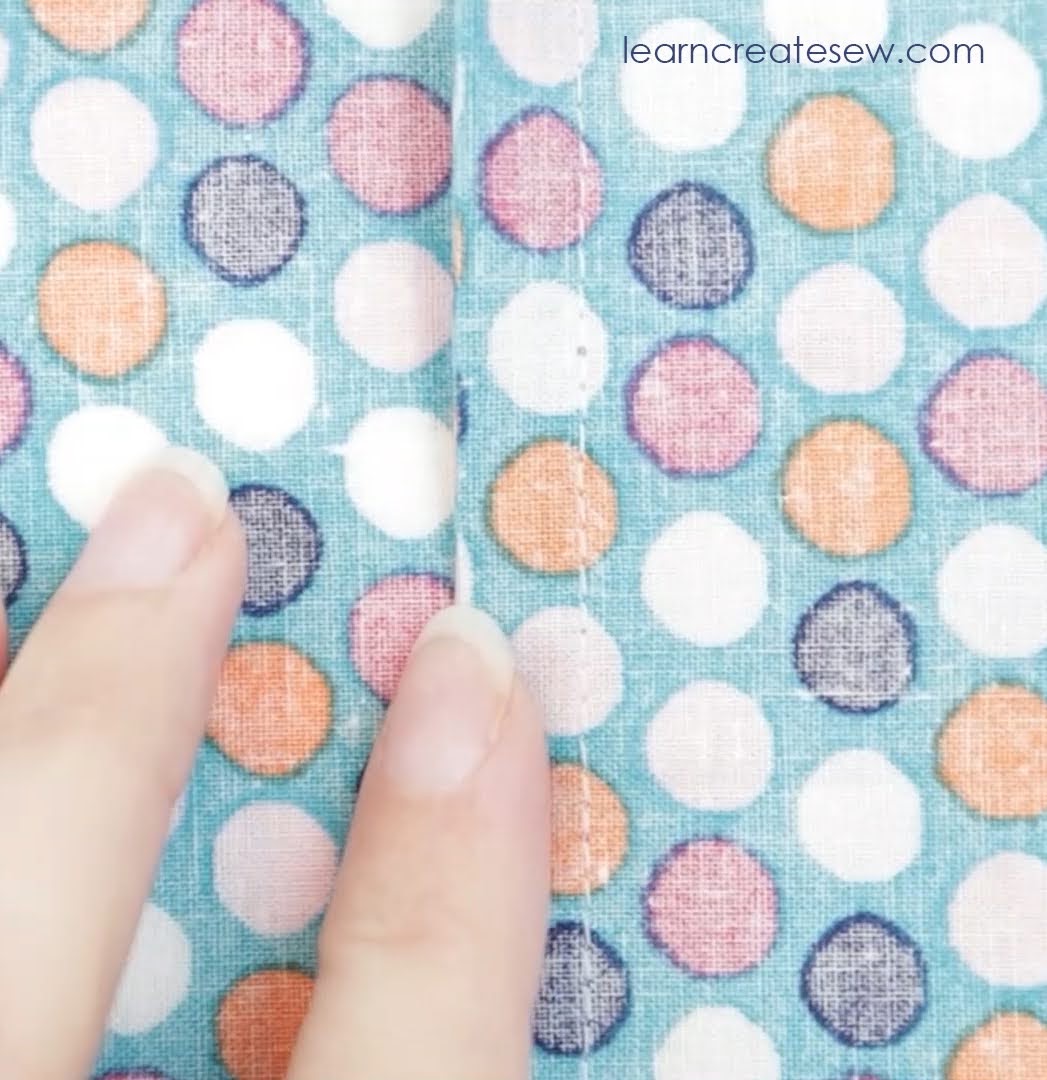
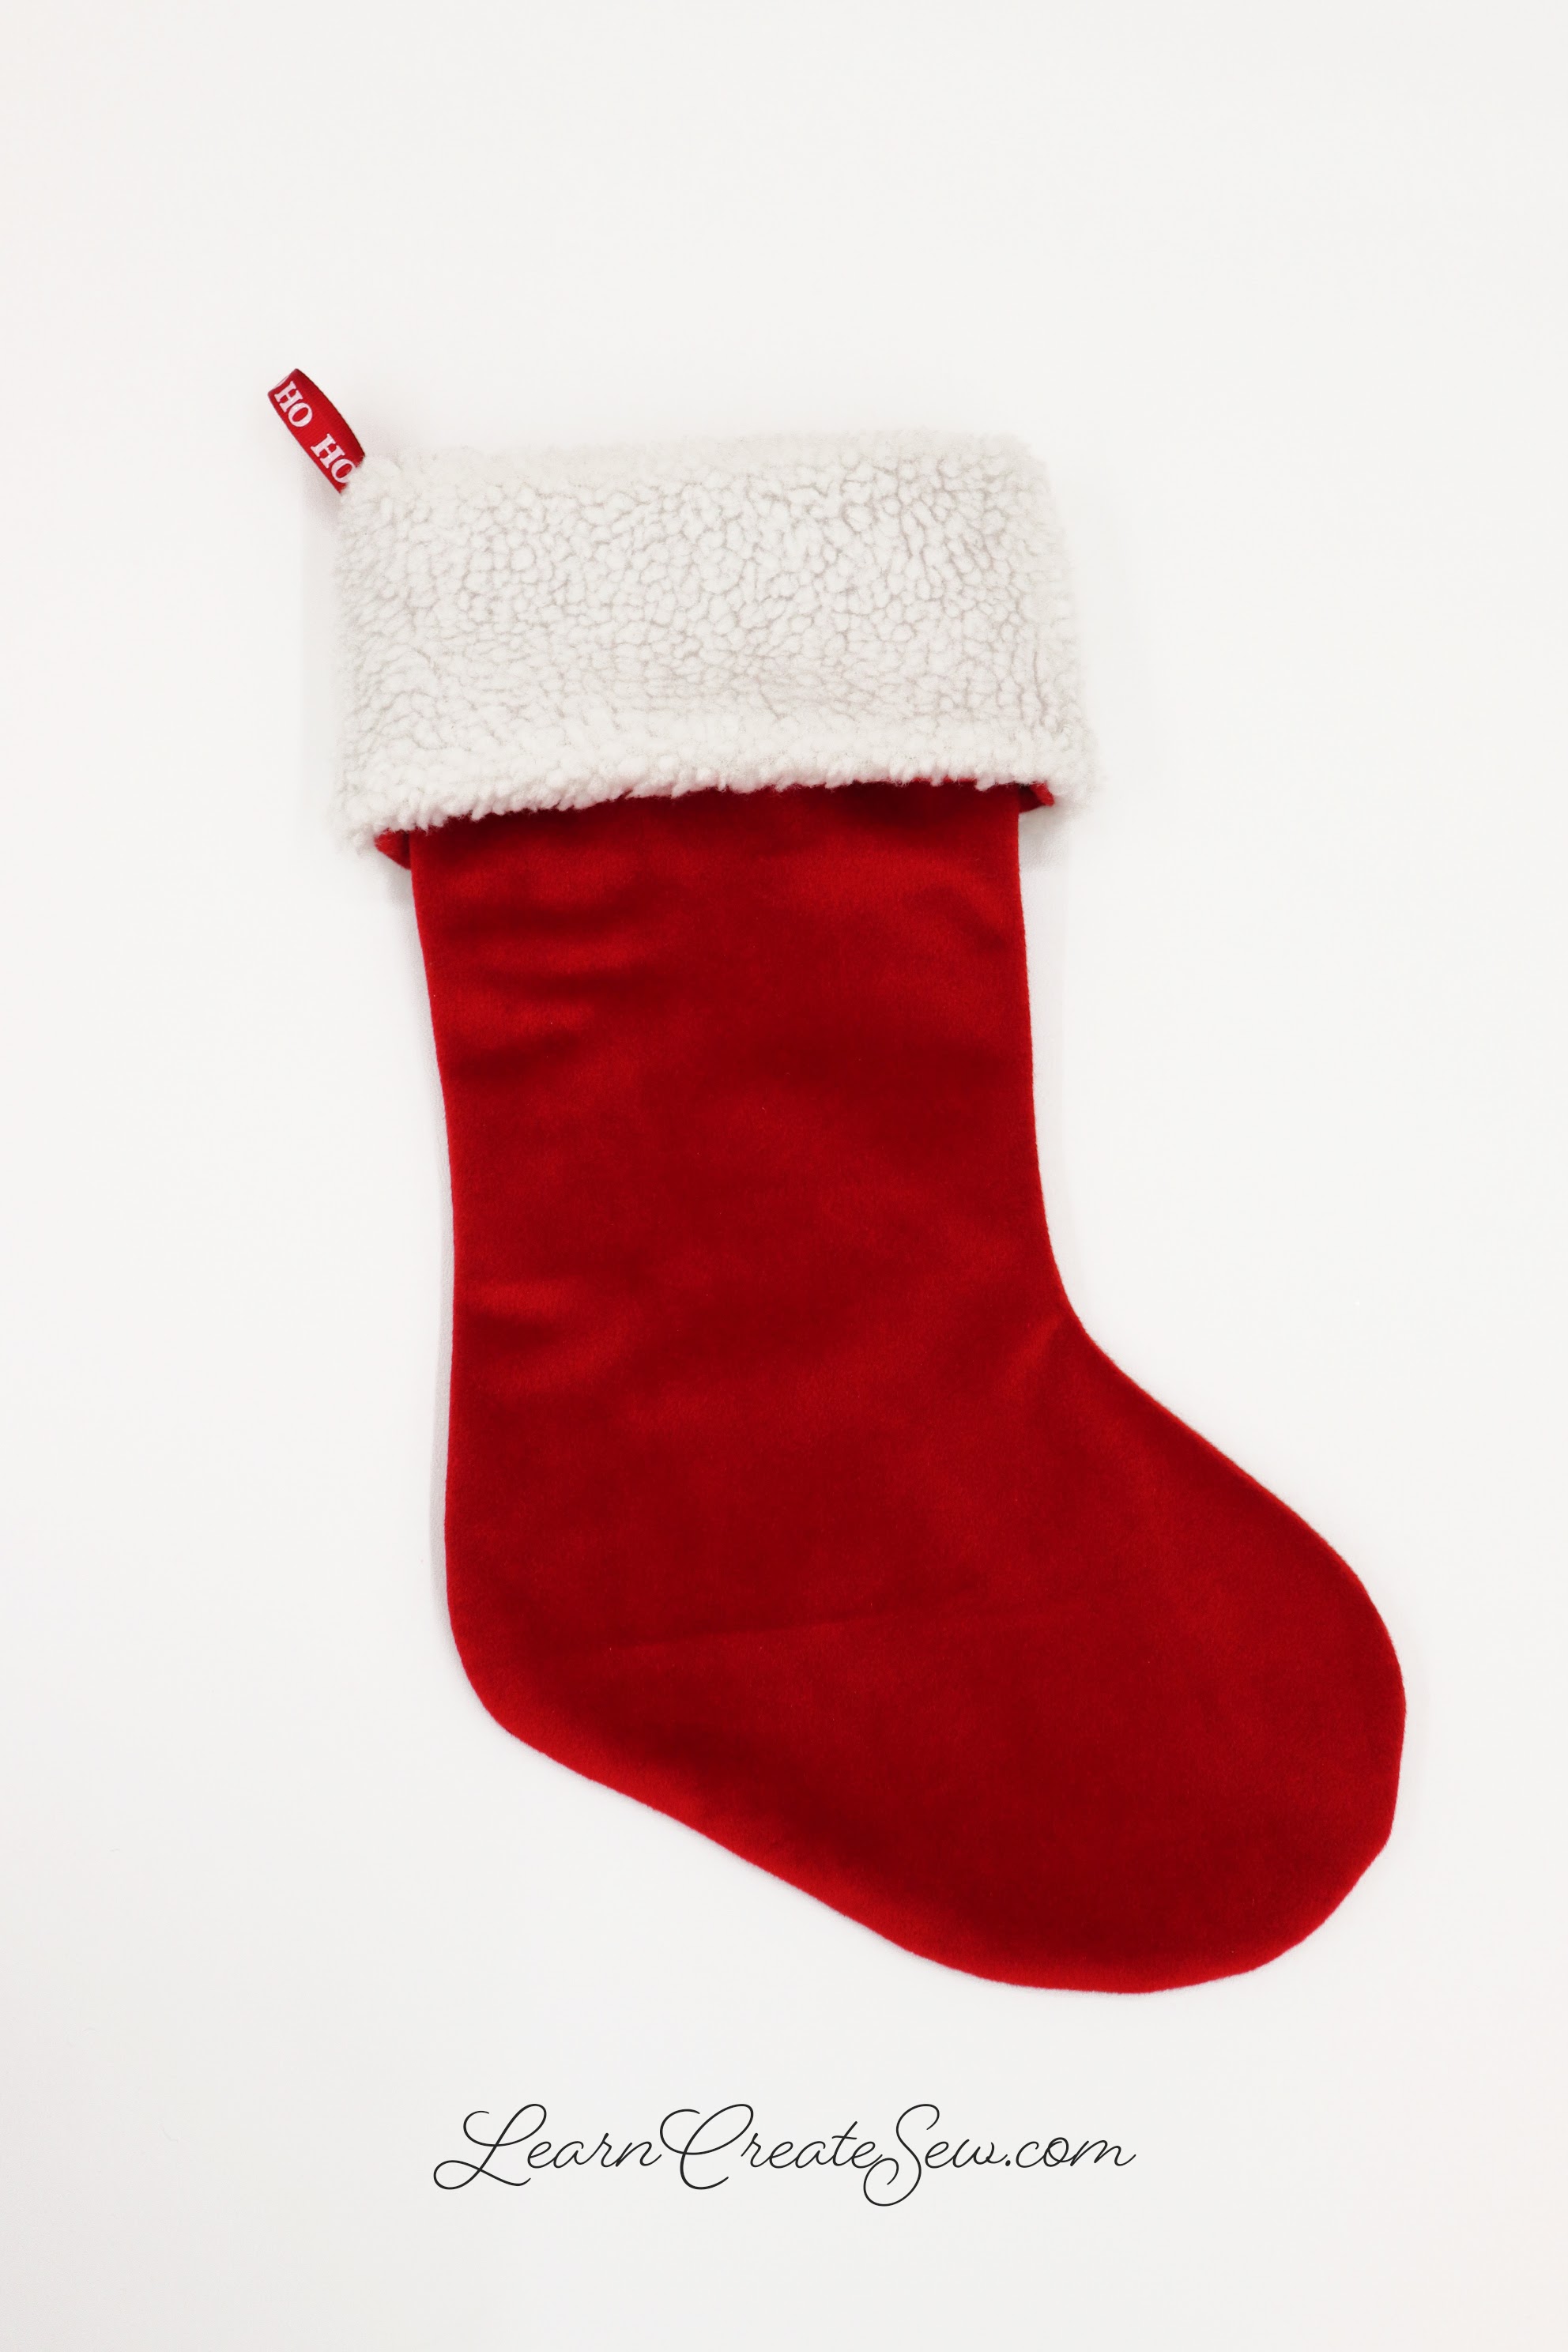
This is a quick easy Christmas Stocking.

It is fully lined and has a fold over cuff!

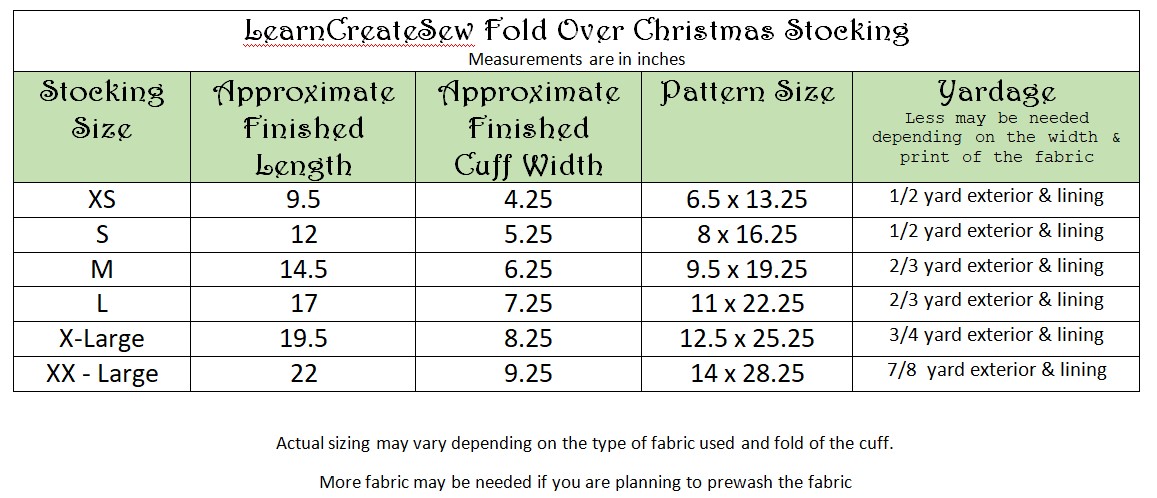
The free pattern is available in several sizes.

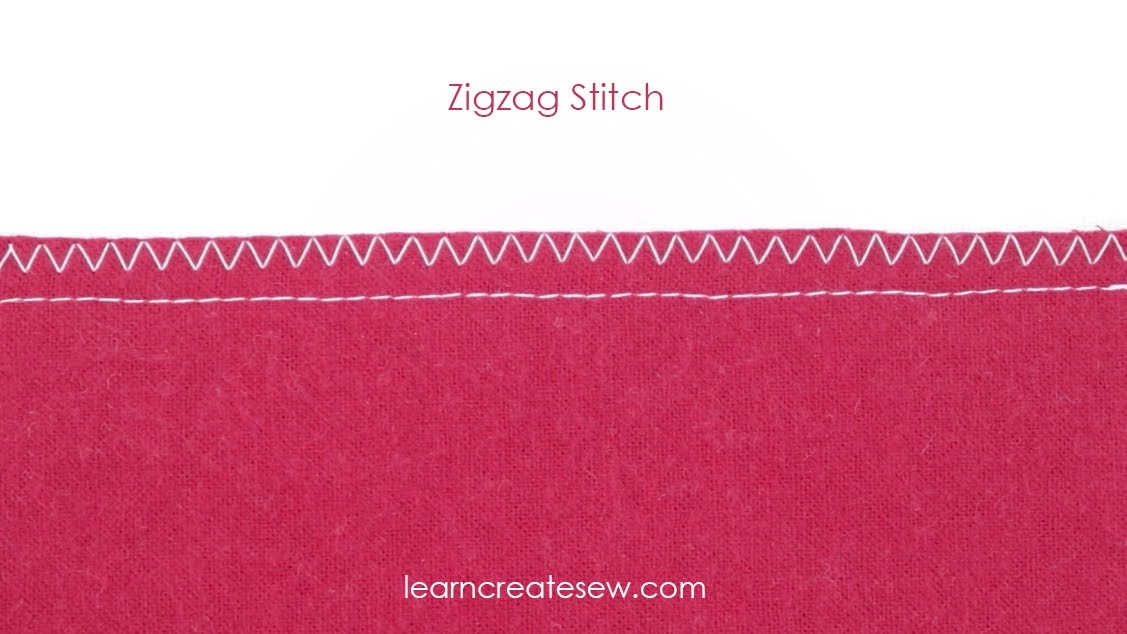
The pattern works great with flannel, fleece, and cotton fabrics.

If you enjoy this tutorial keep an eye out for future posts in which I’ll show you a few quick alterations to the same pattern.

SUPPLIES:
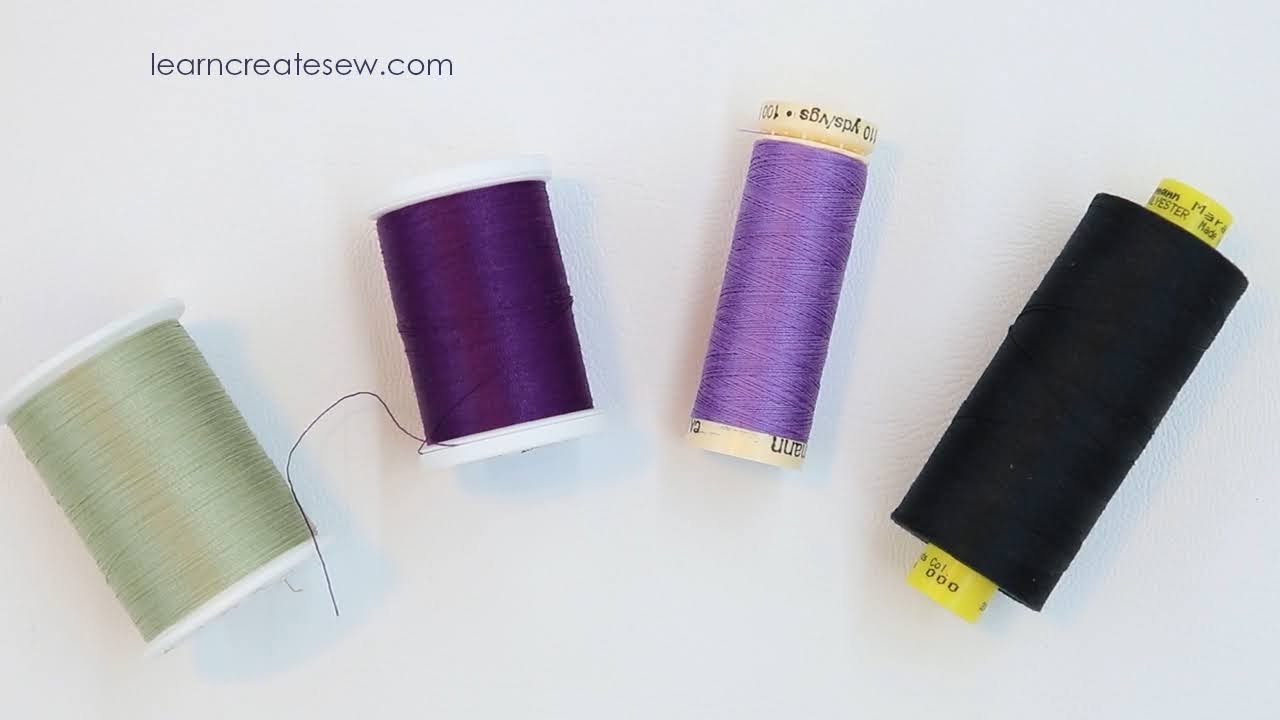
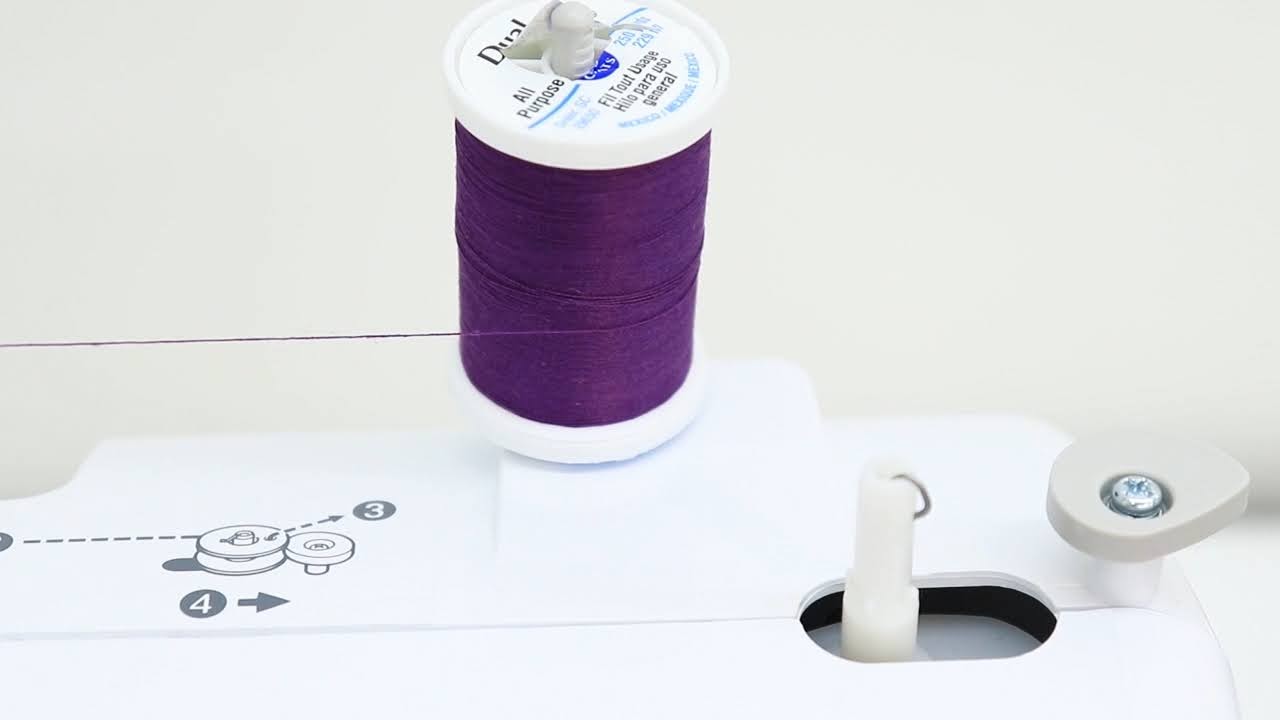
- Coordinating Thread
- Ribbon (4 – 8 inches)
- 7/8 yard (or less) Fabric for the Outside of the Stocking (Cotton, Flannel, or Fleece)
- 7/8 yard (or less) Fabric for the Lining and Cuff (Cotton, Flannel, or Fleece)
- The project works best when the lining and outside fabrics are the same type of fabric.
- The amount of fabric needed varies a lot depending on the size of the stocking you make and the direction you need to cut your fabric.
- I recommend reviewing the pattern sizes in the table below if you would like more specific measurements.
- Remember you will need two lining pieces and two outside pieces.
A bit more on yardage:
For instance, if I want to make a size small I know I need two pieces of outside fabric that will fit the pattern (which is 8 by 16.25 inches). If the direction of my fabric doesn’t matter 1/4 yard would work…but if I have to follow the selvage, for example on fabrics with words or a specific direction, I may need 1/2 yard.
Enjoy!
FREE PATTERNS:
QUICK OVERVIEW:
DETAILED VIDEO INSTRUCTIONS: