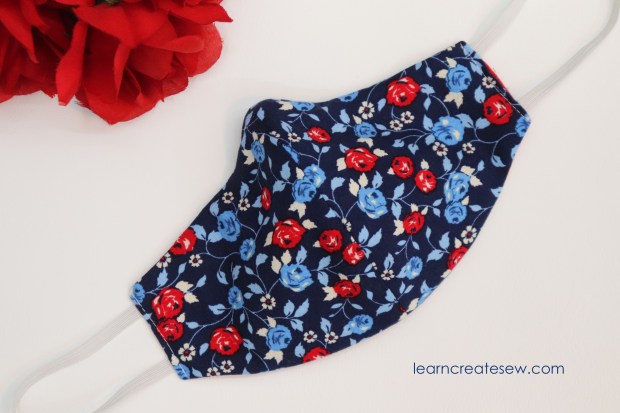
If you are looking for a face mask that provides additional protection, then this may be the mask for you. Nose bridge wire allows for a more personalized fit, and a filter will make your mask more effective.
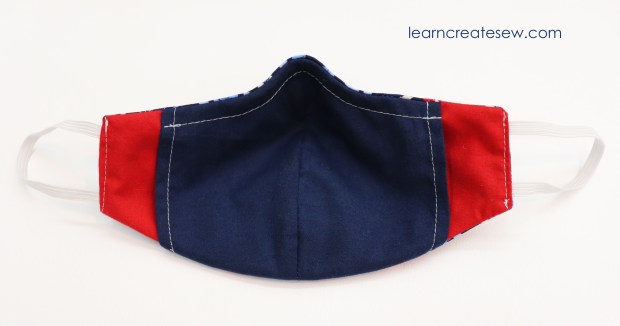
This mask uses the same basic pattern shape as my regular Contour Face Mask, but has additional features. The updated pattern, with pockets, is linked below.
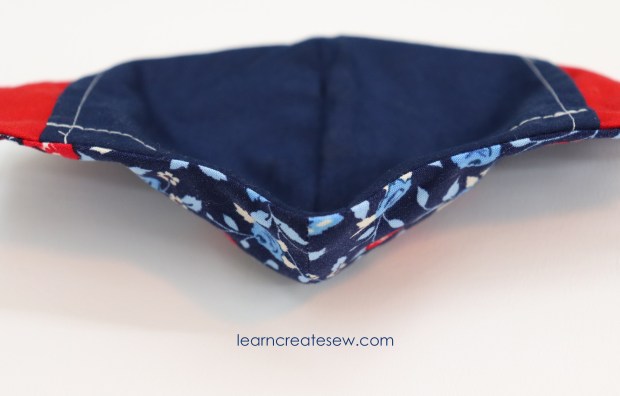
Adding nose bridge wire will let less air escape from the top of the mask and will force more air through the filter. I have heard it also helps minimize the fog you get if you wear glasses.
I made a size Medium and my purchased filters that I found on Amazon fit quite nicely inside. The filters are 4.72 x 3.15 inches. Smaller sizes may need filters or filter fabric that can be trimmed.
Supplies:
These dimensions will work for all sizes. Actual size needed may be smaller if you make a smaller size.
About 8 x 15 inches Main Cotton Fabric
About 8 x 15 inches Lining Fabric (I used cotton)
About 8 x 13 inches of Pocket Fabric (I used cotton)
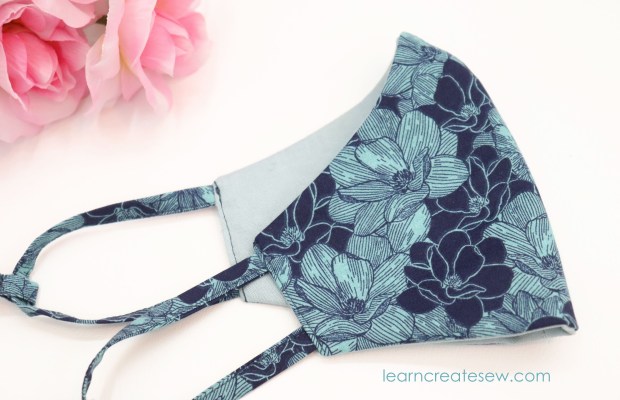
I really like the look of contoured face masks! Making a pattern has been on my to-do list for several weeks, and I am happy to share it with you today!
With many of the patterns I tried, I found that the mask would move around a lot when I spoke. This drove me crazy, and as I result this project sat at the bottom of my stack for a while. But this week I found new motivation and tested it out again.
Lo and behold I made a pattern that works! This mask has a great shape, but allows me to talk without worrying about having to adjust my mask every two seconds. Since you are supposed to touch your mask as little as possible, I think this is a big plus!
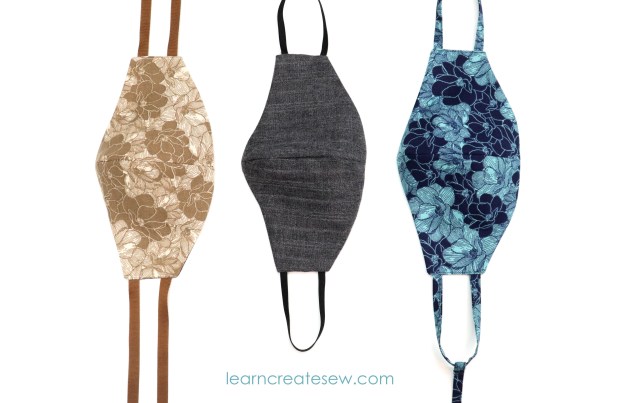
This pattern makes two different styles of mask. Masks with either fixed ties or masks with adjustable ties.
FIXED TIES & ELASTIC
I have to say, I definitely prefer fixed ties. Maybe it’s because I have made so many masks that I know exactly what size works for me, and since the ties don’t move I feel like I always get a really good fit.
Even with fixed ties you still have plenty of options for the ties that work best for you. There is the single tie back mask, elastic, or the basic two tie option. Also, with fixed ties you use less elastic, so if you have a limit supply, that is something to consider.
ADJUSTABLE TIES & ELASTIC
While fixed ties are my favorite, there is no question that there are definite advantages to using adjustable ties. If you are planning to use elastic, and you want to donate the mask to a charity, friend, or relative, adjustable elastic is great as the wearer can adapt it to their preference and size.
You can also make a single fabric tie that is adjustable.
While this option looks great, I found this to be one of my least favorite options, as I had a hard time tying the mask to fit just right, but I know a lot of people prefer this design.
You can also use two basic ties on the side to tie behind your head or ears. If you are planning to tie behind your ears, I would definitely choose a thin ribbon.
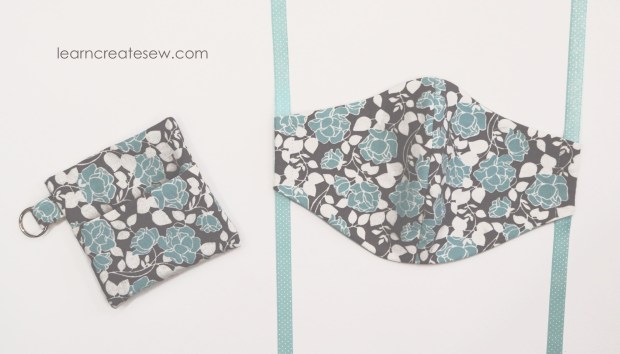
All of the masks fit in my key chain carrying cases, which I always love 🙂
MY FAVORITES
My overall winner for comfort and fit was the single tie back mask. I don’t know what it is, but it is just comfortable! I never have to worry if it is going to fit right.
For convenience you can’t beat either of the elastic masks. They are still really comfortable if you make the elastic the appropriate size, and so easy to use. There is nothing better if you need something that is a quick on and off. Plus you don’t have to worry about the long ties when storing or washing.
Supplies:
These dimensions will work for all sizes. Actual size needed may be smaller if you make a smaller size.
About 8 x 15 inches Main Cotton Fabric
About 8 x 15 inches Lining Fabric (I used cotton)
About 8 x 15 inches Interfacing (Optional – I used Pellon SF101 for some of the masks. The black and gray mask has no interfacing.)