In this lesson we will learn several topics that are applicable in a wide variety of sewing projects. The drawstring bag introduces how to make a casing or channel that can be used to hold, a drawstring, elastic, ribbon, and more. This skill is used everywhere from bag making to garment construction and makes the drawstring bag a great project for beginning sewers.
Lesson Category:
Machine Sewing – Straight Seams
Lesson Topics:
Making a Drawstring
Making a Casing
Sewing Straight seams
Finishing Seams
Pressing
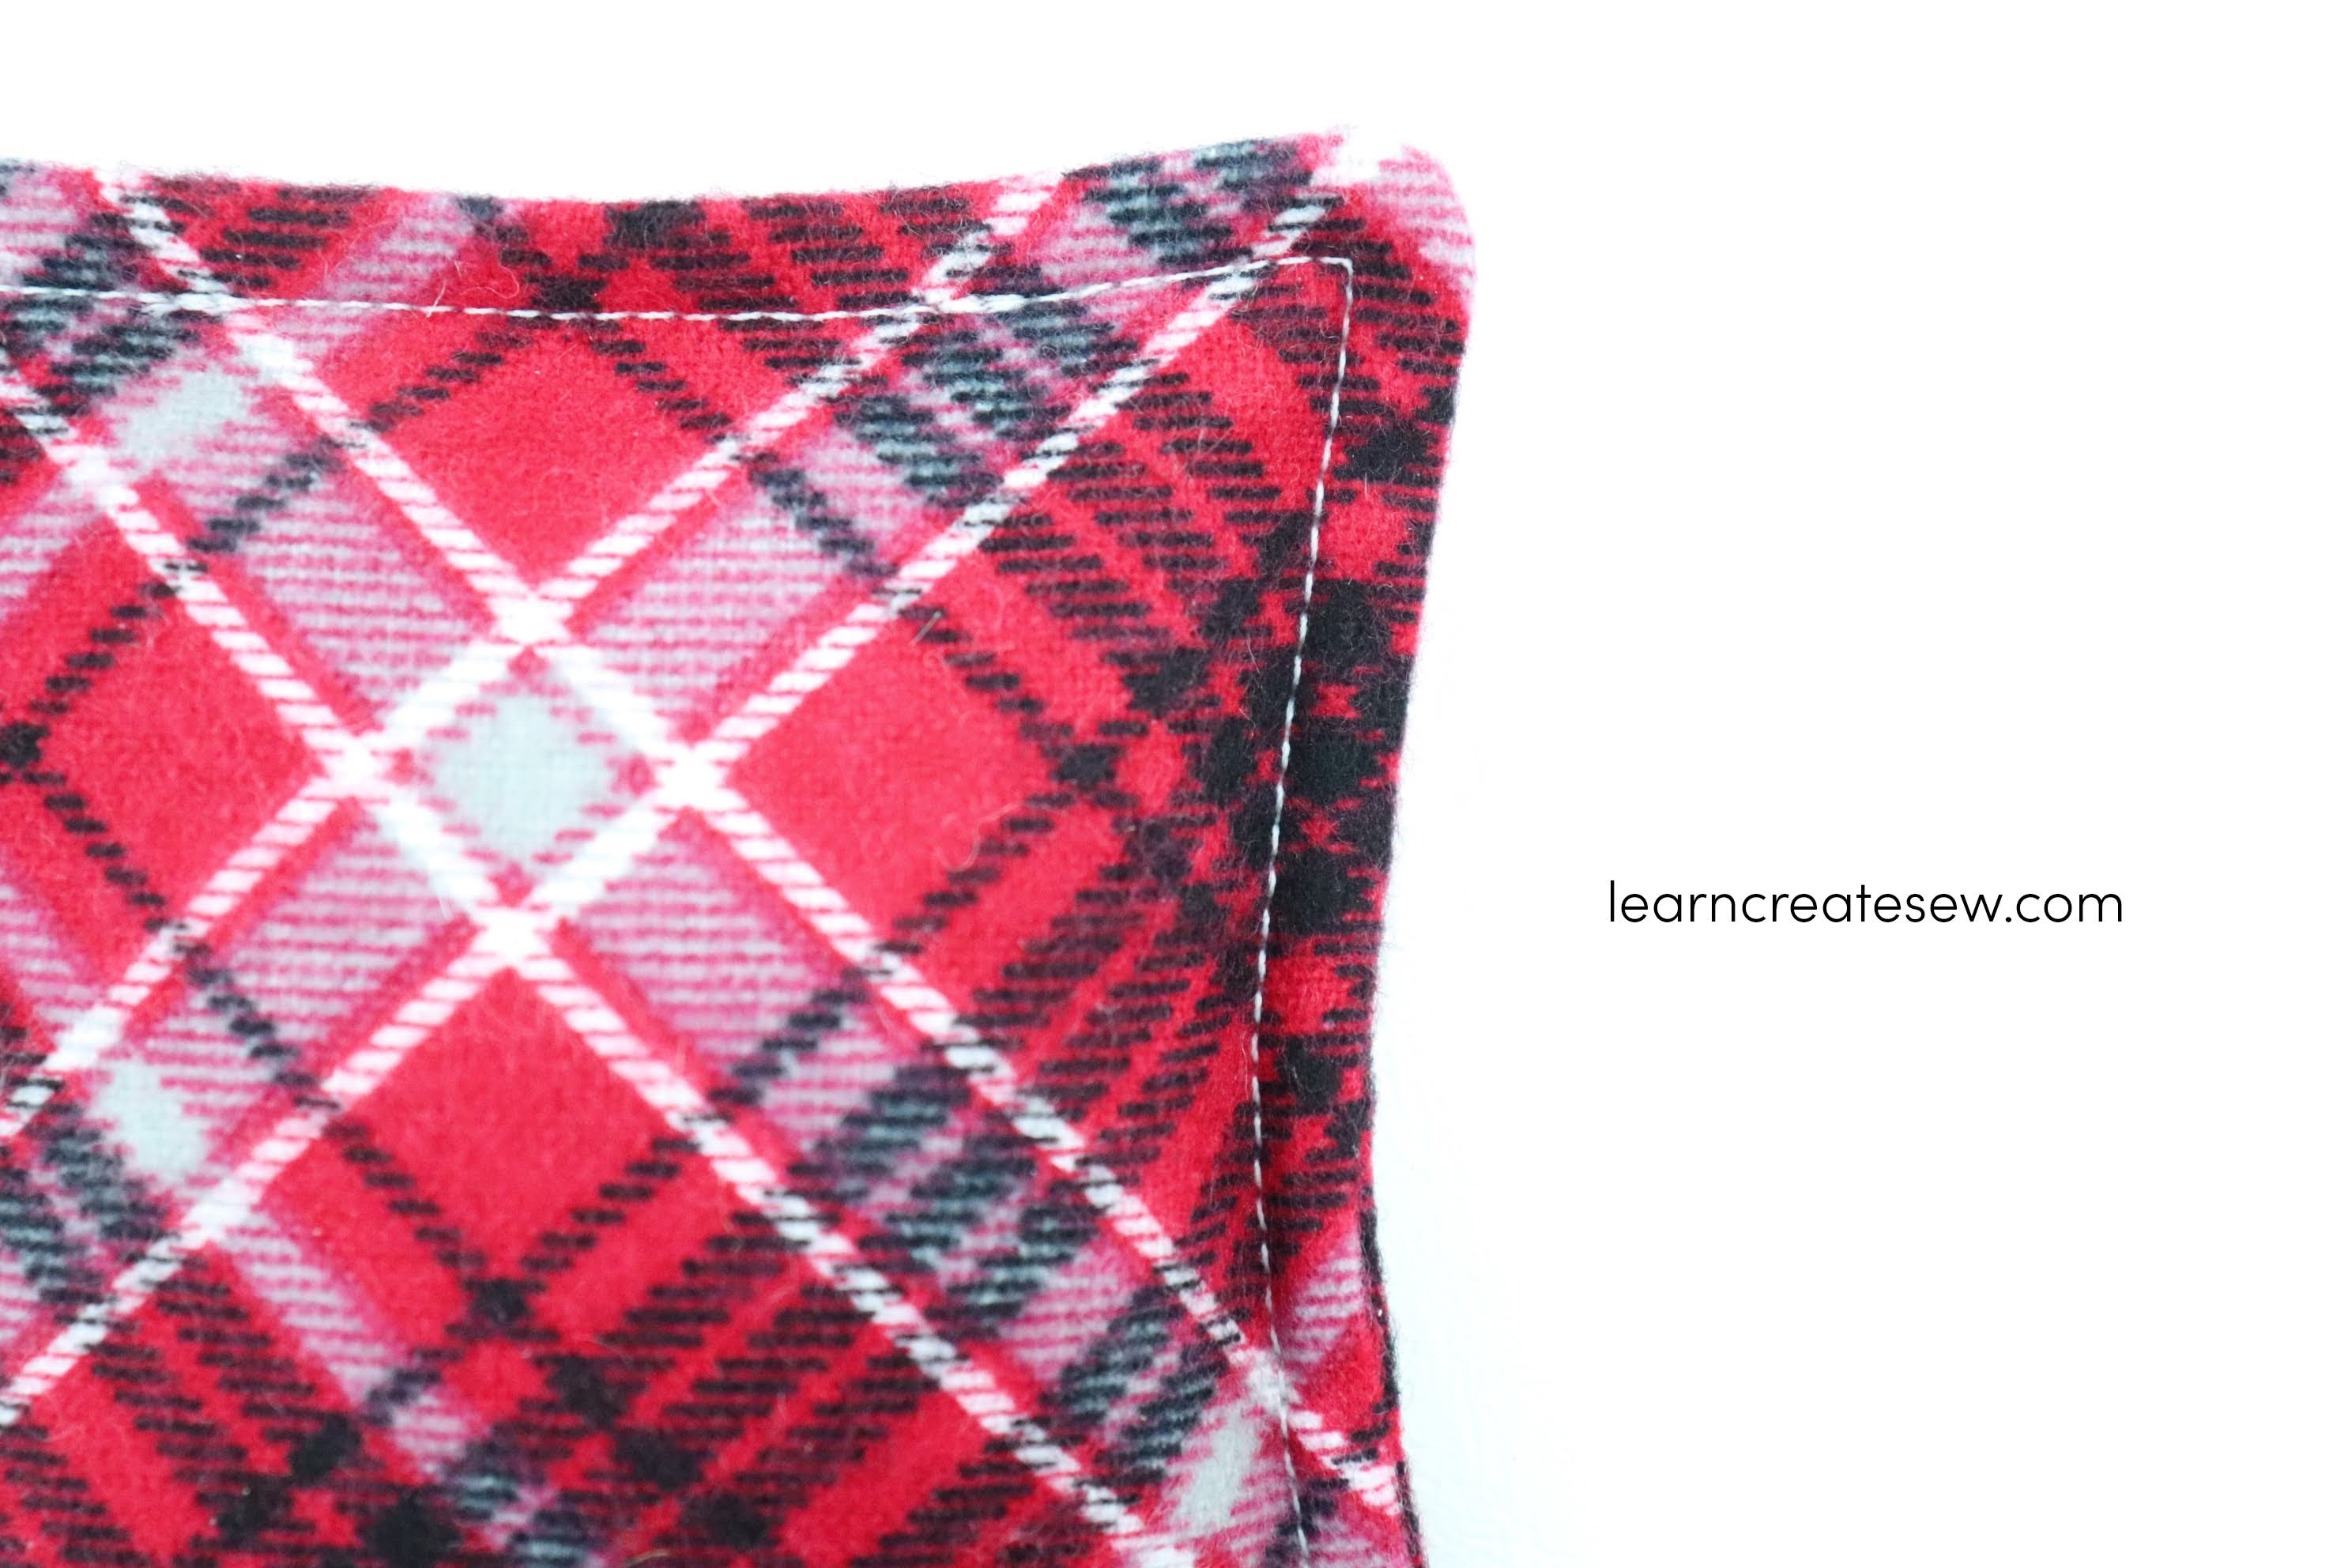
This bag measured approximately 13.5 x 15 inches when finished, but could easily be adapted for other sizes.
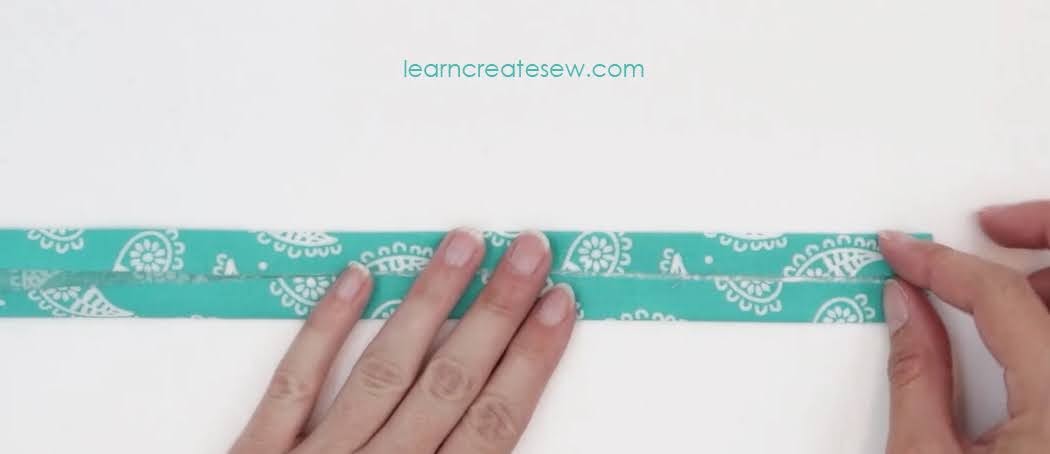
The bag features a 1/2 inch wide drawstring made by piecing and folding 2 inch strips of fabric.
This project was designed to only use 1/2 yard of fabric, and as a result the drawstring is pieced, but you could use more fabric if you prefer to make the drawstring out of a continuous piece of fabric rather than multiple pieces.
It has a wide casing for easy threading of the drawstring. I’ll show you a quick way to make sure the sizing of your channel is consistent.
It also introduces finishing seams, which is a great skill in general. If you are interested in learning more about finishing seams check out my Skill Building Video on the topic!
In the video also introduces tips for how to turn a corner exactly, how to finish the edges of the drawstring channel and more.
Once you’ve mastered threading and using seam allowances, as we studied in Lessons 3 and 4 of the Learn to Sew videos, you are ready to sew a seam.
This is where all machine sewing begins!
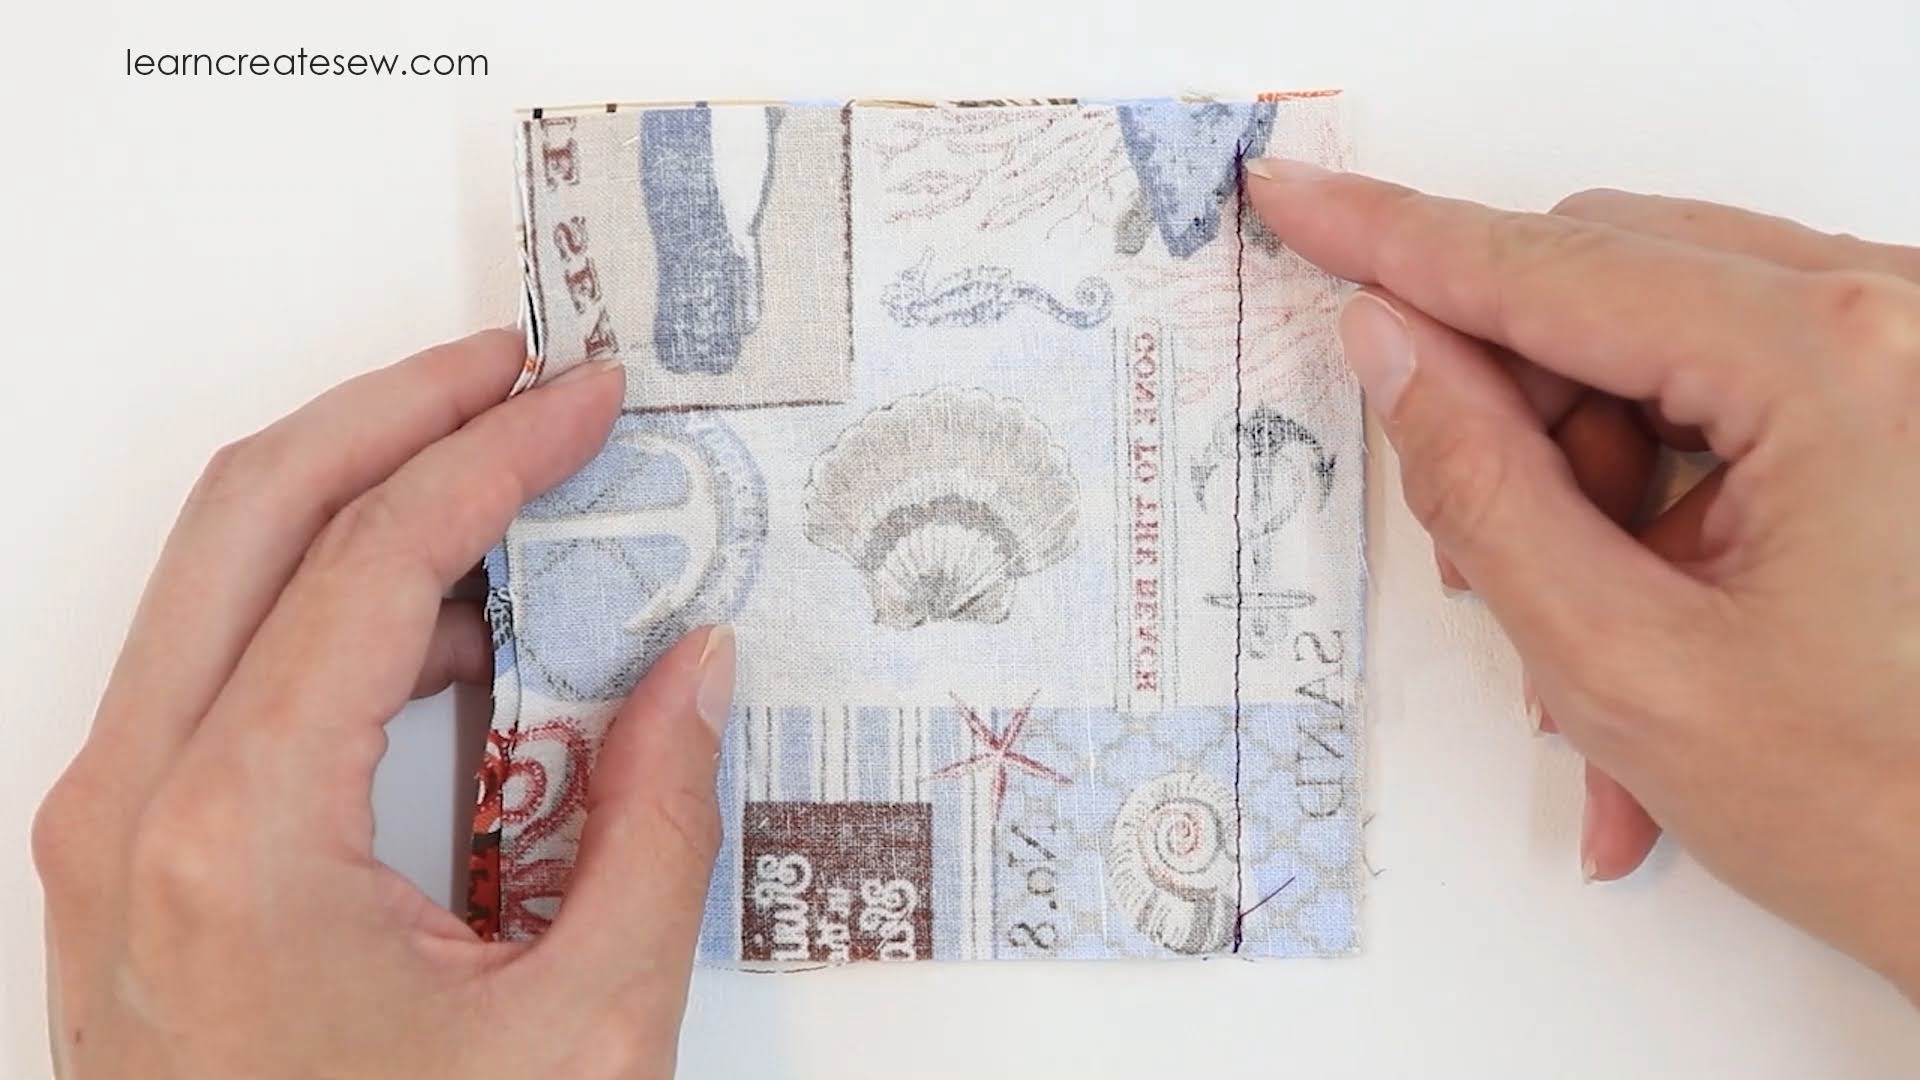
It’s important to be able to distinguish between the Right Side of the fabric, the bright side, the side you want to see on your final project, and the Wrong Side of the fabric, the dull side, the side you want hidden inside.
Almost always, when you sew a seam you sew with right sides together. This means the pretty sides of the two pieces of fabric will be touching.
You then align one of the sides with your seam allowance guide mark on your machine, and sew along the edge.
You use the needle plate on your machine as a guide to measure your seam allowance. As a result it is important to know your machine so you can ensure that your needle position aligns with the markings on your needle plate.
Once your needle is on the correct position and your machine is set to the correct stitch you can follow your guides as you sew to create a nice even seam allowance. It’s helpful to practice using different seam allowances so you feel comfortable using the different guides. That way when those seam allowance sizes appear in a project you are prepared.
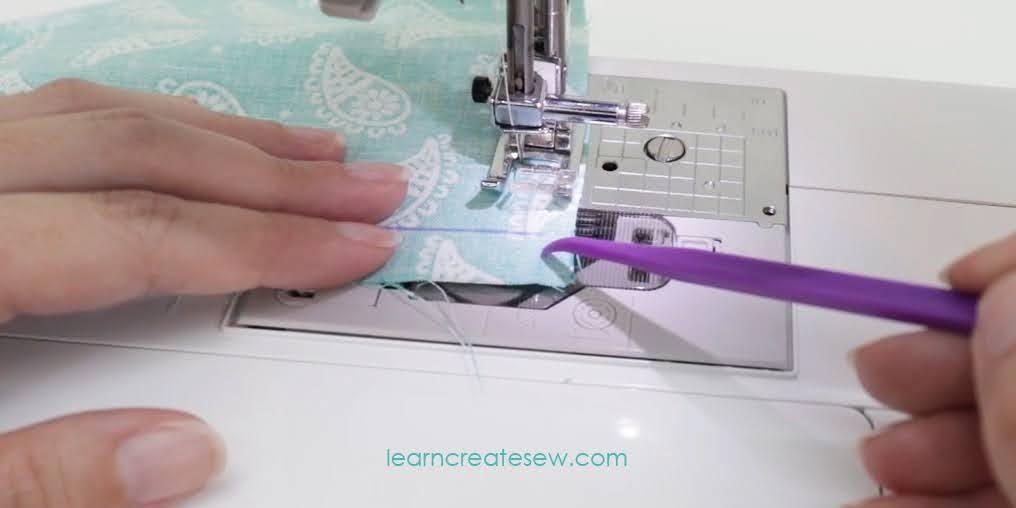
It’s important to always back stitch when you start and stop your seam, unless told to do otherwise. This acts as a knot and prevents the seam from coming undone. Back stitching on a machine is different from the hand sewing back stitch. On a machine it’s when you make a few stitches in the opposite direction to secure your thread in place.
It’s also a good idea to trim your threads after each seam. This helps prevents tangles and having a lot trim at the end of your project. It also improves the overall appearance of your project.
In the videos below I have demonstrated sewing a seam on two different machines, on both a Brother Mechanical and a Brother Computerized Machine. The principles are the same for both, but there are slight differences in how you select your stitches and prepare your machine.