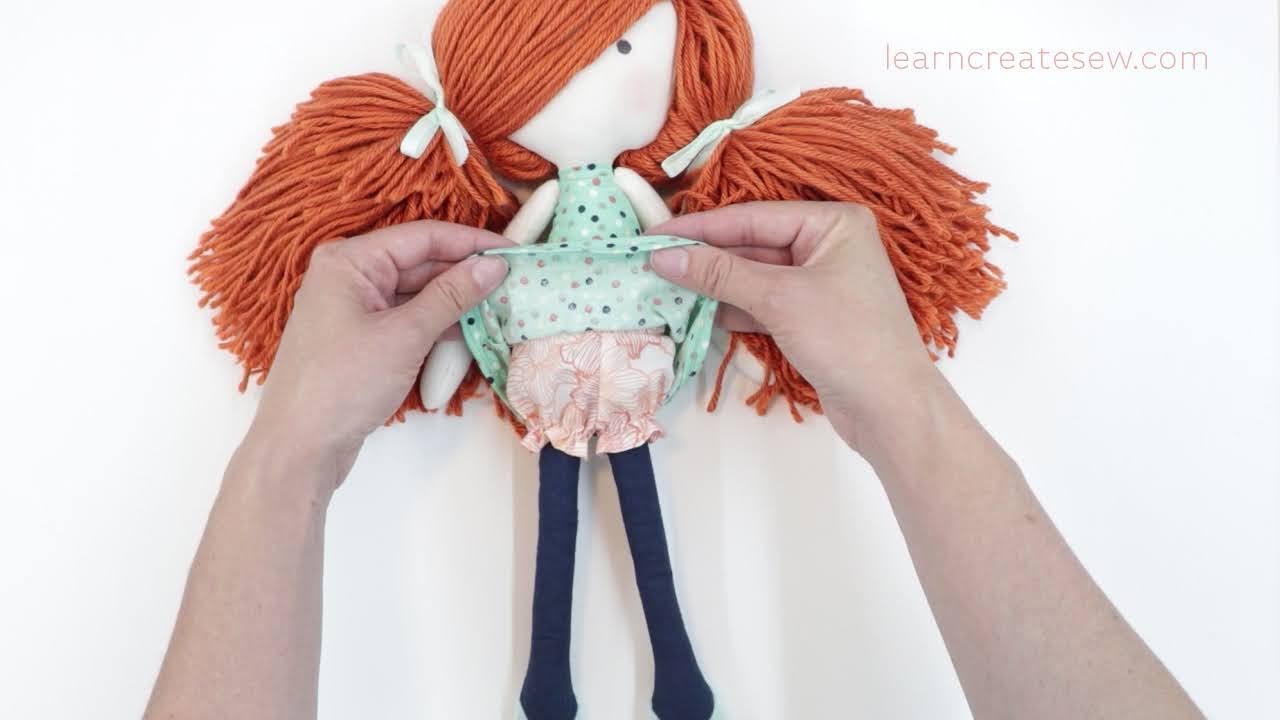
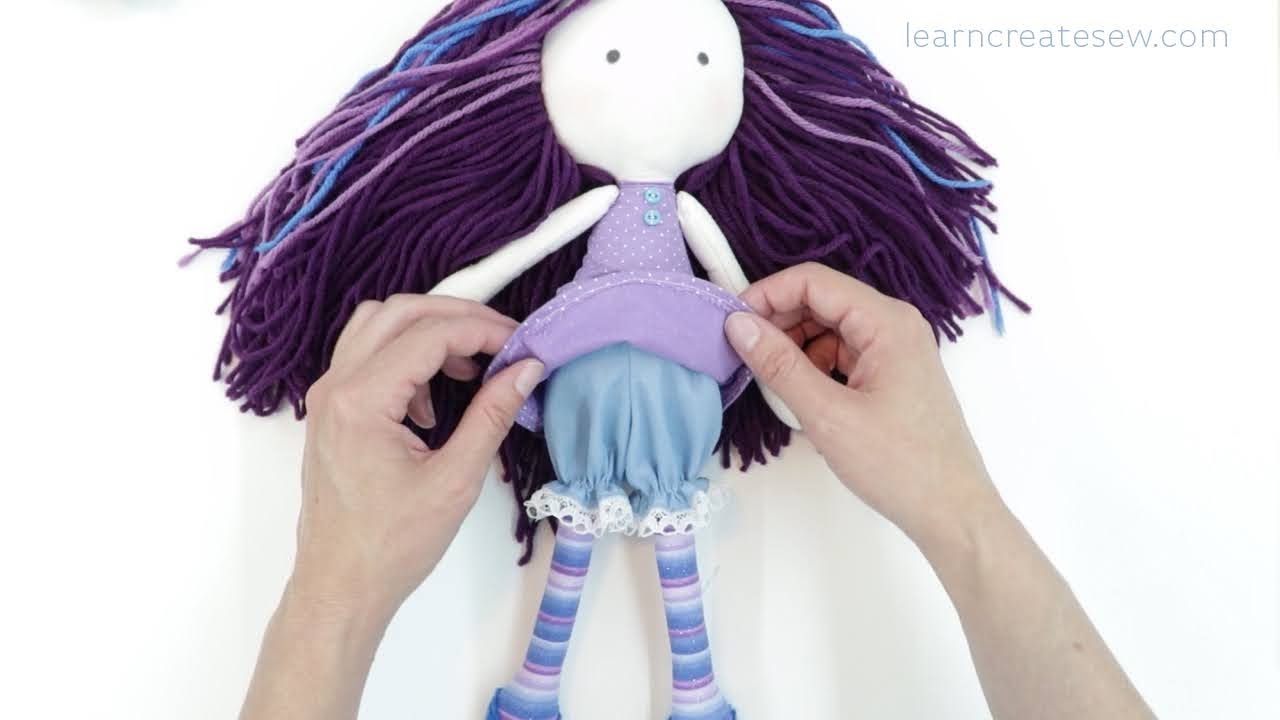
I have long been meaning to post a tutorial on how to make a dress for the Sloth plush, but it always seemed to slip my mind. A special thanks to Carol for reminding me about it! The dress is a cute little addition to the sloth plush and a lot of fun to make.
I don’t have a video for this one, but I do have several photos. I hope you find them helpful.

That said, let’s get down to business!
Here are some quick instructions on how to make the dress.
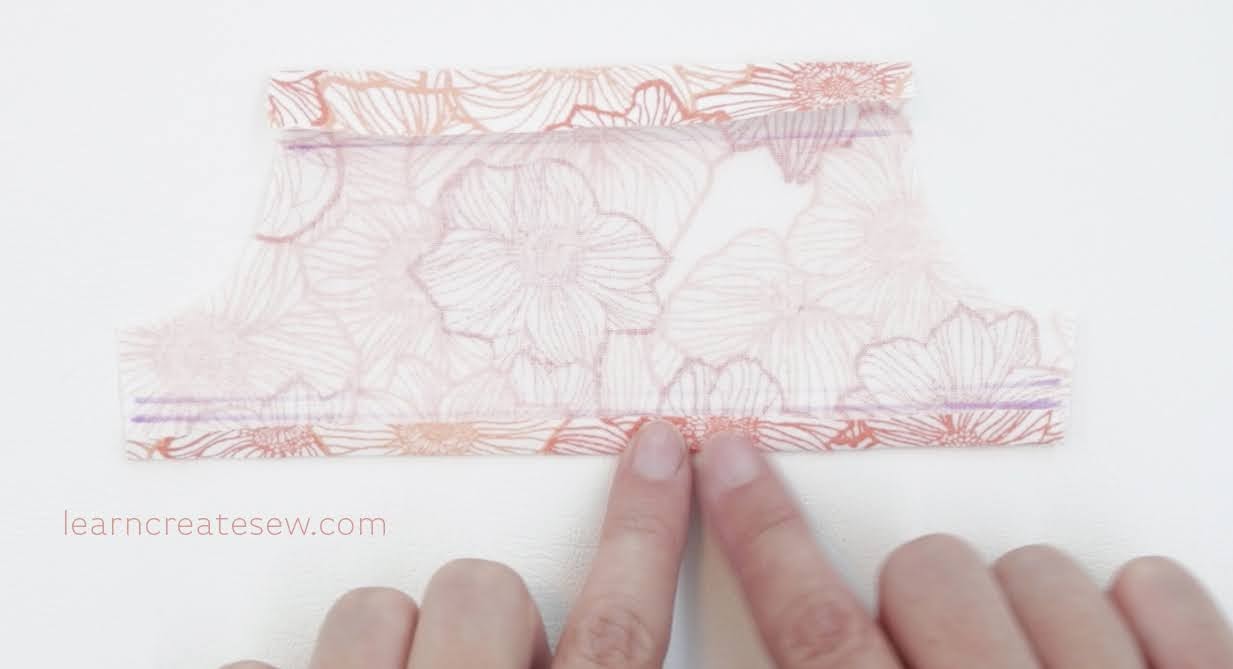
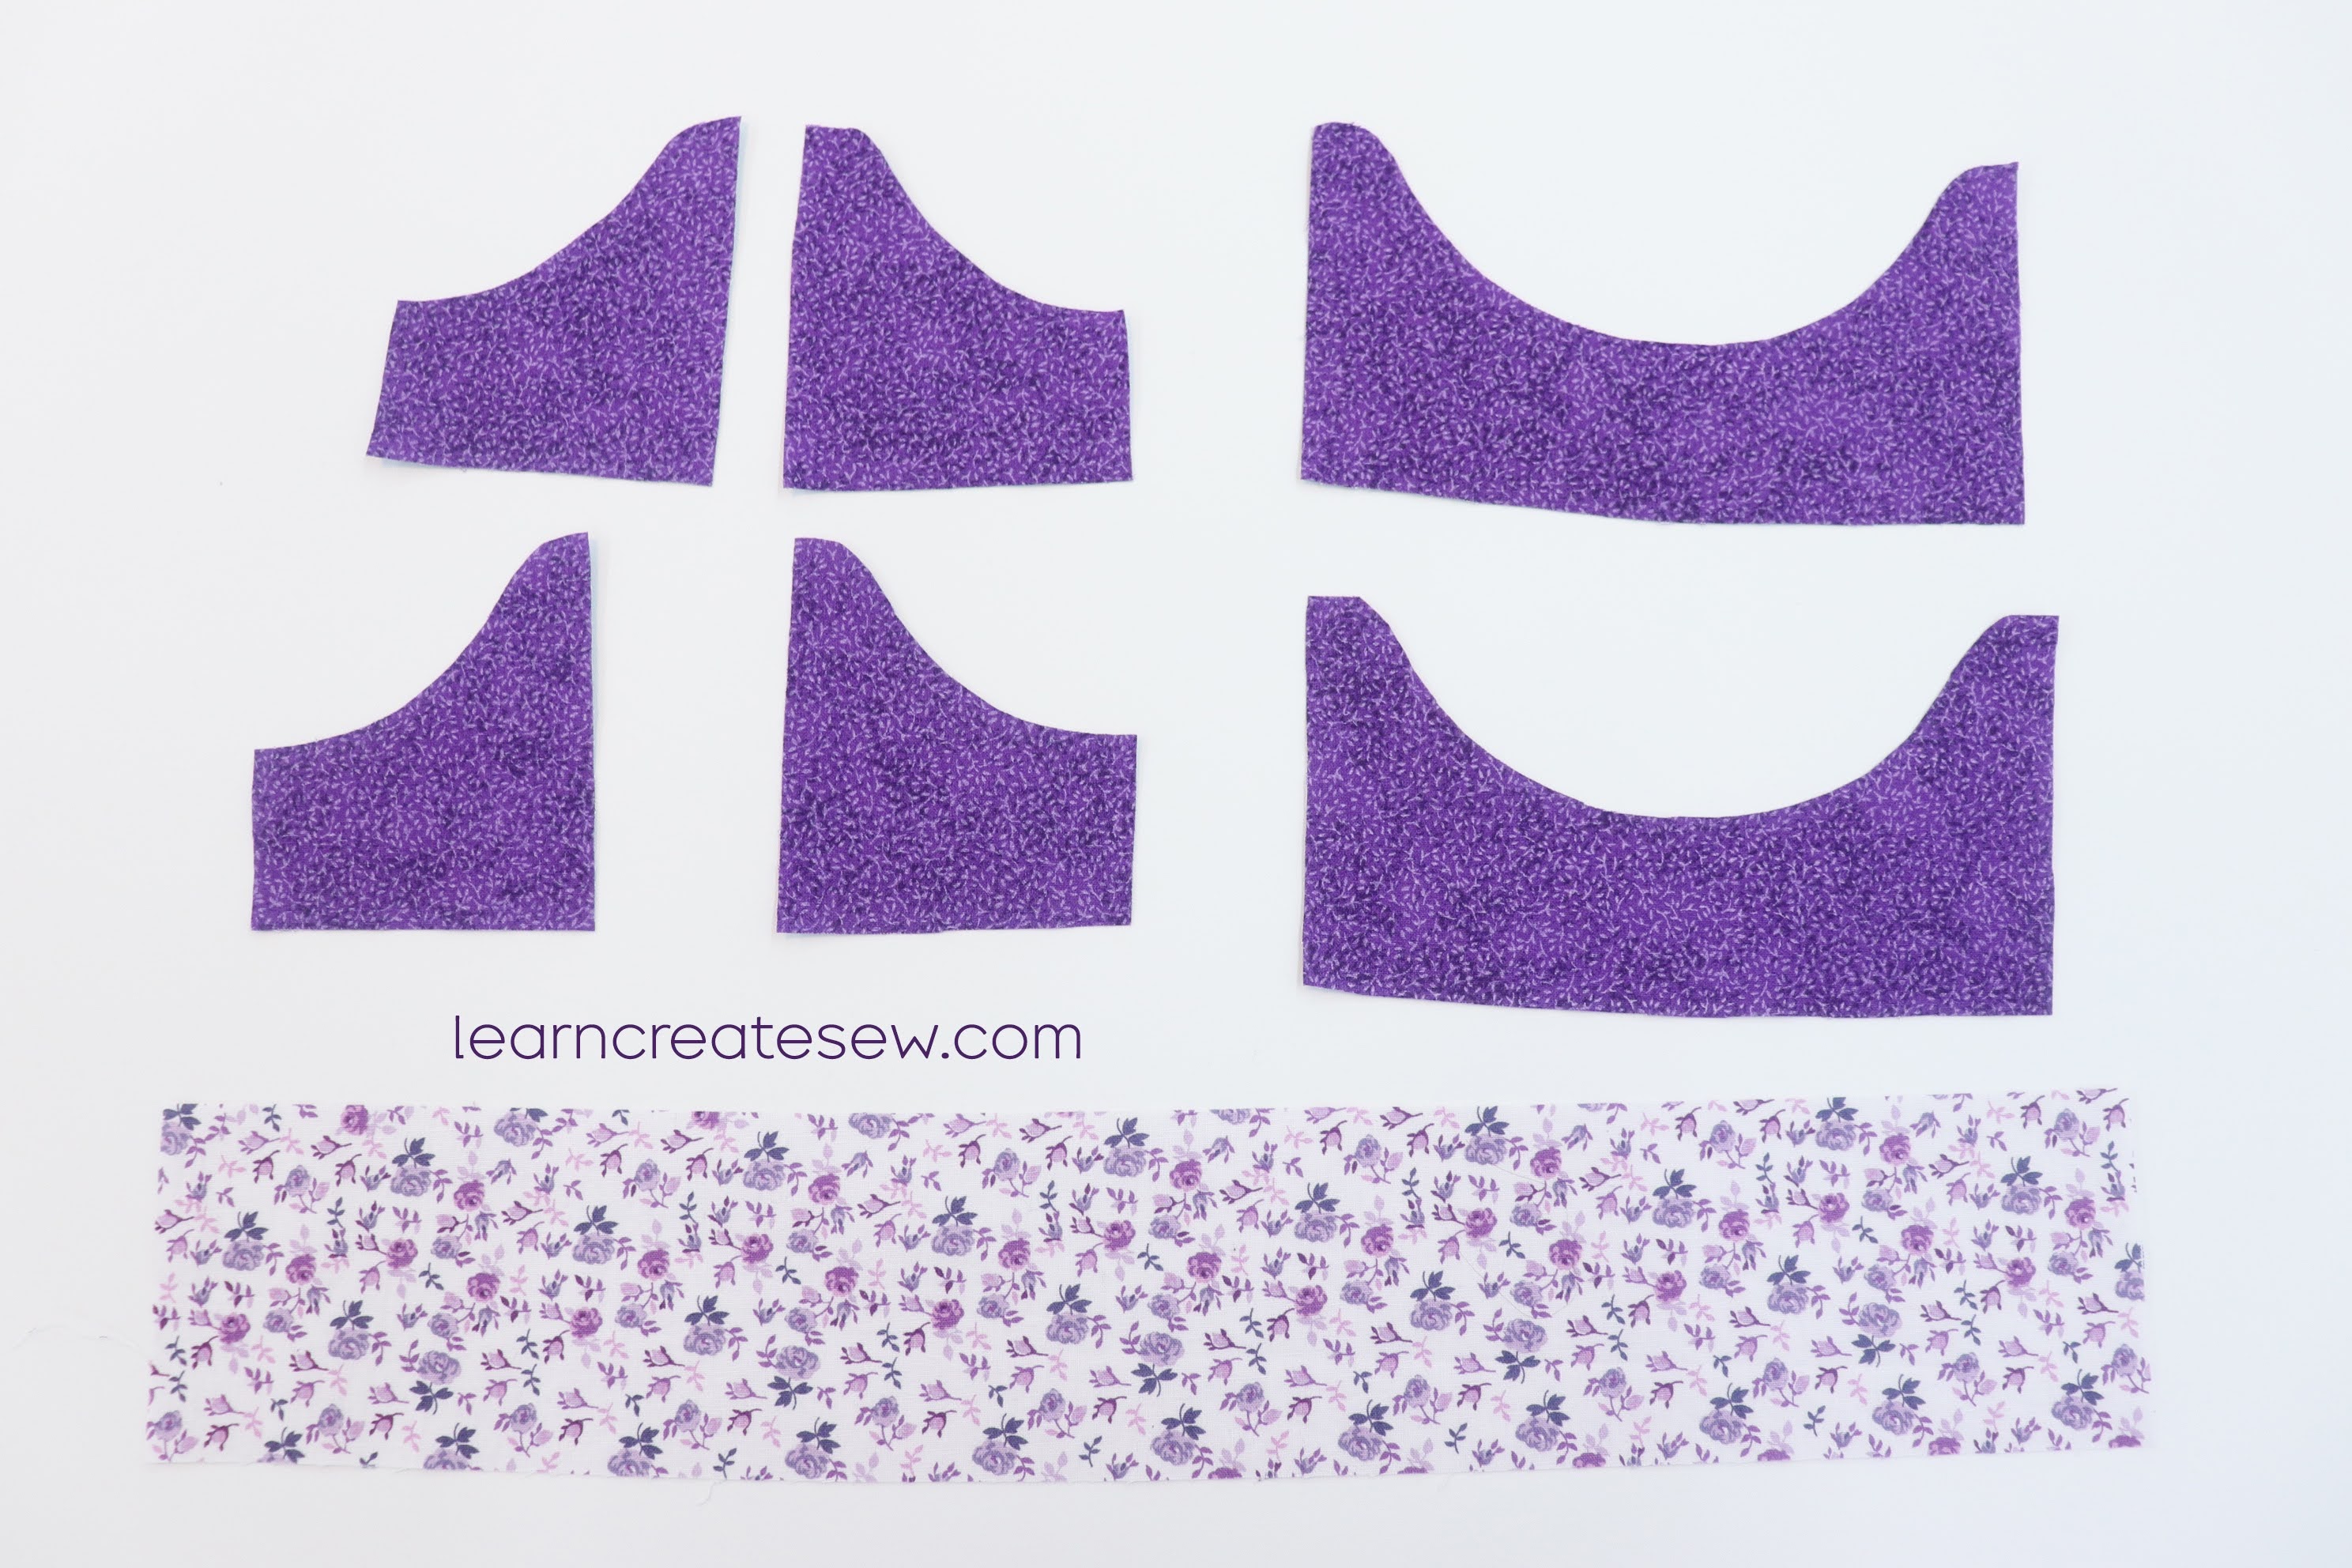
First, cut out the pieces. The skirt rectangle is approximately 3 x 18 inches, but you can adjust that as desired.
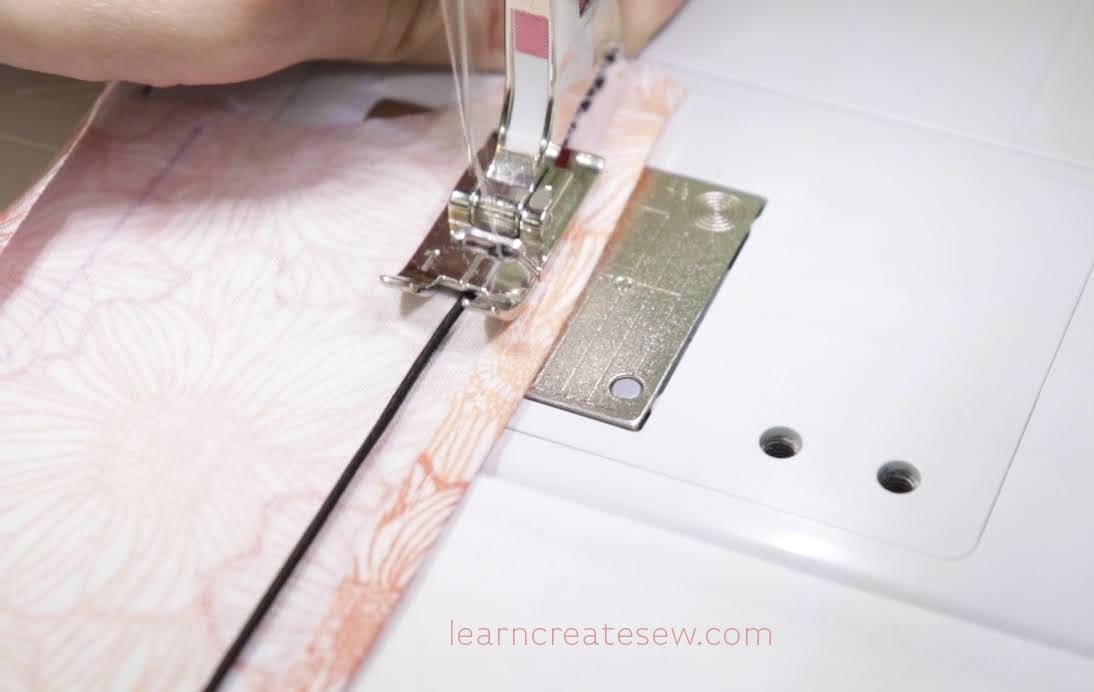
Hem the bottom and two sides of the skirt with a double-fold narrow hem. Approximately, 1/4 inch wide.
Gather the top edge.

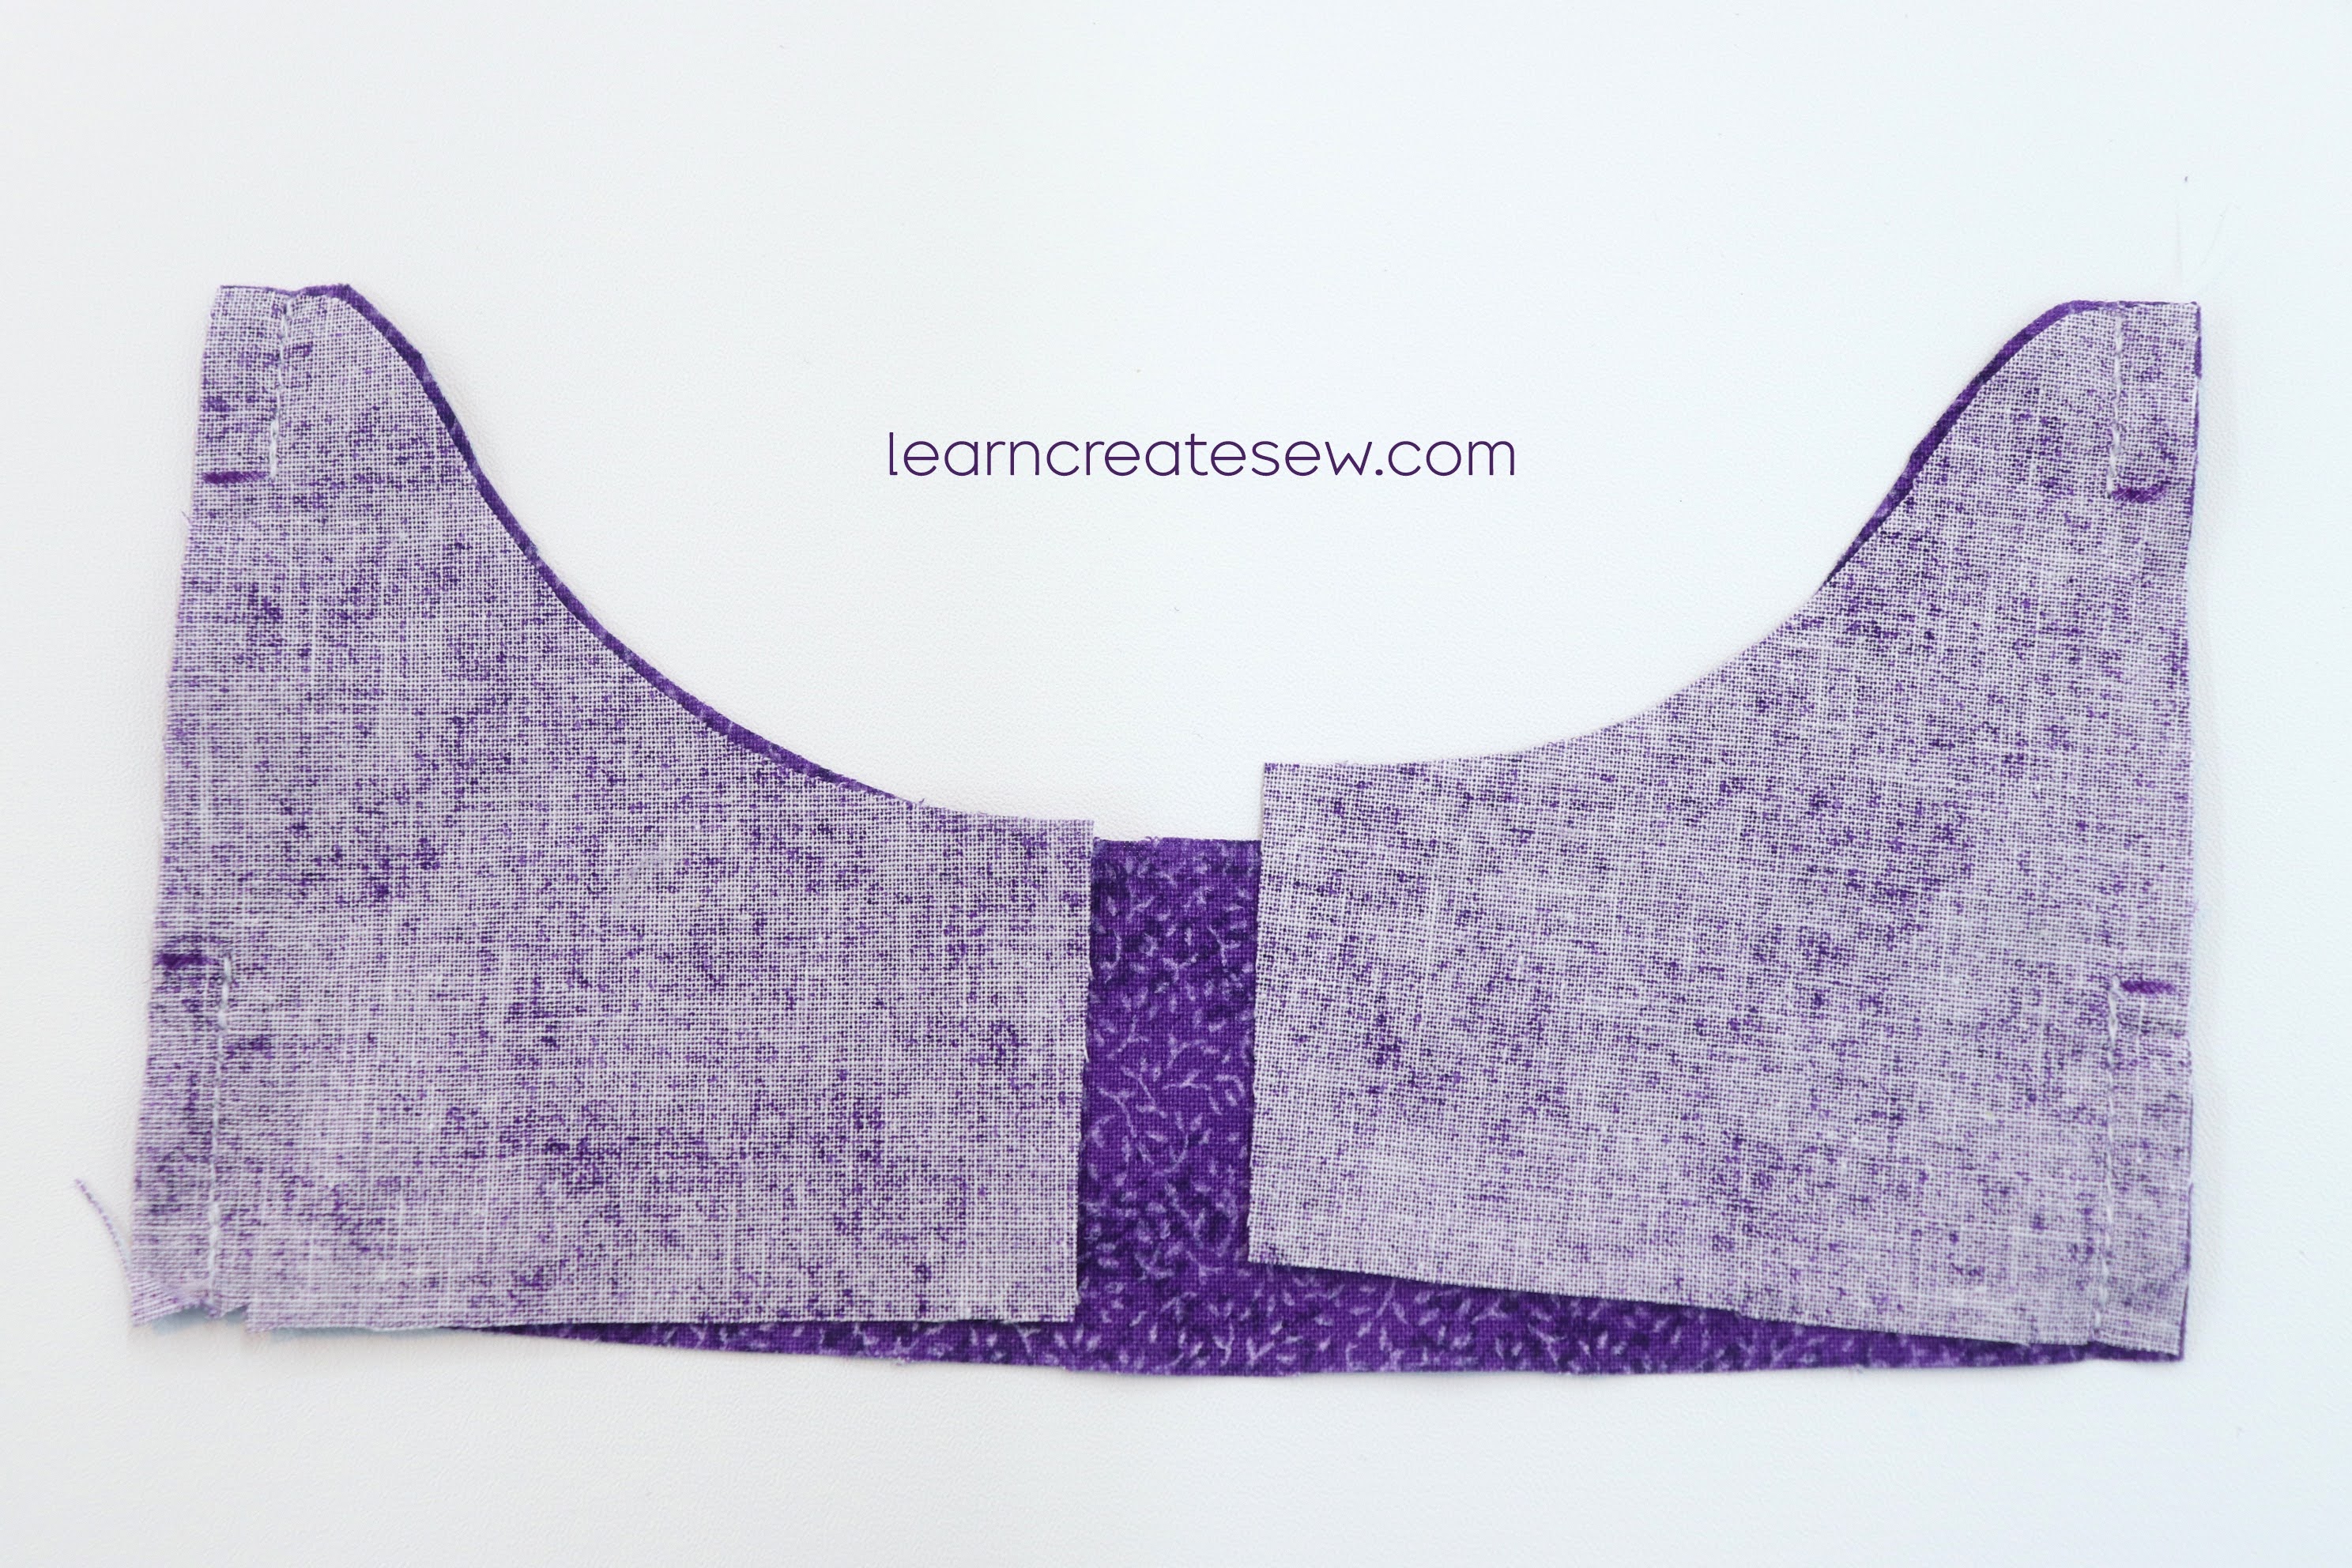
Pin two of the bodice front pieces to a bodice back piece, right sides together. Align the dashes marked on the pattern.

Stitch the side seams with a 1/4 inch seam allowance. Only sew above and below the dashes, leaving a gap in the middle. This is for the sloth’s arms to pass through.
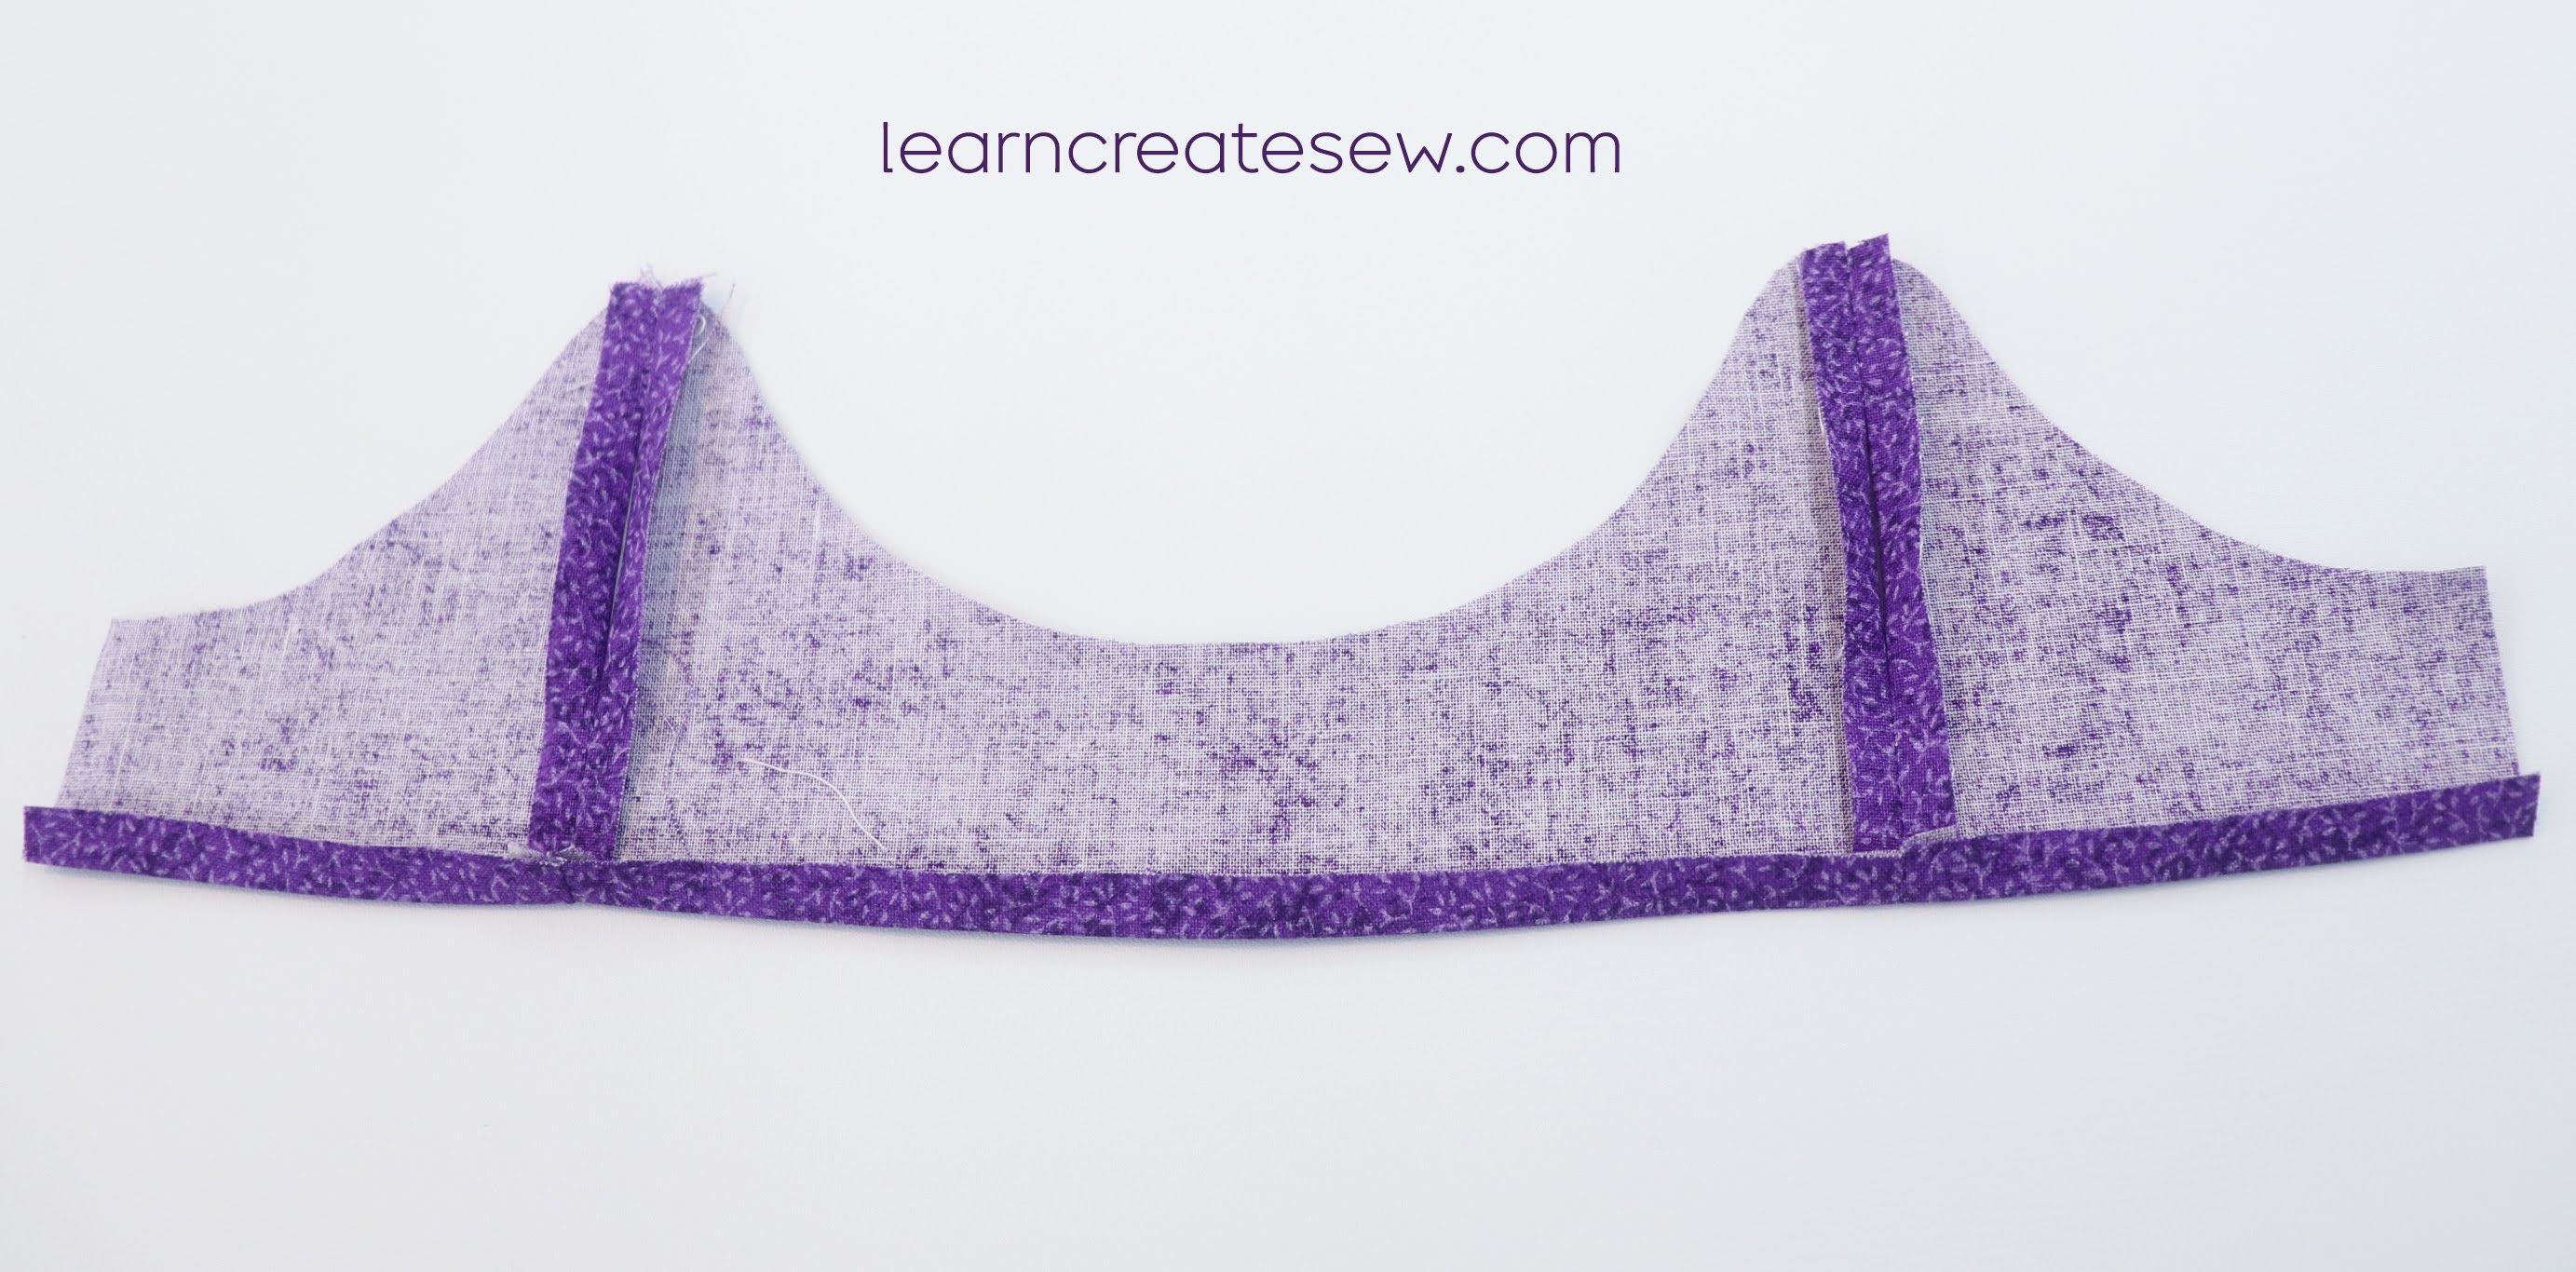
Repeat this process again for the other front and back pieces. You should end up with two identical dress bodices. Press the side seams open on both bodices.
Fold up the bottom edge of one of the bodices 3/8 inch. Press. Keep the bottom edge of the other flat.
Lay the bodice with the bottom edge flat (the one you did not press) right side up. Place the skirt right side down on top of it. Align the gathered edge of the skirt with the raw edge of the bodice. Let the bodice extend an extra 1/4 inch on each side beyond the skirt. Stitch the skirt in place along the gathered edge with a 1/2 inch seam allowance.
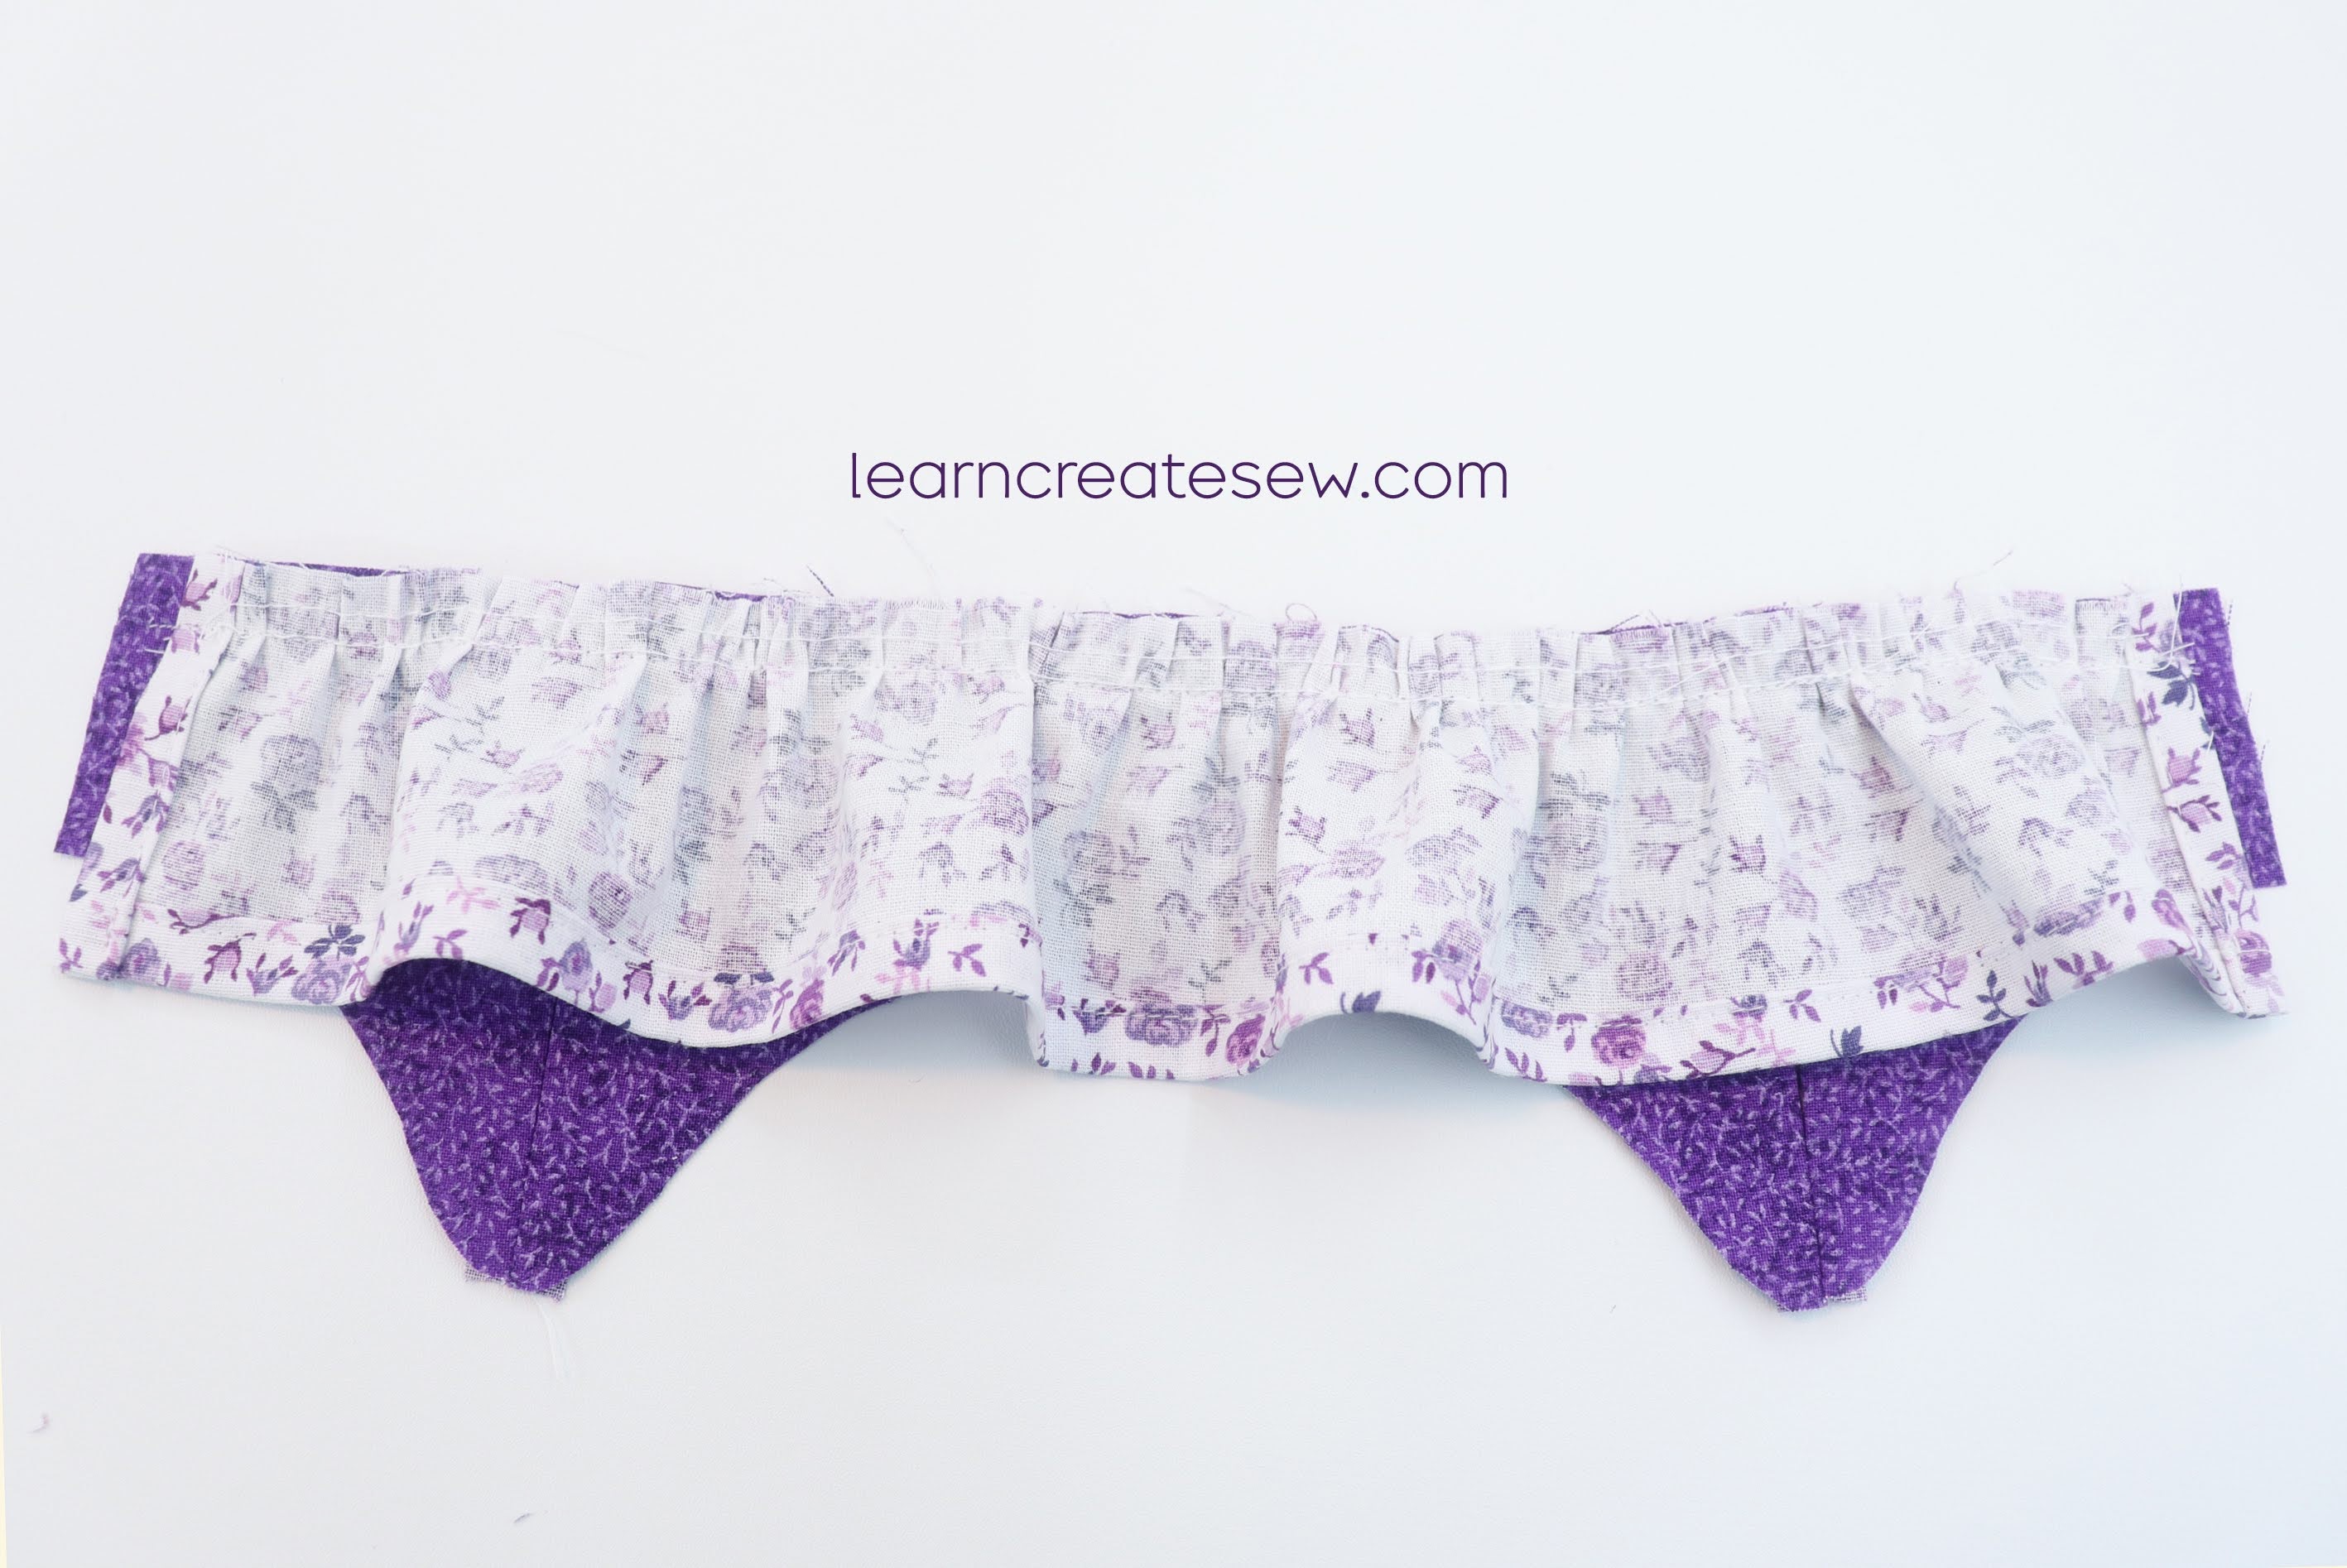
Flip the skirt down and press the seam allowance toward the bodice.

Place the dress right side up. (You can disregard the topstitching shown on the bodice in the photo. It’s not necessary in this step. We will get to that later.)

Lay the other bodice, the one with the folded bottom edge, right side down on top of the dress. Align seams and edges of the bodice pieces. Make sure the seams are open and flat. Sew all of the way around the edge of the bodice with a 1/4 inch seam allowance, everywhere except the bottom edge where the skirt is attached, that will stay open. (None of your stitches should be on the skirt section. Only the bodice fabric is being stitched.)

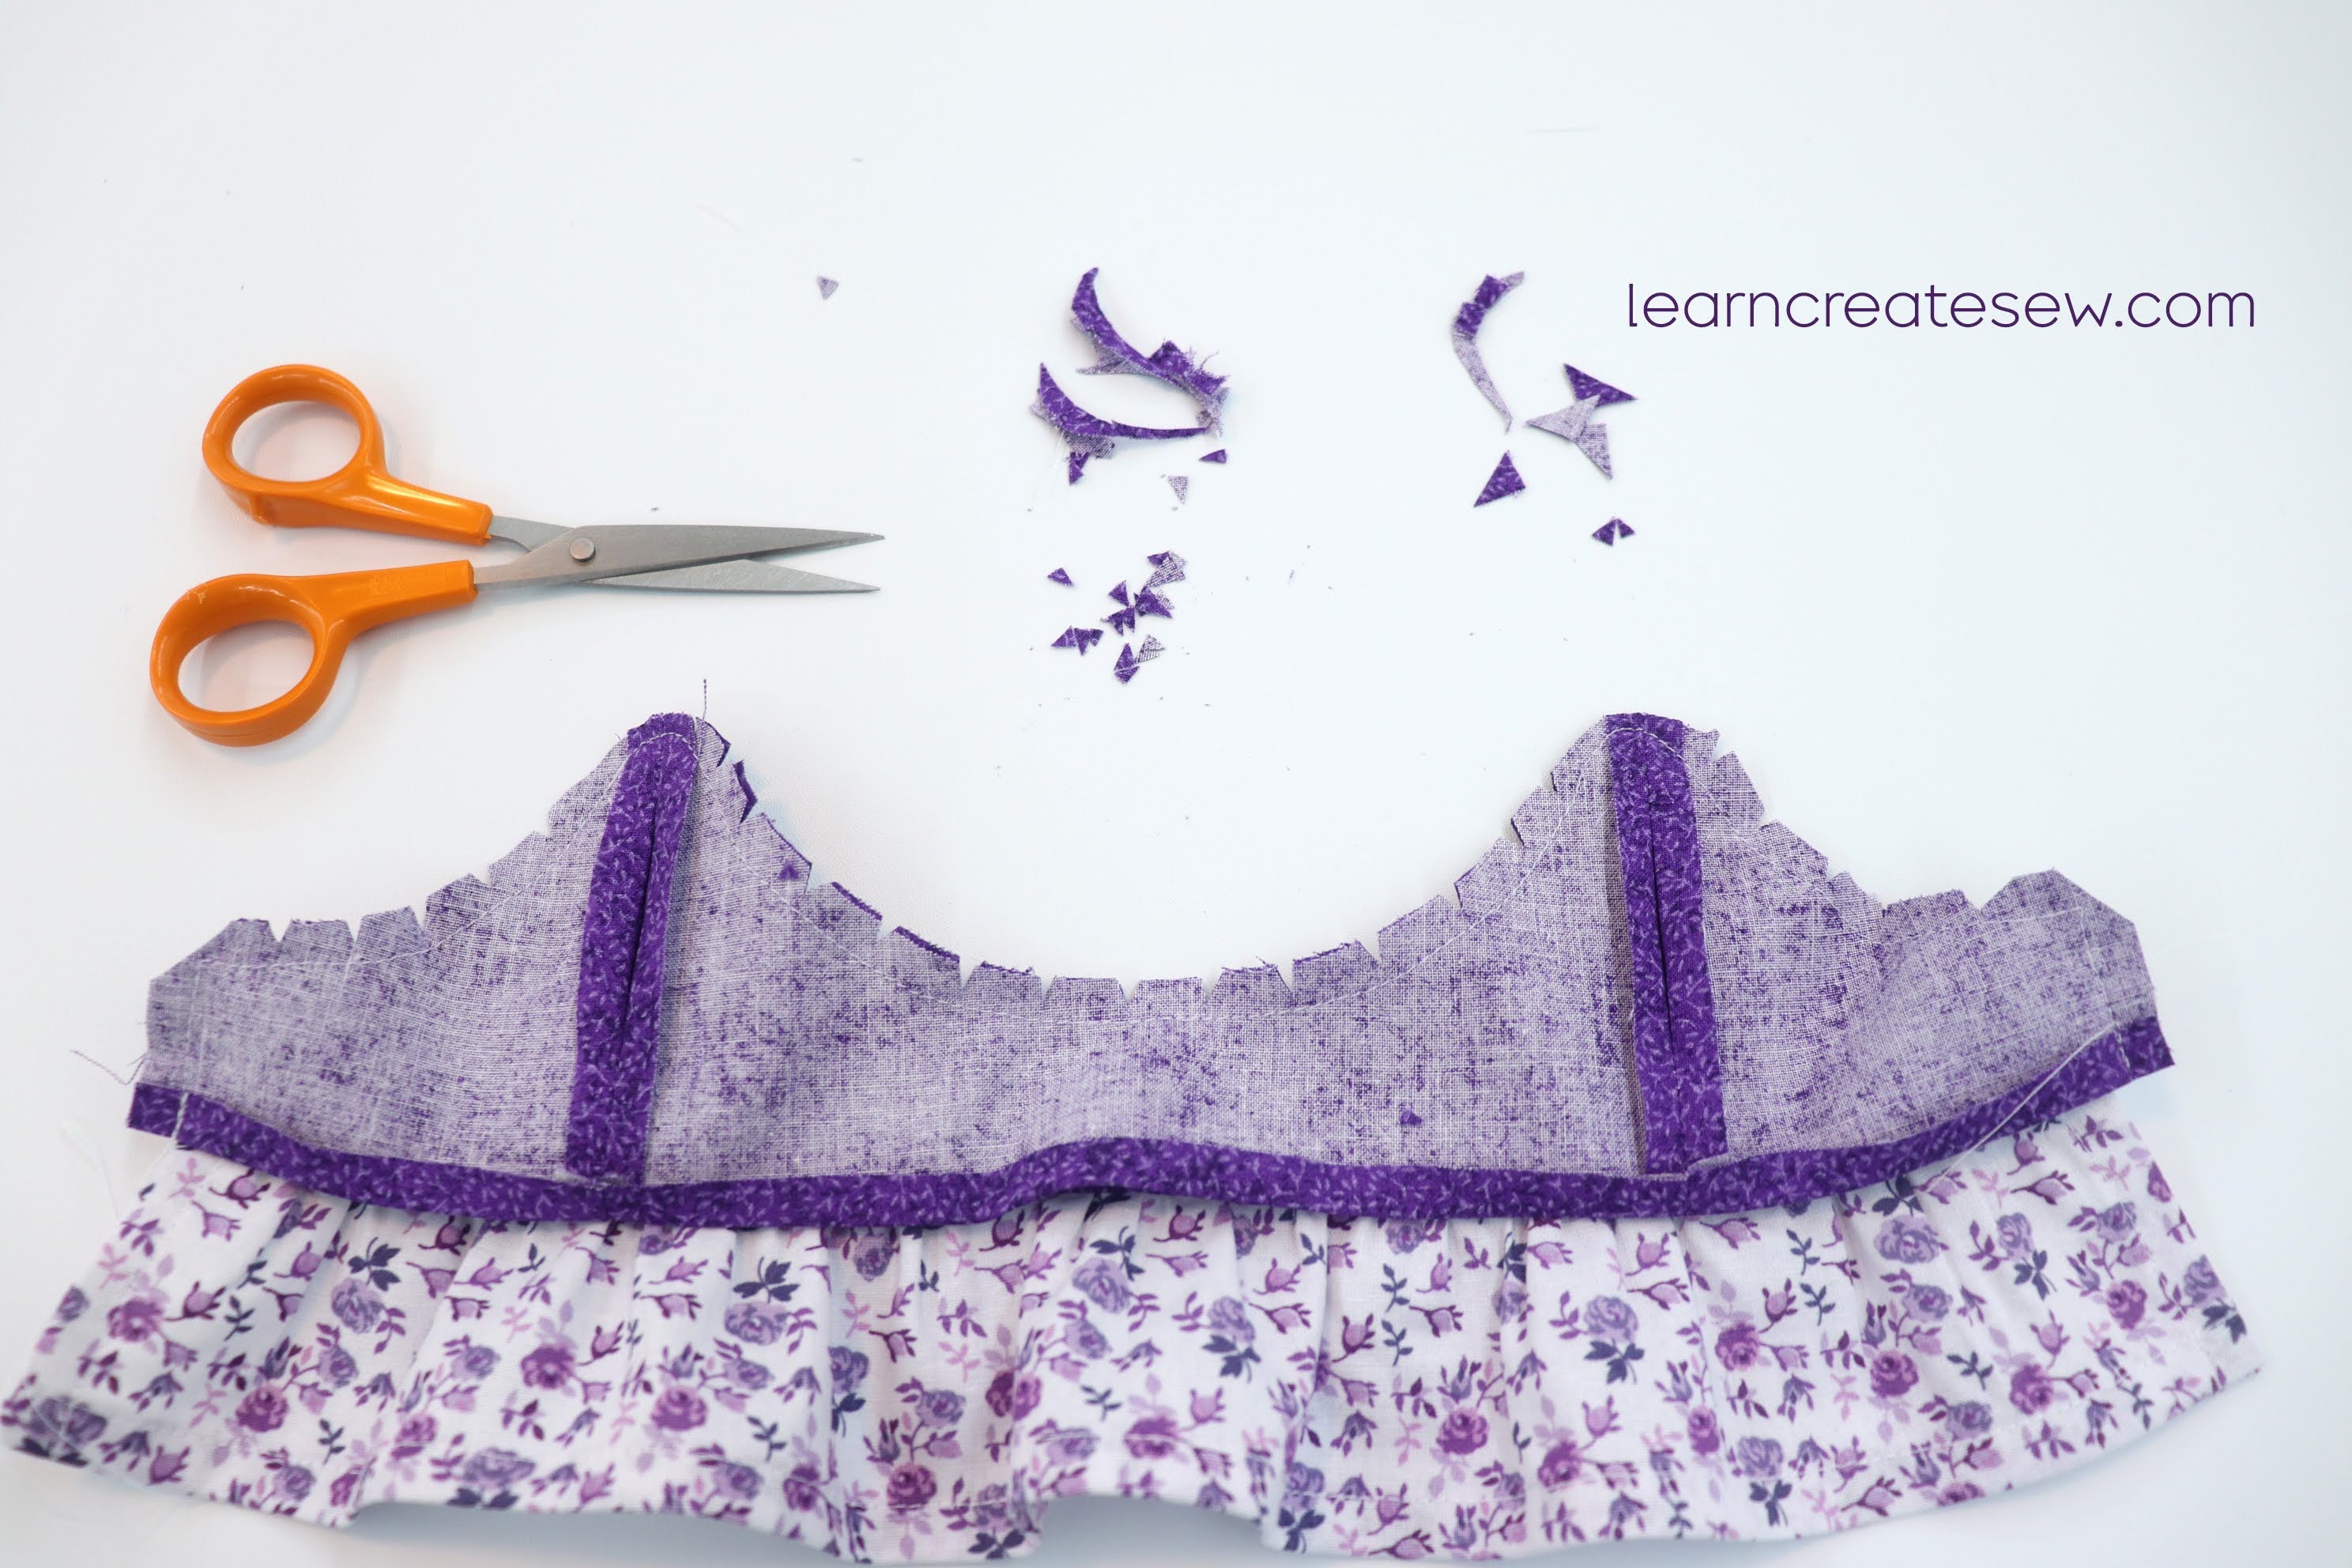
Clip the curves and corners.
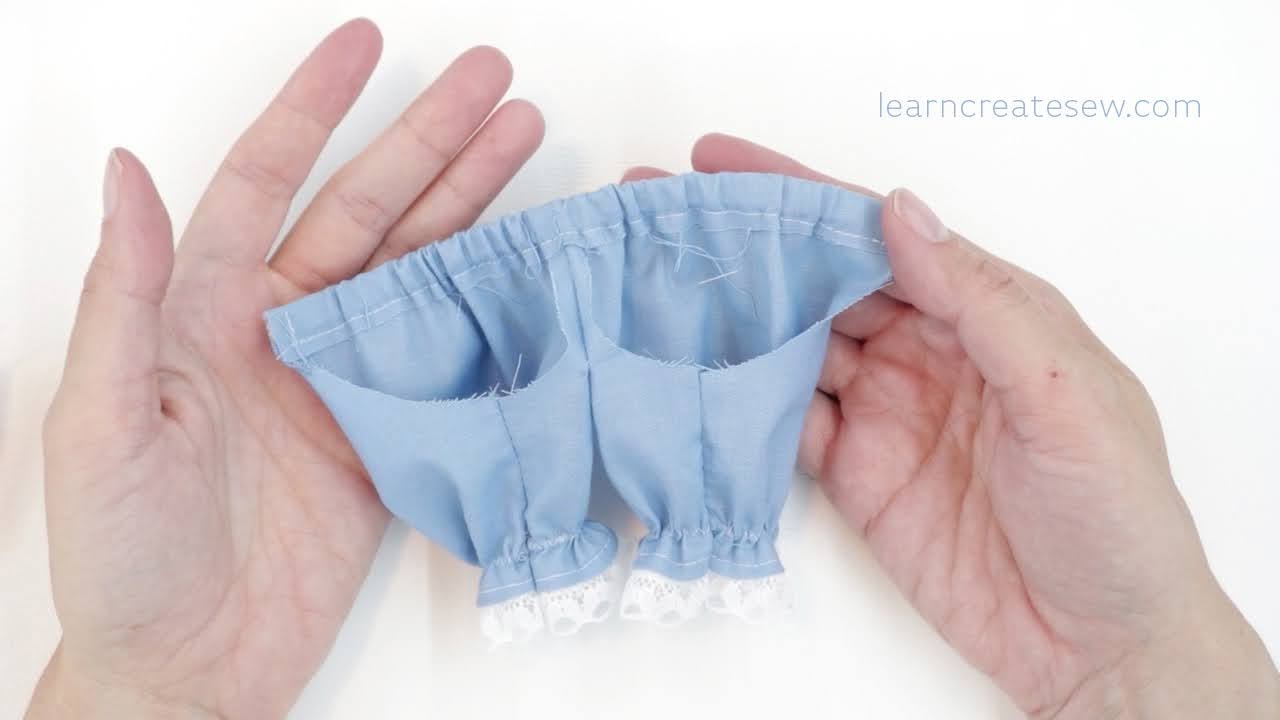
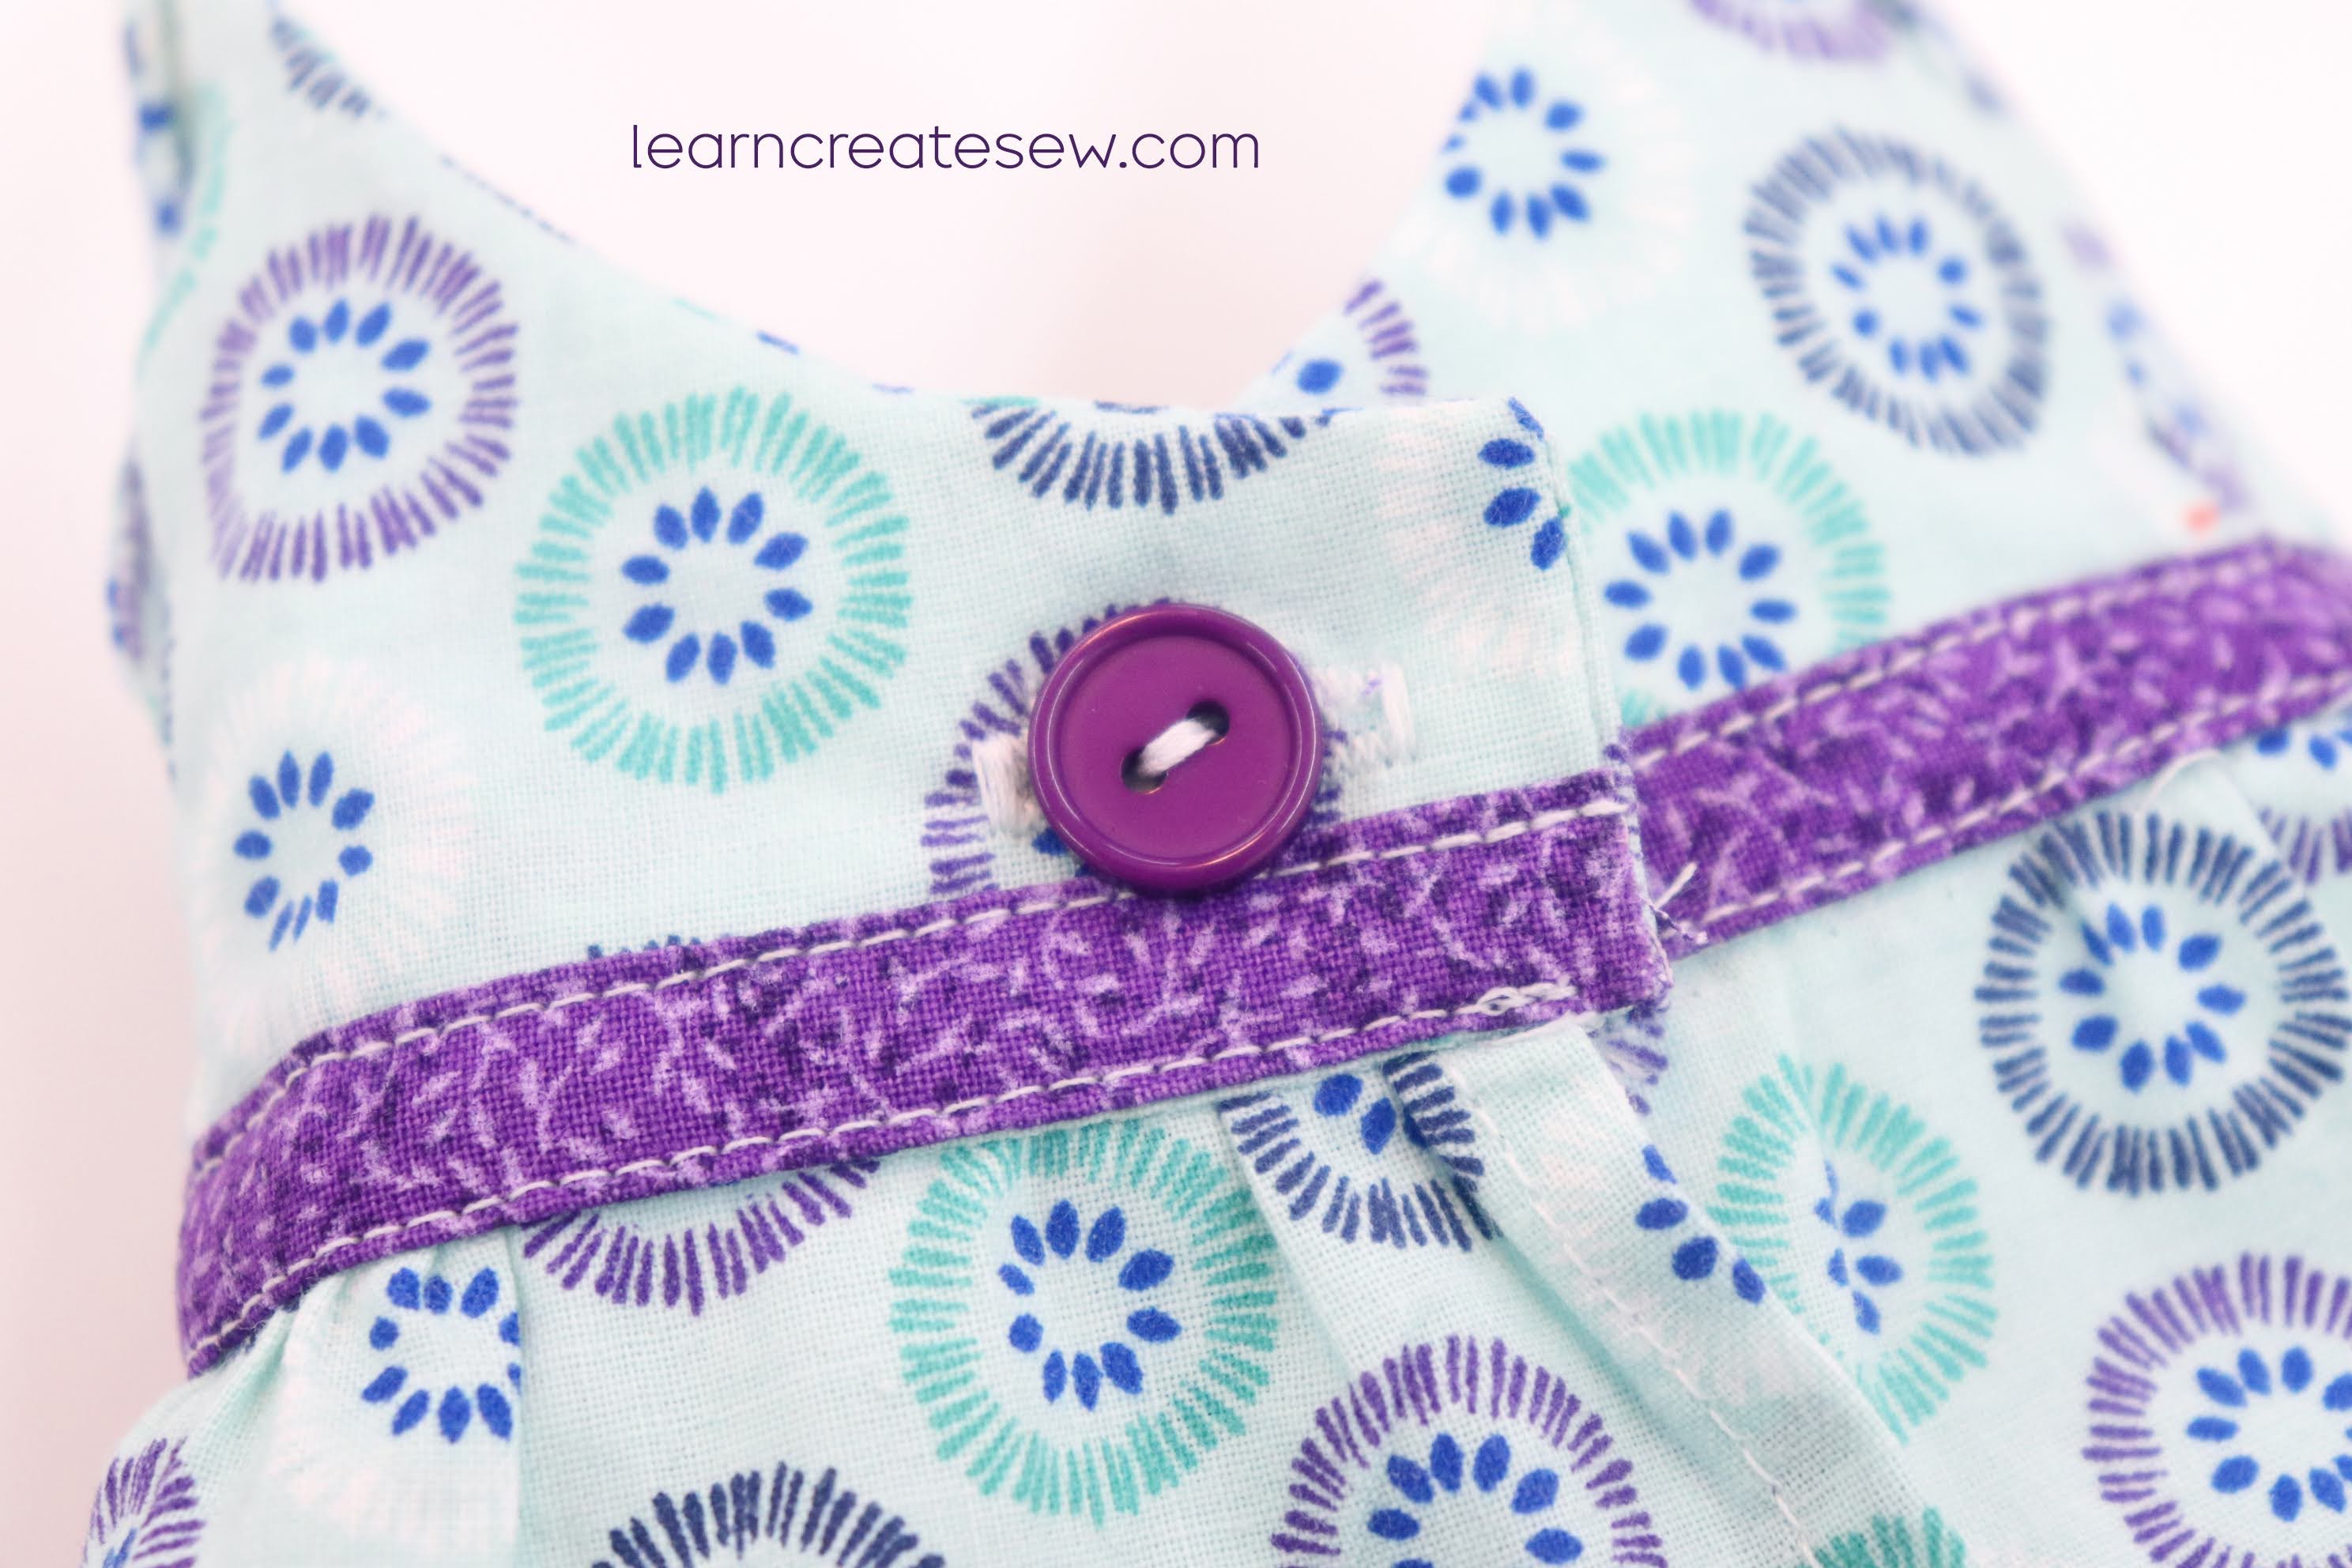
Flip the bodice right side out and press. Carefully align the bottom edge of the folded bodice so it covers the gathers and hides the seam allowance on the inside. The folded bodice edge should extend about 1/8 inch below the stitch line of the skirt. Flip it over. Pin in place as needed. From the front side, topstitch along the bottom of the bodice edge (more detailed photos below) and then press again. The skirt will now be sandwiched between the two bodice layers.
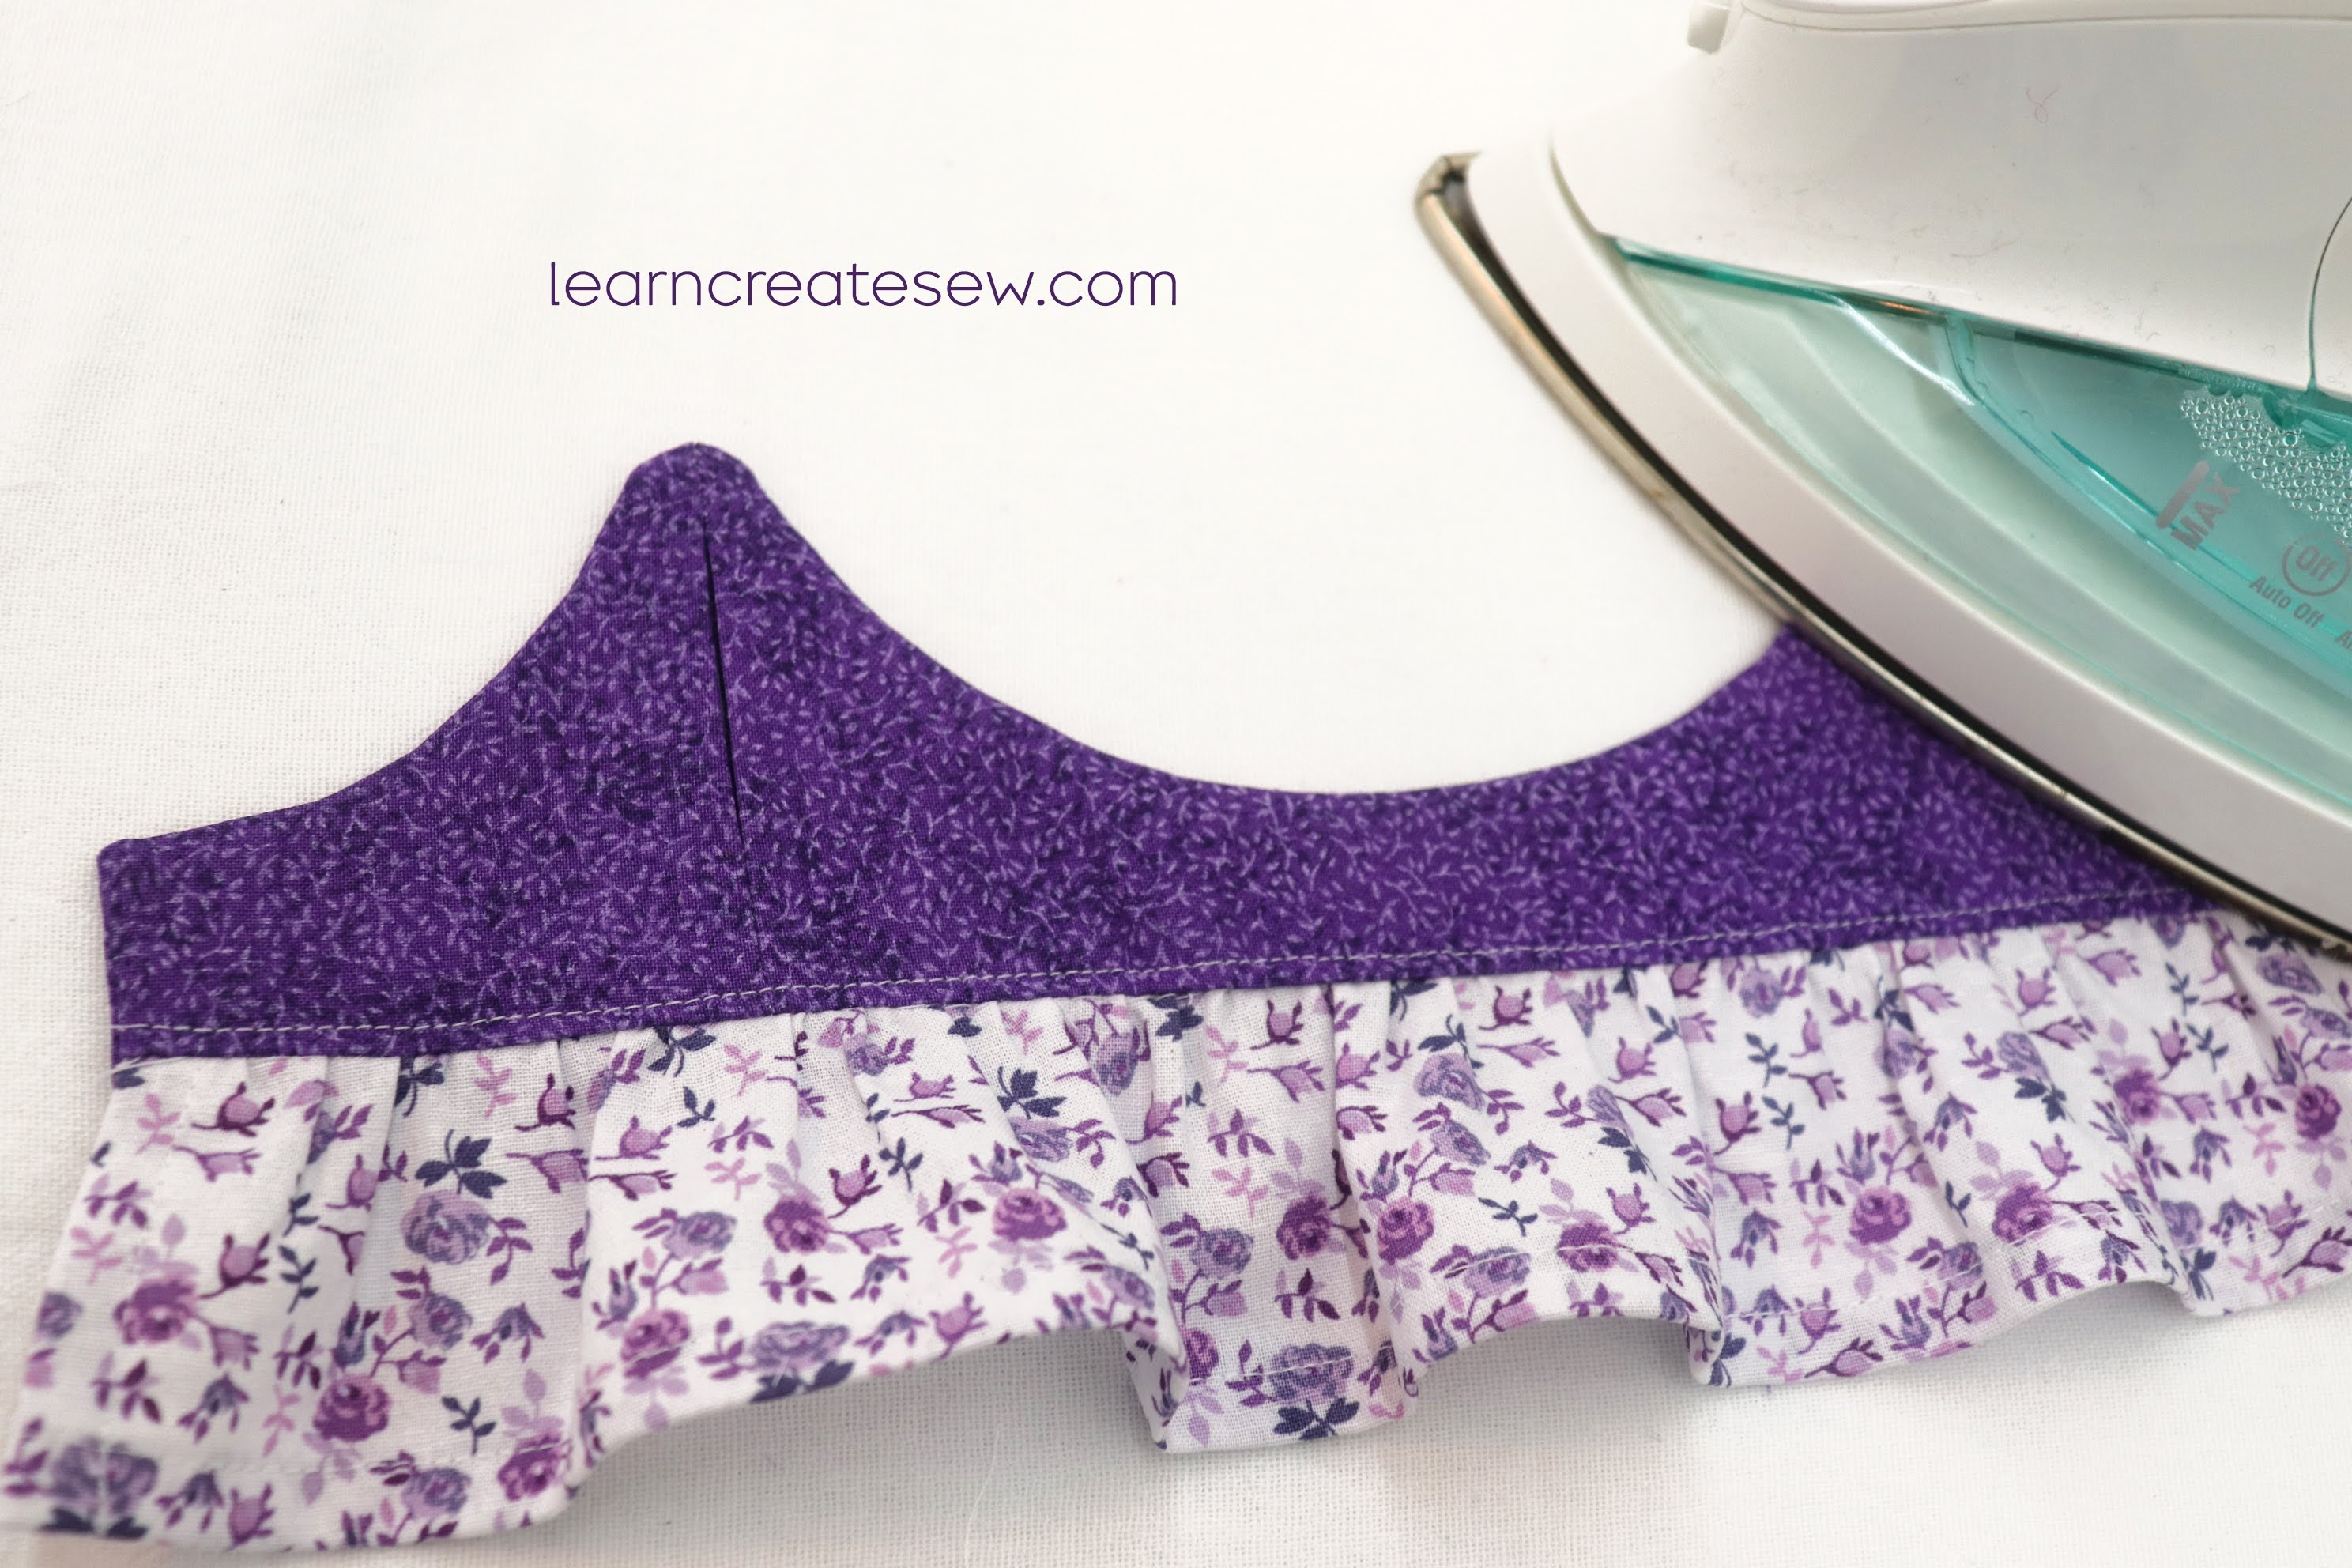
I usually topstitch with a 1/8 inch seam allowance.

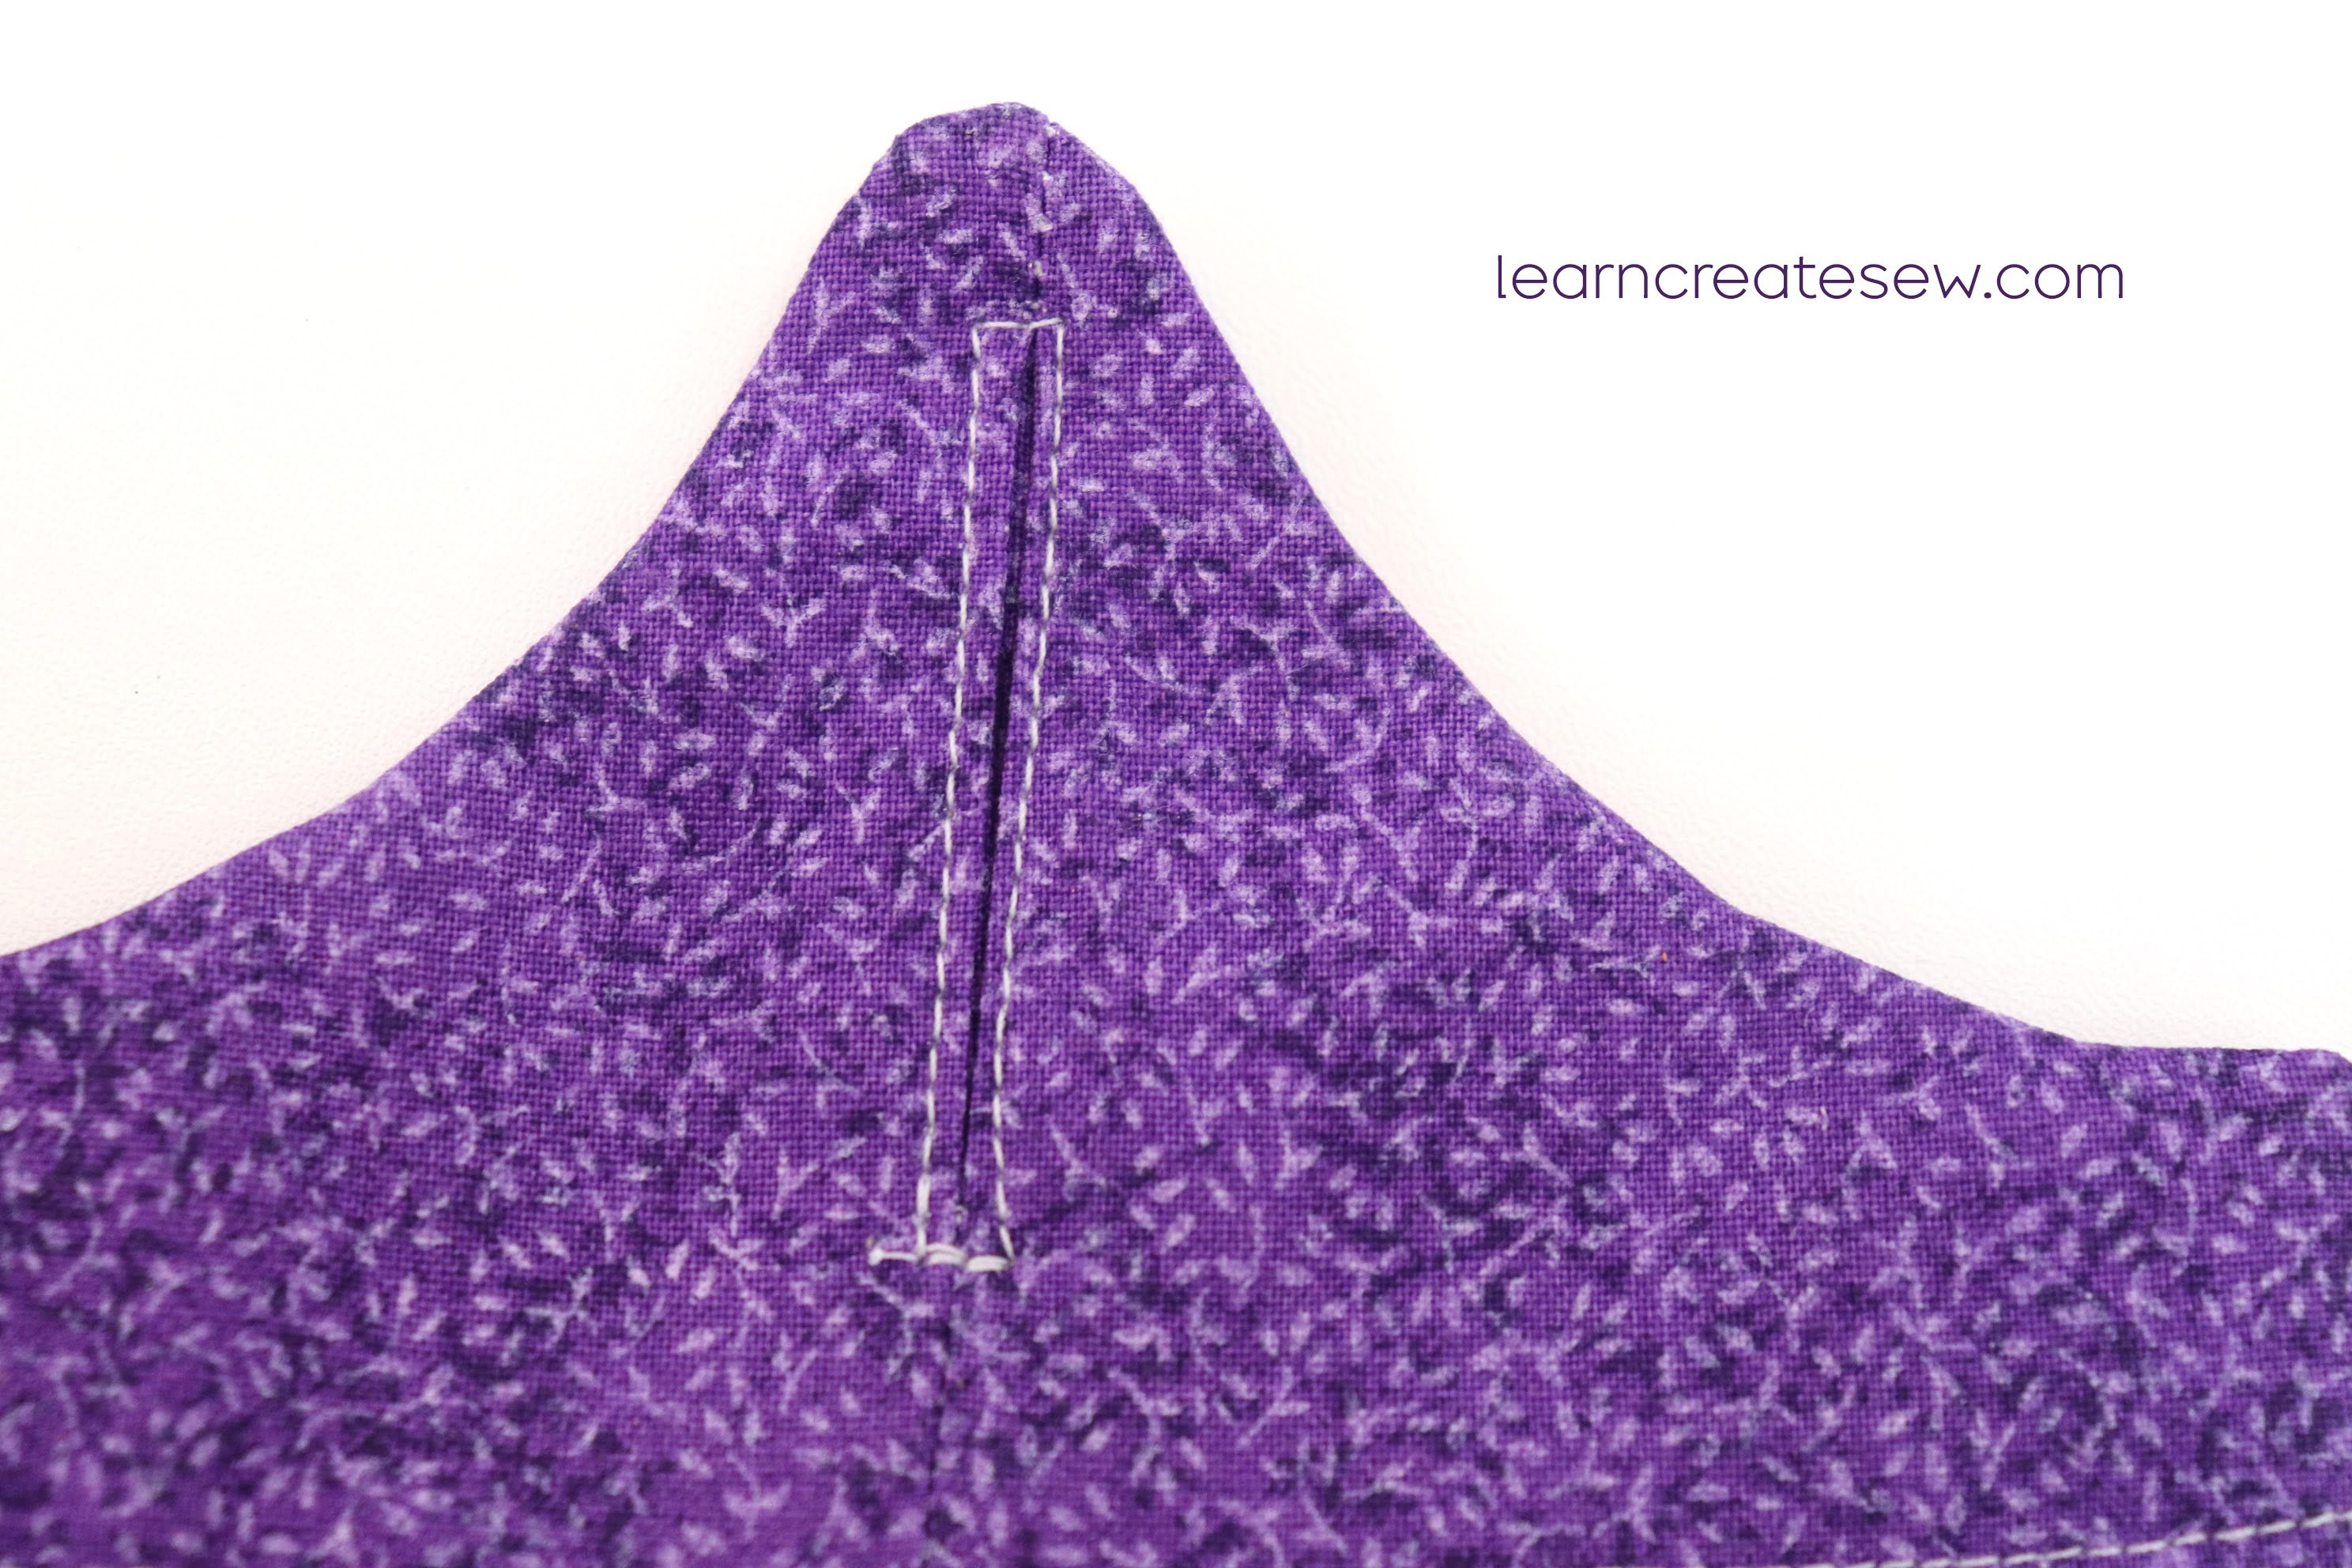
Notice there is an opening for the arm hole.

Topstitch around the slit with a 1/8 inch seam allowance.
Add decorative ribbon, buttons, or trim if you like.
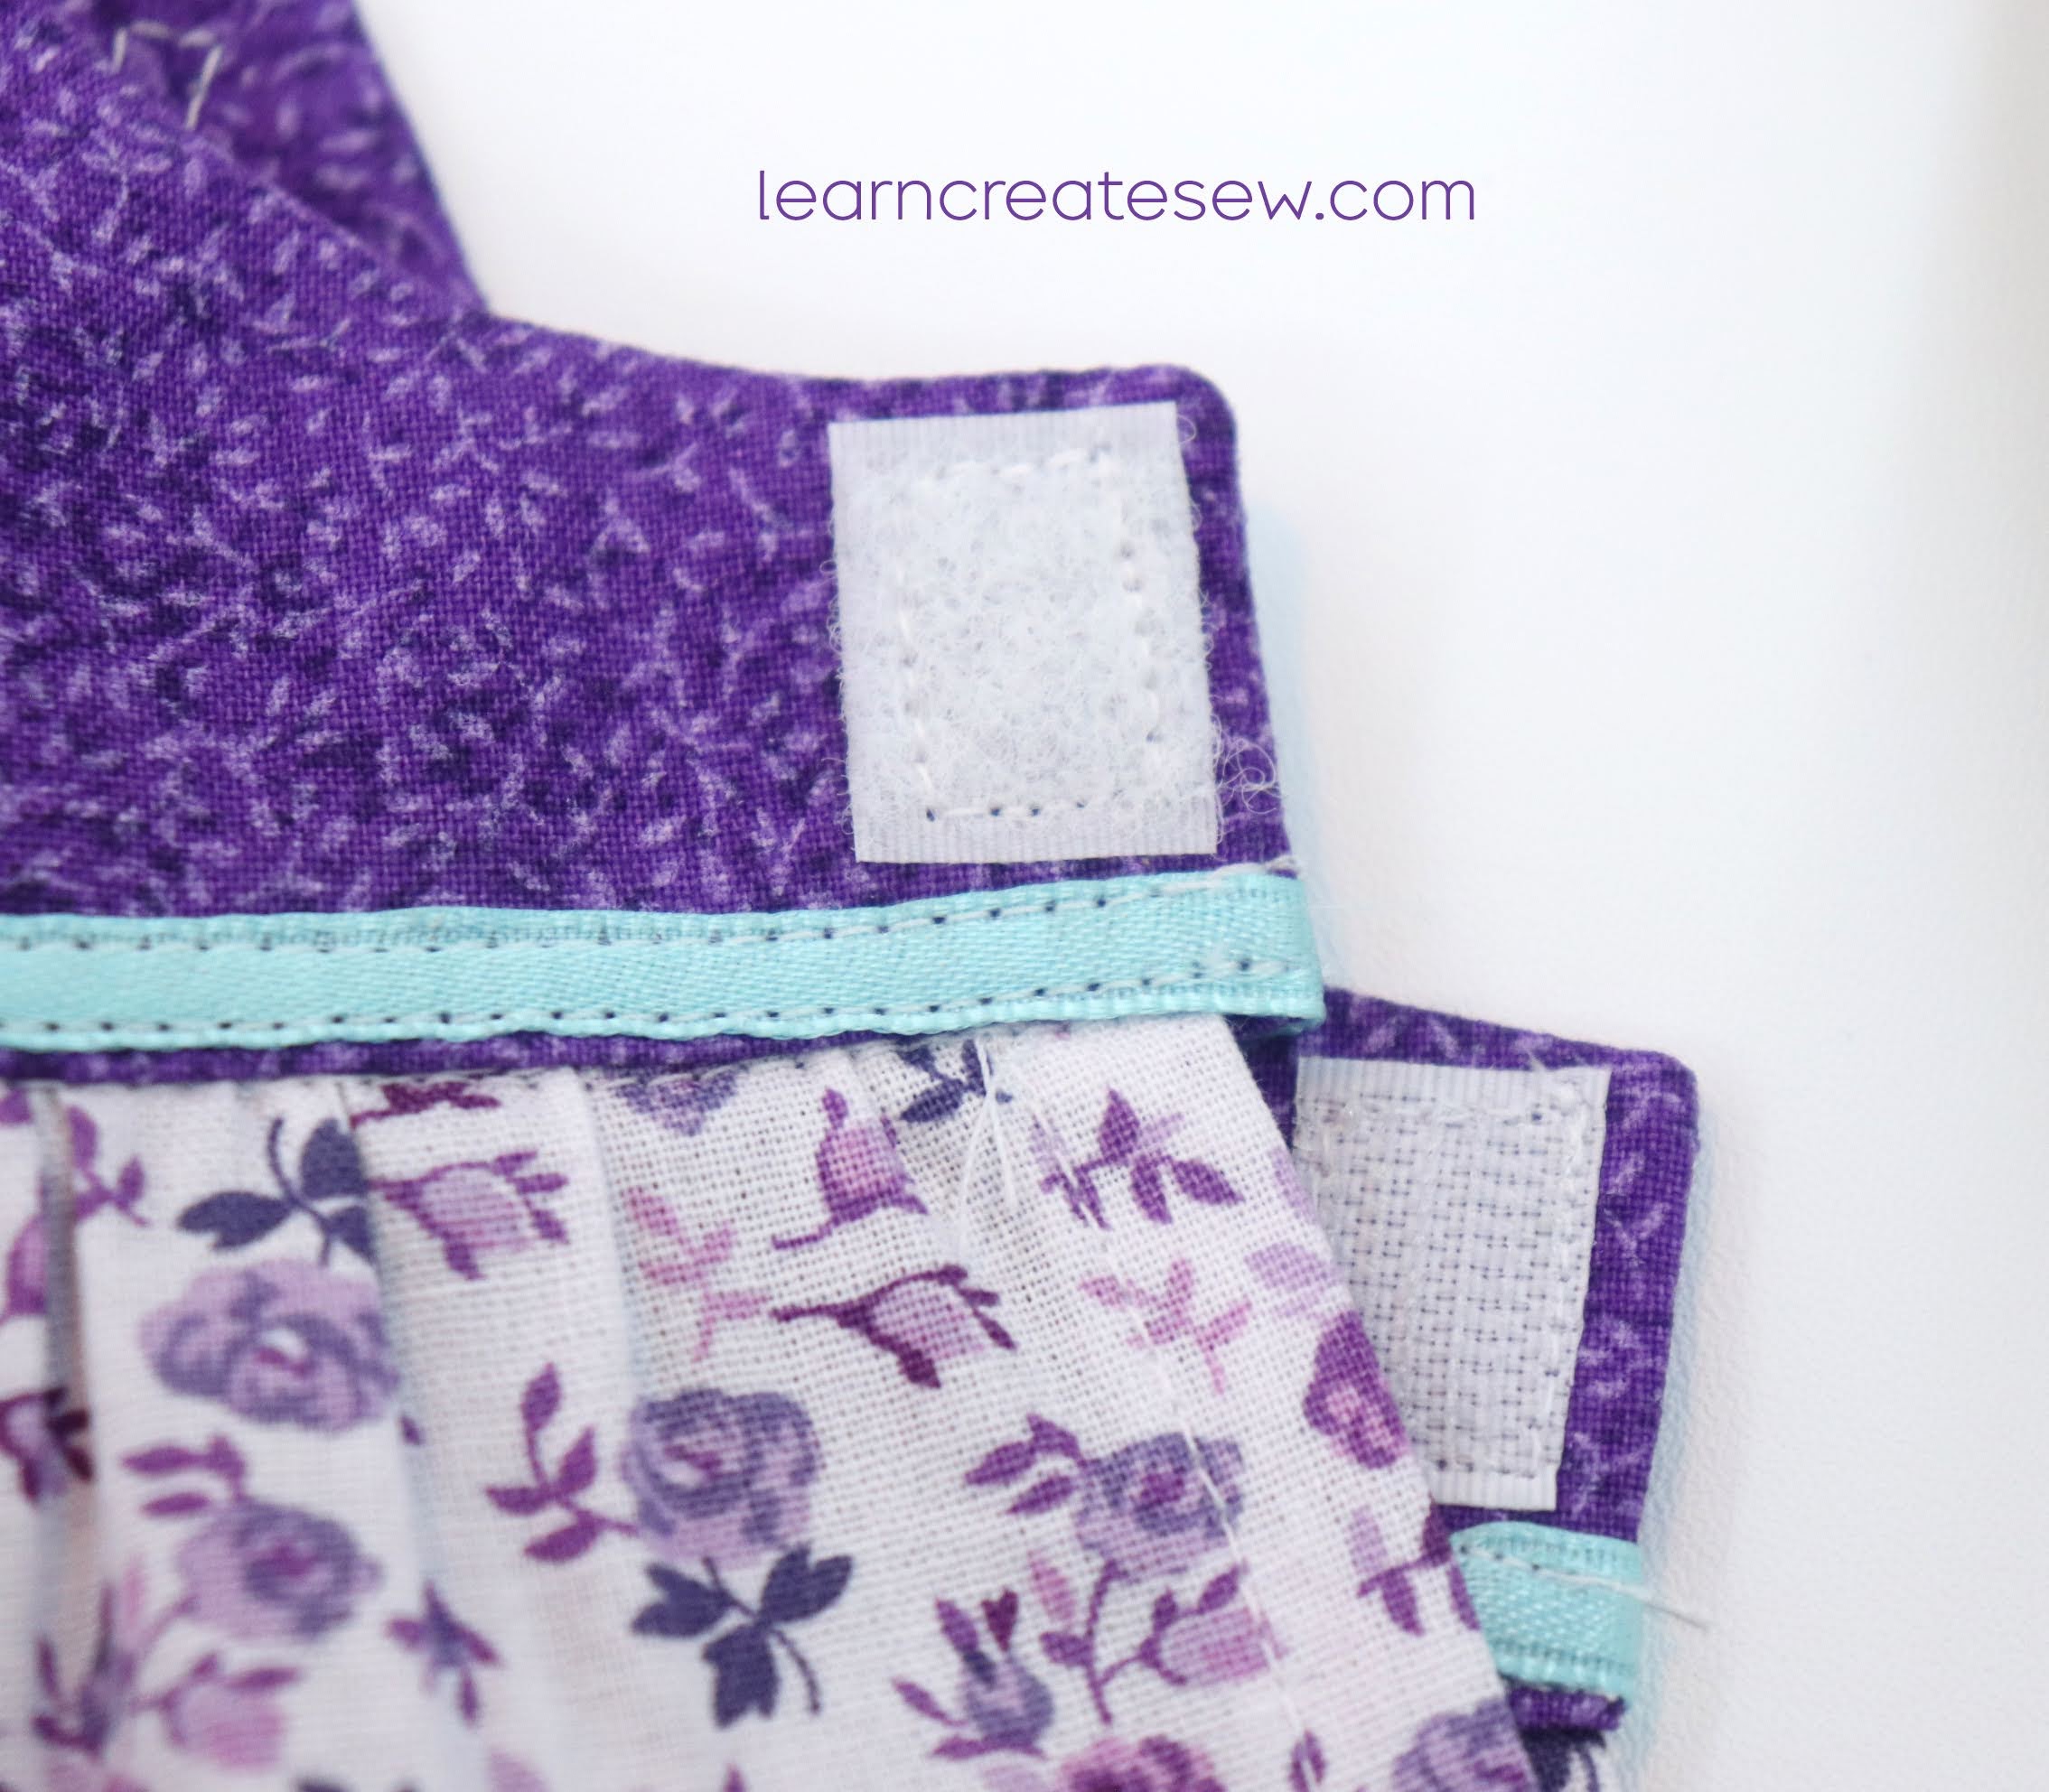
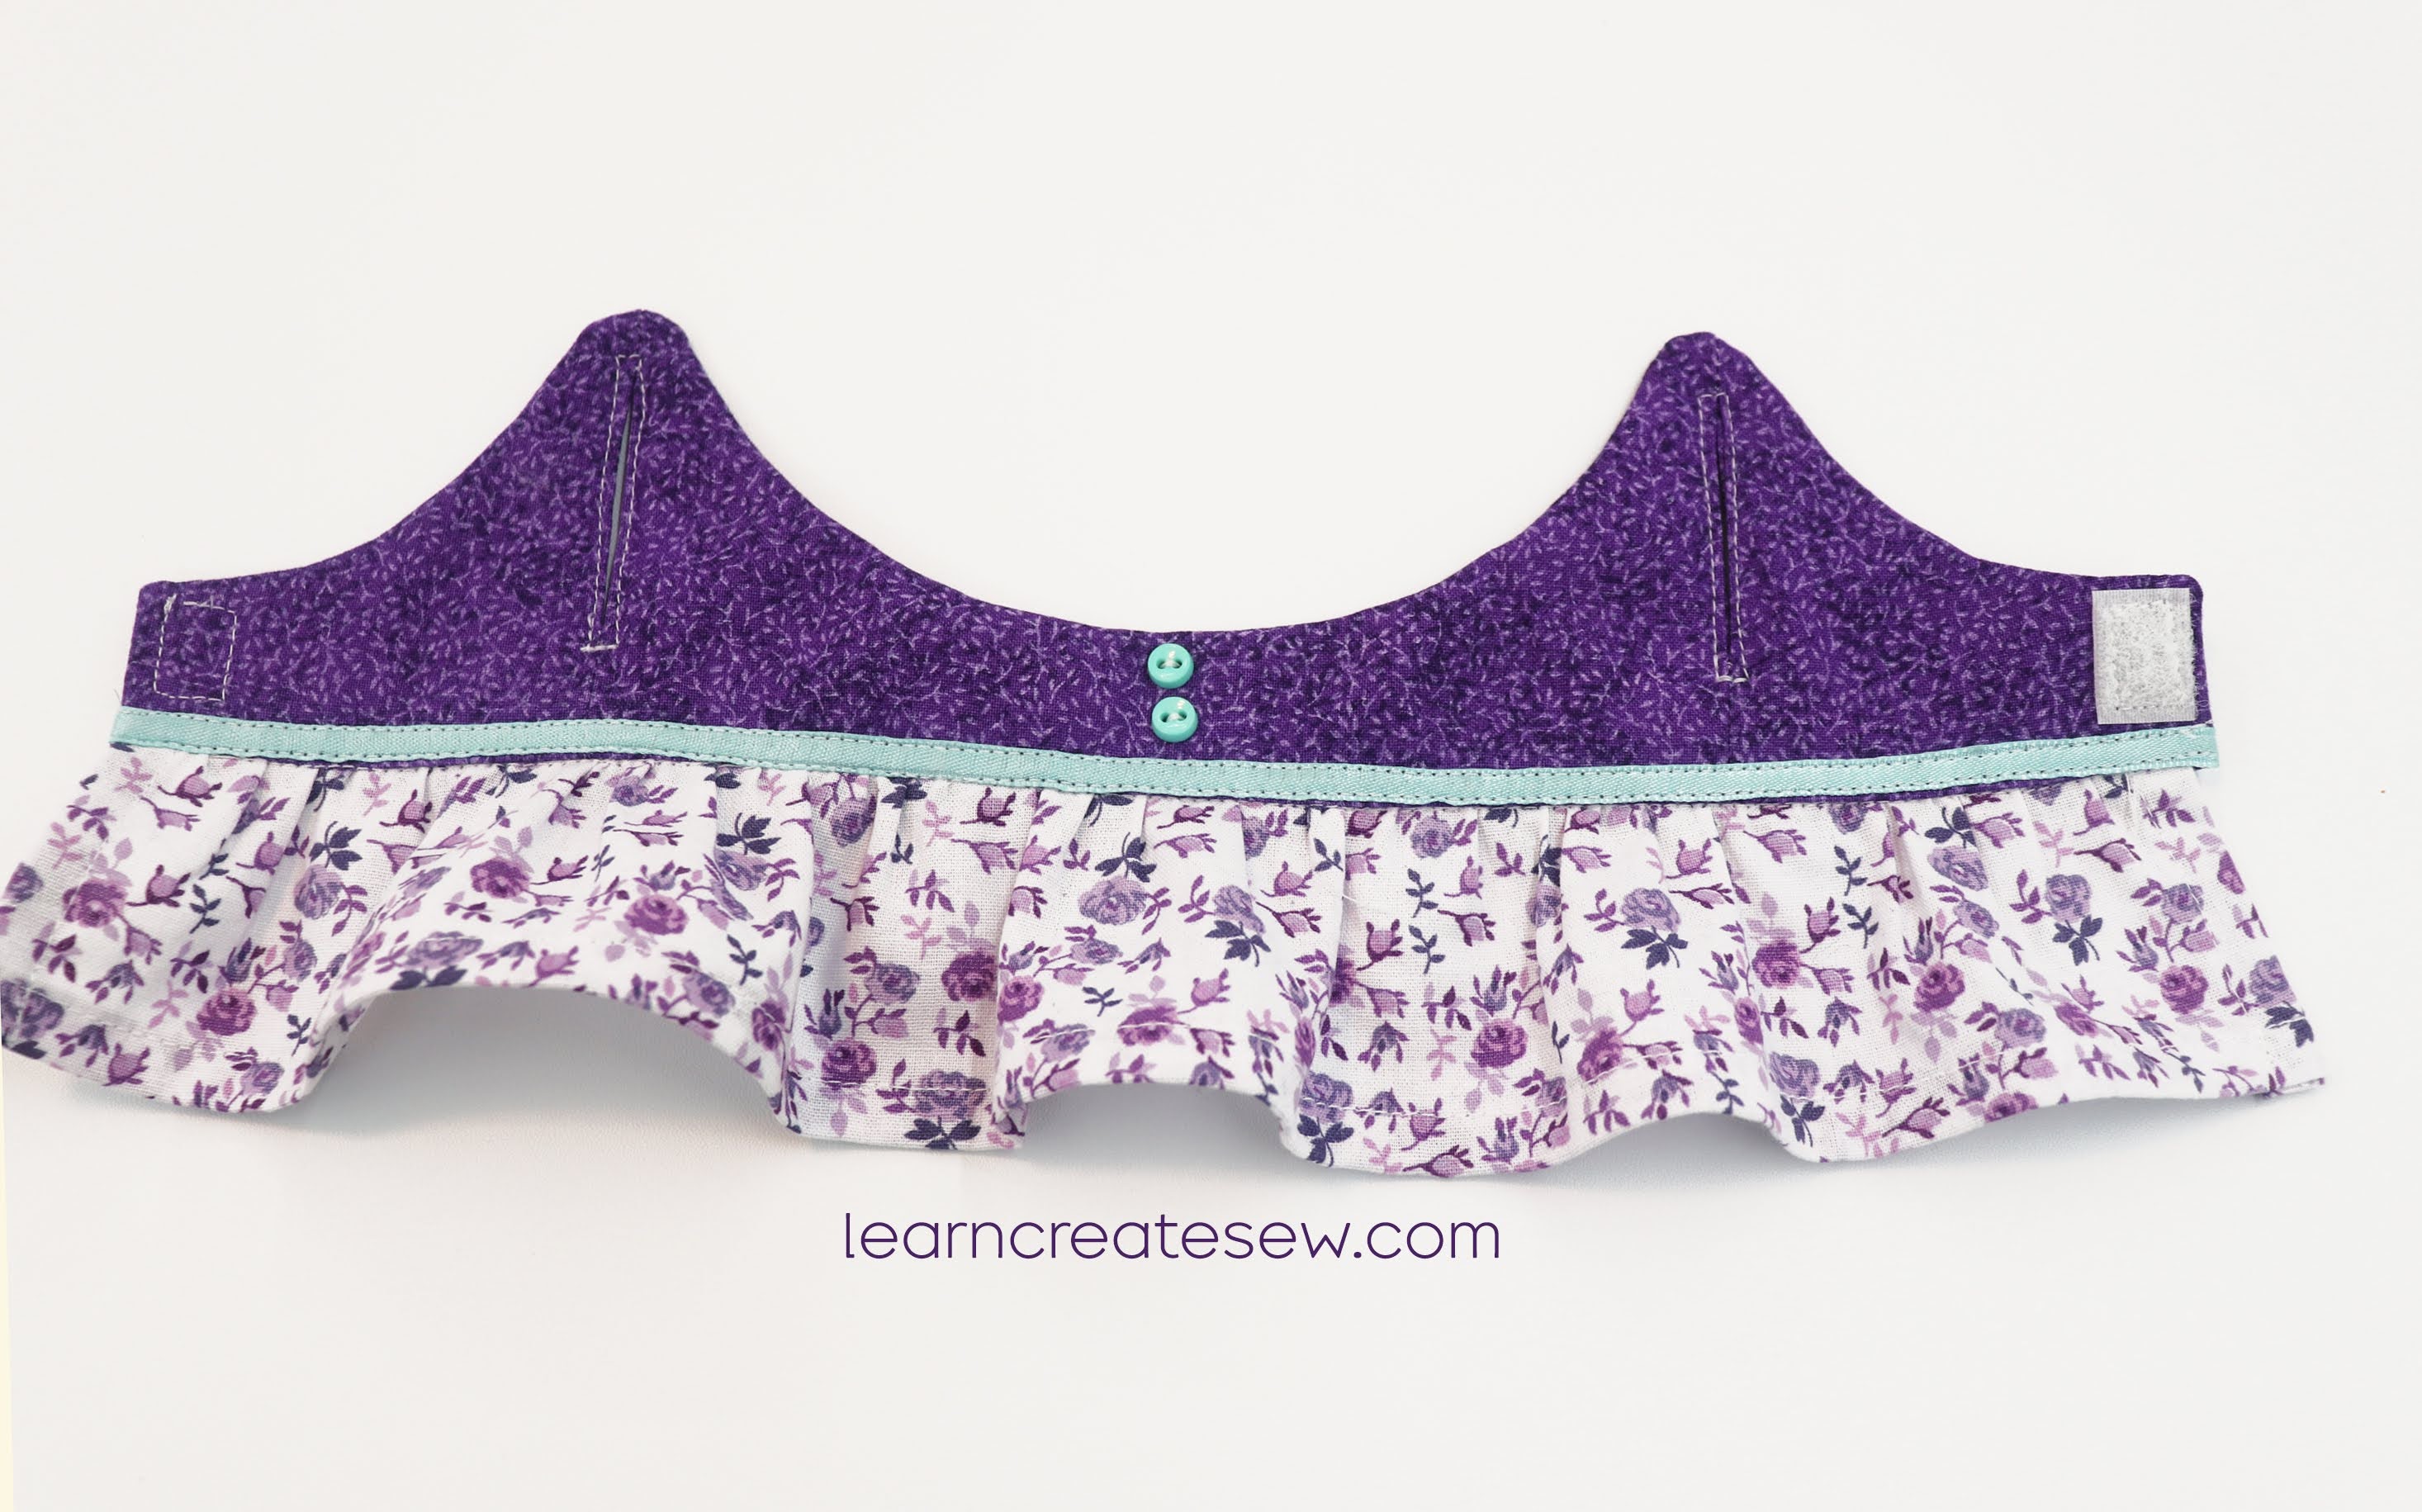
Try the dress on your sloth and then attach a closure. Velcro, buttons, and snaps all work great.
And your dress is done!
Happy Sewing!