Zip-On Tool Caddy

For my latest project I wanted a tool bag that you could hang on the back of the chair. I find that in the Sewing classroom tools can end up all over the place, and tripping over them is not a fun experience.

1img_8950

I decided to make a simple tote that you could zip on and off of the chair. It was super simple and after making it I found the tote had a lot more uses than expected!

1img_8941

I works perfectly on the back of a chair, just like I wanted! It even fits nicely on the back of student desk chairs.

1img_9088It’s handy in the kitchen!

1img_9056

It’s also great for toiletries. Especially, when traveling.

I absolutely love it! Sewing instructions and pattern coming soon!

Rag Edge Tote Bag Instructions

The Rag Edge Tote Bag Instructions are finished!

2img_5197

The rag edge gives this tote a casual vintage feel.

2img_5179

While the exterior has a plethora of decorative seams, the interior is nice and smooth and even has the option of an added pocket.

2img_5192

I hope you enjoy making this bag as much as I did!

Difficulty level for this project is a 4/10, mostly due to the grommets required for the handles.

difficulty-rating-spool-small-4Β Β Β Β Β Β Β Β Β Β  Rag Edge Tote Bag Instructions

Making a Plush Panda

Yesterday’s sewing project was a fun one! A student wanted to make a plush panda as a gift, but we didn’t have a pattern. After browsing for panda pictures online we were inspired by a squishy panda toy and modeled the design for our plush after it.

2018-11-20-14-59-1522

I think it turned out pretty cute!

2018-11-20-15-00-10

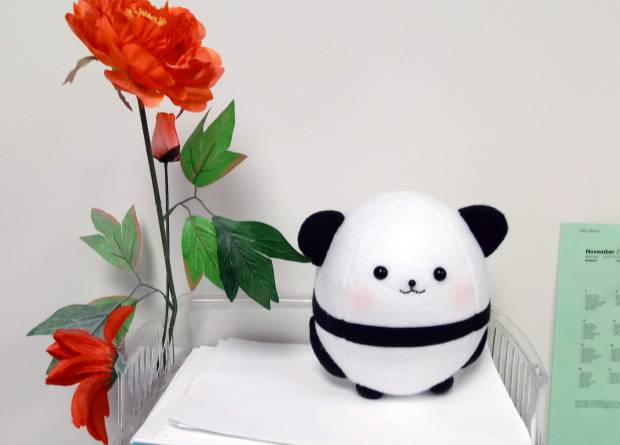
It went together very quickly from making the pattern to adding the details. We named him Felix, and the students thought adding a top hat would be a nice touch, though we haven’t done that yet.

2018-11-19-19-08-26

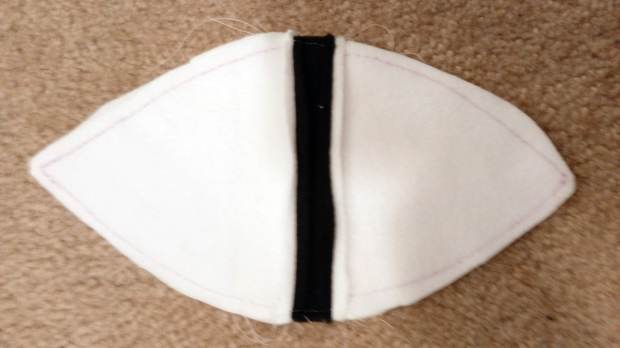
The project required about 6 x 45 inches of white fleece. 6 x 20 inches of black fleece. We used JoAnn Blizzard Fleece. It also required a good amount of polyfil (always more than you expect) and safety eyes. We used two 1/2 inch safety eyes for the eyes and one 1/4 inch safety eye for the nose. The mouth was stitched with embroidery floss, and bit ofΒ  blush added the rosy glow to the cheeks. If you don’t have safety eyes you could just use felt and carefully cut out circles.

2018-11-19-19-42-38

I found that the slip stitches were quite visible on the fleece, but no one seamed to mind, and it turned out to be quite adorable despite that. I think I will just need to work on my technique. I will keep you posted if I find anything that helps minimize the stitches.

2018-11-20-06-40-44

The project went together so quickly with such great results that it makes me want to use this style to make other stuffed animals.
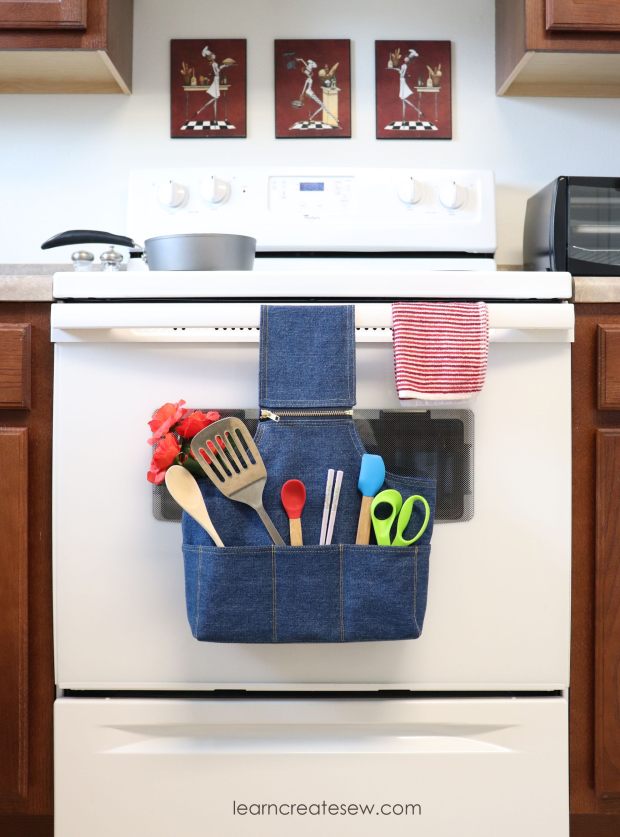
Mouse Ears Progress

They’re getting closer! I was able to work a bit more on my Belle Mouse Ears Headband today. I purchased a few more trims as accents. I found gold cording at JoAnn andΒ  perfectly colored flowers at dollar tree. Isn’t it great when that happens!

I also, finished up the ears and wrapped the headband in gold net. Originally, the headband was just covered in Shannon Cuddle 3 Minky in Yellow. The minky works great, but it was a little too fuzzy for my liking next to the cotton fabric ears. The gold net overlay adds a bit more of a princess feel as well.

Next I started the bow using Confetti Dot fabric in Gold & White from JoAnn. I hope it will turn out nice! I am looking forward to finishing these!img_0309

Making a Mouse Ears Headband

You’ve got to be prepared with the proper accessories whenever you have a Disney adventure, so today I started making a mouse ears headband.

My headband is Belle themed as I am hoping to eat at the Be Our Guest restaurant on my next visit to Disney World. I purchase my Beauty and the Beast fabric at JoAnn.

img_0260

Just saying “Disney” makes a project sound so much more exciting! So far I have gathered most of my supplies.

img_0267

I also fussy cut the fabric for the ears to showcase Belle.

img_02841

Finally, I put together the ears. I will make a full tutorial in the intermediate projects section of Learn to Sew once they are finished. The project could probably be classified as easy if you complete most of the steps using hot glue, but if you prefer to sew as I do, it adds a bit of complexity.

I got stuck on the headband! I can’t decide what color fabric to use. Choices, choices. I am horrible about deciding πŸ™‚ I am leaning toward gold! We will see how it works out! I am excited to finish these.