I mentioned in a previous post that I recently started crocheting again, and it has been a blast! I am loving it. One of the things I really wanted to start crocheting was amigurumi (crocheted stuffed animals).
If you’ve ever seen any amigurumi patterns you know that the foundation for most of them is the Magic Circle.
I was determined. I thought to myself…I’ve crocheted before. I’ve got some skills. It won’t be that hard. HA! I had more confidence than I should have. I tried, tried, and tried again with no luck. Either my magic circle wasn’t right, or I didn’t end up with the right amount of stitches, after dozens of tries it was driving me CRAZY! I watched video after video until finally I figured it out. But it took what felt like FOREVER to figure out why my magic circle didn’t look like all of the perfect ones I saw in the videos and what to do about it.
As a result, I decided to take a short break from my usual sewing videos (which I will get back to shortly, don’t worry!) to help all of those poor struggling souls who are having just as hard of a time with the magic circle as I did.
I hope as I share what I have learned it will make conquering the magic circle just a little easier for you.
To help I am going to break it down. We are going to start with the single crochet, reviewing the steps. Then, we’ll single crochet around the ring, and finally around our magic ring.
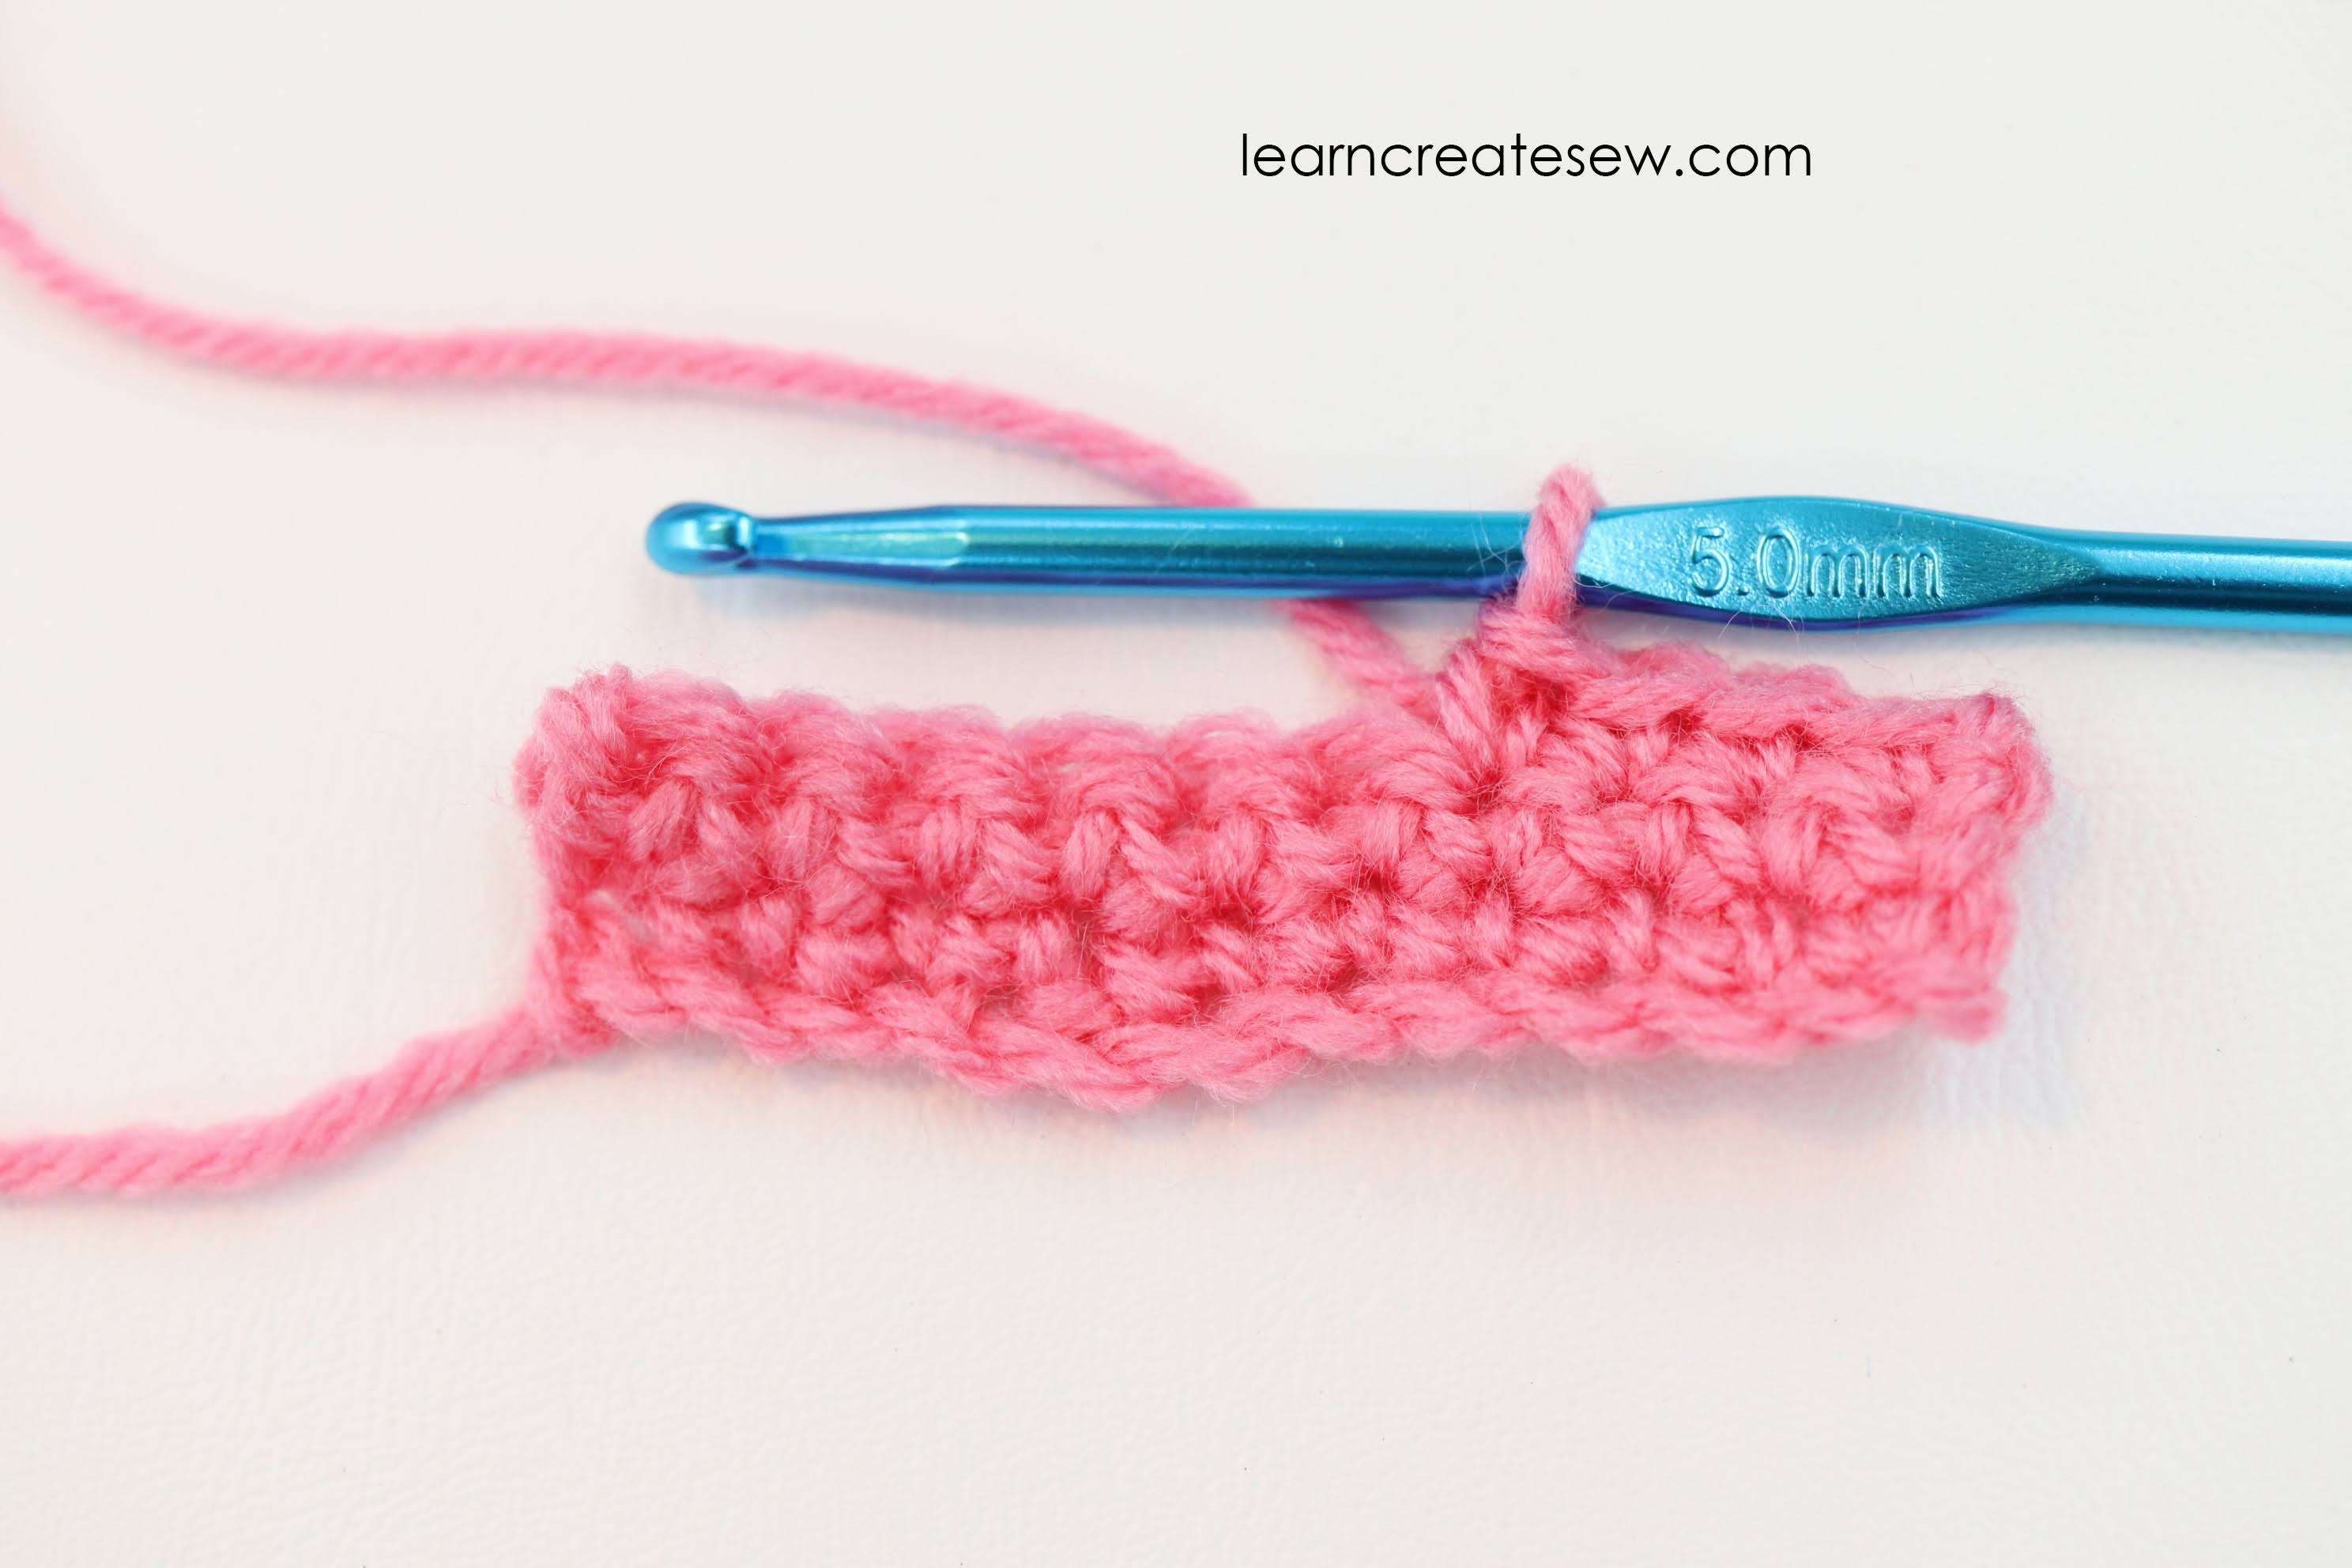
From beginning to end I was baffled by the magic circle. Some videos started with the single crochet, some used half double, some double….I just wanted to know how to make the magic circle! All the different types of examples really through me off until I was able to connect the stitch they were showing me with the basic stitches and from there identify what was the magic circle and what was the stitch. So we will look at how a single crochet is made.
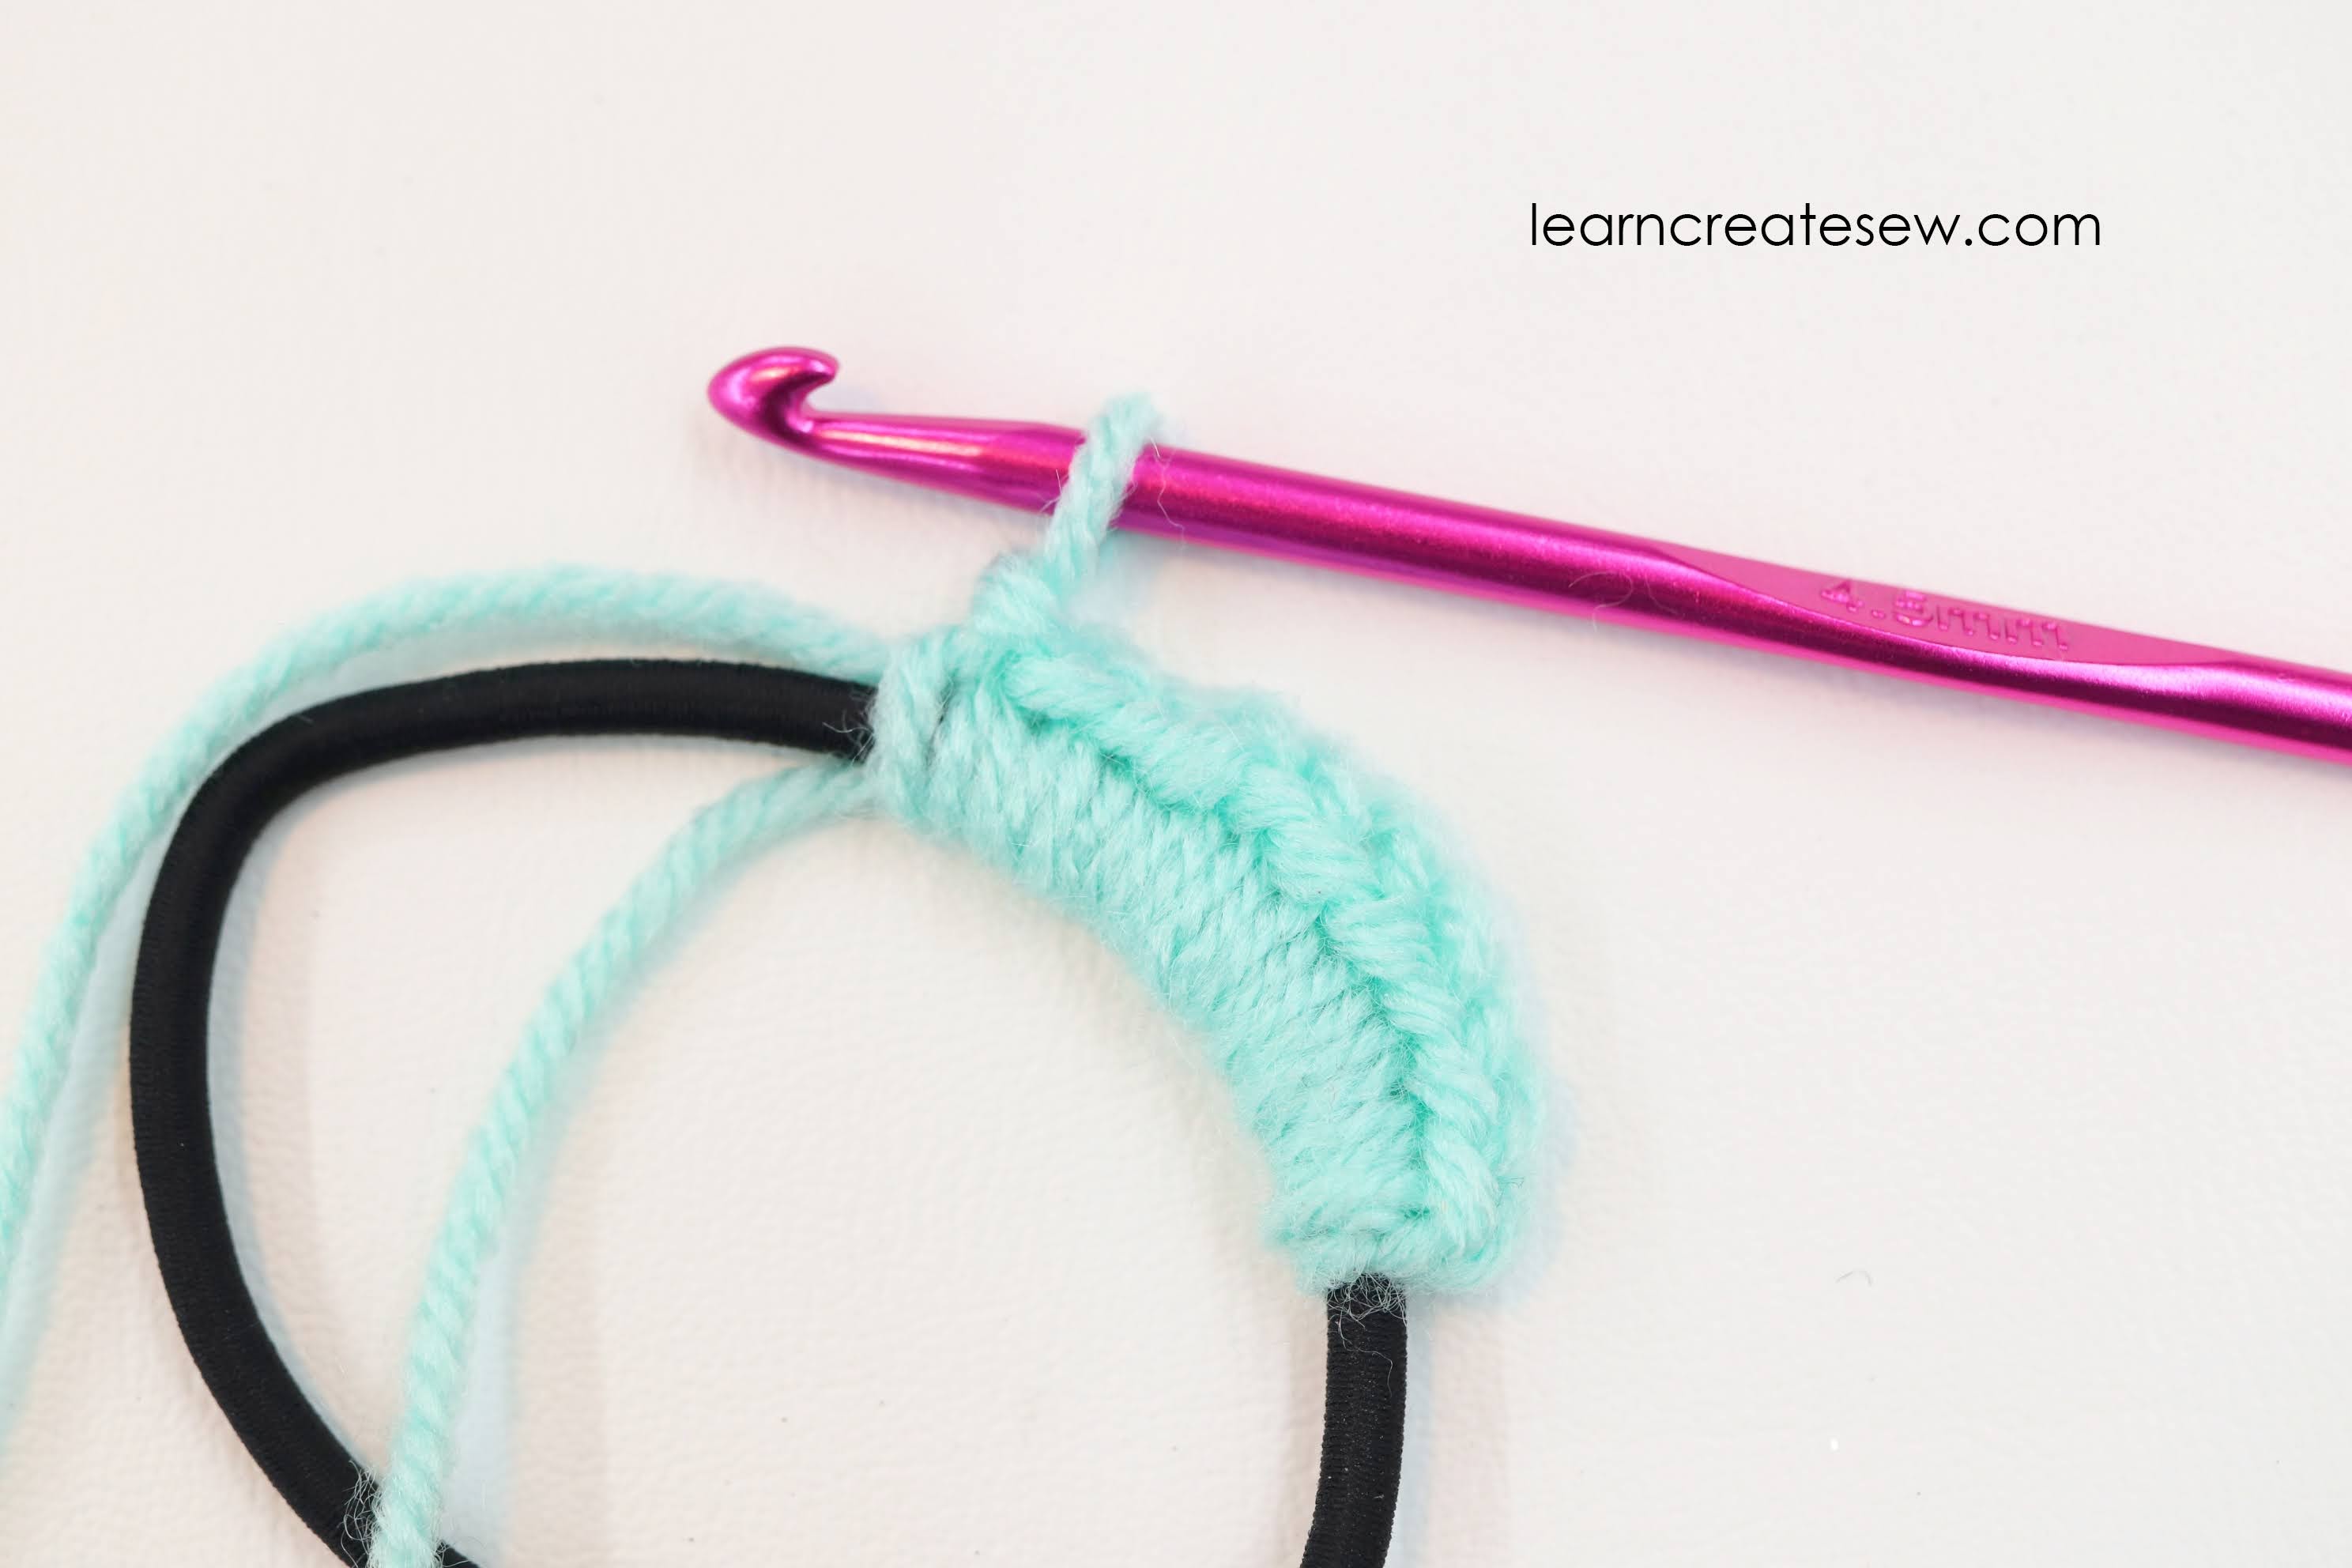
Then we will look at single crochet around a ring or a loop. This feels and looks a lot different then simply crocheting in rows, so it is helpful to be familiar with this before you attempt the magic circle. So, if you are just starting, grab a hair tie, milk carton ring, or key chain and practice crocheting around the circle.
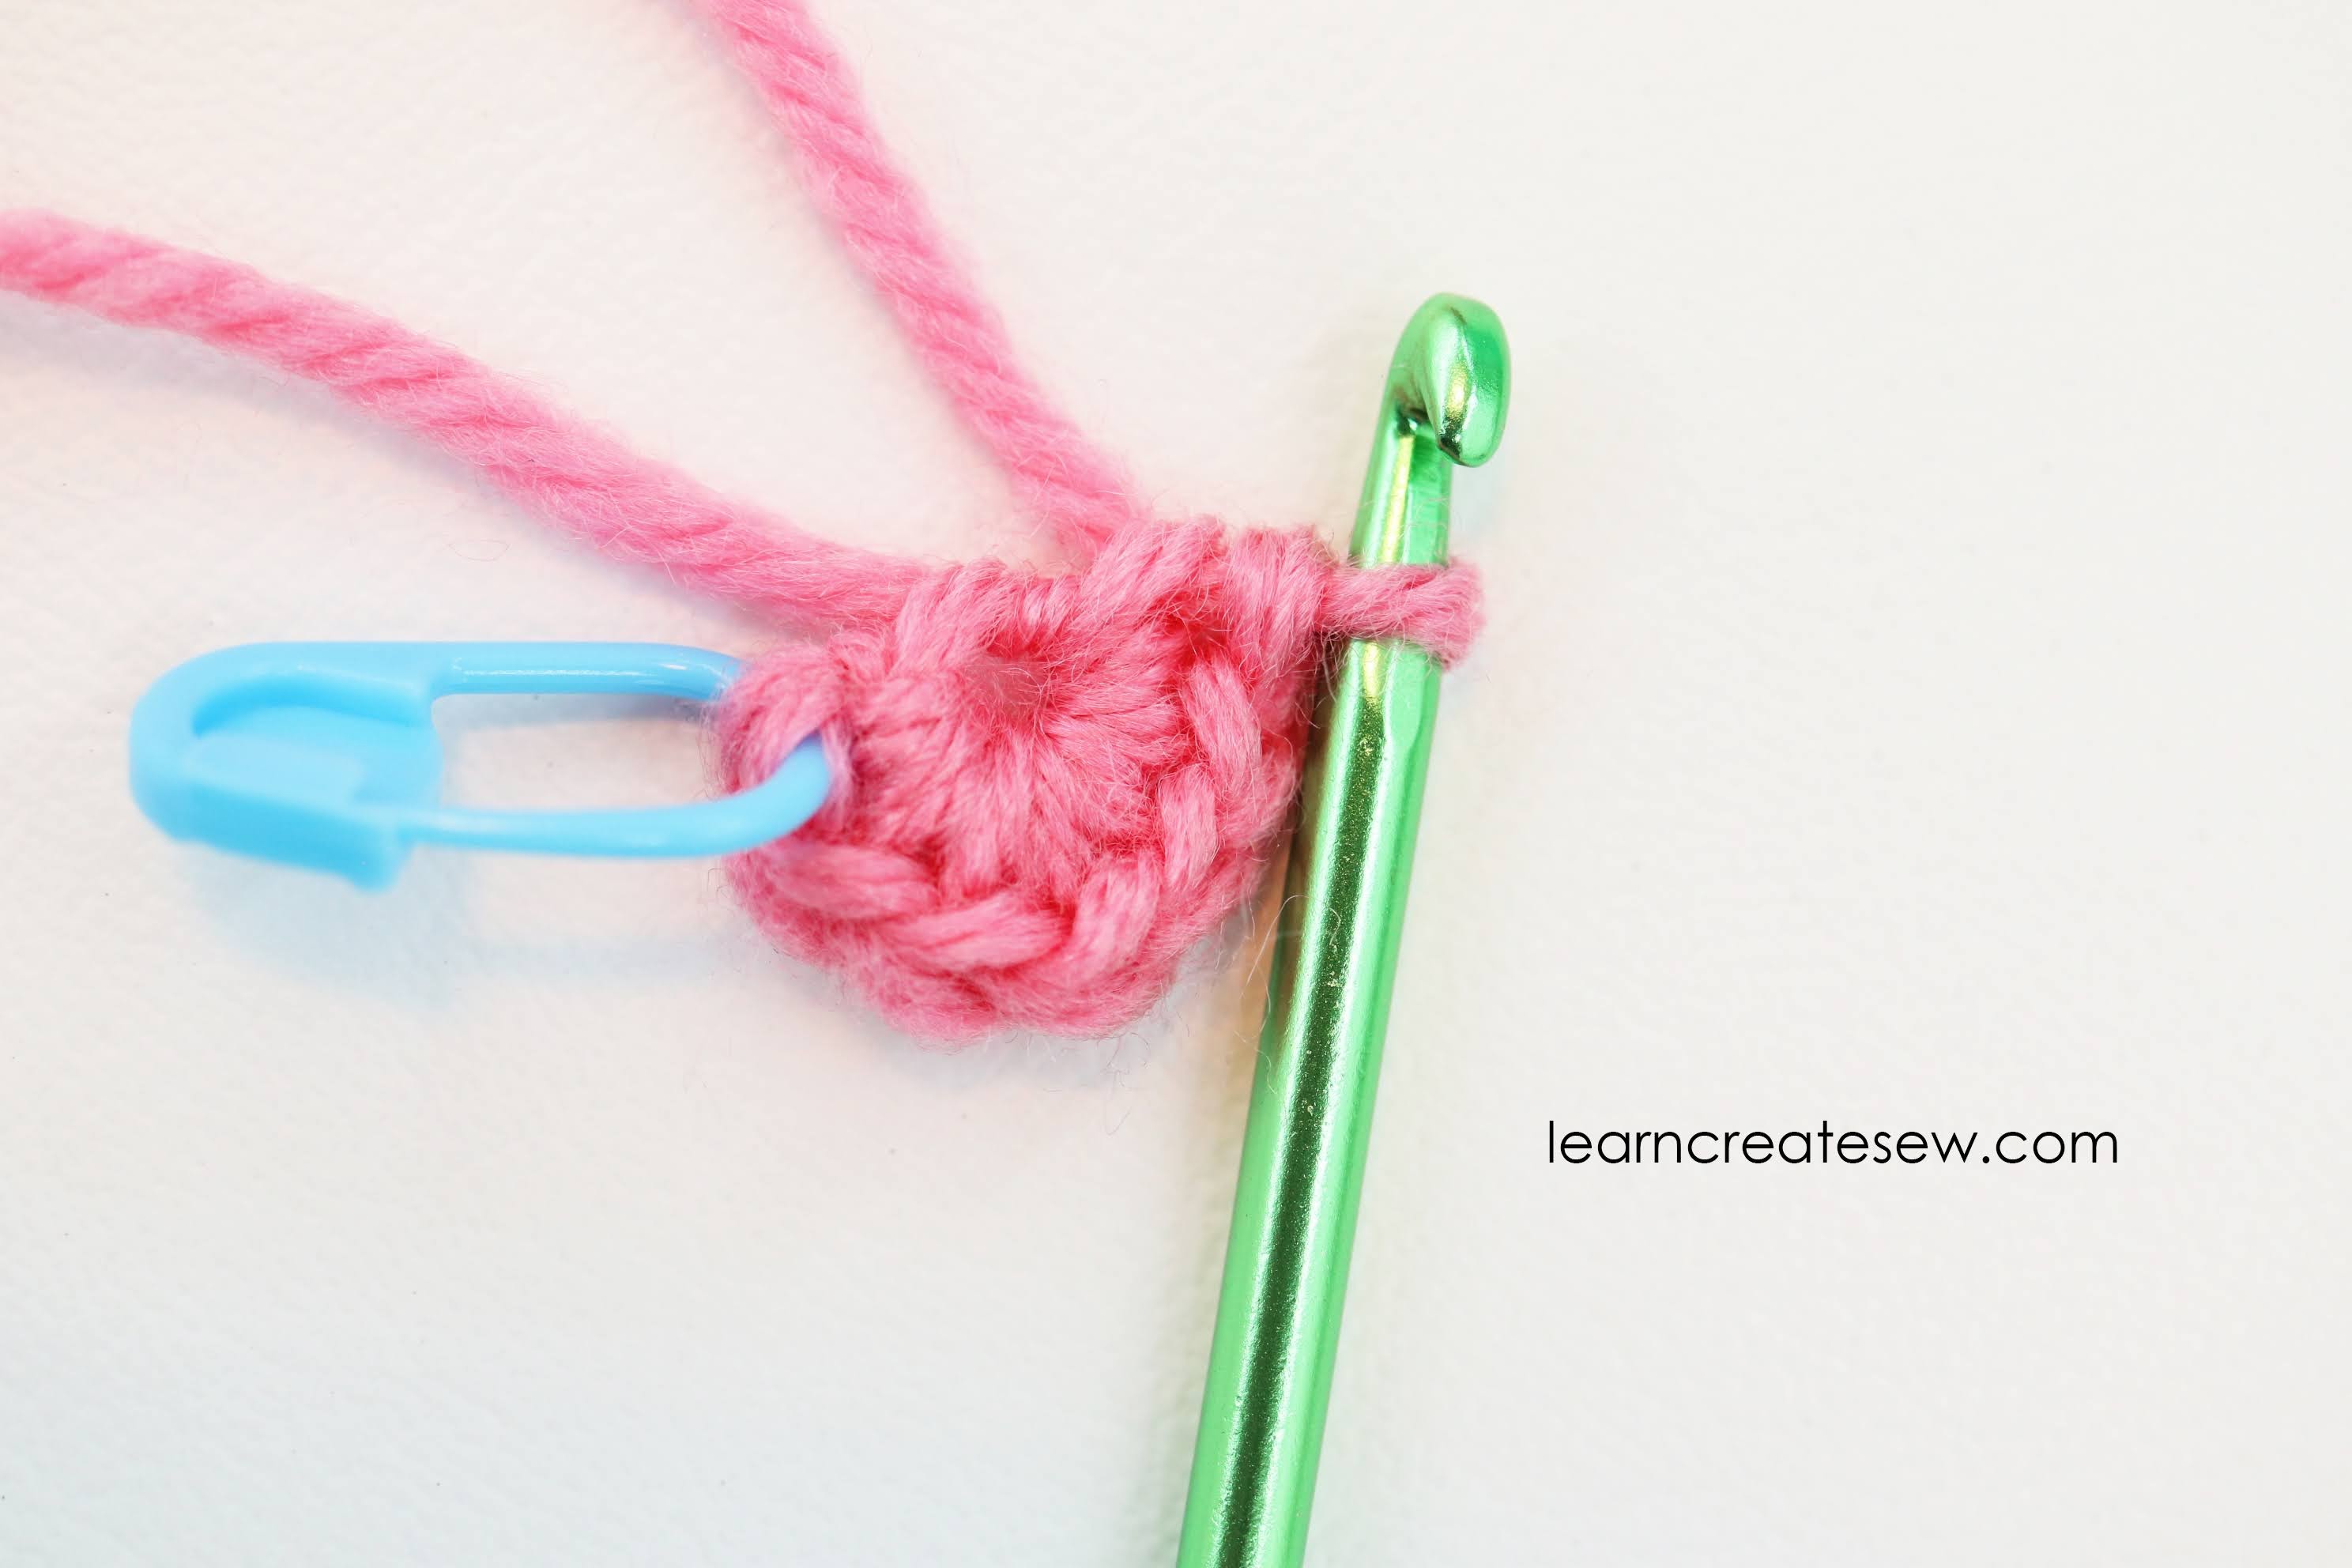
After that we will actually make the magic circle. I’ll show you how I hold the yarn, what I had a hard time with, and what helped me finally make it work.
I hope this helps you!
RIGHT HANDED:
LEFT HANDED:
Here is the video flipped, which I hope will be useful to all of those left-handed crafters out there!
With all of the stress of this year weighing heavy, I decided to take up a new hobby to help myself relax. I decided to learn how to crochet! I had crocheted before, but it had been several years. My mom came to visit with her assortment of crochet projects and I just couldn’t stop myself from exploring the craft again.
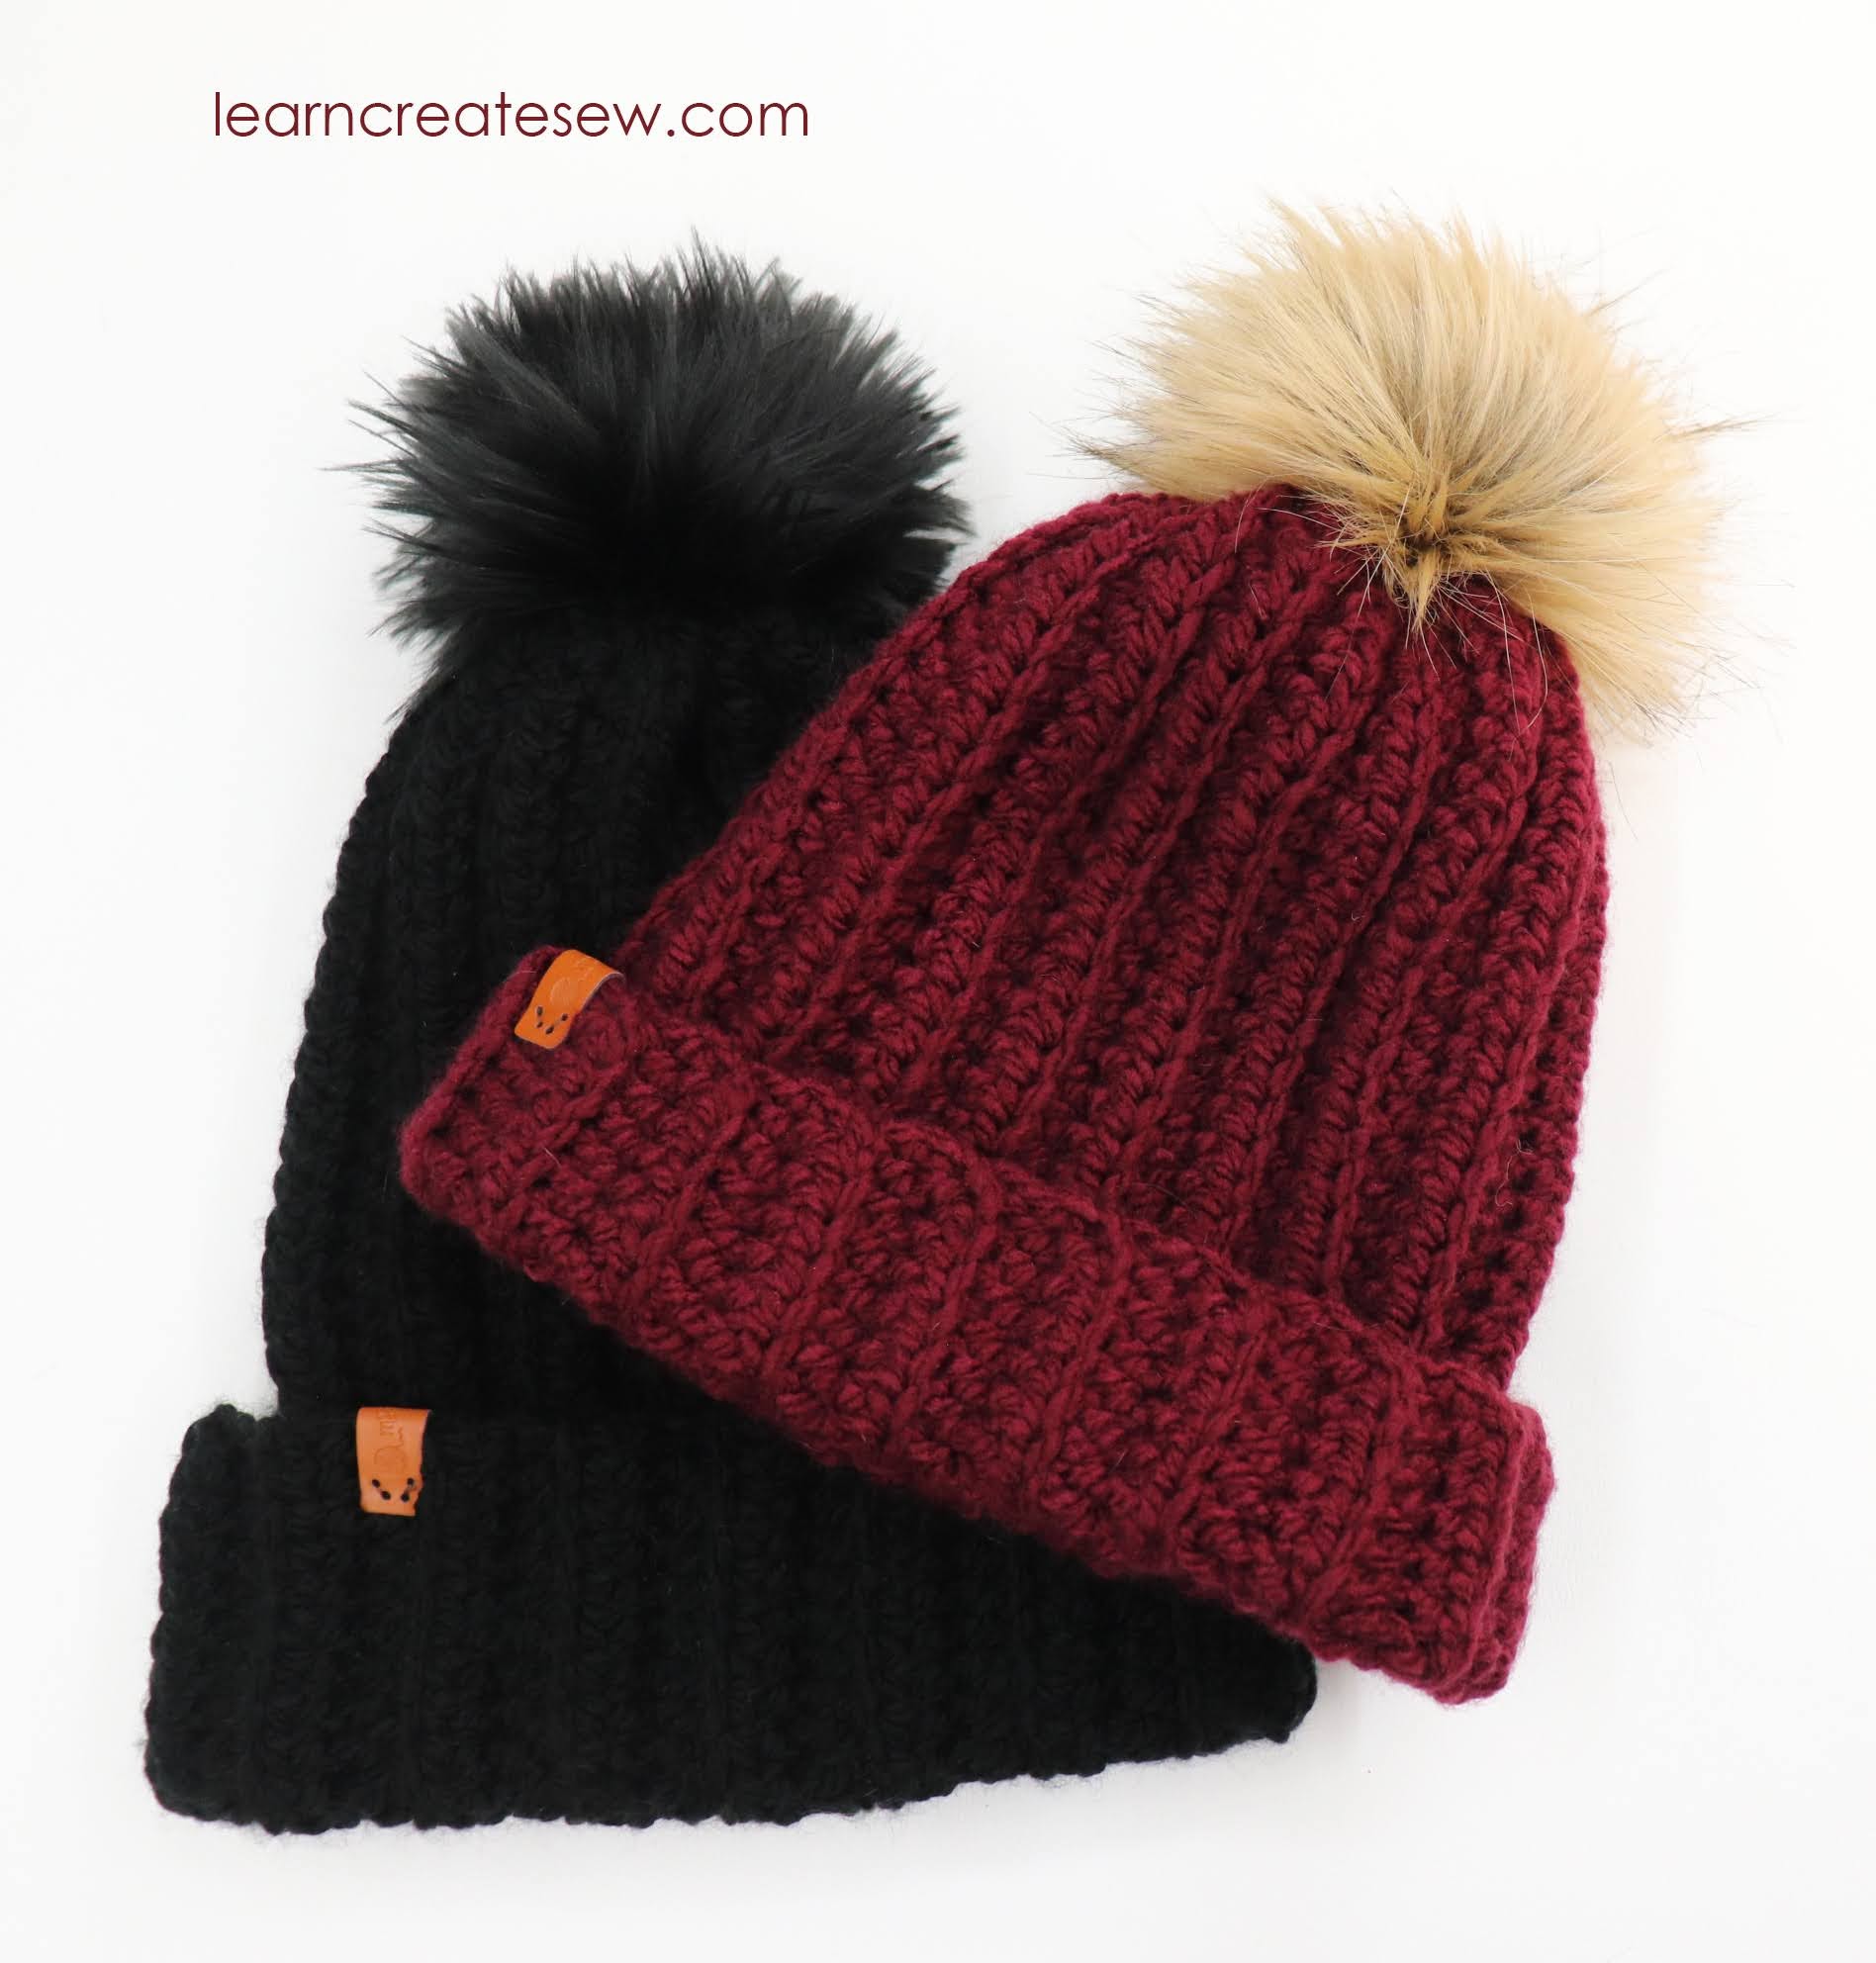
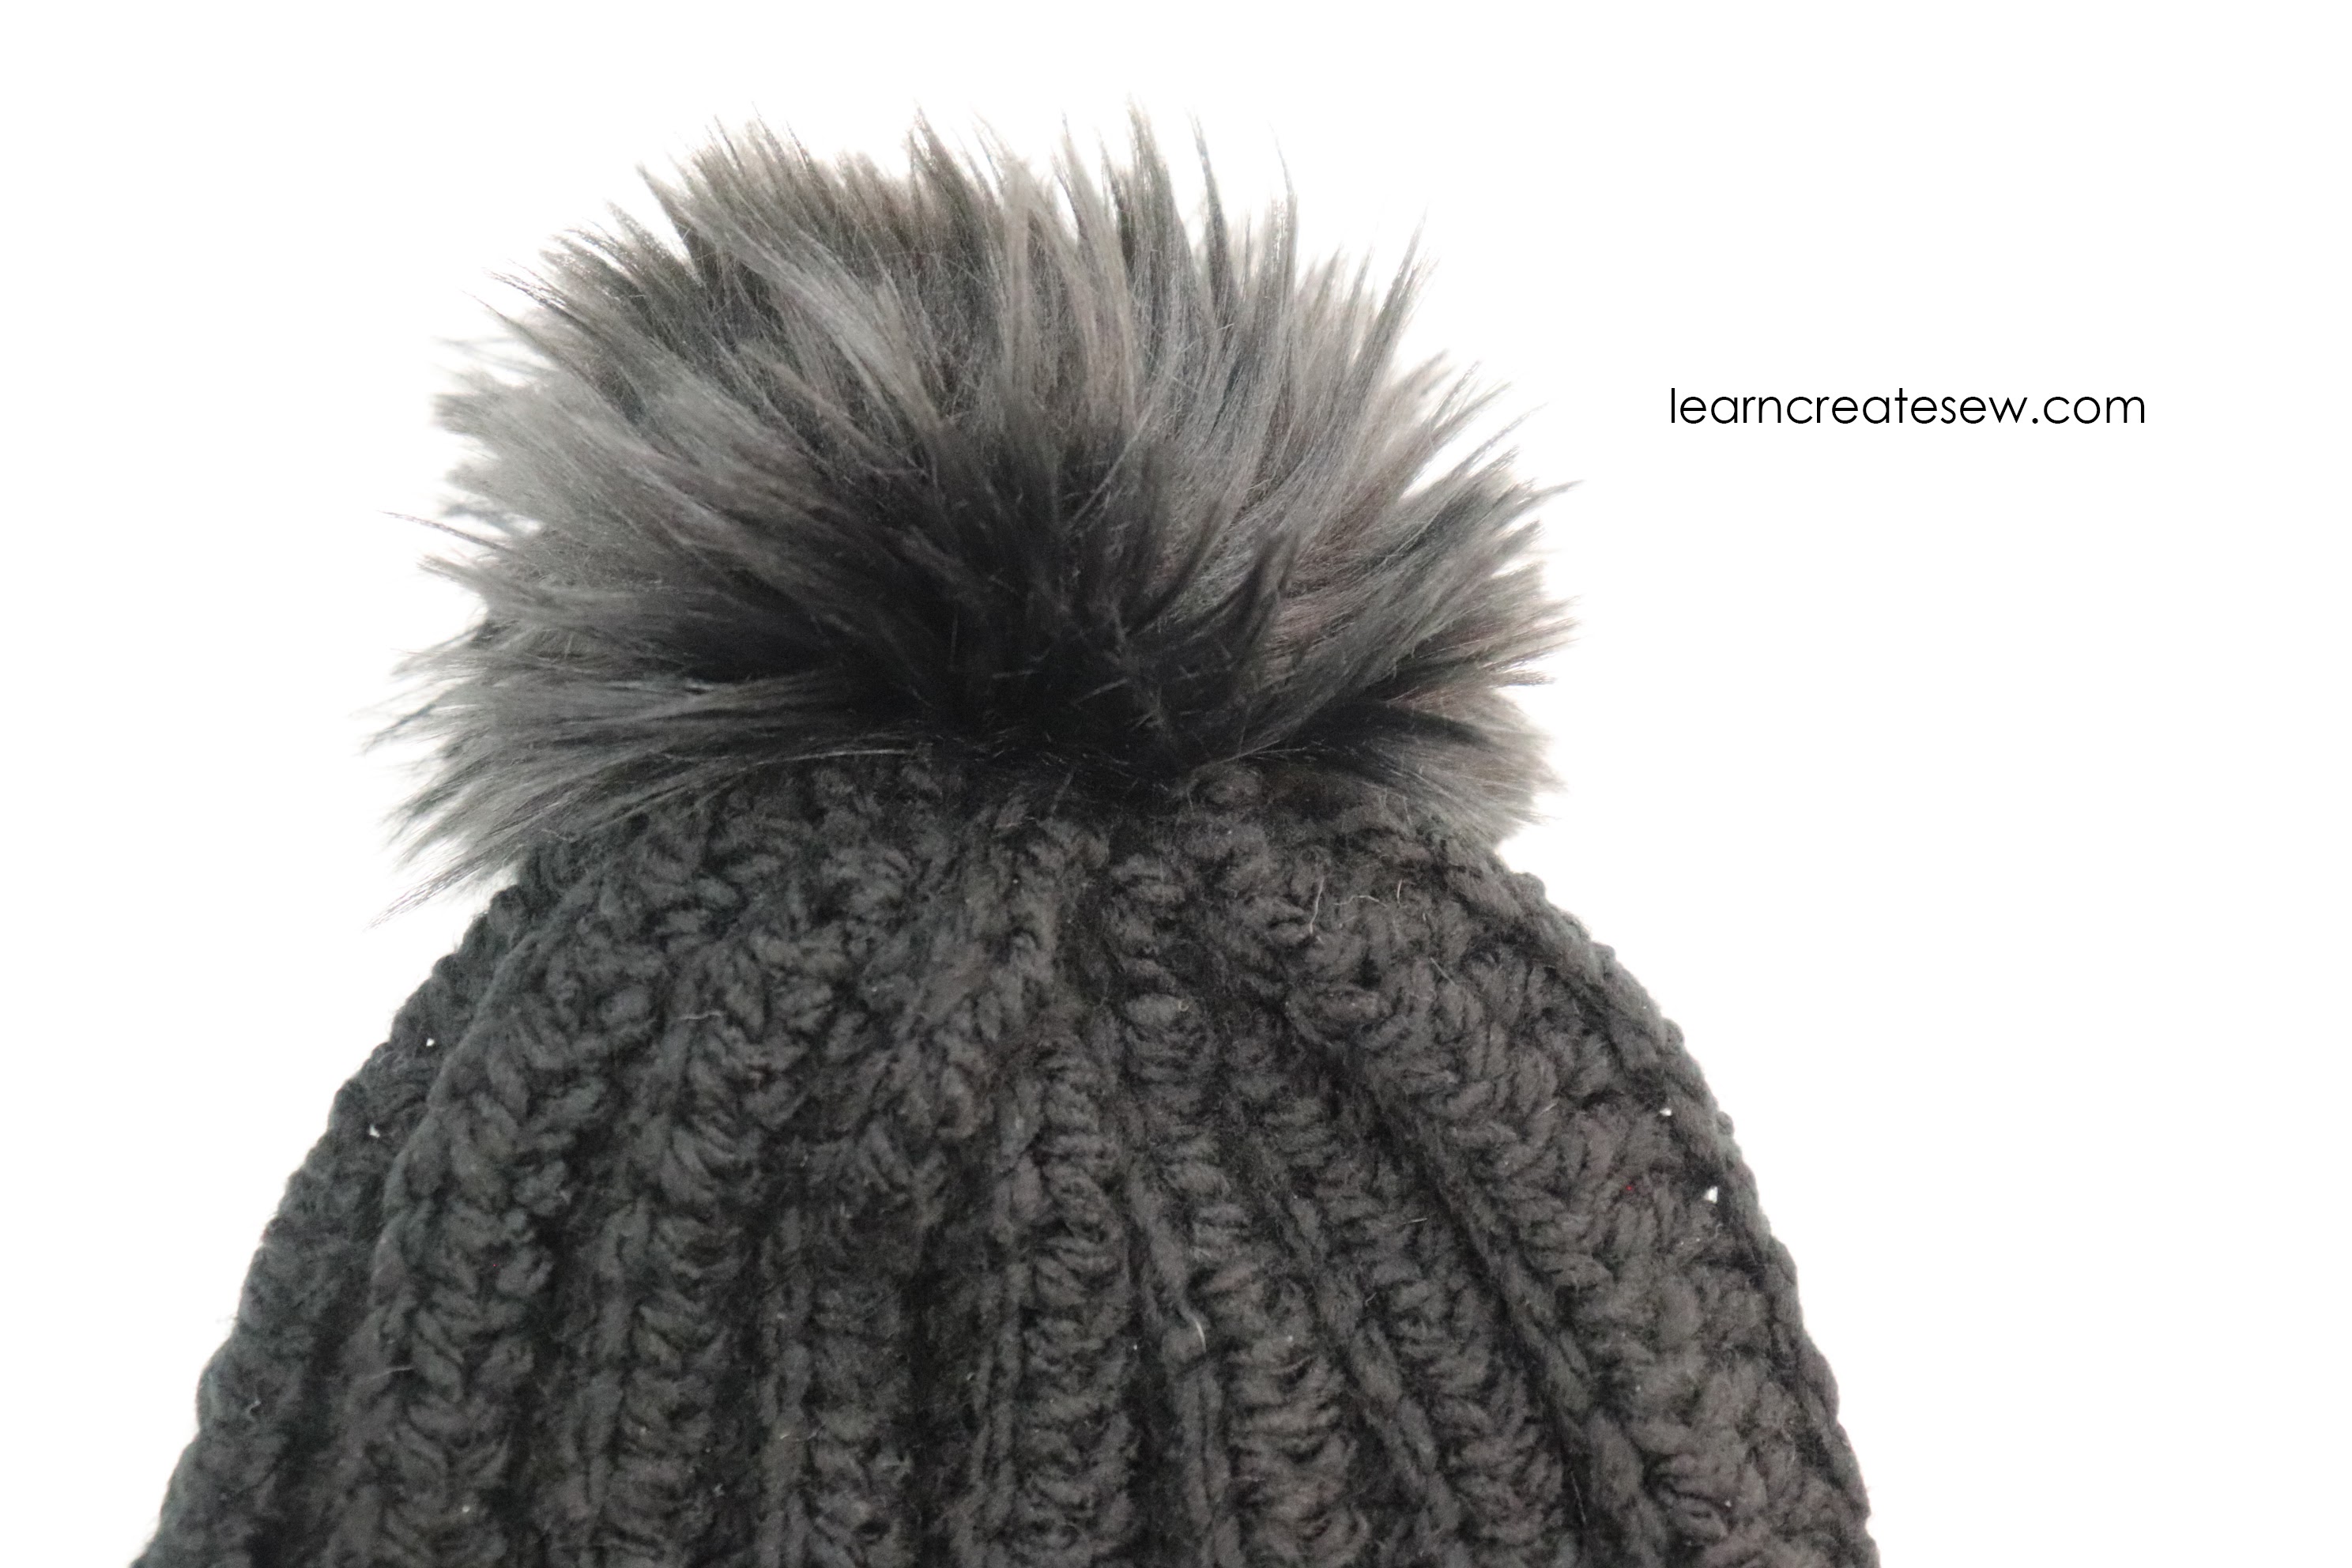
One of the first projects I made were these Half Double Crochet Beanies. These were simple and quick and a lot of fun. But they were definitely missing something…the fur pom pom! Hence this tutorial.
I thought I would share with you how I made the pom poms for the top of the beanies.
All it takes is faux fur fabric, poly-fil, needle and thread.
I think it adds a lot of character to the beanies! These pom poms have long ties that can be used to attach the pom poms to any project you like.
A larger hook will require fewer stitches, but they will be more spaced out.
I used hook 7.0 for the burgundy beanie and 9.0 for the black beanie.
Size: Teen/Adult
Terms: Ch – Chain
BLO – Back Loop Only
Hdc – Half Double Crochet
Chain 34 – 42
The number of chain stitches you need will vary depending on the size of the hook you selected.
You want your chain to be 11 – 14 inches long, not including the chain 2 at the end.
Mine (the burgundy beanie) was 12 inches long. I chained 36 stitches and measured stitches 1 – 34.
Leave the thread tail long.
Row 1 – Beginning in the 3rd chain from the hook Hdc in each stitch. Hdc in back loop only. [Total Stitches: 32-40]
The total number of stitches should be 2 less than your chain.
Check the length again after completing row 1. You want your row 1 to be 11 – 14 inches long.
Mine was 12 inches long and I had 34 total stitches.
You should have the SAME number of stitches in every row from now on.
Row 2: Ch 2, turn, Hdc BLO in each stitch [32 – 40]
Don’t forget to skip the turning chain when you begin your stitches.
Row 3+: Repeat Row 2 until your work is 17 – 20 inches wide.
You can test the width by wrapping the beanie around your head. It should be about two inches or so shorter than the circumference of your head.
Mine ended up being 12 x 19 inches. (The circumference of my head is 21 inches). Since this is a large yarn and a big hook it will stretch.
A smaller width will give a more snug fit.
STOP ON AN EVEN NUMBER OF ROWS.
Your working yarn should be on the opposite end from your starting tail. Cut the working yarn to be about 1 yard long.
Fold the beanie in half with wrong sides together. Sew the edge together. You should end with the working yarn next to your original thread tail. This will be the top of the beanie. Tie the thread tails in a knot.
Stitch through all the raised stitches around the top edge and pull closed. Tie in a secure knot. Weave in the thread tails.
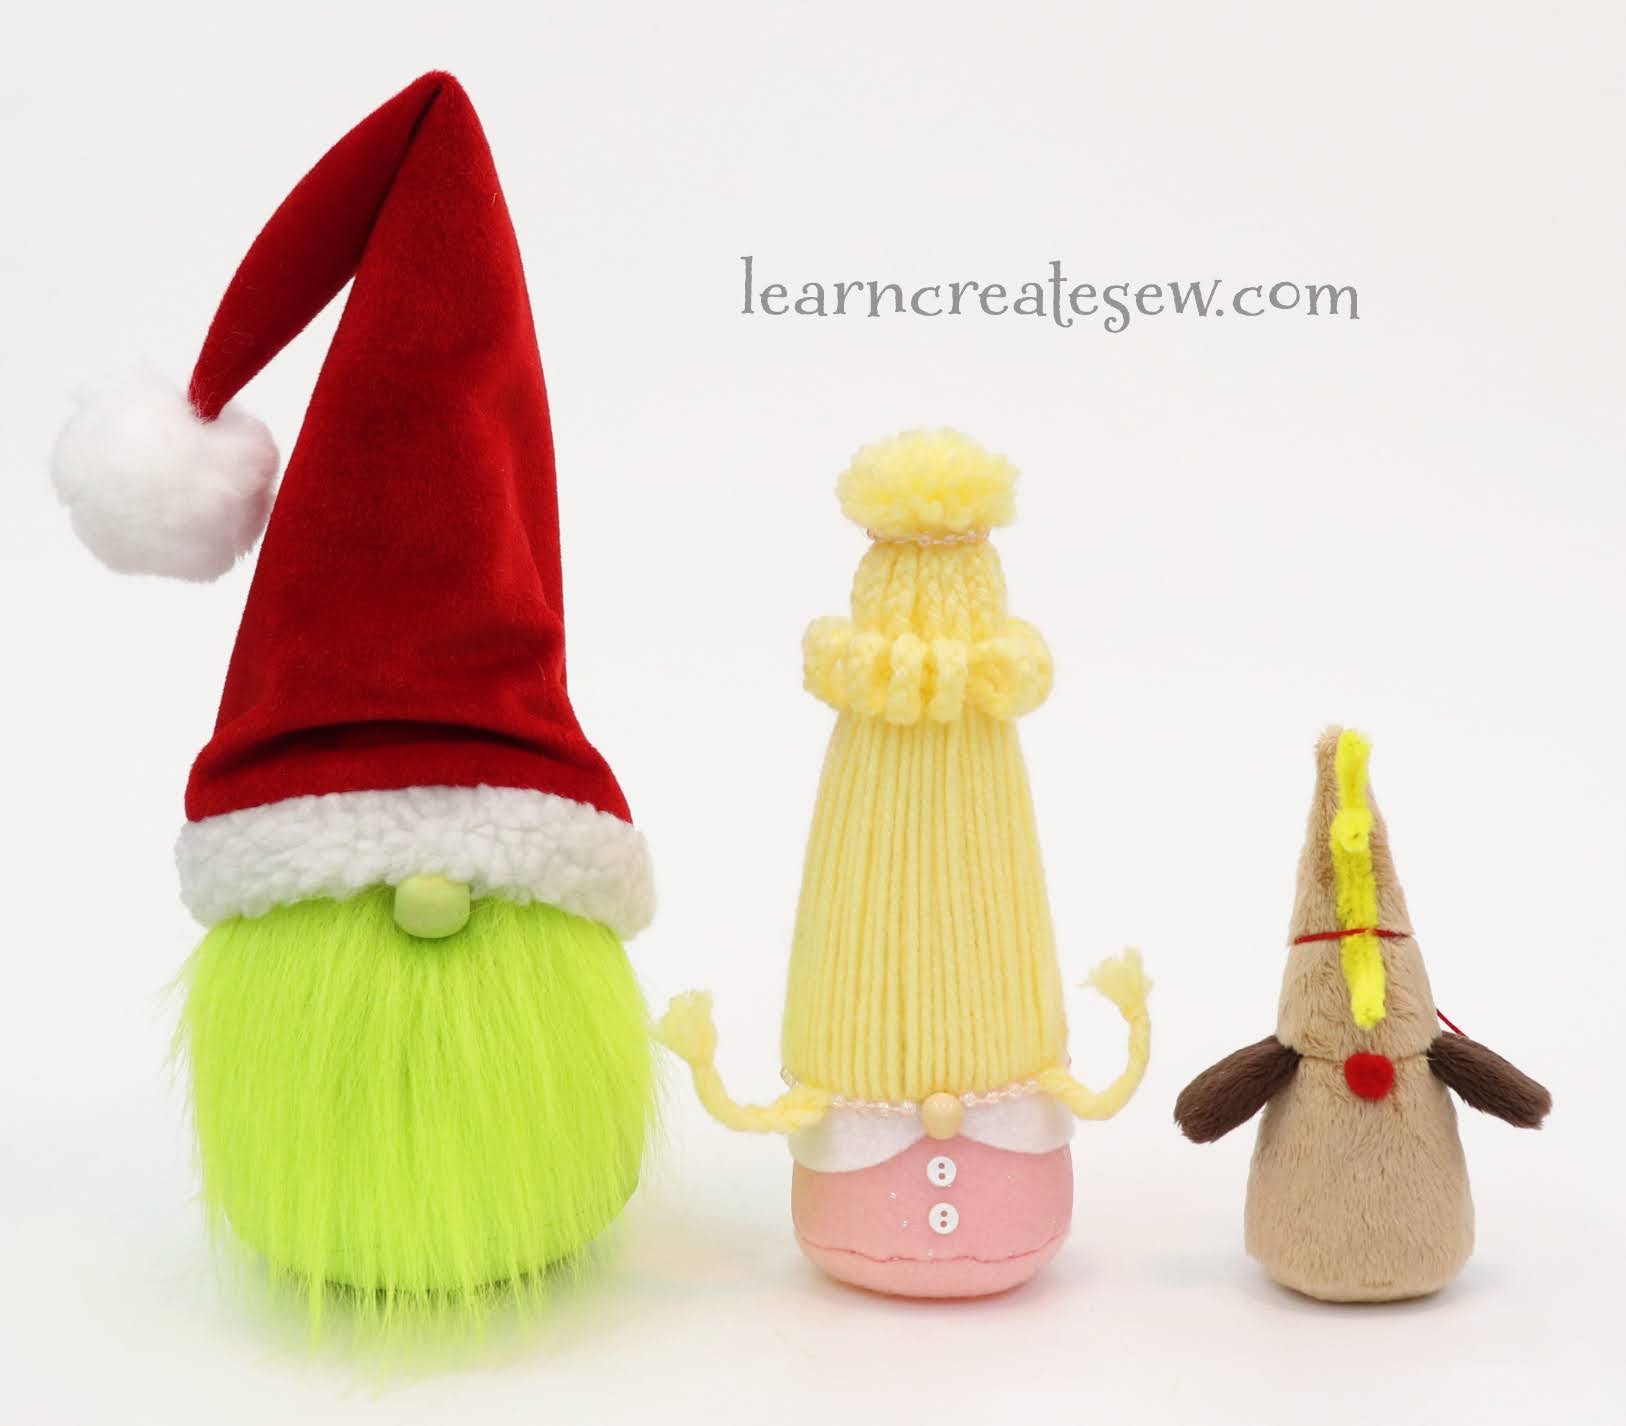
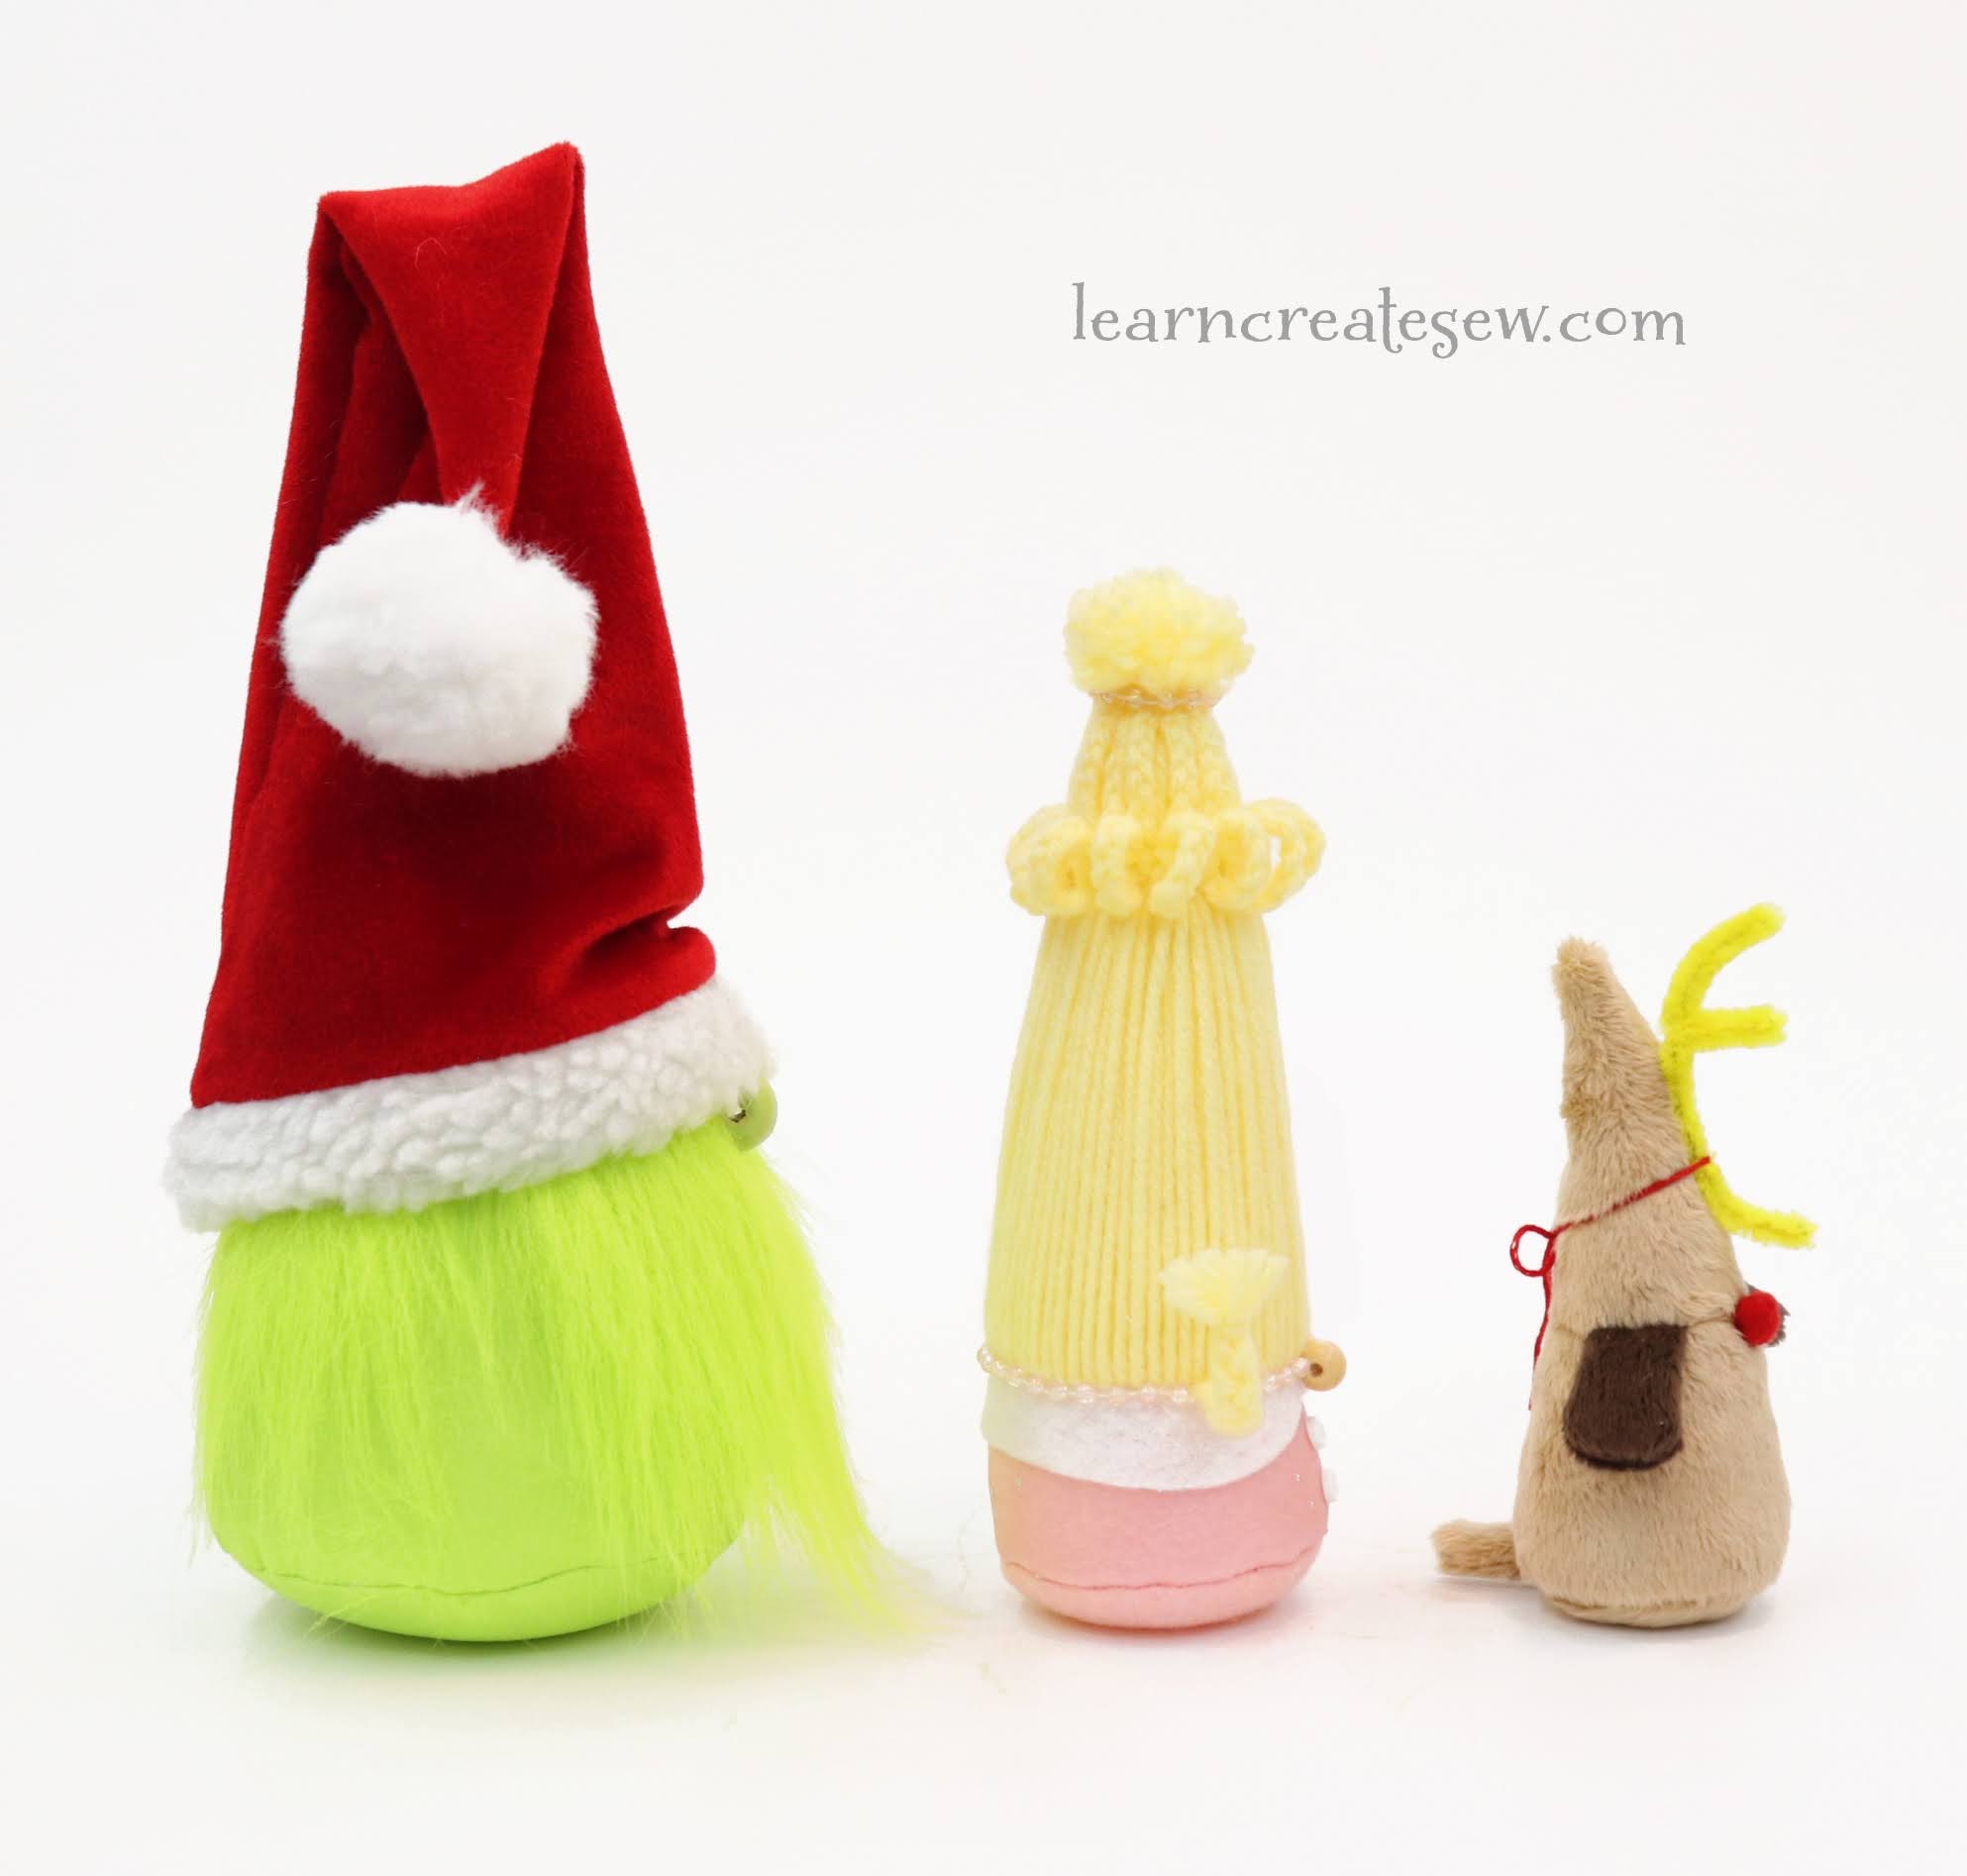
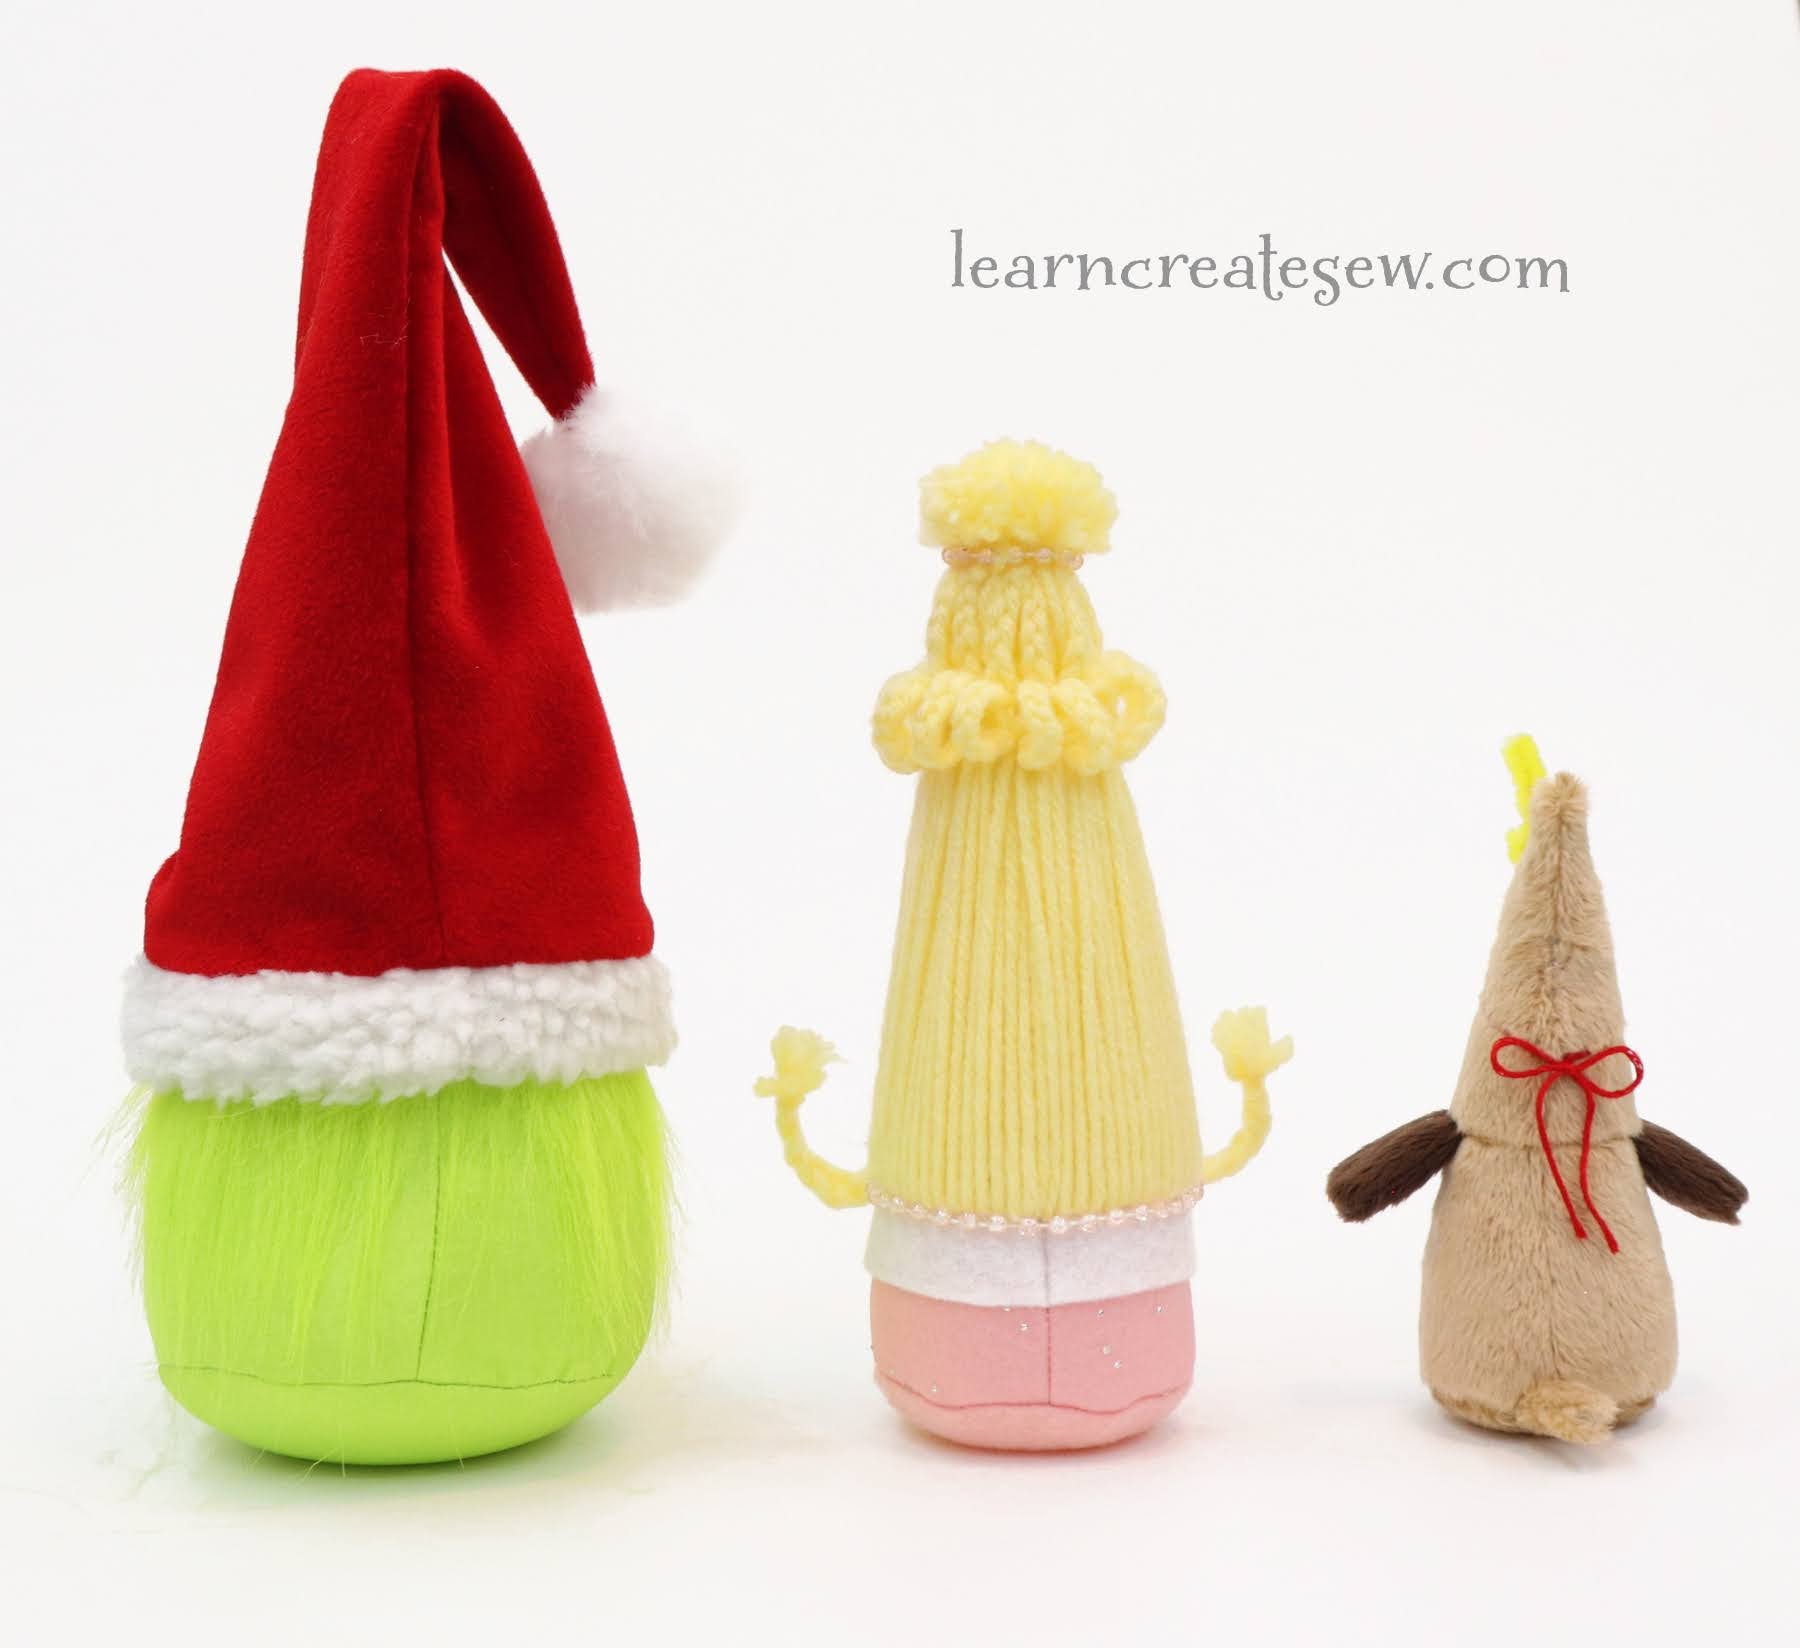
Whenever I think of Christmas, all of those iconic characters from Christmas classics come to mind!
I was crafting with my mom and we started brainstorming all of the possibilities available when making gnomes. There are just SO many cute cute gnomes out there.
I took up the challenge and decided to make some themed gnomes of my own. I hope you enjoy!
I just simply couldn’t resist making these guys!
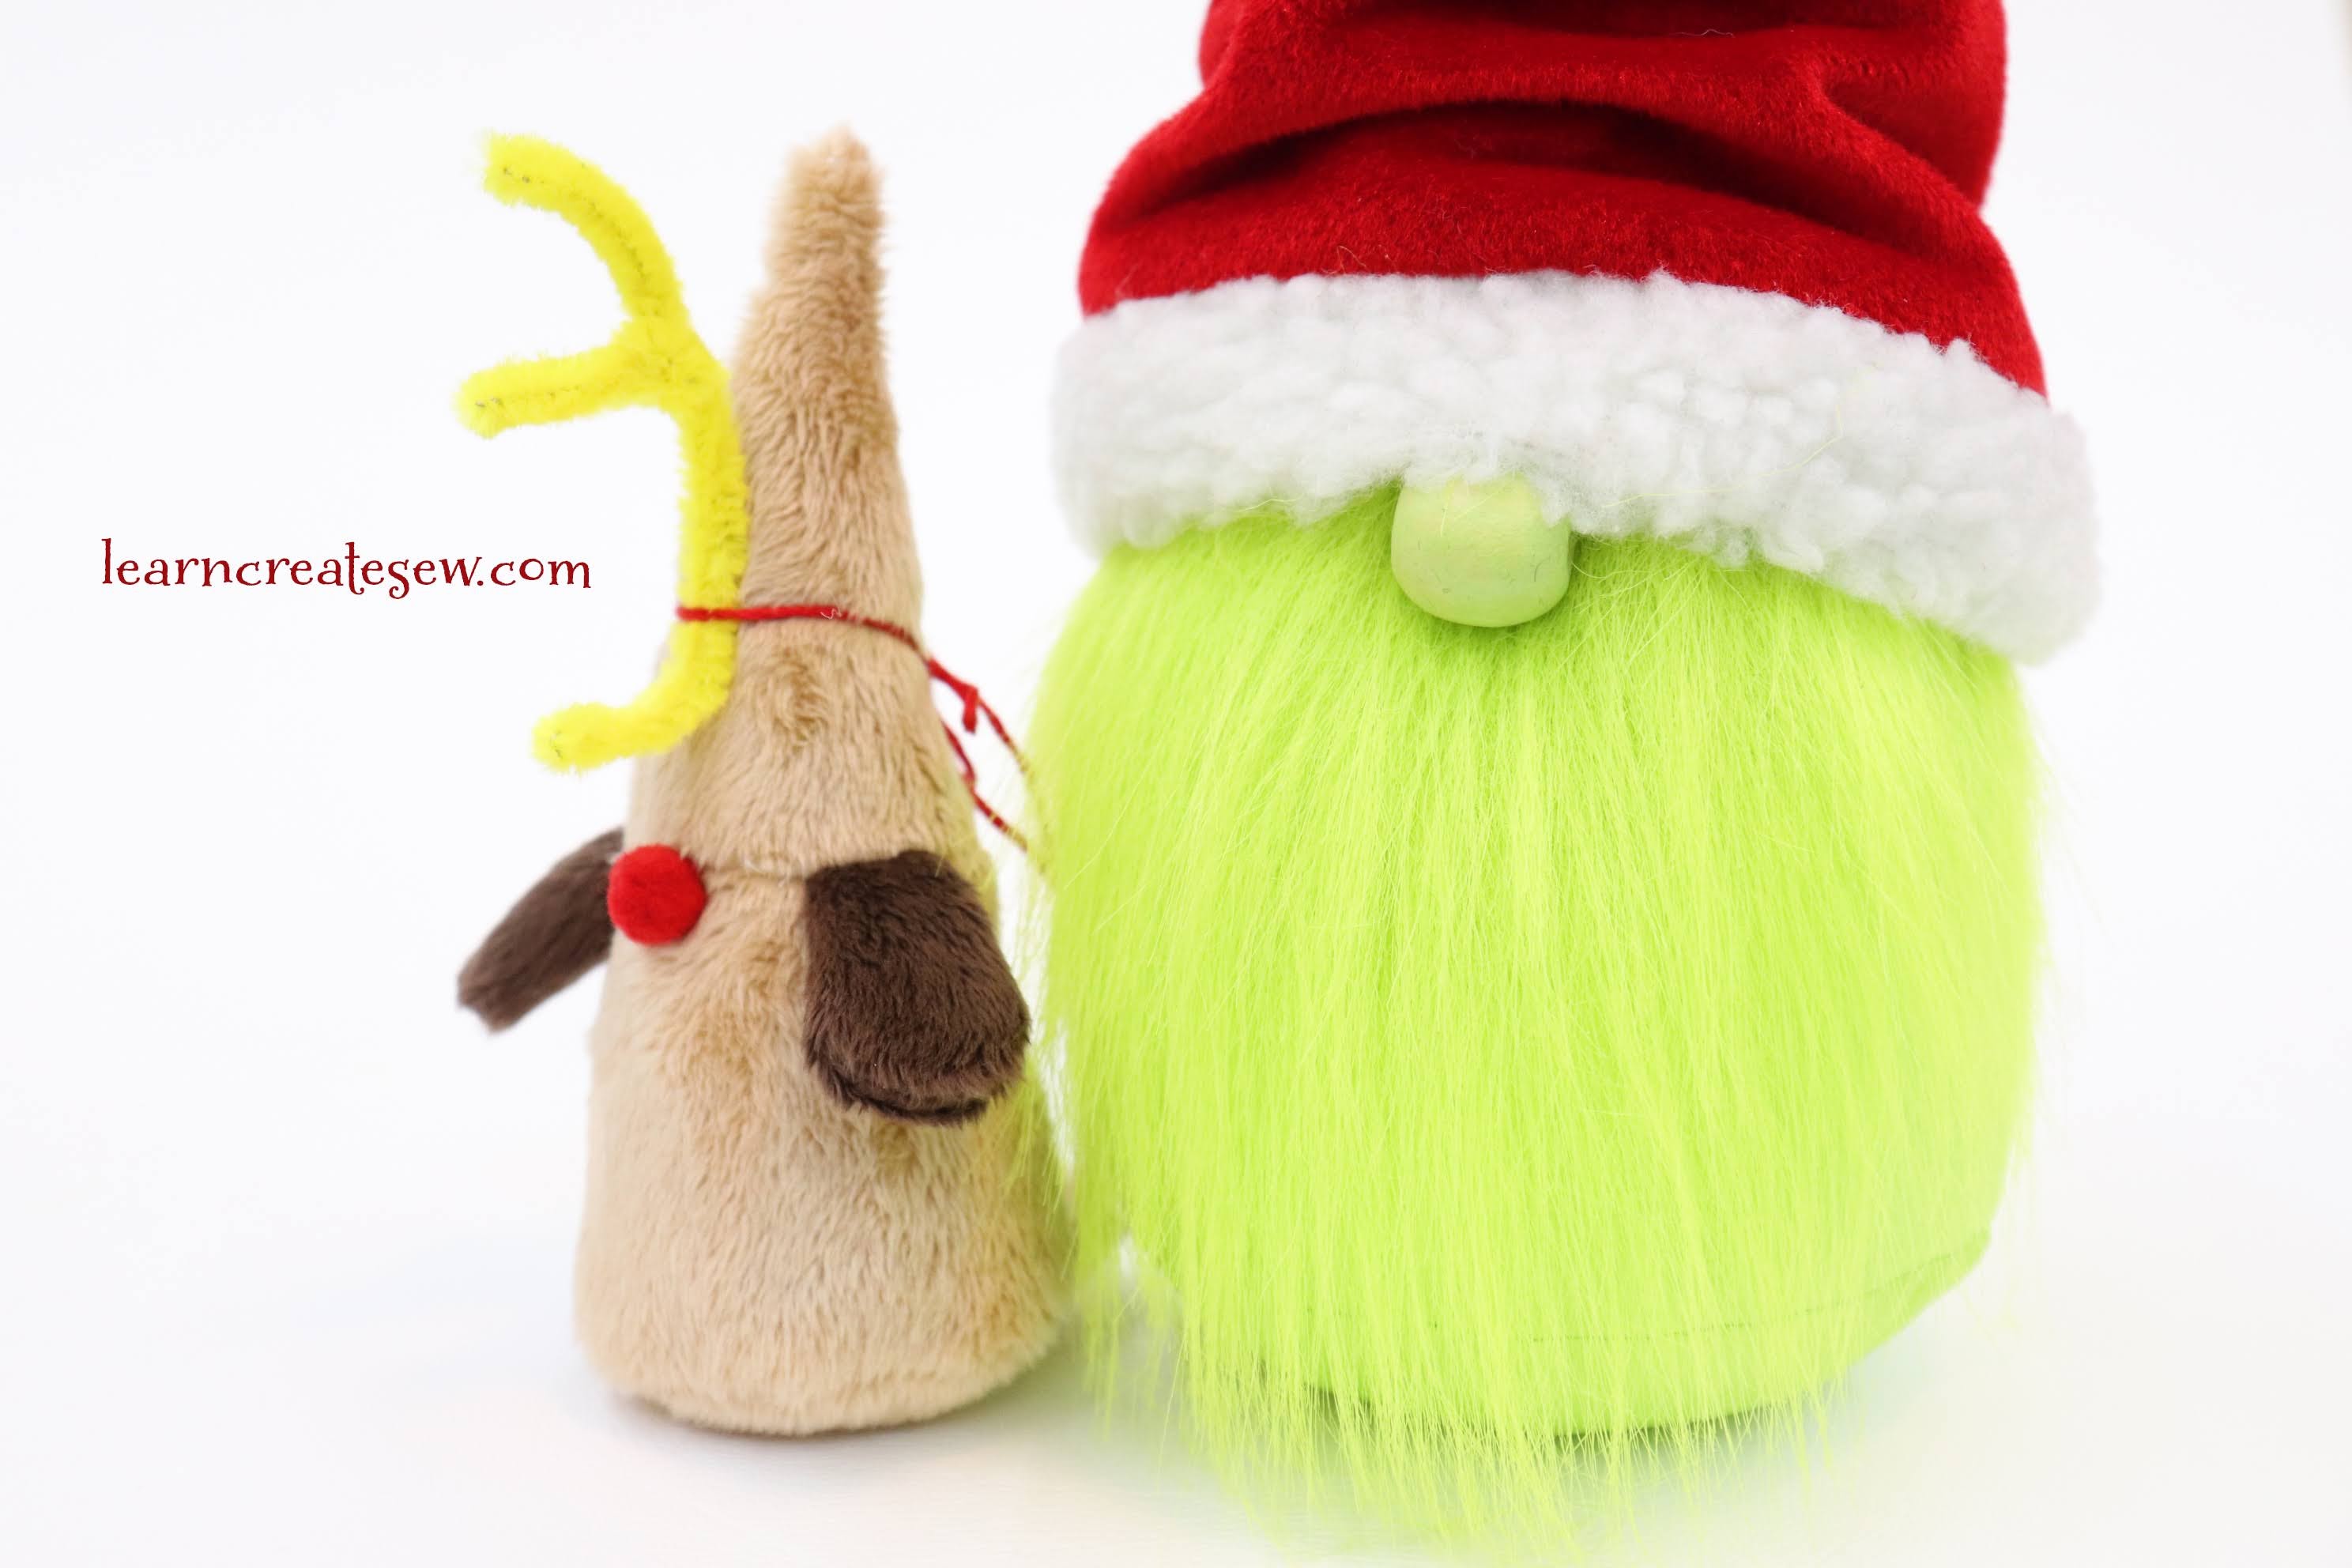
This big green guy can be made using the basic Christmas Gnome Pattern and tutorial. He is a size X-Large and stands about 10.5 inches tall without his hat. I added a sherpa binding to the edge of the hat and a bit of fur around the entire body, rather than just the beard.
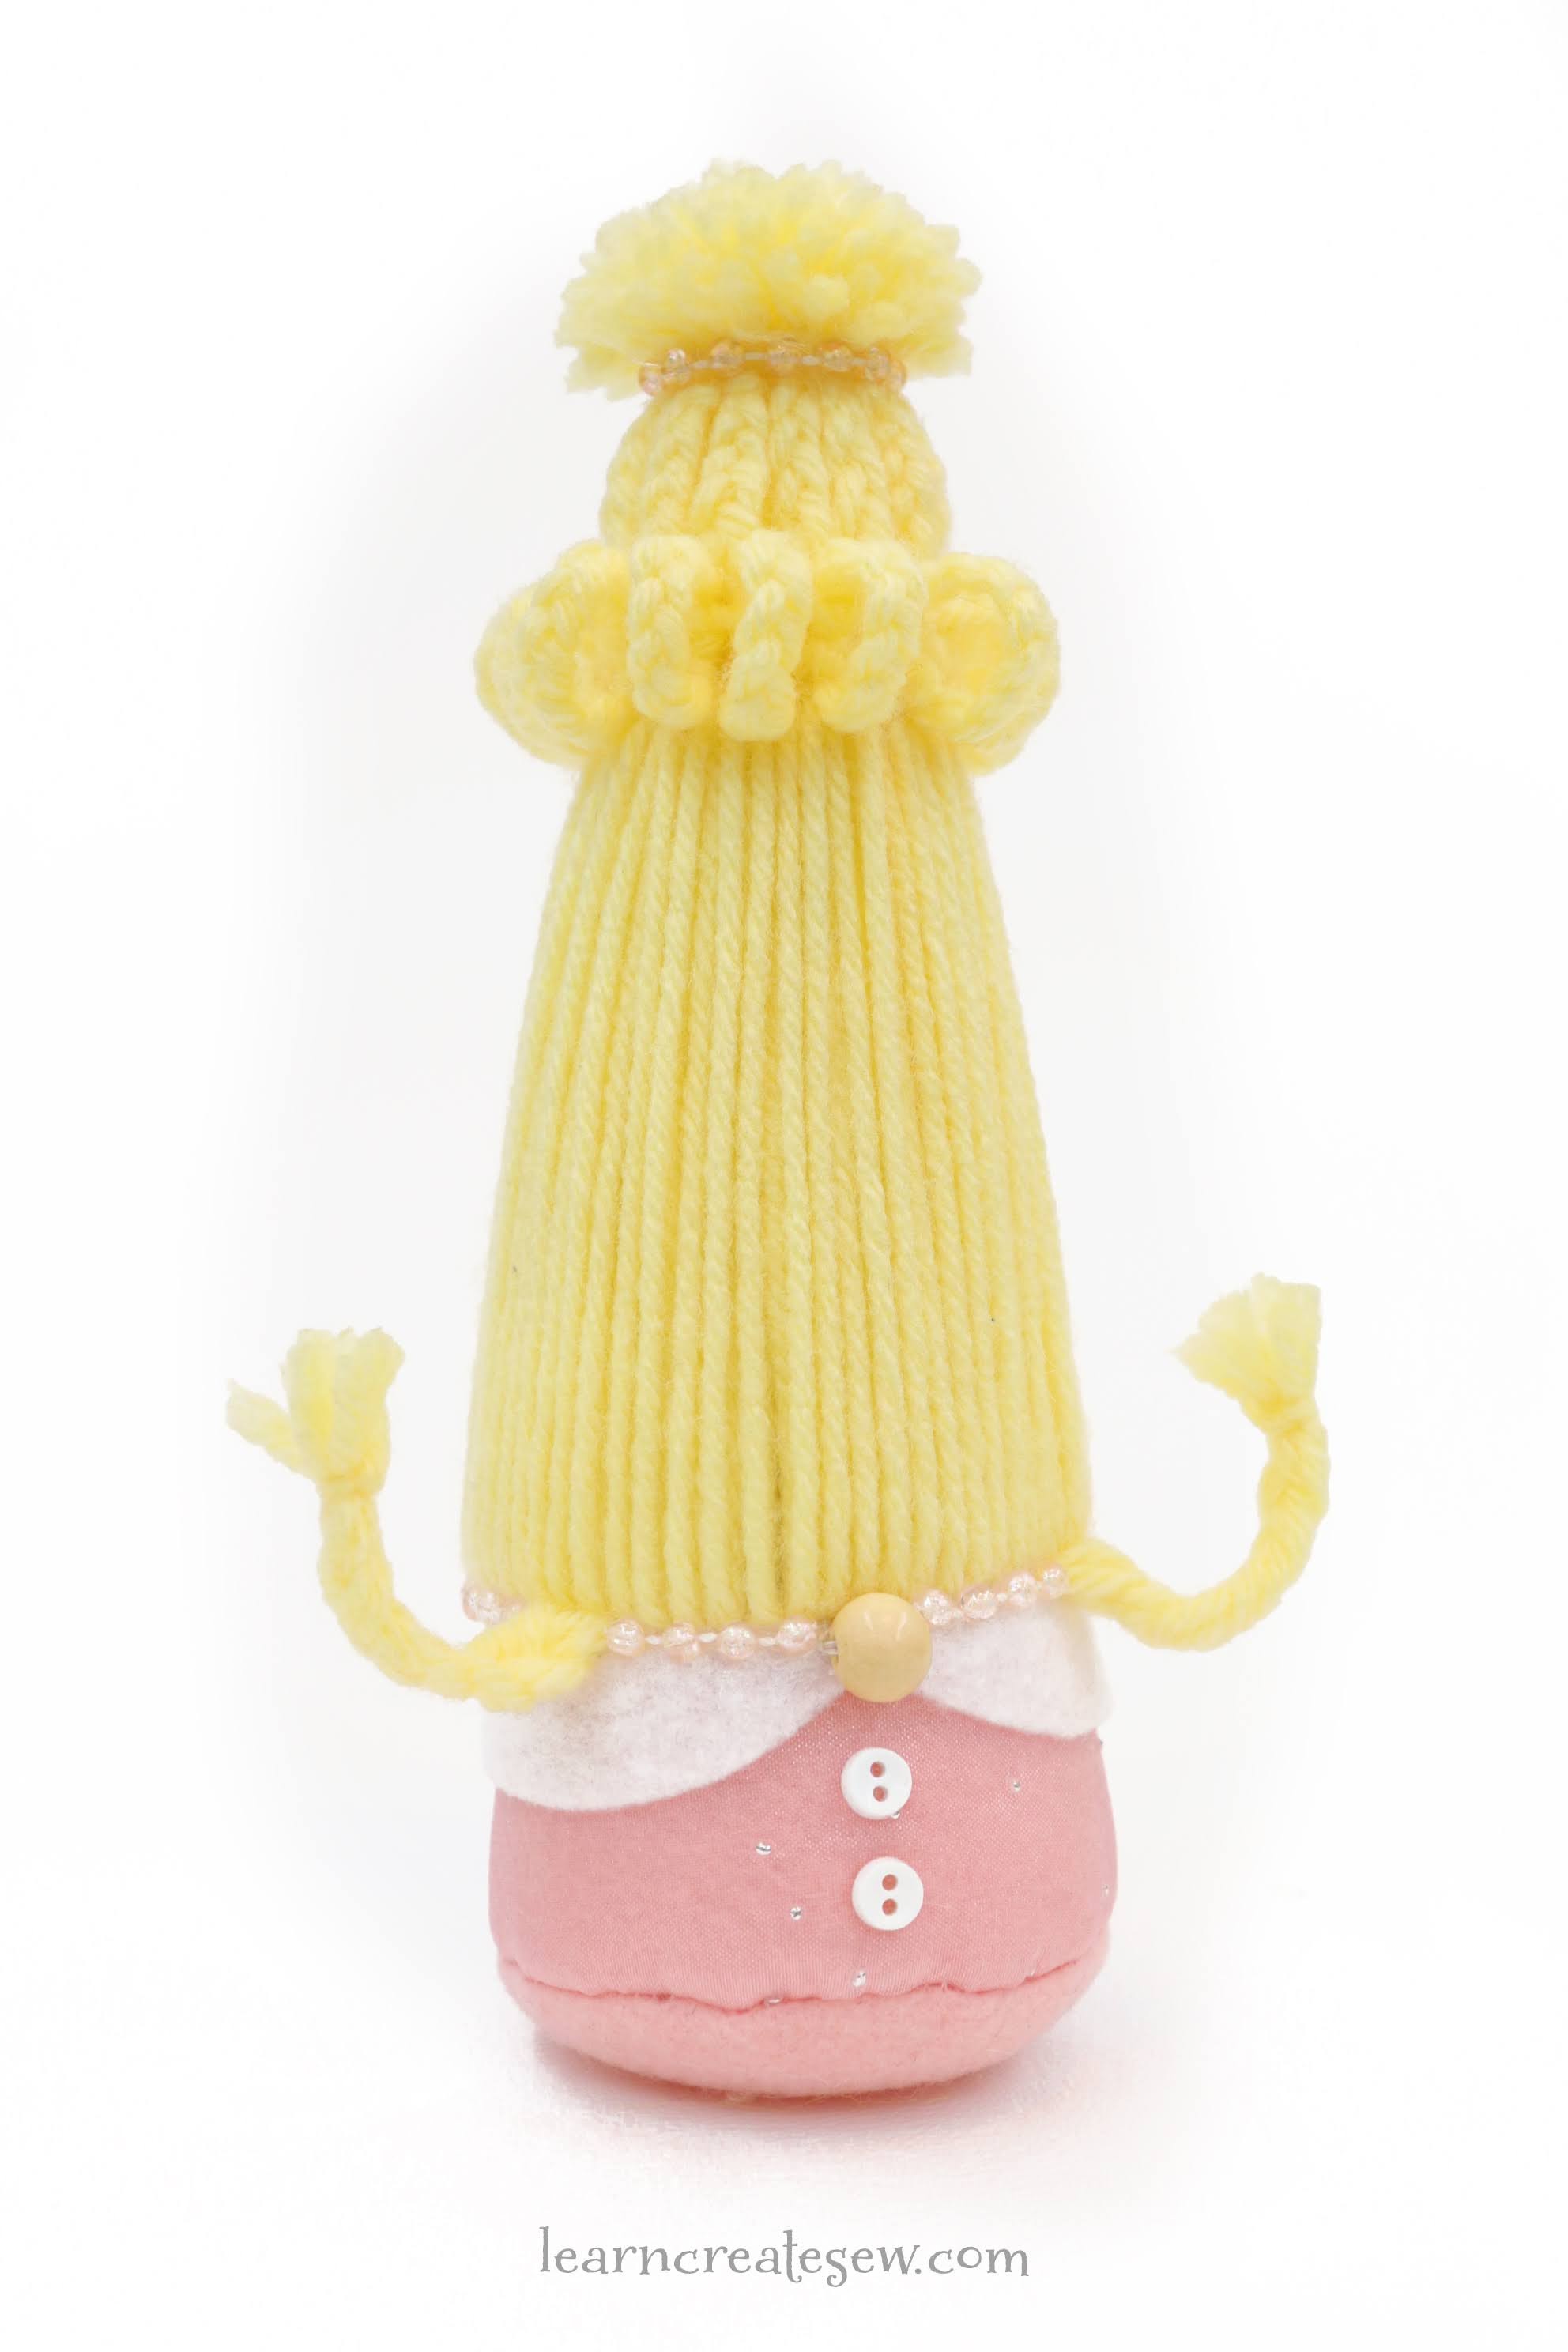
This little lady was super fun! I made the small size.
I really enjoyed decorating this one as well as making the hair. It took four tries to figure it out, but I was really happy with the results!
I really enjoyed styling the hair. All the little braids were time consuming, but I love the end result!
I also really liked adding decorations, such as buttons and pearls.
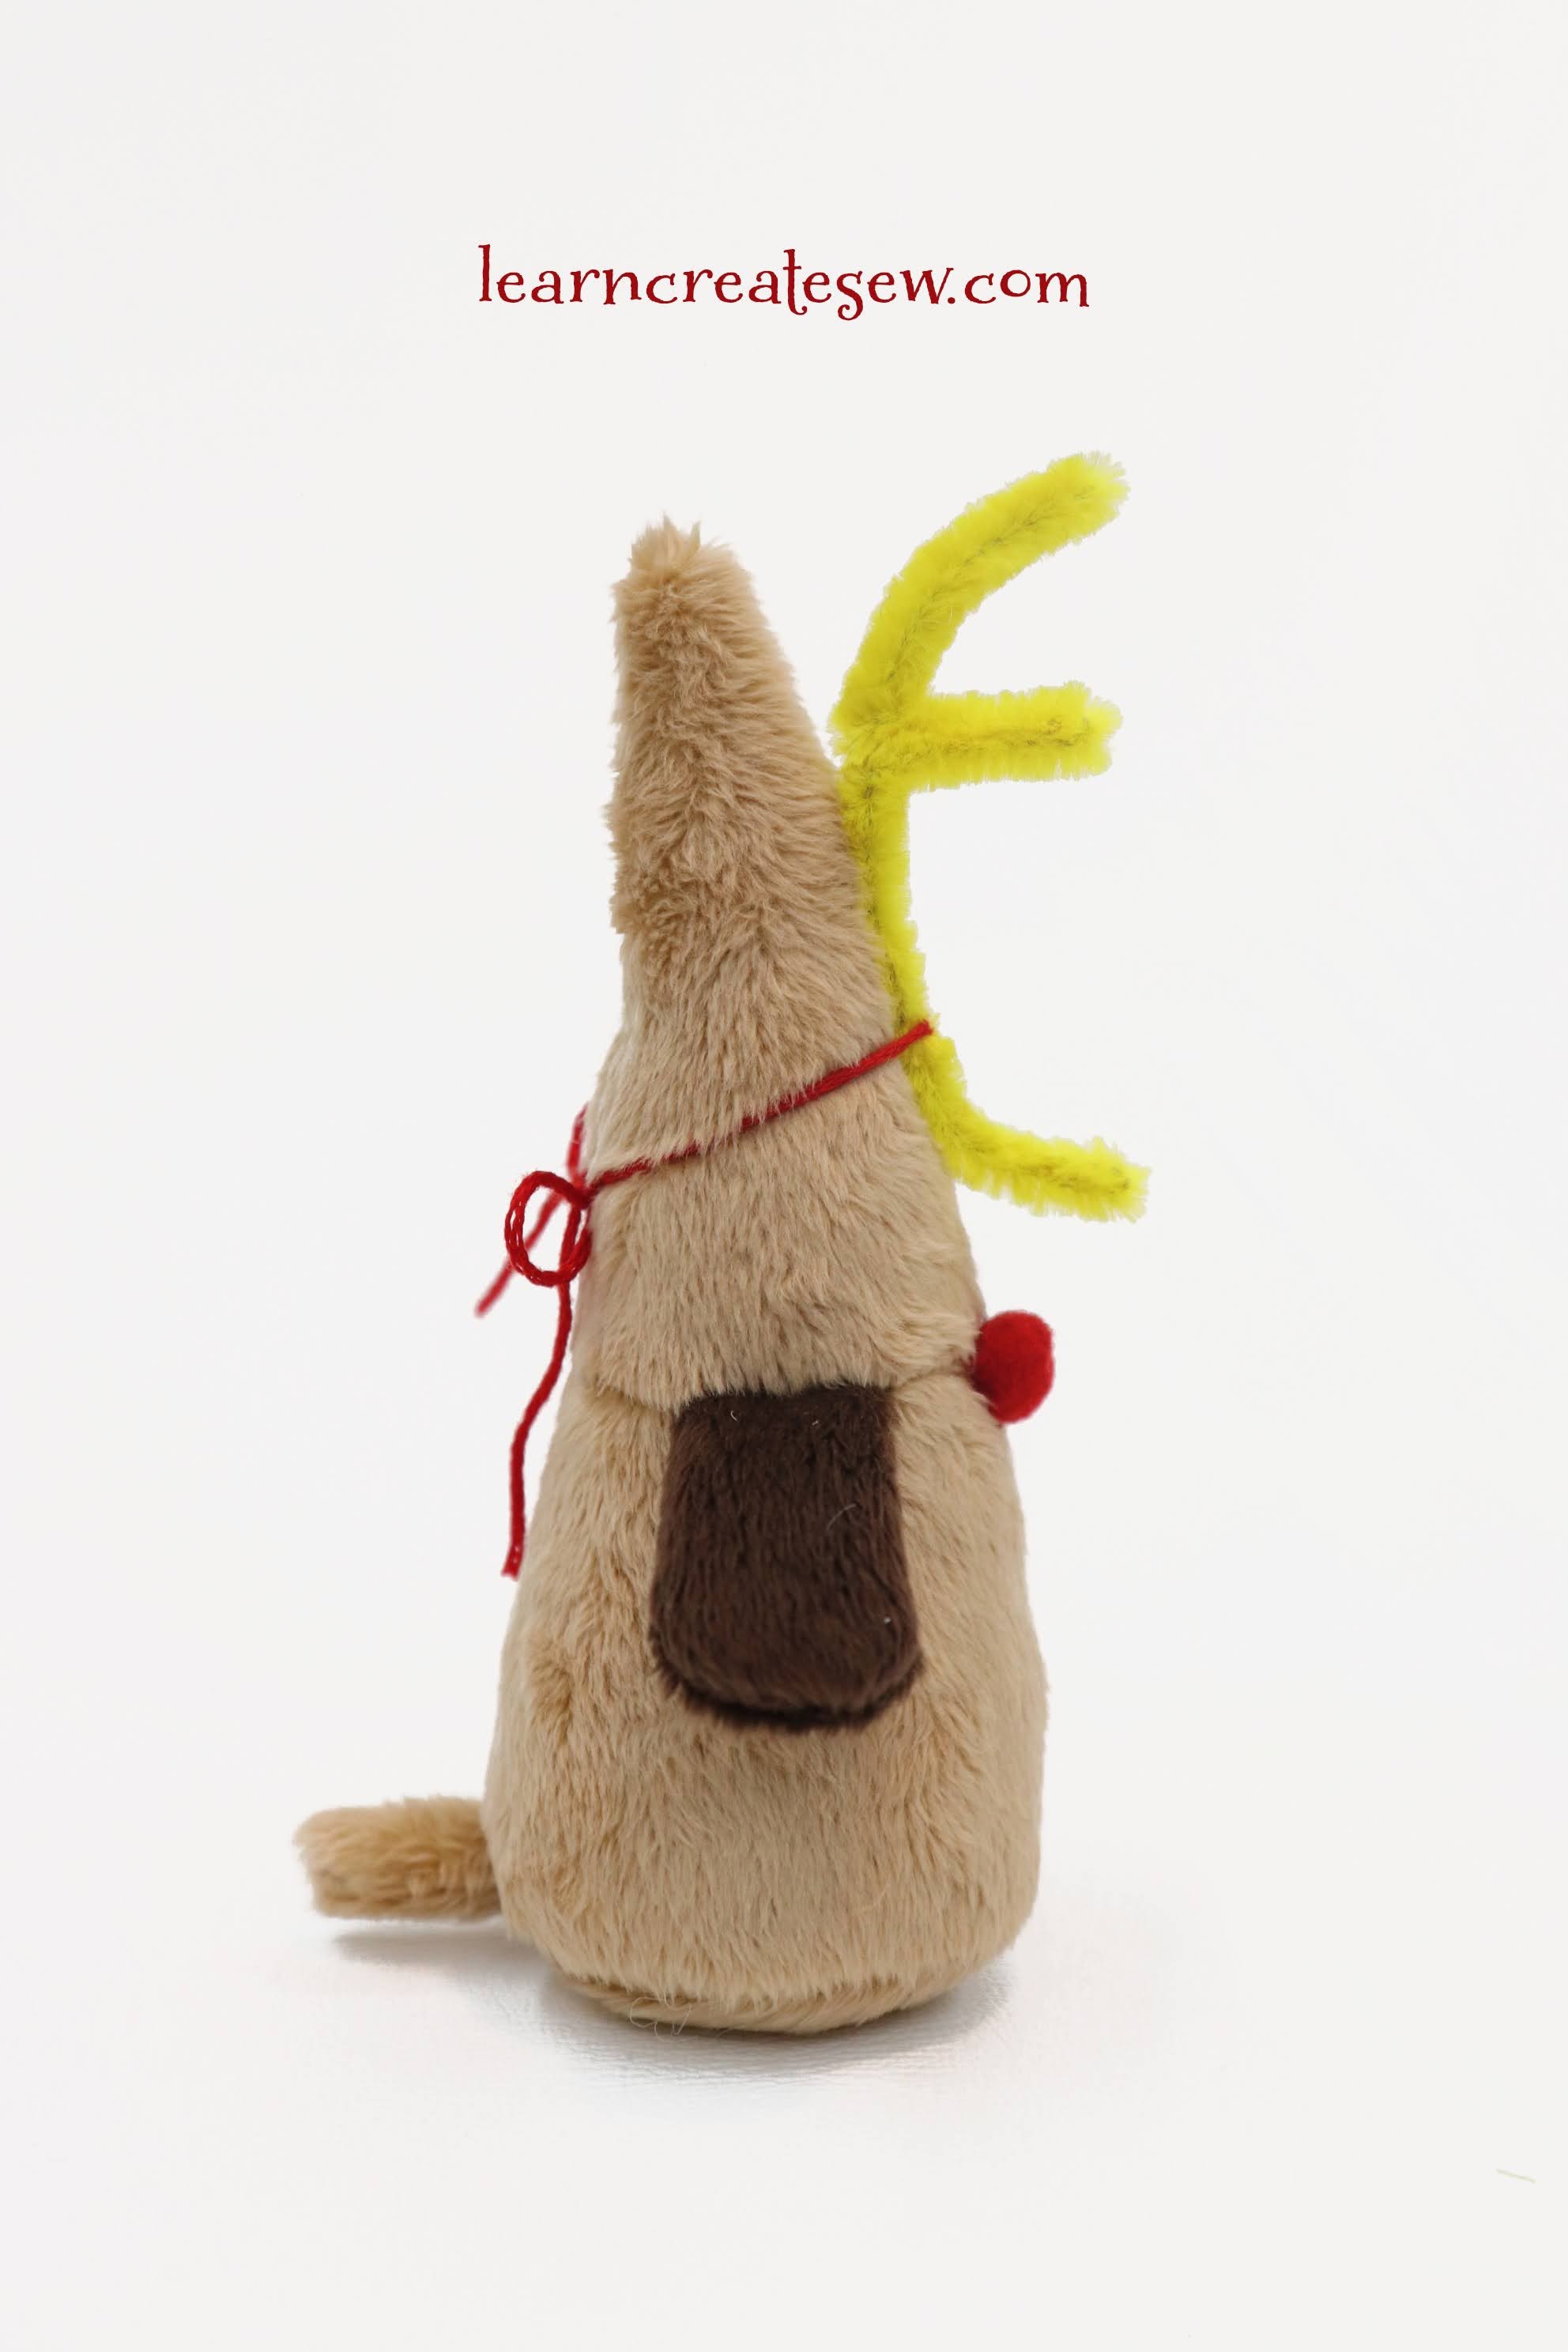
Of course, these two would not be complete without their furry friend!
This little pup was actually super quick to make and I absolutely adore how he turned out. I used minky to give him that furry look 🙂 And a pipe cleaner is the antler. A special thanks to my sister for that idea!